So after a while I finally had the time and energy to continue with the project. I mounted the scanner to the camera and made first test scans!
After getting the hardware ready I tried to get the first scanned results. My initial tests showed, that the sensor was responsive to light, so I finished coding the scanning movement and logistics of scanning an image.
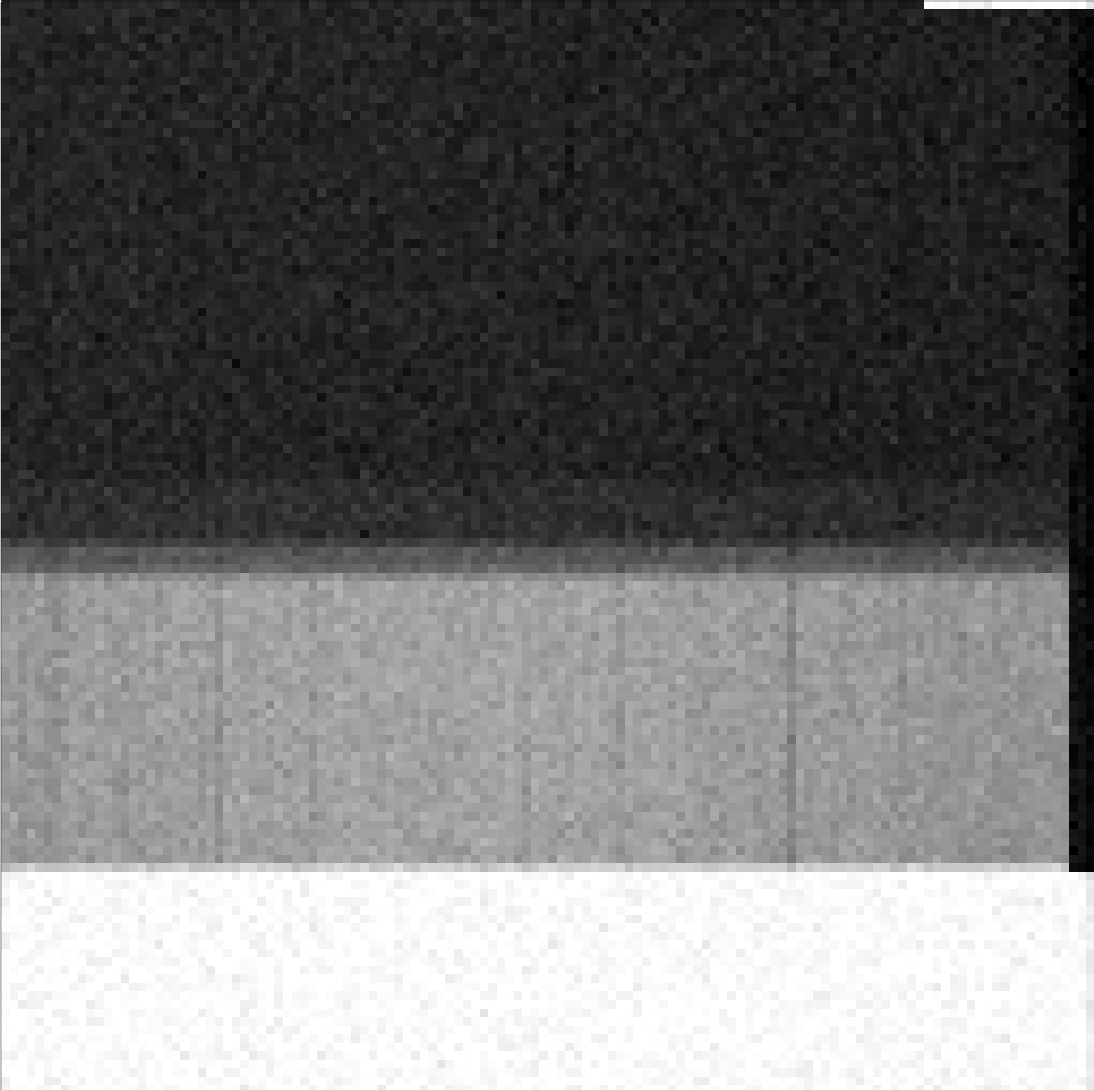
The first results were very discouraging. For hours I could only get noise without any hint of an actual image. The base-level however was responsive to light.
I tried to block half of the sensor and expose only a part of it. After a lot of searching I finally found a missing ground connection, and after fixing it things got better.
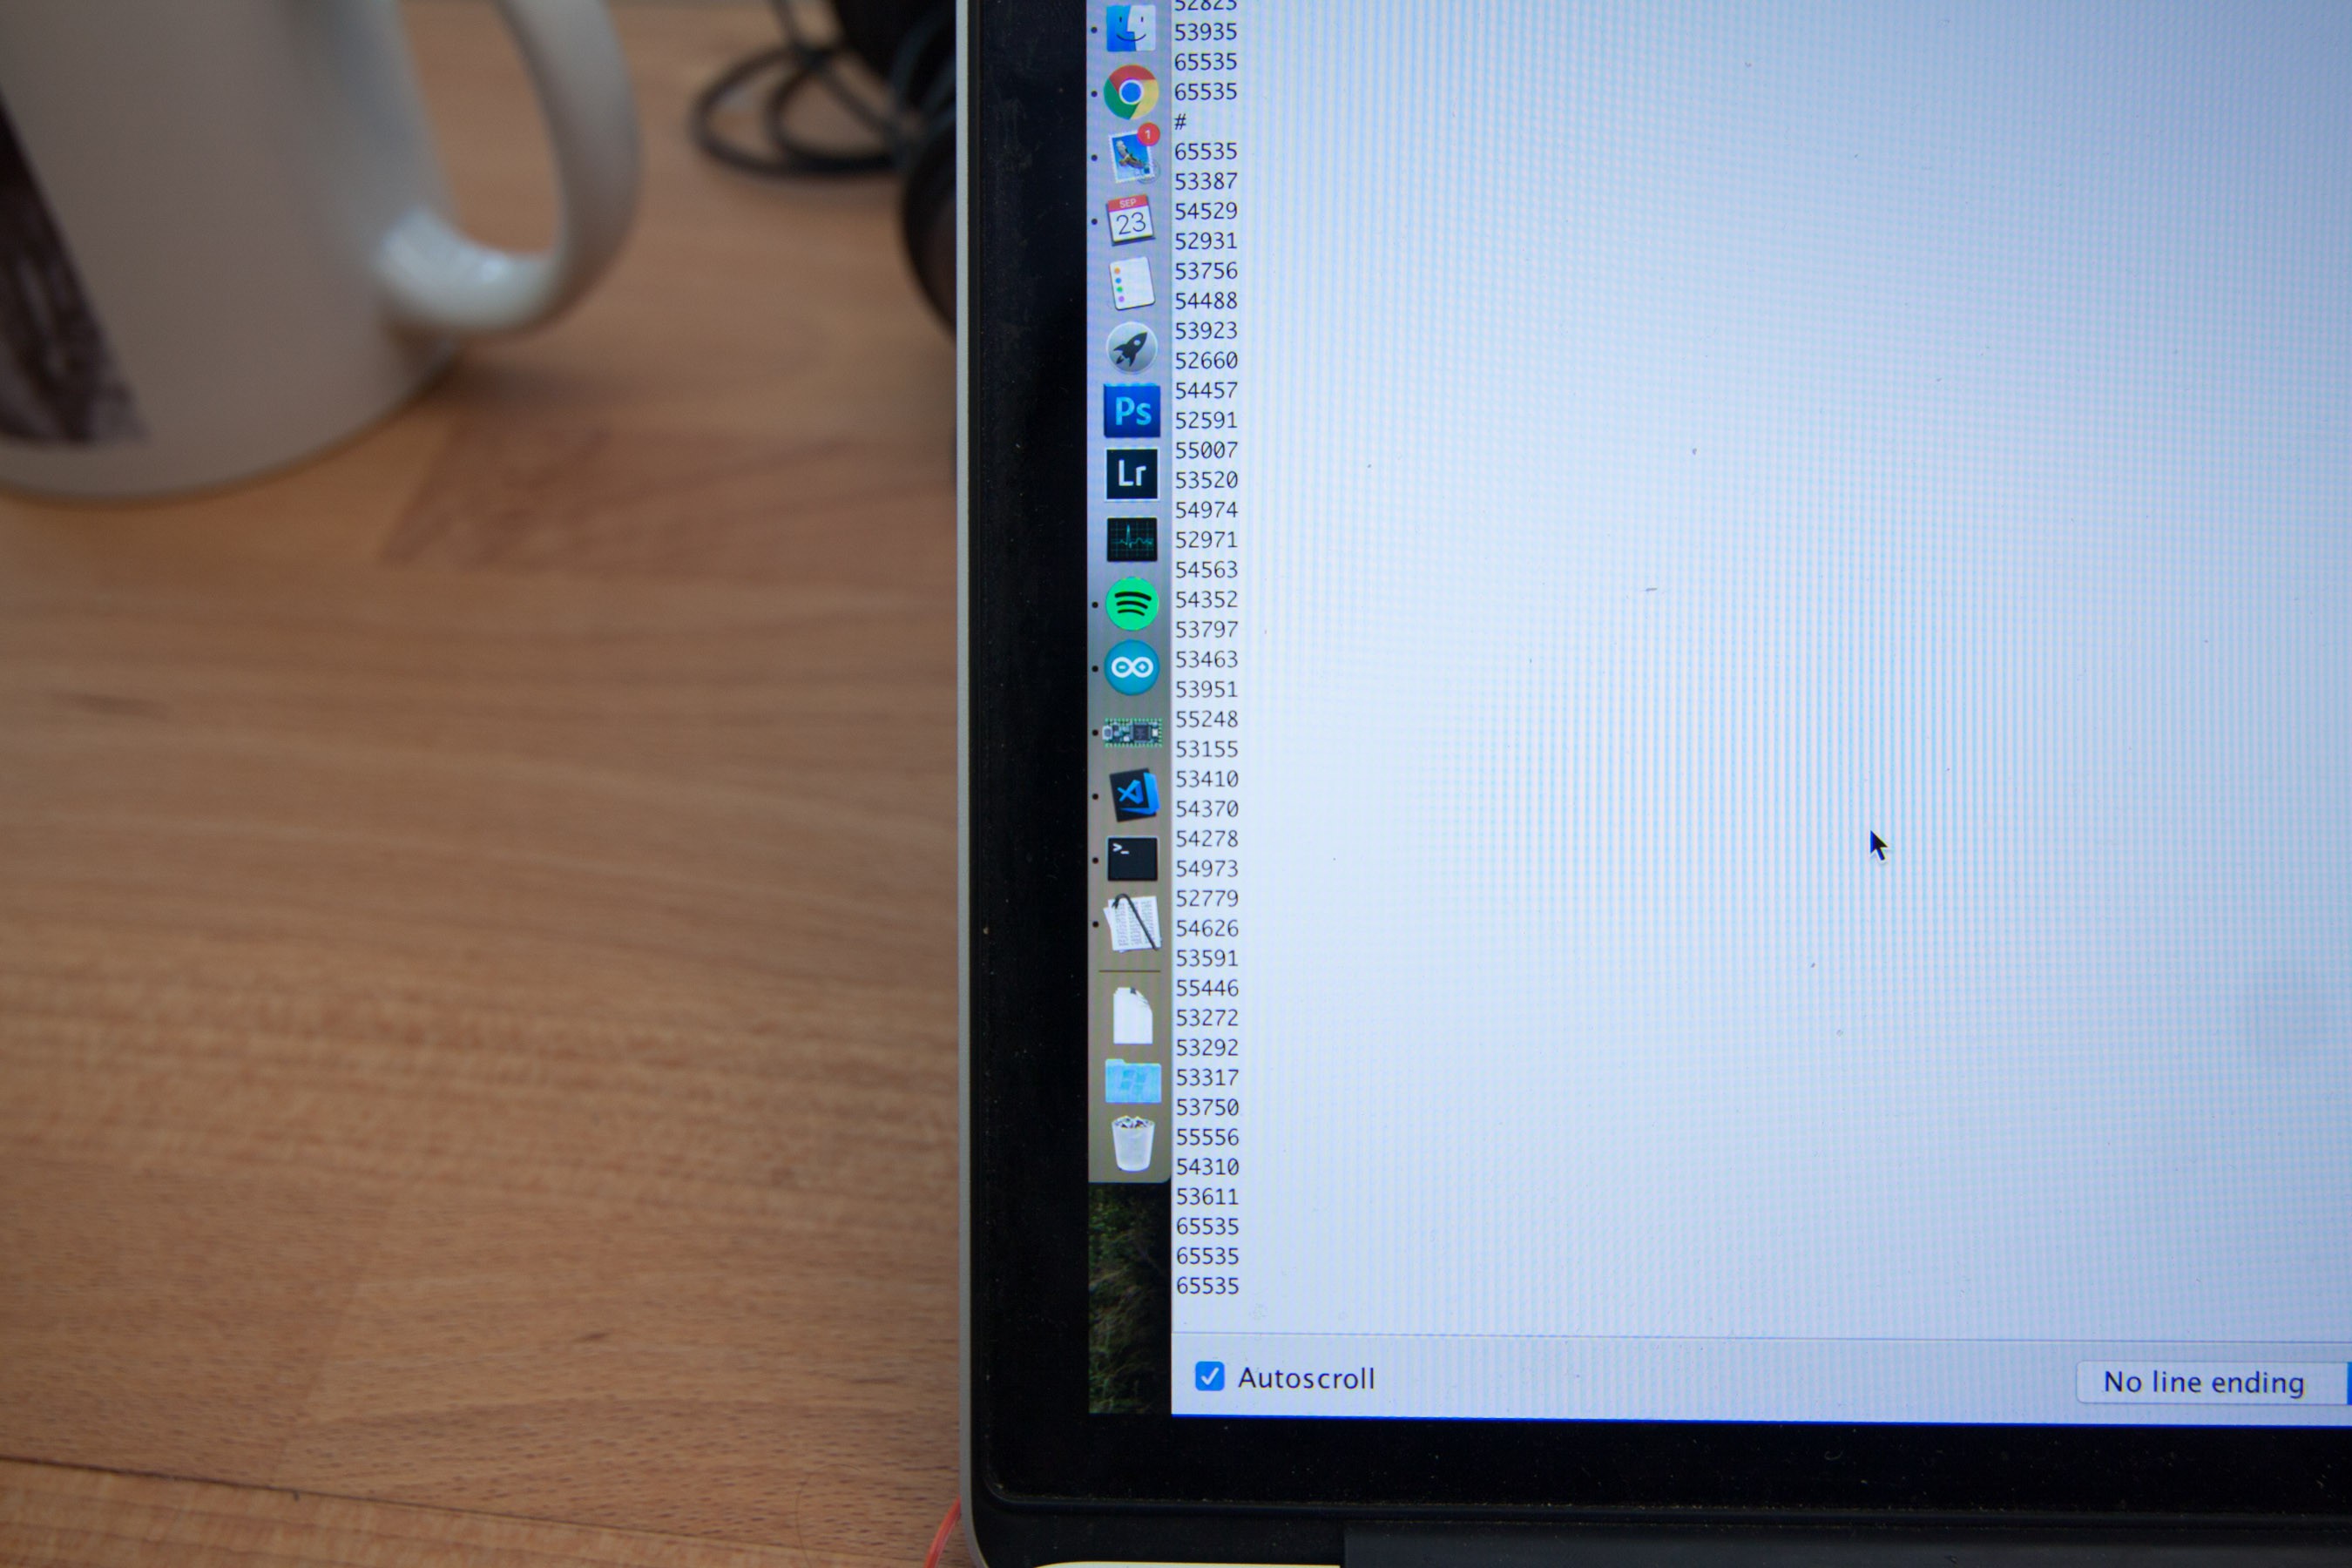
A test sketch printed every 100th pixel in the line, and if you look closely you can see the initial dark pixel at the top (65535), then some lighter pixels (~55k), then dark pixels again. Finally the sensor was working as intended. Getting a scan however was still not working. Only pure randomness, without any image. After a lot of time trying to find the error I finally had it!
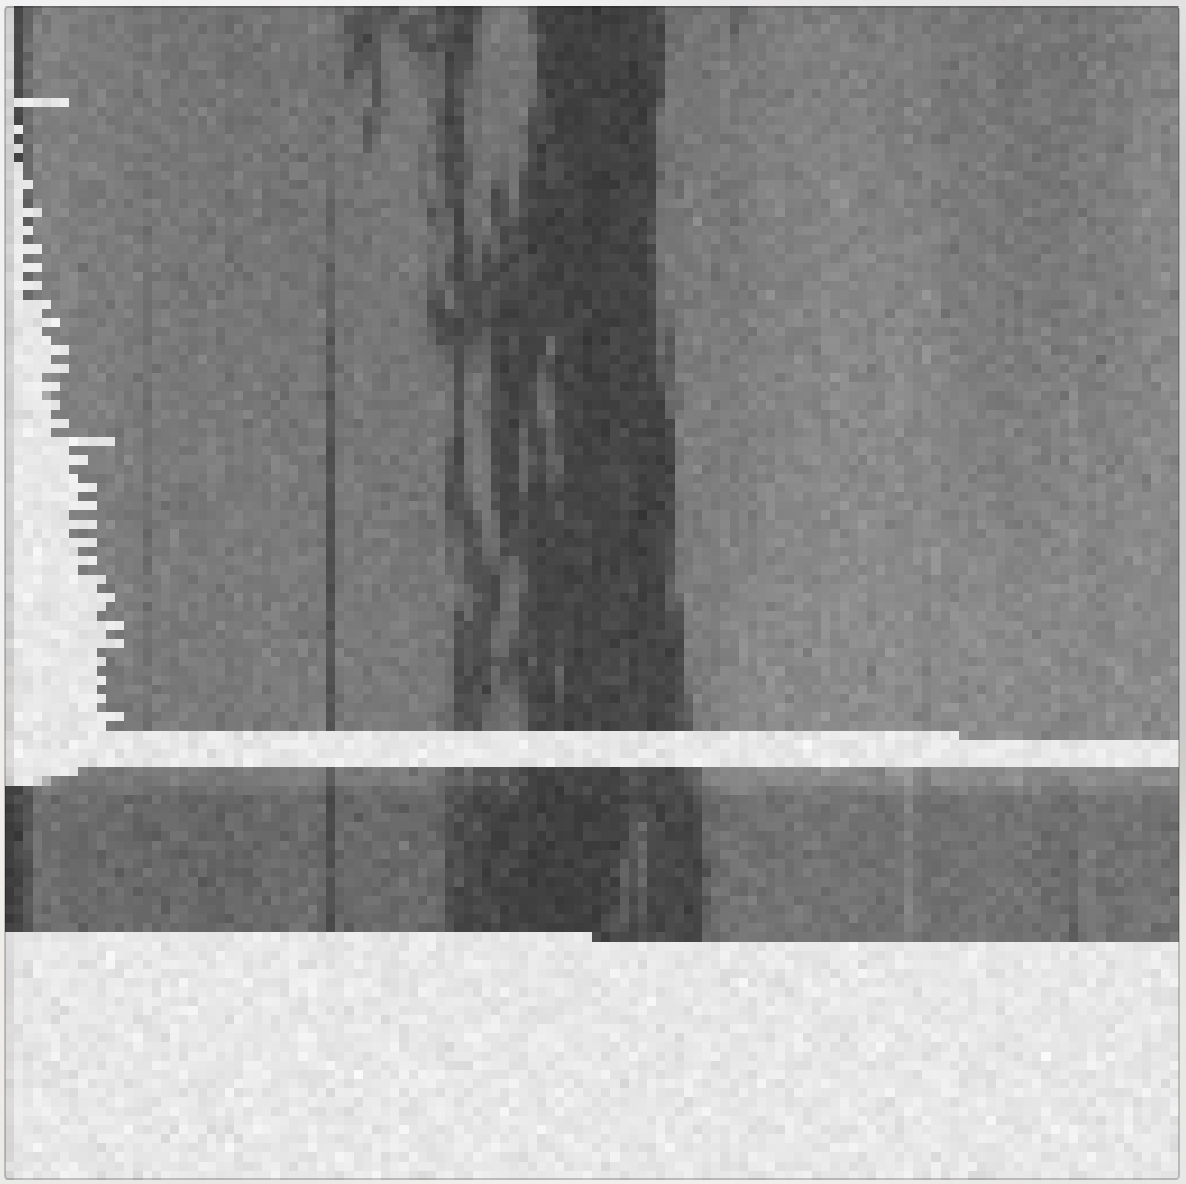
The very first image. After 20 images of pure randomness, finally something appeared! Clearly distinguishable from random! Not much, just a hint of a pine tree! The issue was found, and it was actually just a missing delay for the integration time of the sensor.
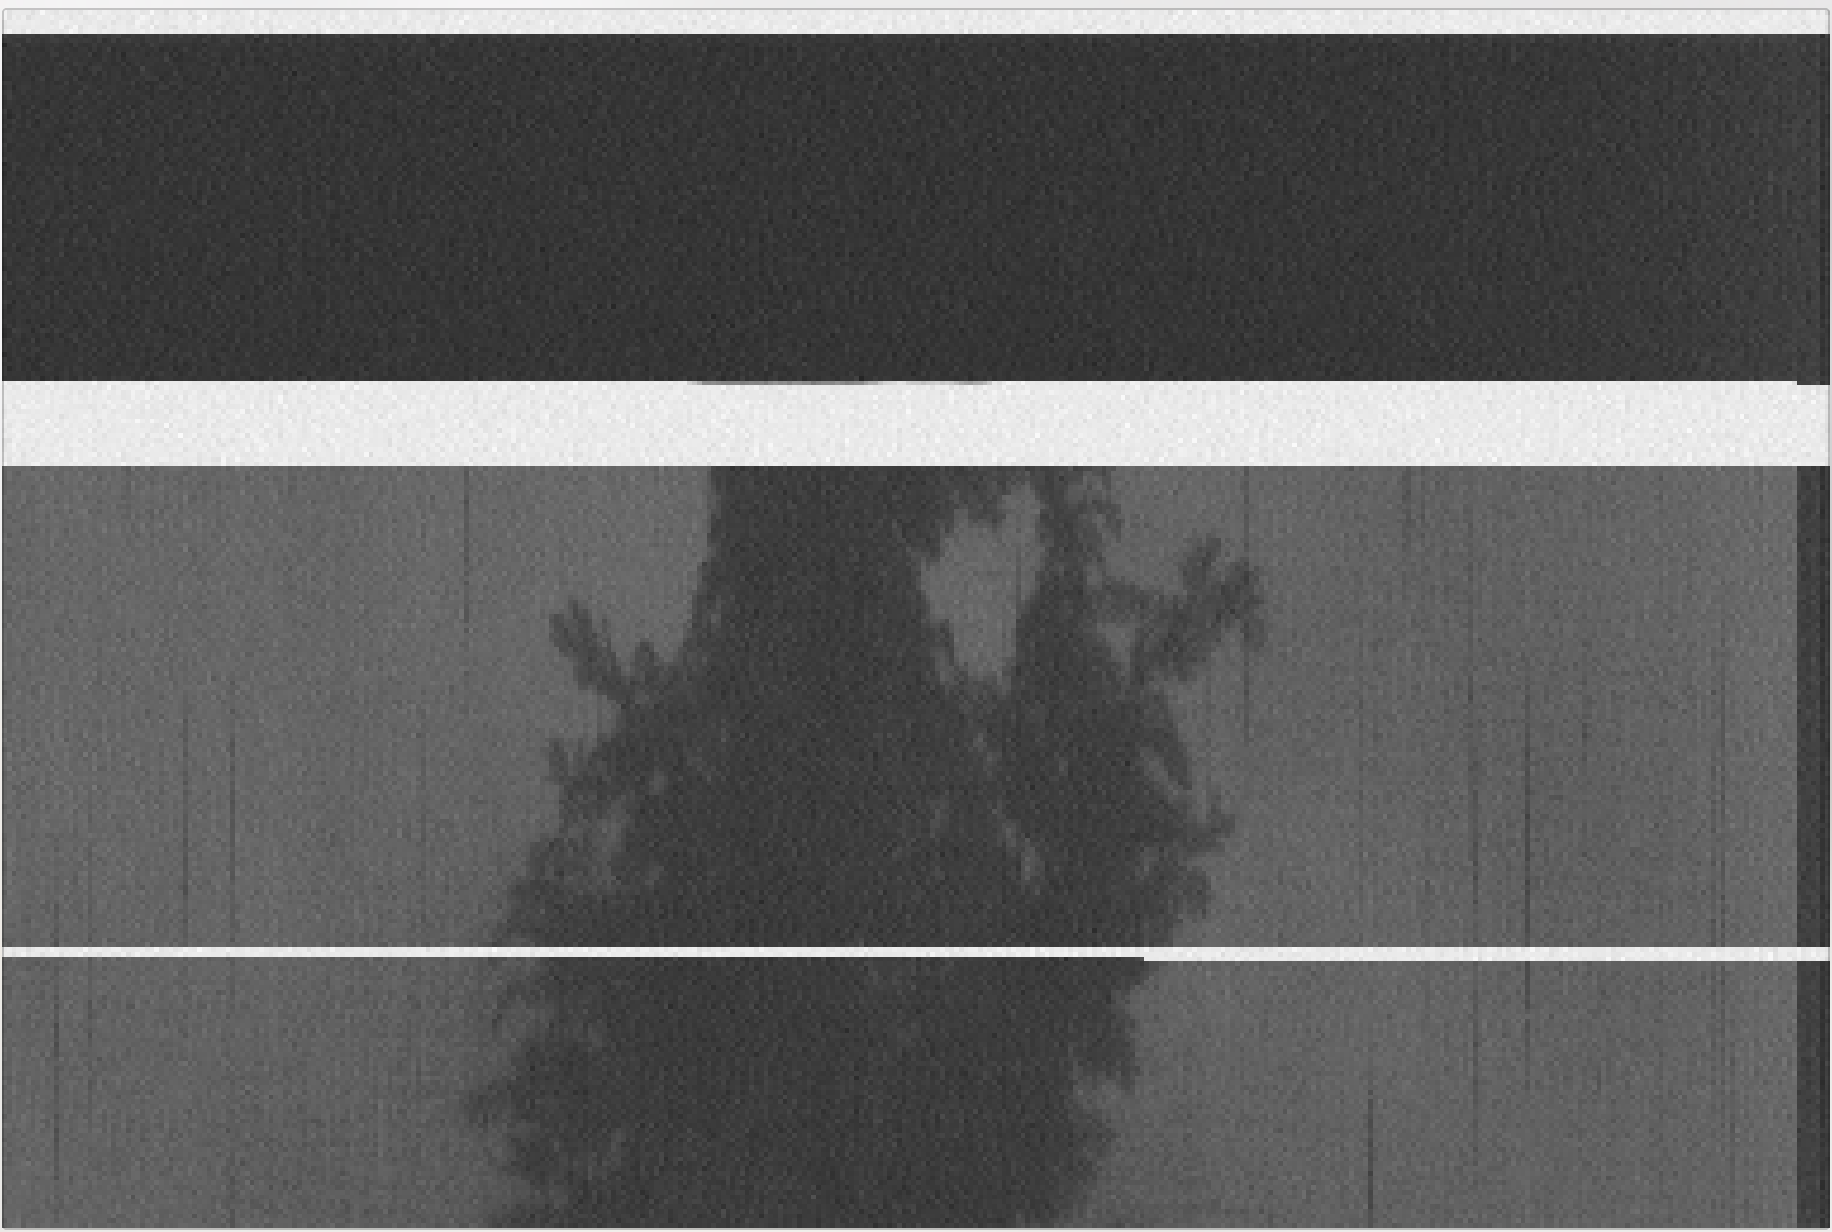
Time for some fun! Basics were working, so I fixed a lot of things like aspect ratio and flipped the image in post processing. This is the second ever image from the scanner (with distinguishable features). At the top I forgot to take the cap from the lens (dark part), then I adjusted the aperture (light part).
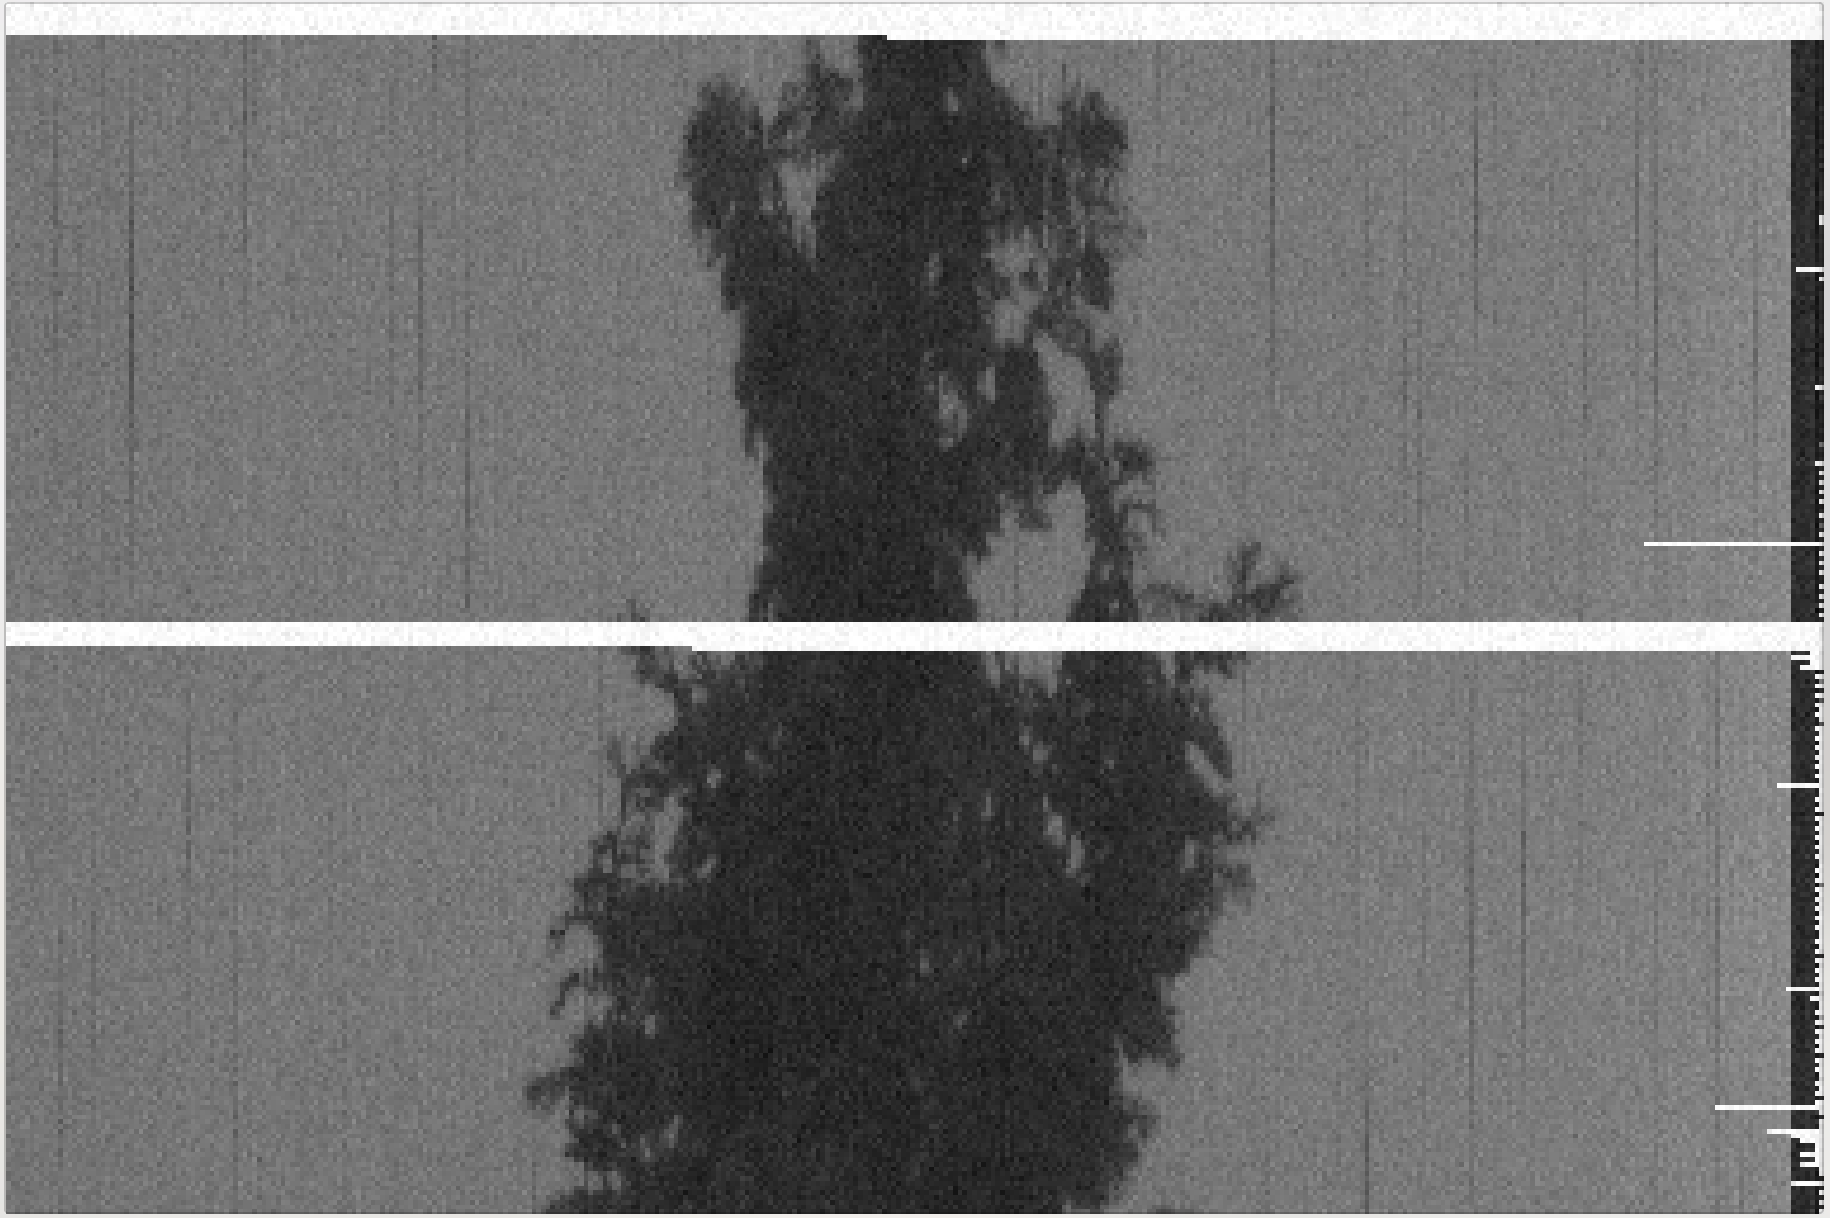
The white pixels are caused by pixels 'overflowing' with too much exposure. Sometime this gets so extreme that a few lines are completely white. The white area in the middle of the picture was caused by the sd-card write blocking the scanner for a few seconds.
The integration time for a linear ccd is the time it takes to read the previous line. So before each actually sampled line there is a dummy read out to 'flush' any exposed pixels out of the sensor. This gives a well defined integration time between dummy read-out and actually sampled read-out.
The blocking sd-card however is still a problem, because it is so long, that one dummy read-out is not enough to flush out the extremely over exposed pixels. It takes a few more lines for the sensor to get back to normal.
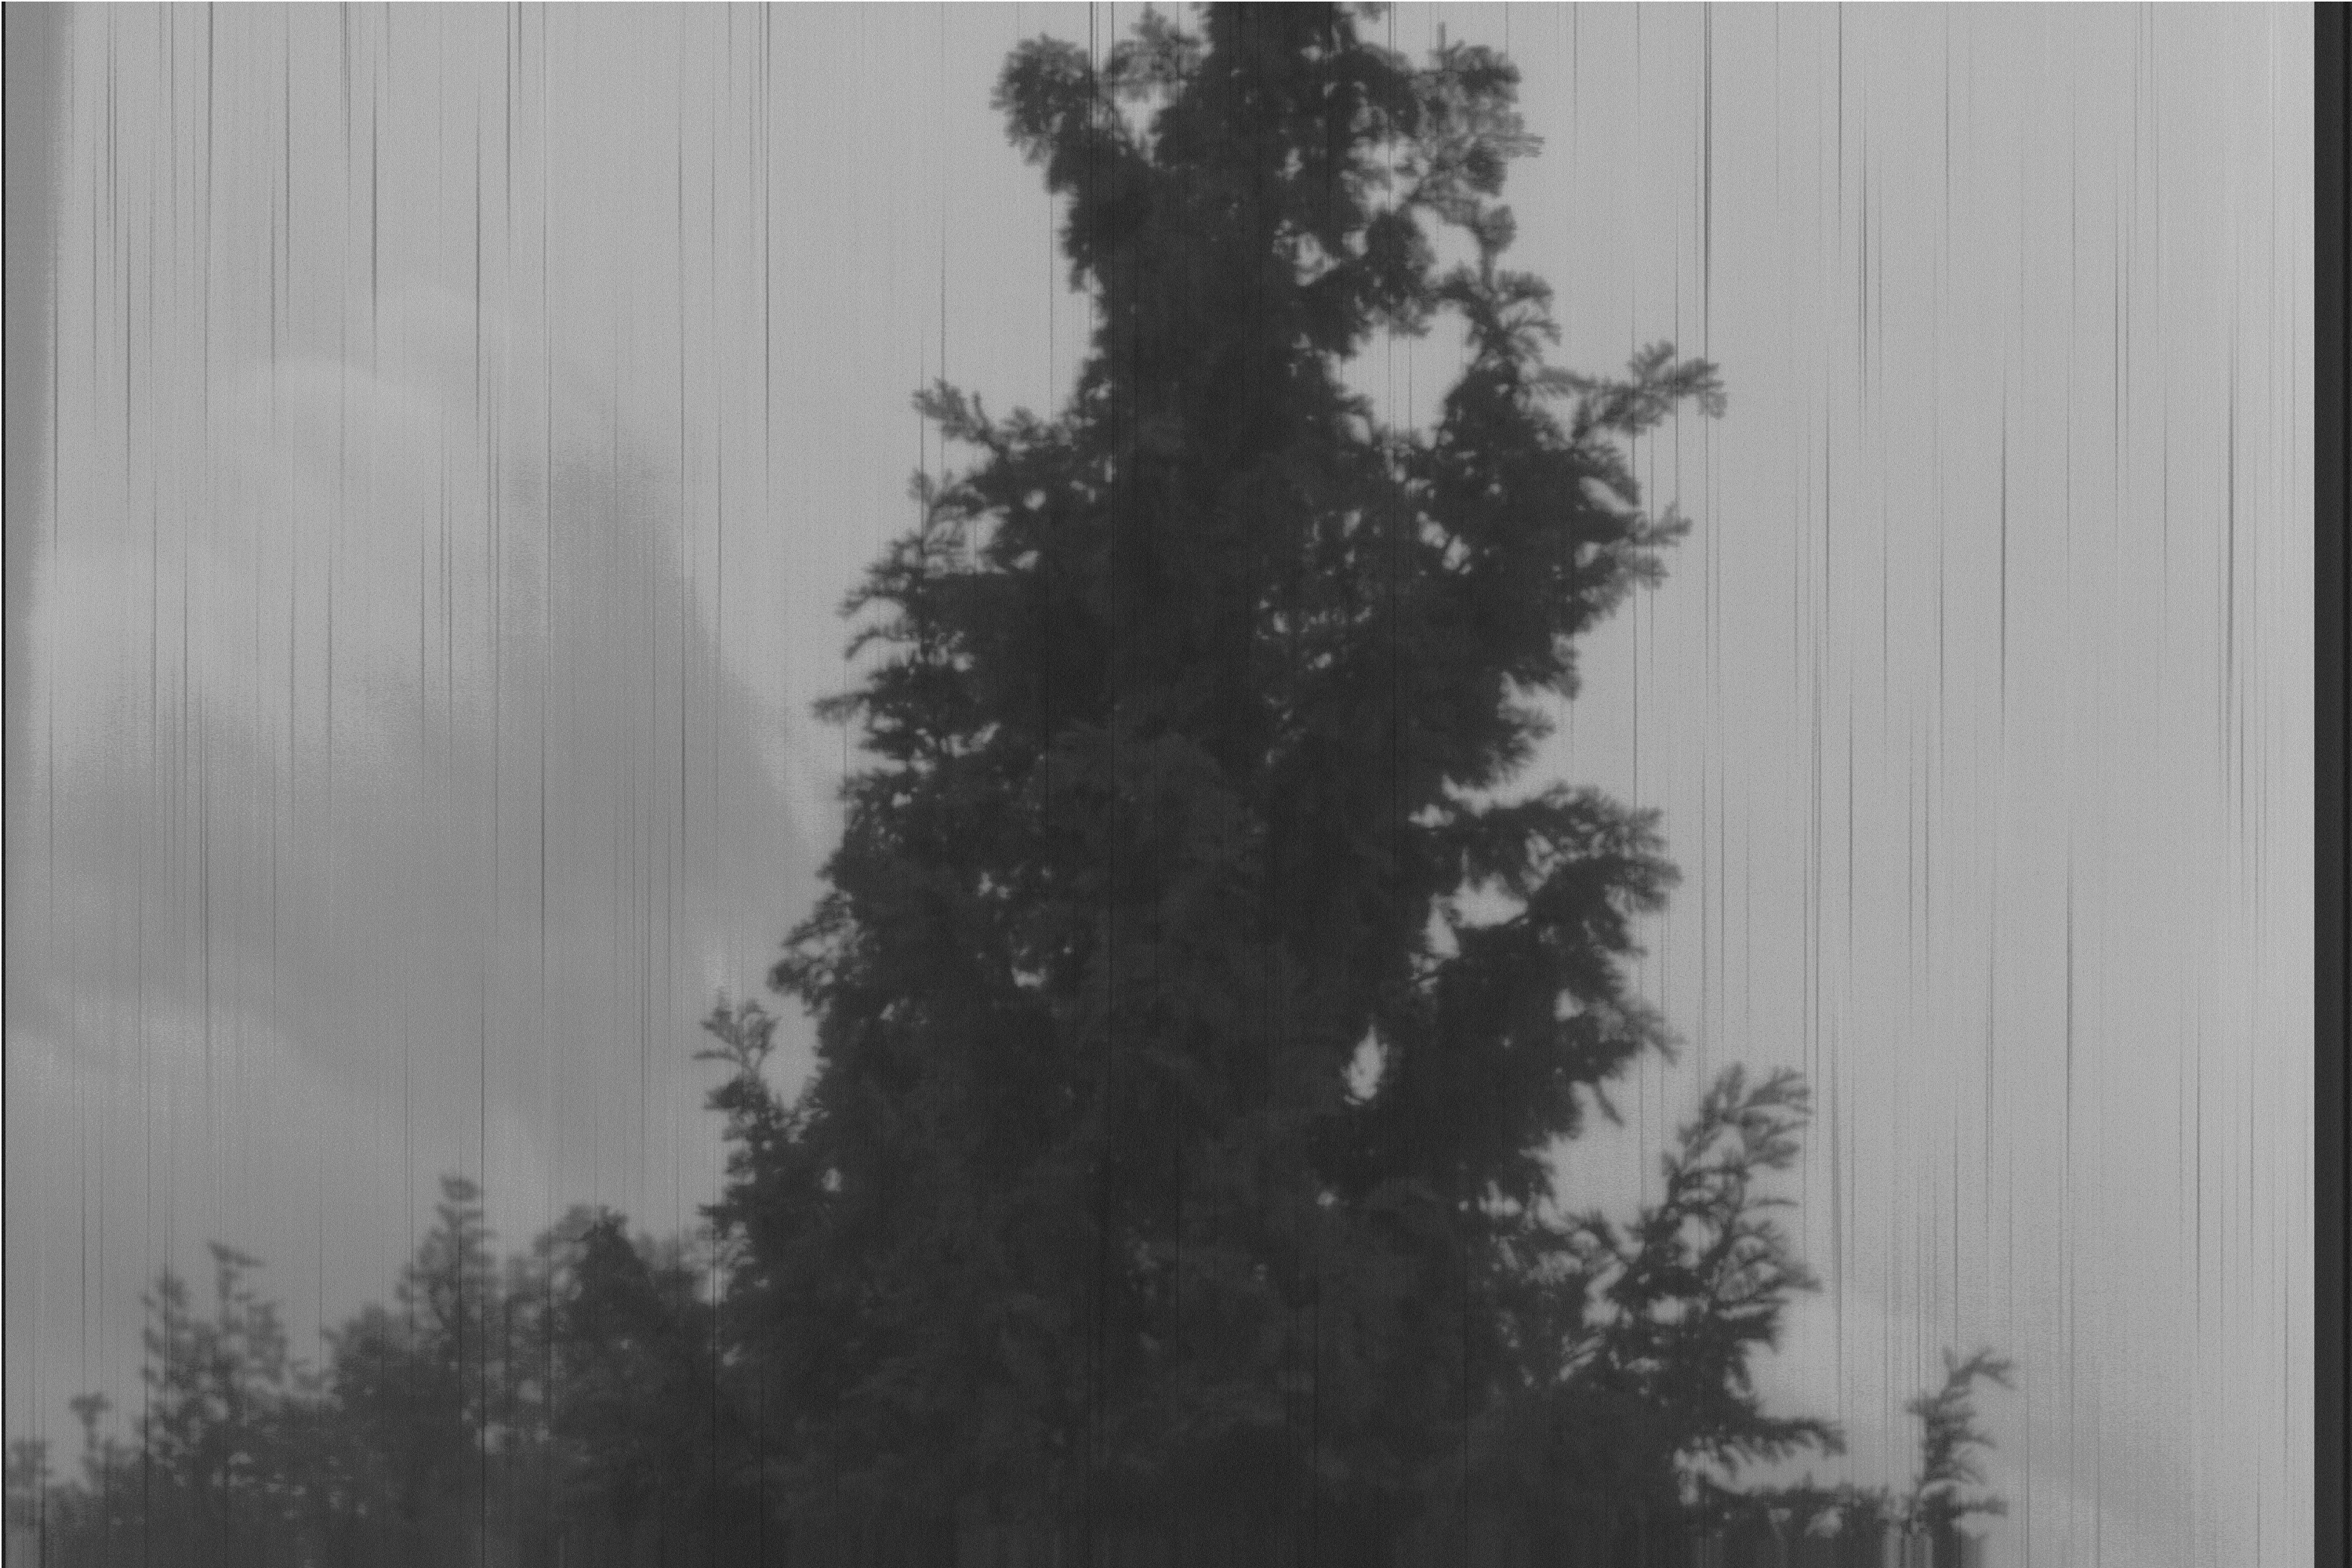
This is one final glamour shot at 2000x3000 pixels.
After more fixes with additional dummy read-outs the white pixels disappeared, and the image started to look a lot cleaner. The focus is a bit off, but it still looks amazing for the first results. The black streams are most likely caused by the mosquito net in the window.
This is by the way only one color channel of the rgb sensor. The image format is just a plain binary concatenation of pixels. It needs post-processing with a python script to yield usable bitmaps.
Mounting the scanner to the camera
Before scanning I finished the mounting solution for the scanner and camera. The scans are more interesting, so I wanted them at the beginning of this log.
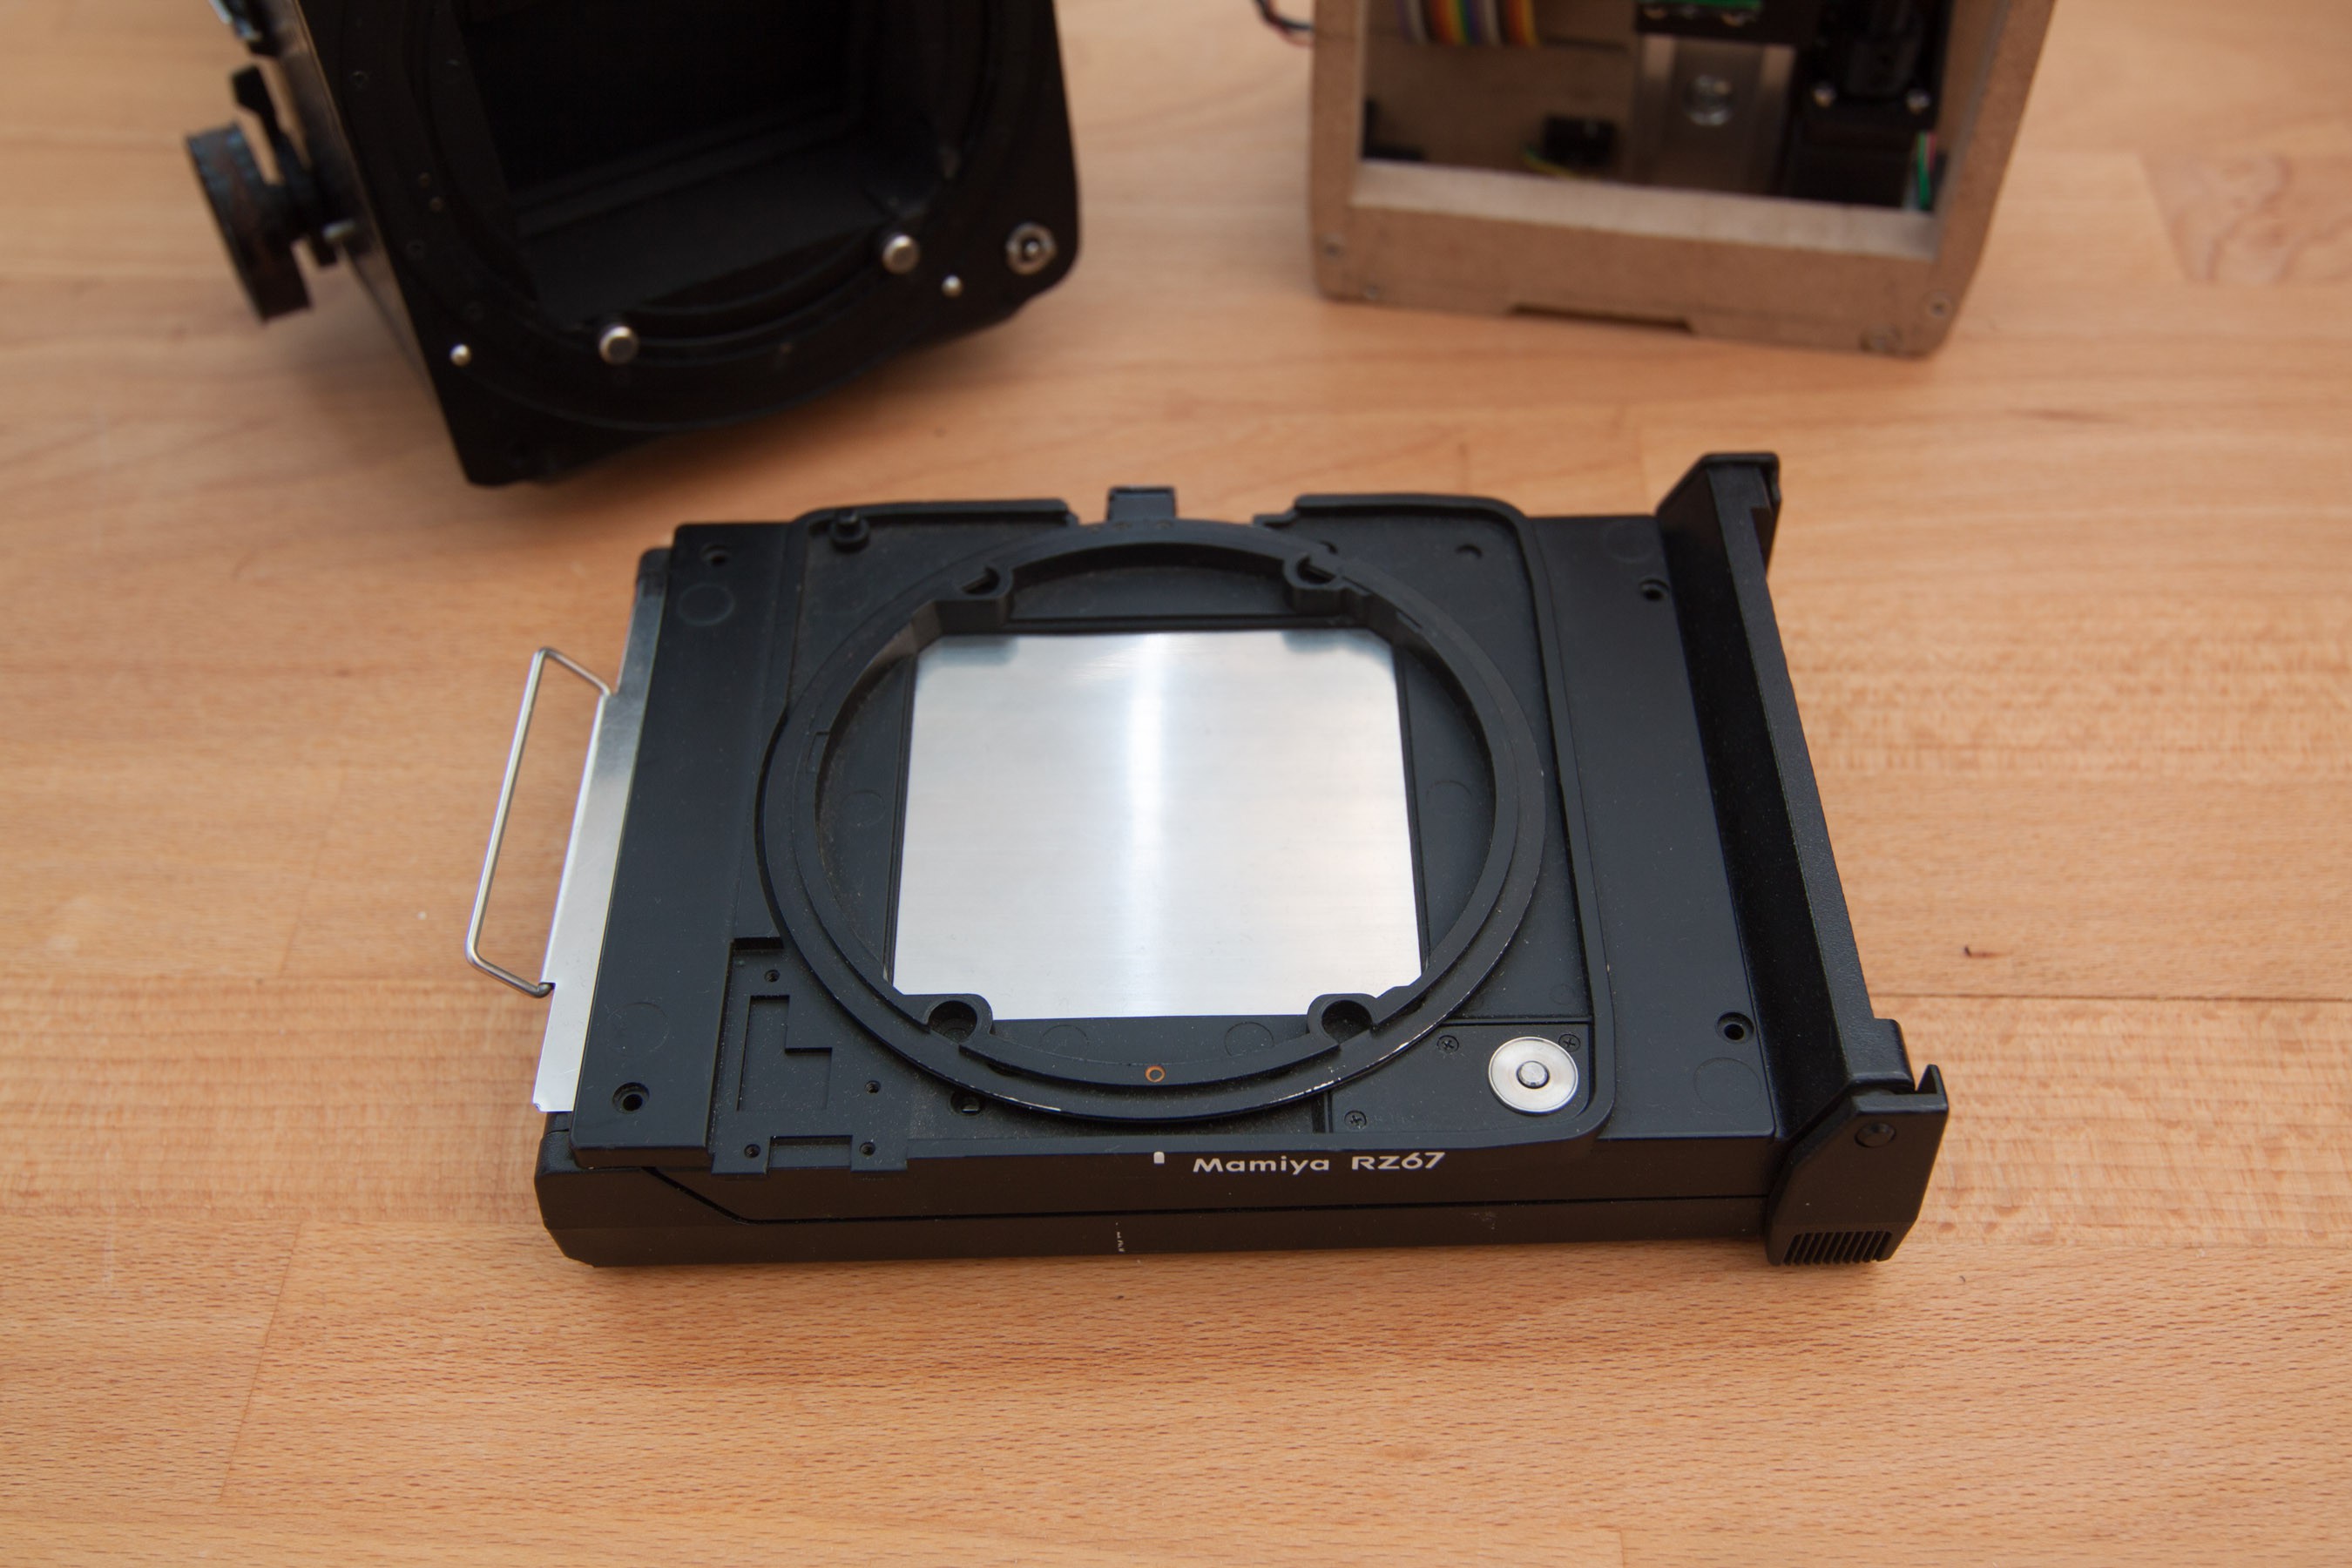
There were multiple options. I chose the easiest with the best results and salvaged something existing. So I got the cheapest attachment for the camera from ebay: an old Polaroid film back.
Removing the mounting mechanism was easier than expected, as it was already a self contained unit, that was fastened with a few screws. I guess they have used the same film back for different types of camera, so they made this part exchangeable in their design.
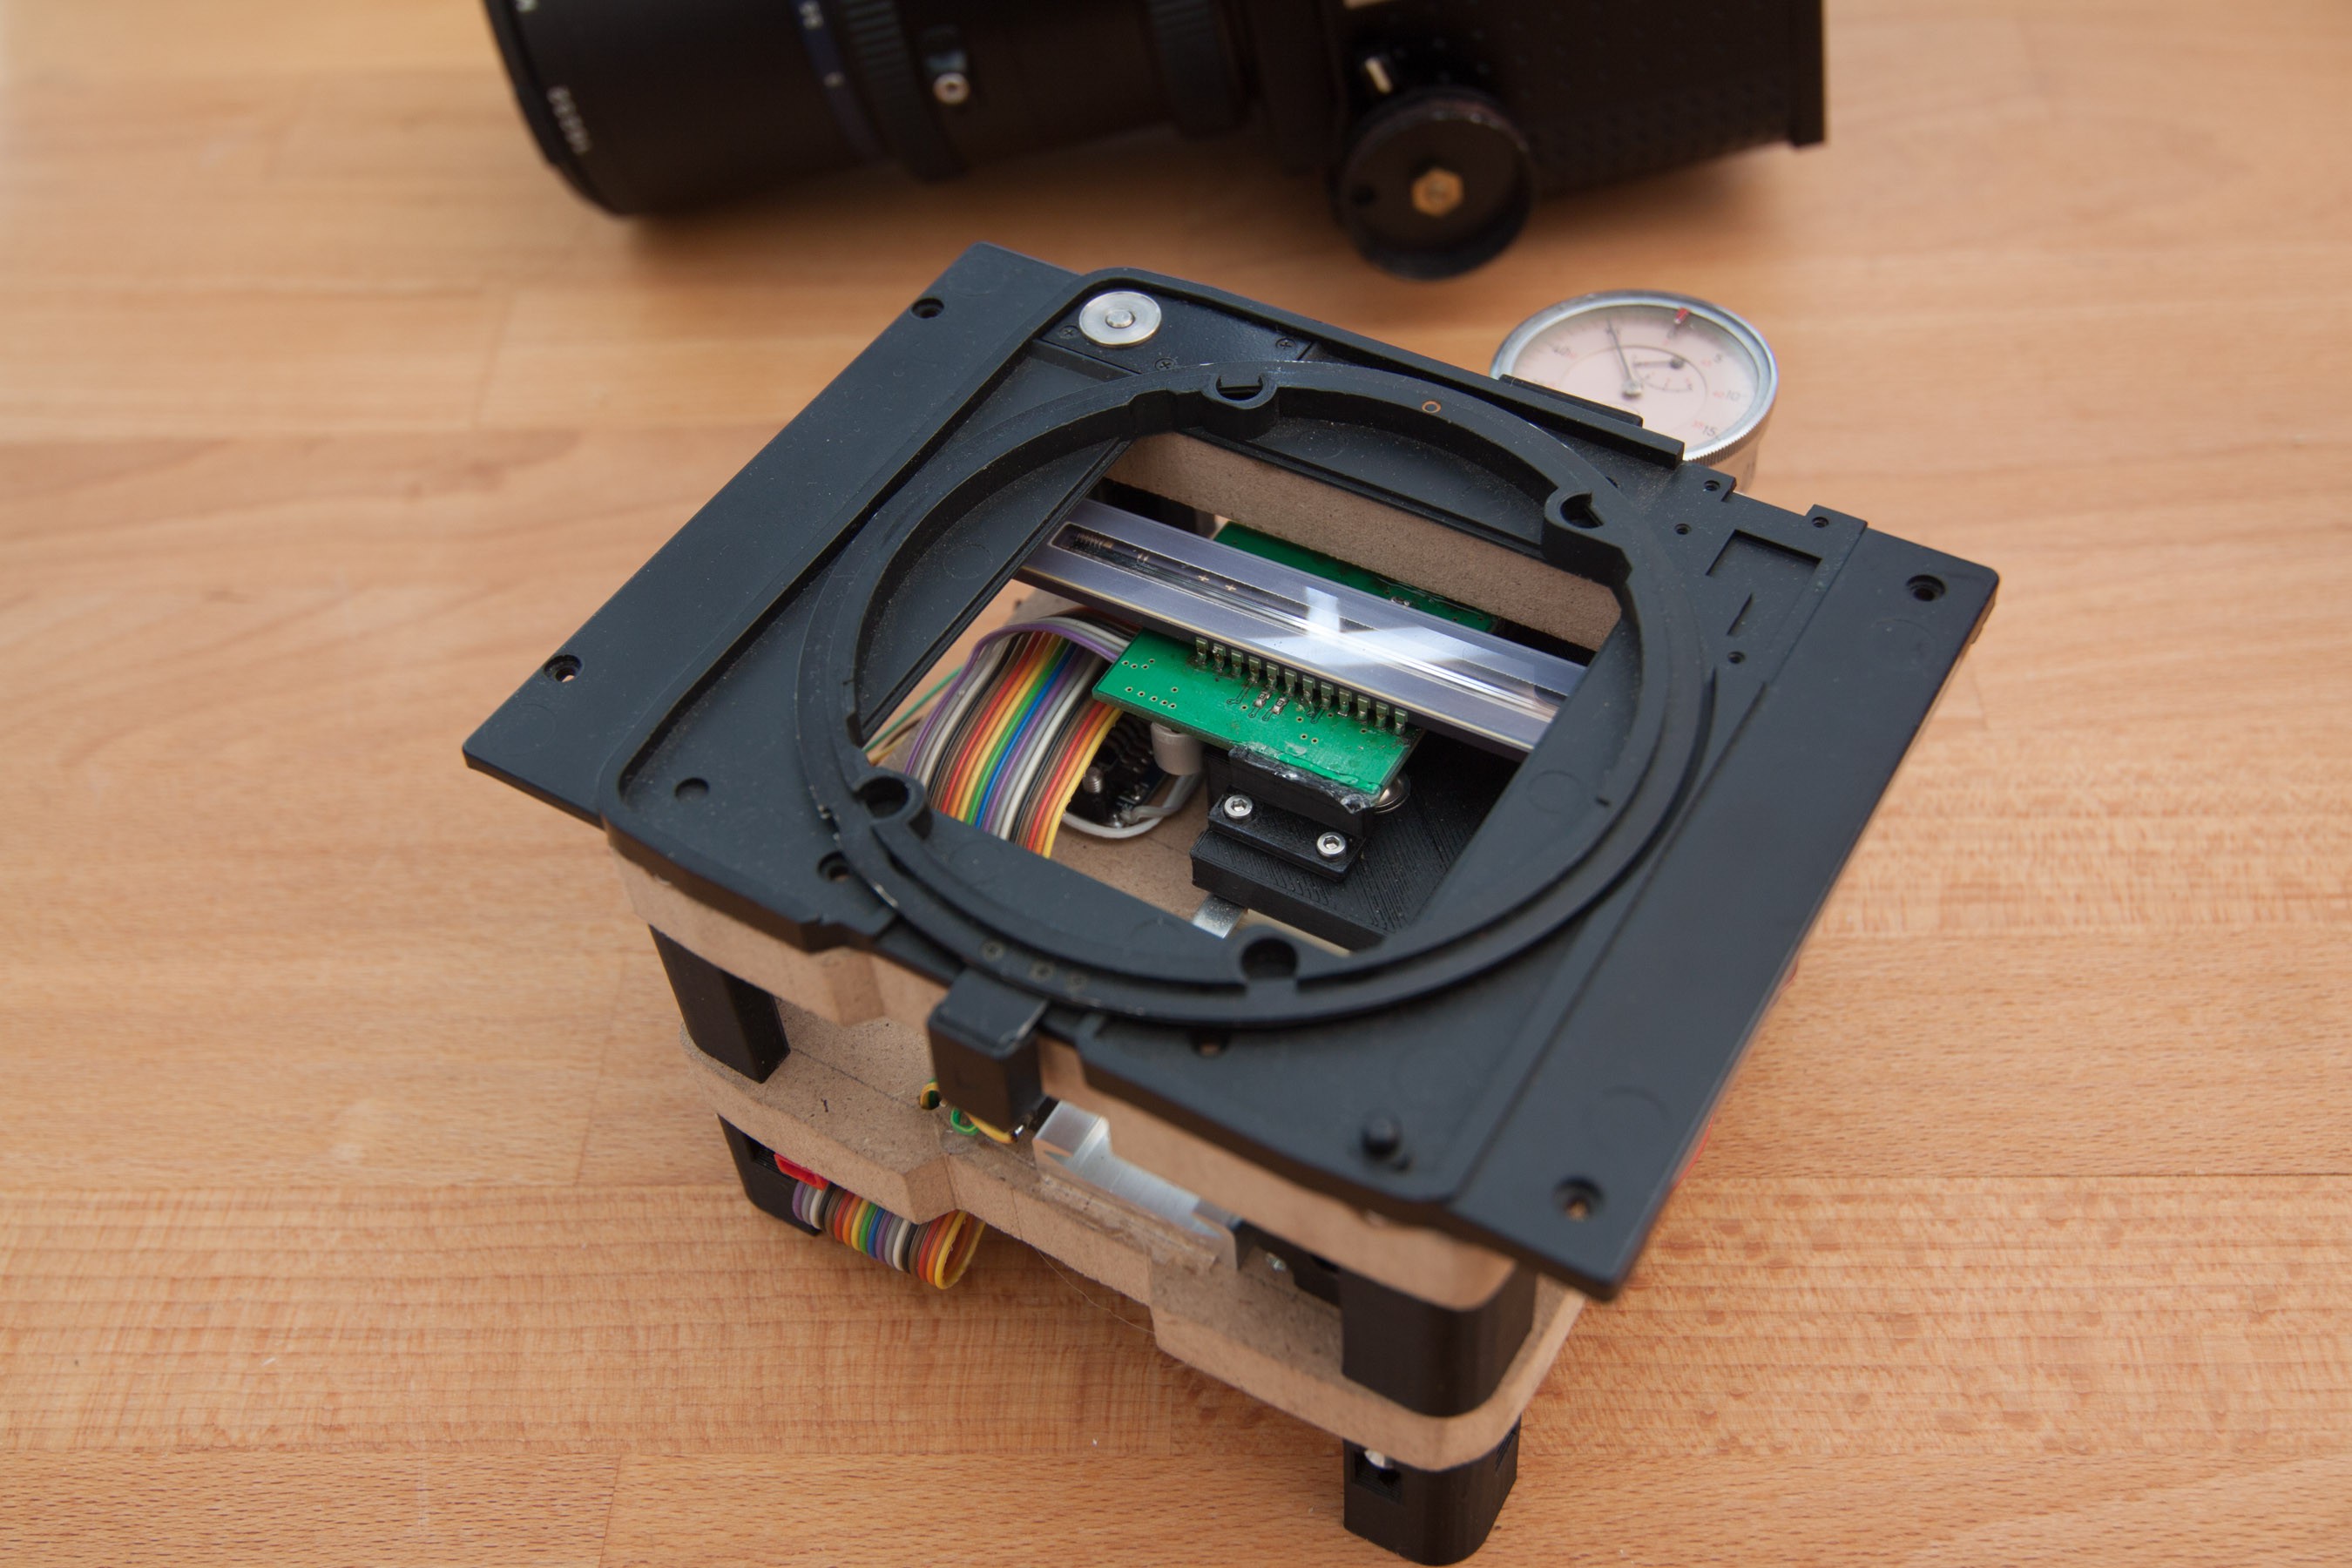
The mounting mechanism has been hot-glued to the scanner. It's not a permanent solution, but for some testing it is good enough.
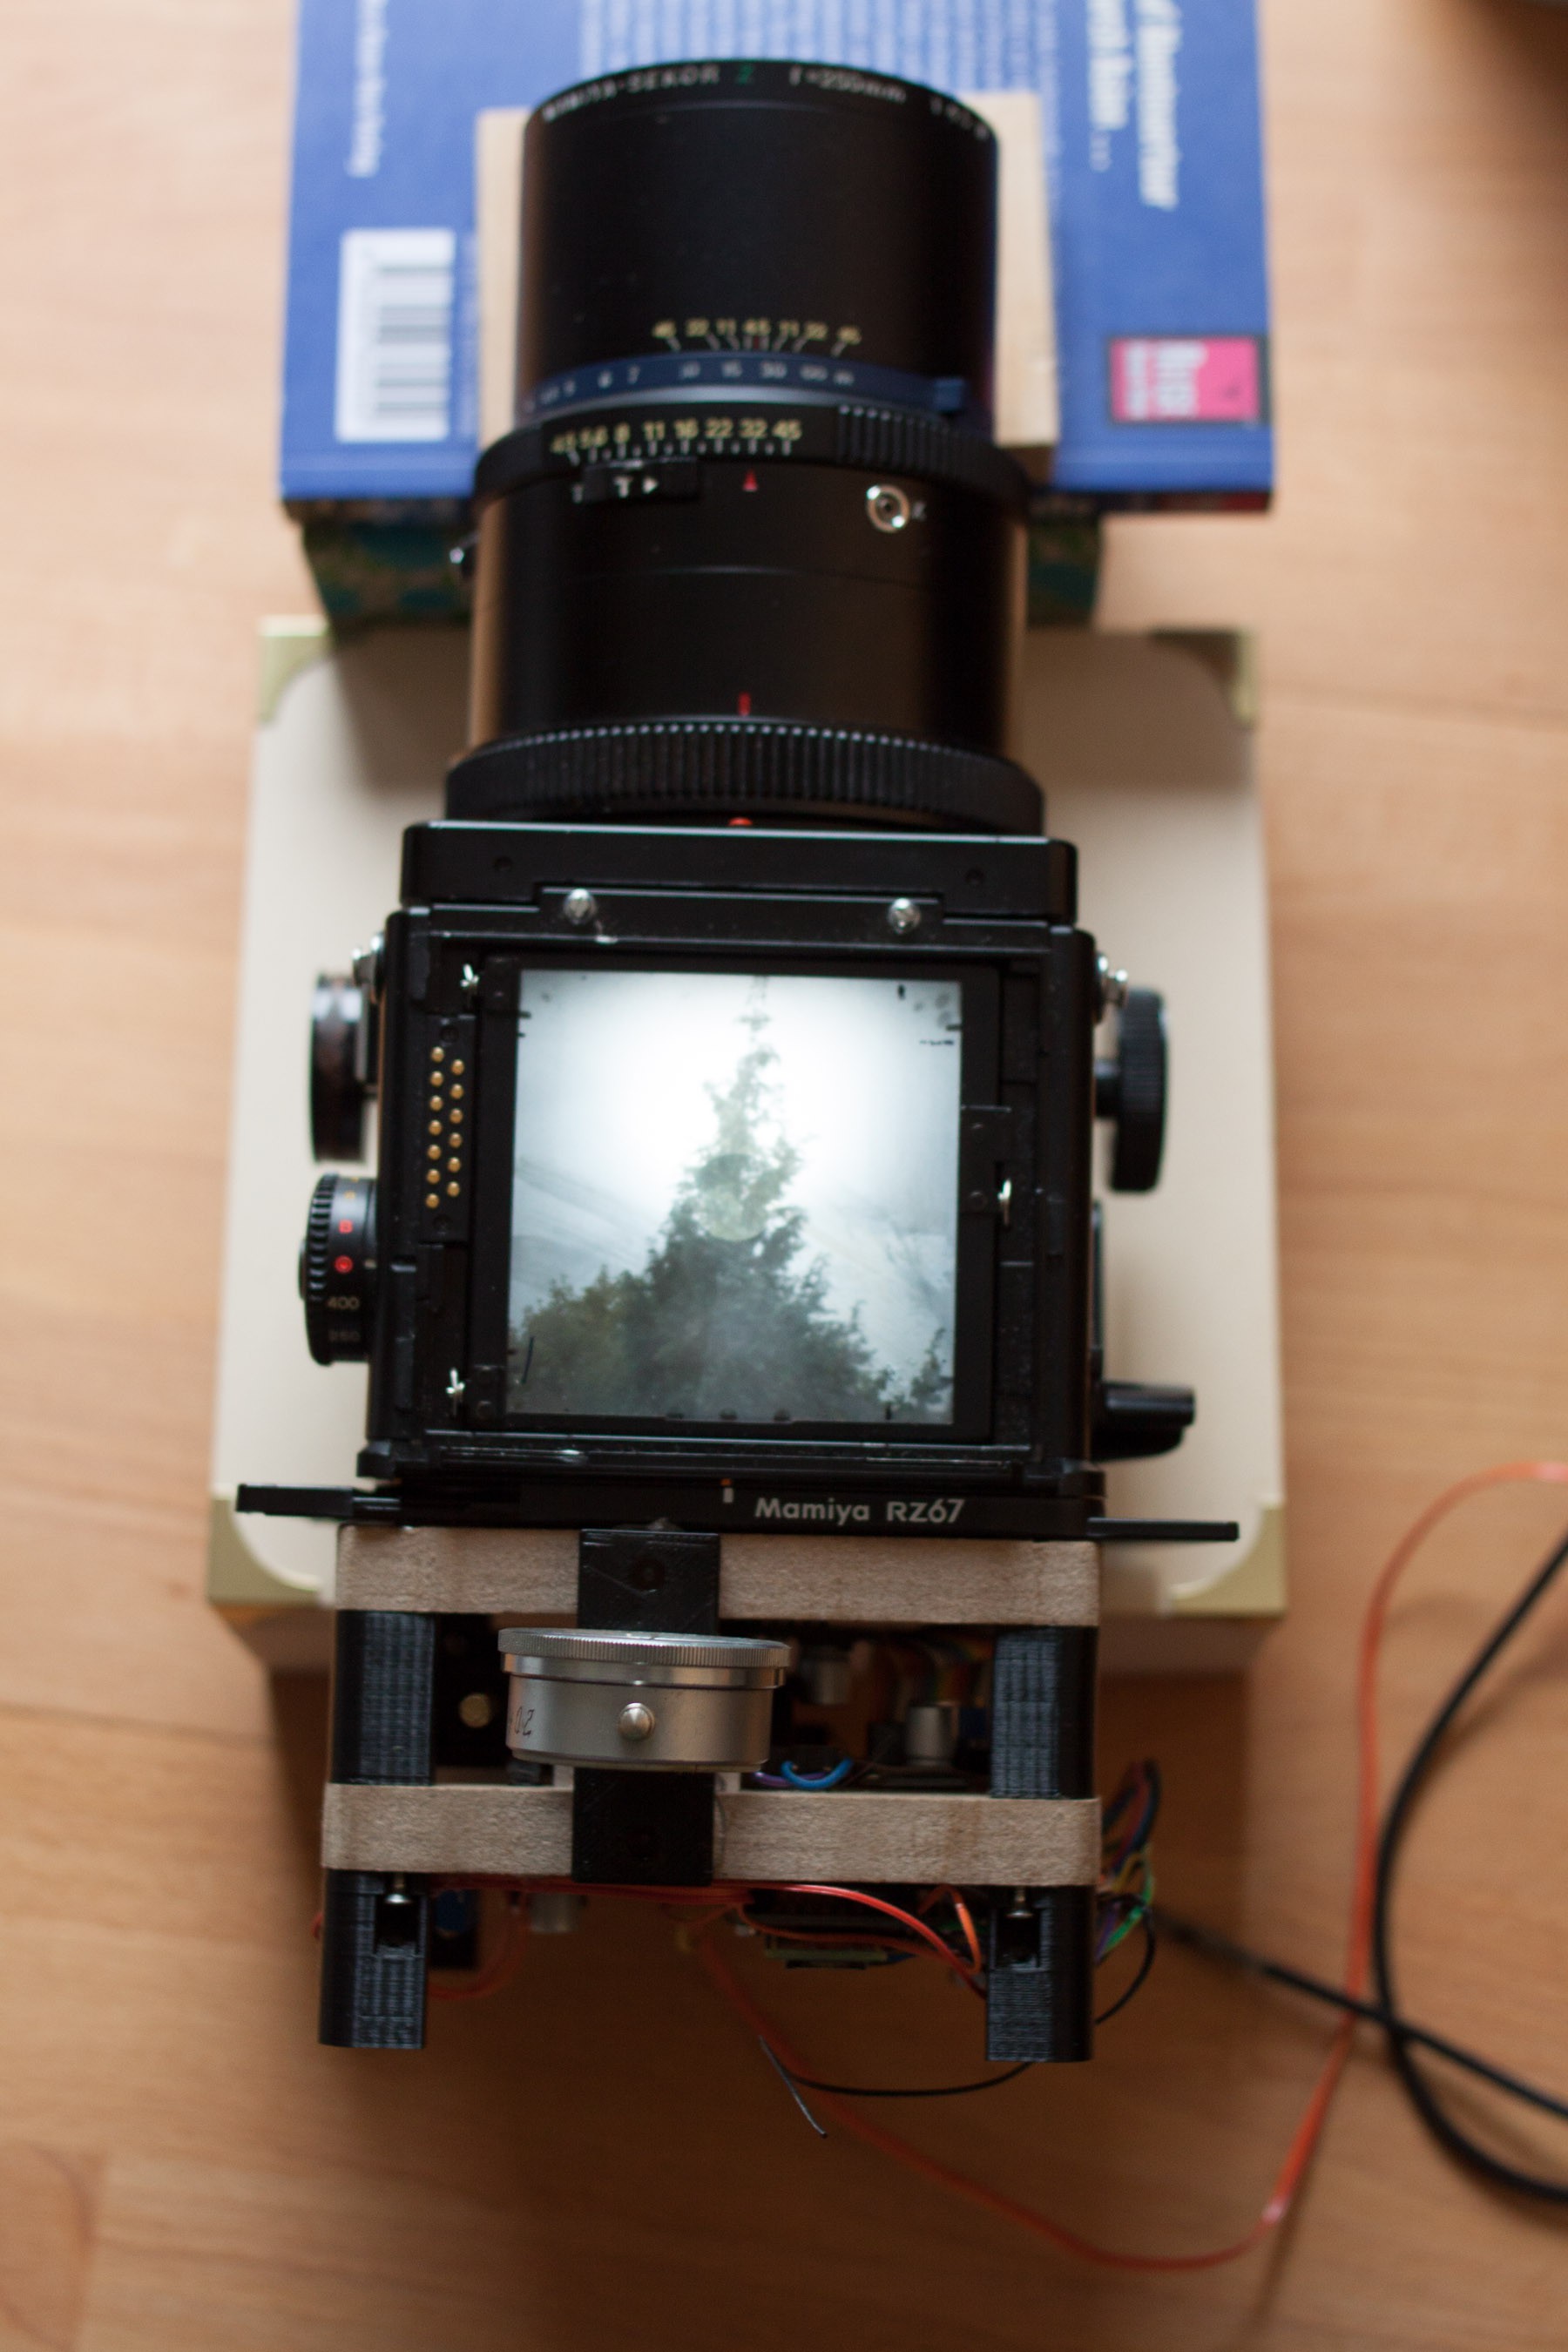
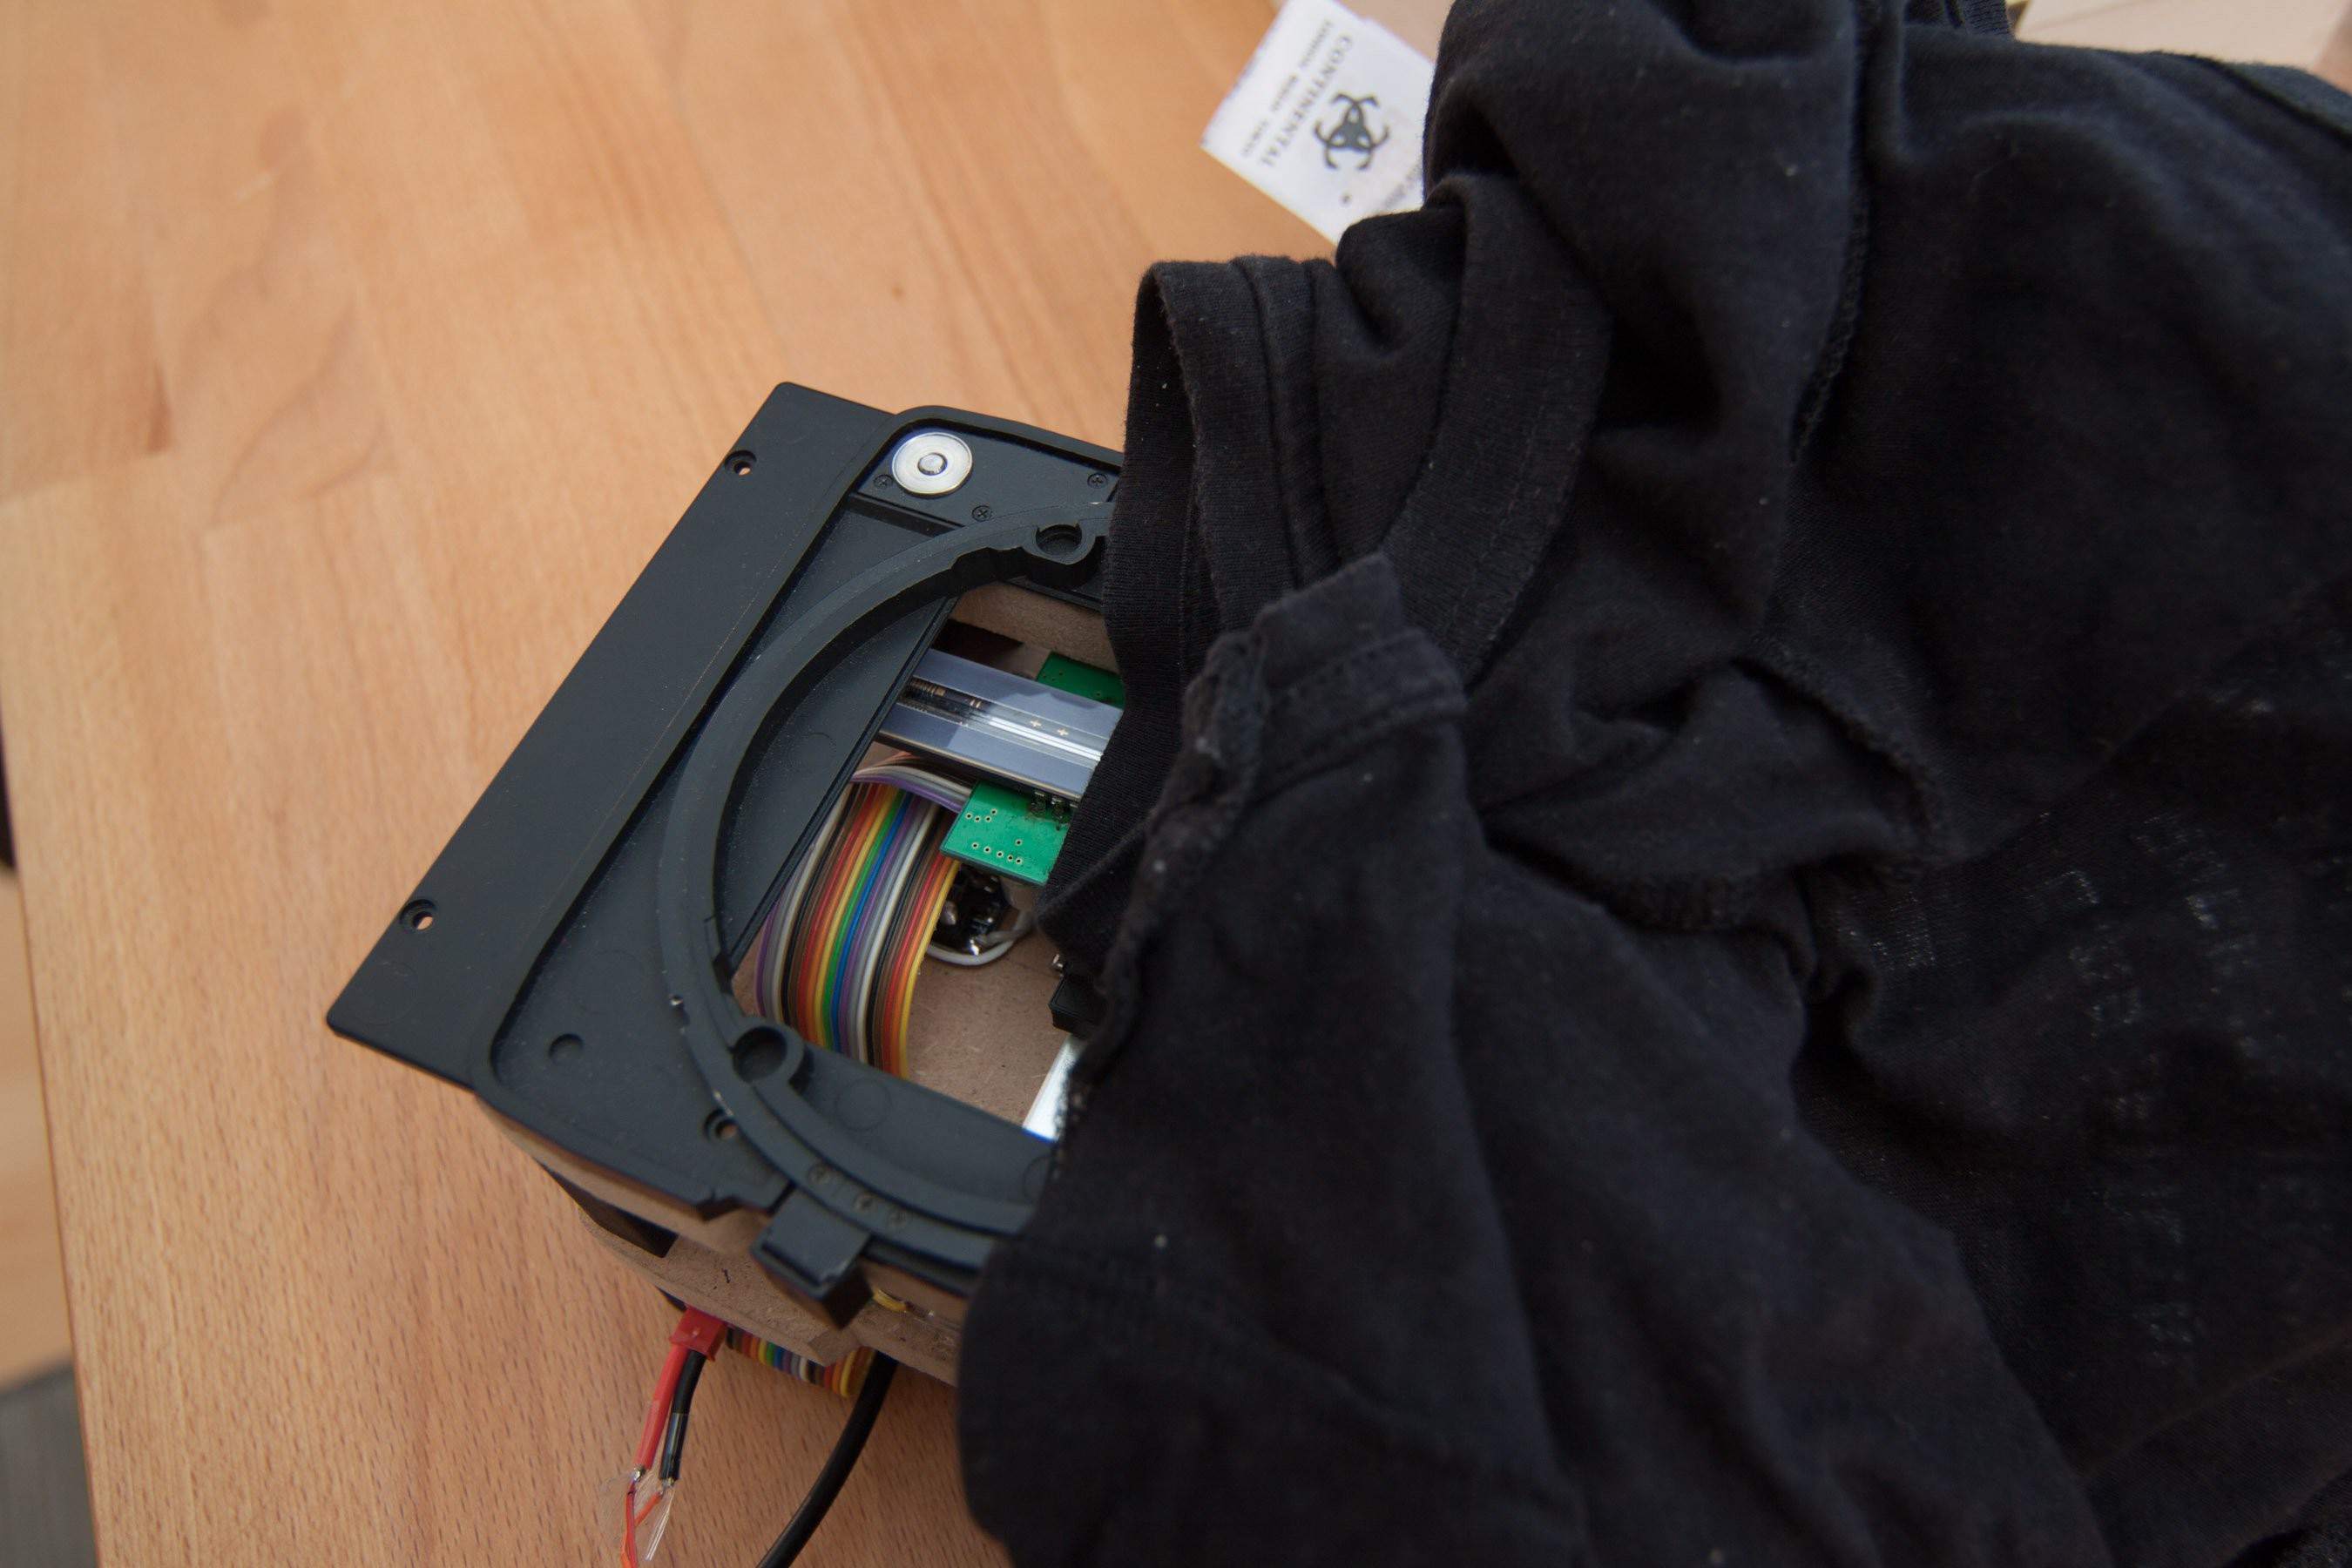
Test setup for the first scans. When scanning I put a black t-shirt over the camera, so stray light would not be a problem.
Discussions
Become a Hackaday.io Member
Create an account to leave a comment. Already have an account? Log In.