 Mattia Dal Ben
After finishing my handwire I began using my keyboard at work. I started loving it so much that I decided I wanted it to become a real thing, not only a handwired prototype, hence the Redox rev.1.
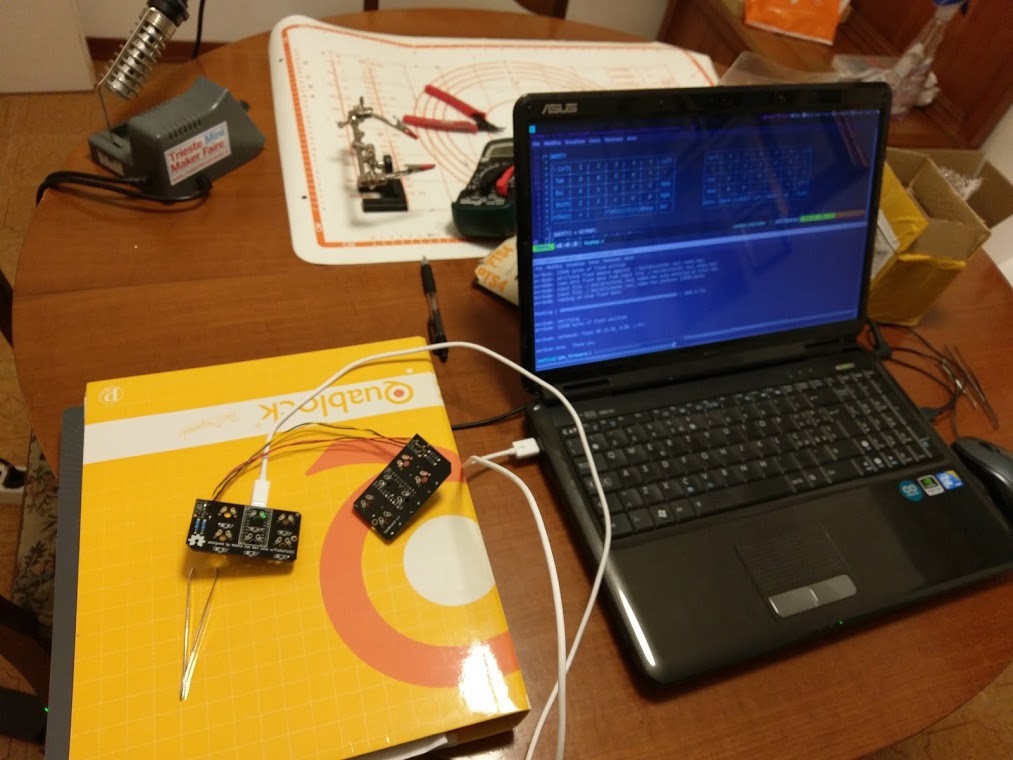
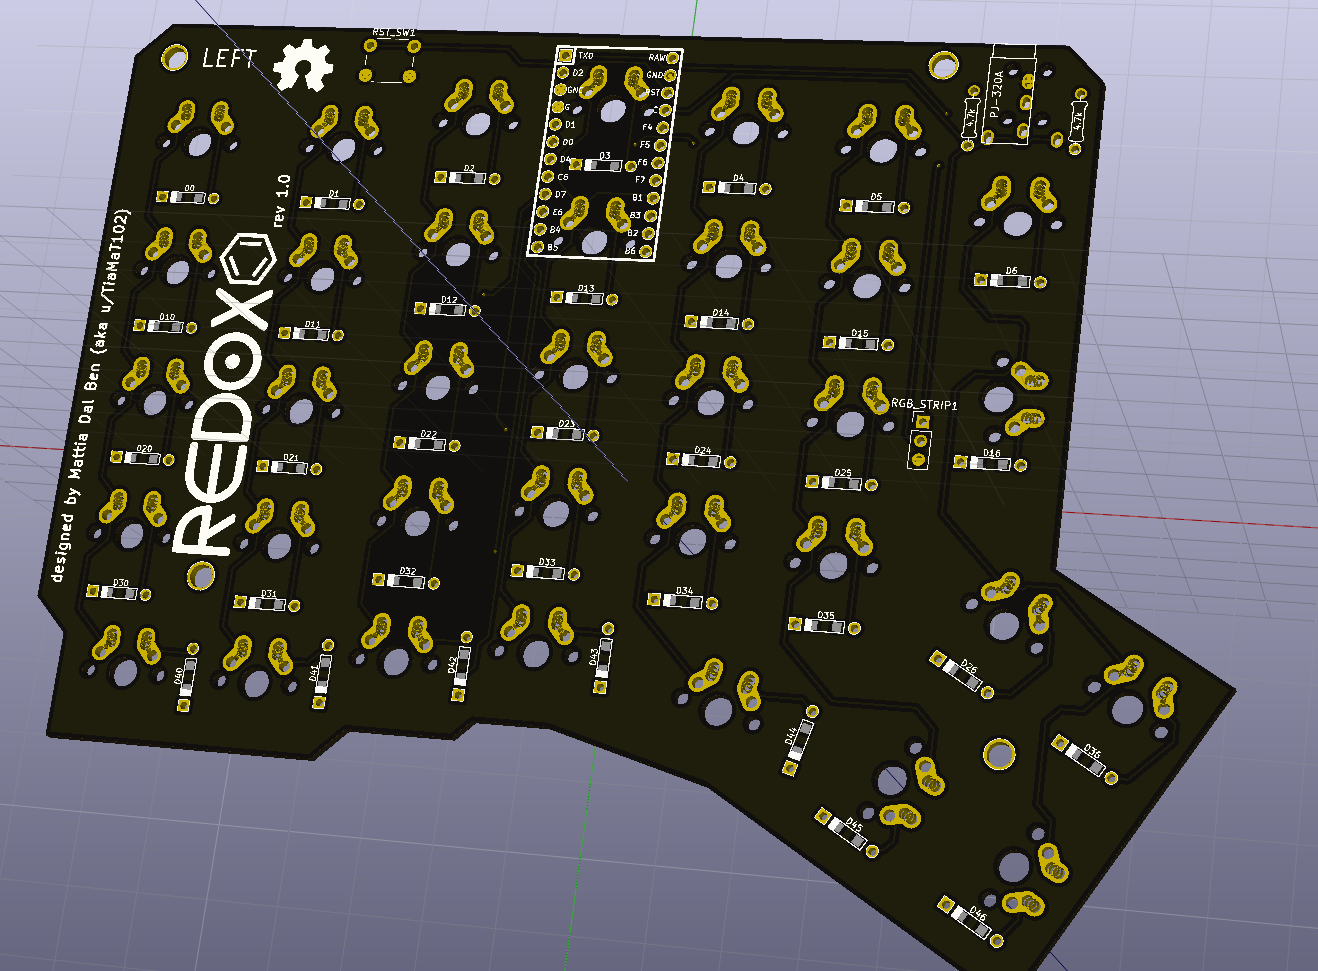
I used KiCad and this awesome guide to get things started. Since I didn't know if I could trust my skills and footprints I designed and manufactured a test PCB.
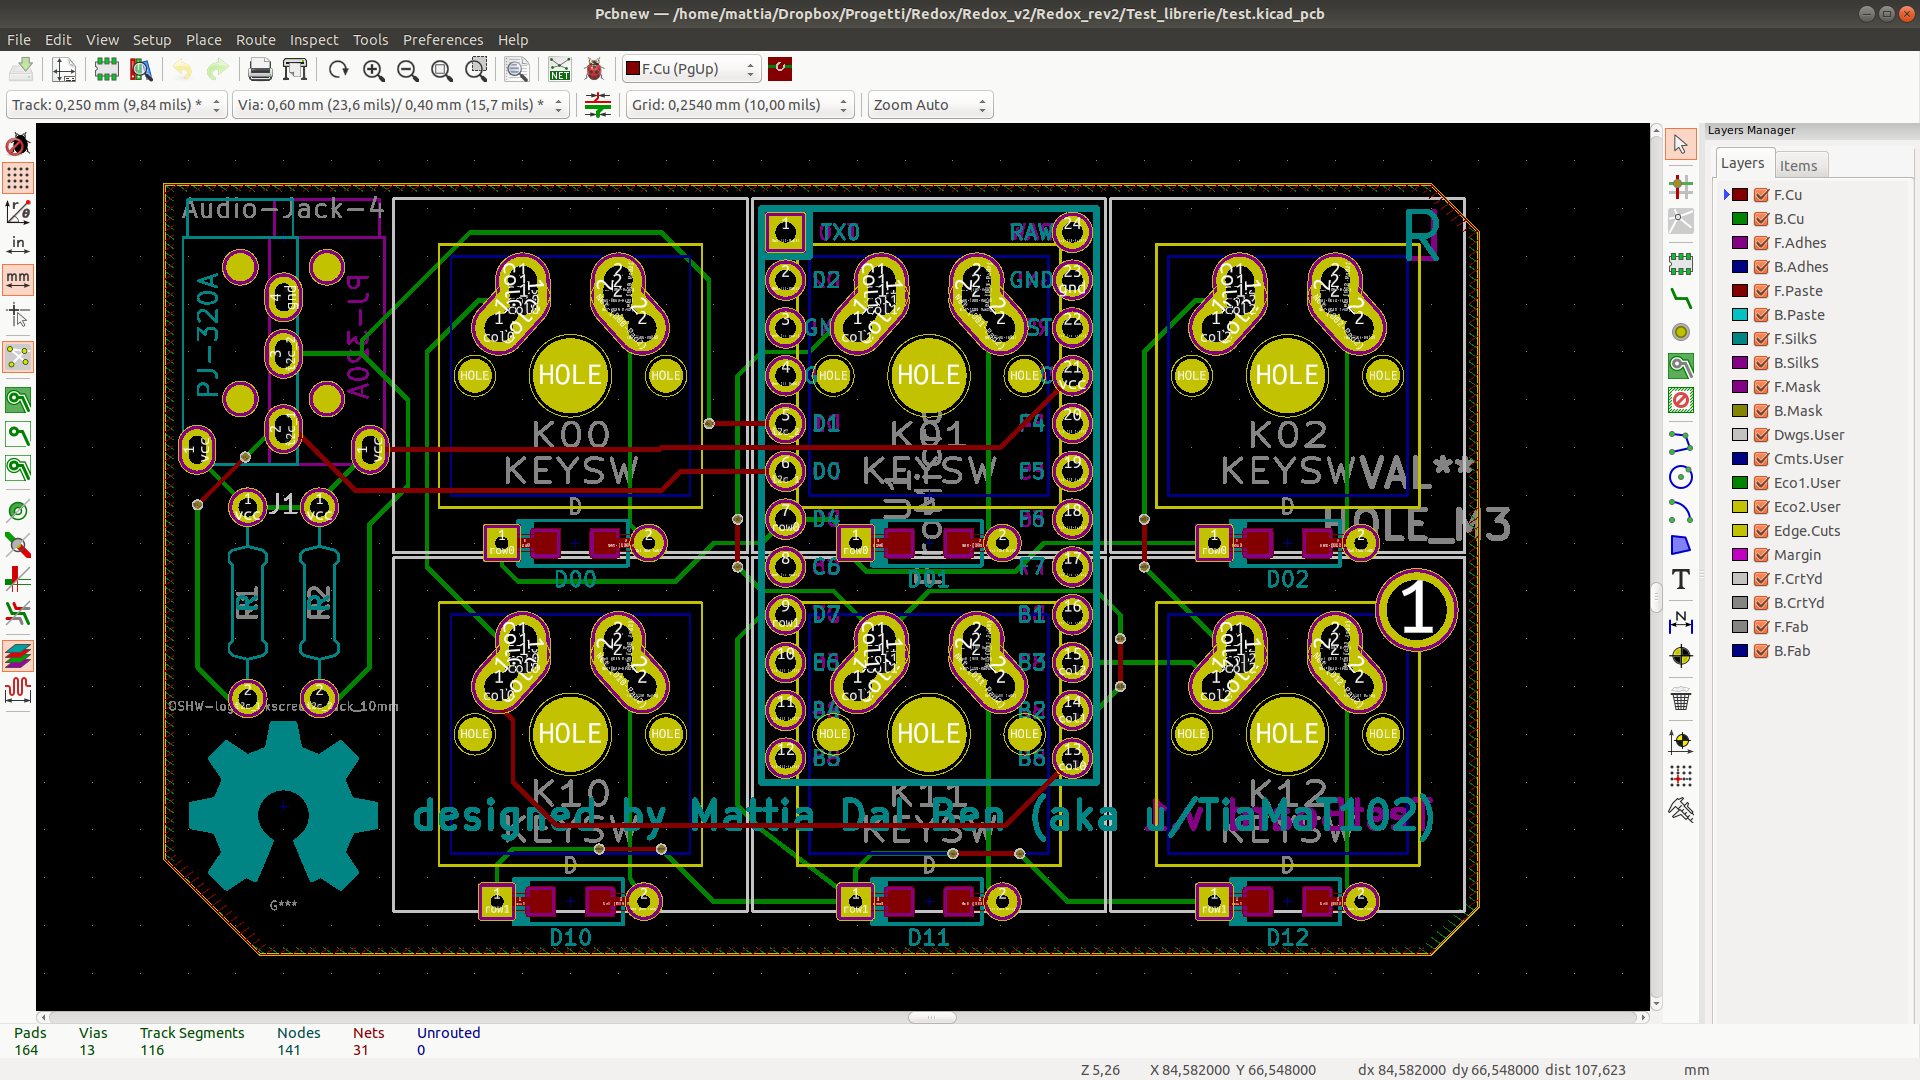
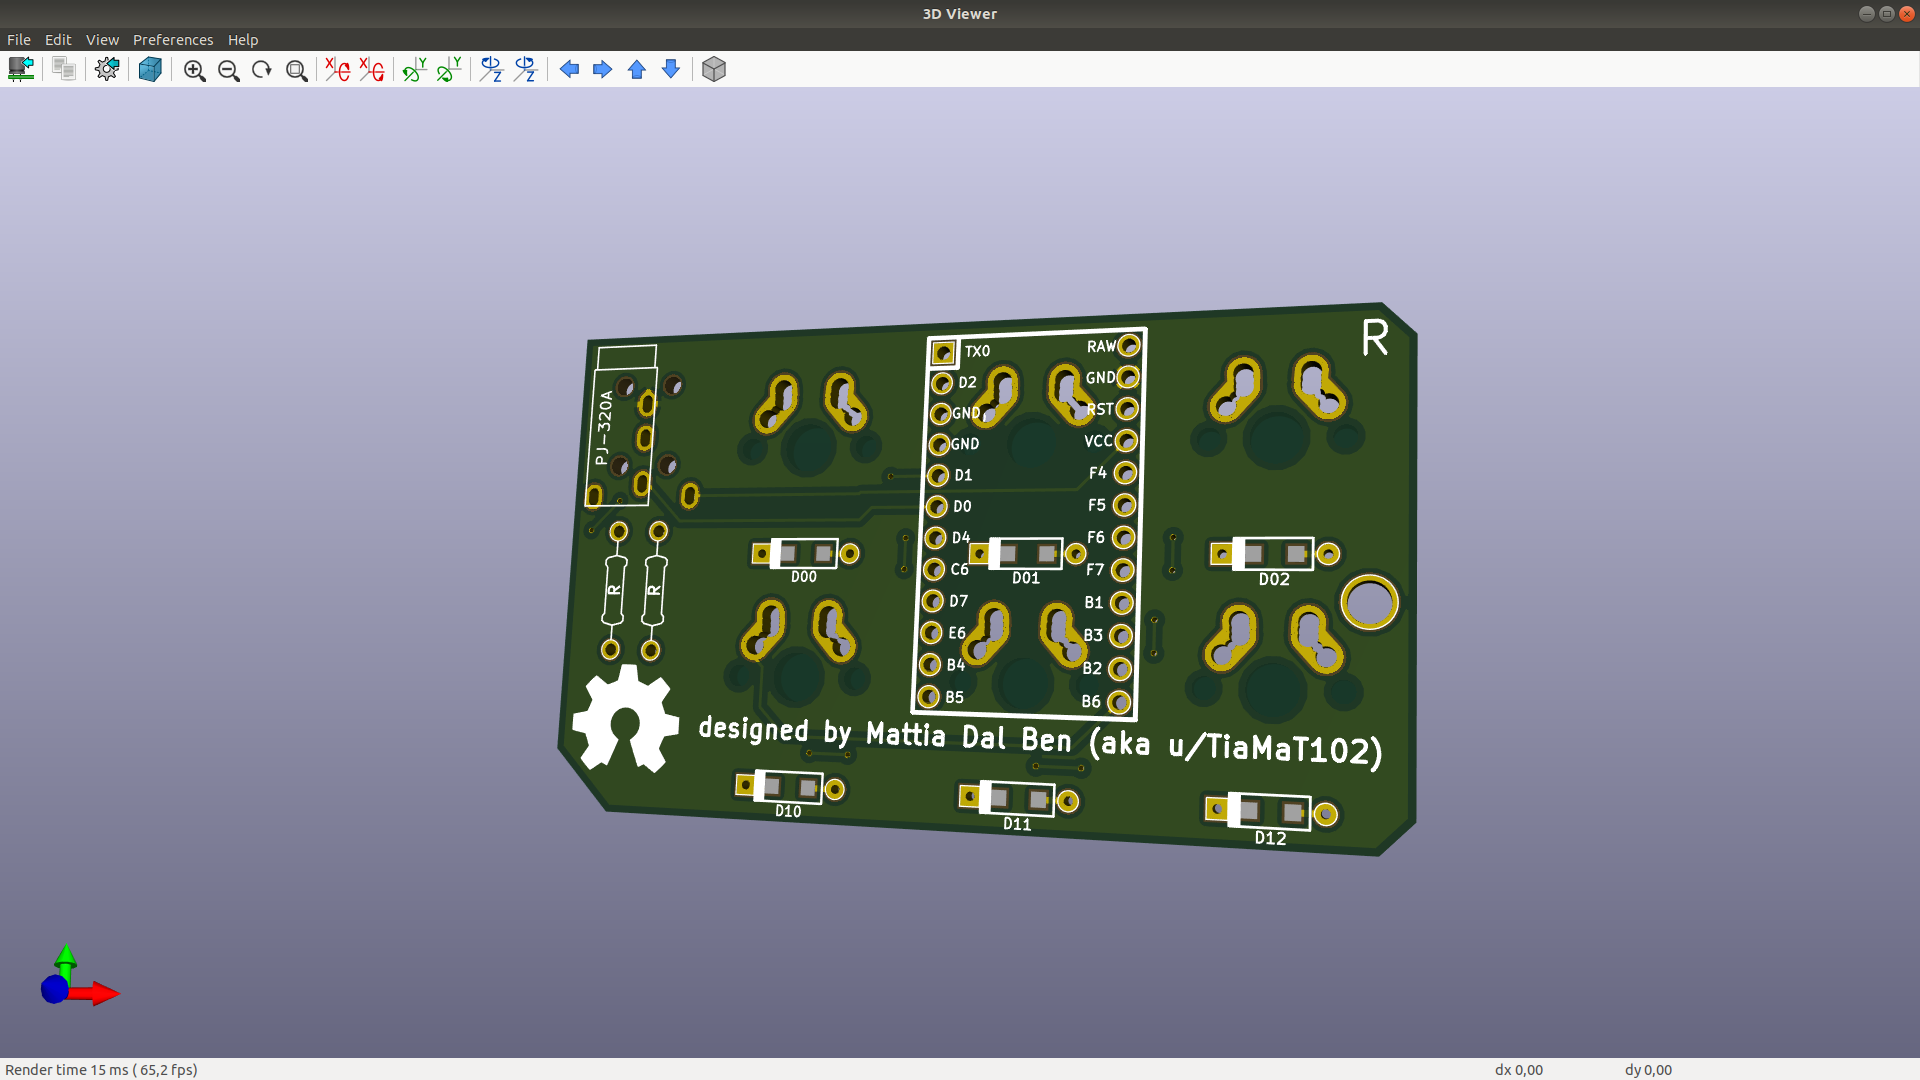
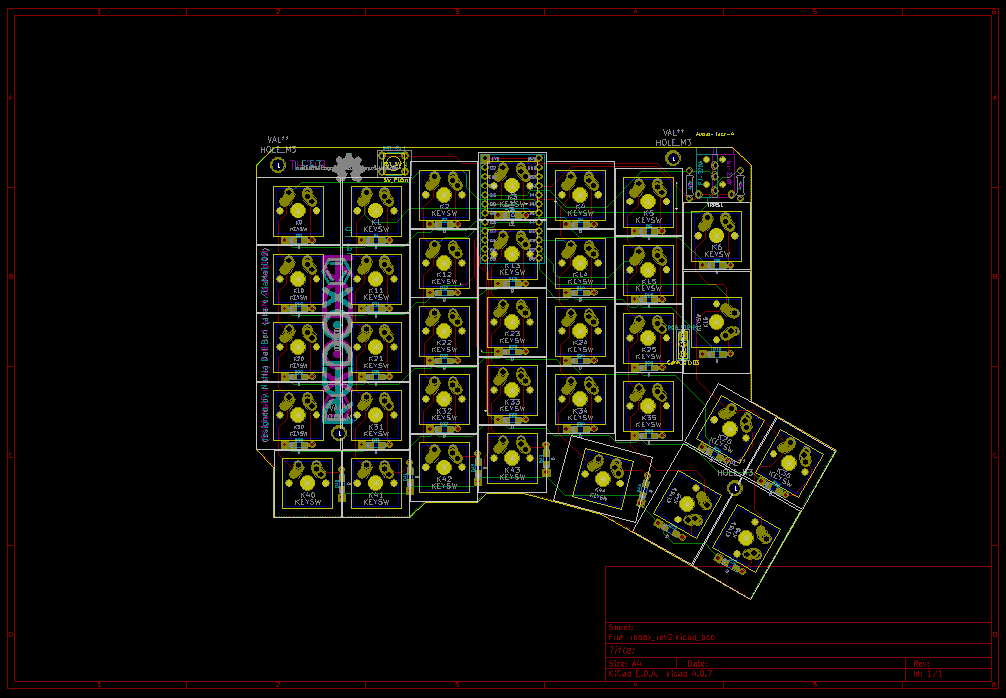
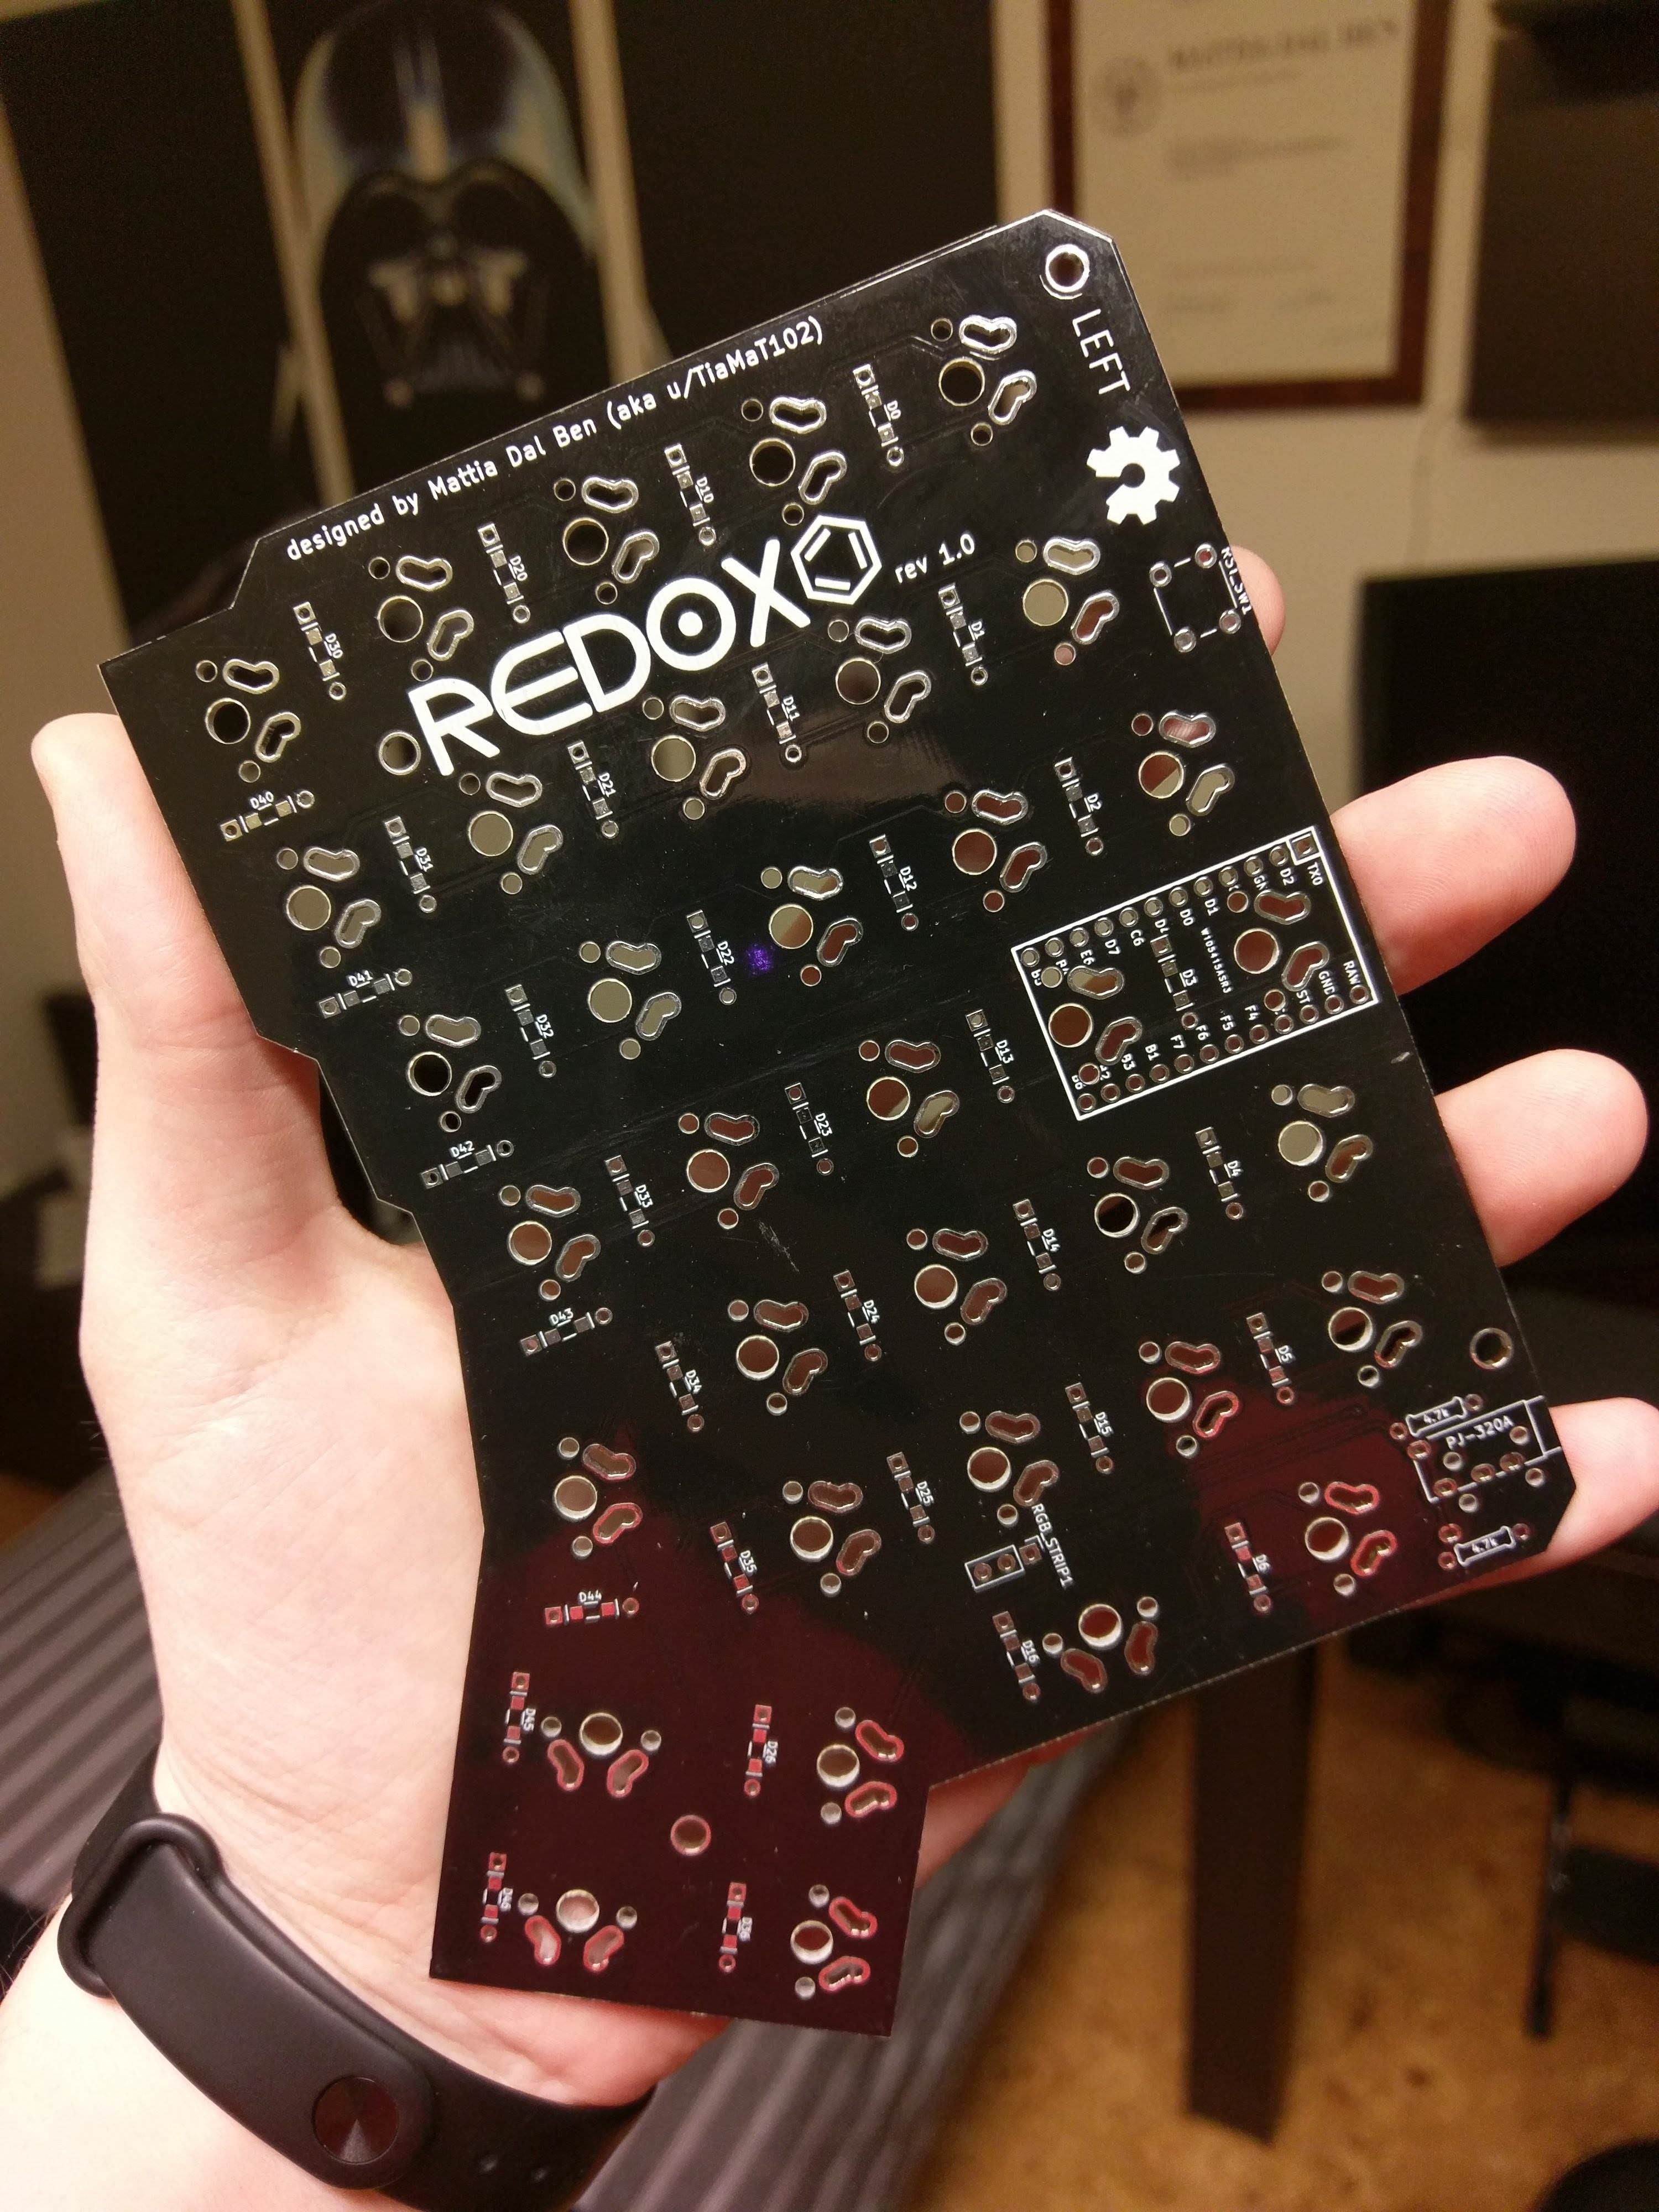
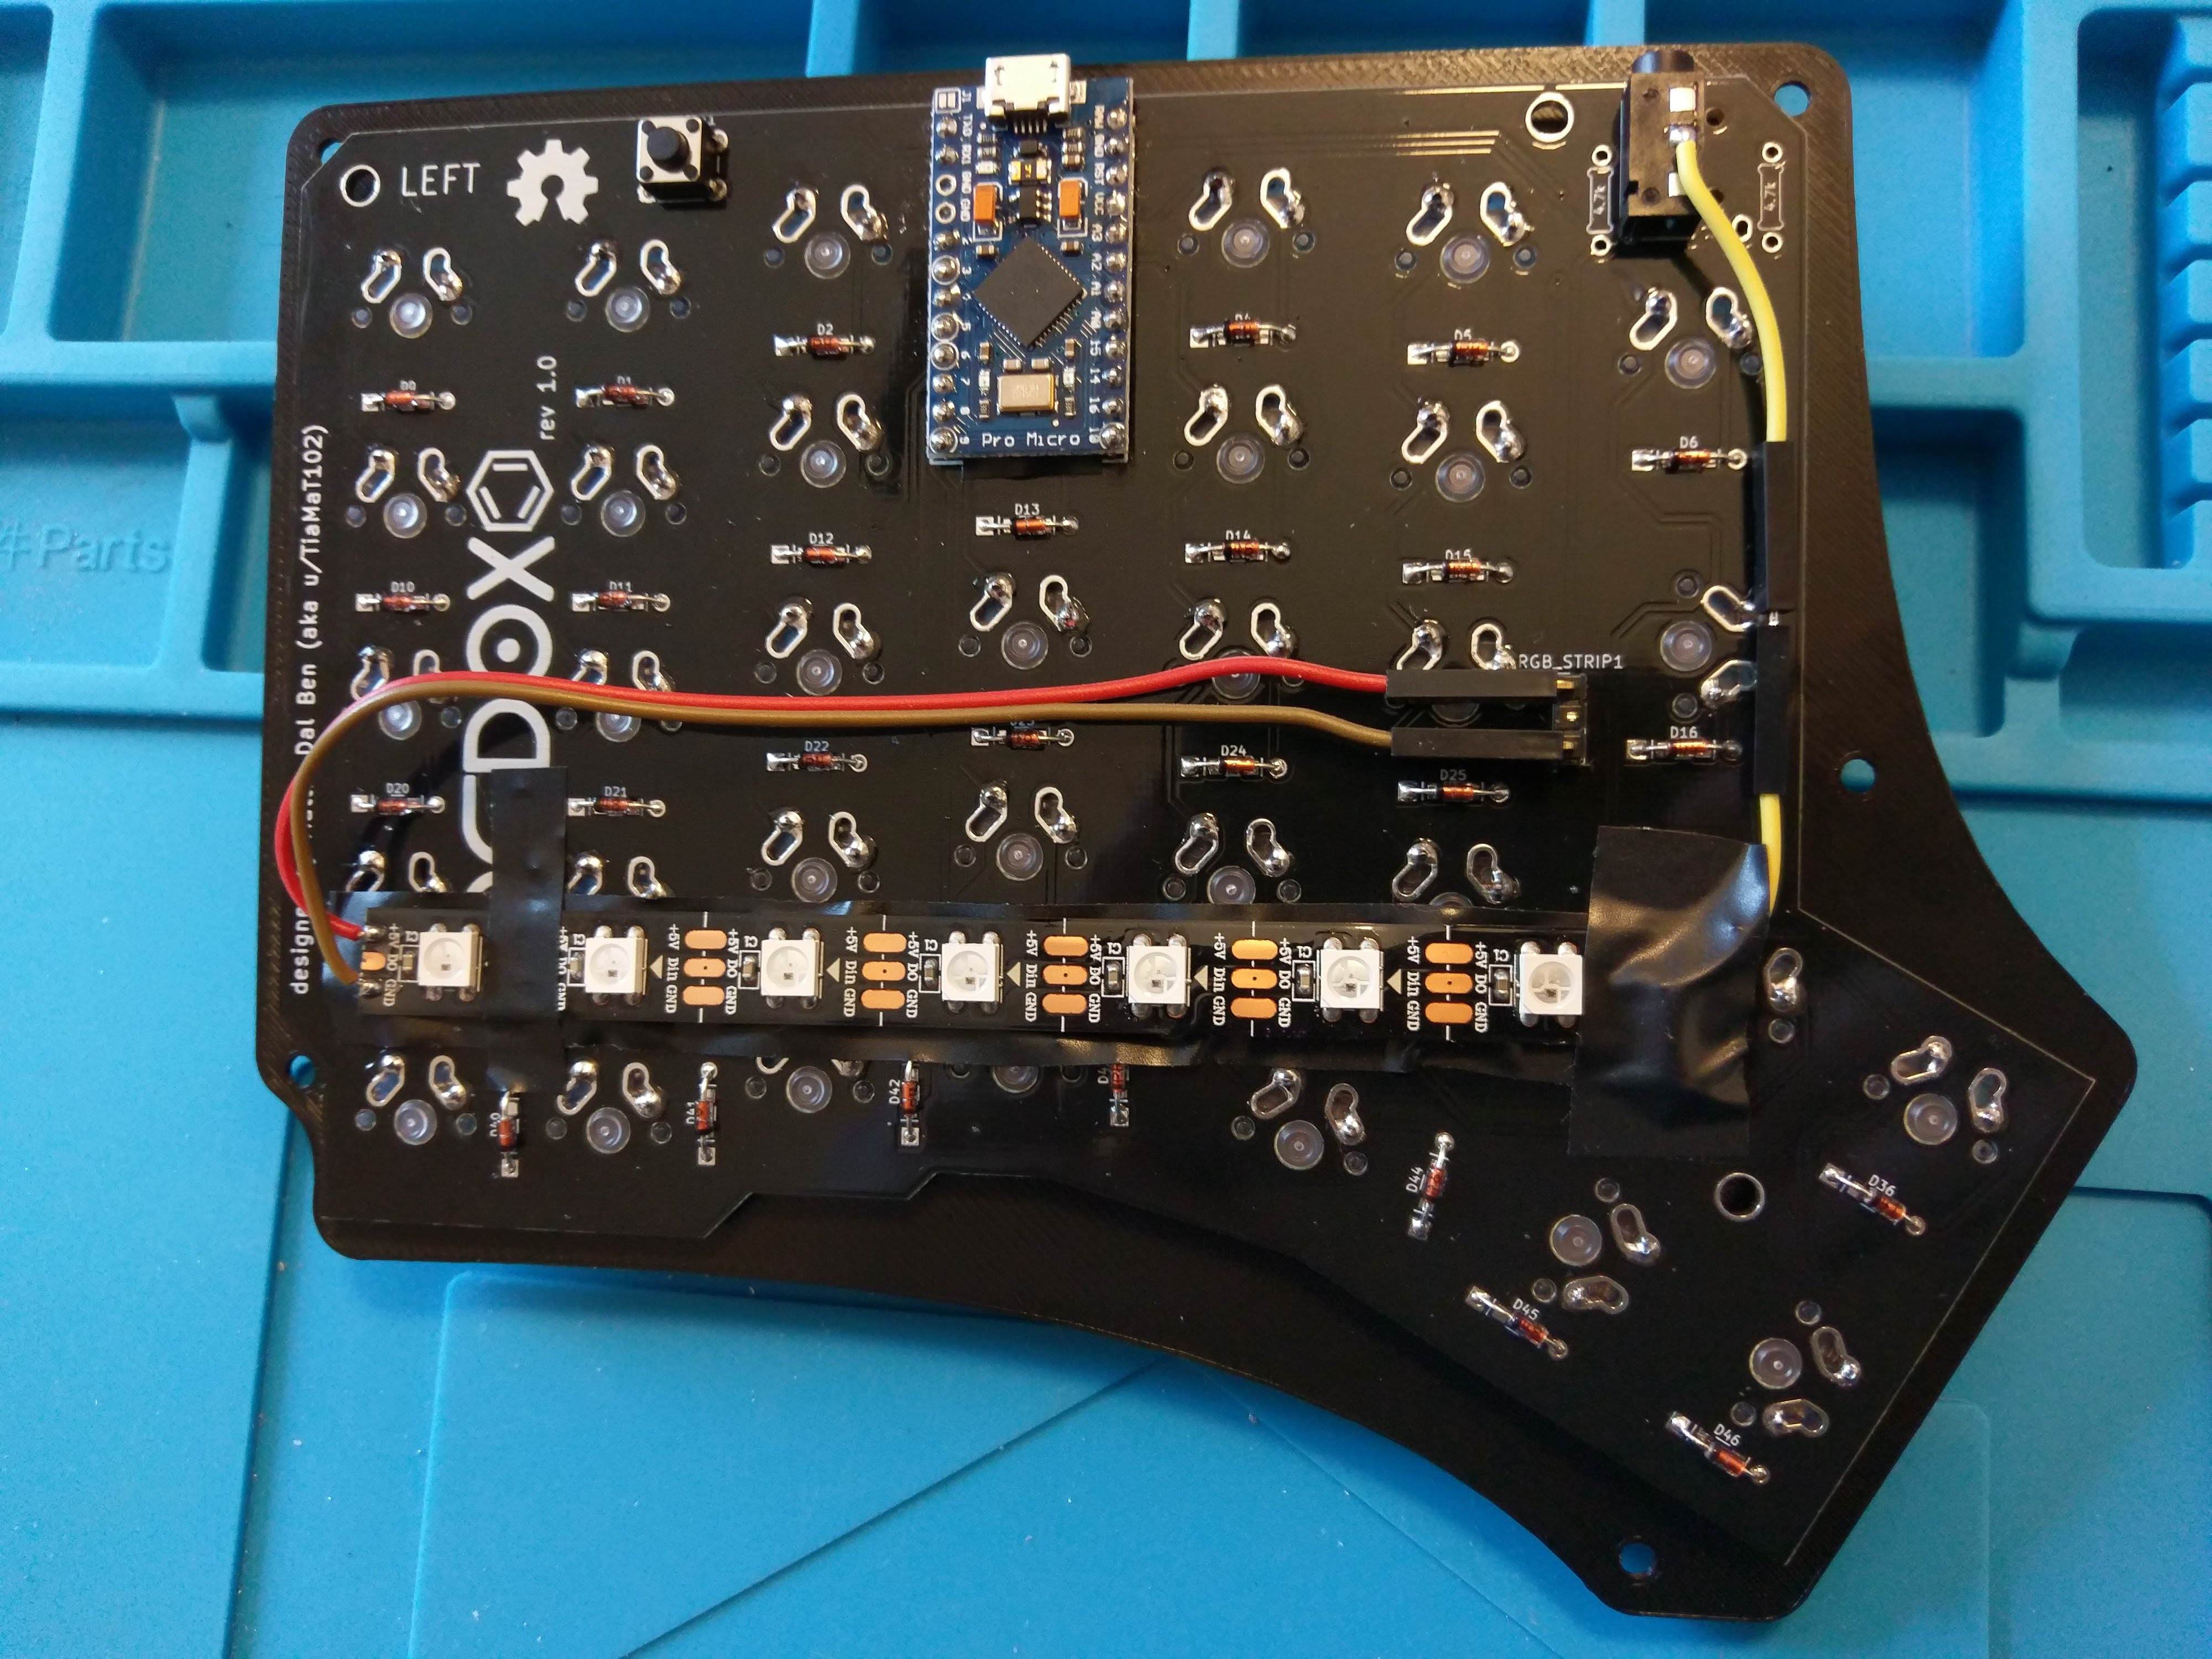
Needless to say it all worked out perfectly. I then extended what I already built and created the rev.1 PCB.
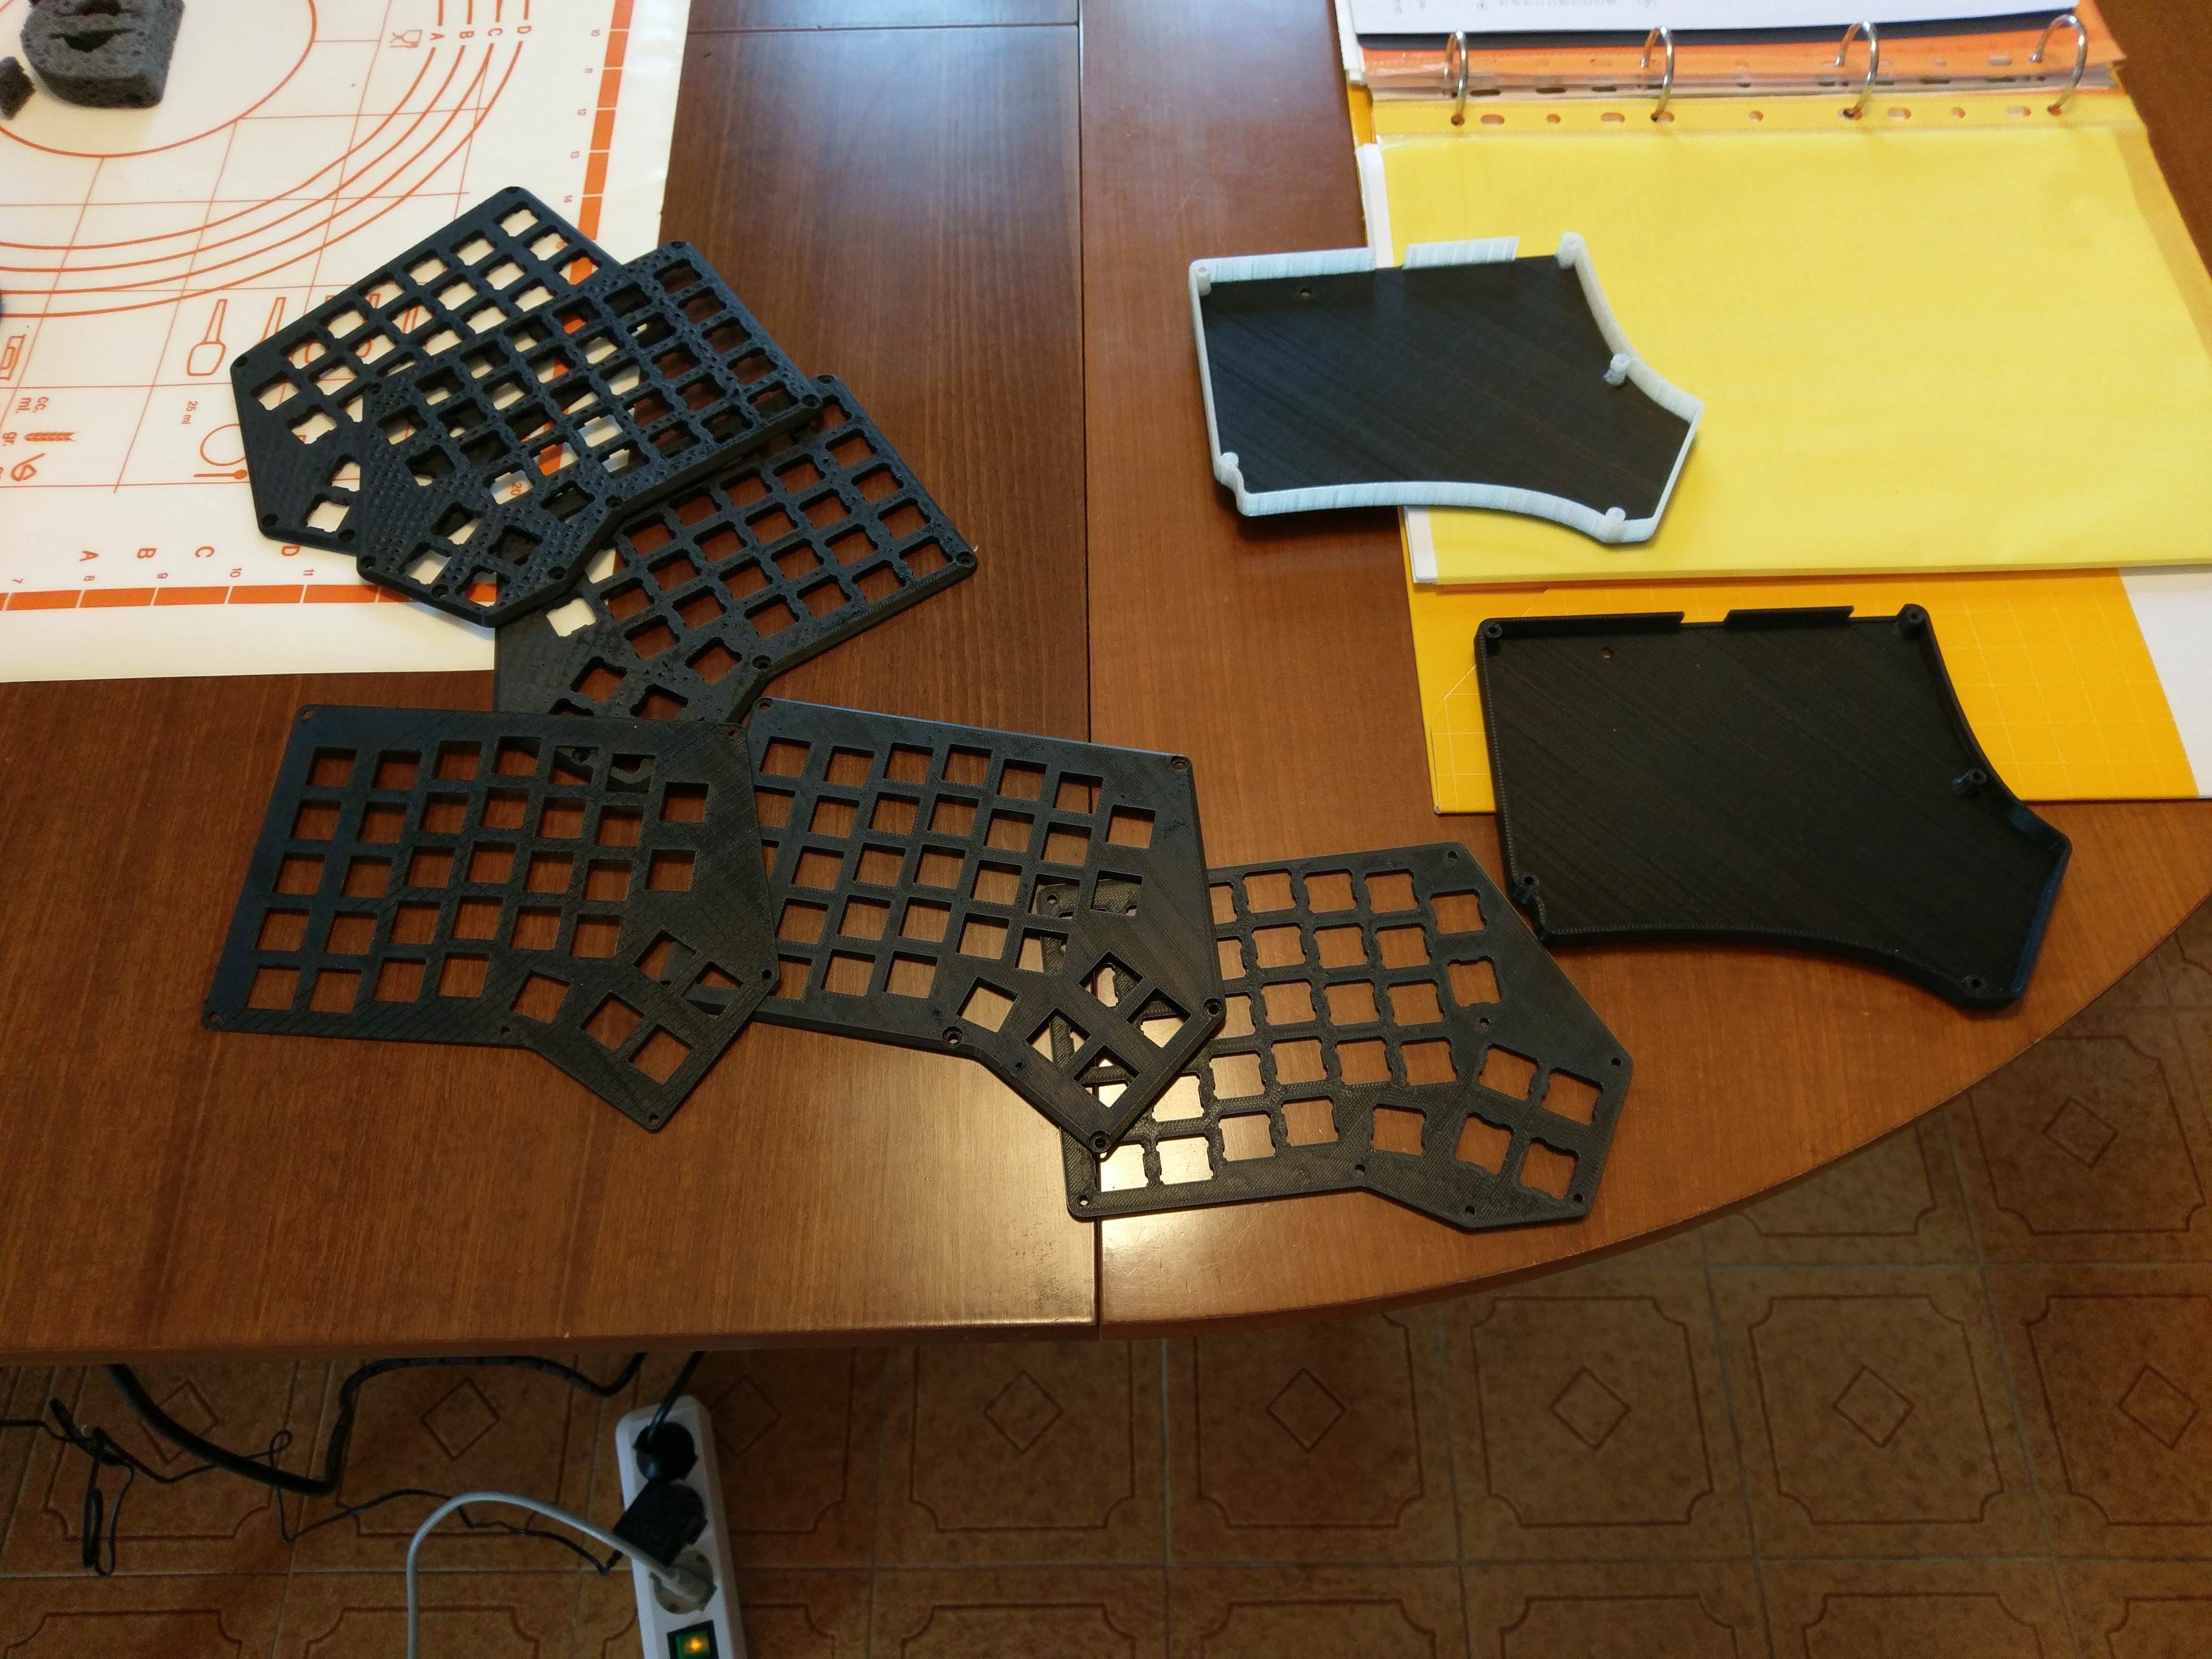
Then it was time for the hard part of the project: case design. My first idea went really bad: i wanted to replicate the handwired design but I couldn't get the angles just right and it looked horrible.
Also you may notice that my 3D printer had some problems in the final layers of the print.

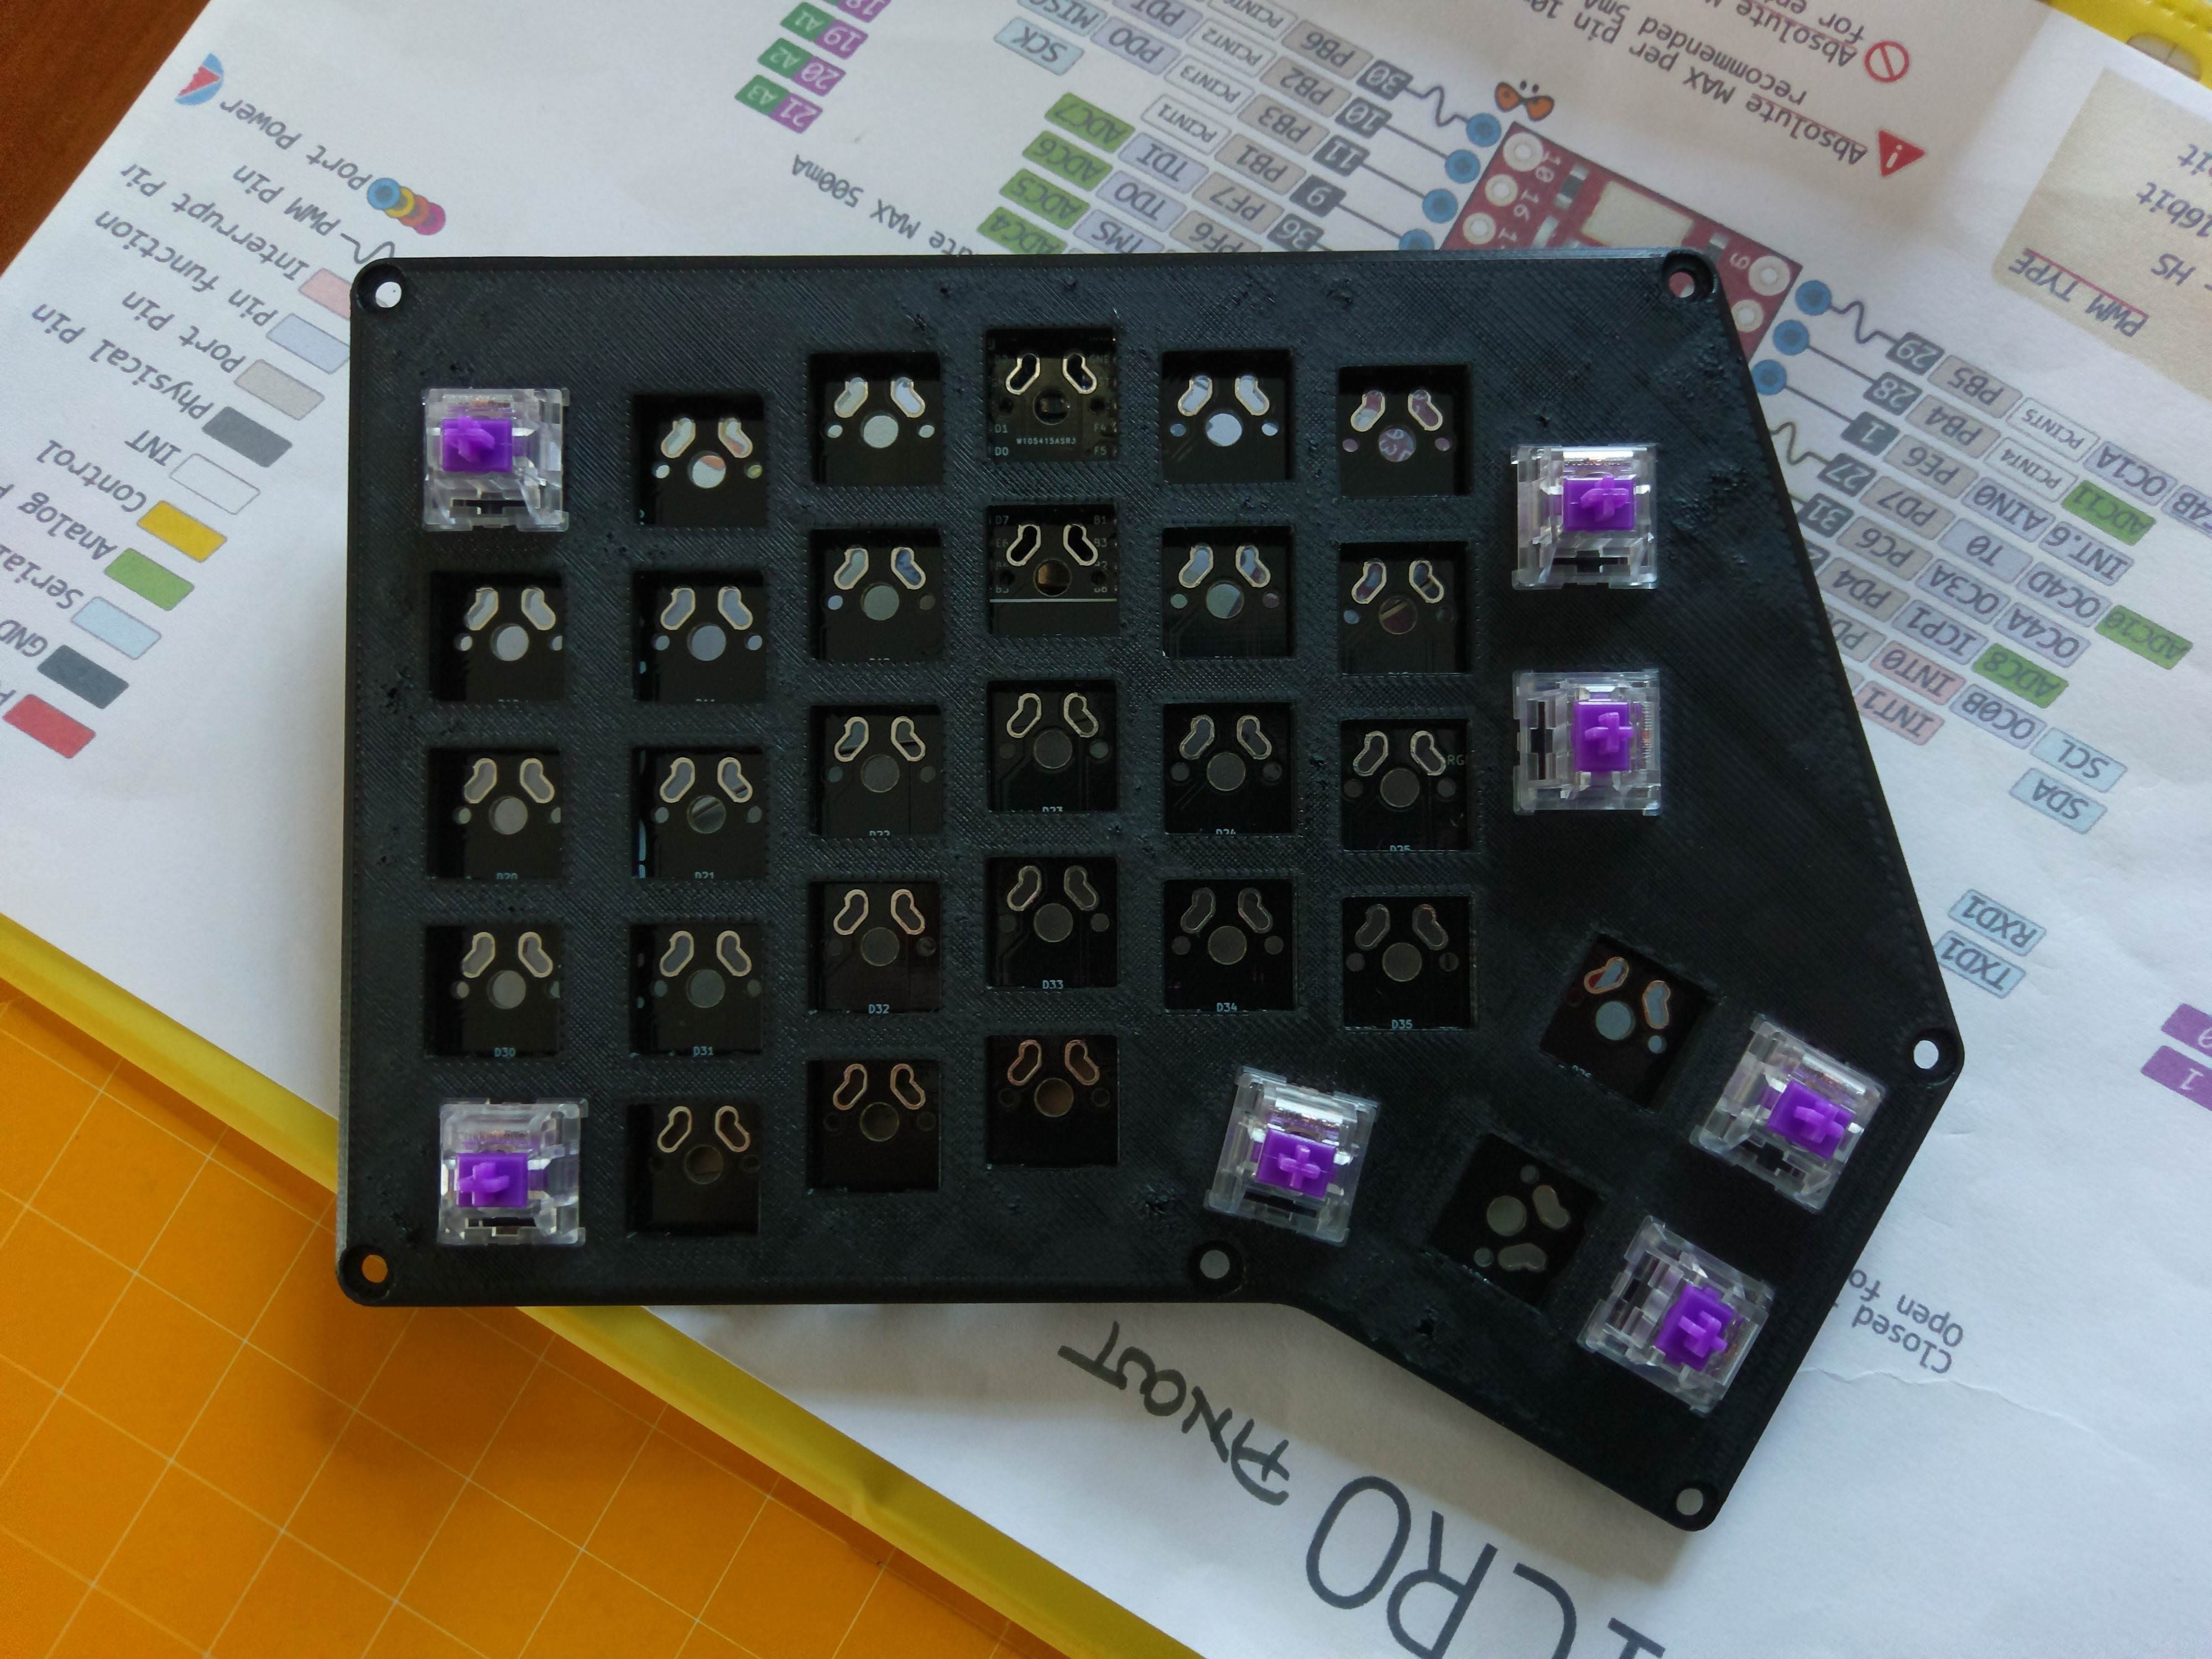
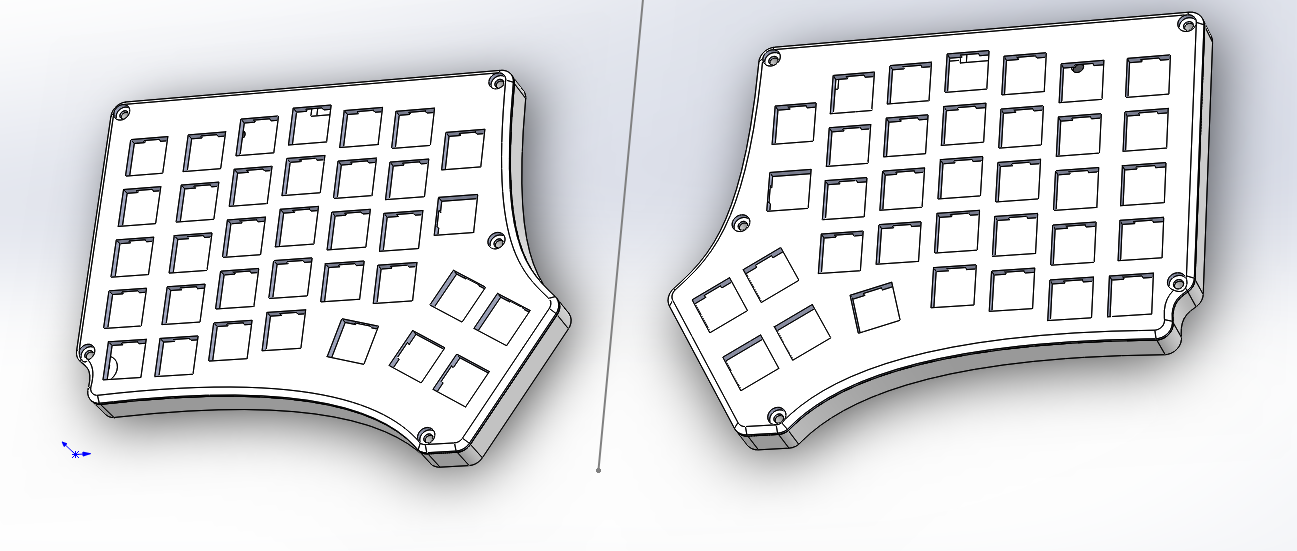
I then decided to change the design of the case and adopt curved lines all over the place. This was the design I adopted in the final version.
At this point I realized I needed a way to recycle my failed prints...
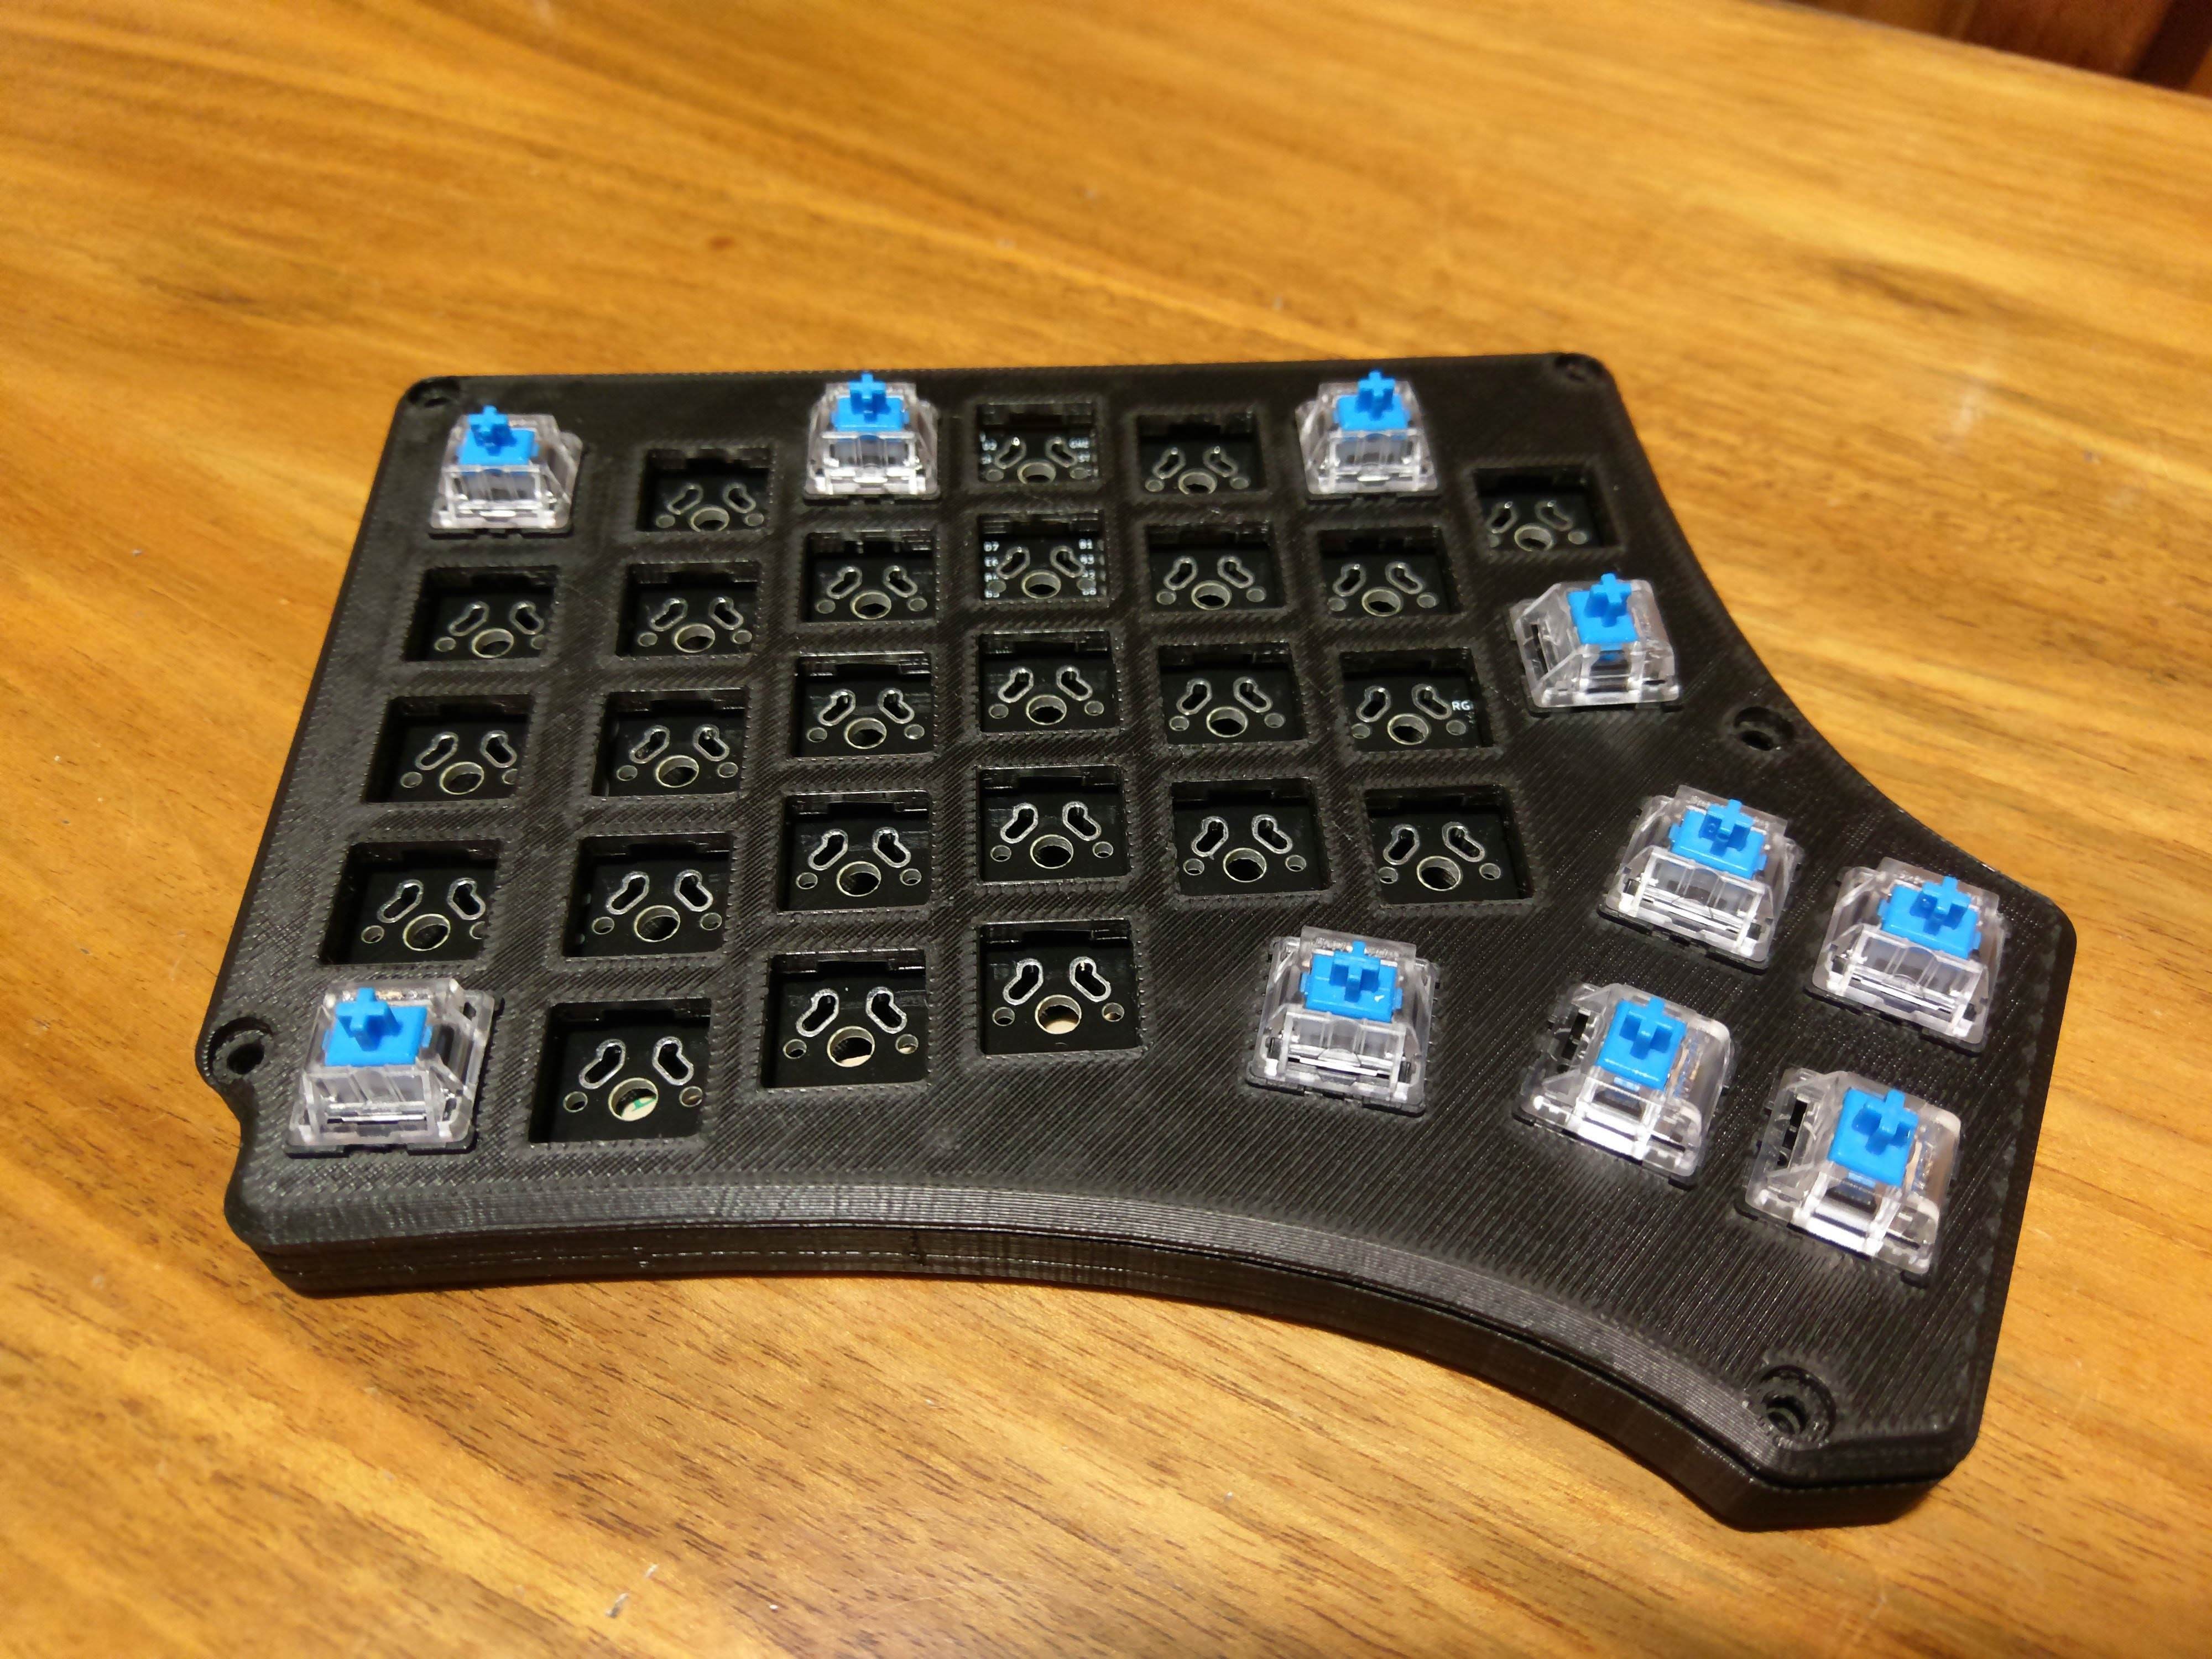
Final assembly.
Instructions can be found here. Case files are available on thingiverse.
Materials:
- 70x: Cherry MX compatible switches
- 2x: Redox PCBs
- 2x: Redox cases
- 70x: 1N4148 diodes
- 2x: PJ-320A 4 poles 3.5mm TRRS connectors
- 2x: 4.7kOhm resistors
- 2x: Through hole momentary switch
- 2x: Arduino pro micro
- 1x: TRRS cable
- 1x: USB micro cable
- 70x: Cherry MX compatible keycaps
- 10x (8x for 1u Layout): 1.25u keycaps
- 6x: 1.5u keycaps
- 54x (56x for 1u Layout): 1u keycaps
- 14x WS2812/WS2812B leds
This time around I added LED backlight because I felt so.

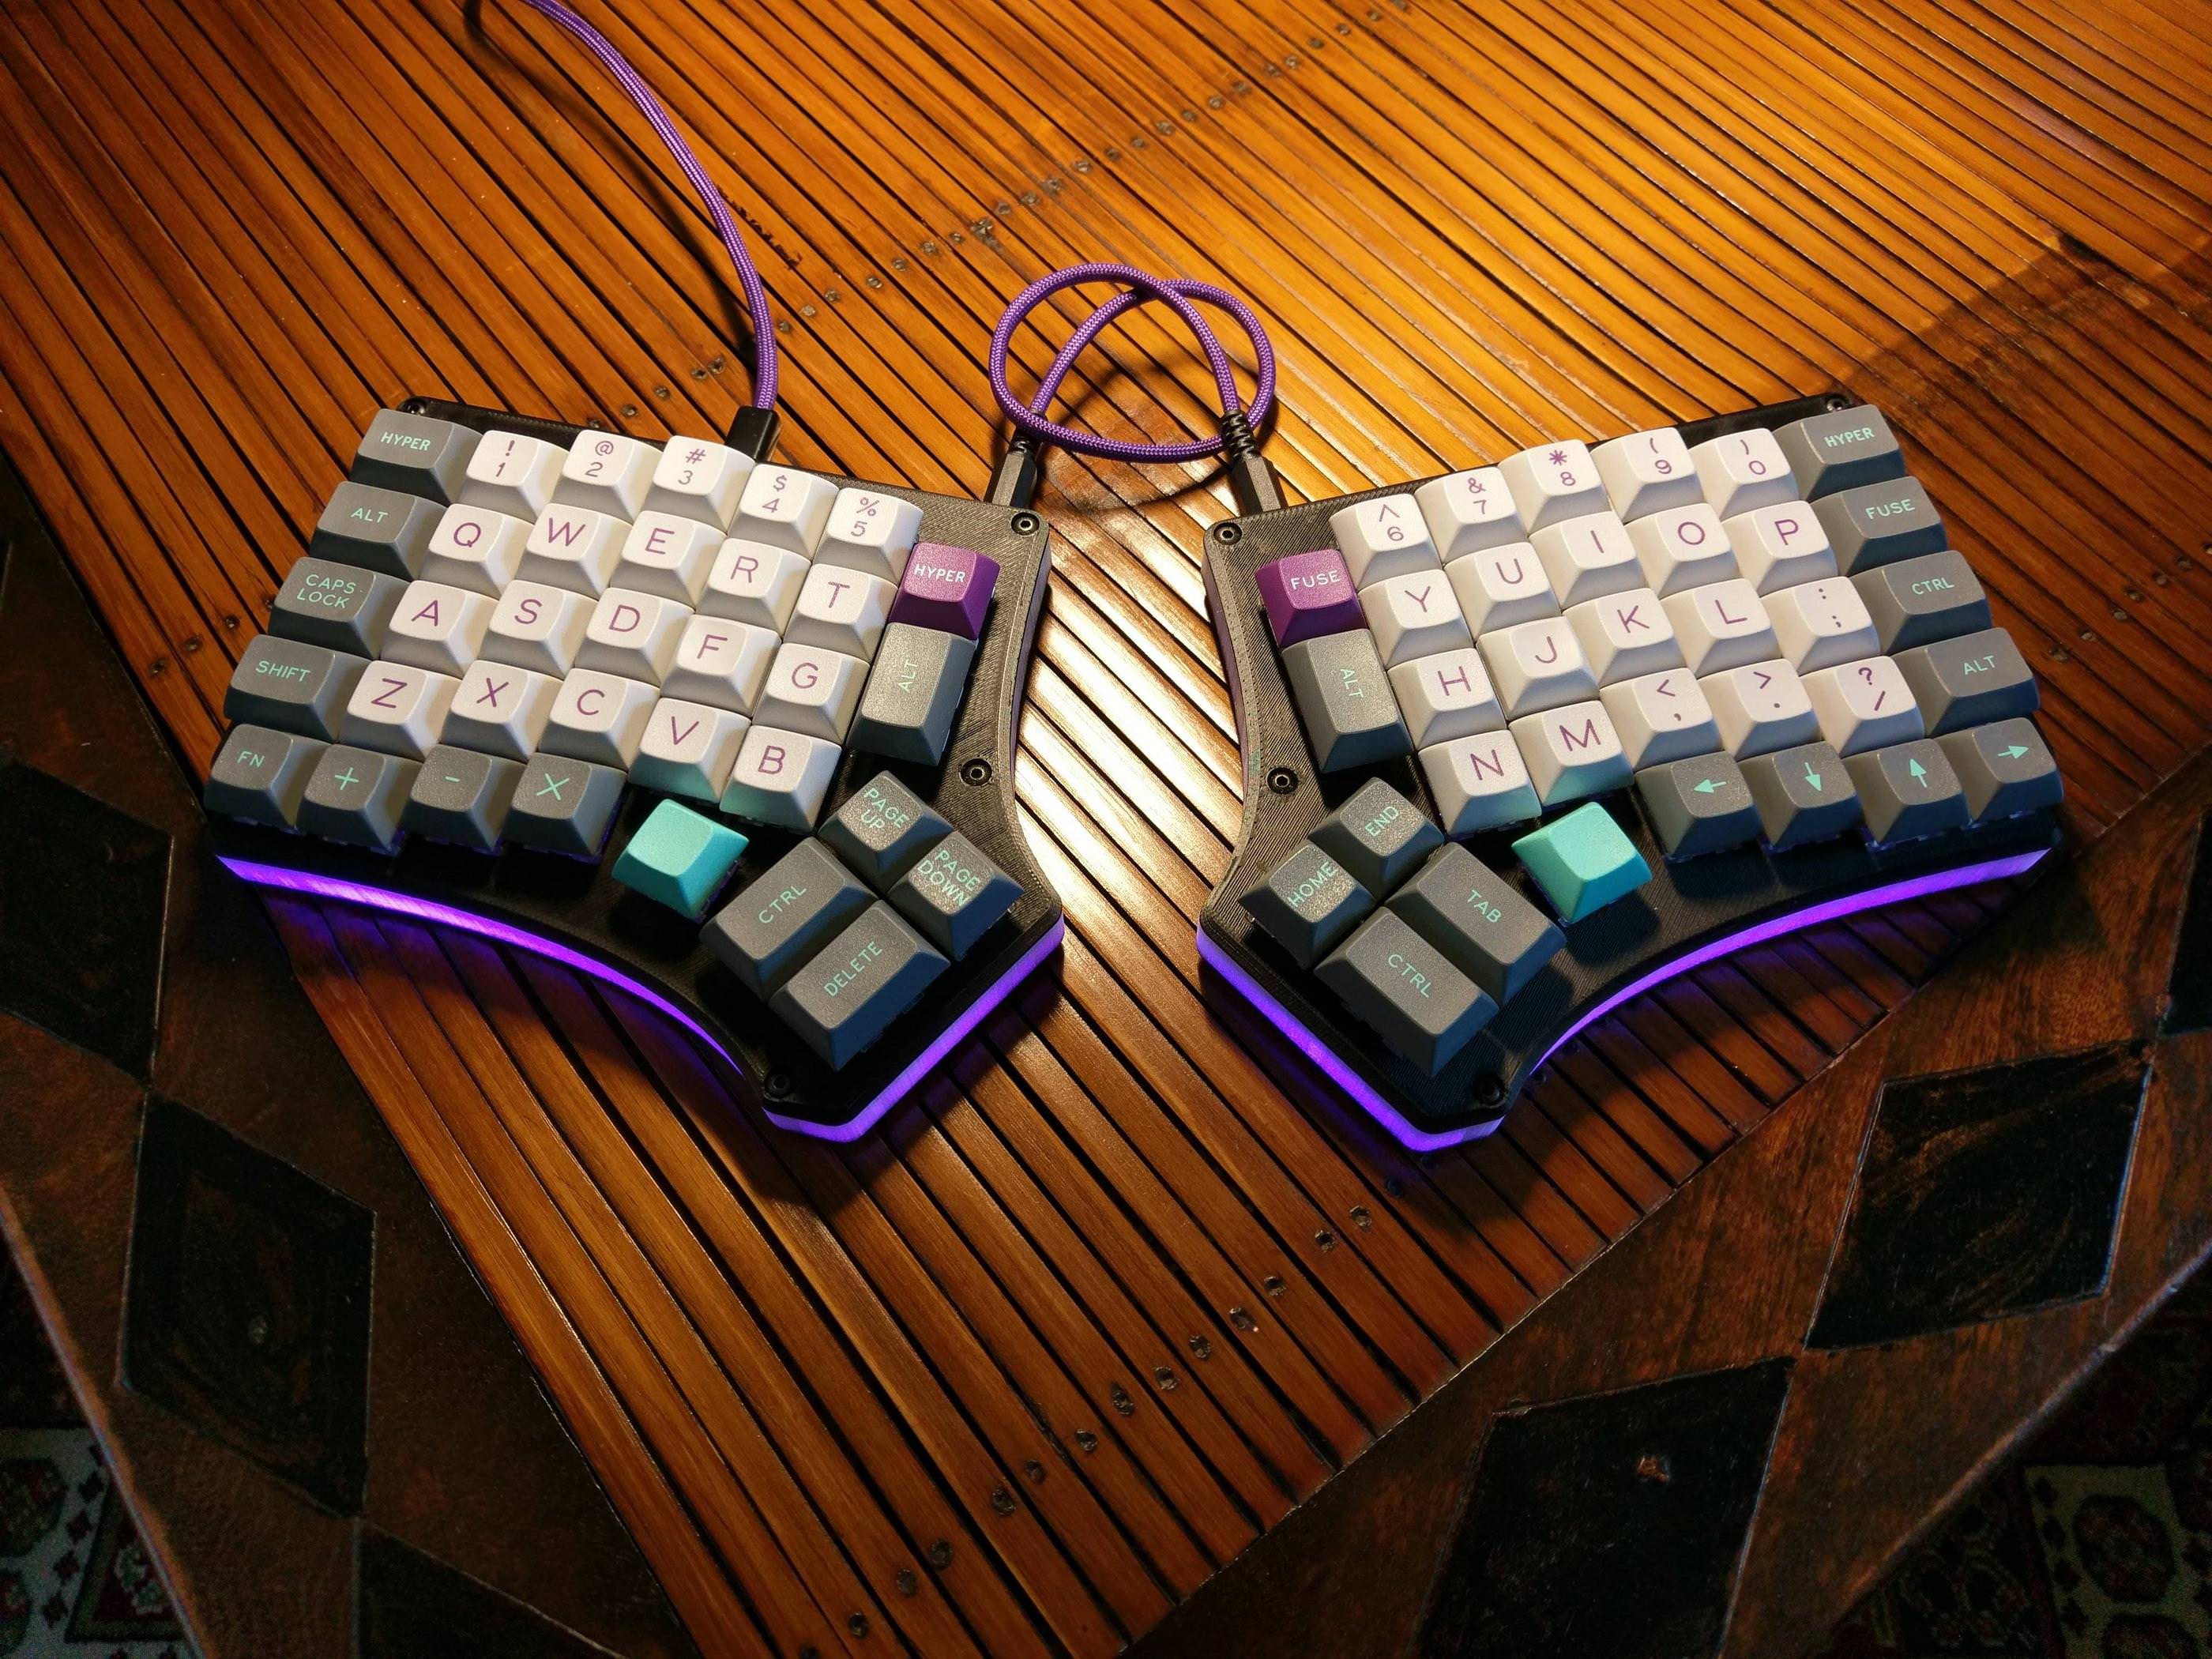
At this point I should probably mention that I like purple...

After publishing some pictures of the PCB on instagram I was contacted by Falbatech and now the Redox is a product available on his store.
Redox rev1.0:
- 3D printed case, freely available.
- Rev1.0 PCBs: available at Falbatech's store
- Commercially available cases:
Discussions
Become a Hackaday.io Member
Create an account to leave a comment. Already have an account? Log In.