 Johann Elias Stoetzer
The idea was triggered by a mail asking Elias sister (who did some medical engineering projects before, like a wheelchair operated by an eyetracker, or a vein detection device) if she could support a charity organisation operating mainly in Africa and helping orphans with handicaps. They build most of their support devices out of wood and would like to give mobility-limited kids access to a computer to type their thoughts – they have very few other chances of expressing themselves.
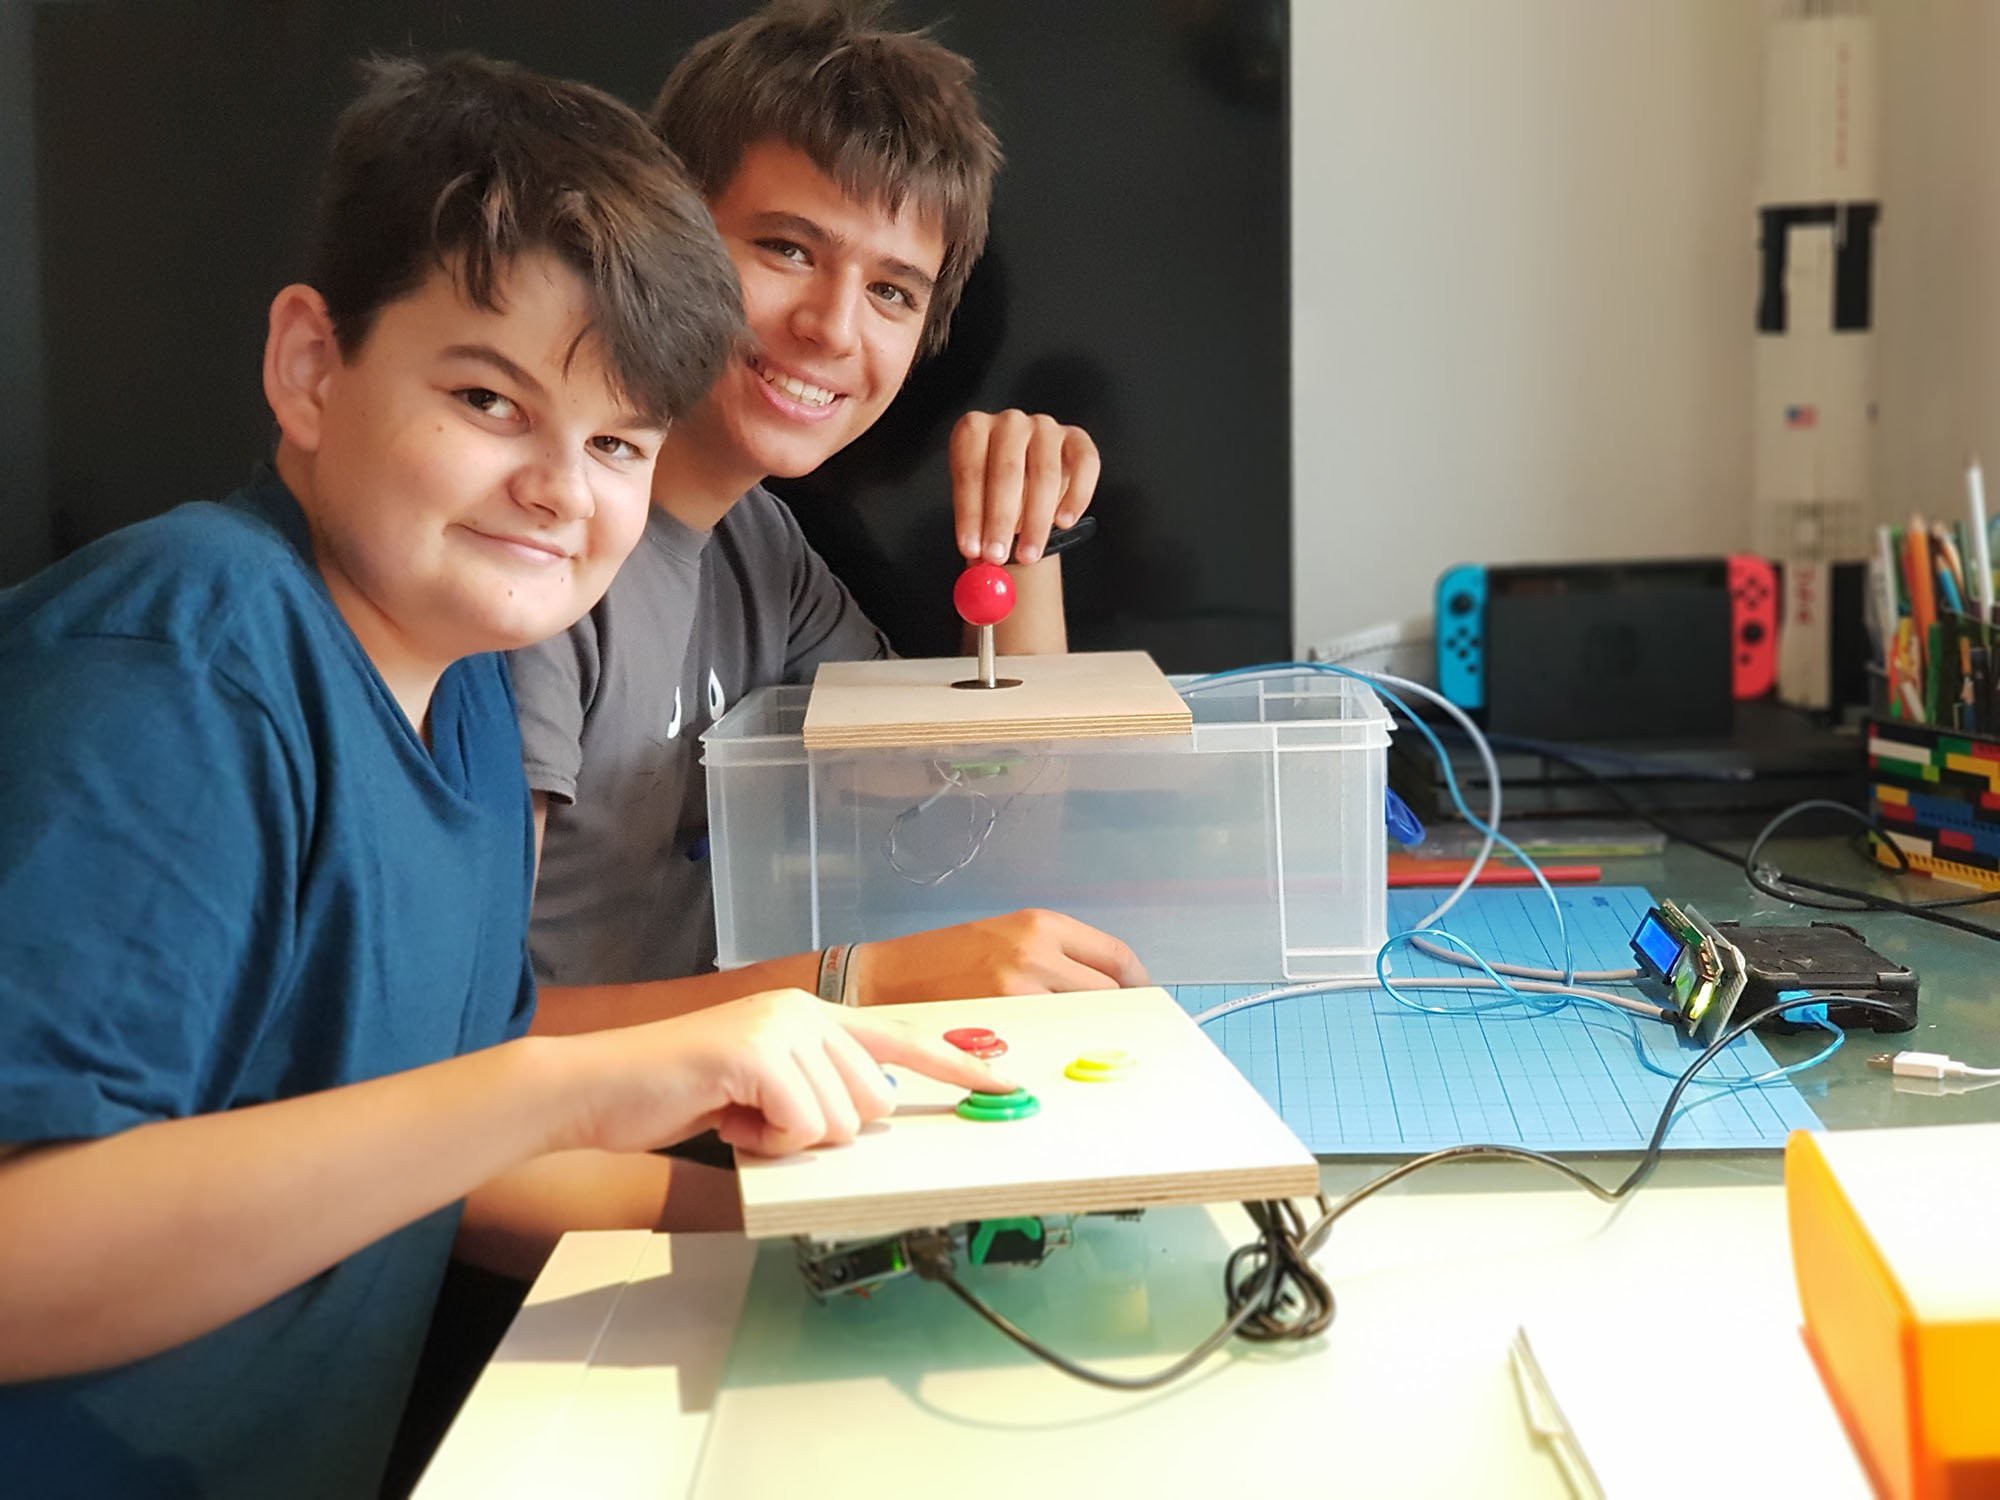
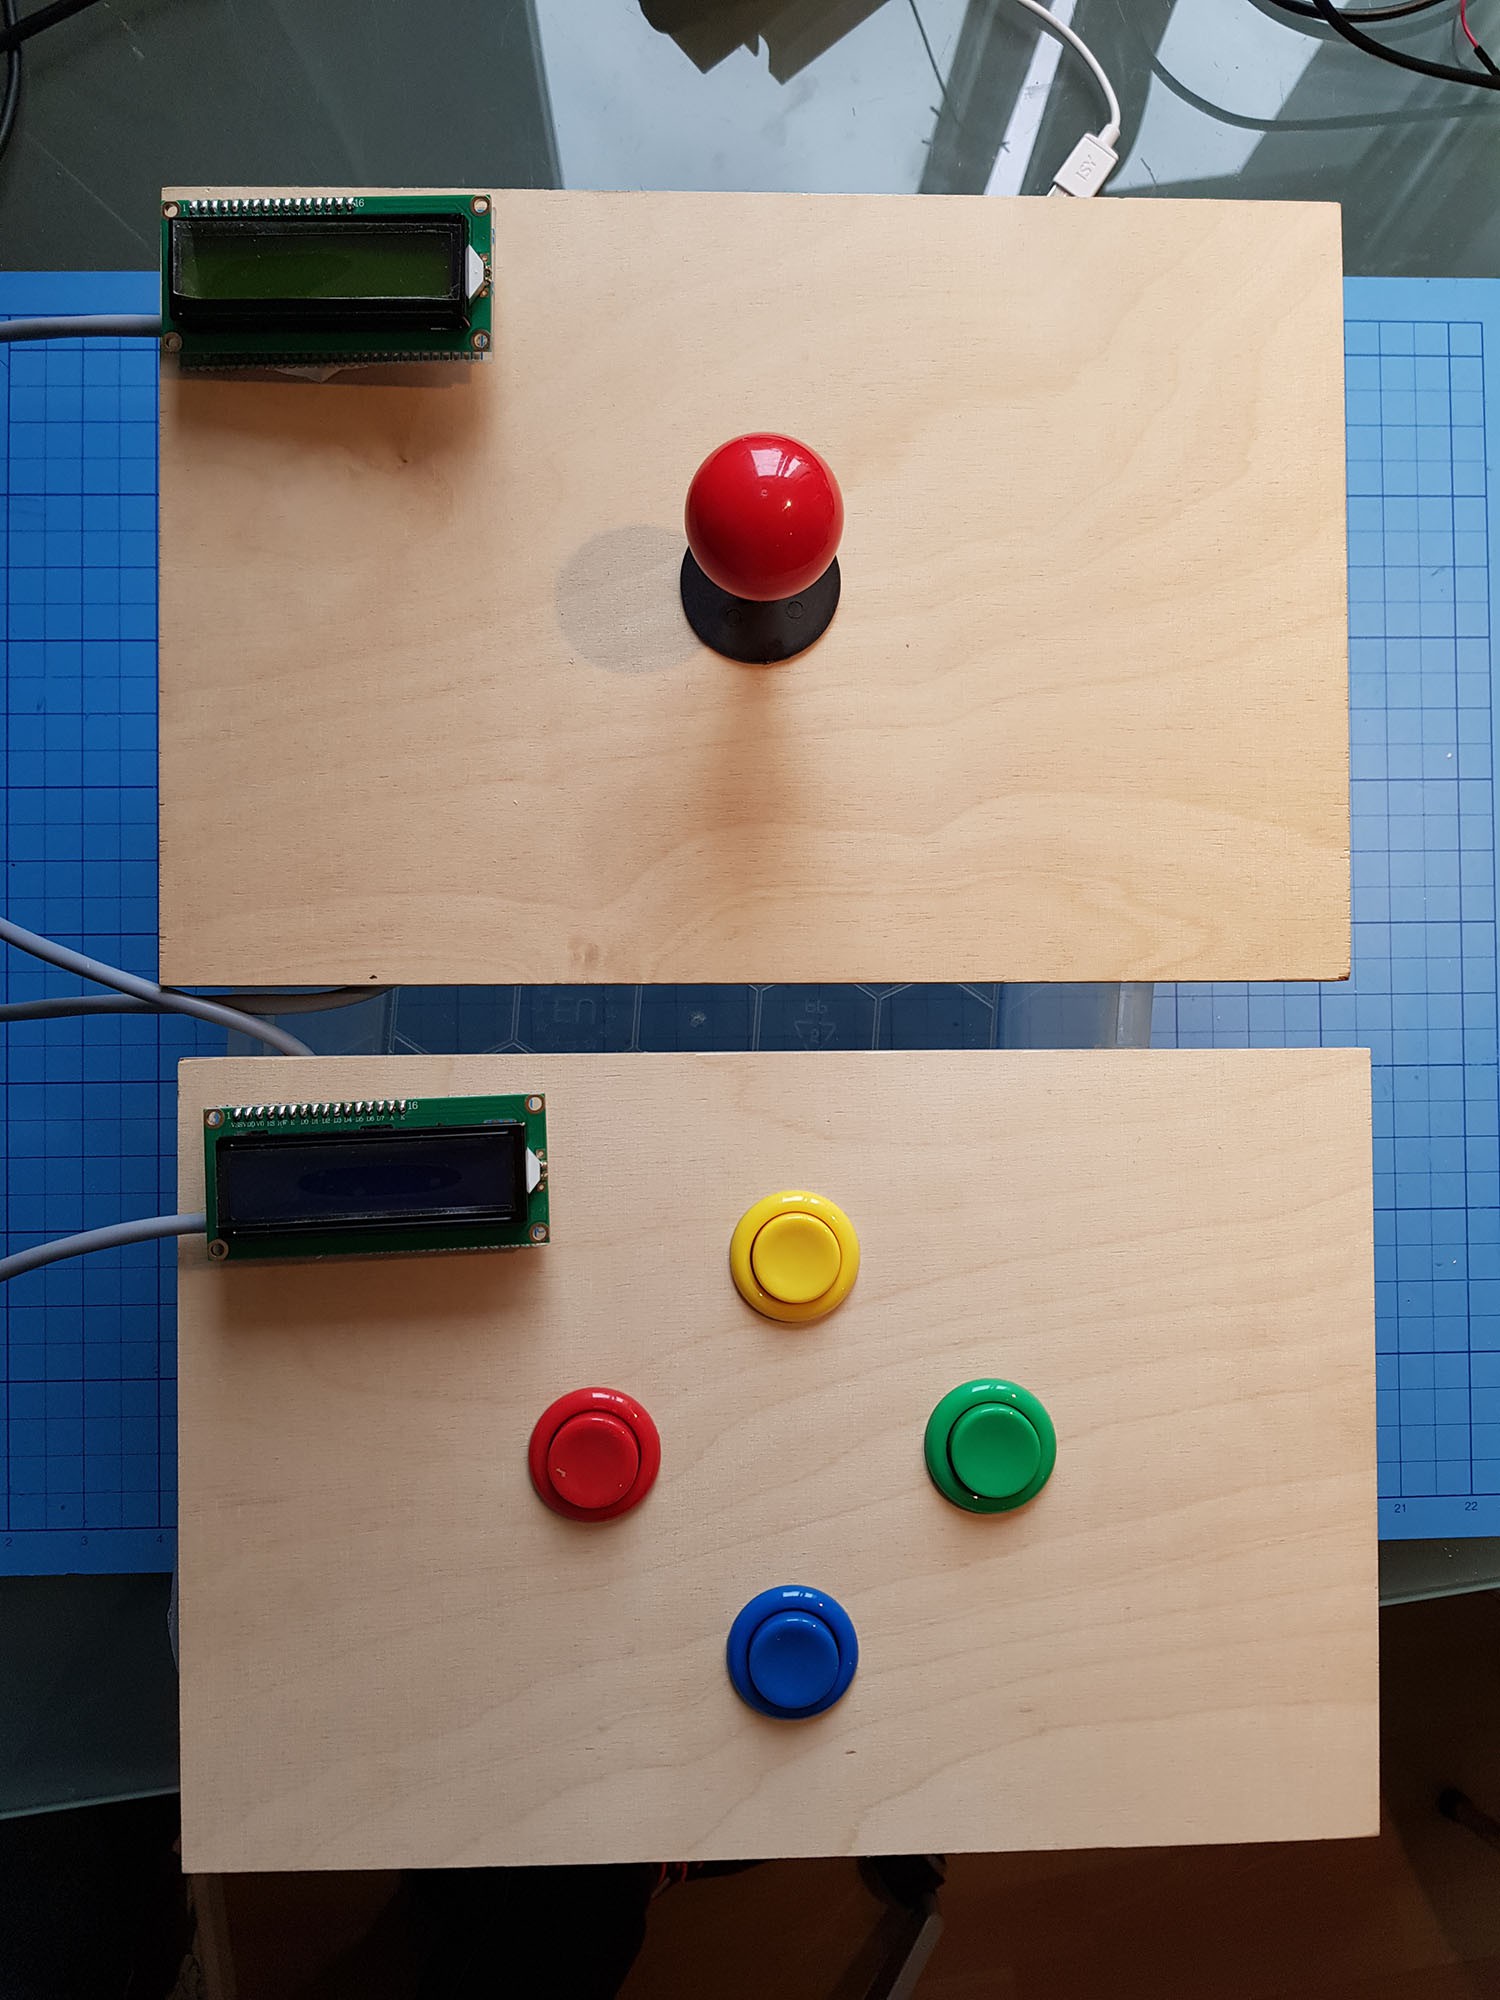
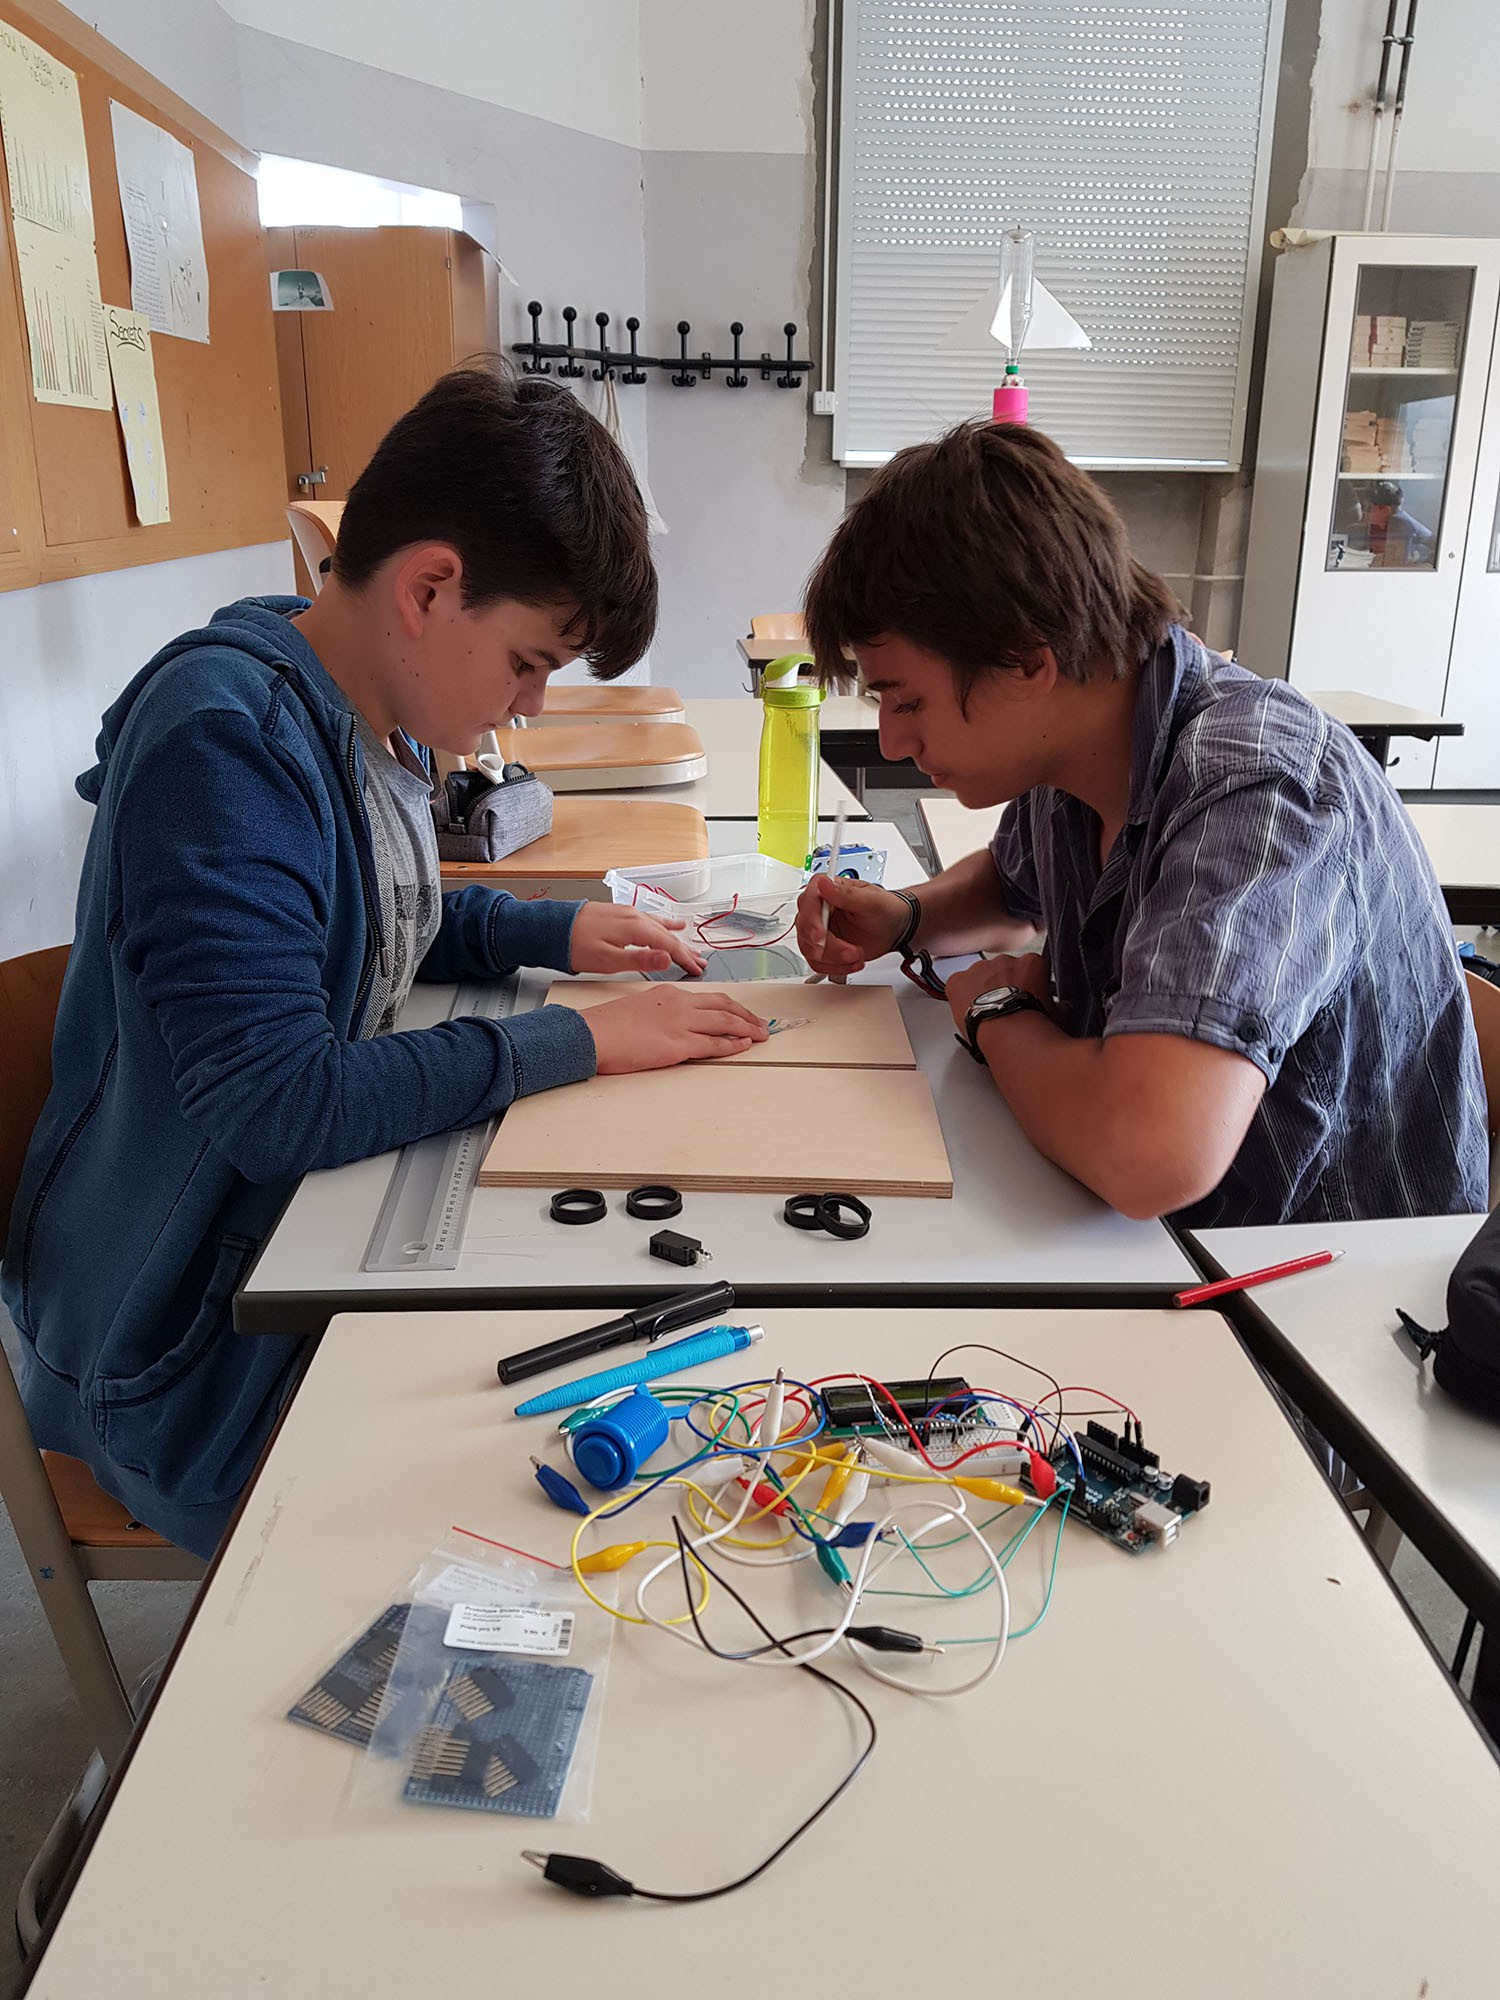
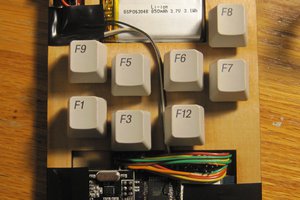
With this in mind we thought about a very easy, customizable and cheap solution using off the shelf parts readily available in most countries. Our idea was to reduce the “complexity” of a keyboard (in terms of fine-motor skills) to simple movements operating just a few buttons or pushing a joystick around. This can be a robust, arcade-style one, or a very small, filigree joystick operated by the tongue…
Furthermore, the four actions for selecting characters to form words and sentences can be done with eye-movement alone: Up, down to choose from a list, right to process/confirm and left to correct mistakes can be either direct keypresses or eye-movements captured by a camera.


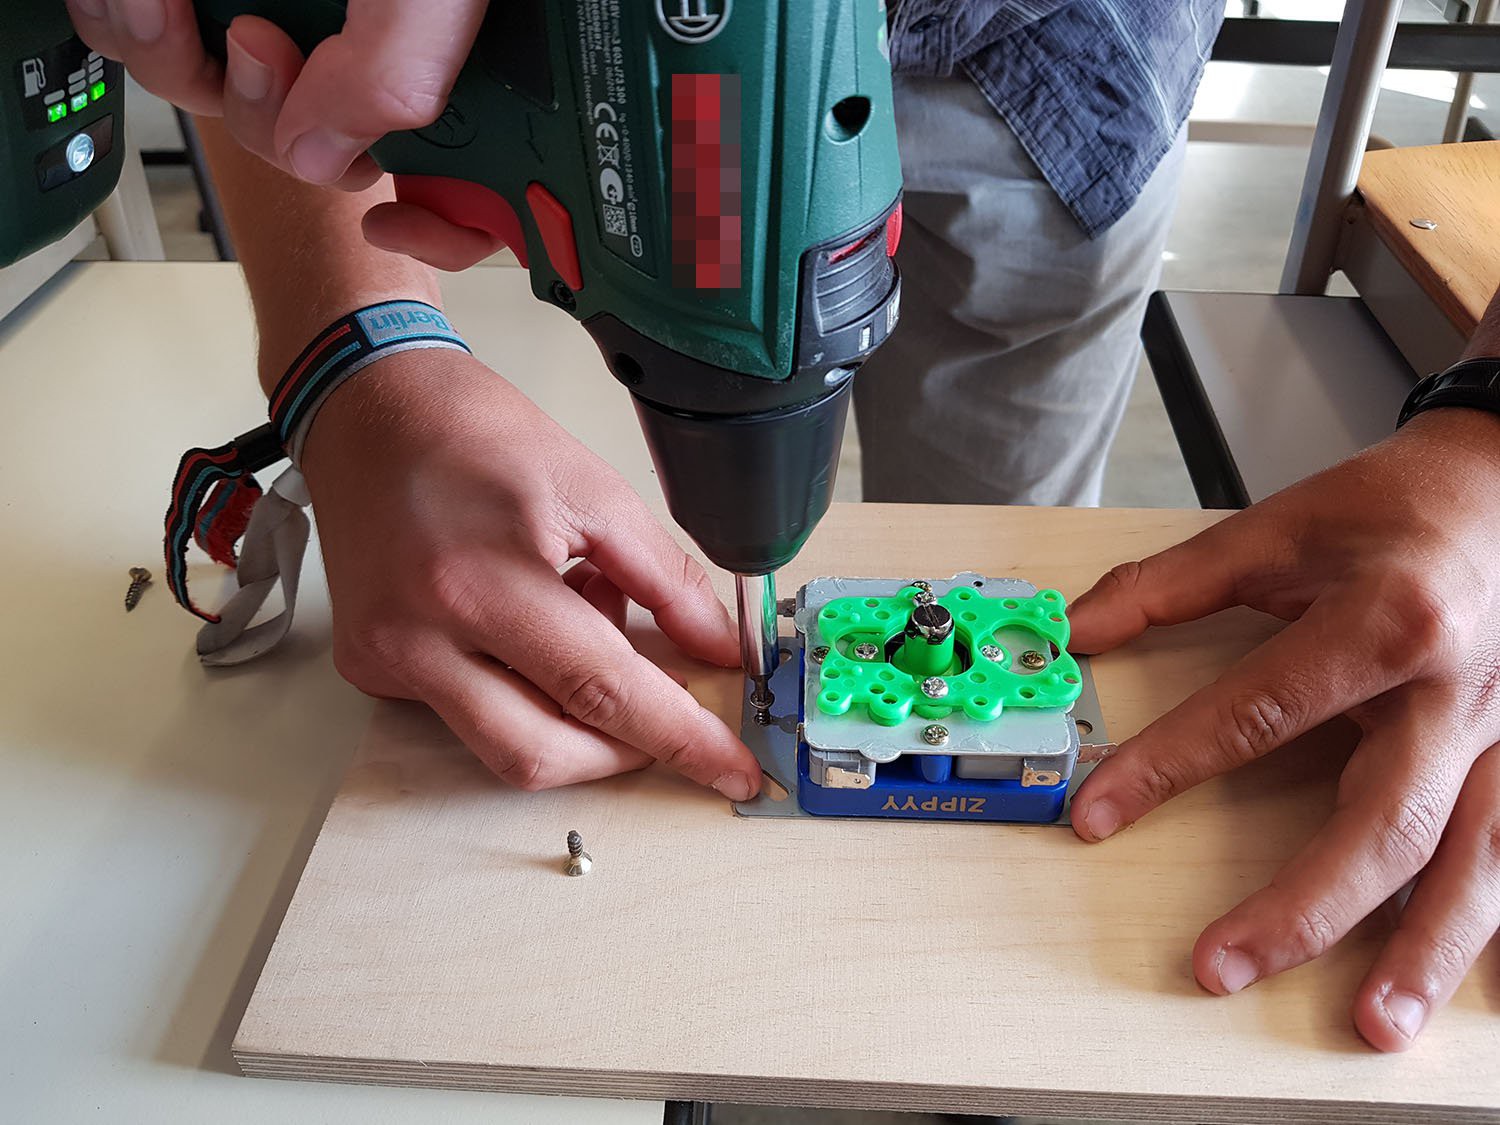
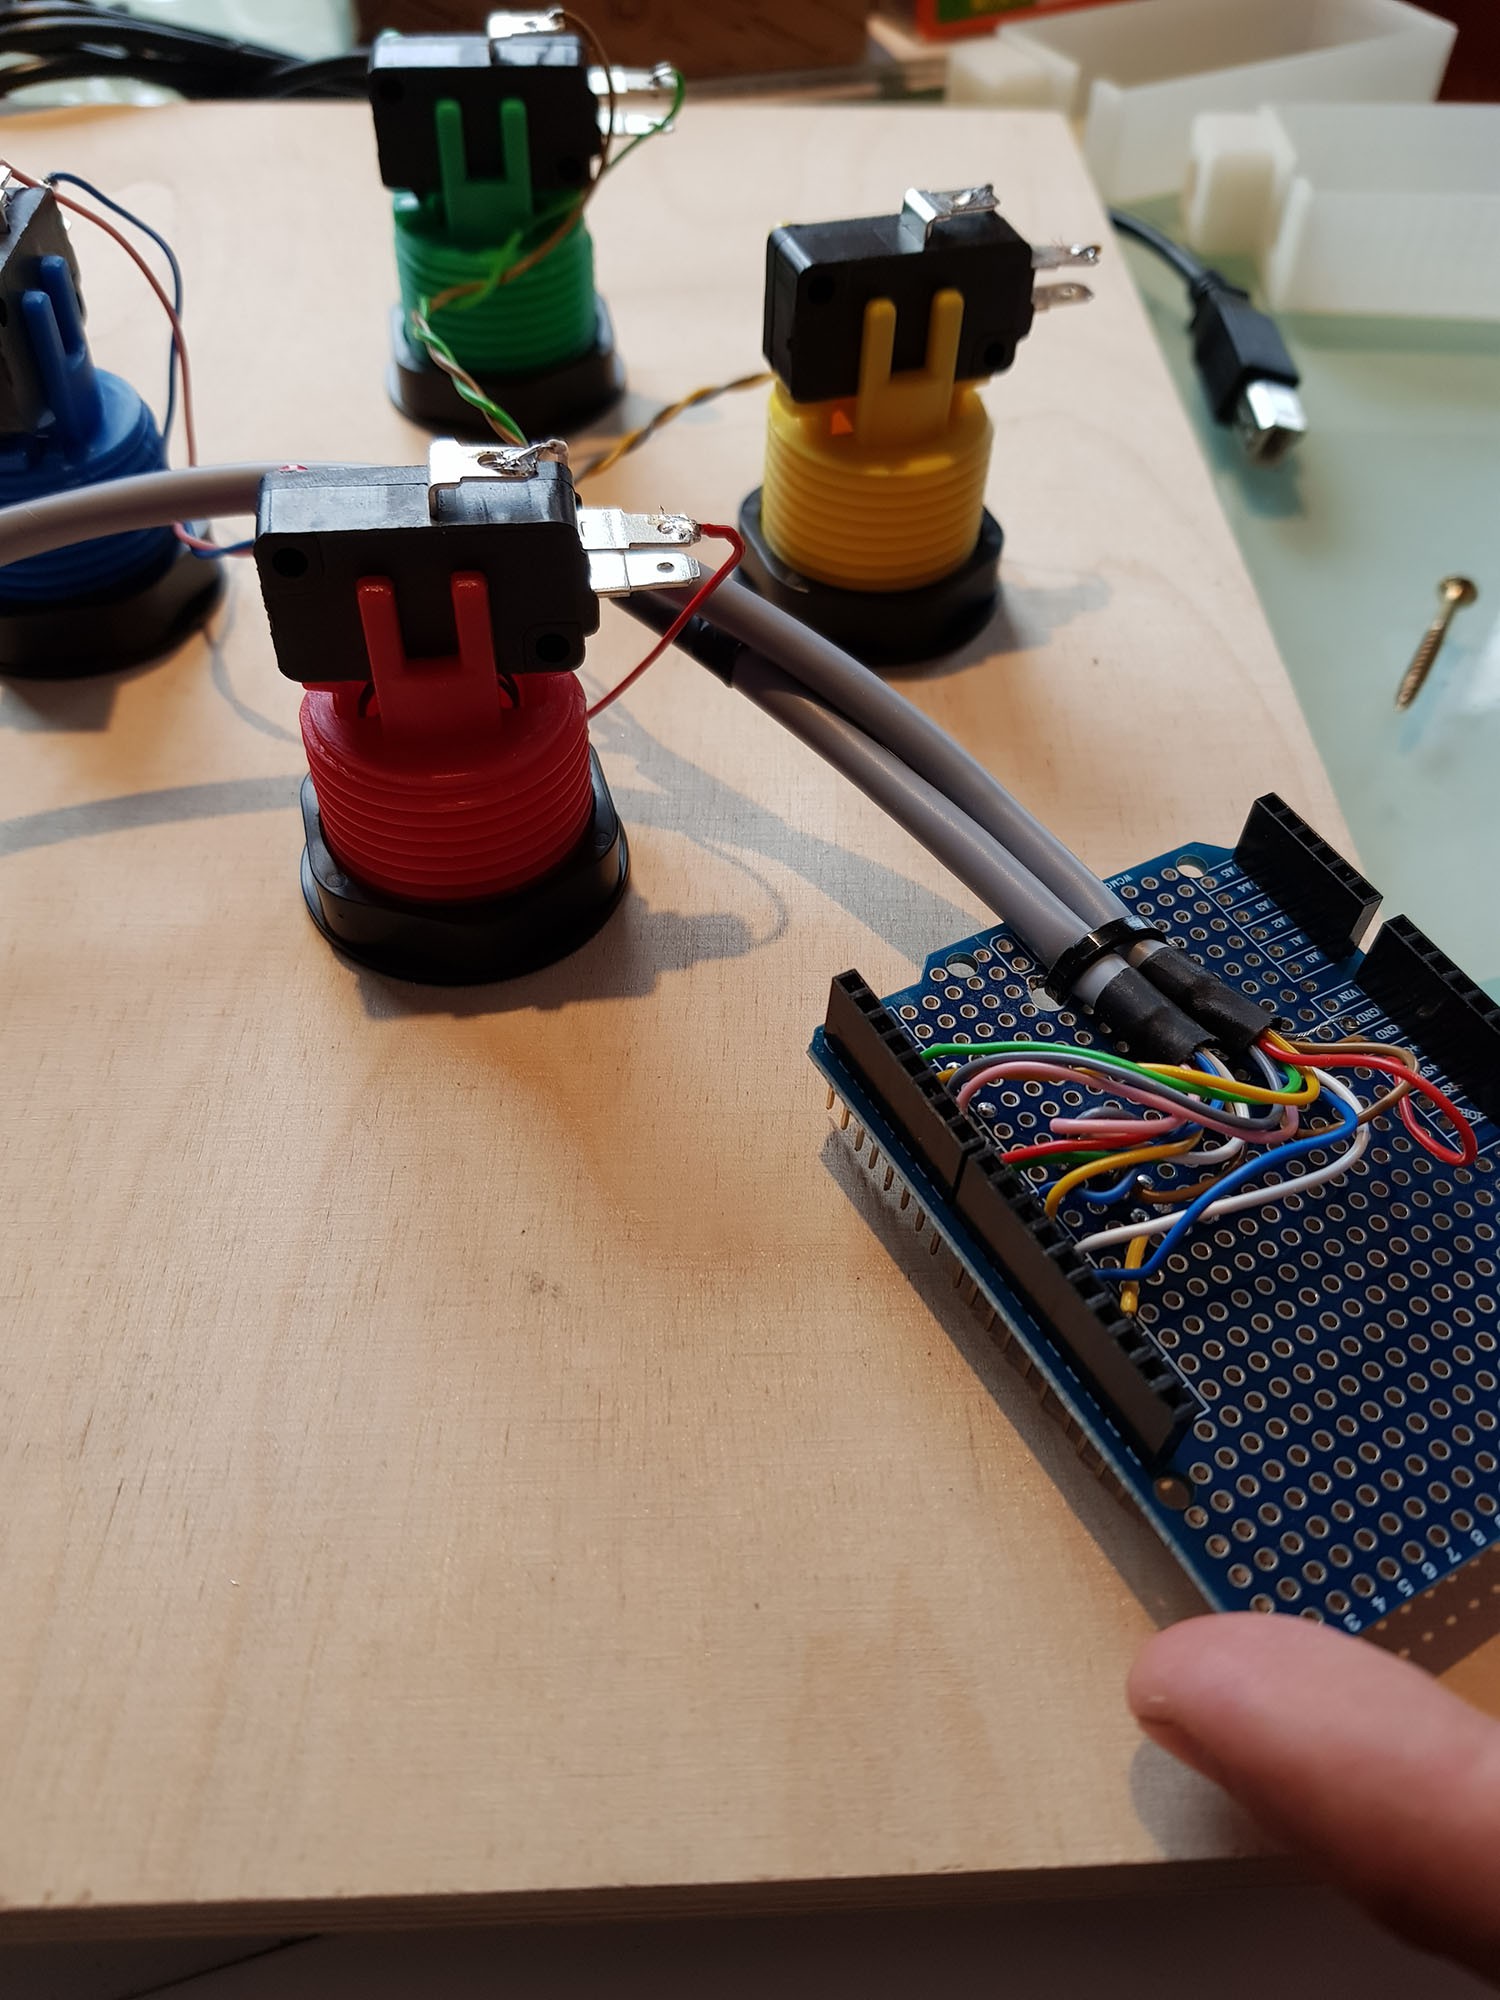 Next step is to do the same with the "Joystick-Module"...
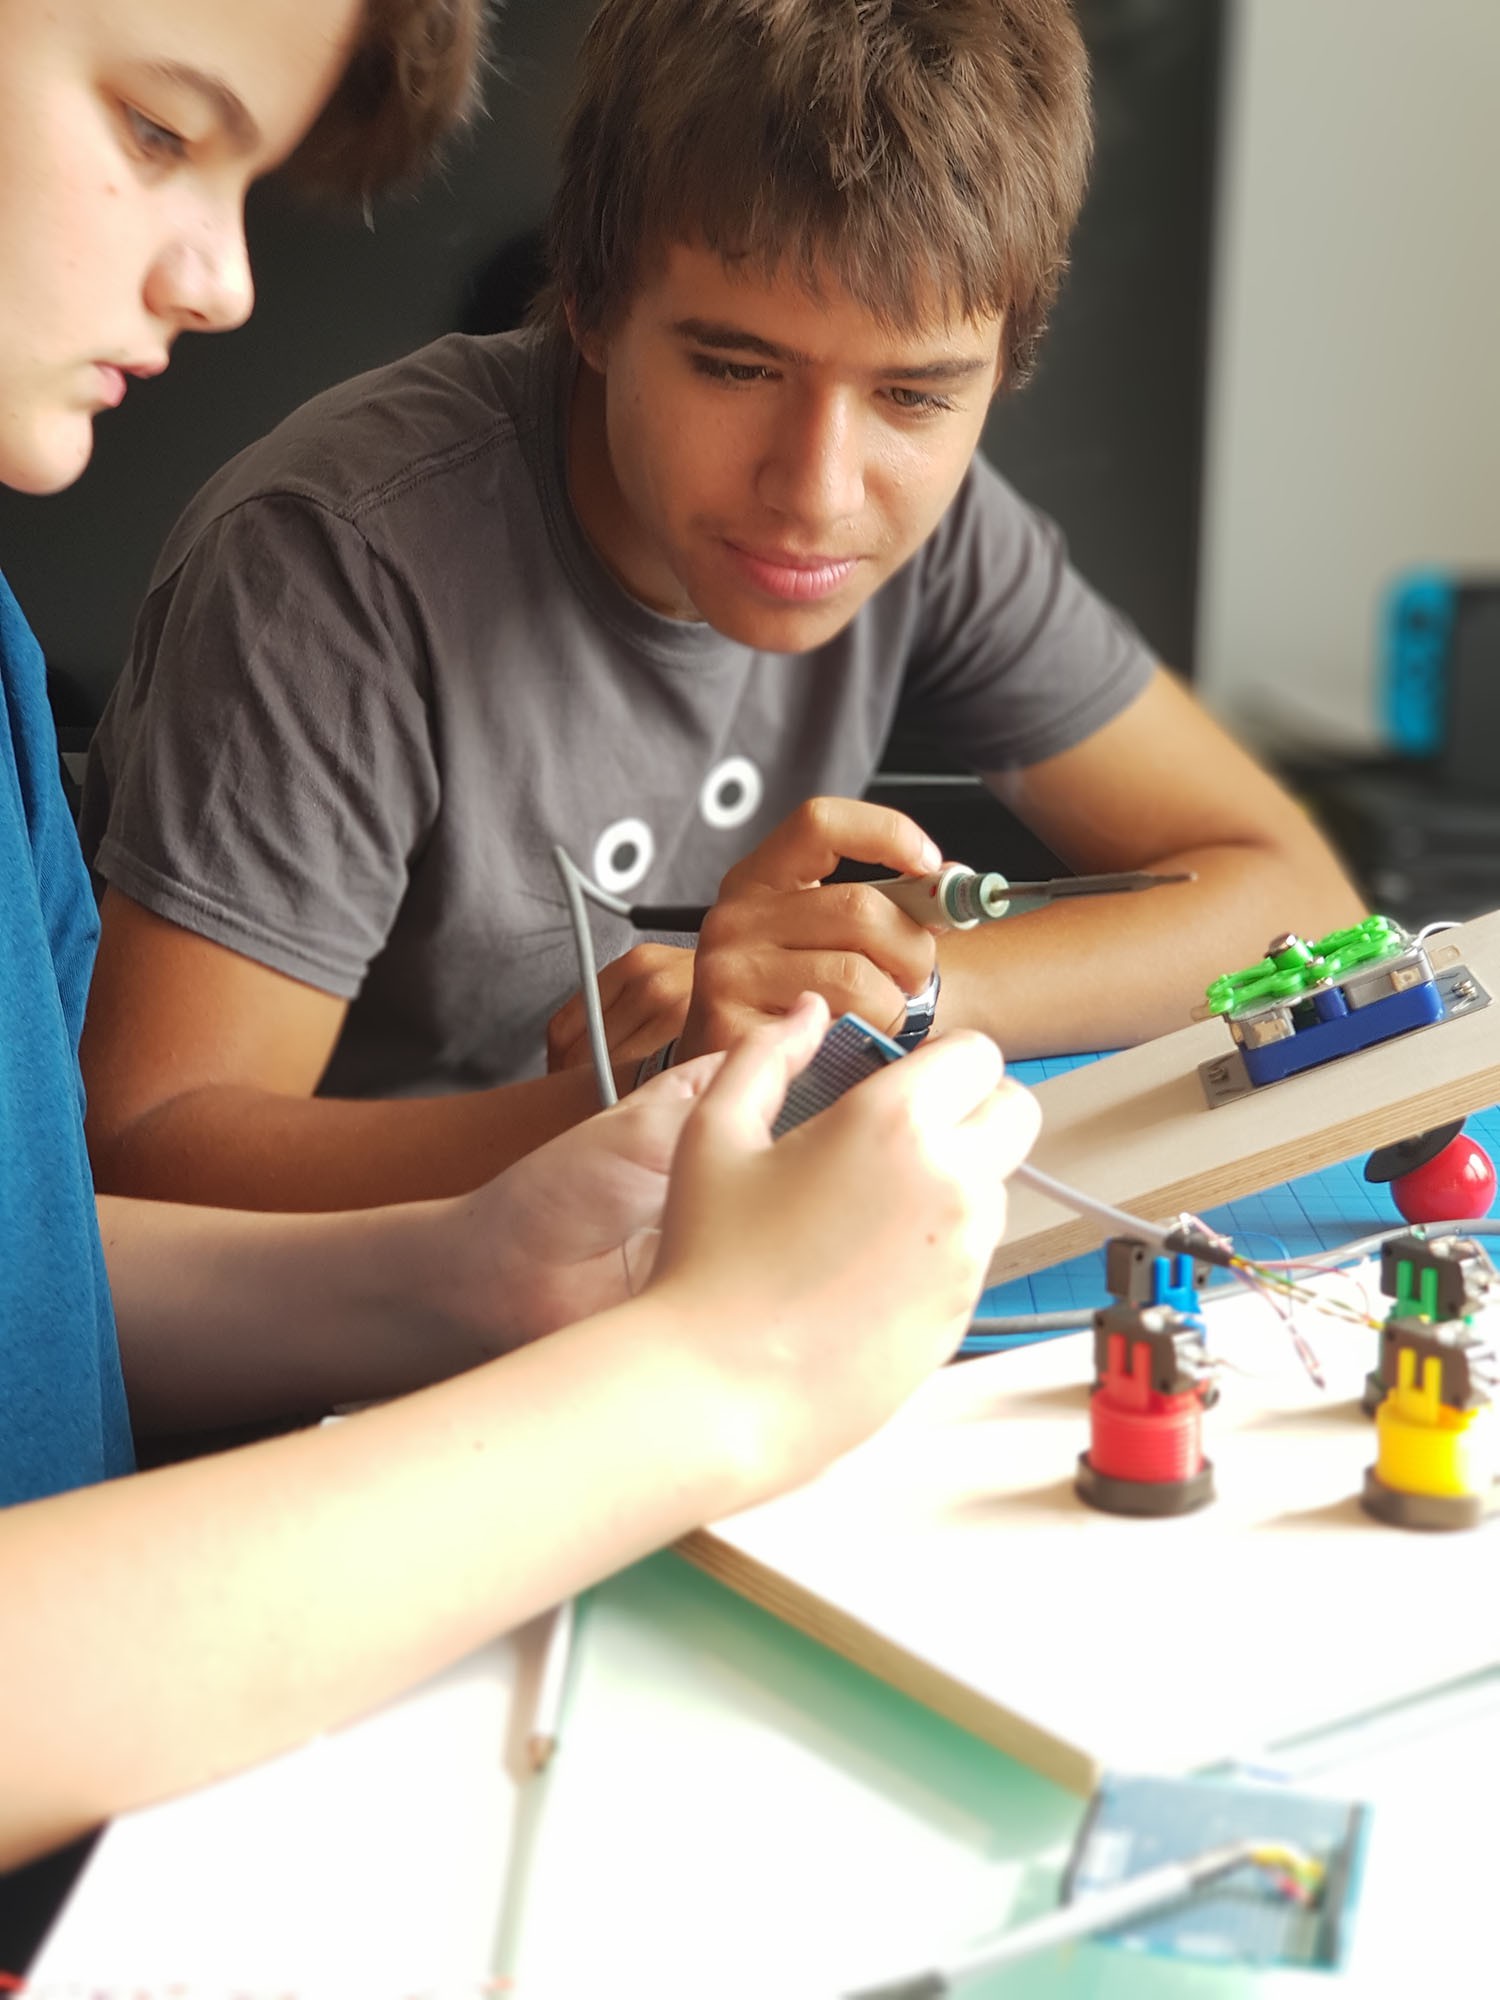


 Owen Trueblood
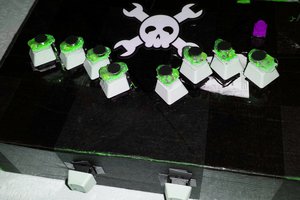
 Paul_Beaudet
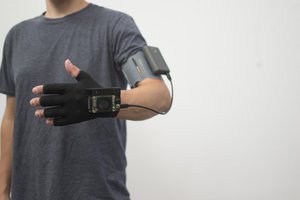
 Jakob Kilian
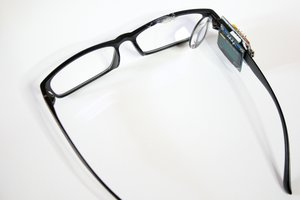
 Ultimate Robotics