 Rodolfo
Intro
We had the combined experience of teaching with Arduino for some 15 years among the whole team, but all of us felt frustrated in a way or other by the way hardware was not really connected with the learning journey a beginner would face.
Some time ago we started teaching summer camps at Koding Kreators, and I had now some 8 years since I jumped into the Open Source Robot Plaform Multiplo. The development of the Duinobot was something already in the version 1.1 or 1.2 by the time I started manufacturing them, nevertheless I got a real grasp of what it means to bring technology to a classroom with Plobot.
Design Concept
Among the ideas we had, some were more on the lines of developing a special connector and that could interface with any kind of sensor or motor. Somehow bringing LittleBits to Arduino, that is something that one of our older Plobot prototypes was doing quite well. We even went to prototype this idea. It was in an early stage and all those little tests helped further along the development.

Fail faster...
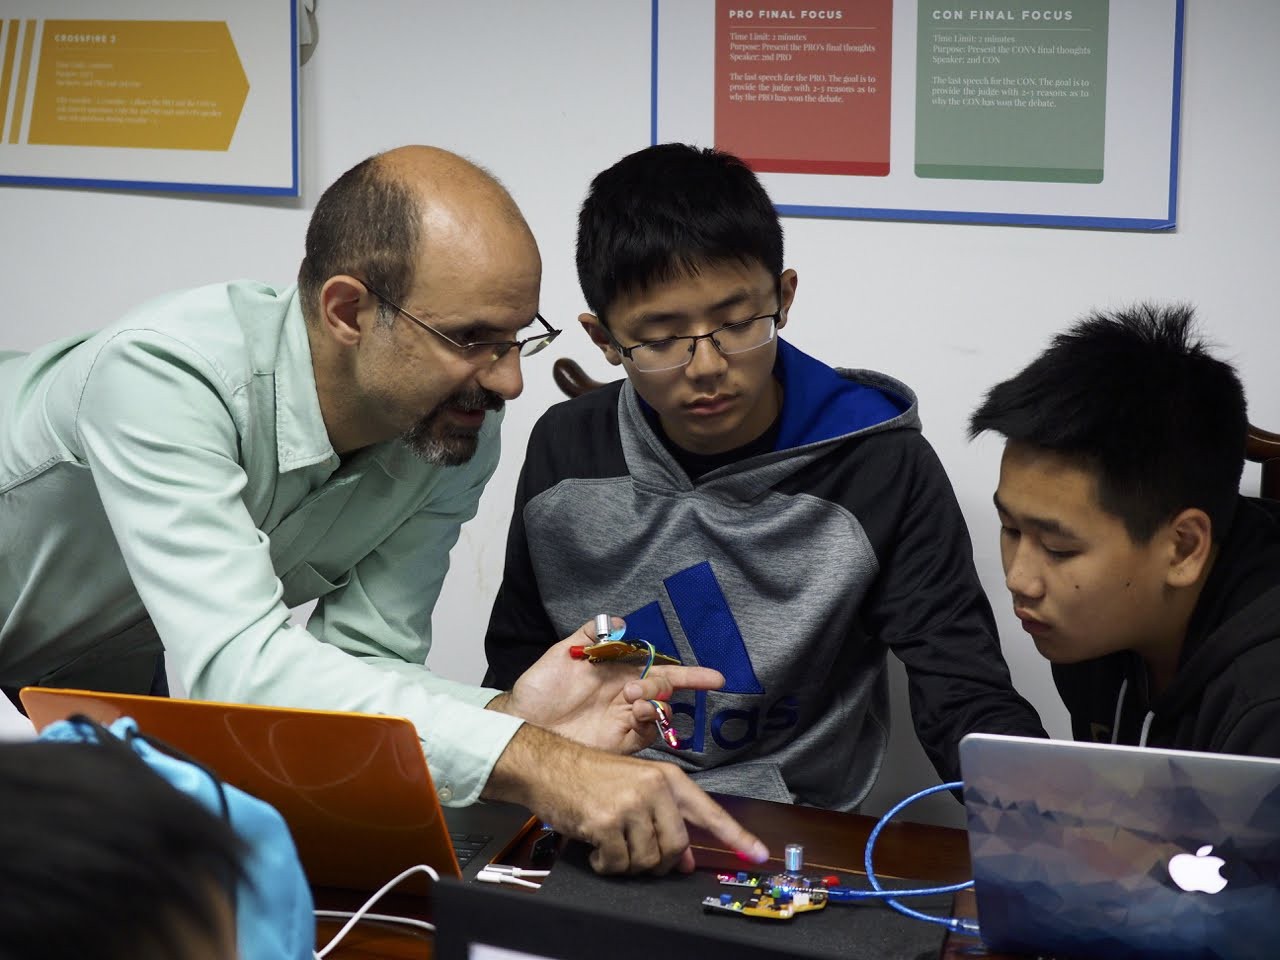
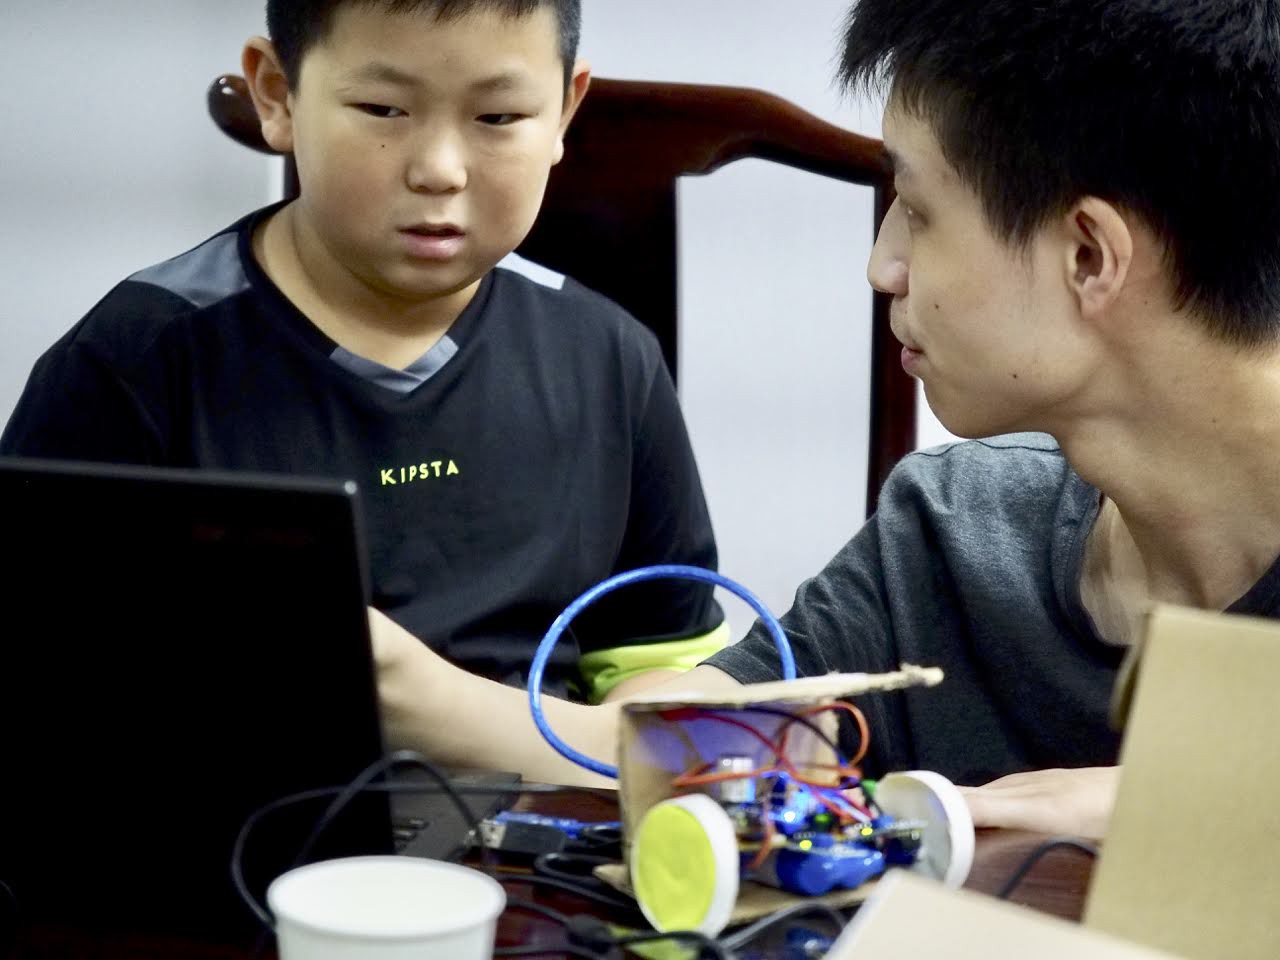
The litmus test has been and it always be how kids react to them. We can talk from the pedagogic angle or the design aspect. But the reality is that whatever happens within the first seconds in the hands of the kids, and even worse, the way that the class dynamic develops, is the real truth. So we continue running experiments, failing now and then but taking note of things that worked well.
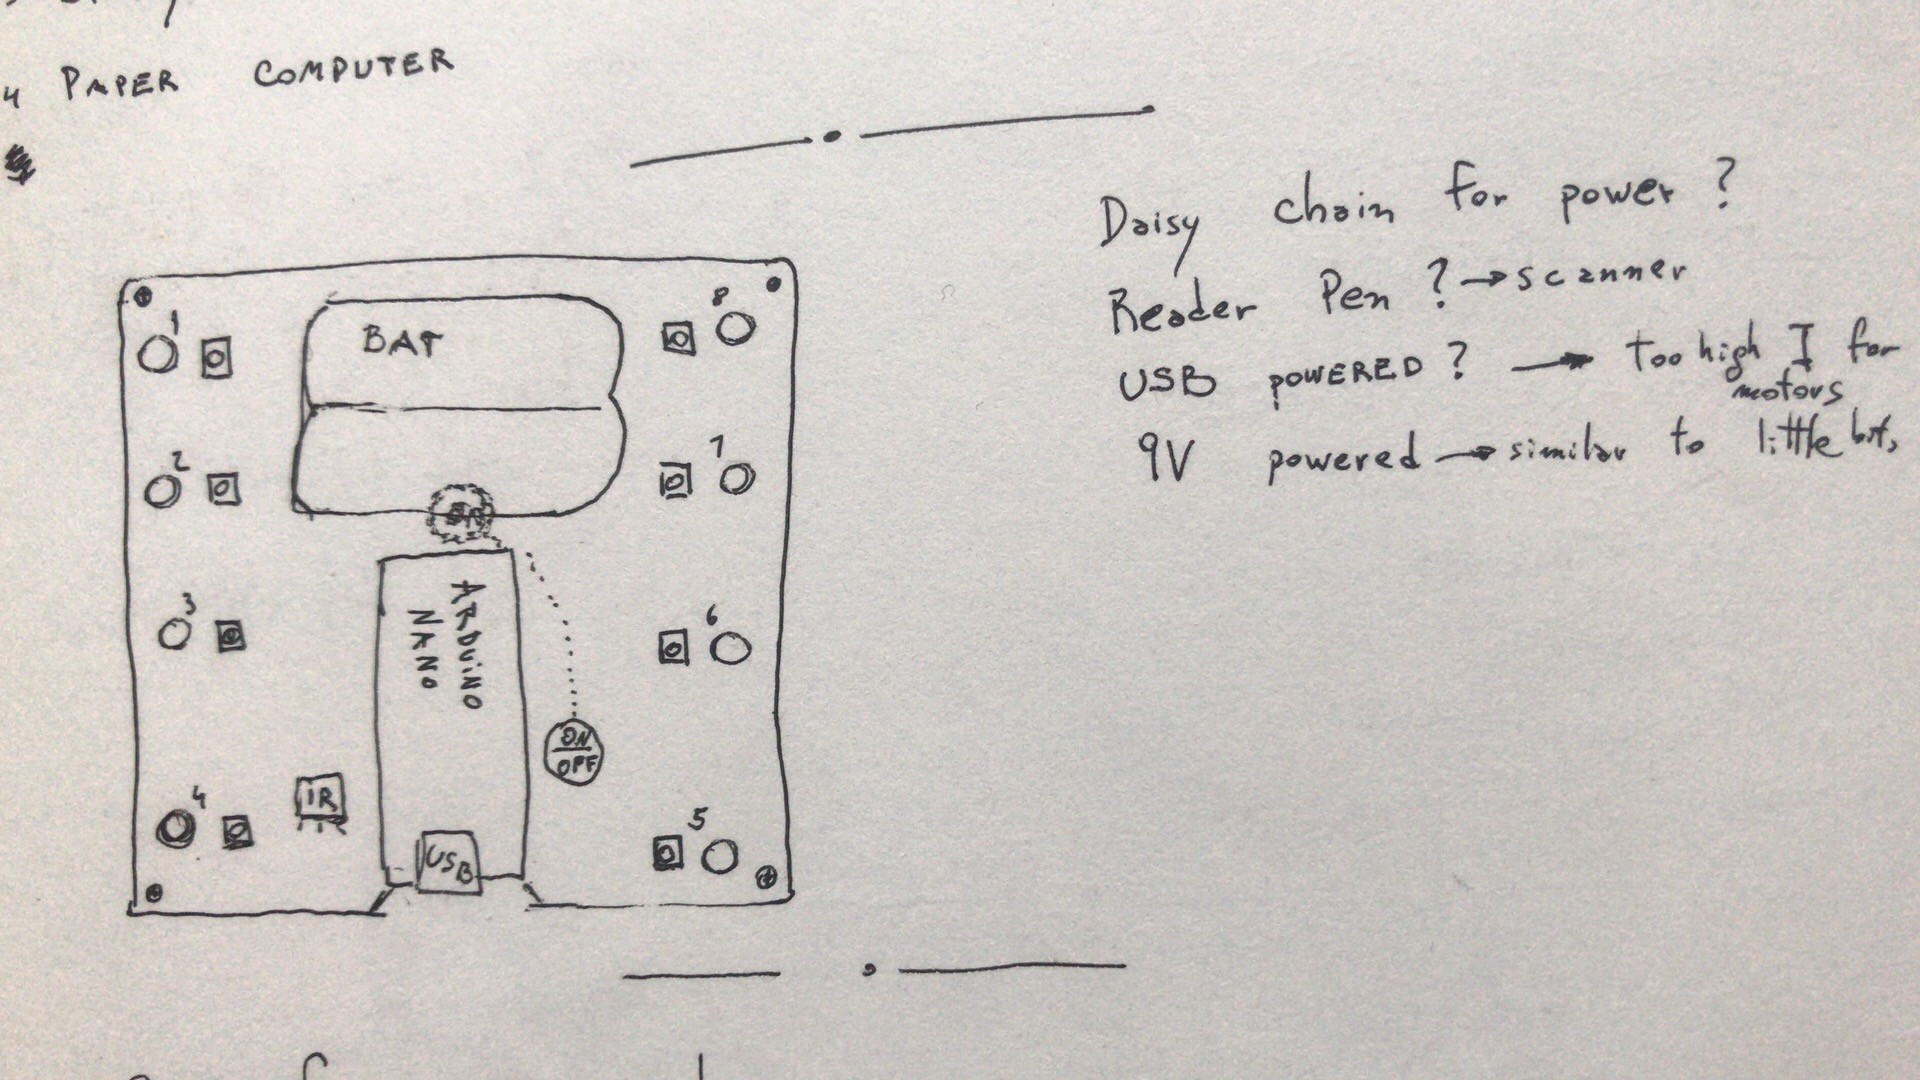
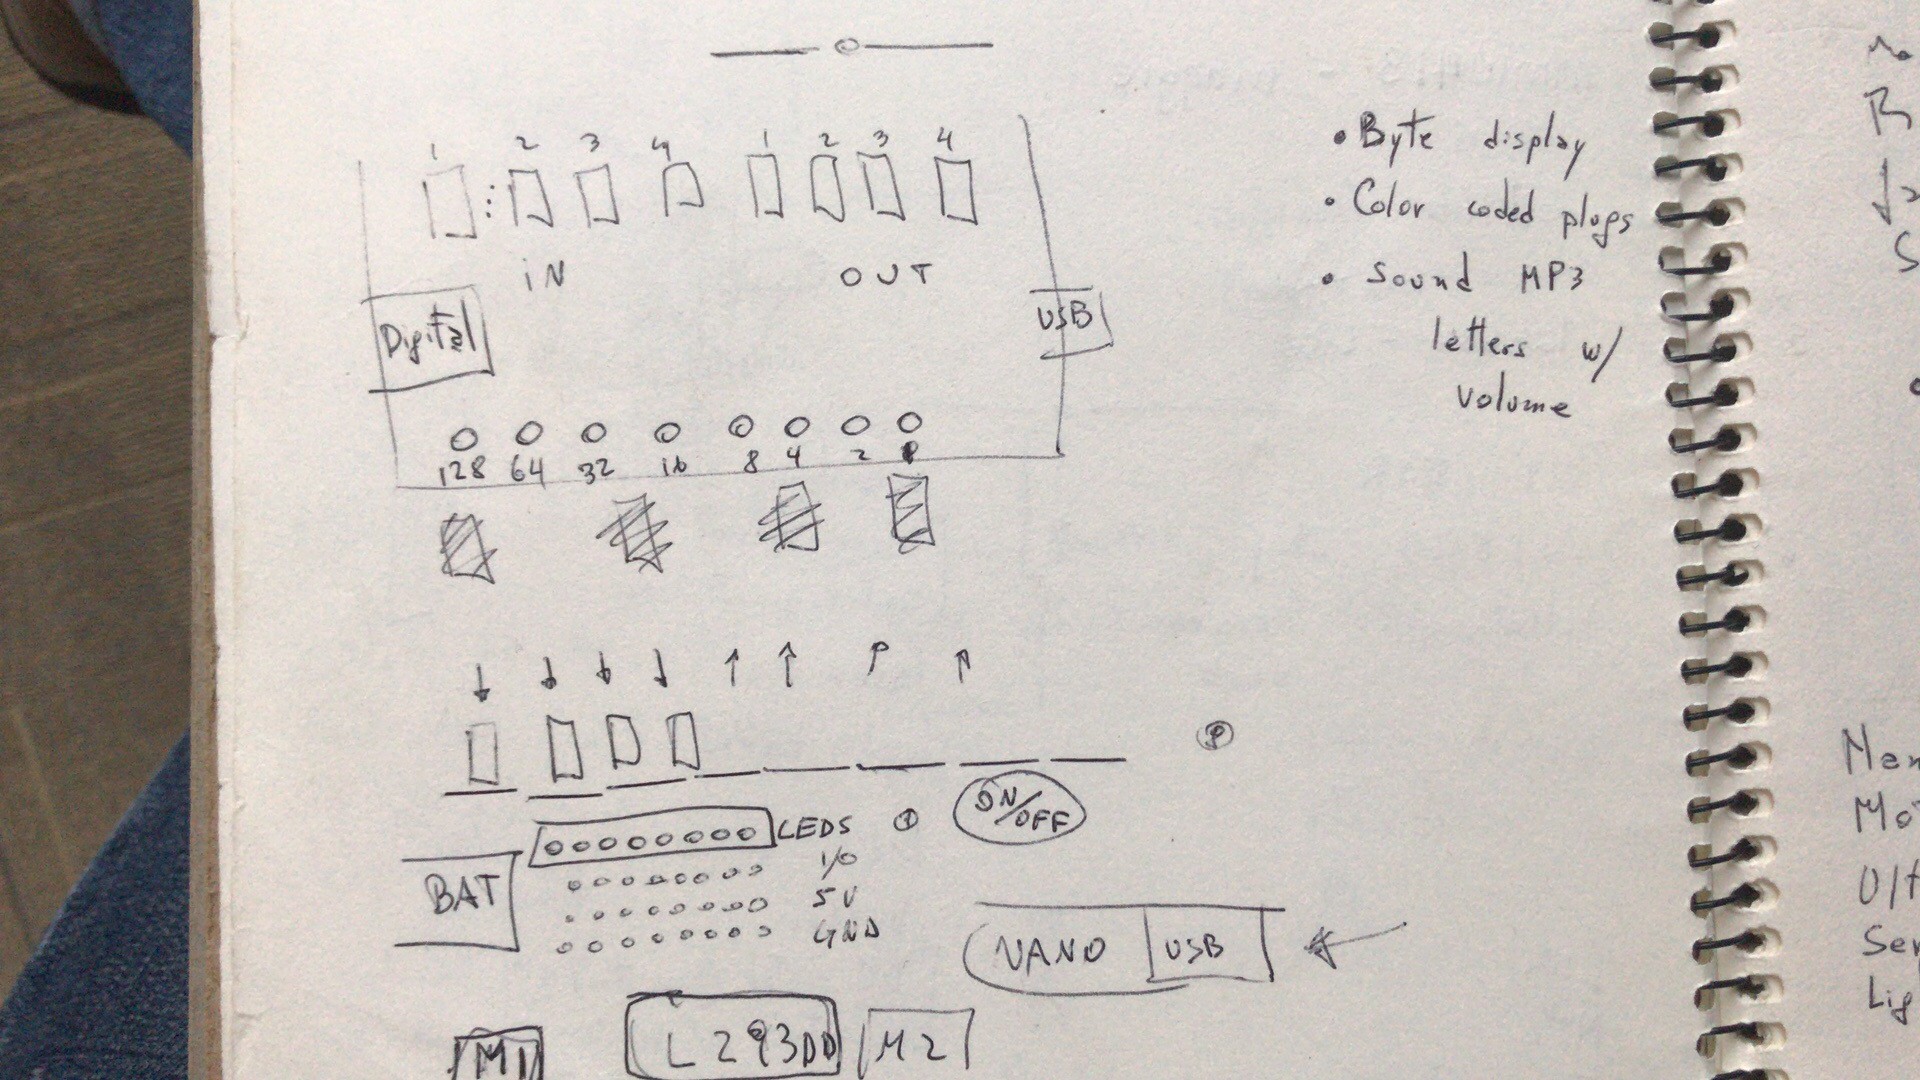
We even brainstormed a controller that was working with 8 inputs and 8 outputs, including a motor driver and a header expansion port, all powered by an Arduino Nano. Then we moved to the idea of 4 inputs and 4 outputs.
We also used a 3rd party hardware that had headers ready to connect to power and NO LOGIC. Nothing at all. Nada. To our surprise, this worked very well and there was an interesting learning curve to have sensors and motors and logic gates connect to a central "dummy" board.
Follow the North Star
Sam Altman talks frequently about the North Star for startups, where it means not to get lost among so many exciting opportunities. With this in mind we also did our own bit of soul searching, trying to think what were the most important concepts behind developing a new board. A new board to do what? Why our classes needed a different tool? Did they?
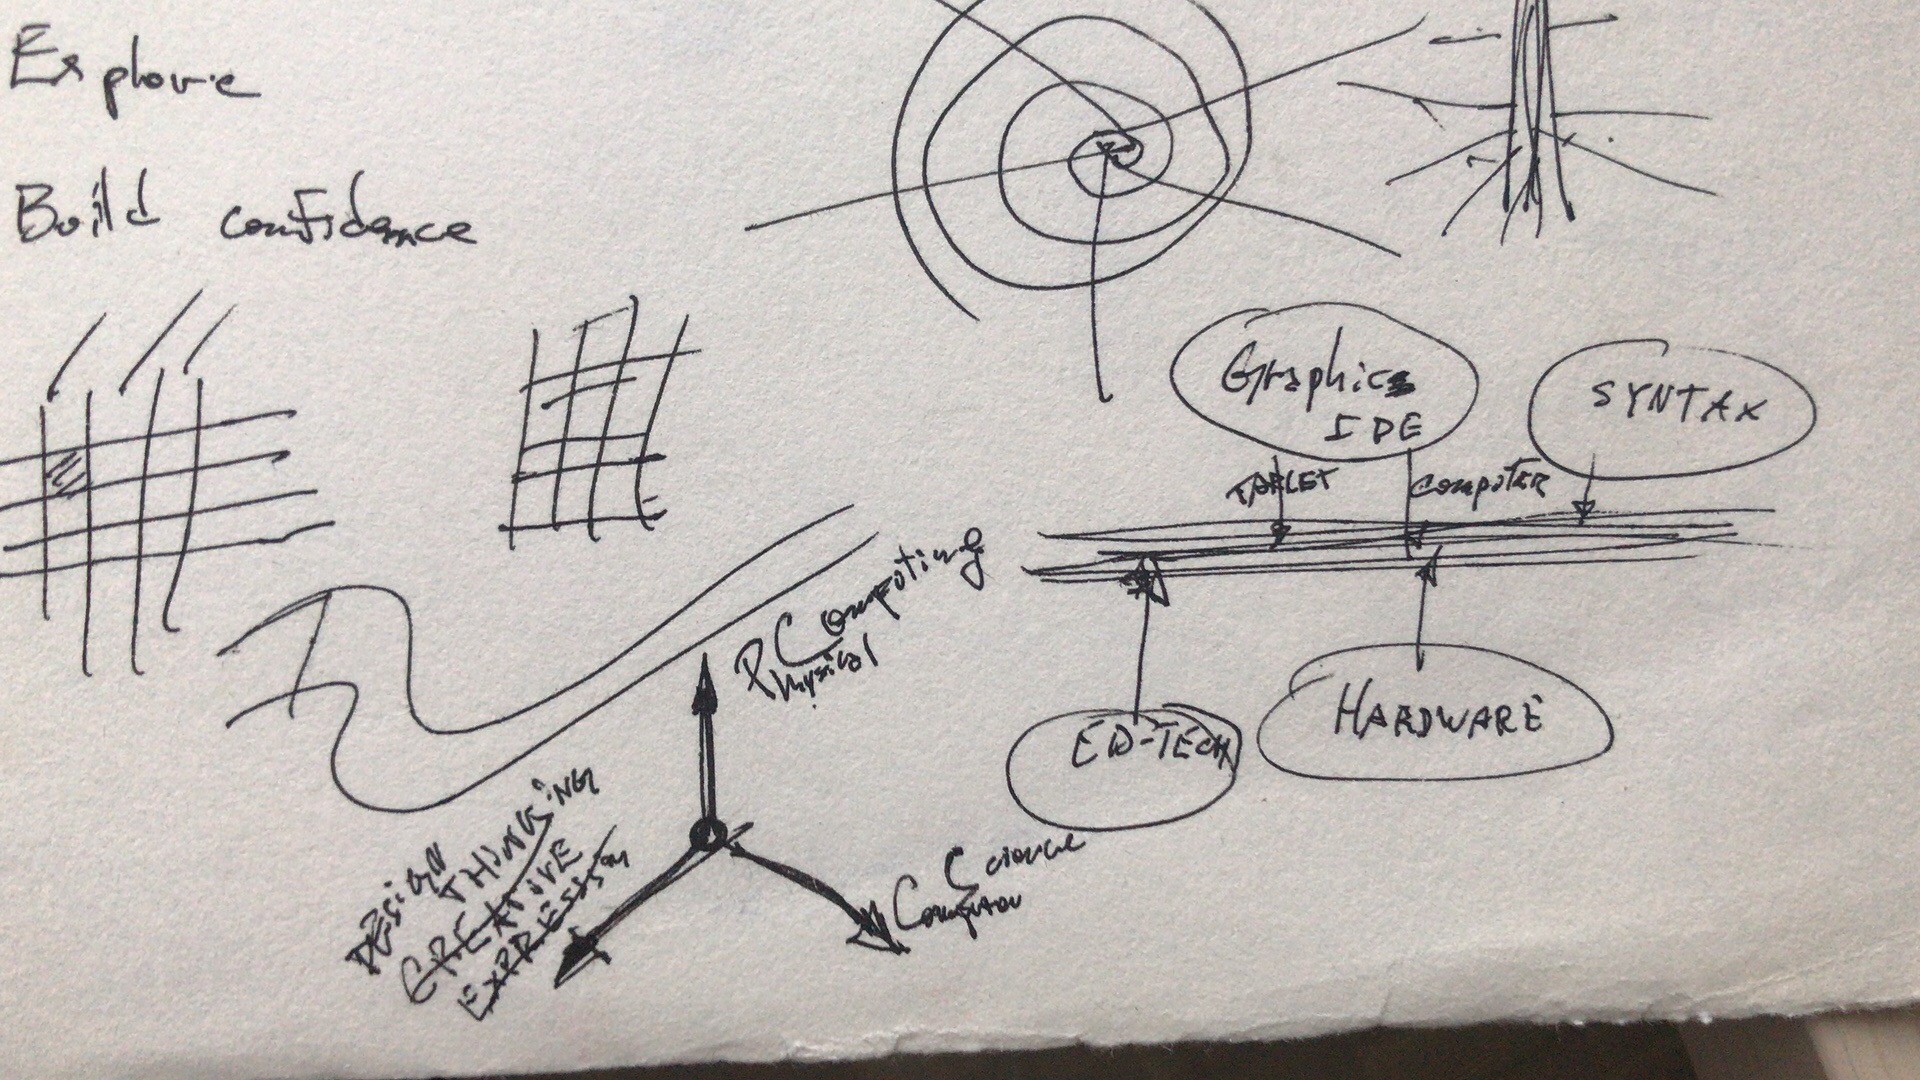
As a part of our regular conversations, we started trying to make a graphical approach to what it meant to participate in our hands on workshops. A matrix may be, where you would have scattered around certain areas your learning experience. Or a 3D axis, with Design Thinking, Physical Computing and Computer Science as quantifiable items. But a spiraled loop with 5 or more axis could be more meaningful. And if all these were going to be represented linearly, they could mean that someone would have a "holding hands" approach as a beginner, that built confidence. But a free exploration area, a "sandbox" where failing was not something bad.
Converging Concepts
The way we decided to continue the development was that we brainstormed what we wanted to build and embrace all ideas that we had. All together. In a divergent way. Exploring and been fearless. That didn't mean we had to do all of them, but it served as a base to work with.
We analyzed technology that was involved, grouping ideas and linking them with dev time and investment needed. From that stage is that we started realizing how important it was the shape and the kind of instructions needed to use this new board.
A new board that, we joked, was an old board. Because the technology involved by then was still 8 bits and 16MHz, with a not so friendly IDE to program it. But we needed an improvement over what we were using till that day. We were just tired of fried sensors and boring faces when young kids were having trouble with breadboards.
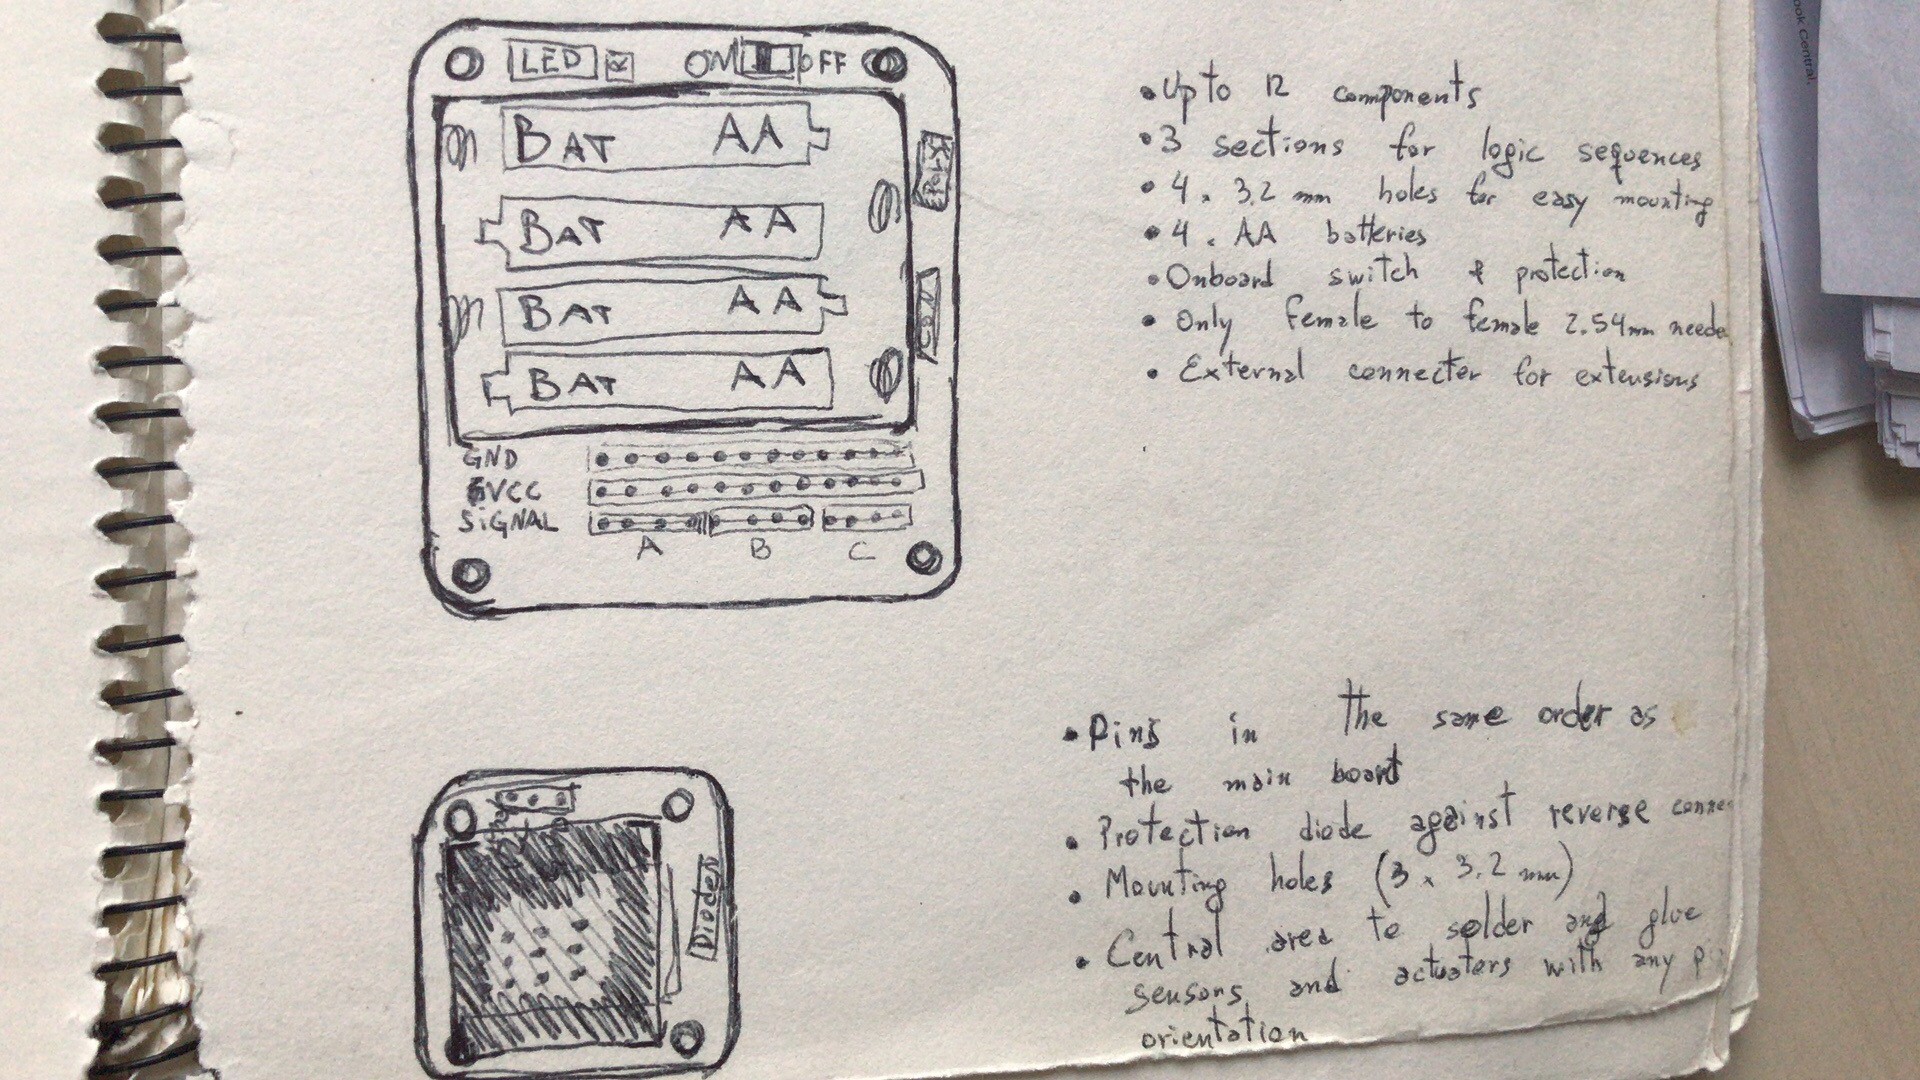
Still we had some questions, like the modularity. That is a recurrent topic in my own projects, thinking about how a project could be scalable and expandable if everything is modular. Nevertheless when we started working on the development, it became clear that we should leave that for the roadmap if we wanted to match the dates of the next summer camp. Below you can see a picture that I think very valuable, but it didn't make it to the final version.
Even when something gets drop in the way, the converging process is essential to be able to move forward. Nicolas Cinguino, from Blank Studios, shared with us the double diamond diagram during my last course at NYU Shanghai. At the beginning it felt a bit artificial to me, but if you don't reach a problem definition by convergence, you won't solve anything ever.

Project Requirements
Happily we converged in a reduced set of inputs, that contained a clear distinction on the board requirements:
- a quick entry point, with no or little hardware configuration for beginners. Still it needed to have inputs (analog, digital) and outputs (light and sound).
- an immediate way to expand the functionality by connecting more "stuff". So sensors and servos should be able to be connected directly to the board.
- visually attractive, ergonomically designed, with the user as the center of the design philosophy. This meant to at least have a power switch, more intuitive labels and an easy to grab form factor.
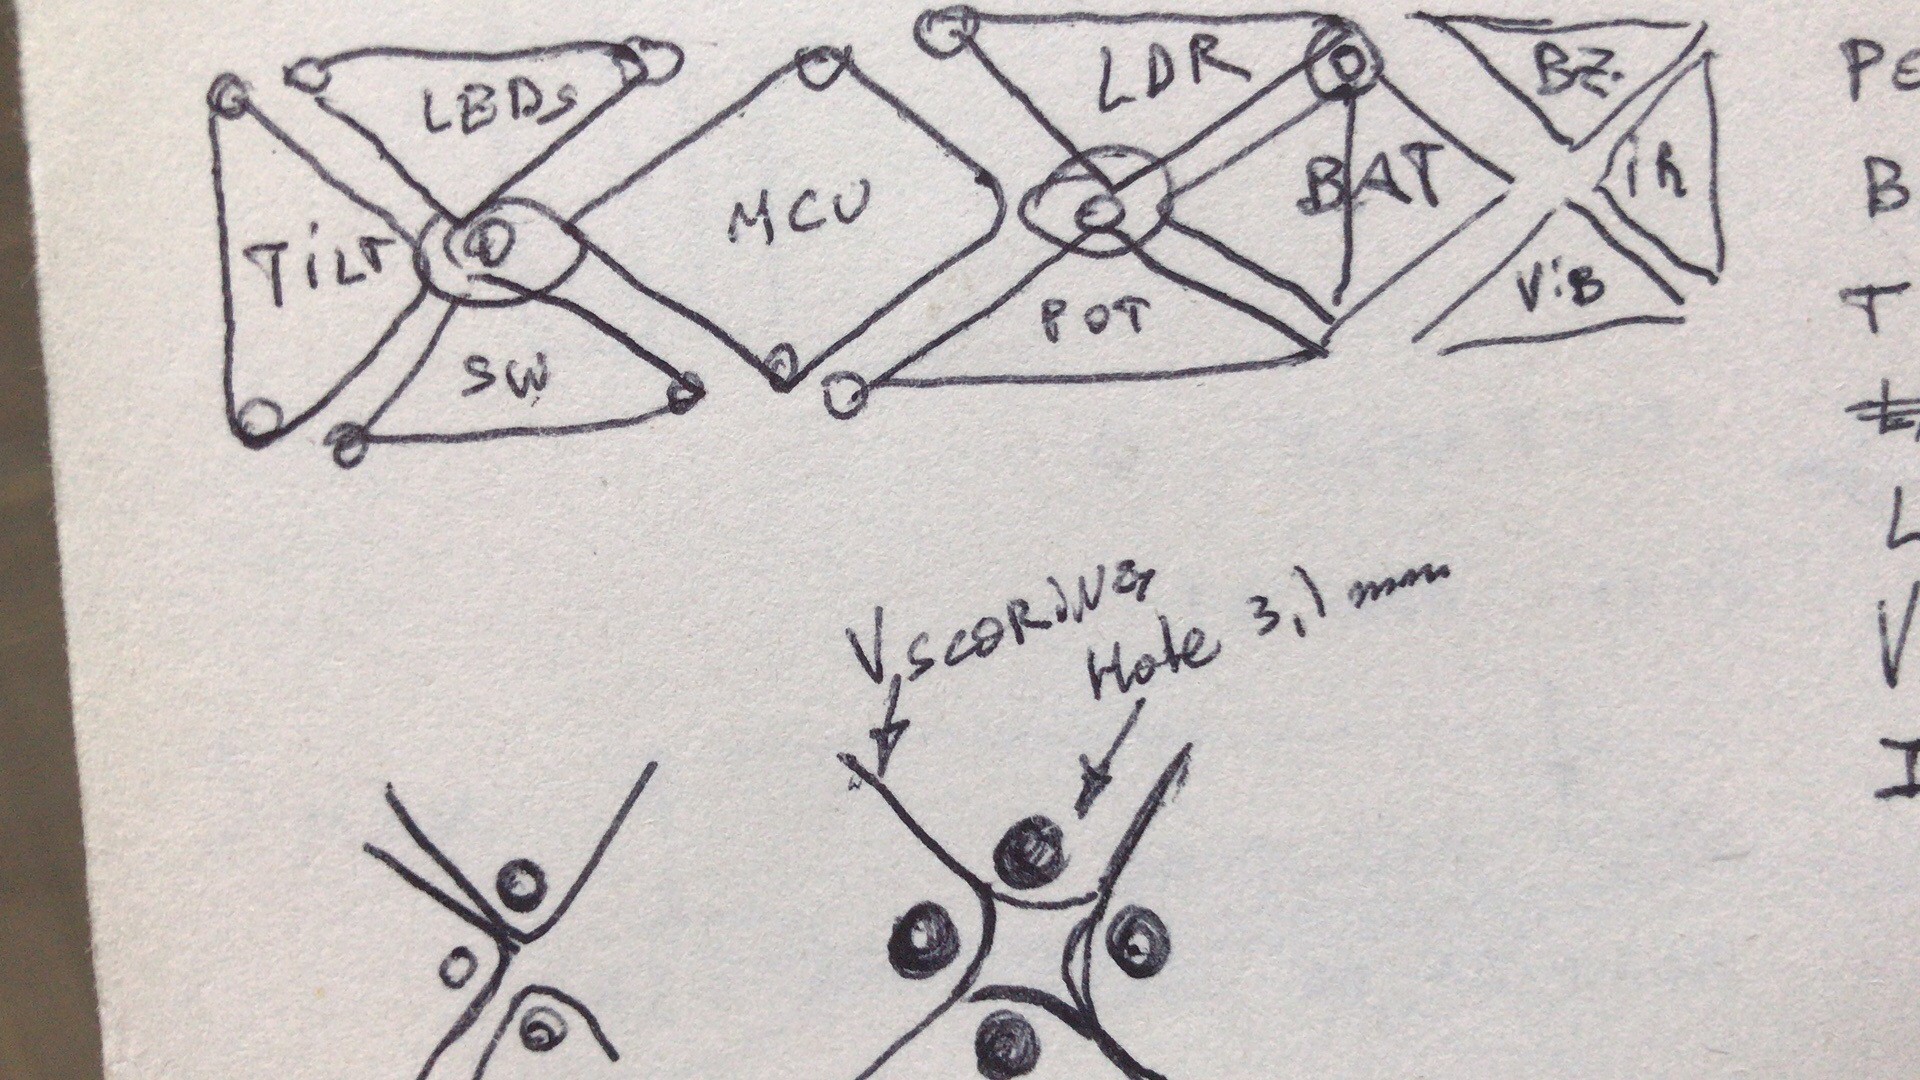
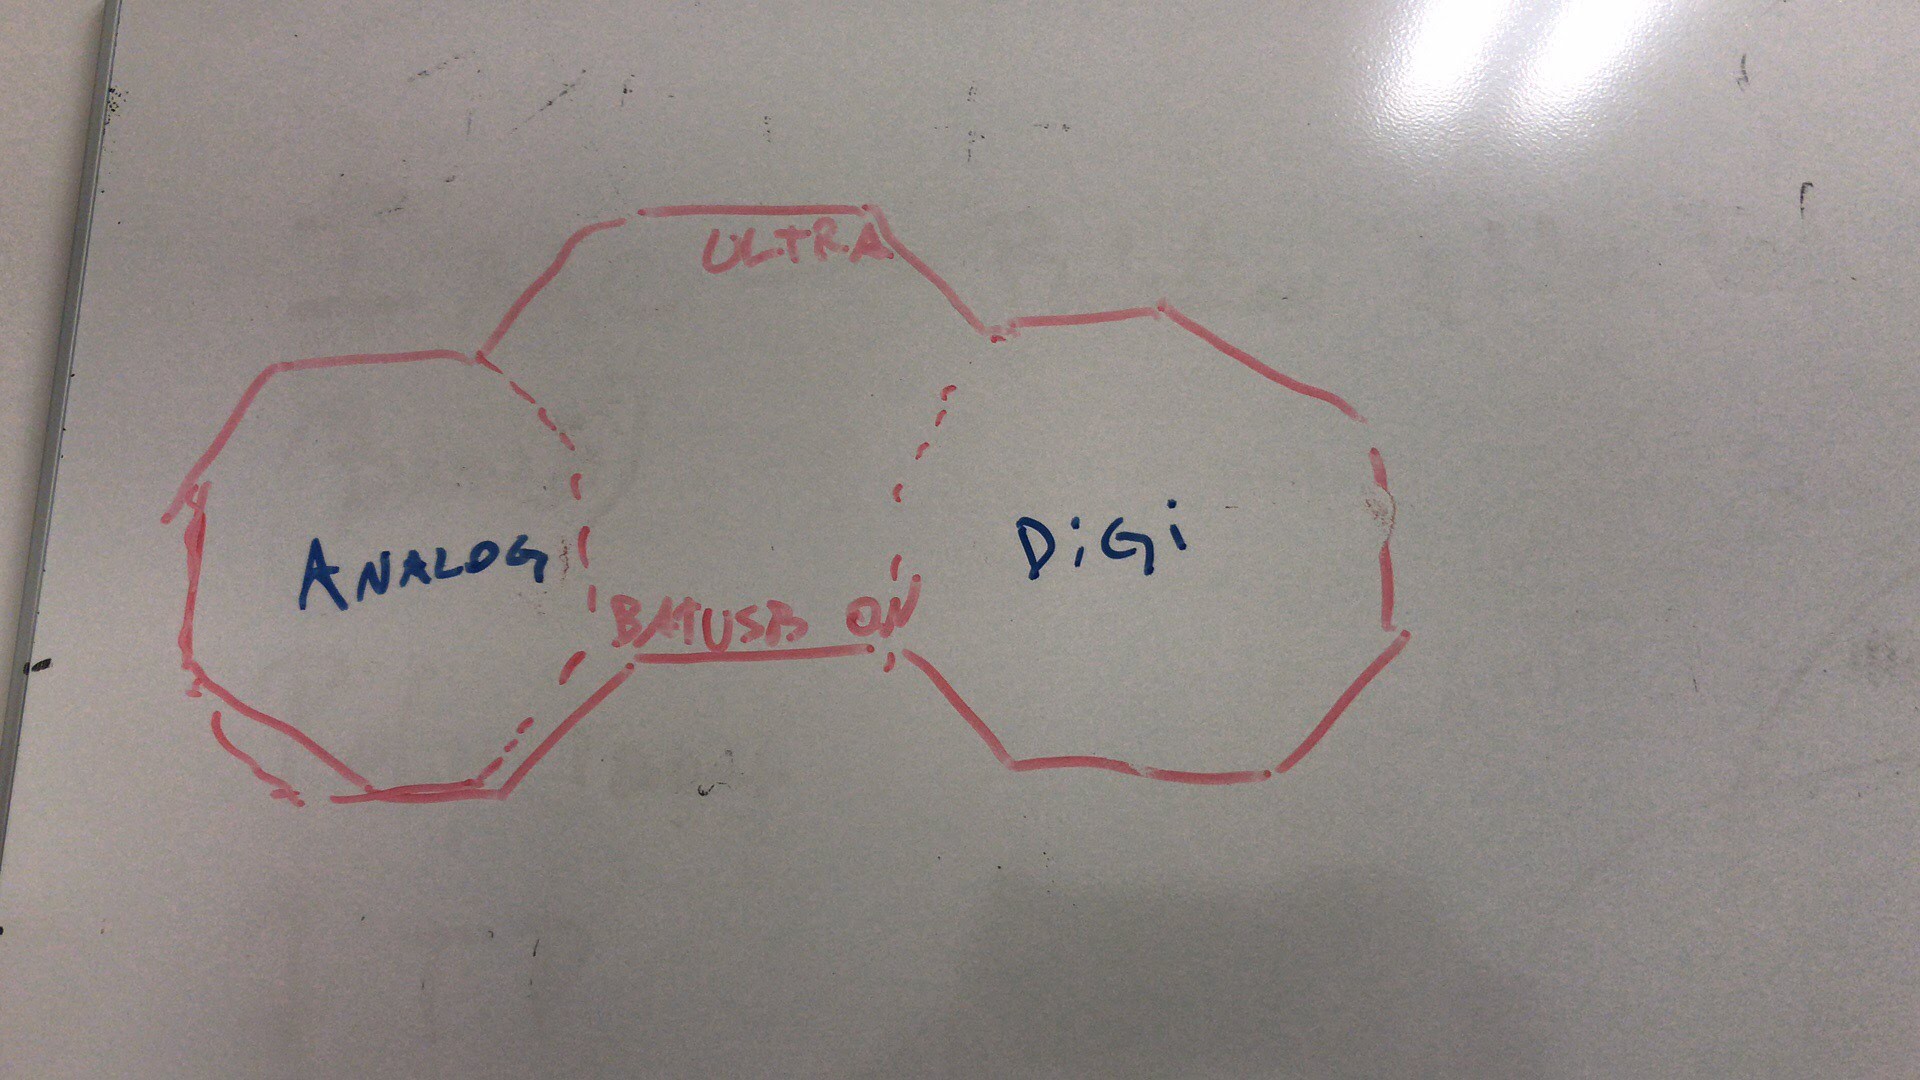
So... off we go! We started with drawings on the whiteboard and ended with tons of sketches. Here you can see some:
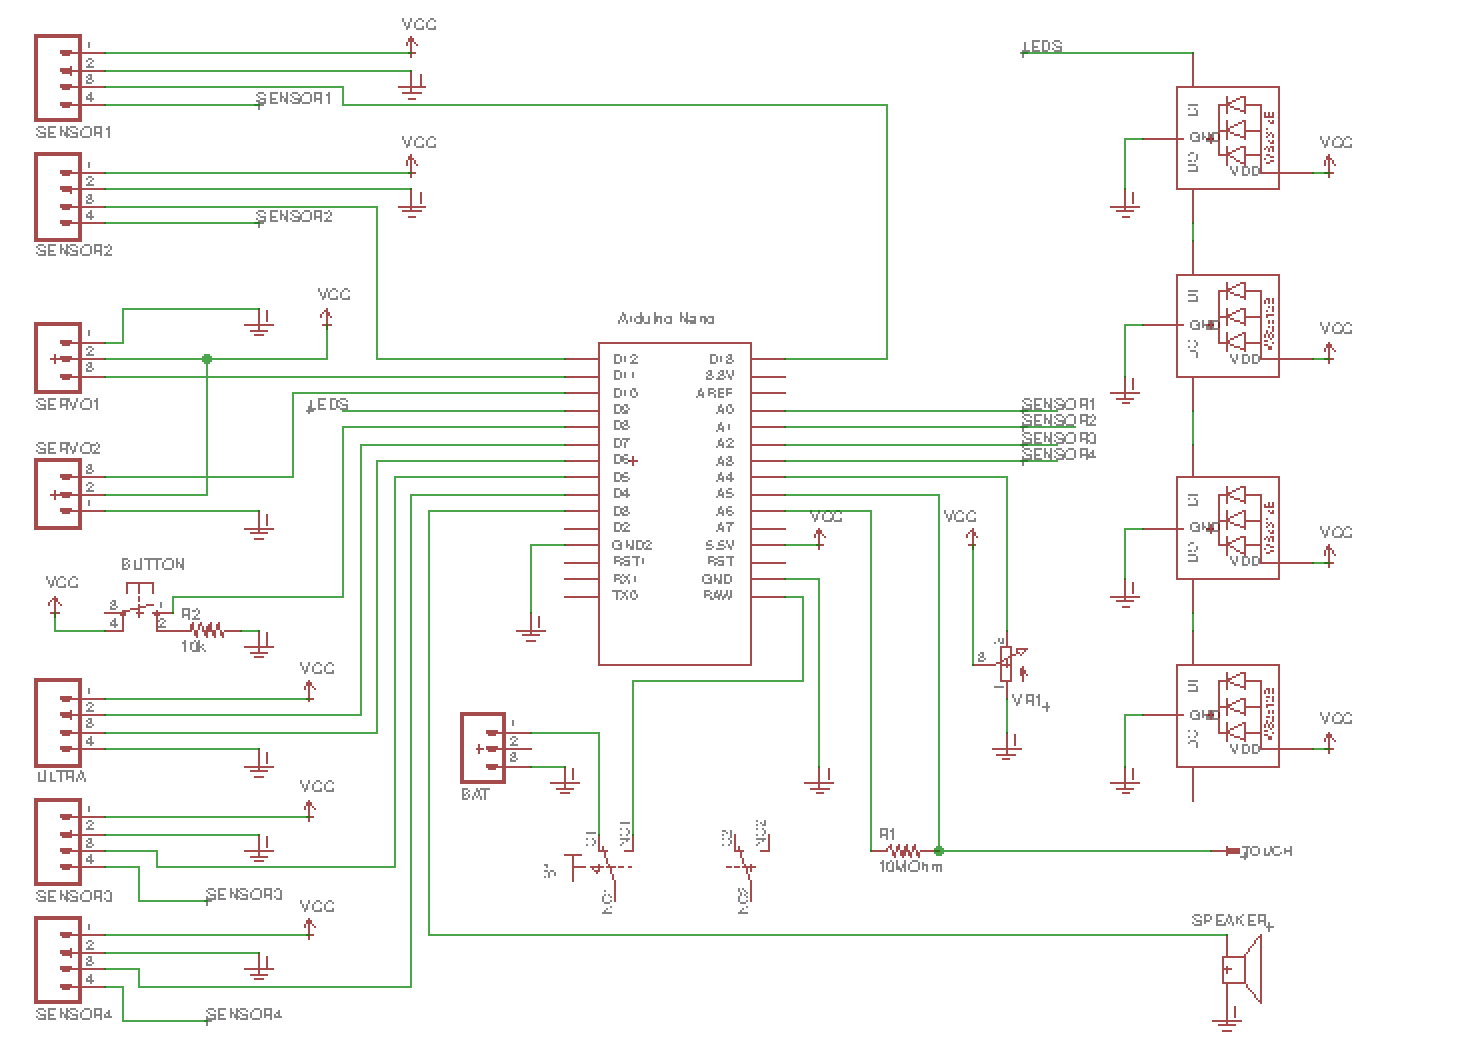
Getting Virtual
From the requirements we started lists and lists of components that we would like to connect to. One decision that was made quite arbitrary was to use the WS2812 leds, also known as Neopixels. But that gave us a simple set of in/out to include in the kit.
Getting Real
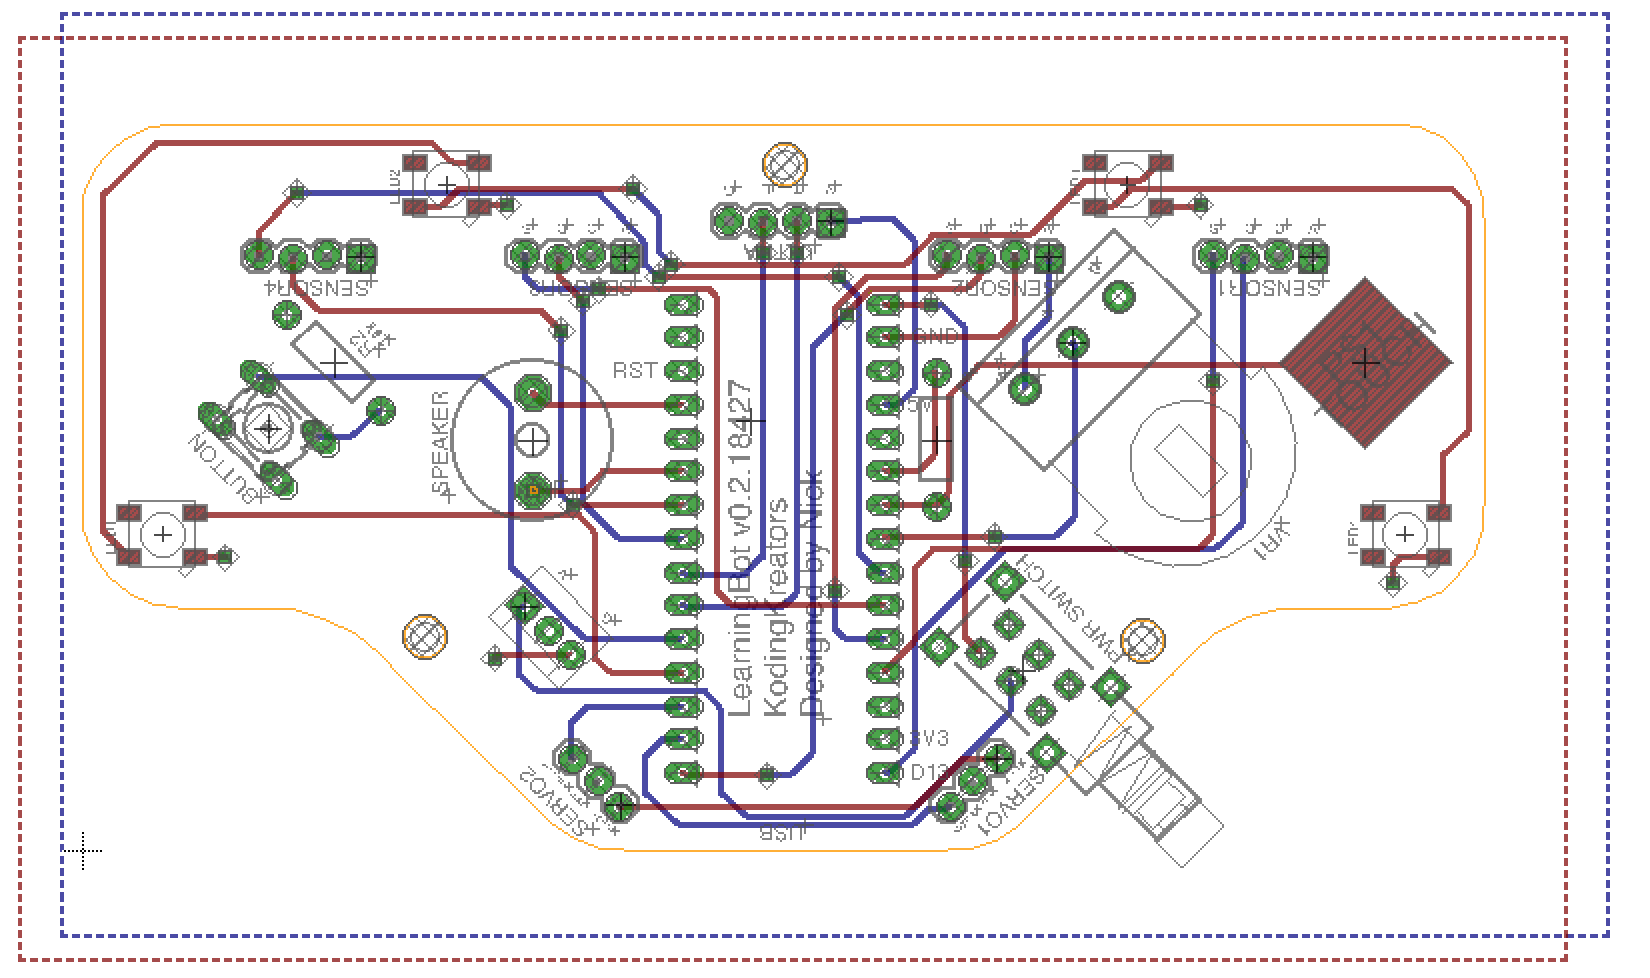
And then we started using the computer with real physical dimensions of the board. You can check out the Github repo for the latest version.Many aspects were taken into account, including the ergonomics and how the fingers of the kids could interact with the board and the sensors.
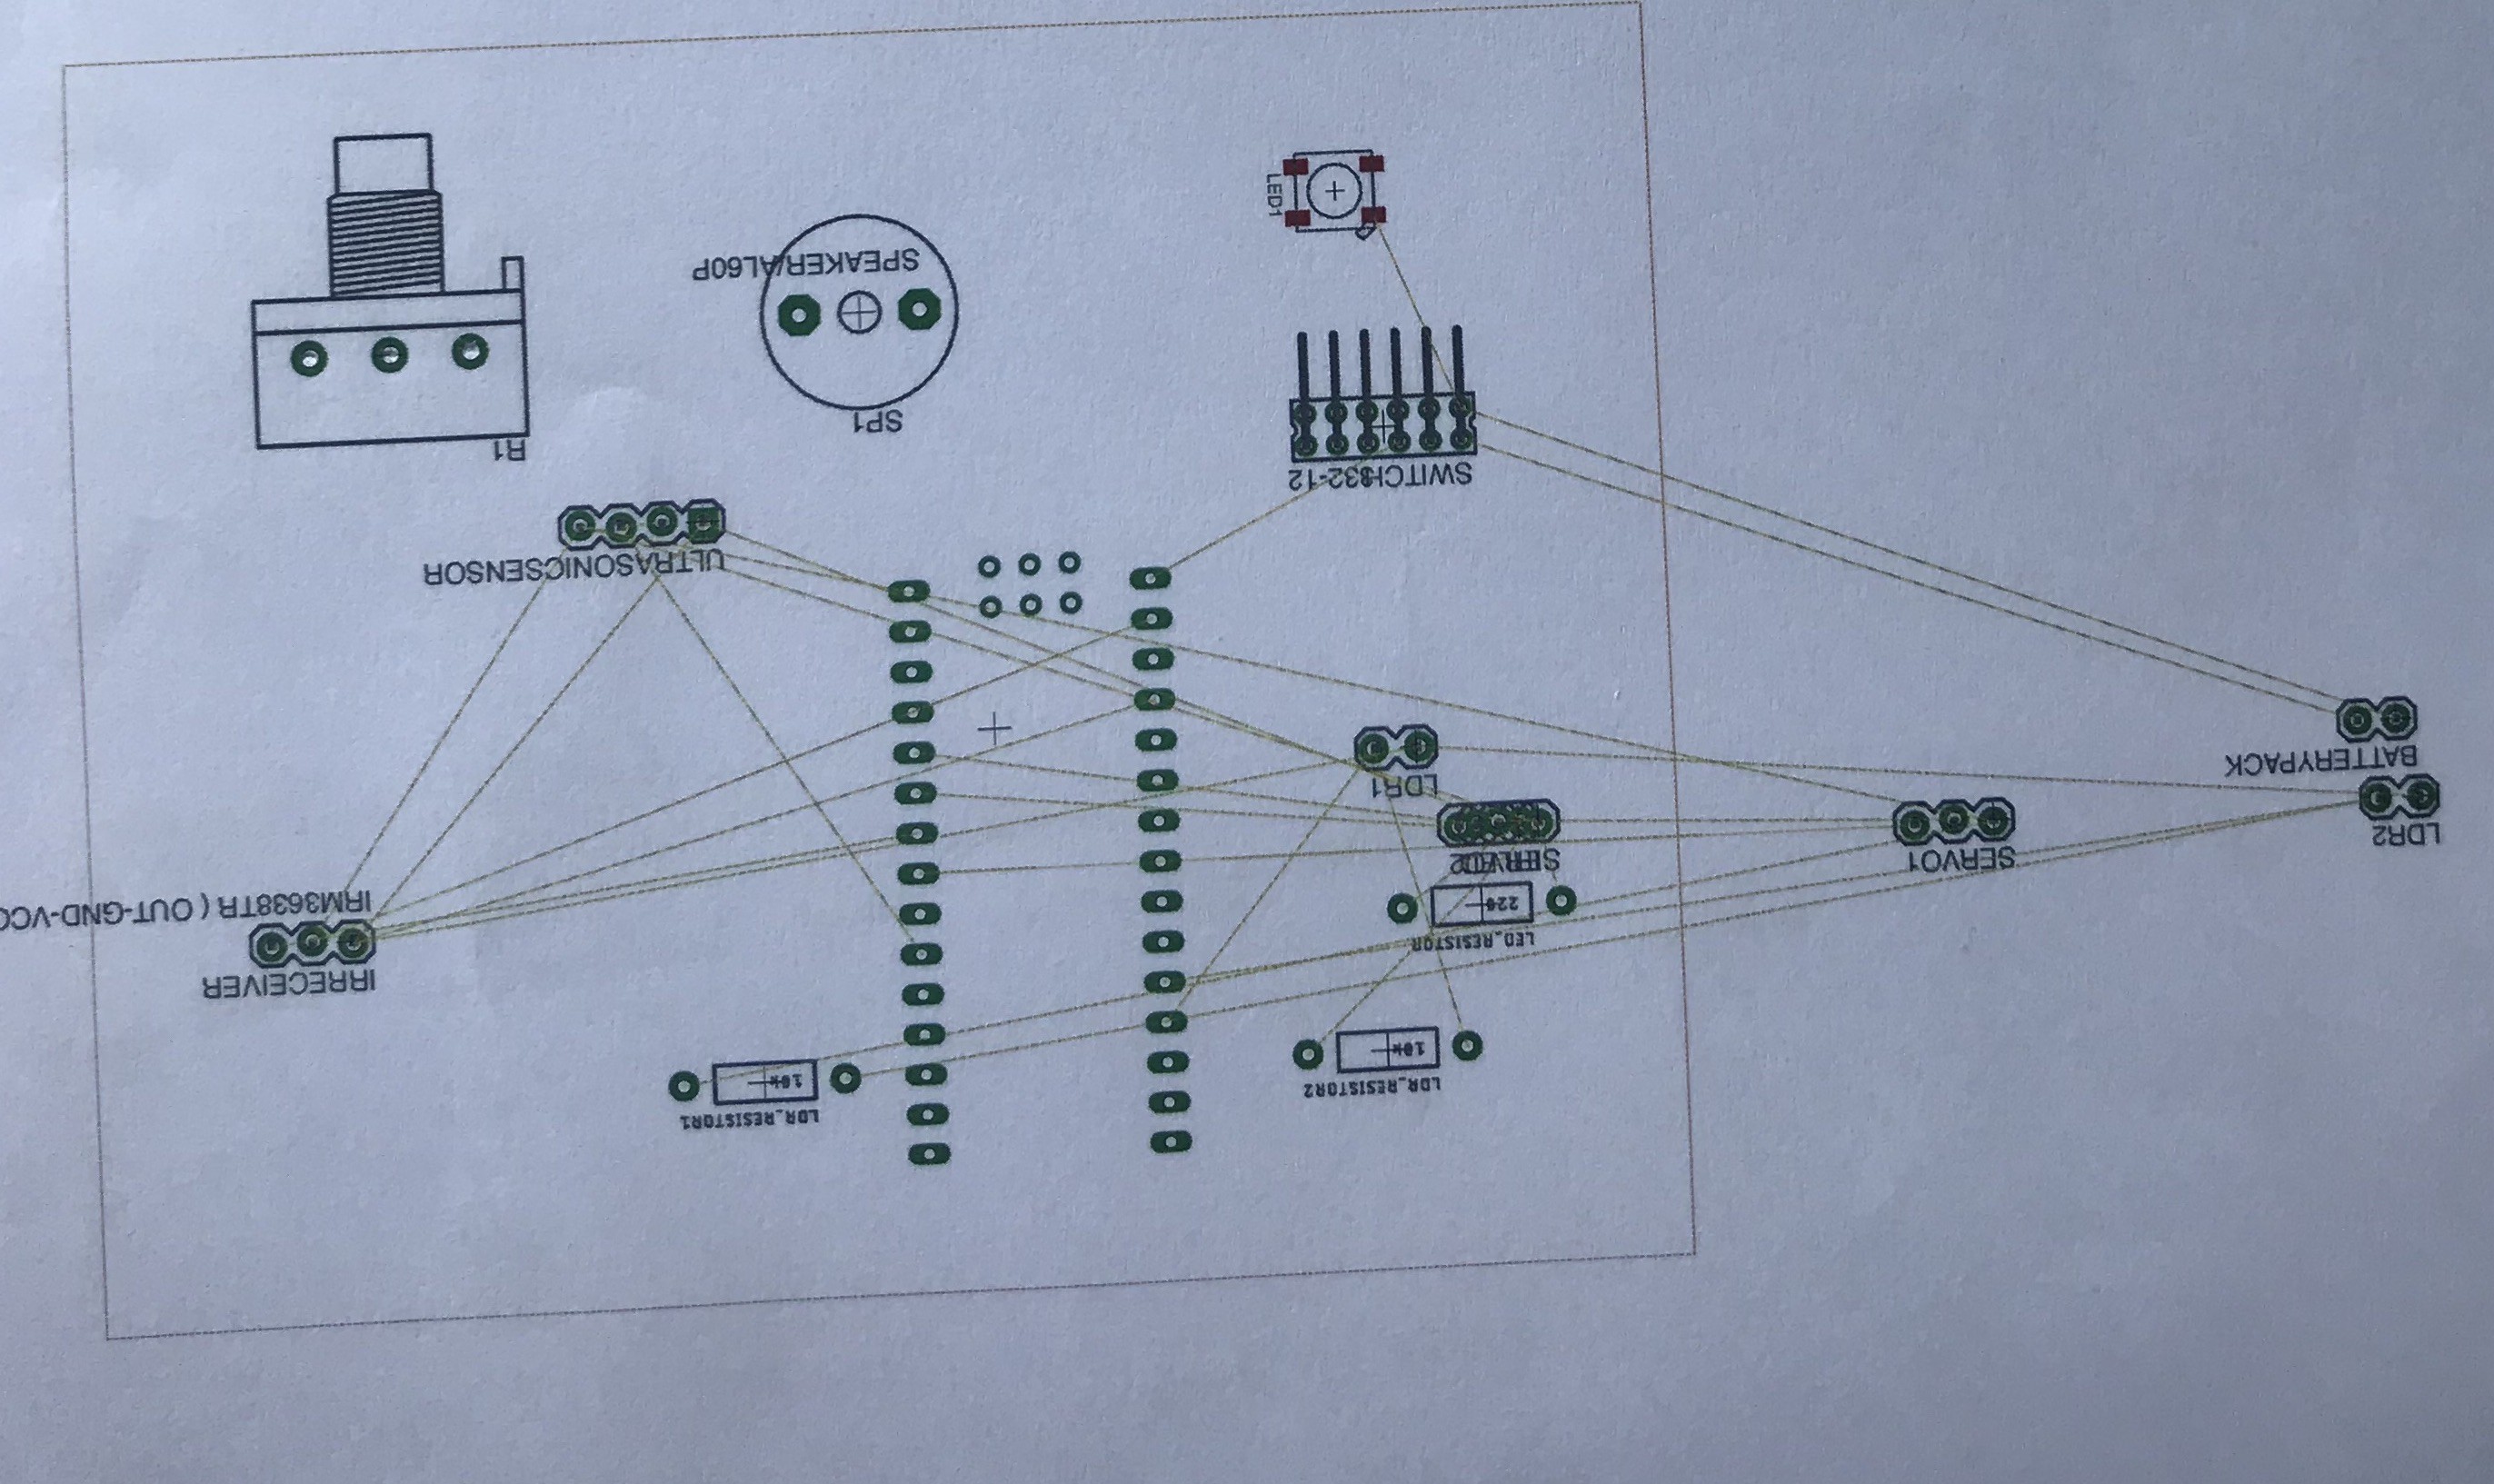
It was not too exciting nor ergonomic. But that's how we started.
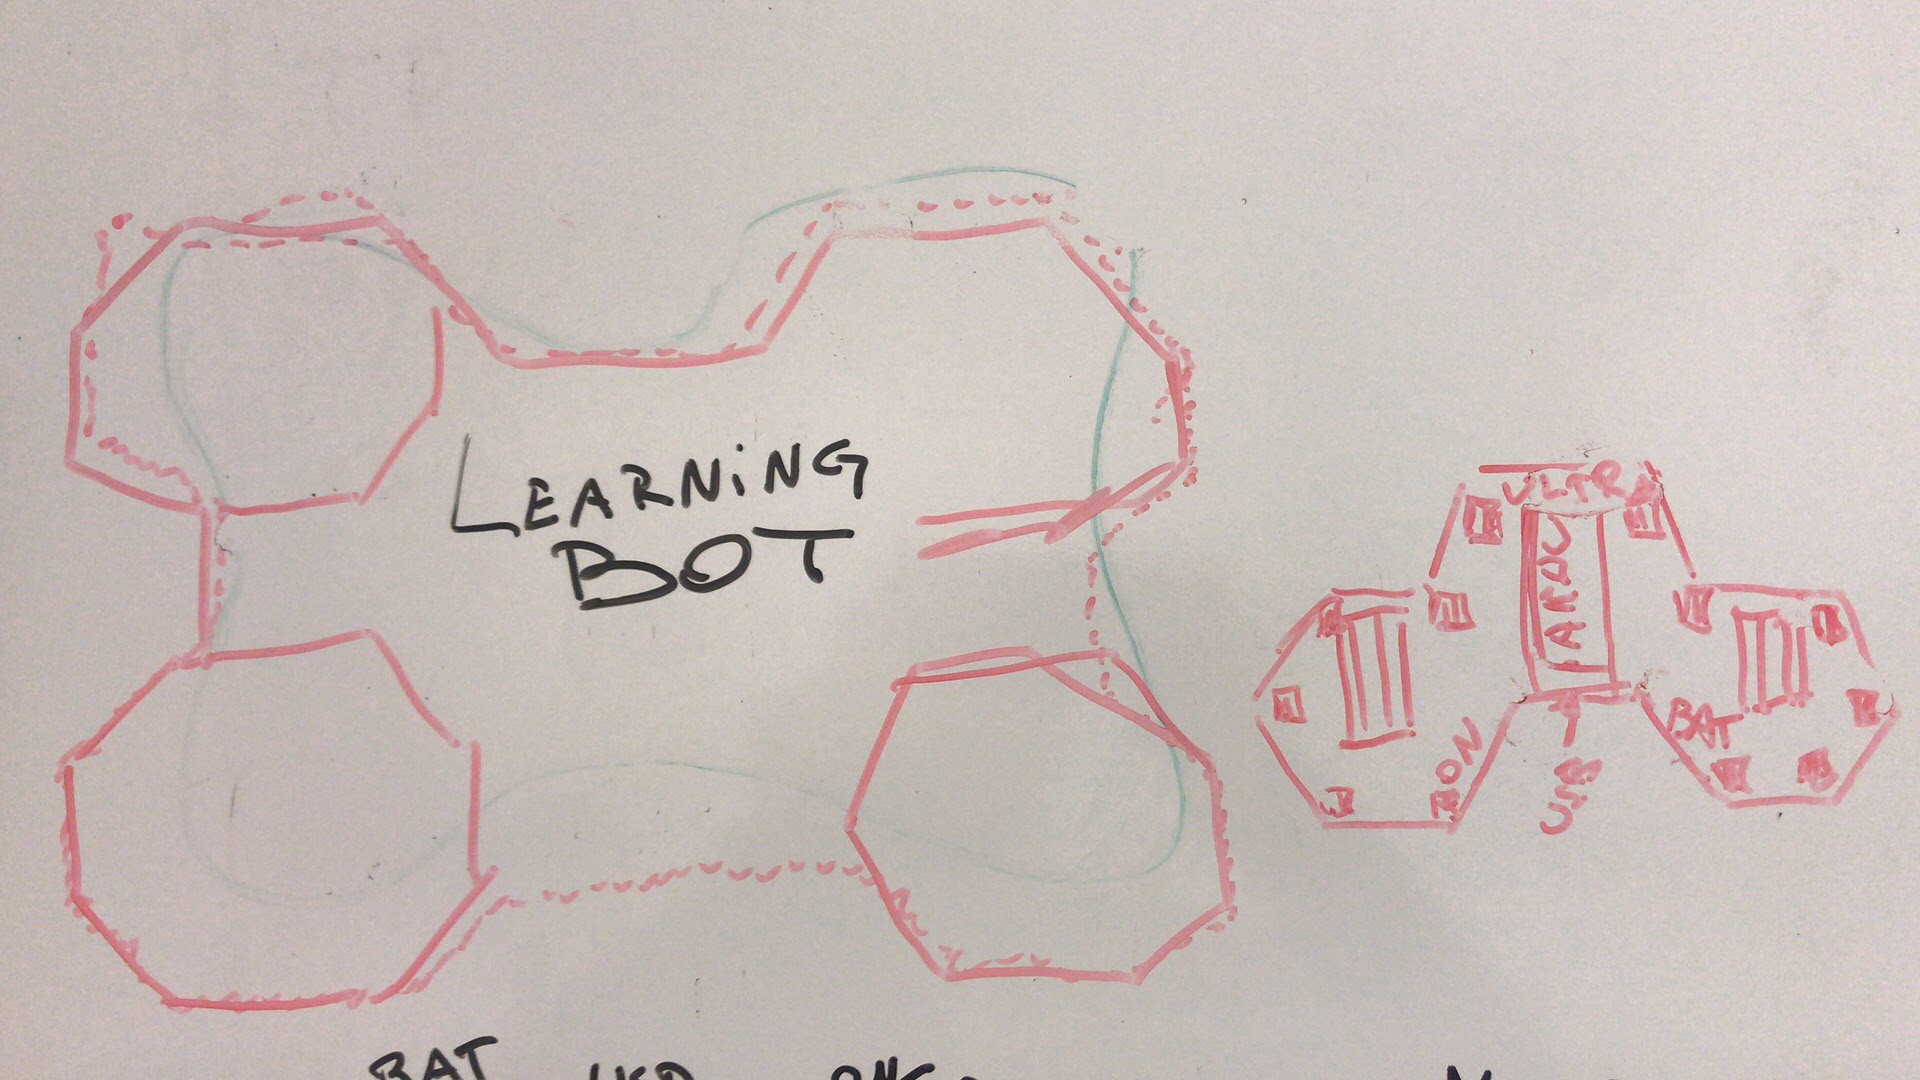
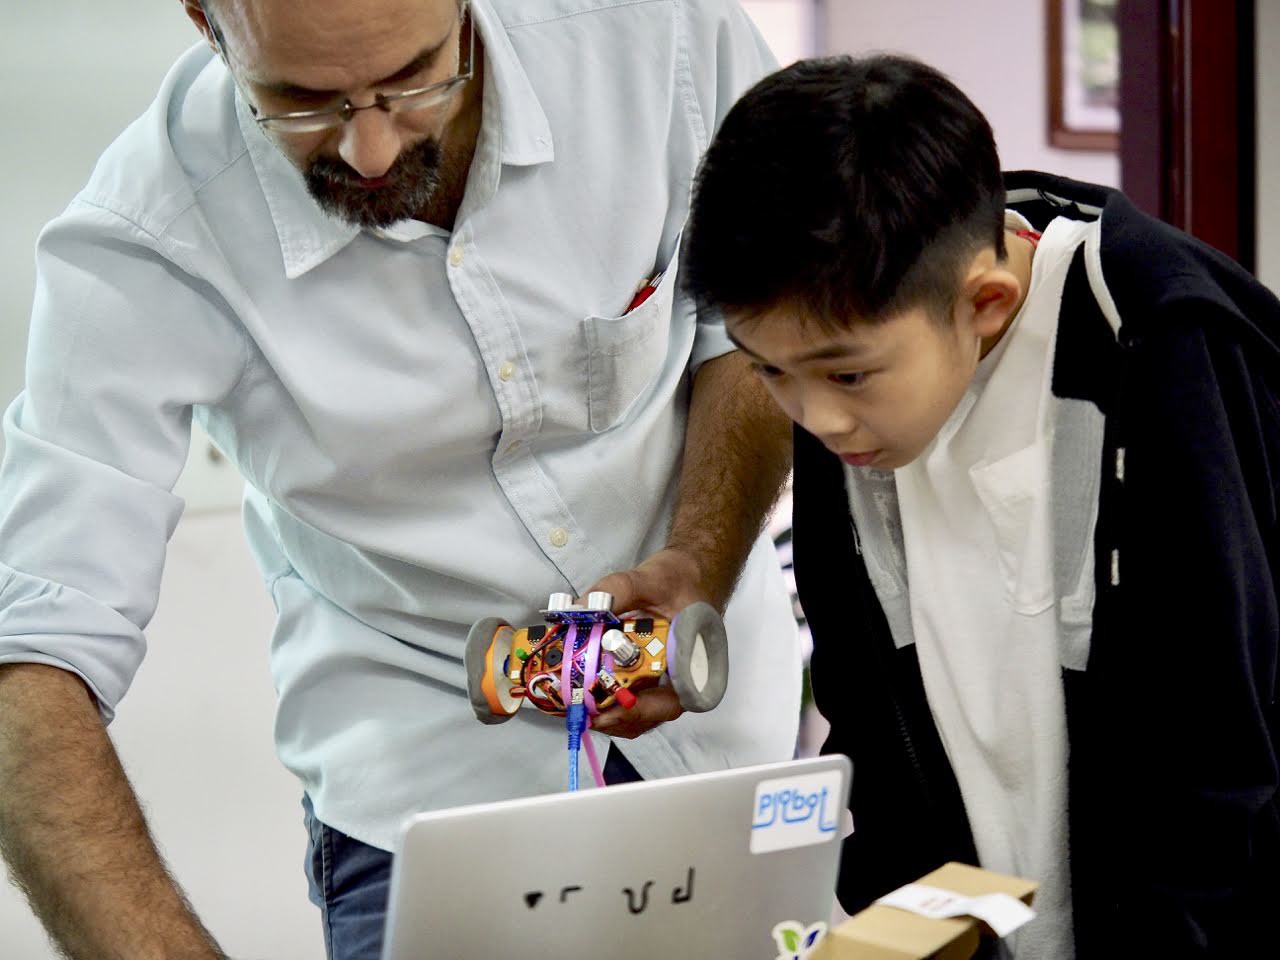
Once we were half way into the development, we realized that the board could actually be a "ready to go" robot. So we started using the codename "LearningBot". If all the cool companies can have secret names for their projects, why wouldn't we?
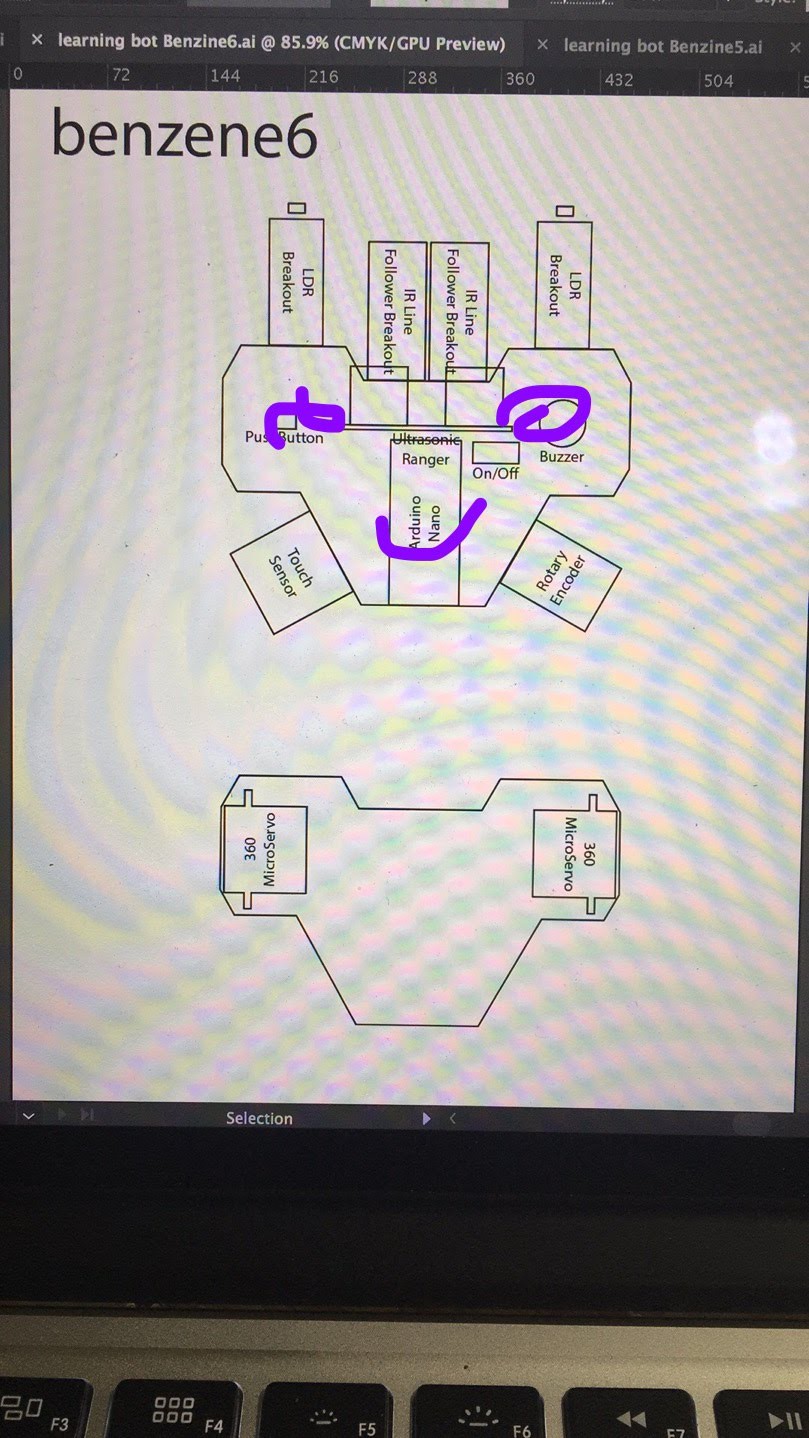
Partially as a joke, we realized how much personality it could have. But only partially. Because there was a sense of symmetry and balance. And the sensors started to make sense to the plug in both as a standalone robot or a computer interface.
And with this new topology, the final pieces of the puzzle were just in front of us.
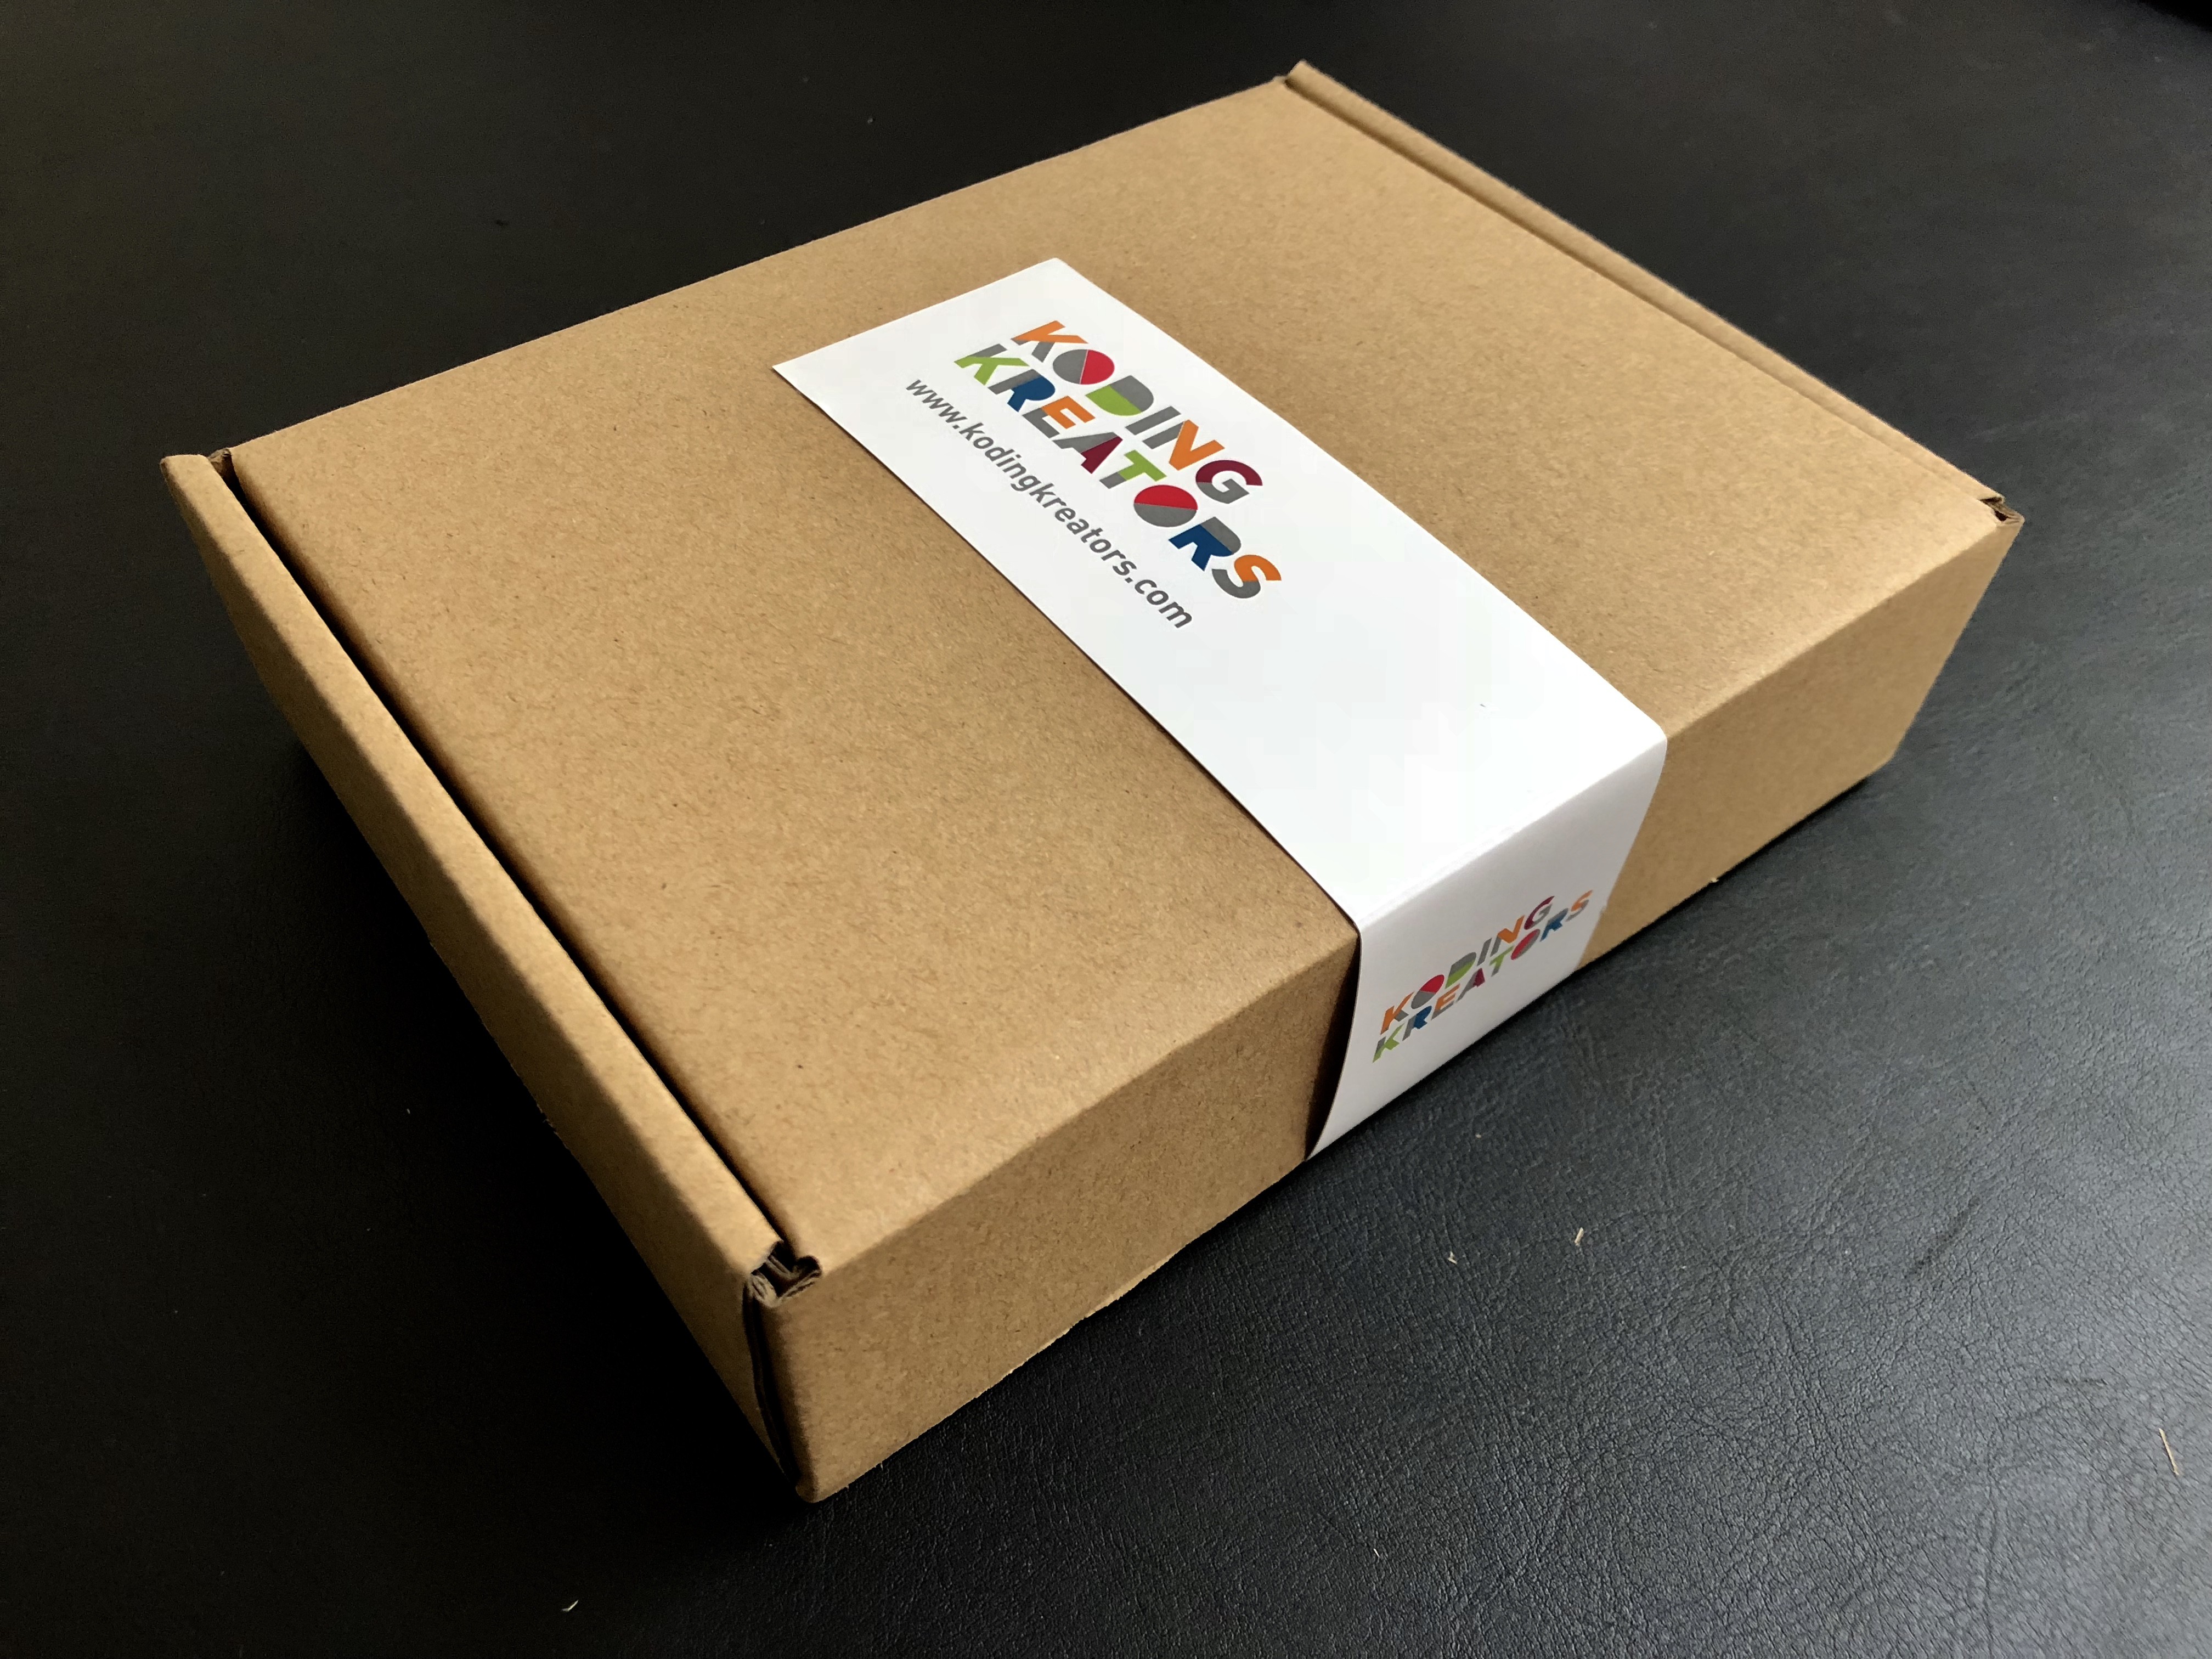
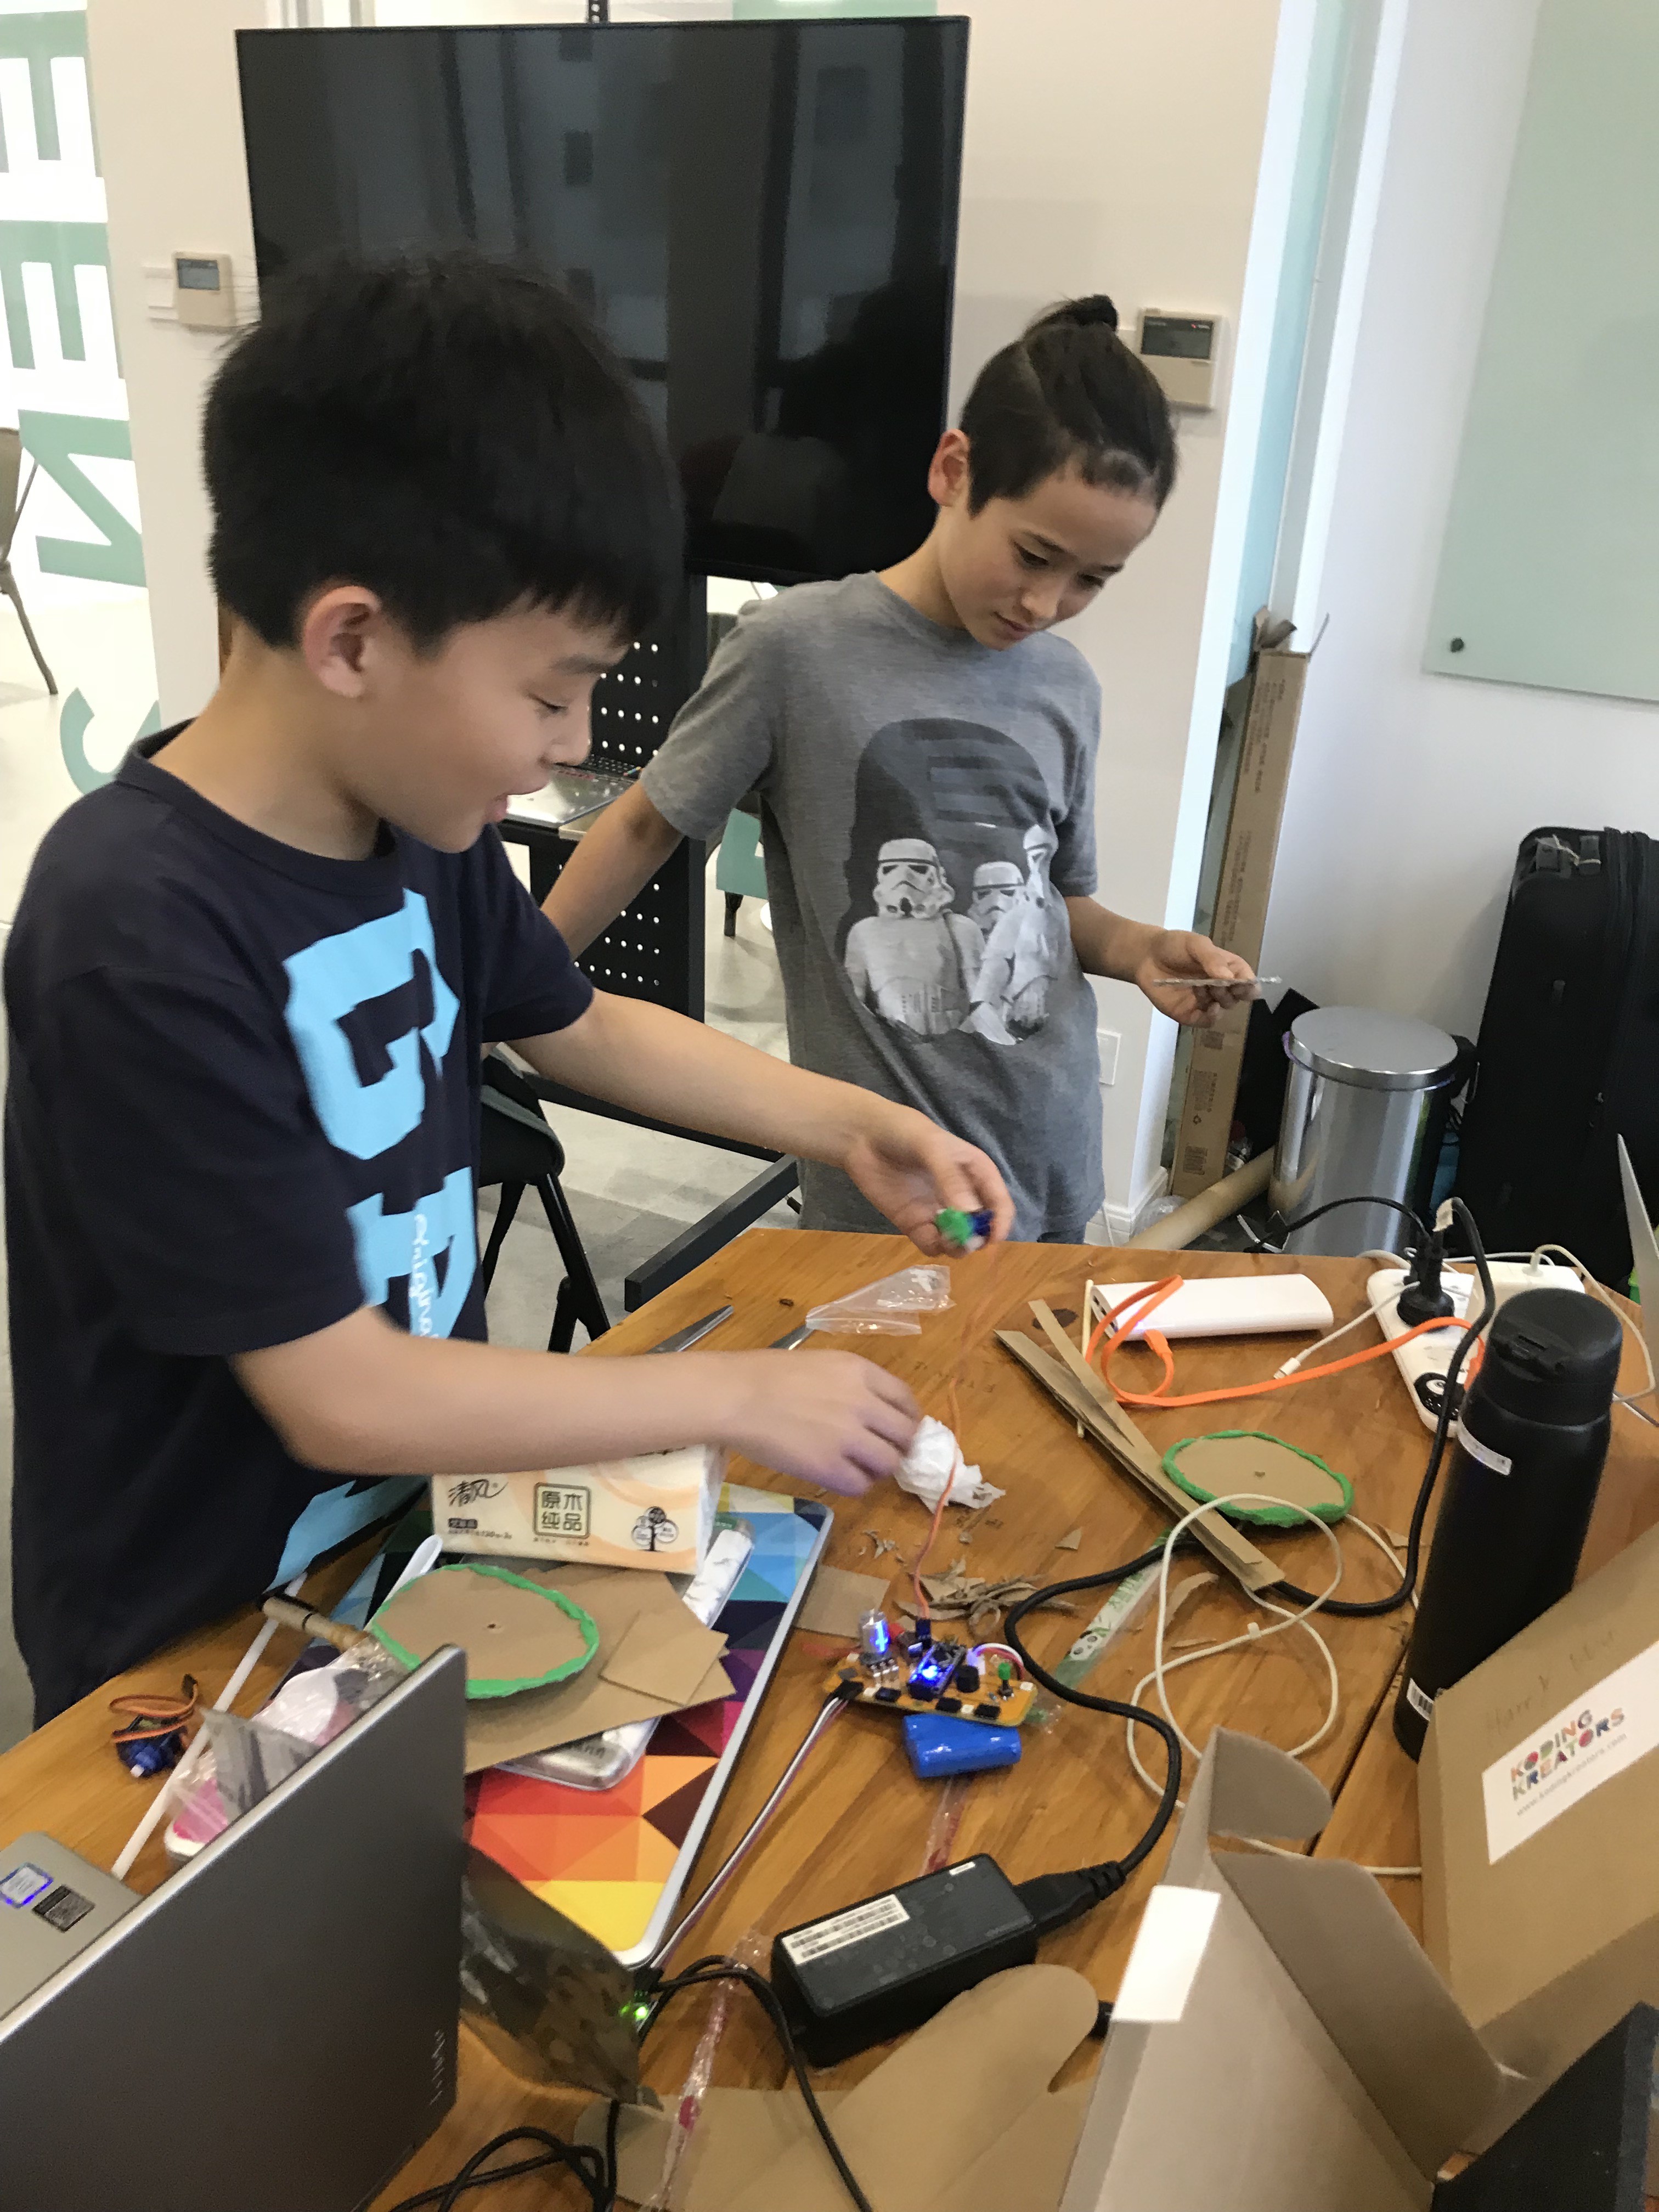
And it worked!
More on this later on, just a couple of photos to share the excitement.
Discussions
Become a Hackaday.io Member
Create an account to leave a comment. Already have an account? Log In.