 Kate Reed
Now that I have a vision for success, it is time to figure out how to make this prosthetic function. I envision this prosthetic being made out of steel wire with a circular base wire at the top which everything will hang from. I want to explore laminating wood to make the petal arms. I don’t have the best set up to make molds for wood lamination, so I am experimenting with laminating wood around a steel wire to create the curved form. I did a quick test gluing some ash veneer that I had laying around to some steel wire, and saw that this method will, in fact, work. With all of this information in mind, I went to Woodcraft, in Walpole, MA, to talk with some of the woodworkers there to confirm that what I was doing was, in their opinion, doable. They said that while my method was out of the ordinary, it would work. Feeling confident, I stocked up on more wood veneer to use for lamination. I ended up buying cherry, walnut, and mahogany, and went home excited to start the next step.
For each petal, I bent the central piece of 2-foot long thick steel wire to my desired angle and looped one end. This was not easy as the wire was extremely stiff. Then, I began cutting the 1/16 inch wood veneer so I could glue together four layers around each steel wire. The veneer that I had bought had four pieces per pack, and I found that I could split each piece in two and still have enough wood to work with for each petal.
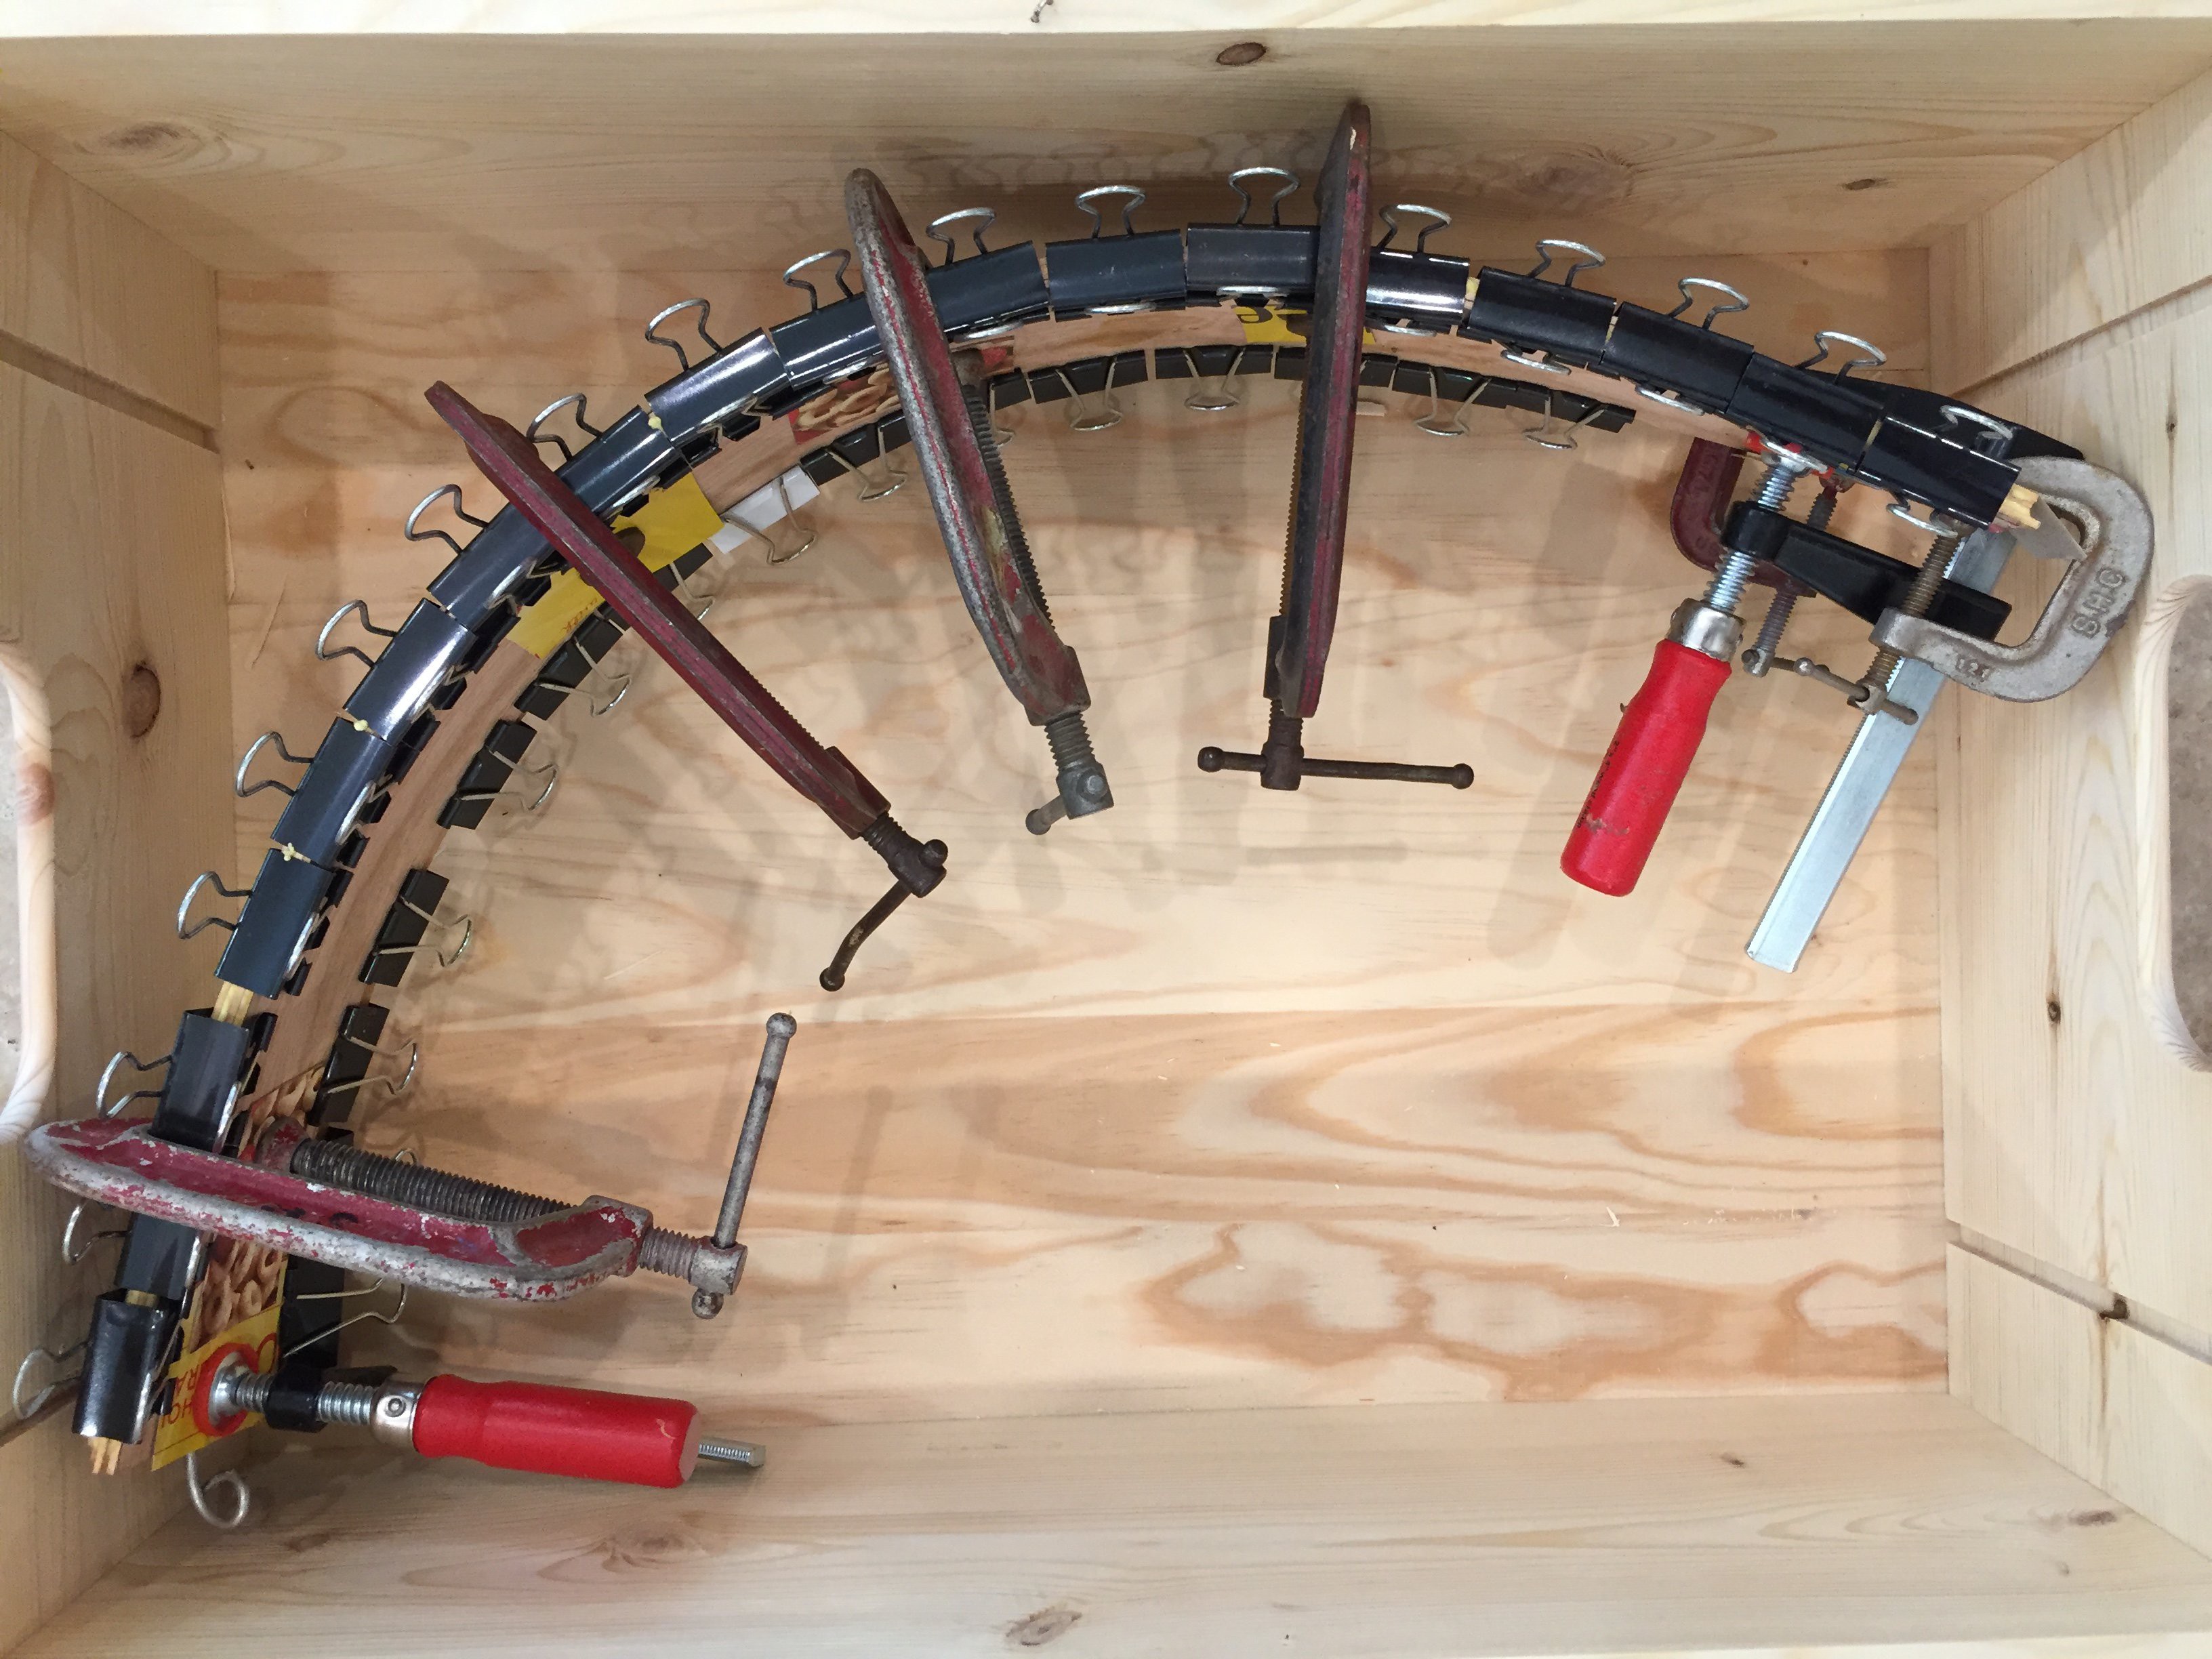
Once I had everything prepared, I began the lamination process. First things first, I added layers of wood glue in between each individual piece of wood. Once that was glued, I added in the steel wire before I put in the top piece of wood. Once I put the top piece of wood in with the wire it became a two-person job and a clamping nightmare to curve the wood to the wire form while holding it in place to clamp. The wire was already curved into its shape, and did not want to straighten out to a straight line, which was good, but it meant the wood had to curve on both sides to conform to the wire. After enlisting help for each petal, it was a stressful 10 minutes fitting everything together. It was a lot of loosening and tightening clamps over and over again trying to get the wood bent just right. I used wood clamps, binder clips and clothespins to secure the entire edge of each petal. Once the wood was clamped and clipped up, I found some wood crates in the basement that happened to be the perfect size, and put the petals in the crates to dry. This way if they expanded as they were drying, which they did a bit, they wouldn’t ultimately lose the petal shape that I wanted.
I continued this process of making petals for six days, making two petals a day, and leaving them to dry overnight. I discovered that it matters which direction the loop is going for the wire, and I definitely preferred it looping back from the petal, so I was more careful to make sure that happened going forward. I also learned that the more I planned out the exact size of the wood the better, as it made the gluing and bending process go smoother.
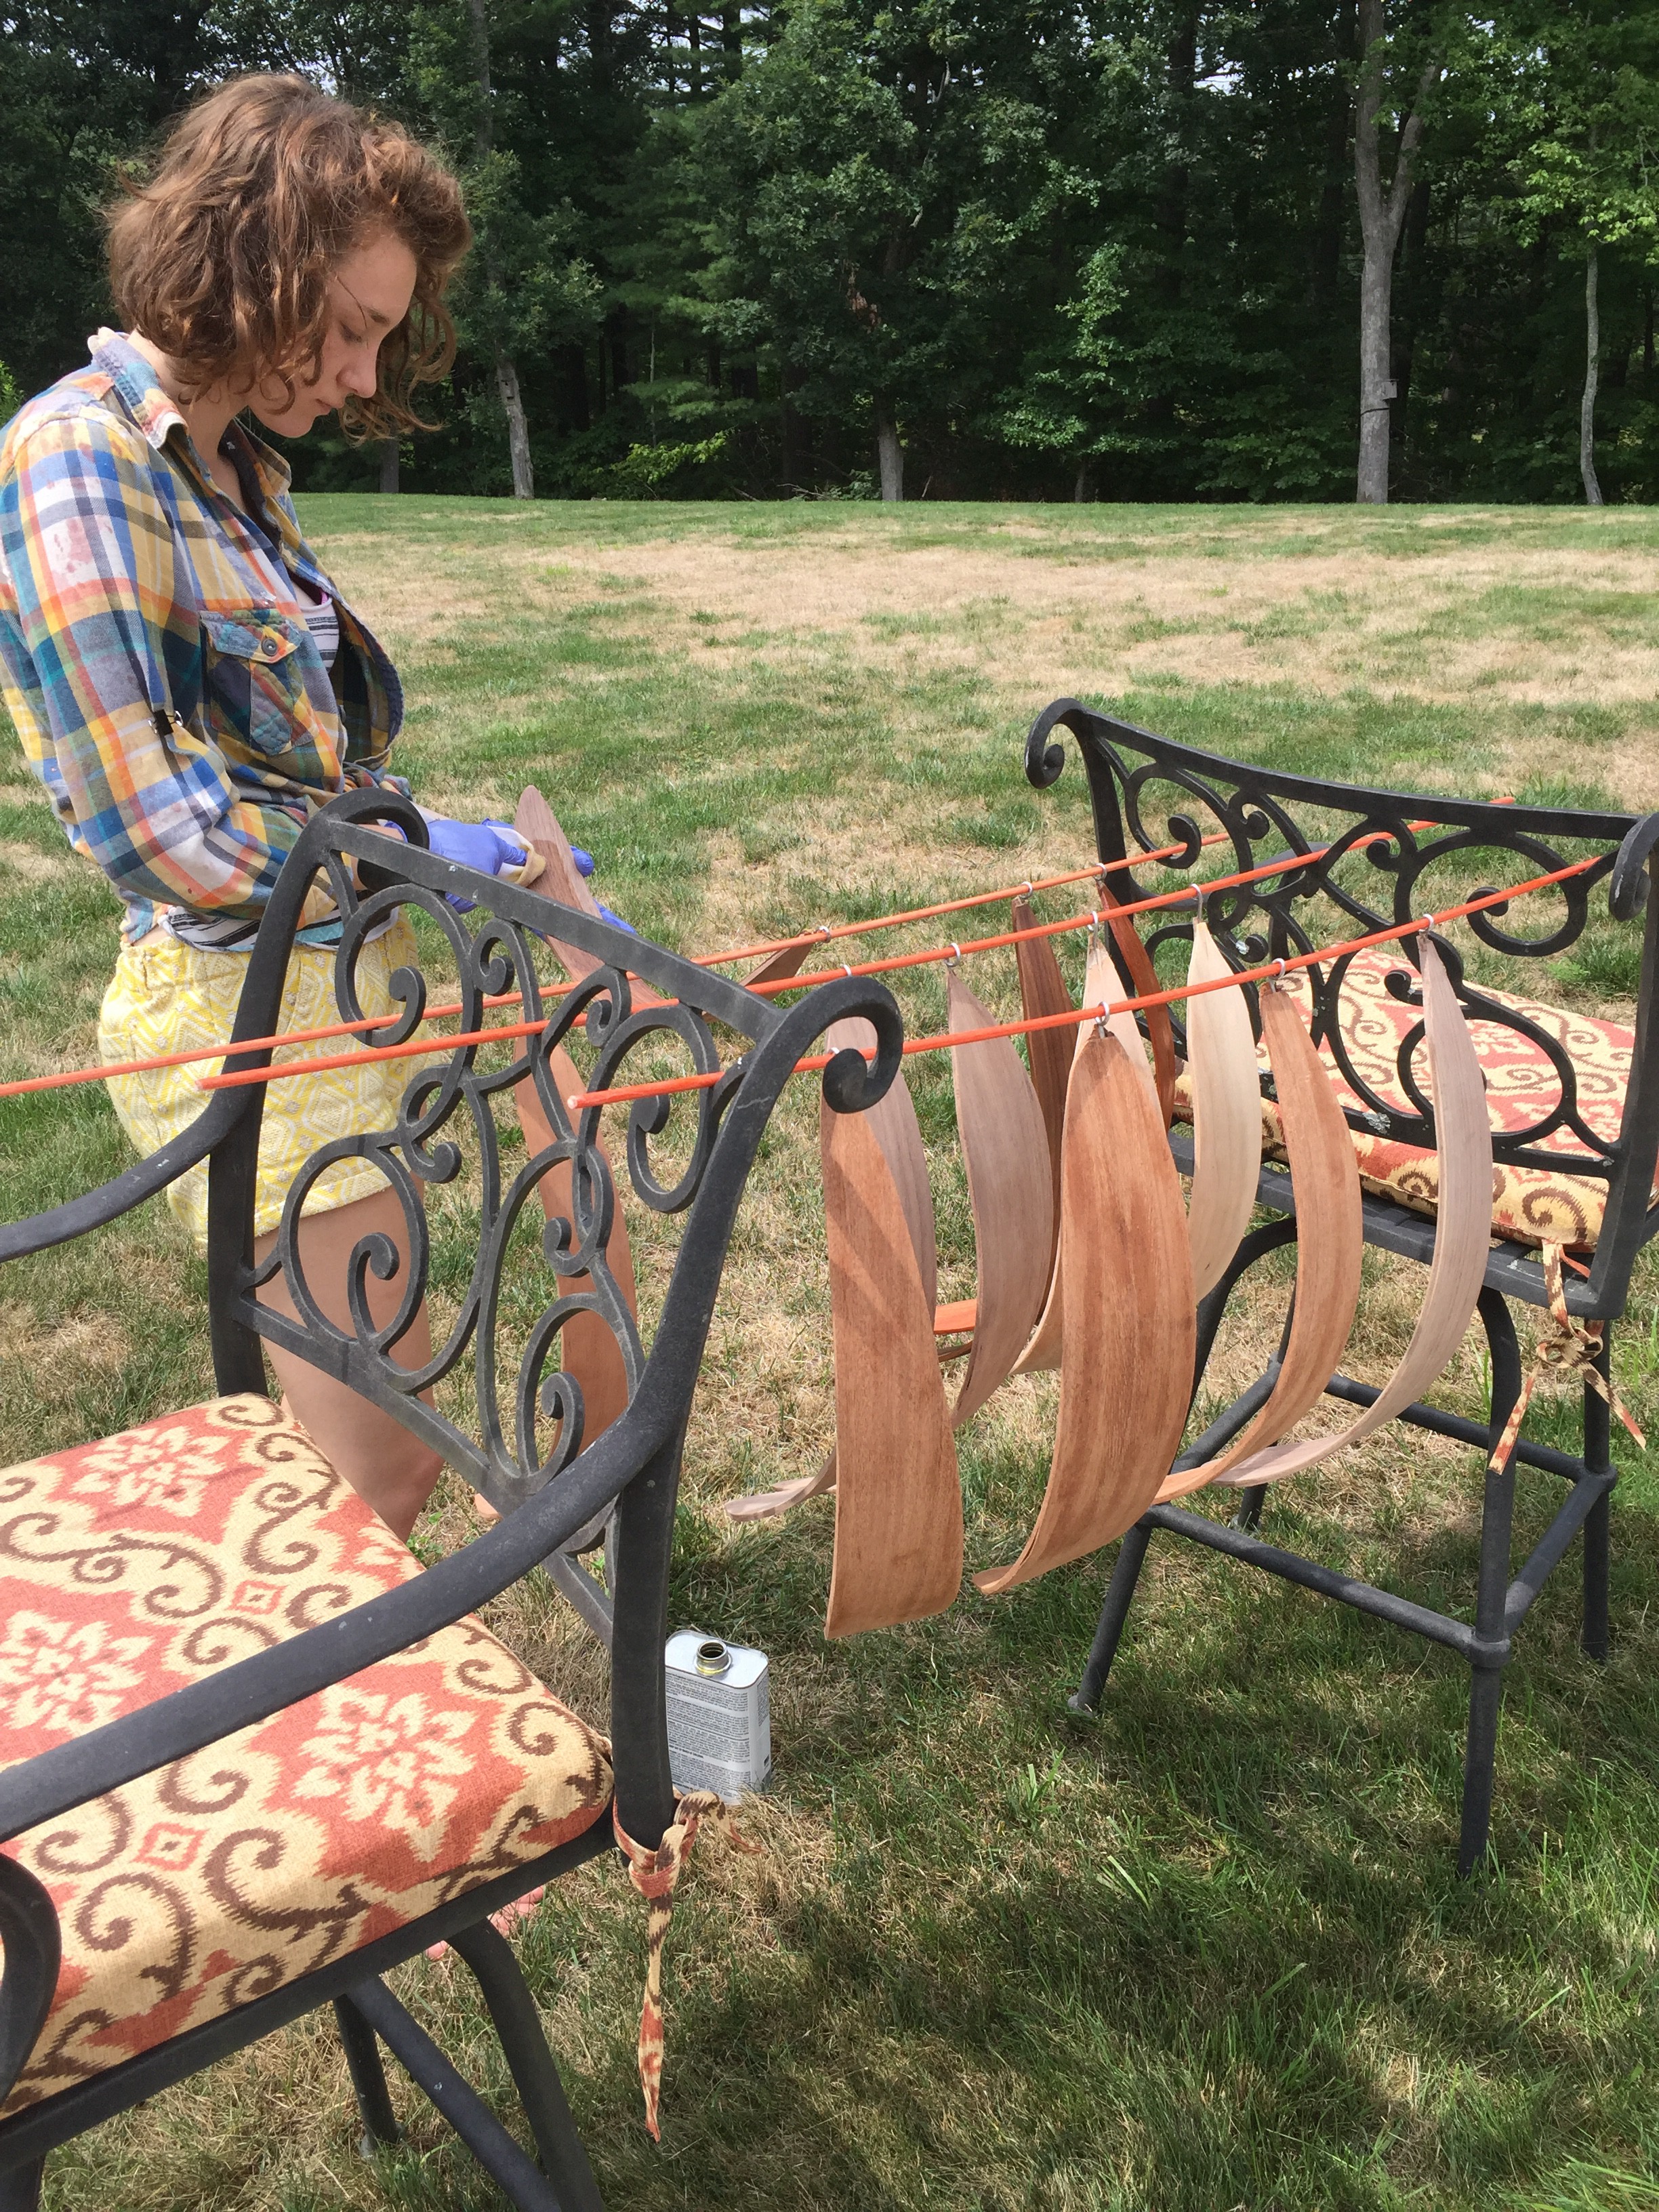
After I had all the petals made, it was time for me to reshape them all and clean them up. I ended up using a coping saw rigged like a jeweler’s saw to reshape each petal, and clean up the edges. Once I had the general shape, I used a hand plane to individually plane all the edges to be nice and smooth. After that I went through and sanded each petal up to 100 grit. Between all 12 petals I ended up sanding for four hours straight, which did not feel good on my hands, especially after all the sawing and hand planing work. Once I had the petals made, I then finished them all outside with raw linseed oil. This really brought out the color of the wood.

Discussions
Become a Hackaday.io Member
Create an account to leave a comment. Already have an account? Log In.