 Alexander Fuentes
A project for the Human Computer Interface Challenge hosted by Hackaday, to help mute and deaf people to talk
Presented by Alexander Fuentes, on 8/26/2018
My human-computer interface project is a simple yet useful lifehack. It was taught to be a way to help nonspeaking people, to take advantage of day life technologies and actually talk!
This also allows to have a phone or virtual meeting conversation by connecting it to a computer. In searching for a single word to define it, the world leads me to thing in “inclusiveness” given into account that this is one of multiple approaches to help despaired people.
Even in this social network connected world, people seems to be not aware of problems like muteness. Would it be because the main way to communicate in social networks is through texting? Or because the majority can just speak? Remembering a great story that I found on a blog, the author says: “At the end of the day, I’m still a person, I just can’t speak, treat us as people, not glass or pariahs.”(A).
Eye contact is essential when talking. Multiple methods for mute people to express themselves are outside, devices of US$100+, that are not easily accessible to people in many different communities. So, how can I use simple materials and cheap technologies to make an accessible solution? Even in developing countries, cell phone access is massive. According to GSMA Mobile Economy report of 2018, the mobile phone penetration rate in Latin America is 76% (B). It’s great but in other side it’s sad because it reveals a truth: It’s easier to have access to a cell phone than to dignified health, and it includes good devices to help despaired people. While some gets excellent attention, most depends on others to have at least the basic.
With that in mind, a working solution may be one that uses a cell phone.
I can actually type something in my cell phone and have it reproduced louder, but since I can’t assume the other person will fully understand my efforts to express myself, what if I need to talk to someone?
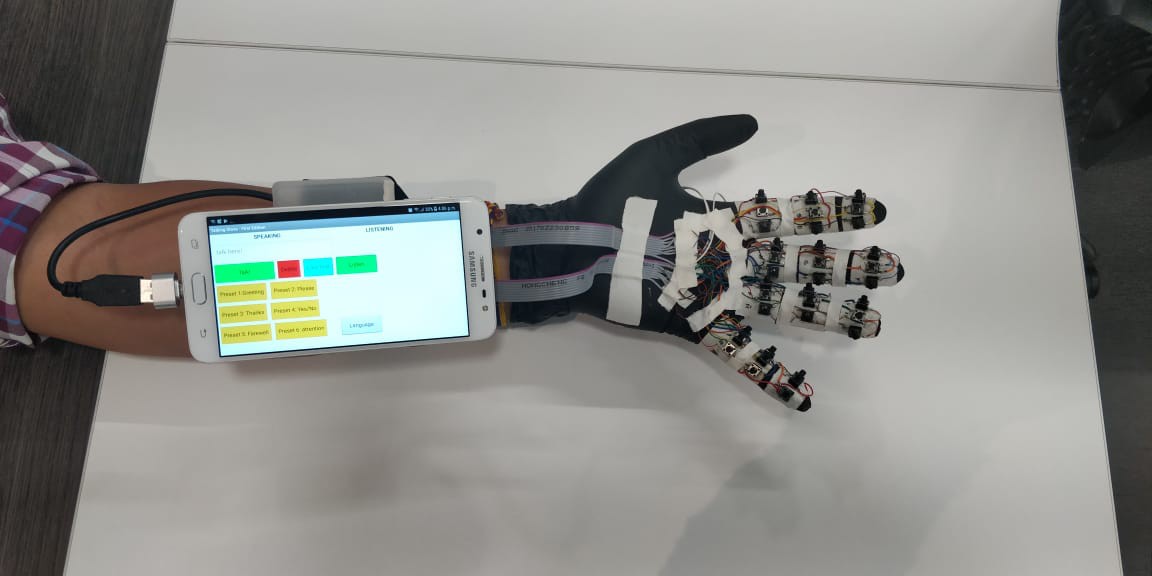
I can use my cell phone to reproduce louder what I type, but I ‘ll have to use both hands and restrict the essential contact needed on a conversation, so what if I can have a keyboard at a single hand that I don´t need to keep an eye to? If so, I can type to my cell phone with that hand and with the touch of a button, have it reproduced, while my other hand is free to do anything.
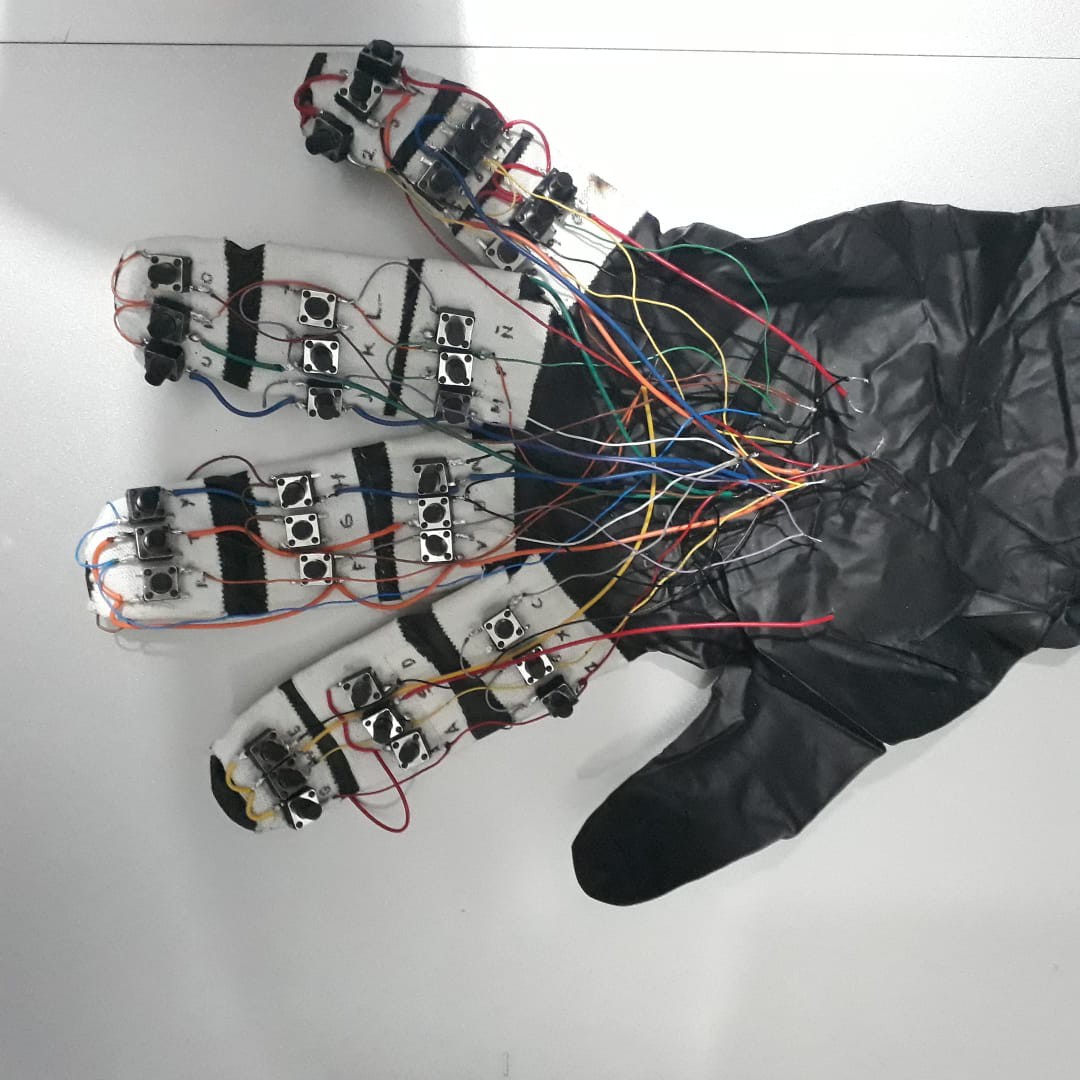
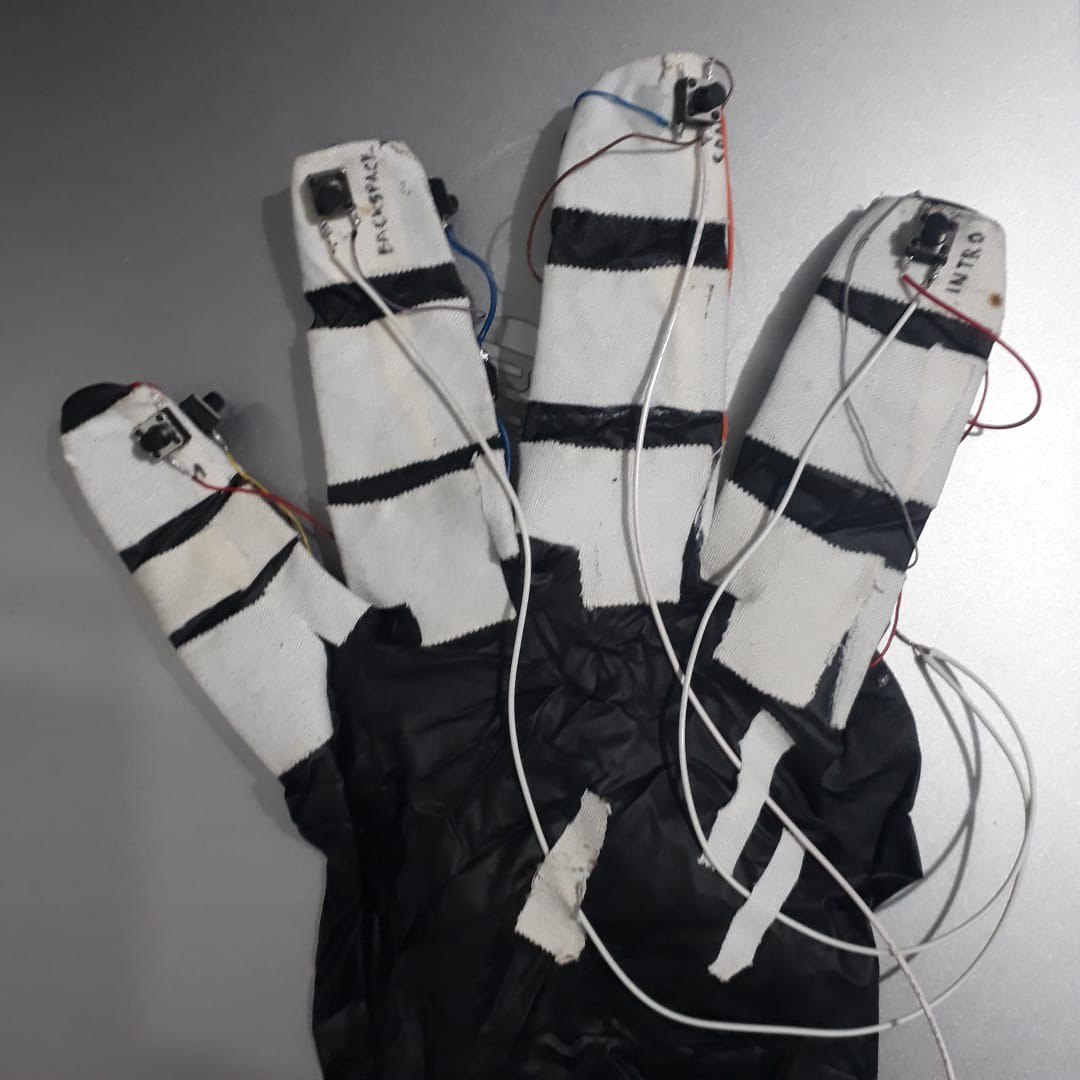
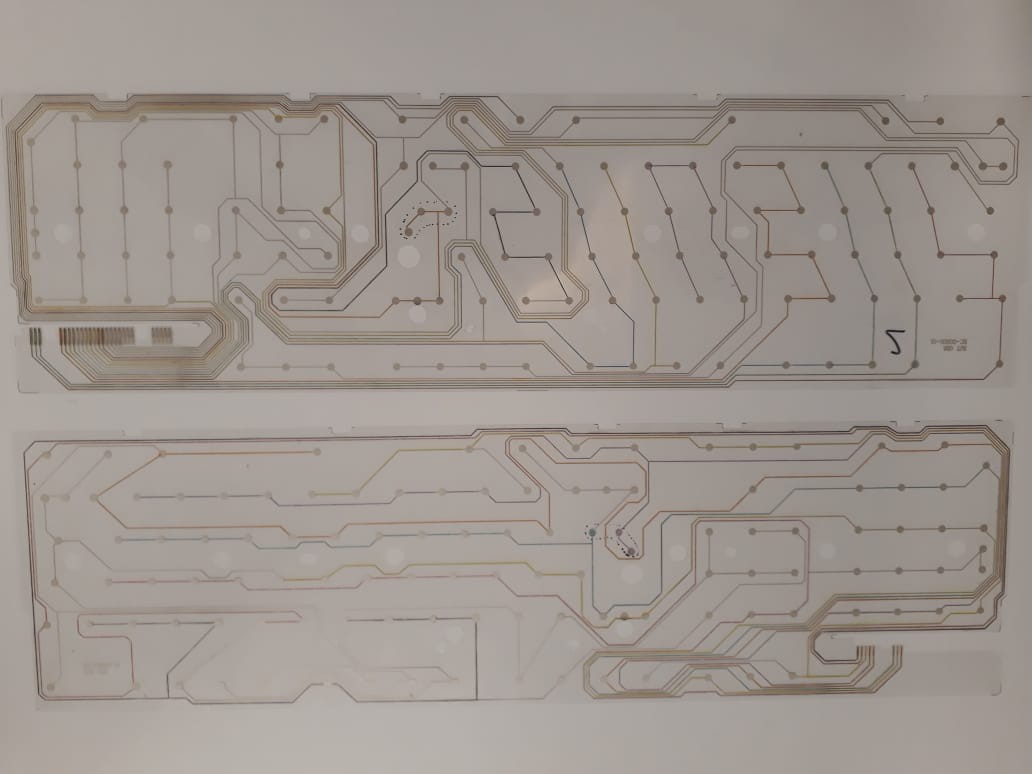
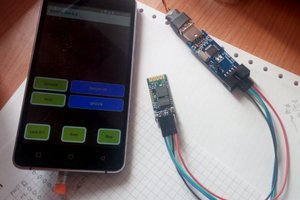
With that idea and solution, I grab a computer keyboard, a glove, some cables and my cell phone. Dismounted the keyboard and mapped the characters needed, wired the terminals of the keyboard PCB and soldered them to a bunch of buttons and glued the buttons to a glove. Connected the keyboard’s USB cable to my cell phone and opened an app. It works! I can type with a single hand!
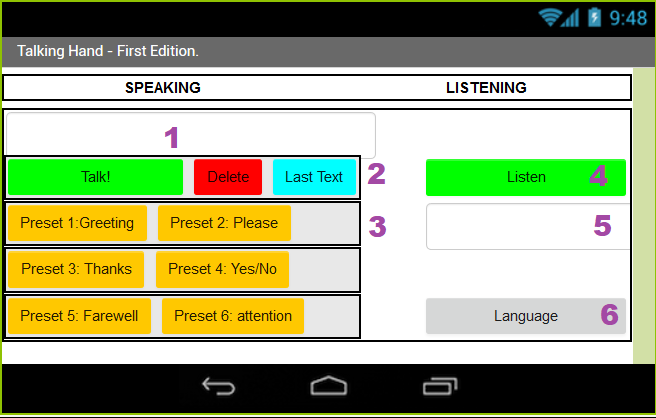
Making use of MIT App Inventor(C), I created an app to receive the keyboard inputs and reproduce it louder. Also, to have some predefined, common and repetitive phrases to reproduce them with a single touch, and finally, to help deaf people too, a functionality to convert to text what other people are saying.
My prototype talking glove is working normally, but I don’t want to stop here, I’d love to have the opportunity to improve and produce it, since it has a great potential and is not all that expensive. I made it with recycled parts. I know it can be way helpful for people with that necessities and for many creative people who can find new ways to use it. I just have in mind what I would do if me or my family lose the voice one day, I’d surely look or do something like this.
Reference to external sources:
A: https://silenceoftwoworlds.wordpress.com/life-as-a-mute/
B: https://www.gsma.com/mobileeconomy/latam/

 Emilio P.G. Ficara
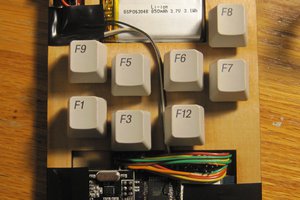
 Owen Trueblood
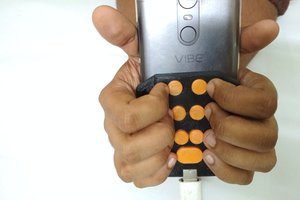
 Vijay
Vijay
 Danny Caudill