 Liam Lacey
In my first 'Attaching Controls to the Enclosure' log I ended by stating two things I had left to do in regards to the enclosure:
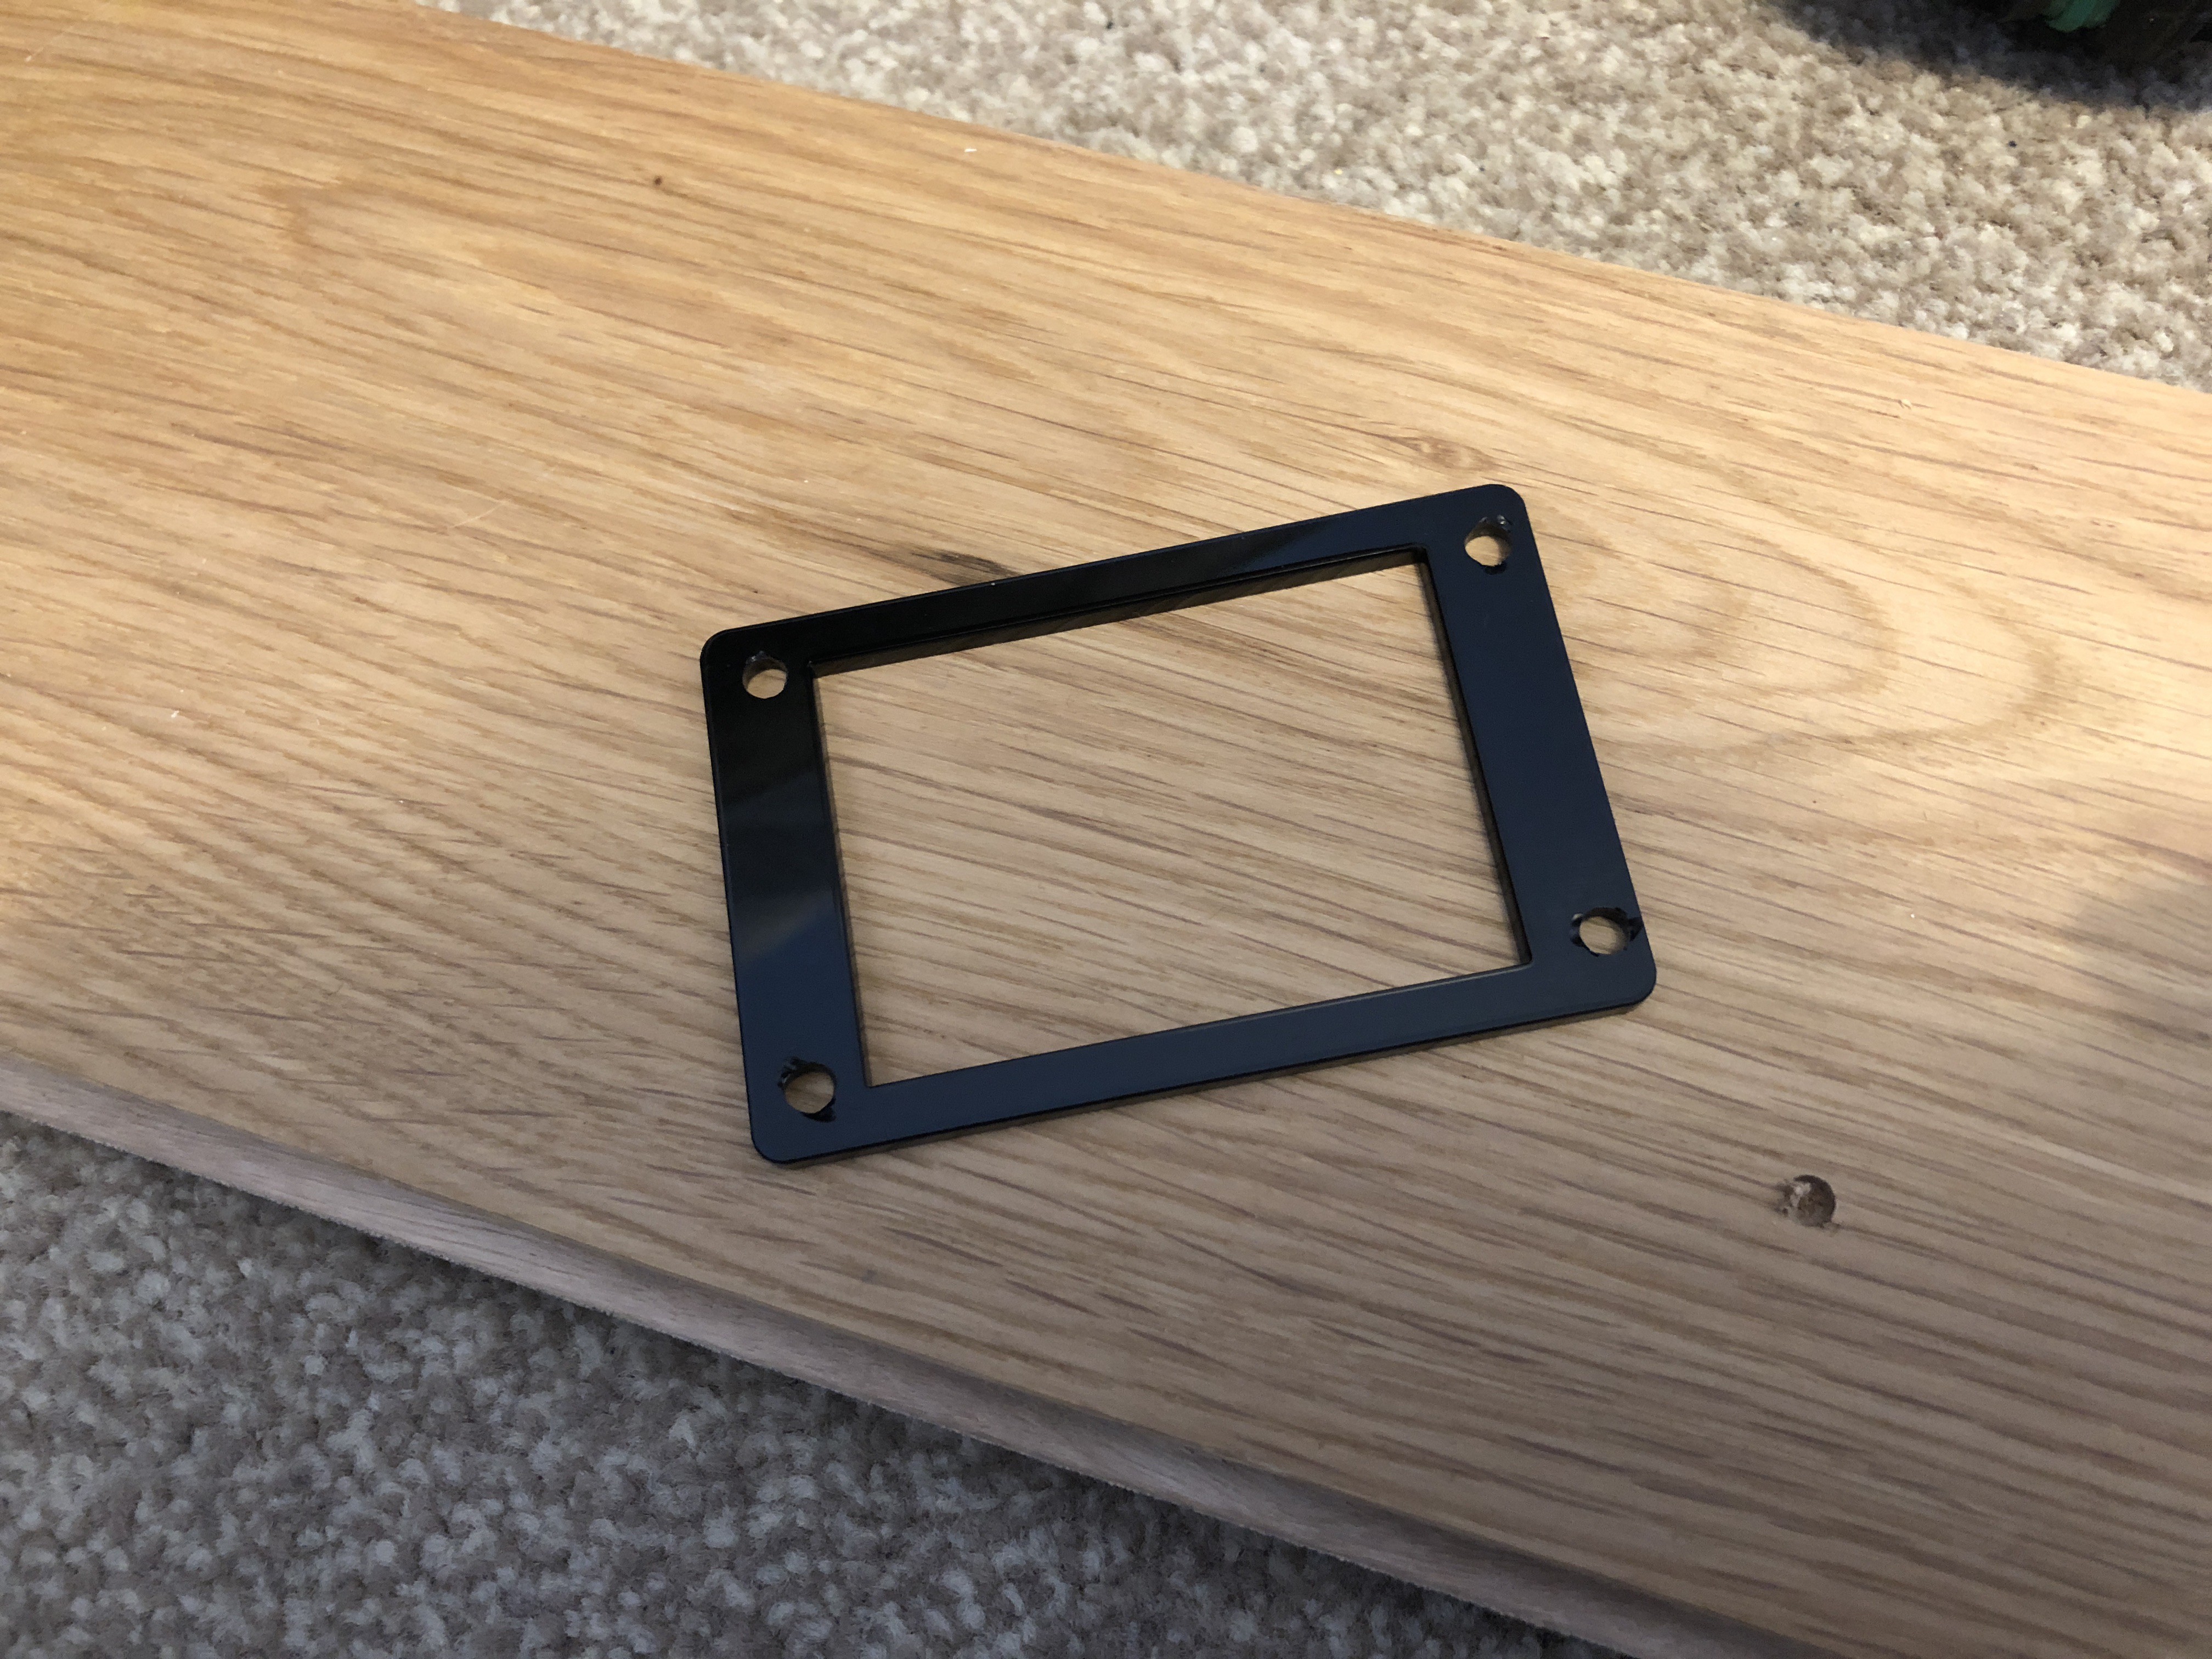
- Add a laser cut frame around the LCD to tidy up the messy panel cutting
- Attach a USB socket to the rear of enclosure
LCD Frame
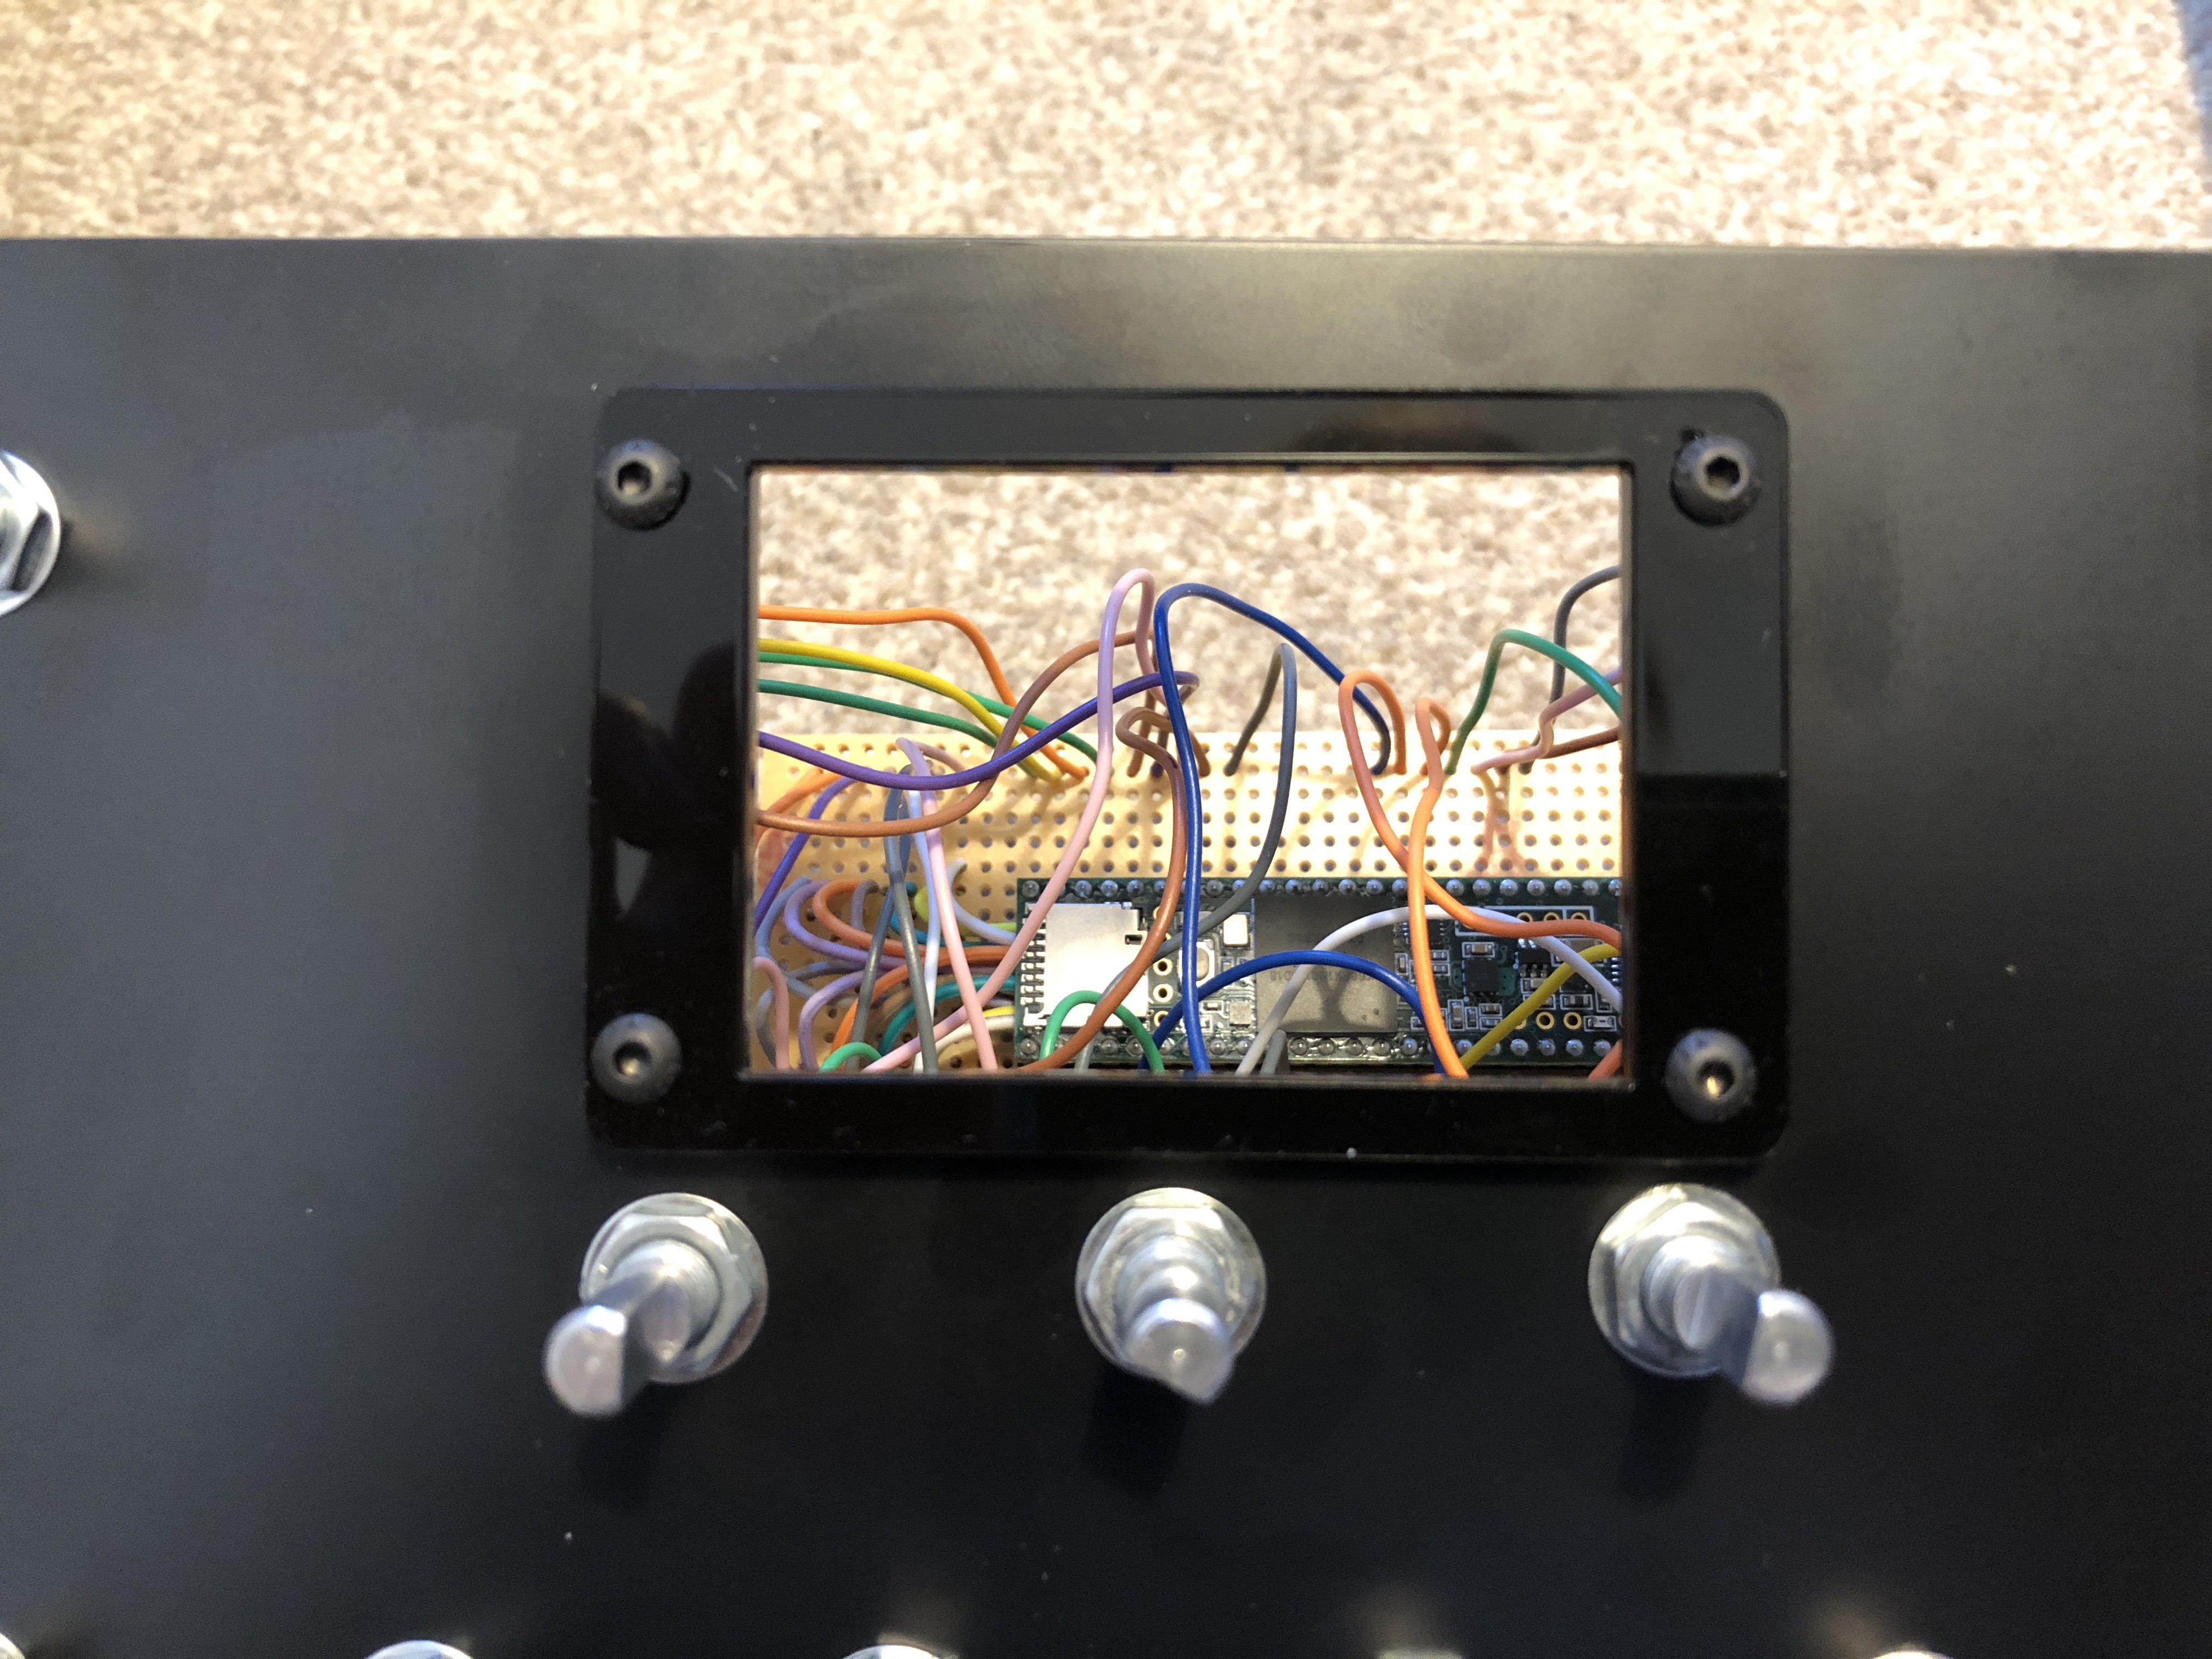
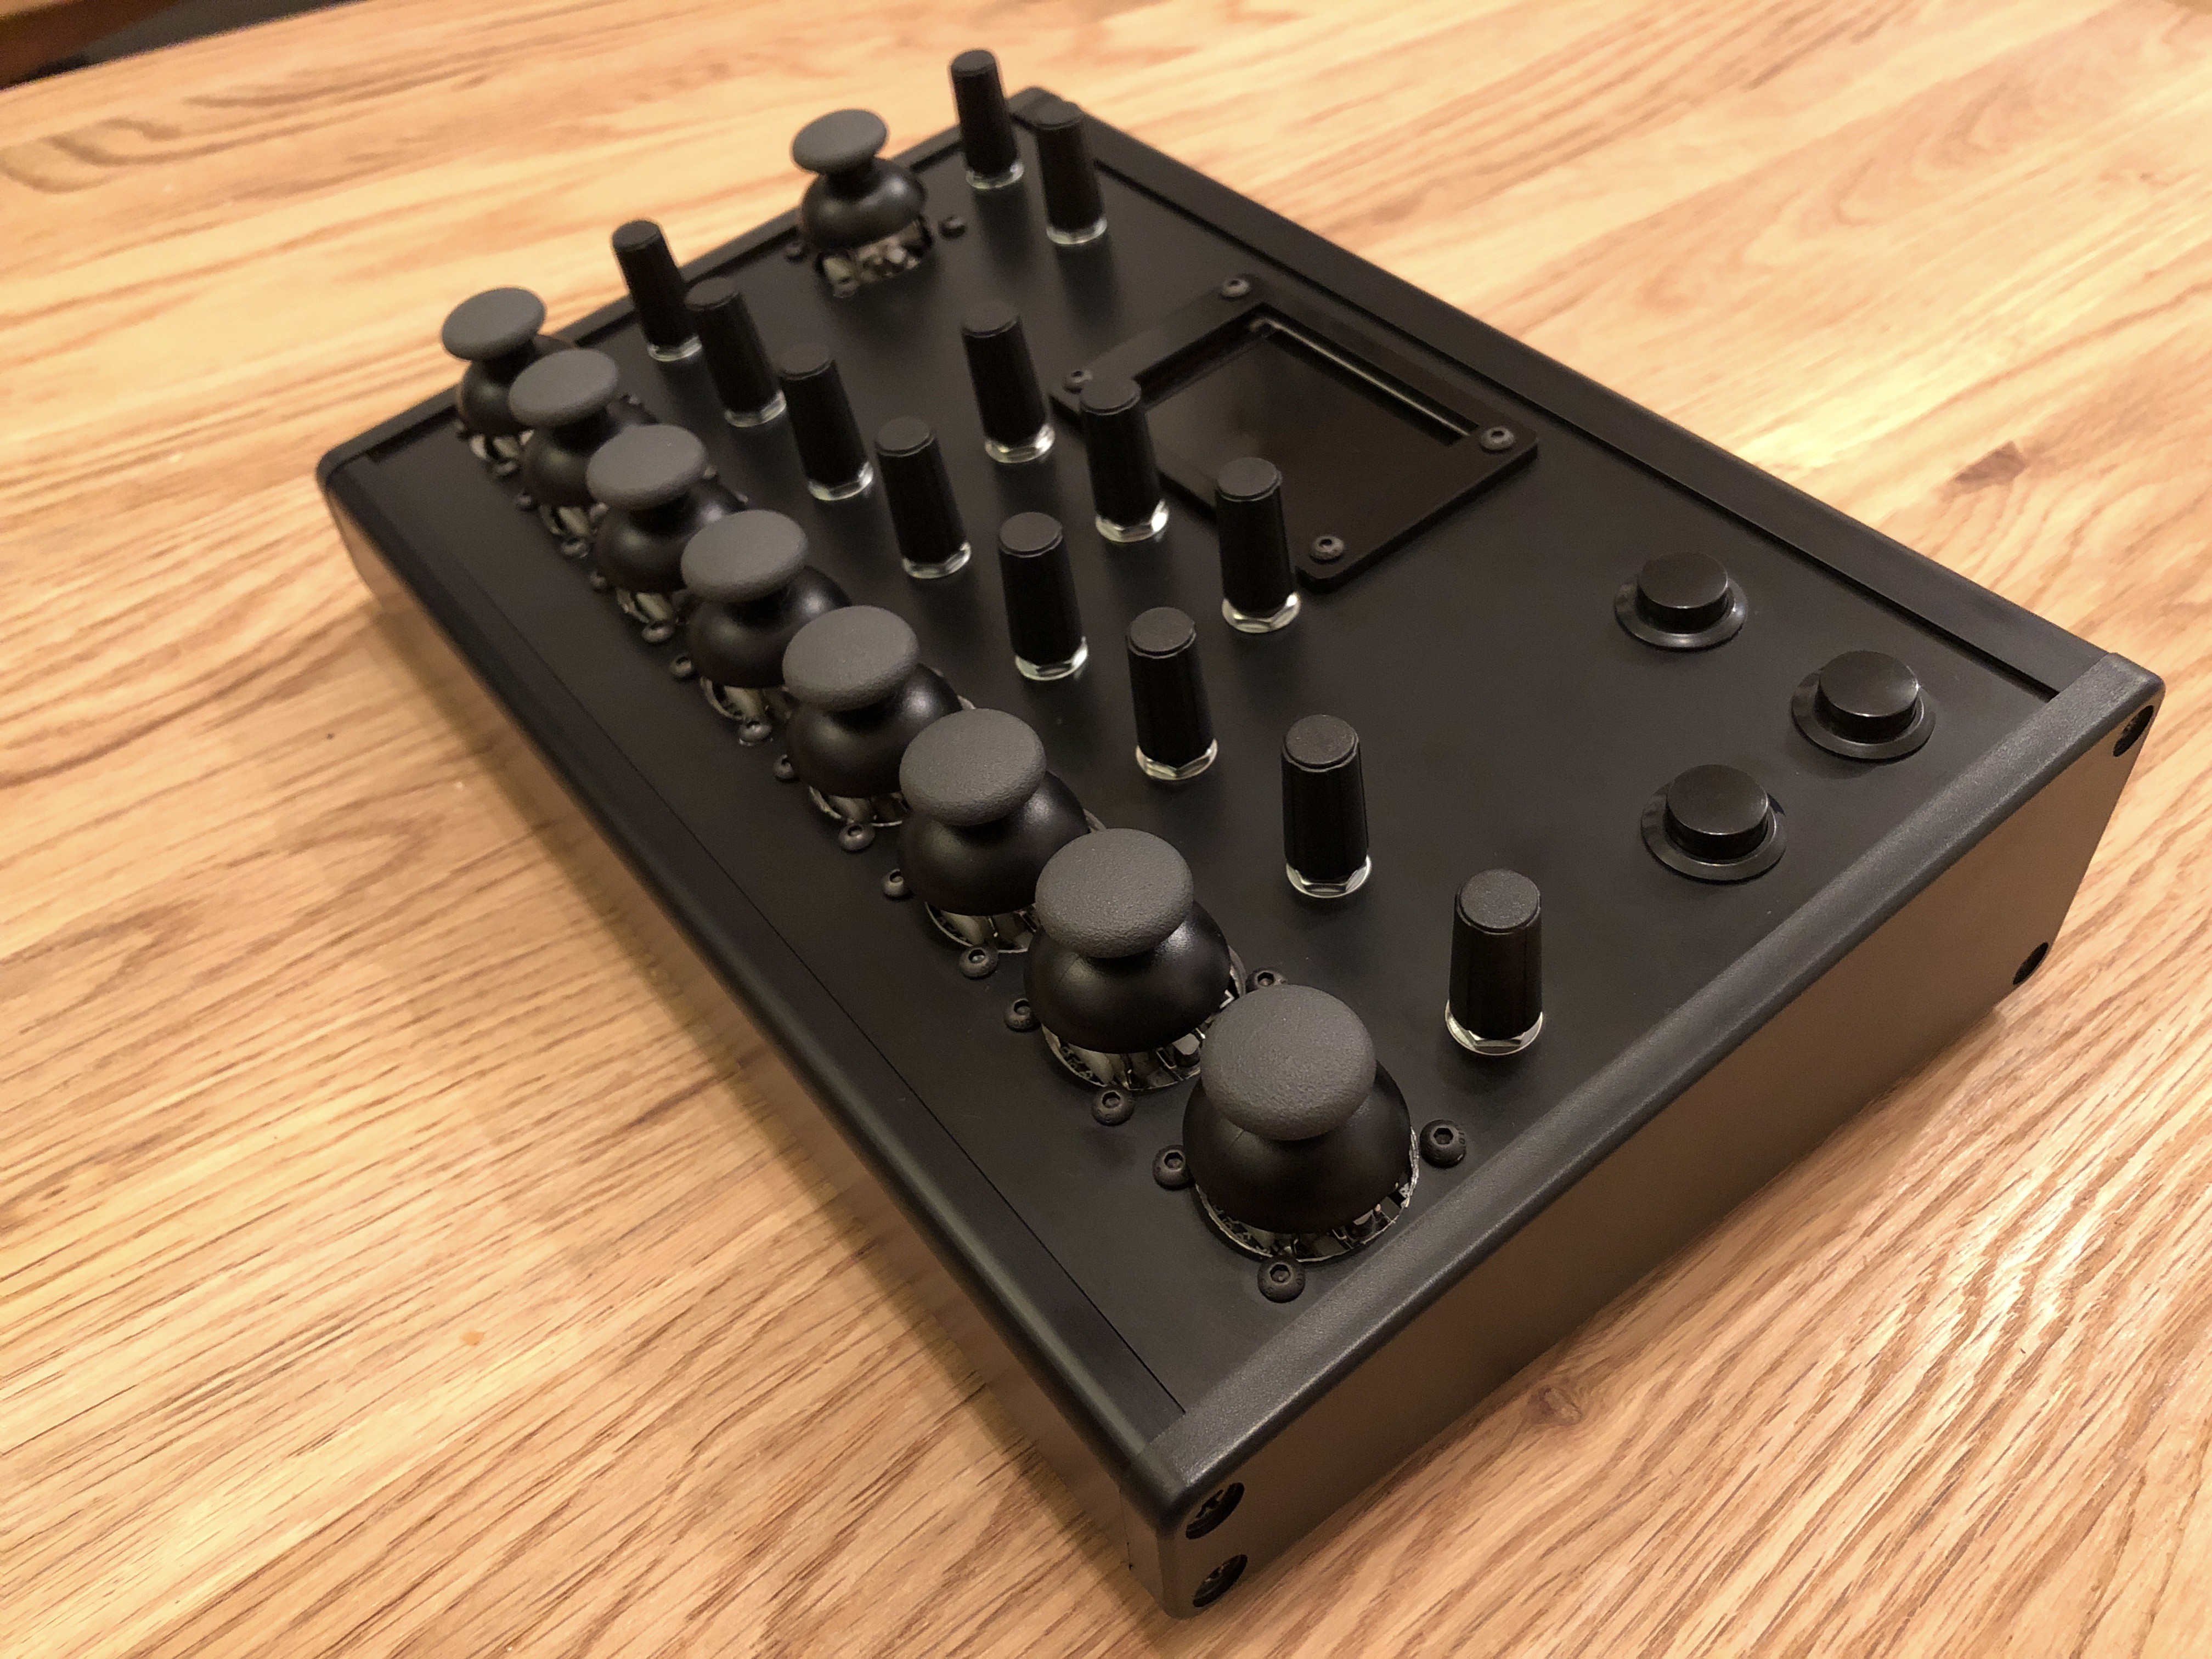
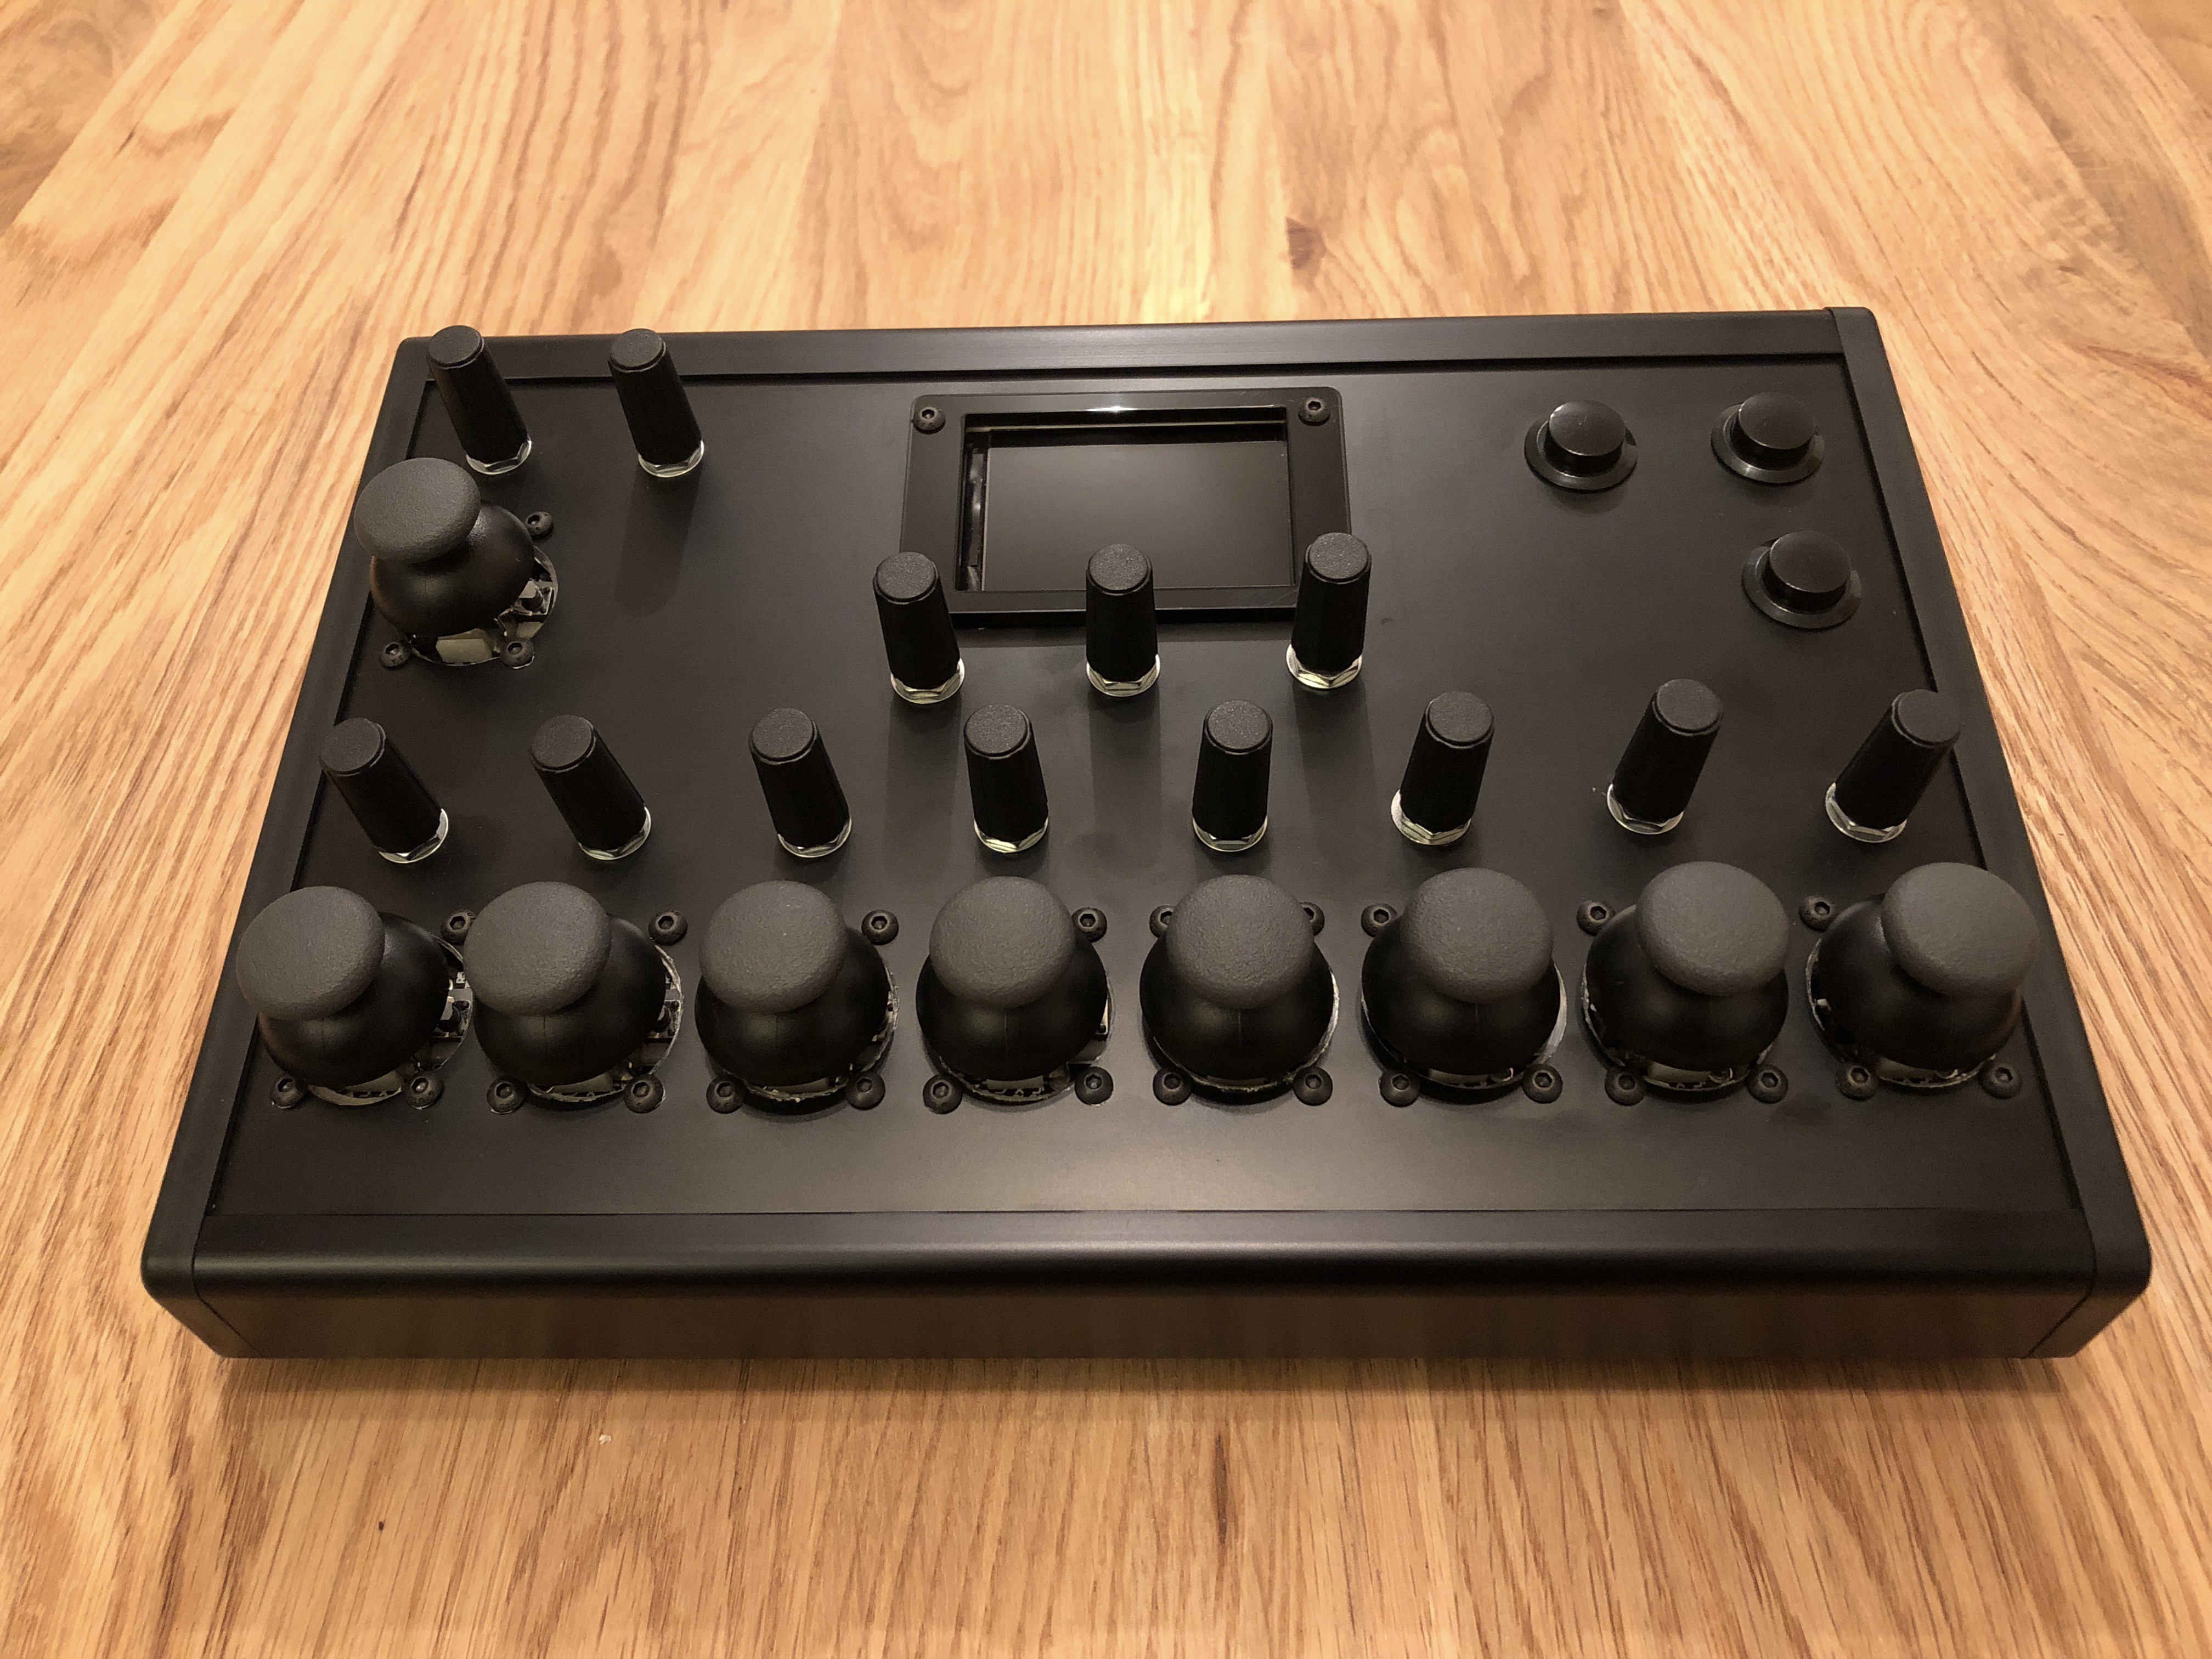
I've now attached a 3mm black acrylic laser-cut frame around the LCD, attached to the enclosure using the LCD screws, and it's dramatically improved the look of the overall device.
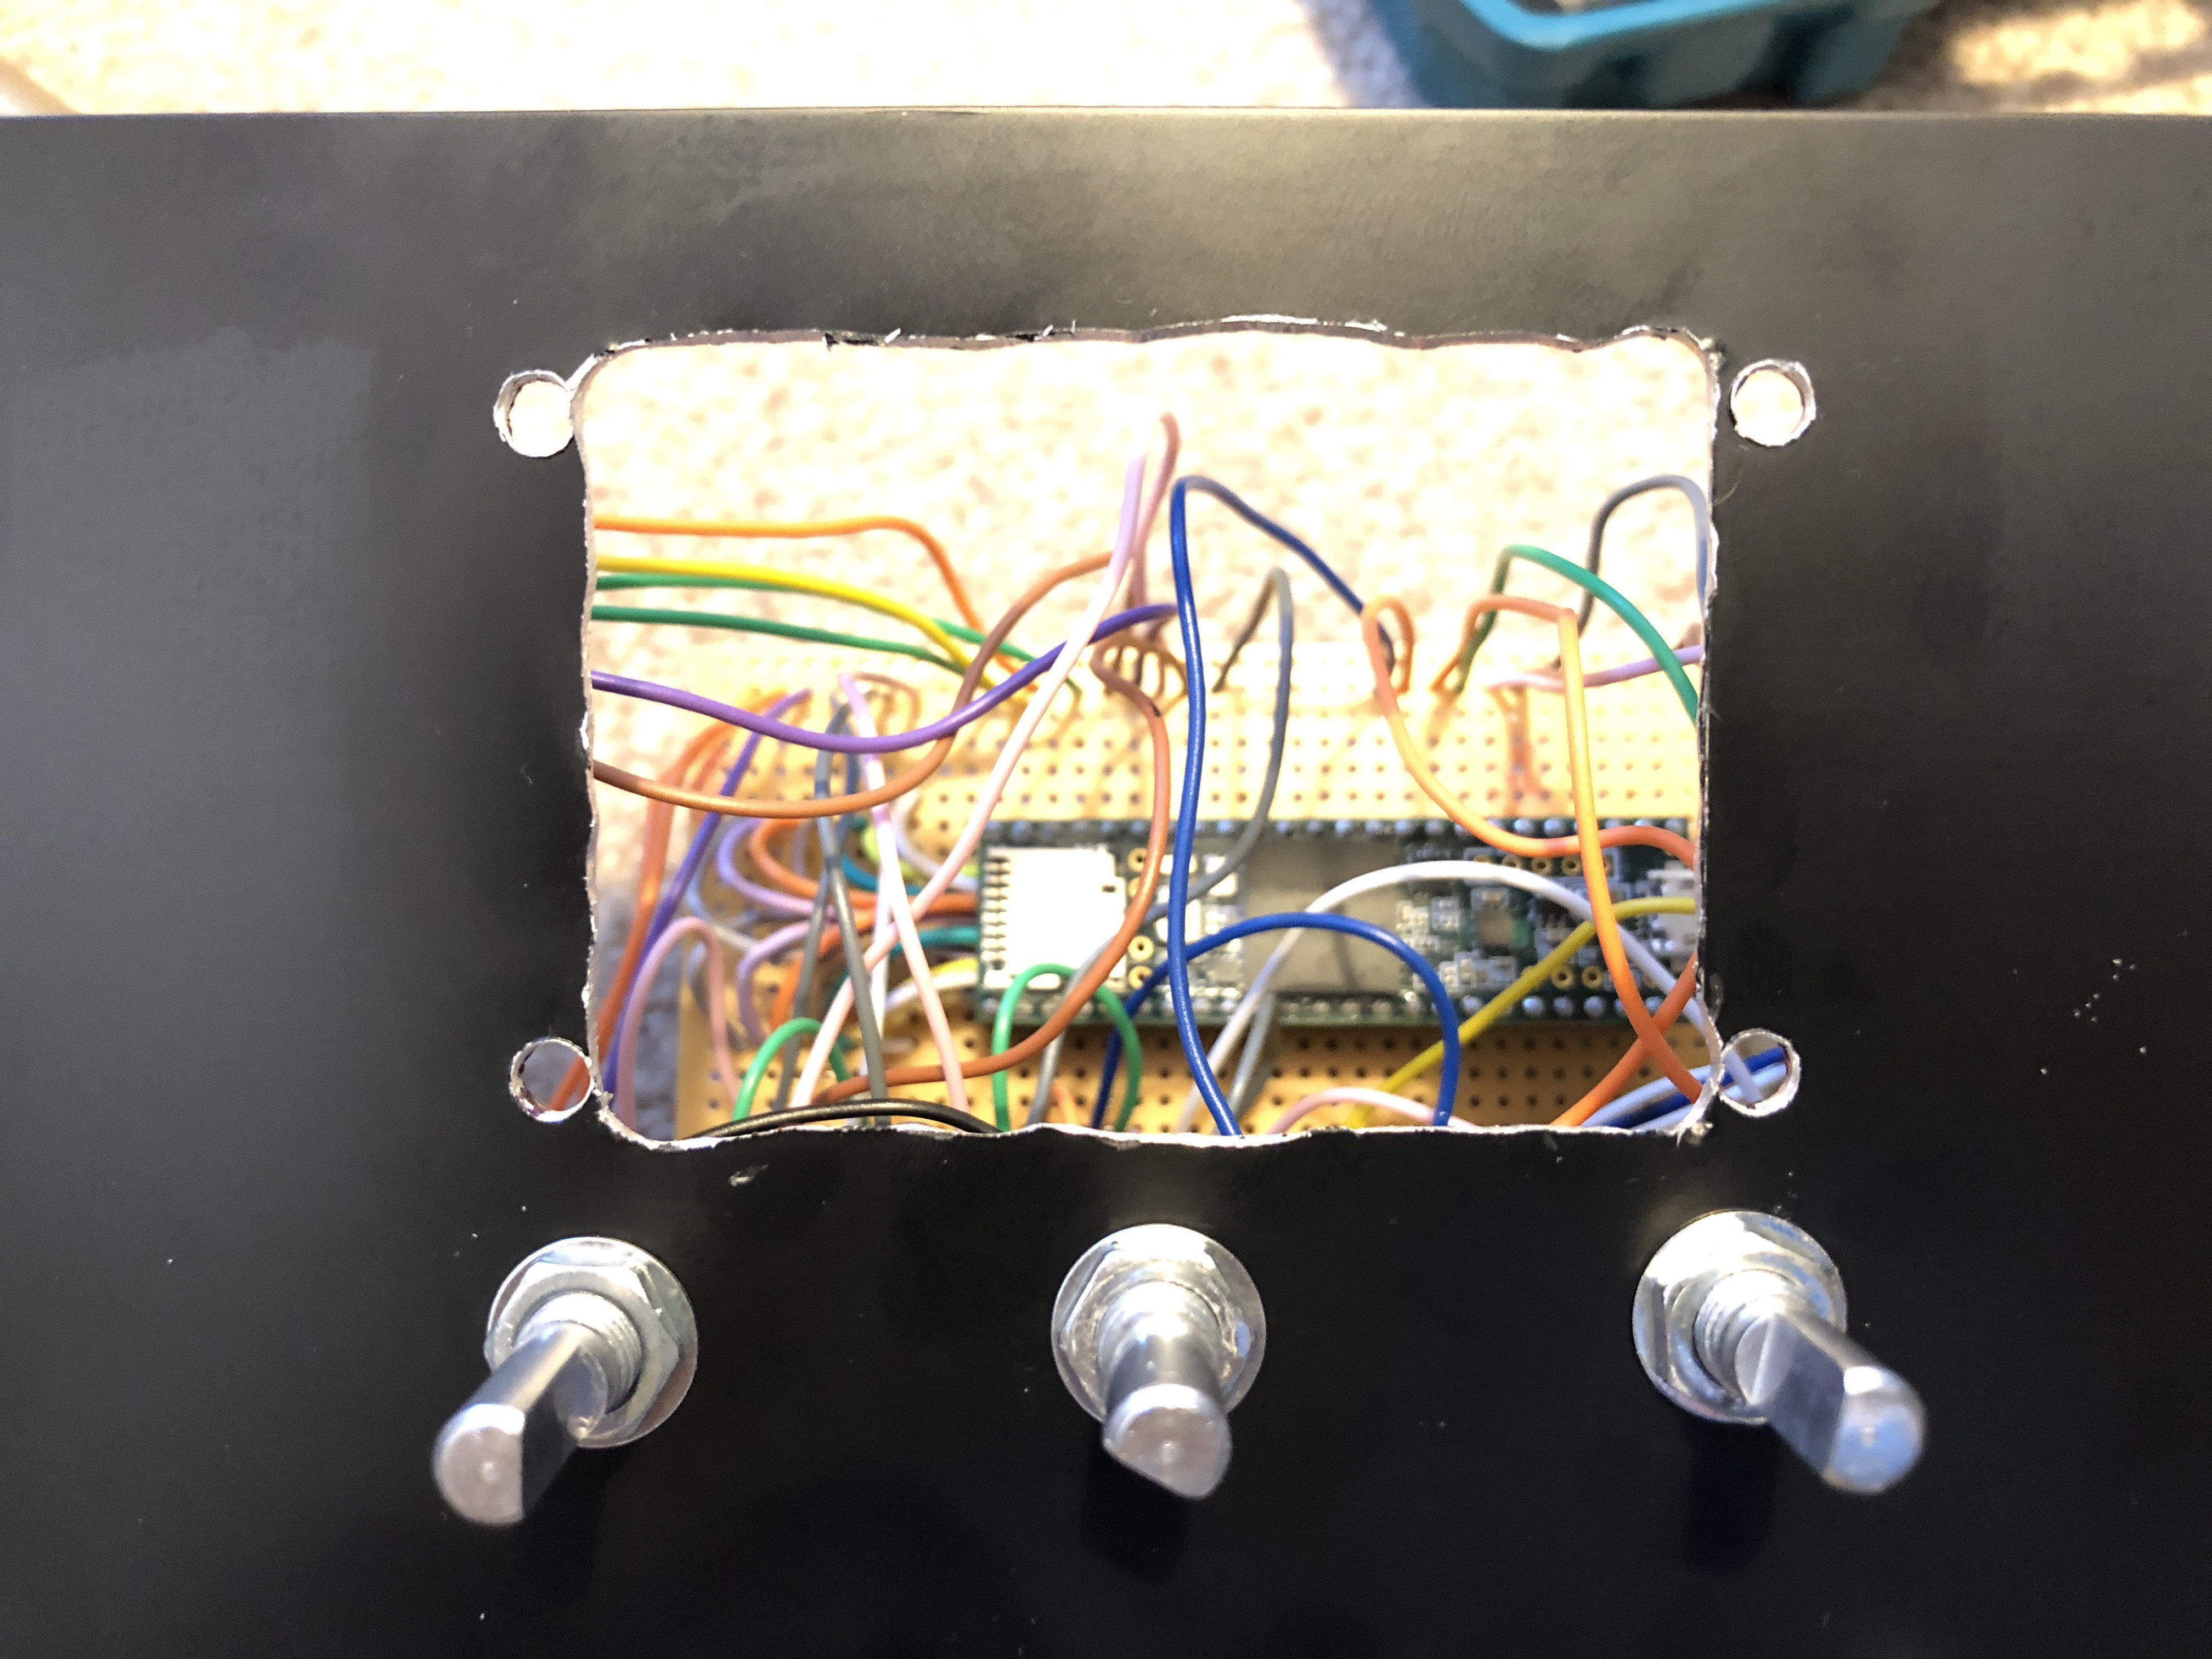
See below for some photos (where the second photo is a 'before' shot)...
USB Socket
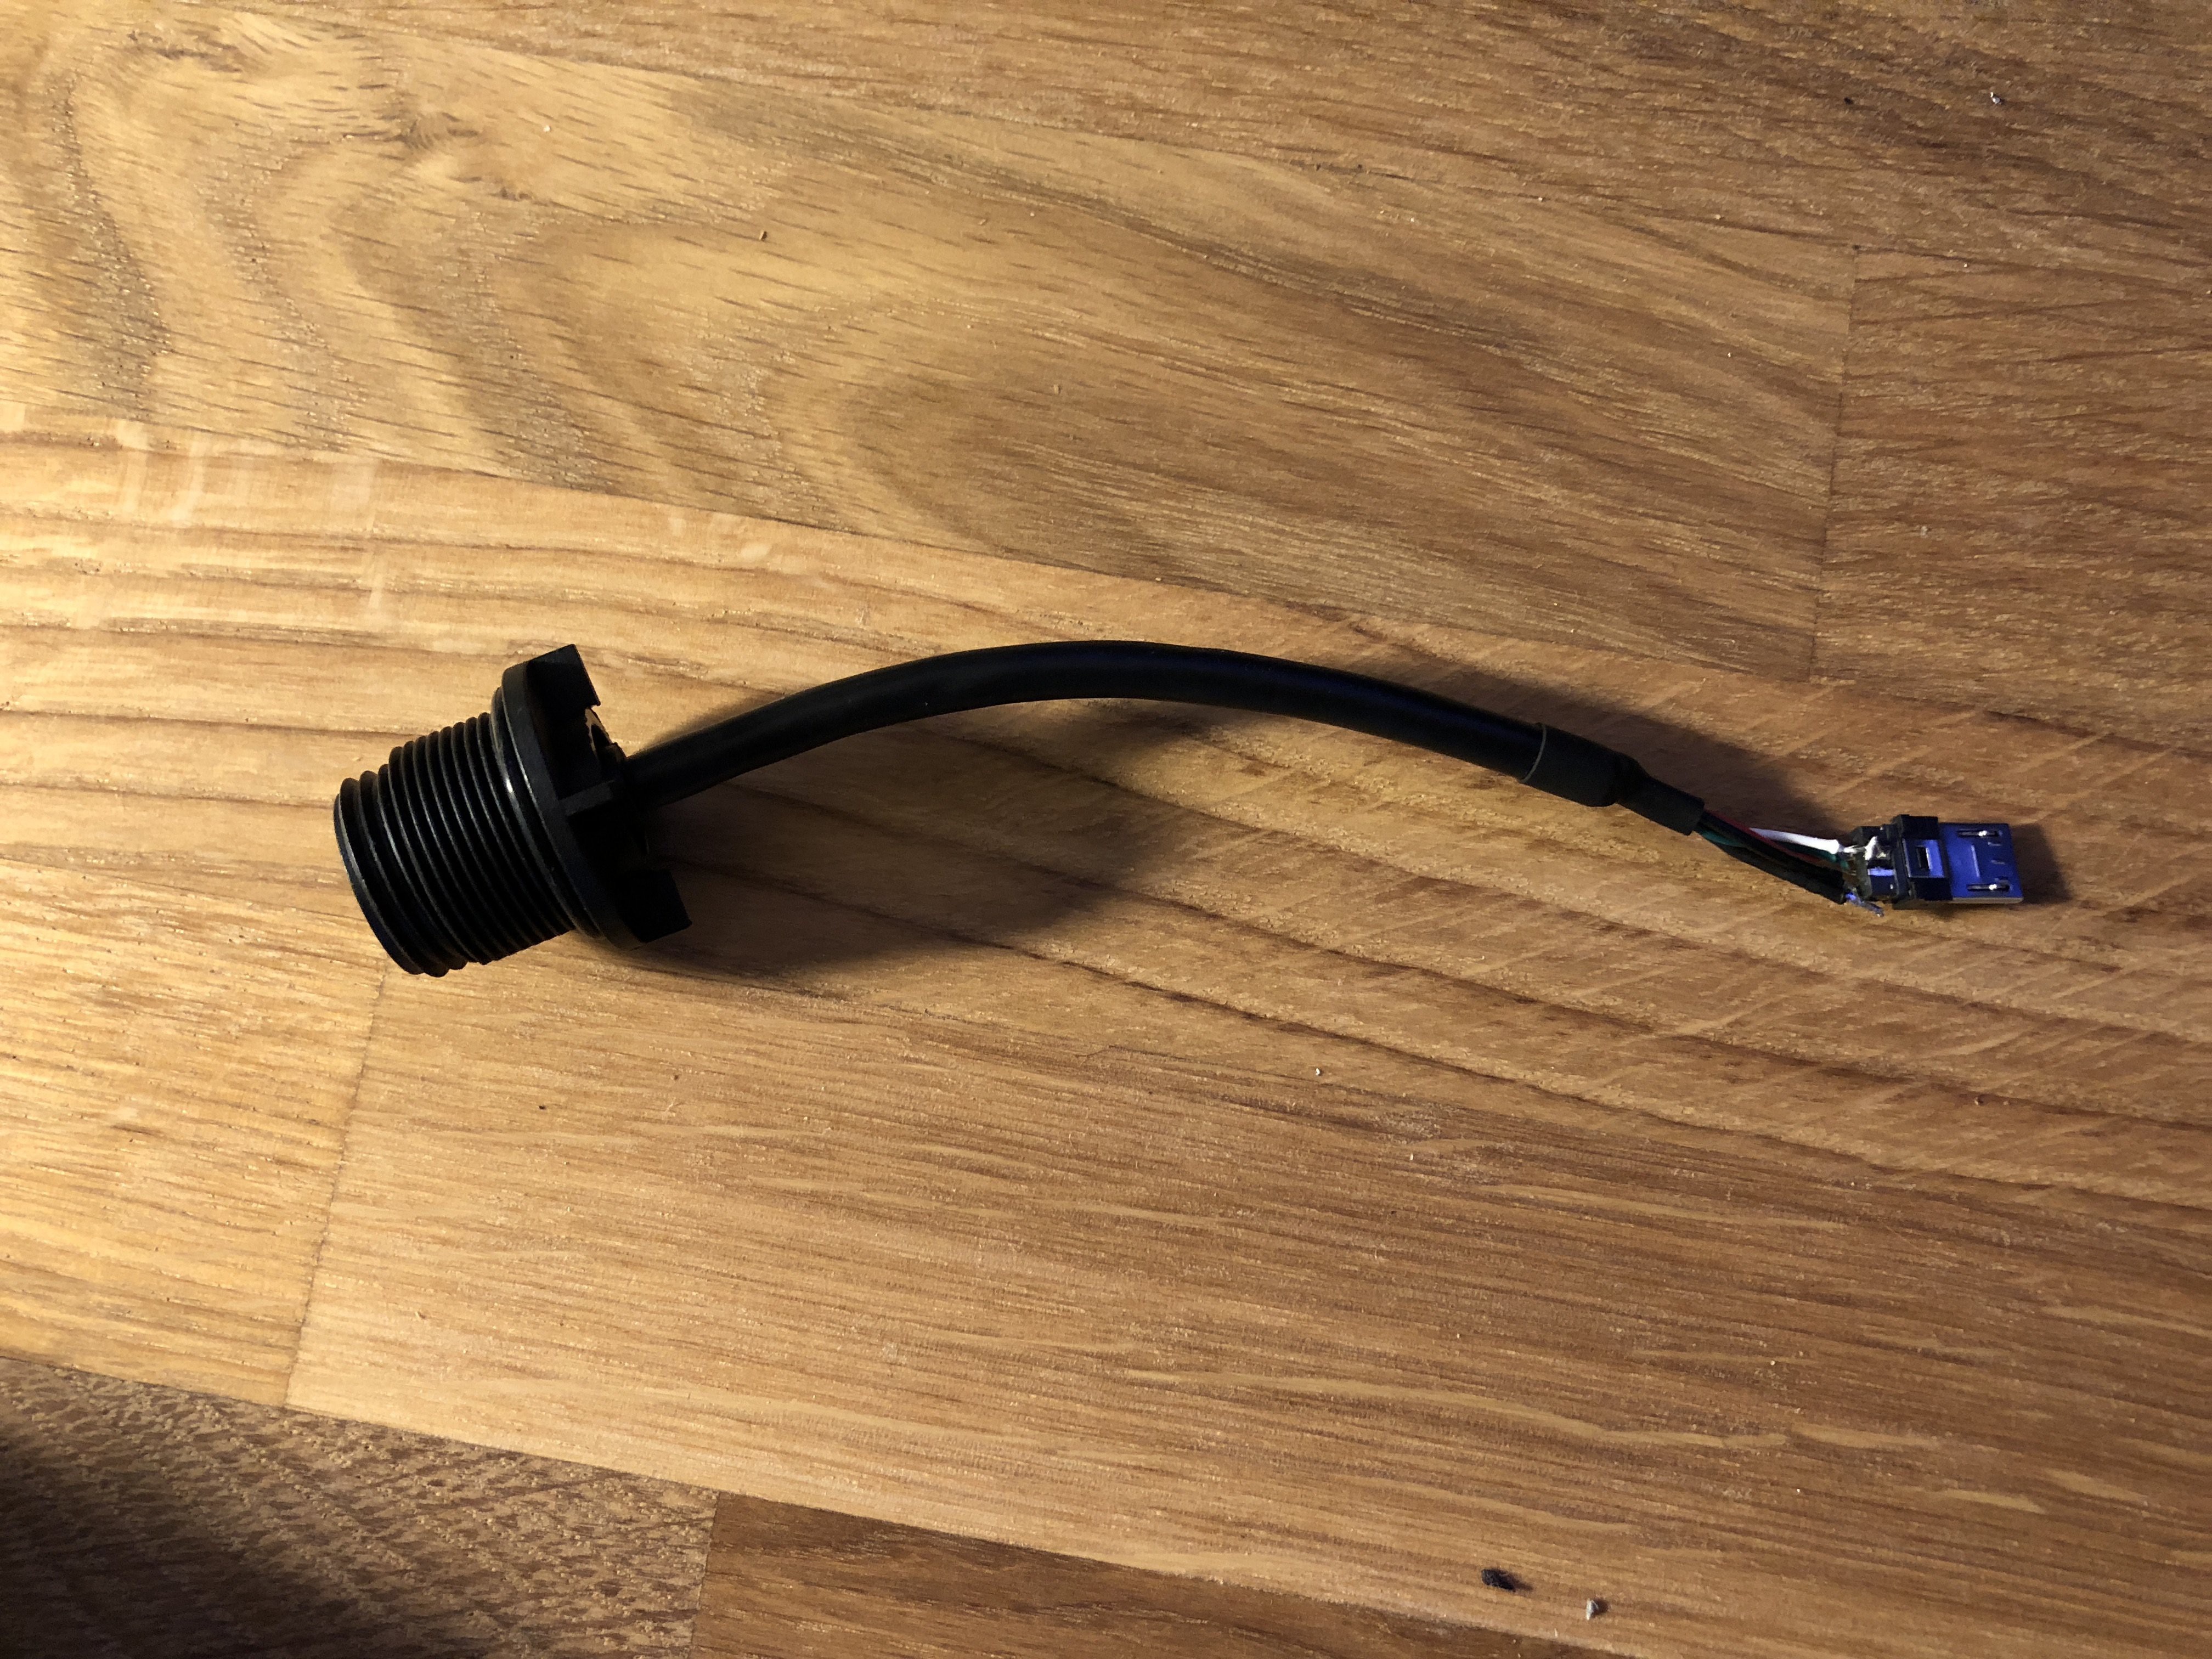
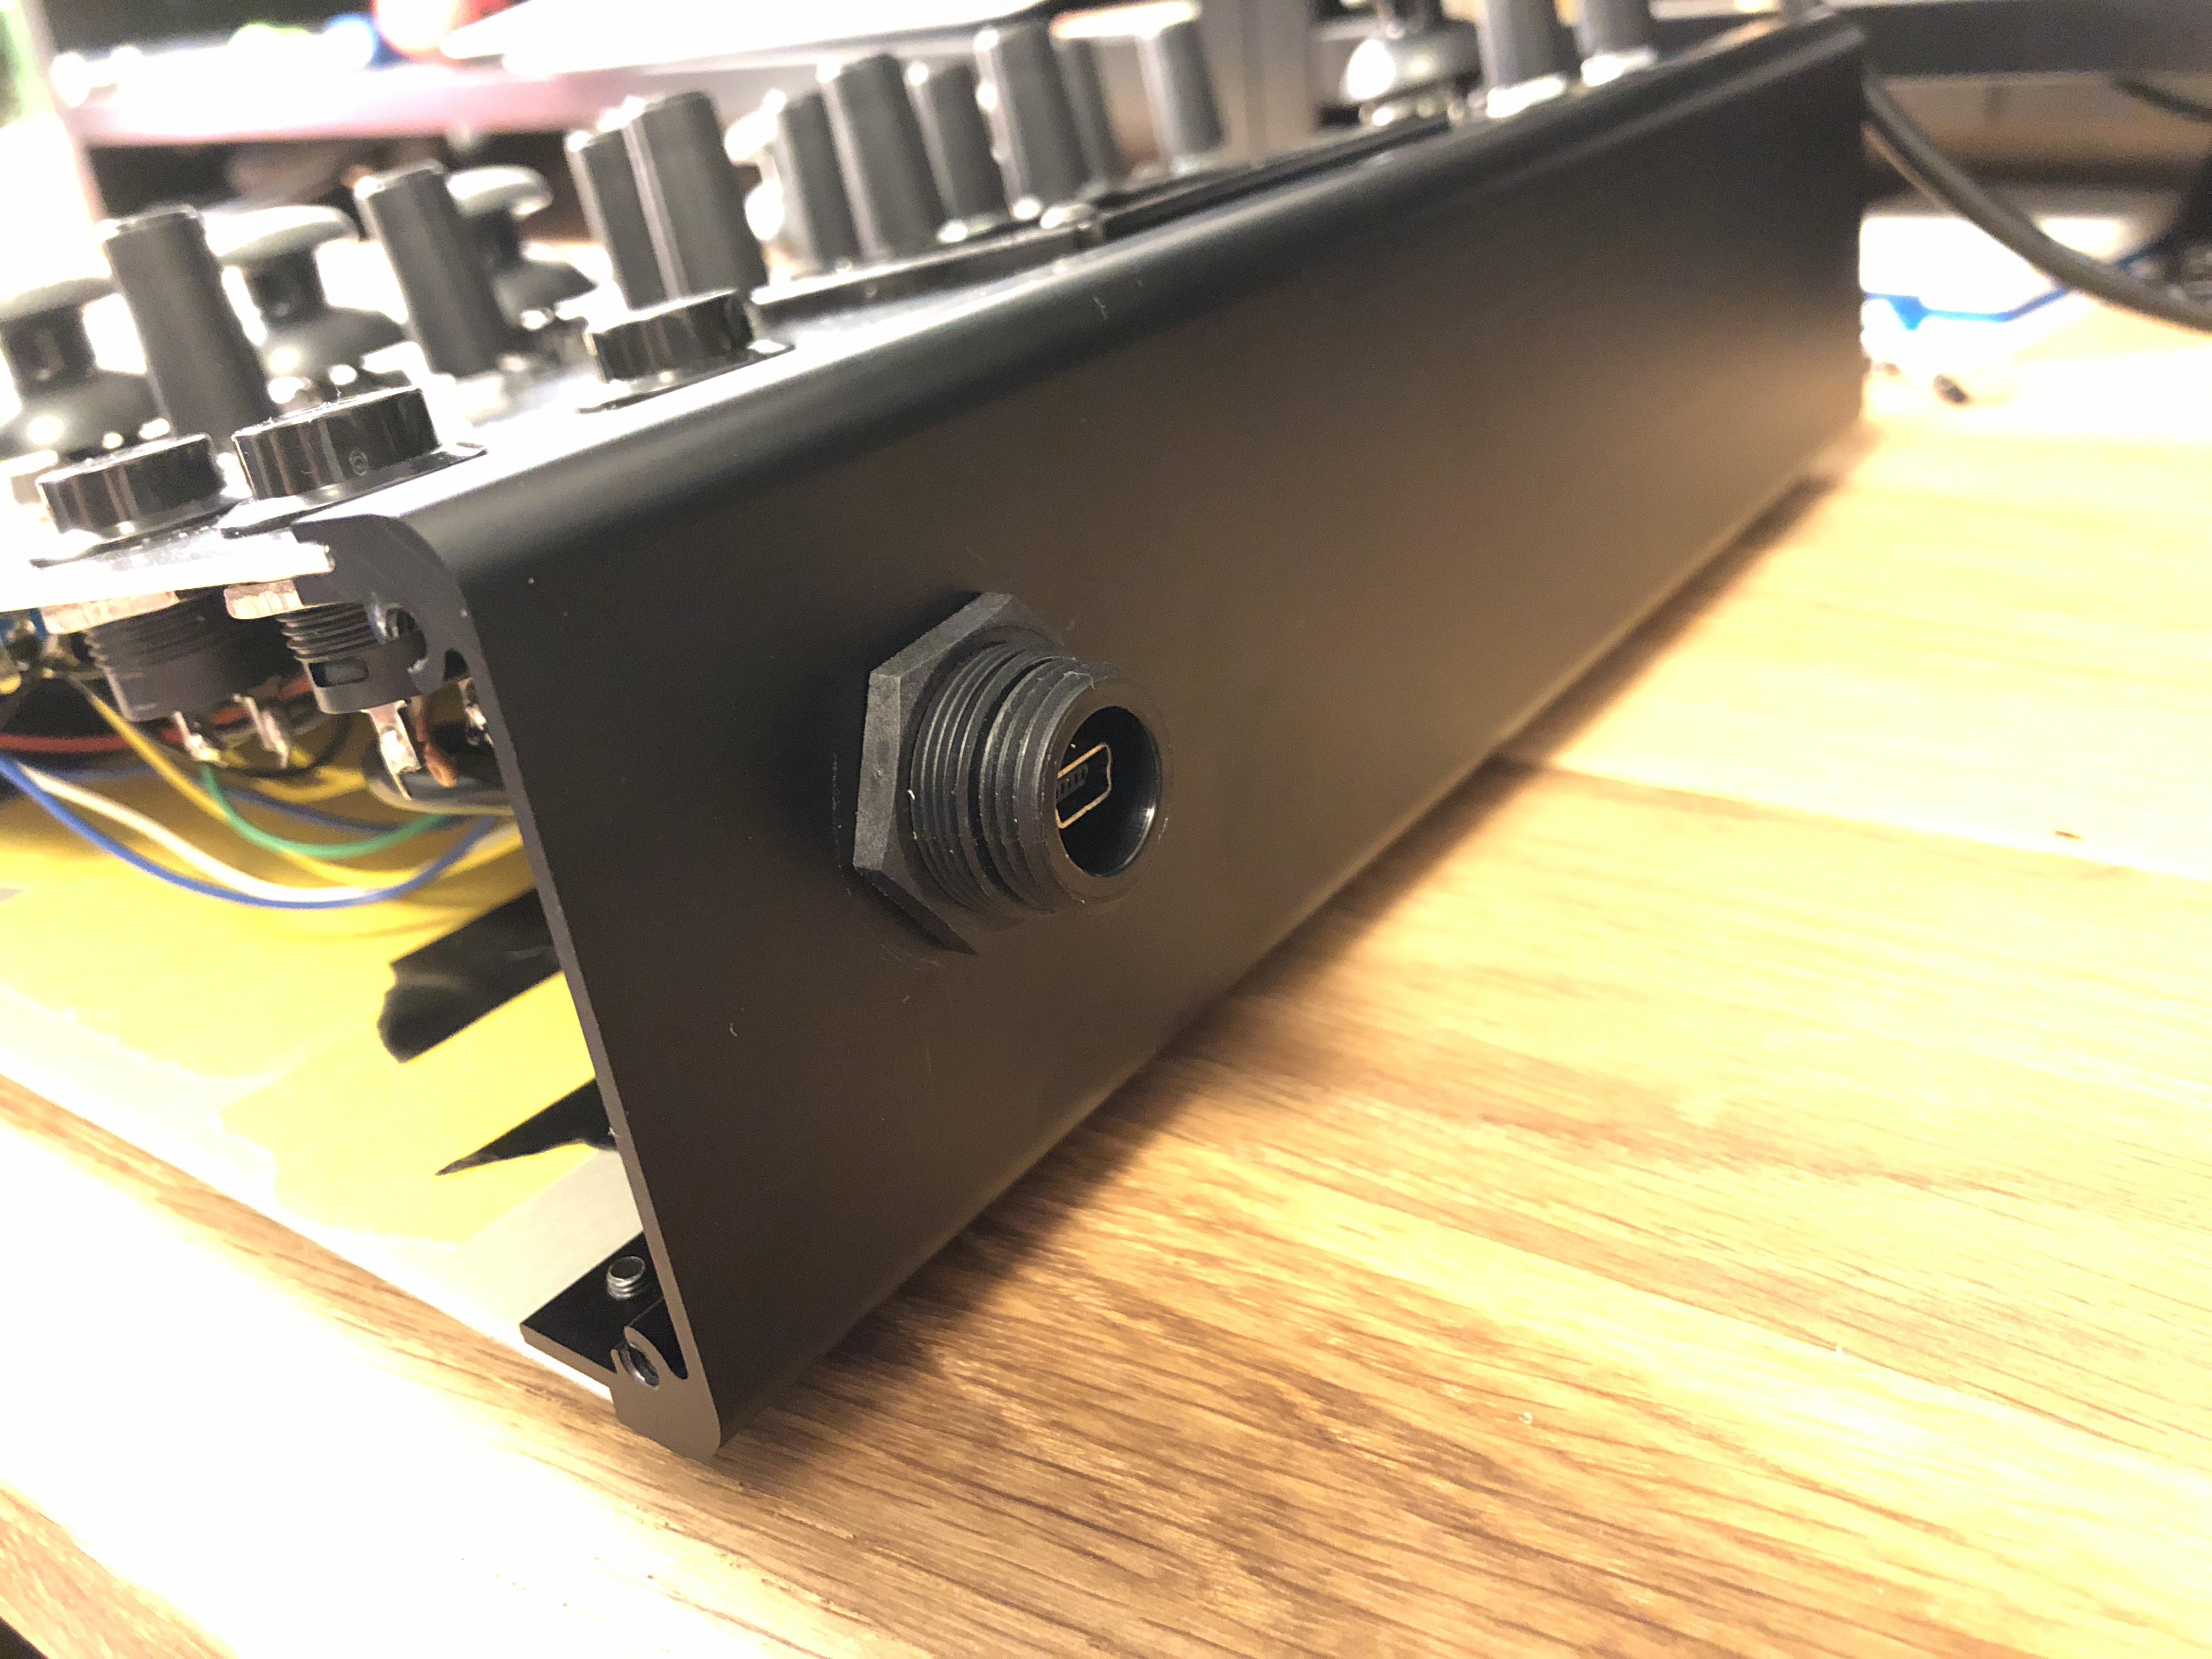
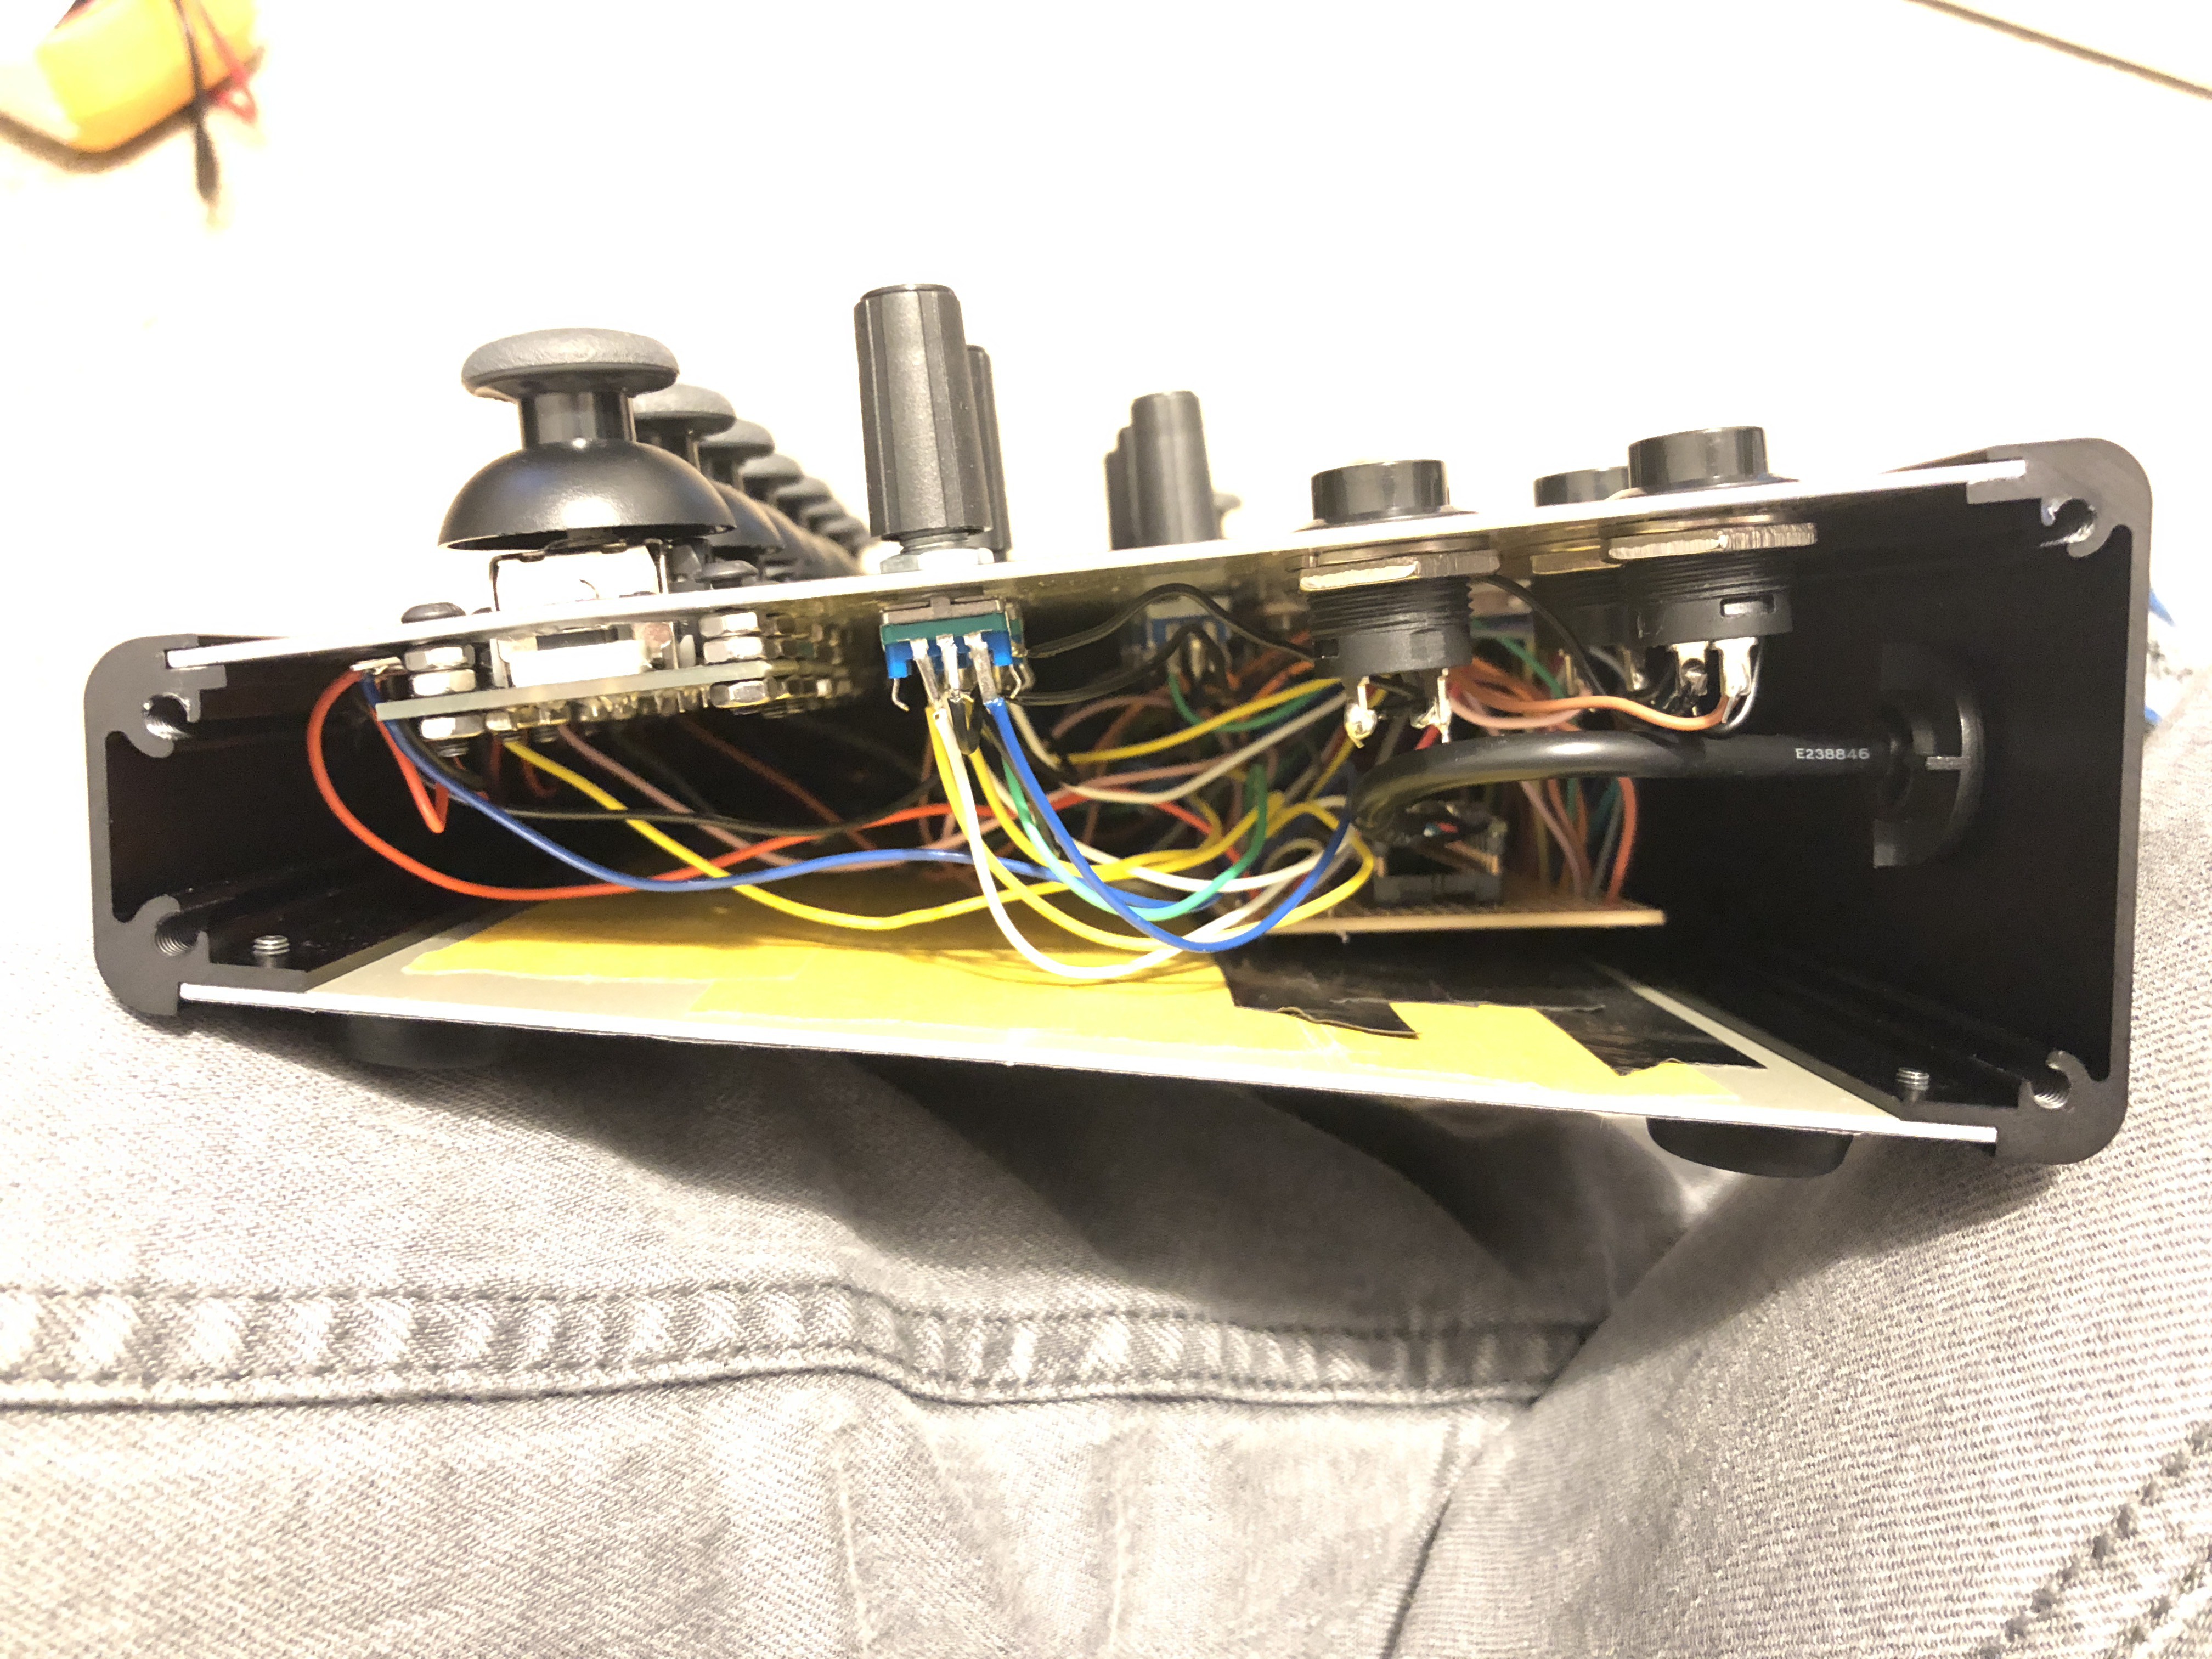
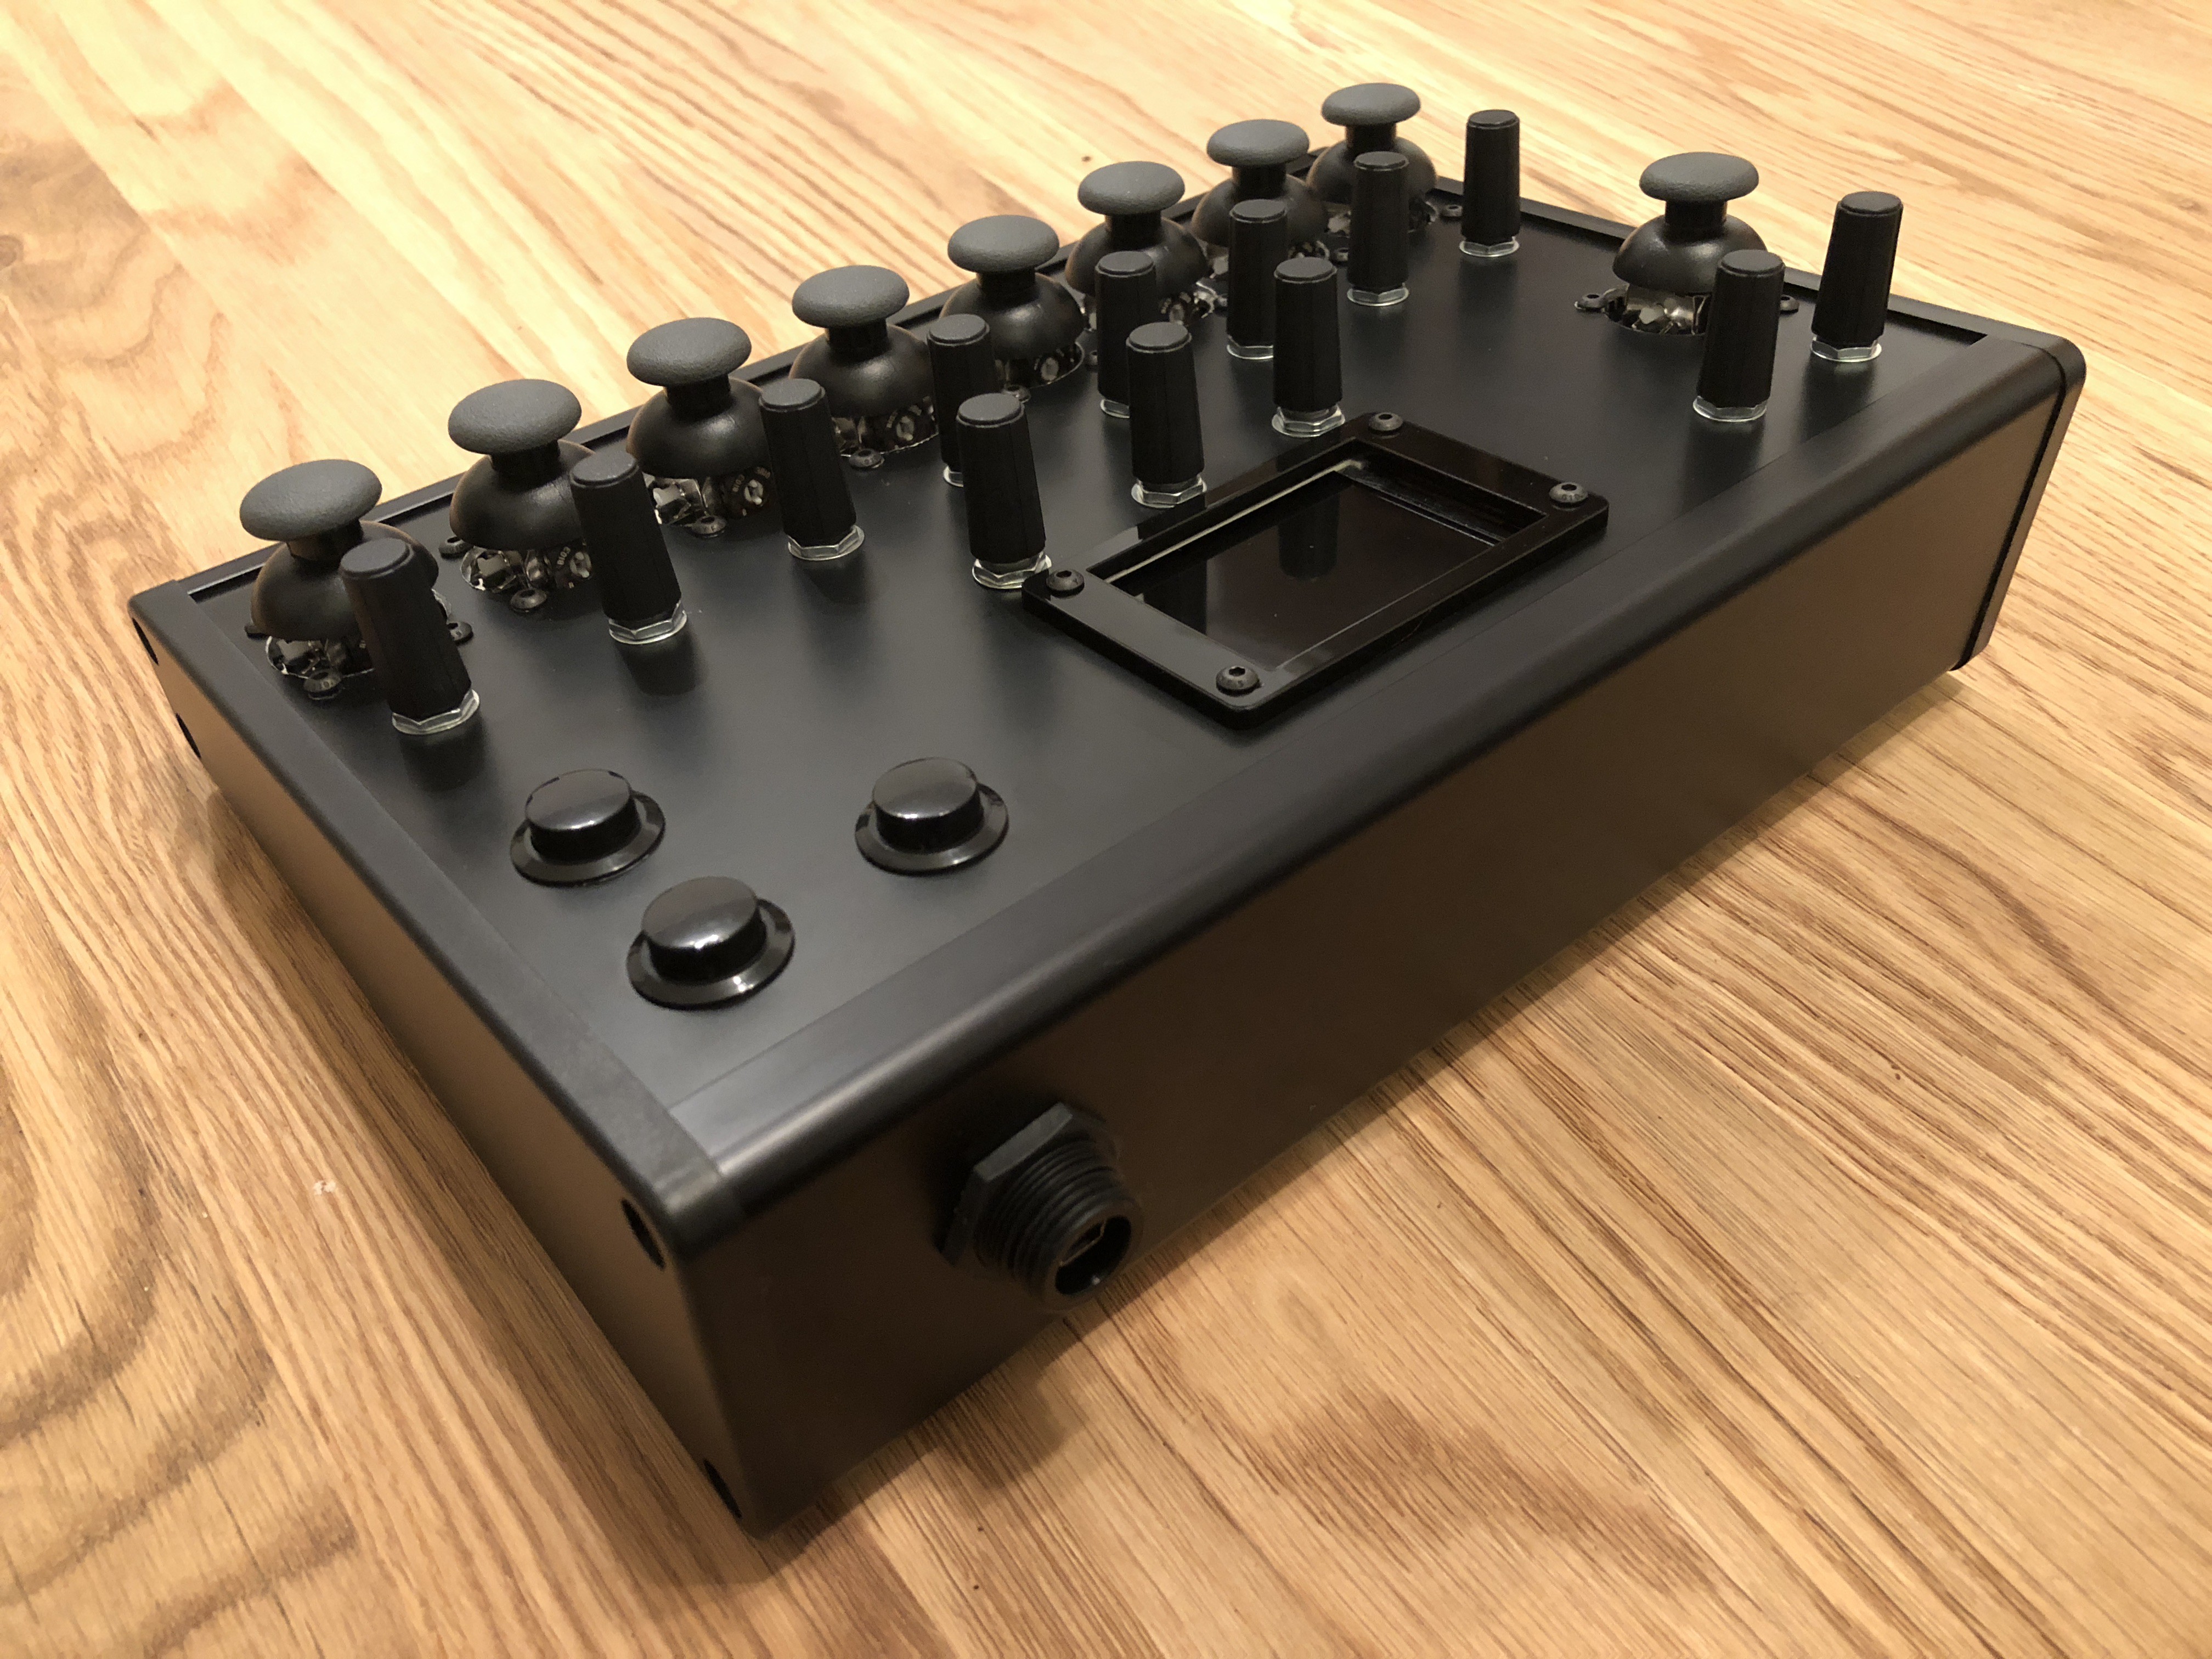
To allow the Teensy board's USB port to be accessible from the outside of the enclosure I've attached a Bulgin PX0446 Panel Mount USB connector/socket to the rear of the enclosure, where I've soldered a micro USB plug to the end if it's lead so that it can connect to the Teensy board. I'm not particularly happy about how much the socket protrudes from the surface of the enclosure, however this seems to be the only panel mountable USB socket available of it's kind. See below for photos:
The Finished Enclosure
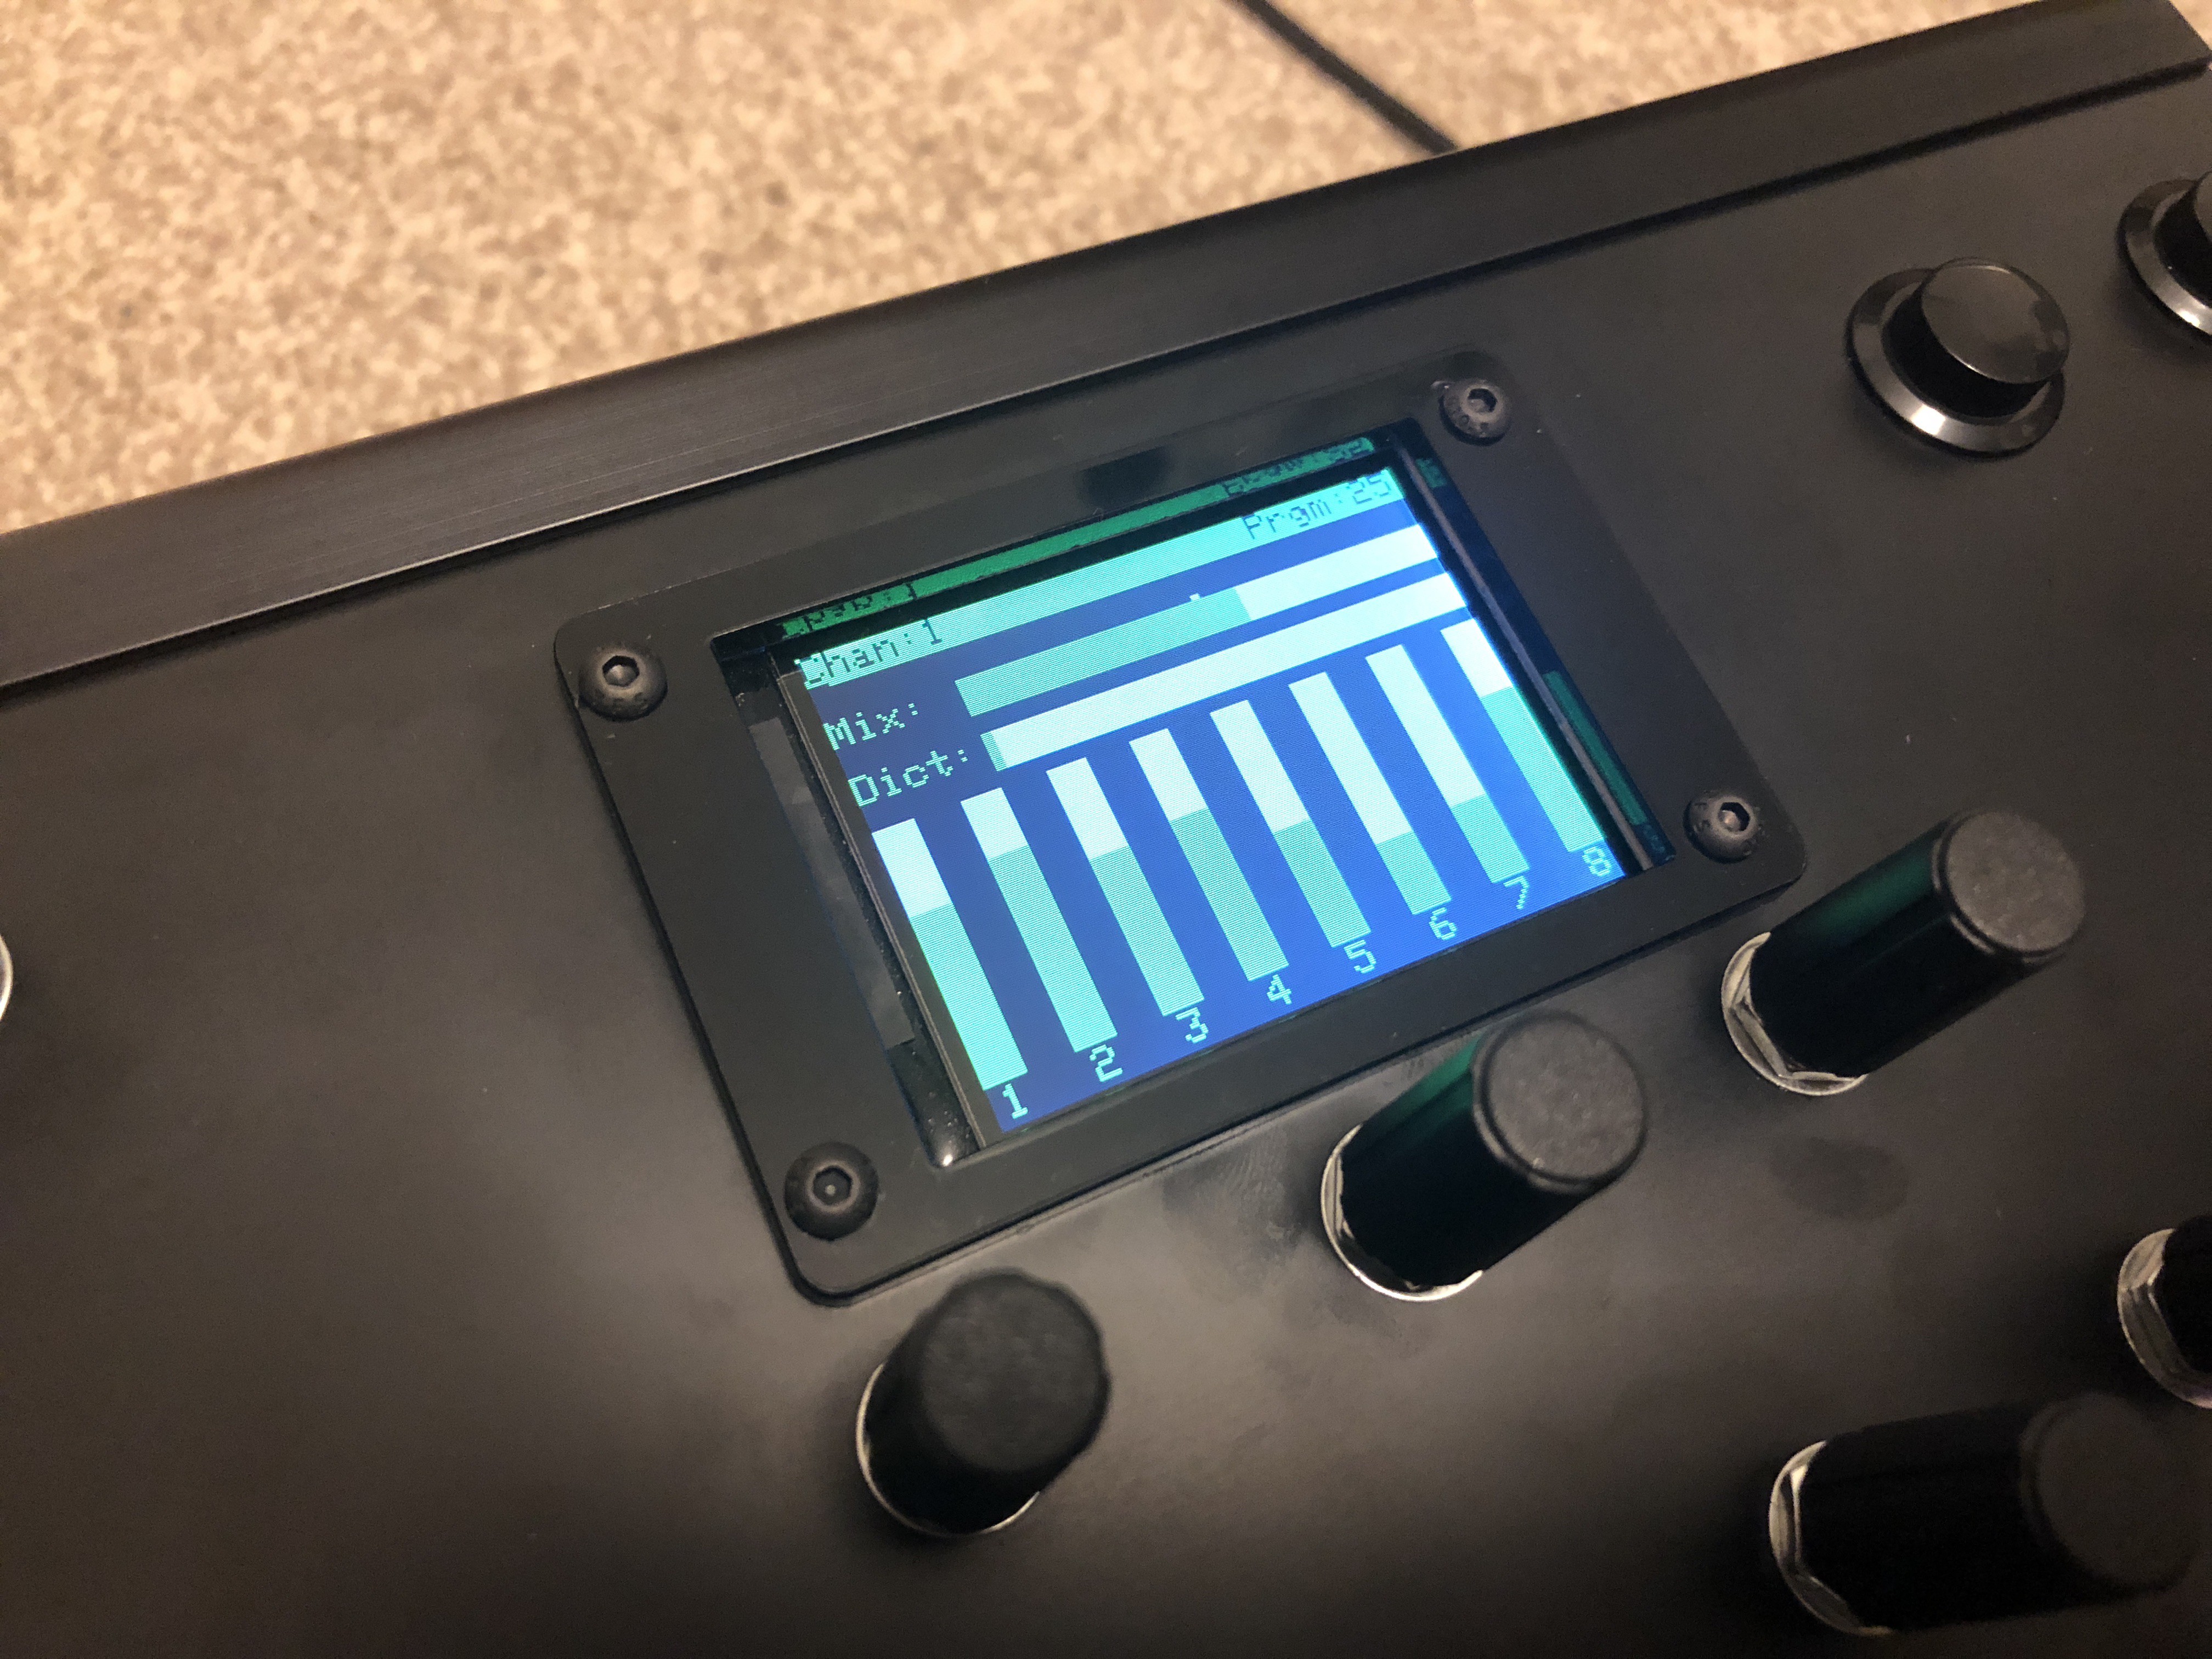
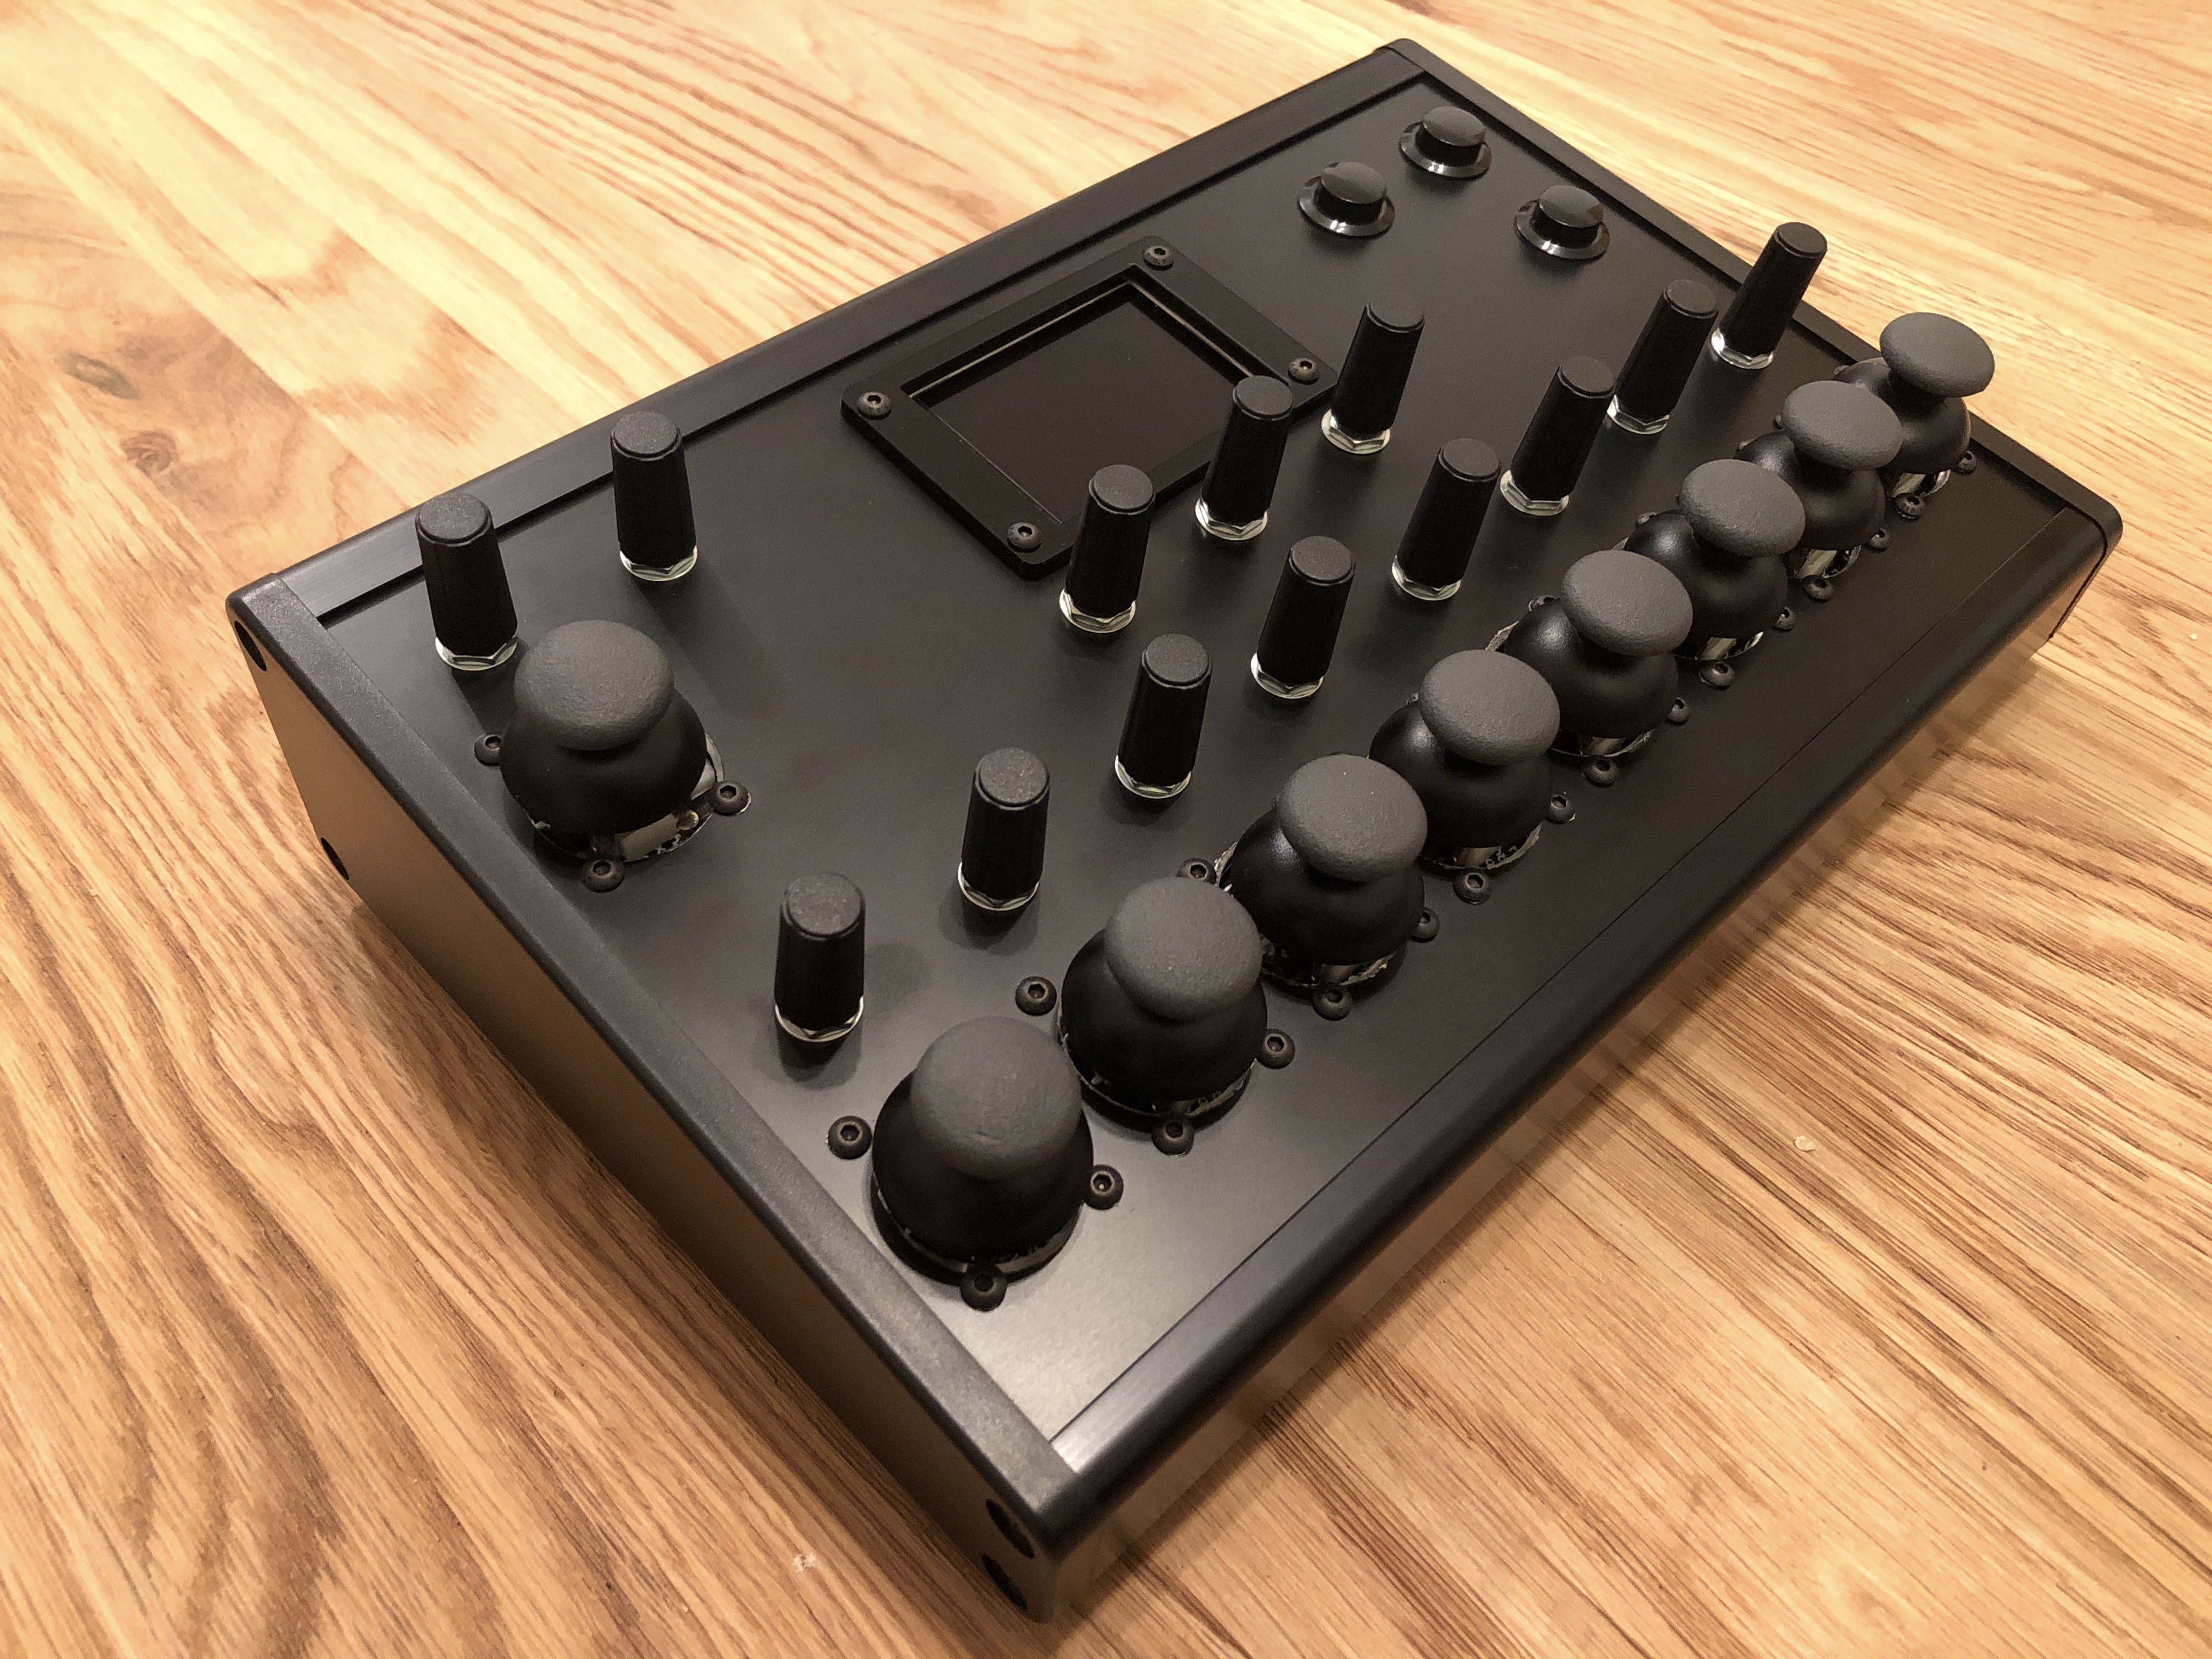
With these two parts done, the enclosure (and overall hardware) is now finished! I'm toying around with the idea of added a decal to the panel to label all controls, however I really like the clean minimal look of it without this. Here are some photos...
Discussions
Become a Hackaday.io Member
Create an account to leave a comment. Already have an account? Log In.