 T. B. Trzepacz
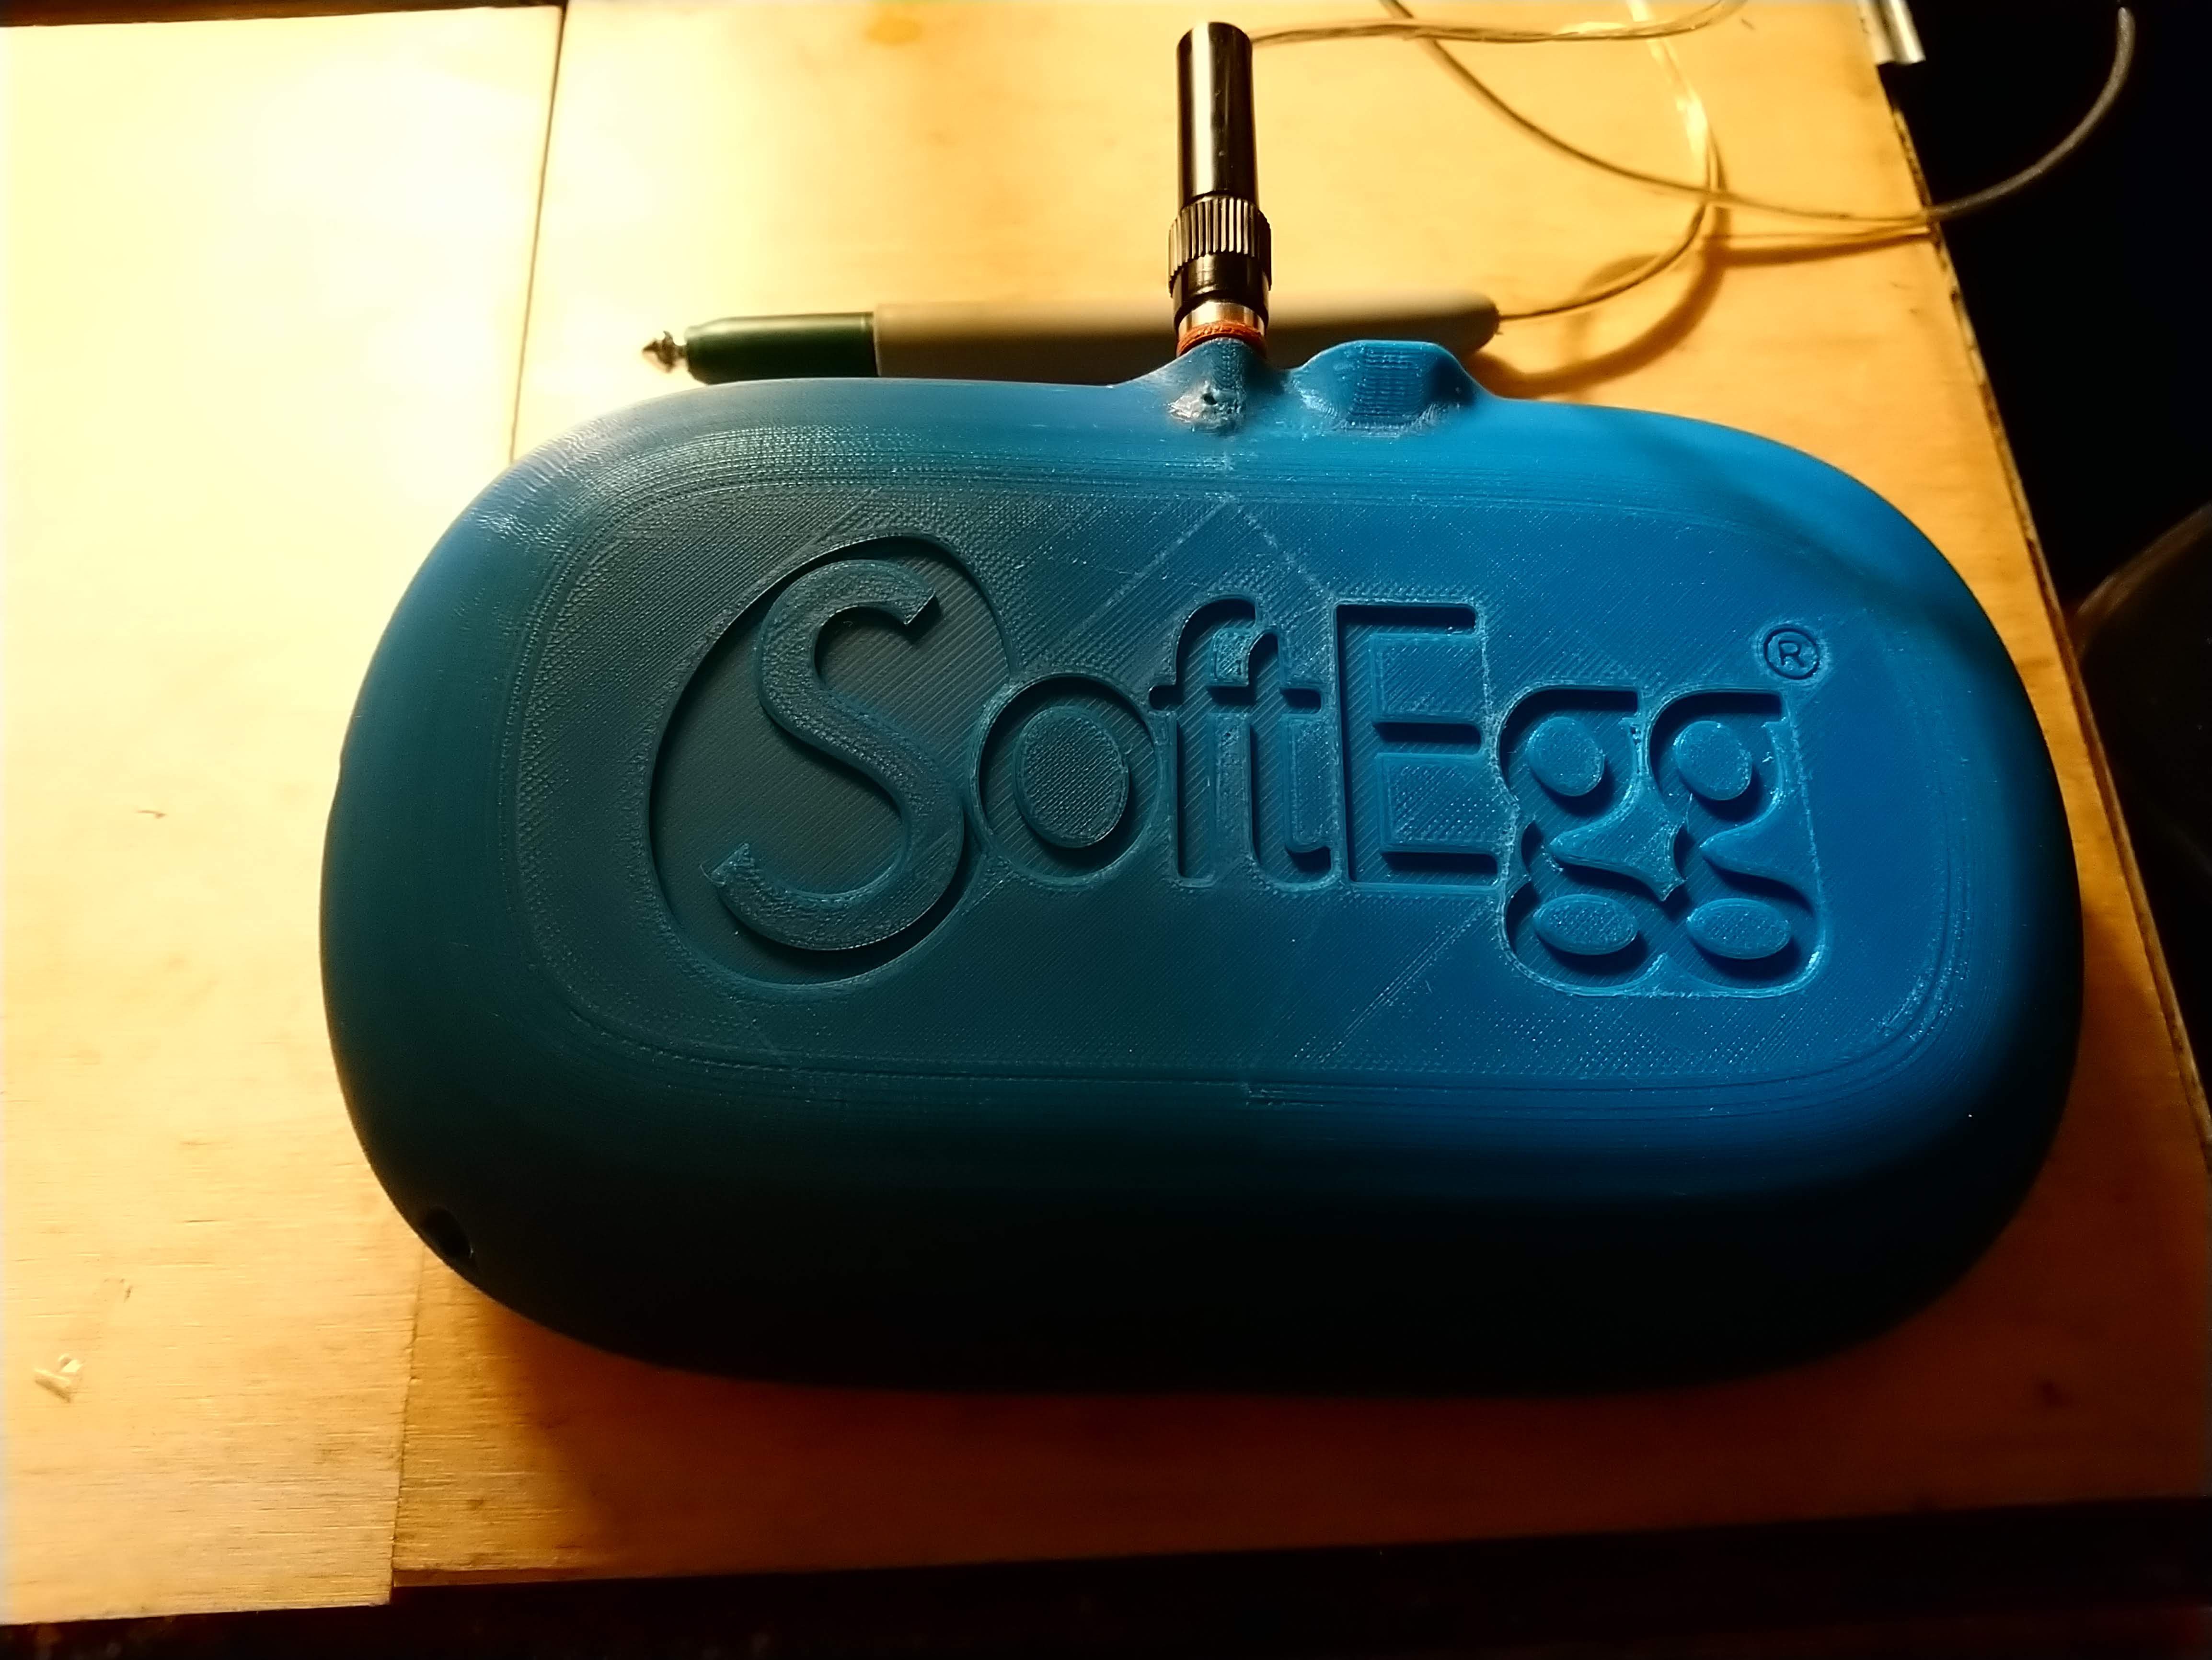
The 3d printer finally coughed up the finished print of the V2 case! It snaps together very nicely, and screws can be added for increased solidity.
From the front, it looks very similar to the V1 case, but you might notice a much larger bezel around the bottom of the keyboard, an indentation over the buttons, and the thru-hole parts for the PWM are now covered with a little bump.
The plastic under the banana plug socket had a tiny hole in it due to a very thin feature that I tried to patch with extra plastic and a soldering iron, but just ended up making it worse.
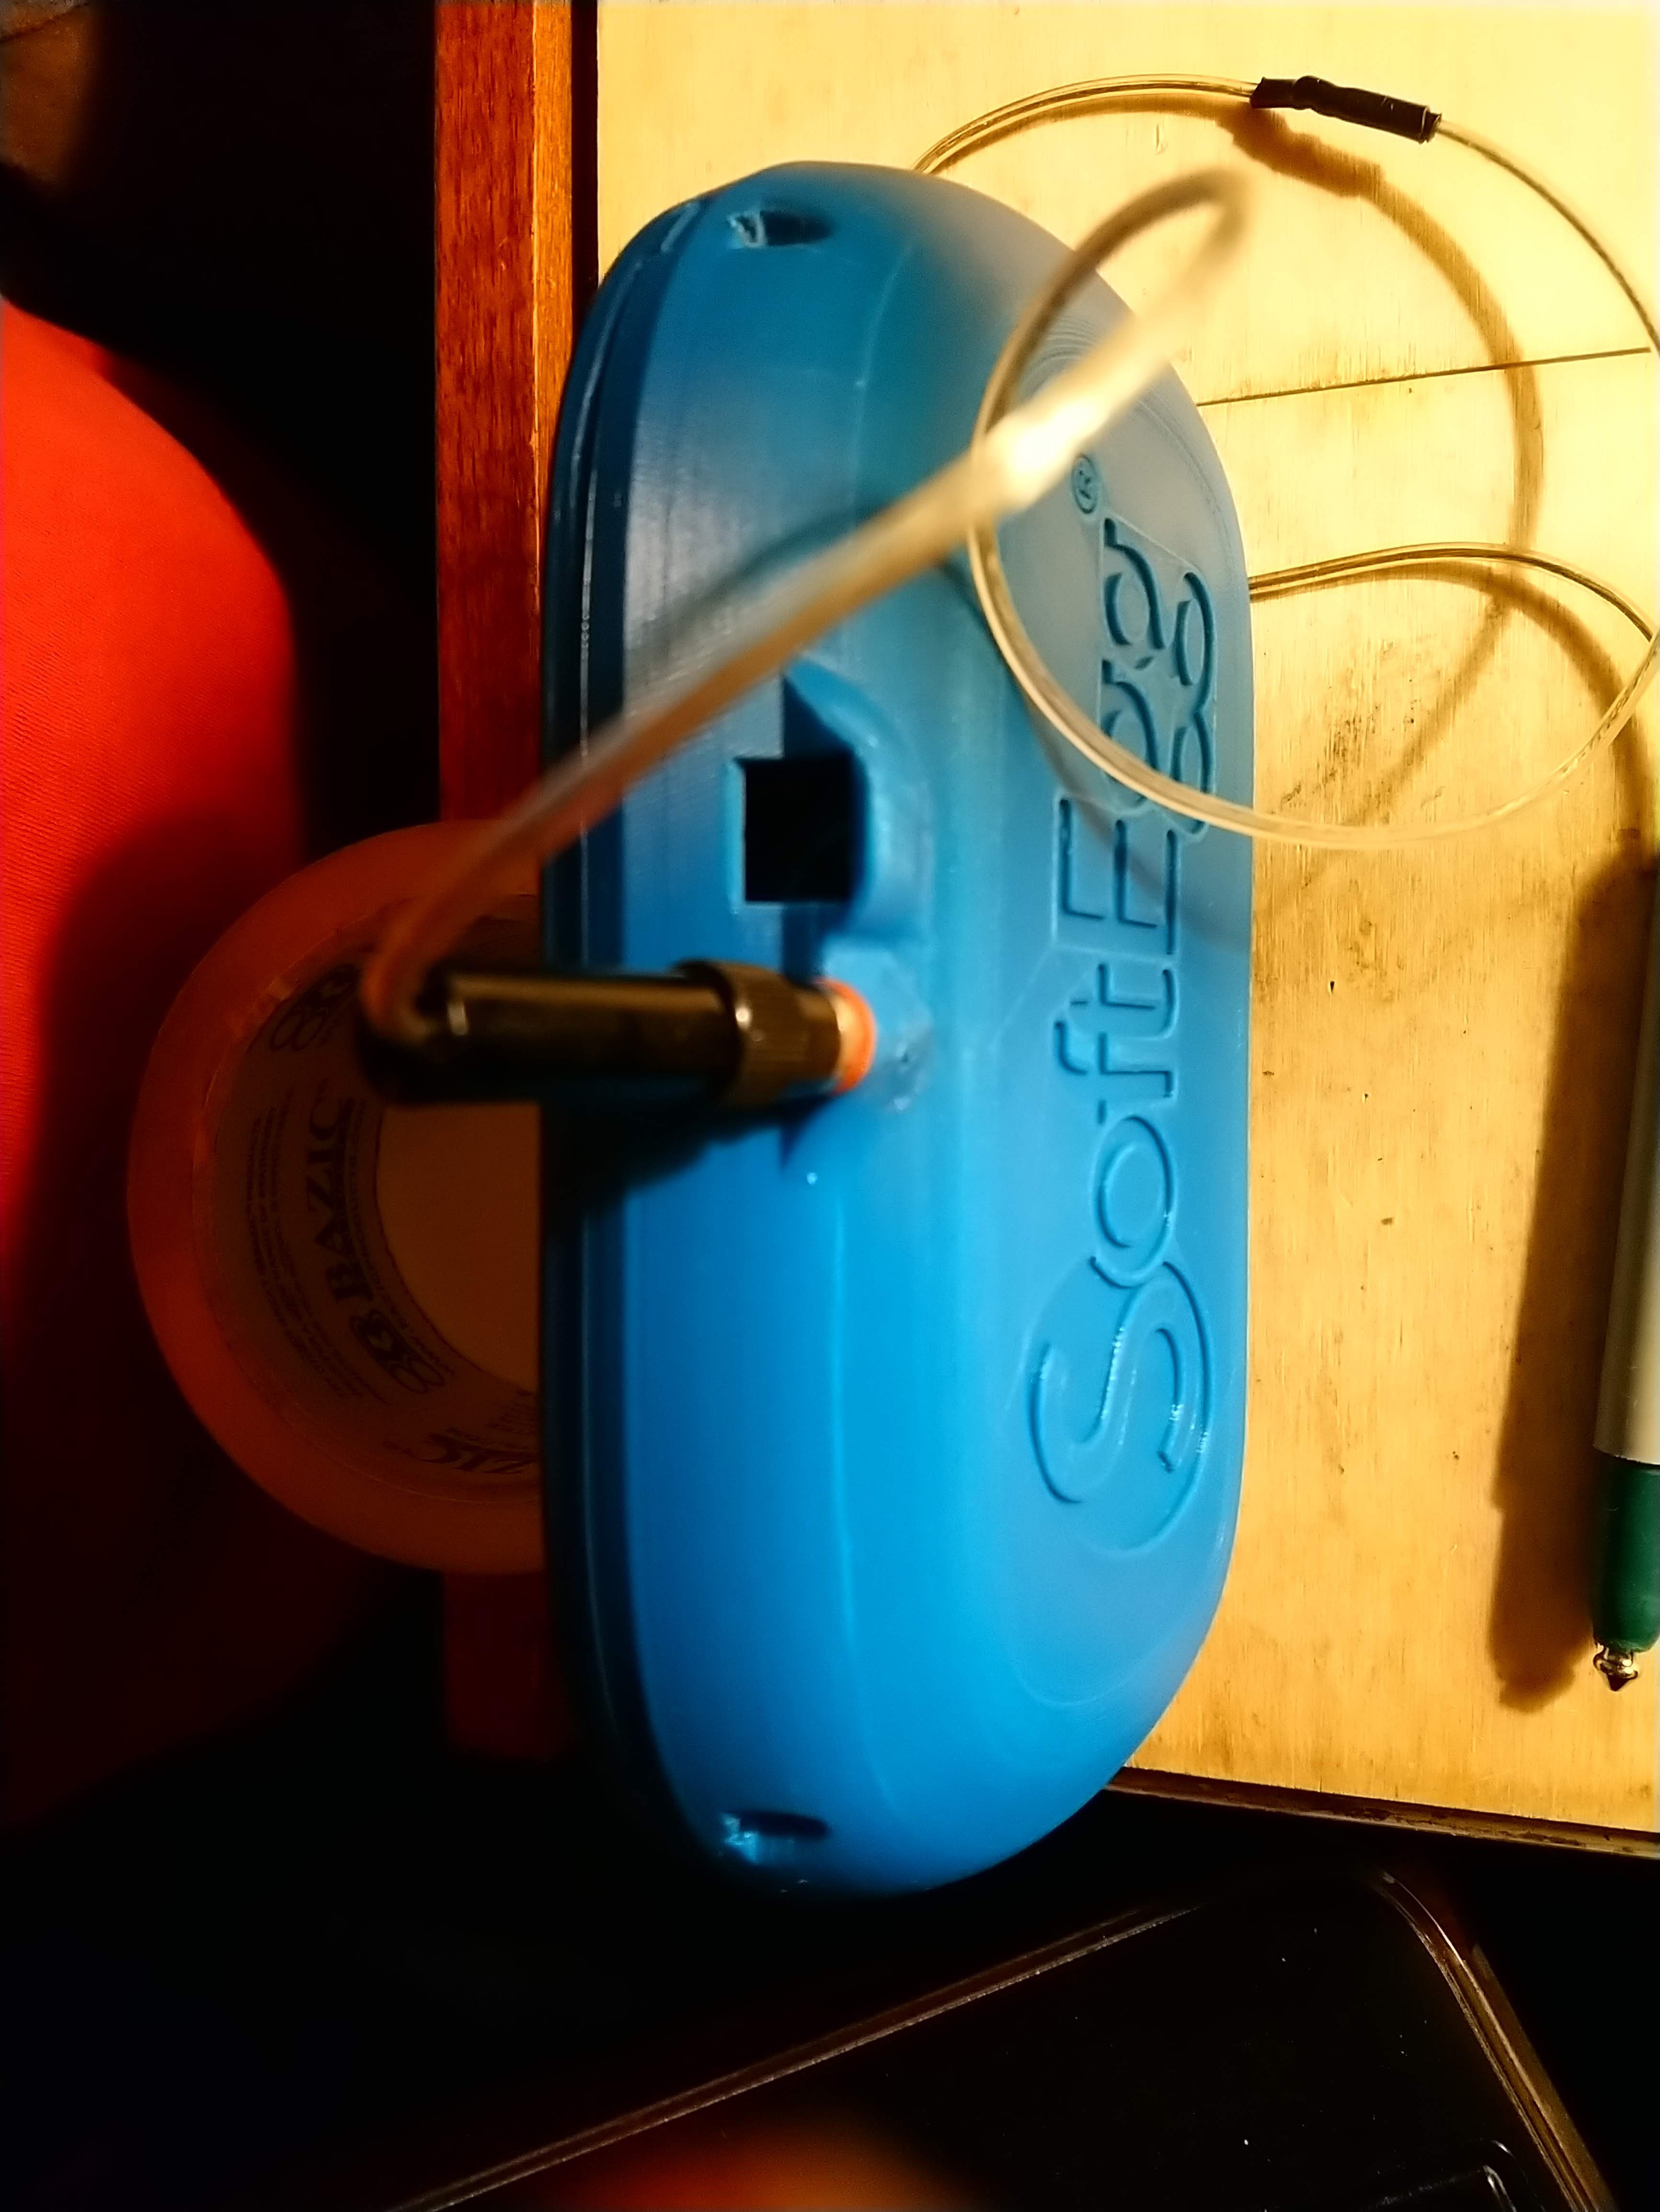
The USB port hole awaits a connector! On the real one, if this appears, it will probably be optional and perhaps differently located. Currently, you have to attach the USB cable directly to the microcontroller inside the case, which means I have to disassemble it to work on software every time. This should solve that.
The speaker mount got a redo as well, but because of some unintended relations in the model, it screwed up the rest of the model, so I had to revert all of that work. I can still get this part from the history, but having it attached to the rest of the design intent is not really possible unless I redo it.
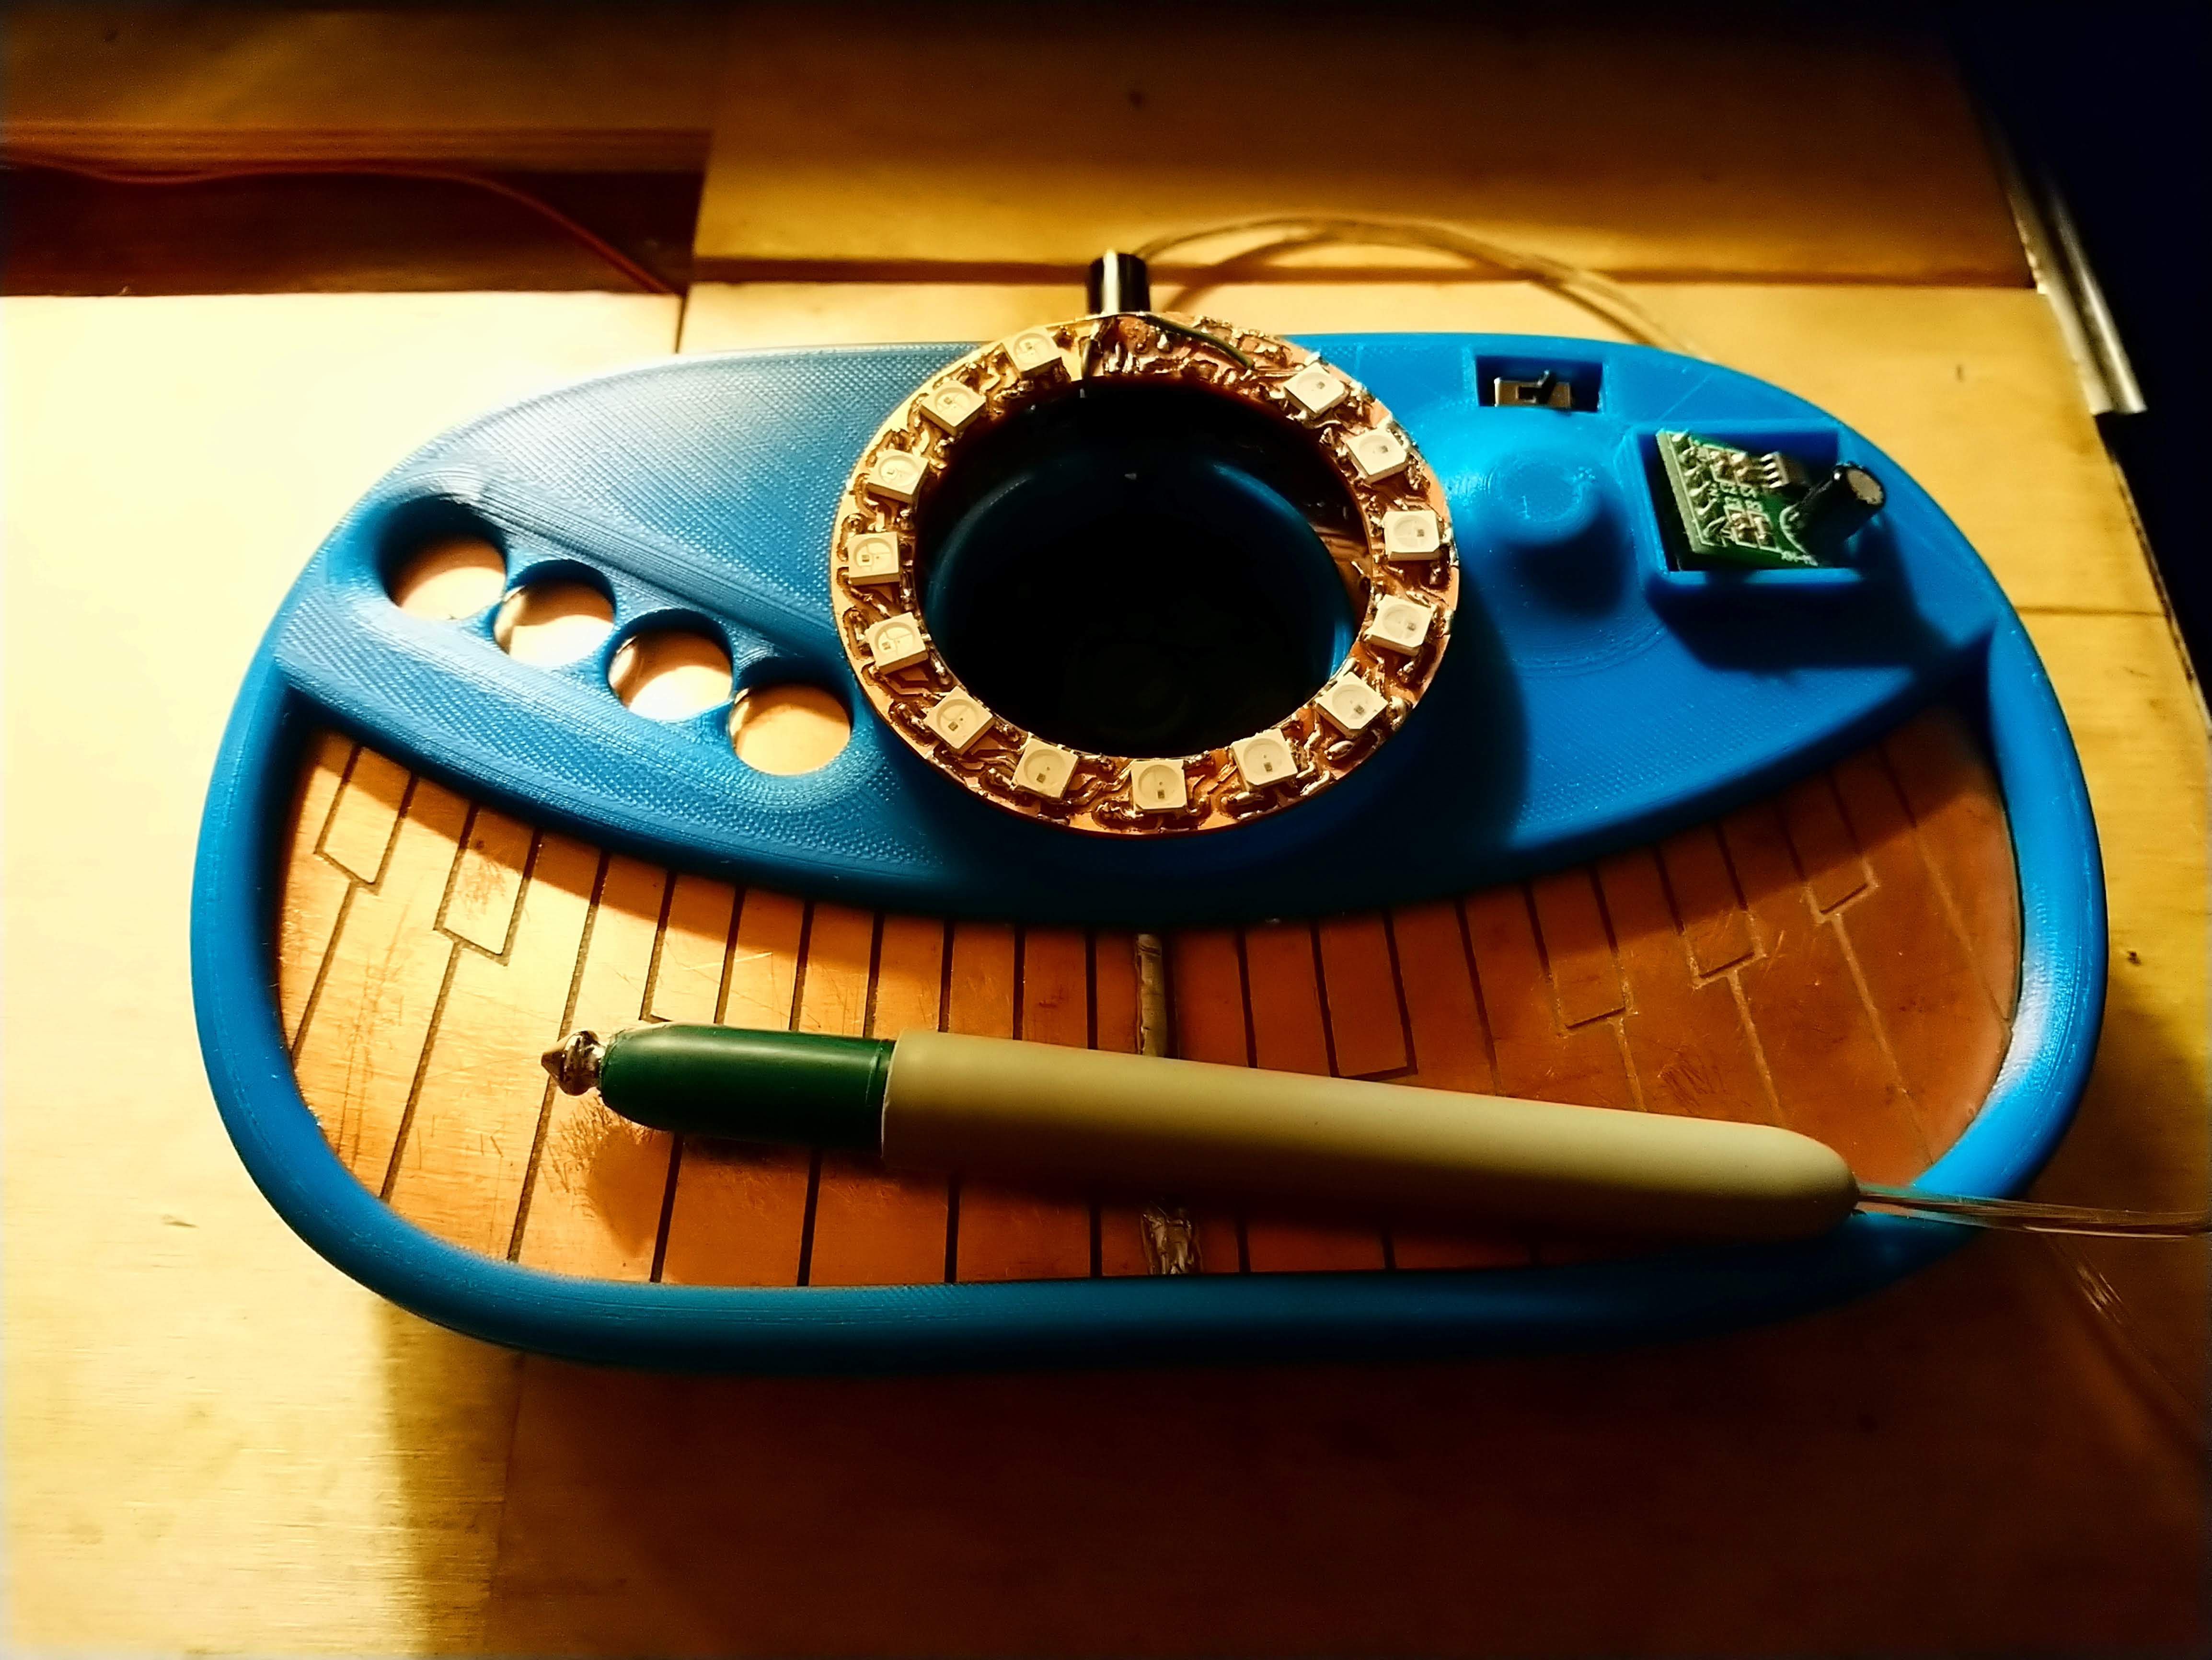
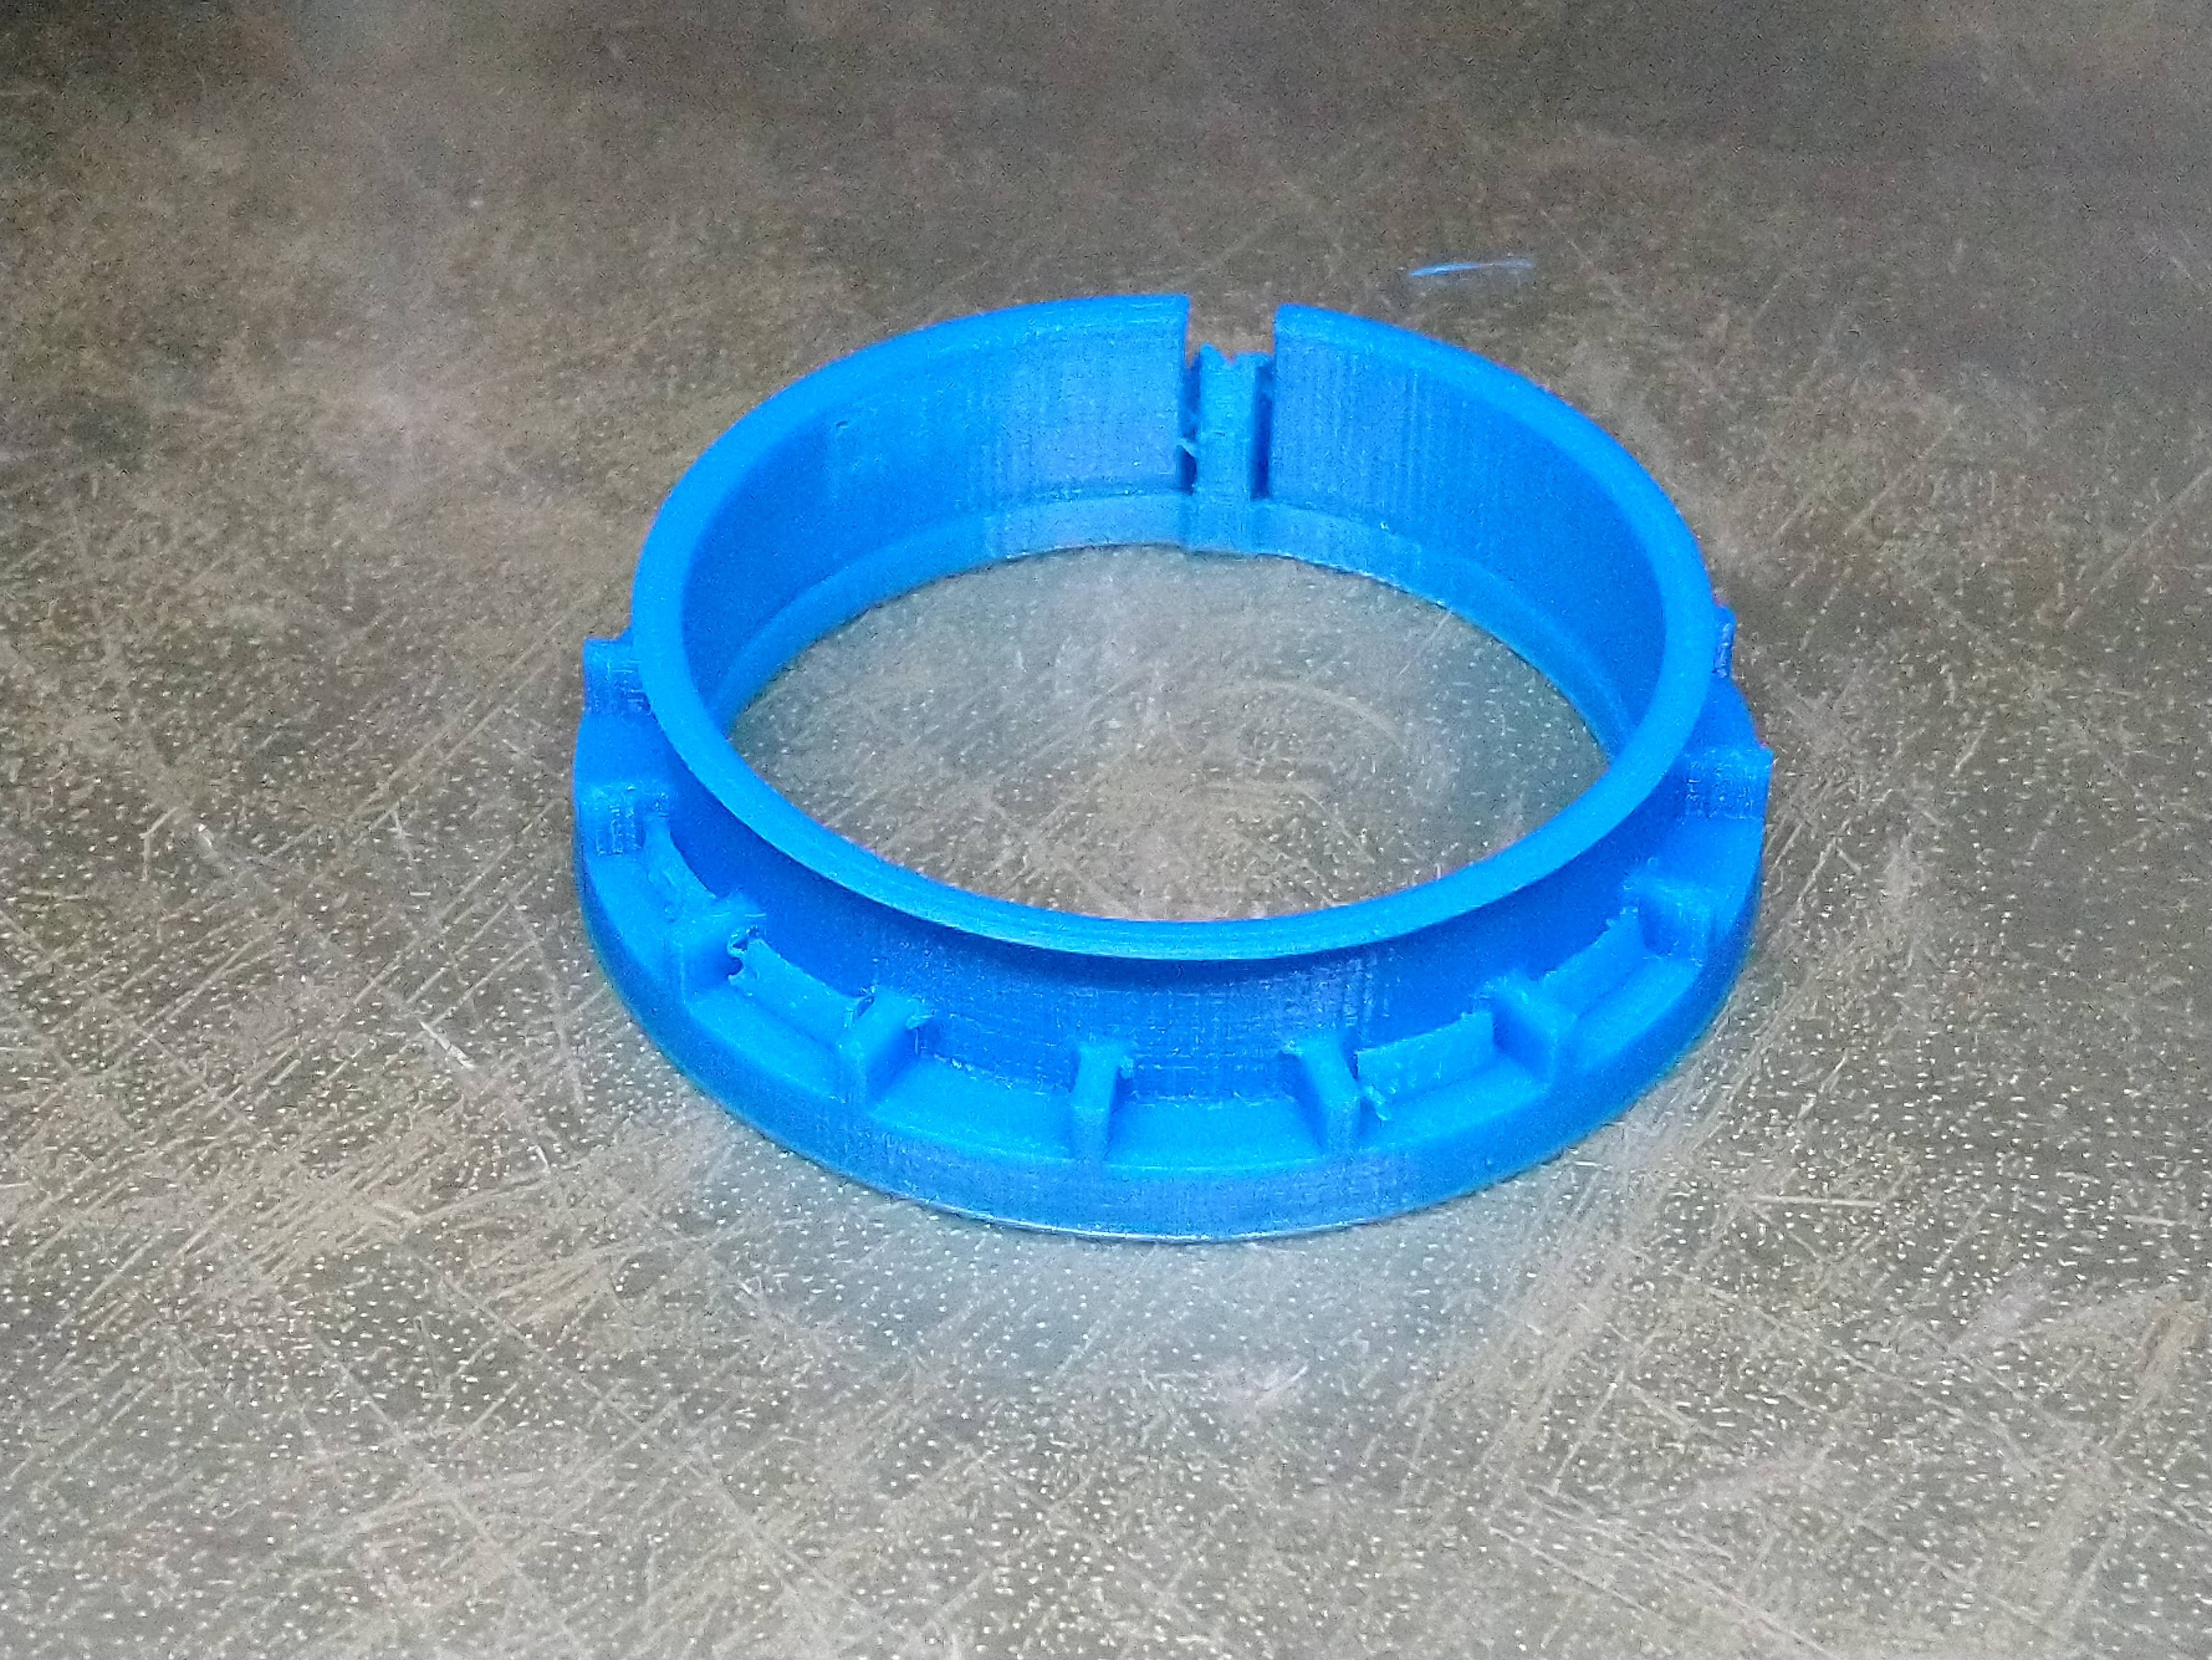
I had also started on a bezel for the LED ring before I discovered this, so all of that work is gone as well.
I finished updating the schematic to reflect the changes I made to the board with bodge wires and cut traces, but I keep crashing KiCAD when I try to reroute the PCB to match. I've downloaded a new daily build of KiCAD, and will try to install it soon and see if it helps.
Now that the contest entry has met requirements, I'm hoping to slow down a little and get my sleep schedule (as well as various health issues) back in order, so work may be a little slower.
The whole case was mainly made for "dog-and-pony" purposes; the project wasn't really ready for that, but contest deadline was Monday, so being pretty is good. I intend to finish up the beautification with the USB port and the LED ring cover, and maybe do something about the amp board that sticks out, but after that I intend to finally get back to the code.
In the code, the state machine for the UI is being written, but because of the massive debouncing required to make this thing work, that system needs to be tweaked to accommodate the different needs of playing the piano keyboard vs touching UI buttons.
For example, when tracking the piano keyboard, if the user moves to a new key by sliding the stylus, you want to go to that immediately... unless it is a key you just left, because you might be sitting on the boundary between keys. In that case, you want to wait for it to be stable. But on the buttons, you want to wait a good long time for stability. Probably the best thing to do is to have them trigger on stylus UP, but then you think the user will be confused if they touch the thing and nothing happens. So buttons need a LONG debounce period, and states for both stylus down (update LEDs with solid color change) and stylus up (LEDs flashing in current "state color" to reflect a need for further input.)
This also applies even to synthesizer systems like the envelope generator state machine. Since the keyboard needs low latency, a "trigger" for envelope needs to start immediately on key down, but then debounce heavily any key up. This could potentially be done in the envelope generator by having "attack" reassert itself from whatever the current volume level is if there is a momentary off due to stylus motion. This works better with envelopes that are only "attack-decay" than with full ADSR tho, so this might not be an option after all.
Anyway, it's code that is in the middle of being written, but I'm in CAD land for a few more days...
Discussions
Become a Hackaday.io Member
Create an account to leave a comment. Already have an account? Log In.