 John
JohnWhenever your nervous system needs to make a movement, it sends tiny electrical signals through neurons to control your muscles. The technique of electromyography (EMG) allows us to amplify and measure these electrical signals. In addition to being a useful clinical tool for diagnosing different neurological disorders, EMG recordings have been used more recently to control prosthetic devices.
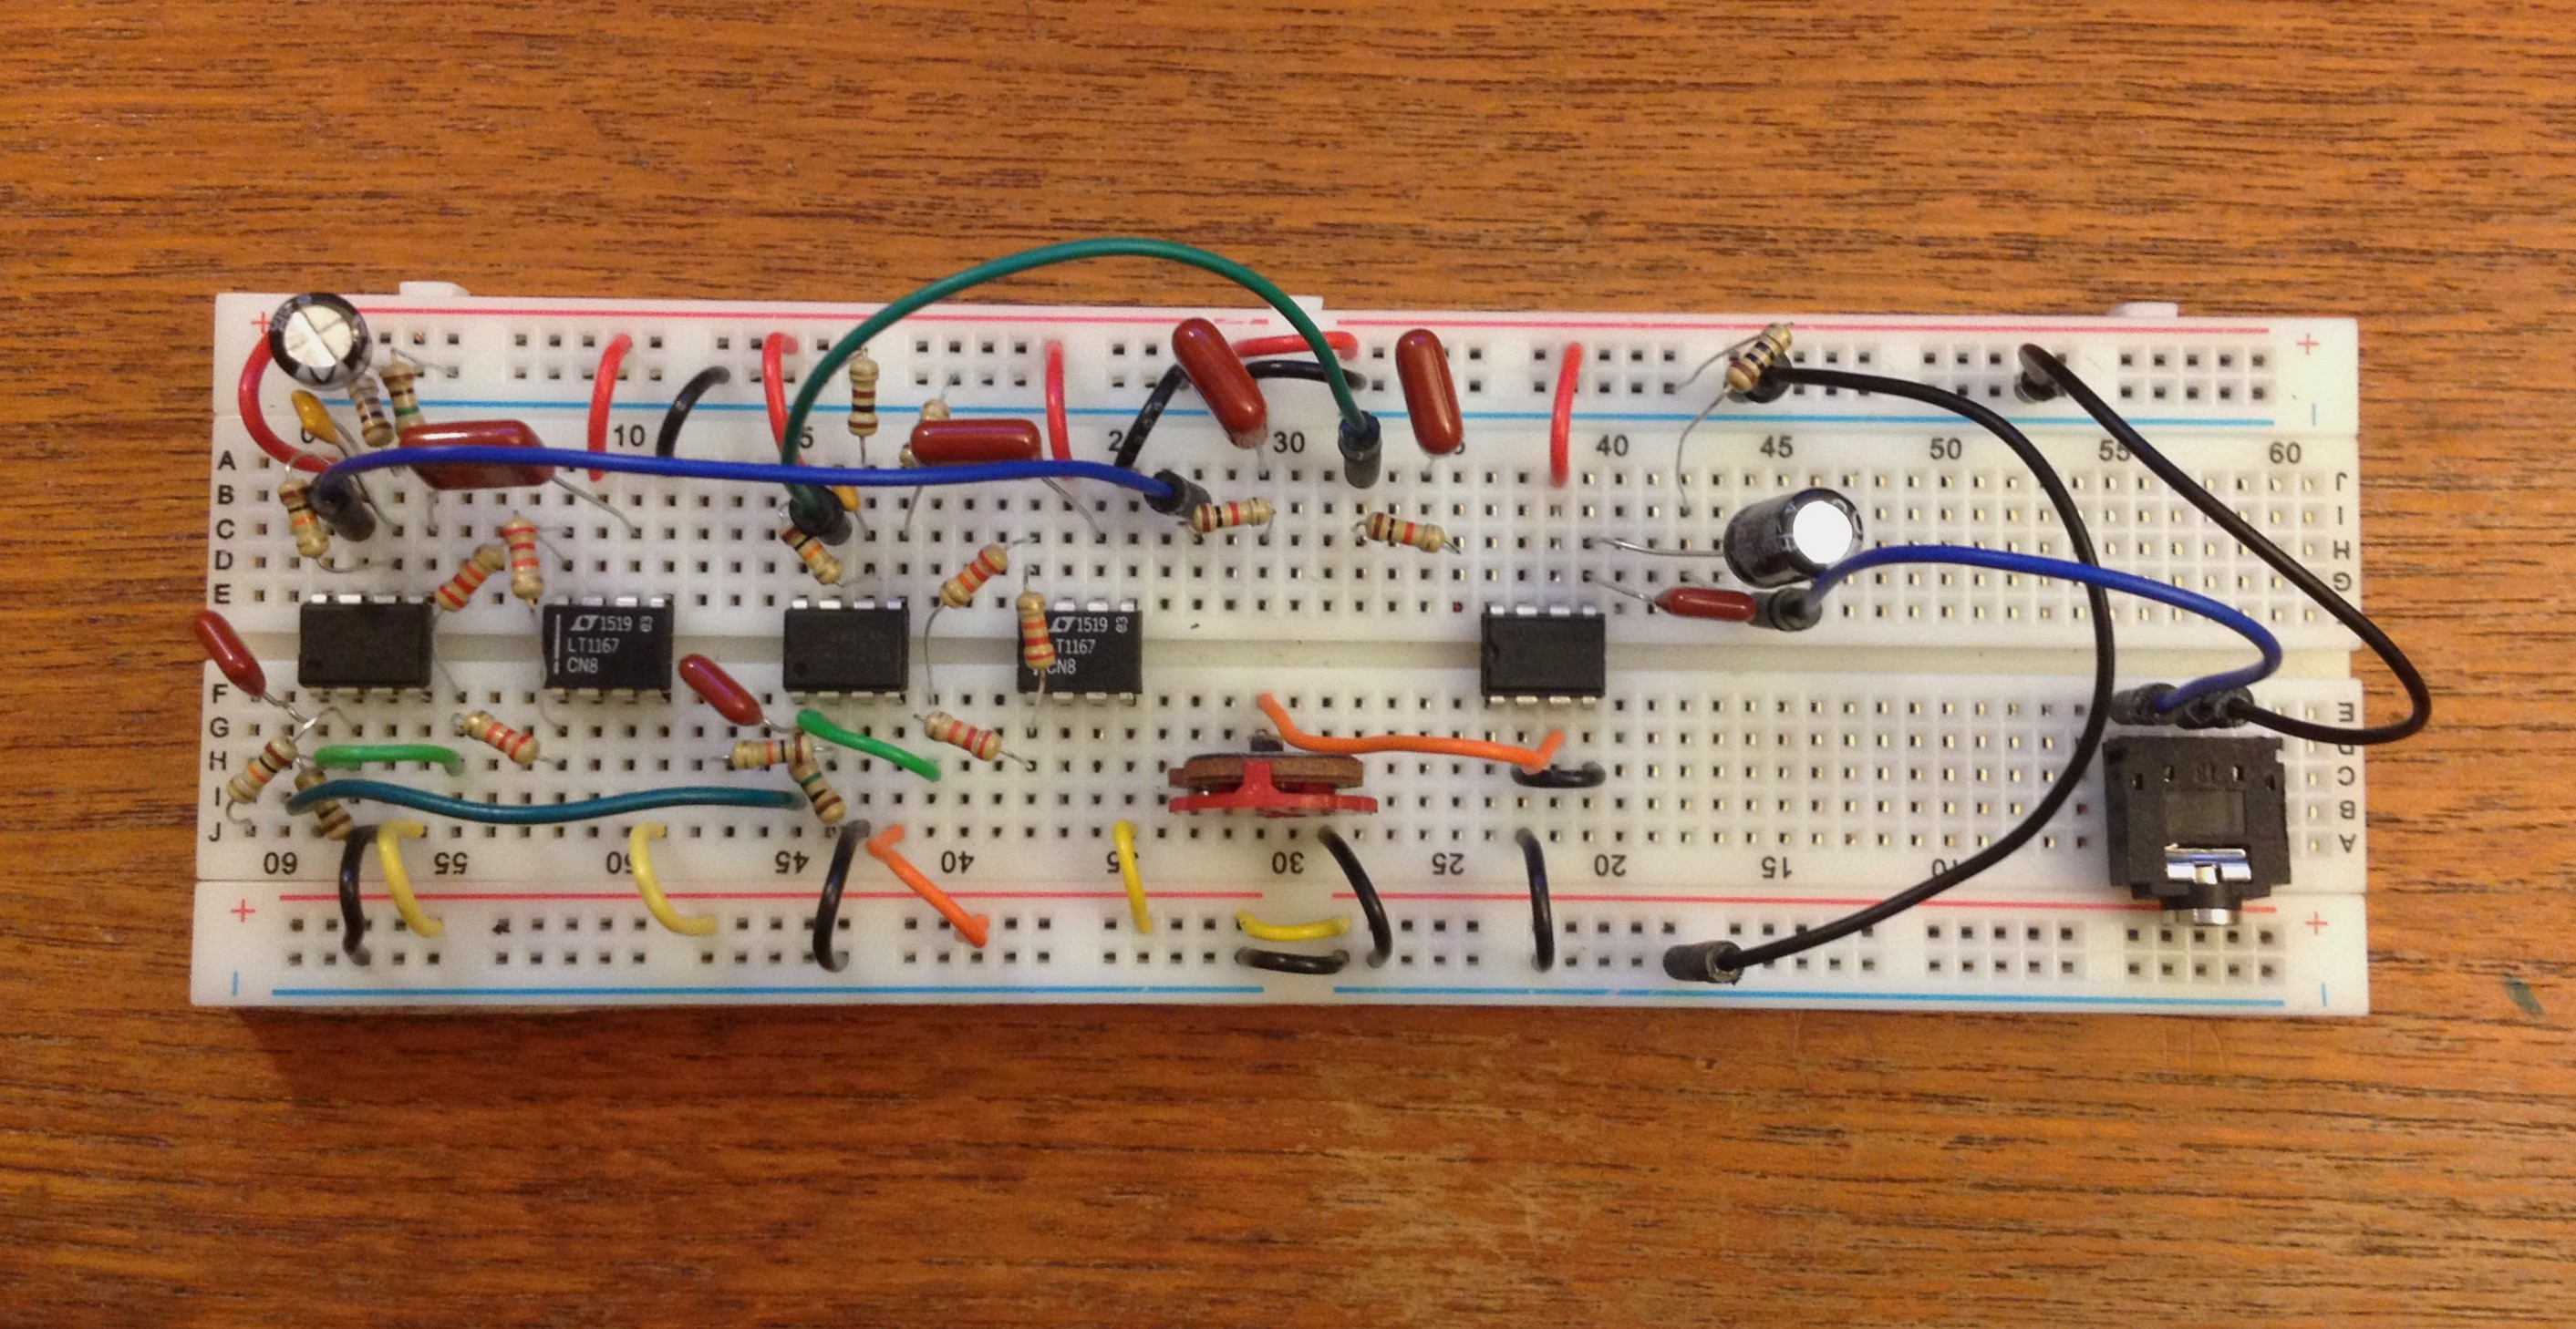
In the hopes of becoming more familiar with EMG amplification and recording techniques, I thought it'd be fun to build an EMG amplifier that I could then use as a control signal for a different device. Rather than controlling a prosthetic arm, I decided to incorporate my interests in music and used the EMG signals to control a MIDI device. MIDI stands for Musical Instrument Digital Interface, and is the standard protocol for sending and receiving musical signals electronically.


 BrainHUB Lab
 G. Rosa
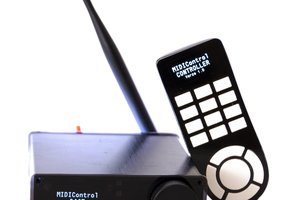
 Vojtěch Vosáhlo
It is a universal language that transcends cultural boundaries and has been a part of human civilization for thousands of years. https://worldmusicviews.com/