 Mark Rehorst
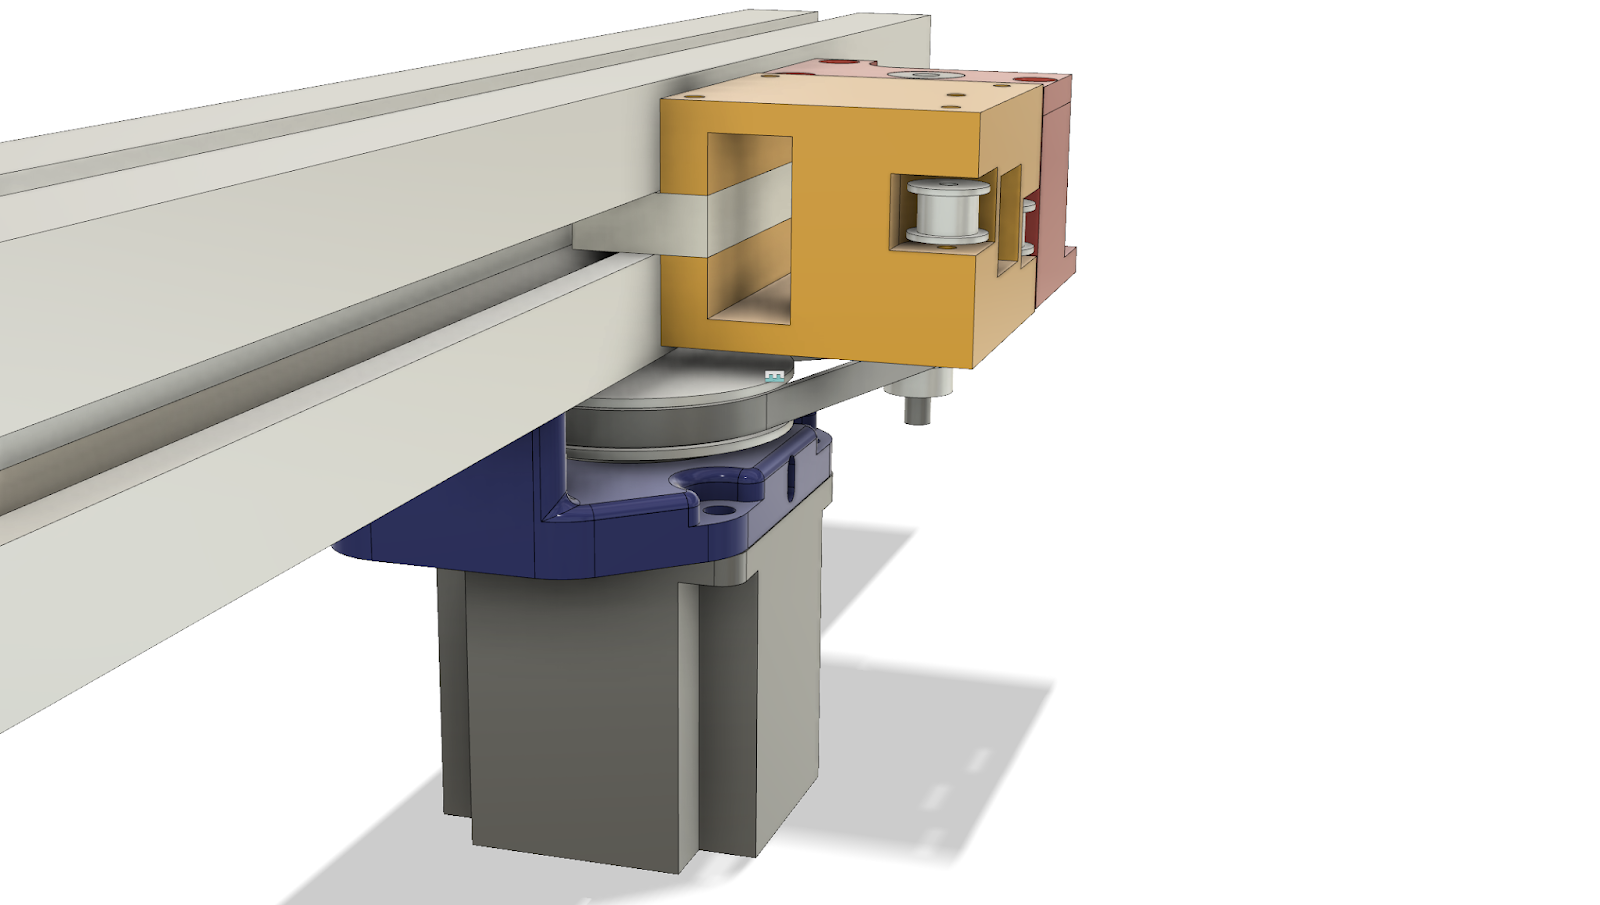
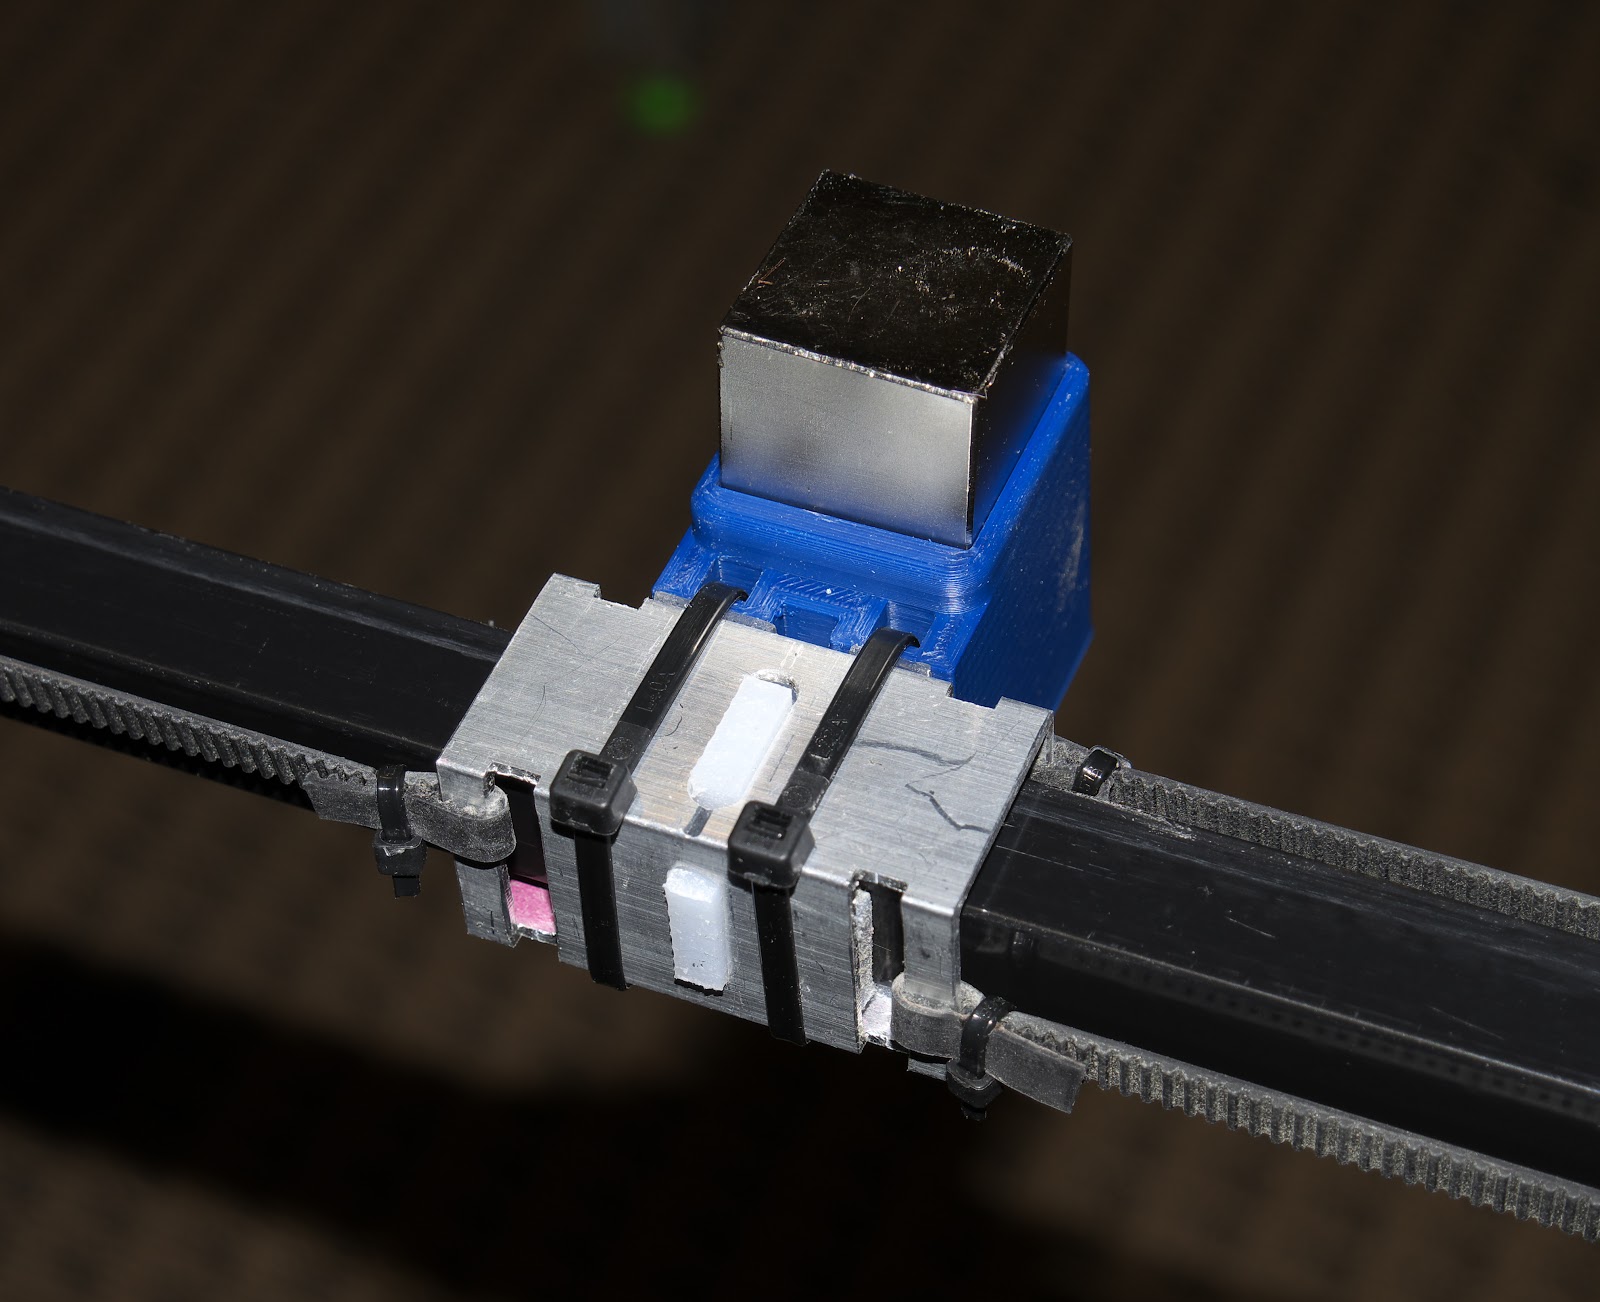
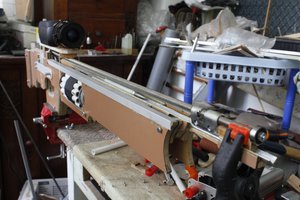
This started out as a cable driven mechanism, but I converted it to belt drive when I found cables to be a bit too troublesome. It's a single level corexy mechanism with 3D printed motor mounts, pulley blocks, and Y axis bearing blocks. The Y axis uses UHMW PE blocks riding in slots in the 45 mm square t-slot frame for guidance. The X axis guide is a piece of 16 mm square aluminum tubing. There's a 1" cube neodymium magnet that sits in a 3D printed carriage.
I used stacked F623 bearings for pulleys, but found there were some problems with the flanges being too small and the belt tends to climb and ride on them, so I'll be converting to some pulleys with much larger flanges.

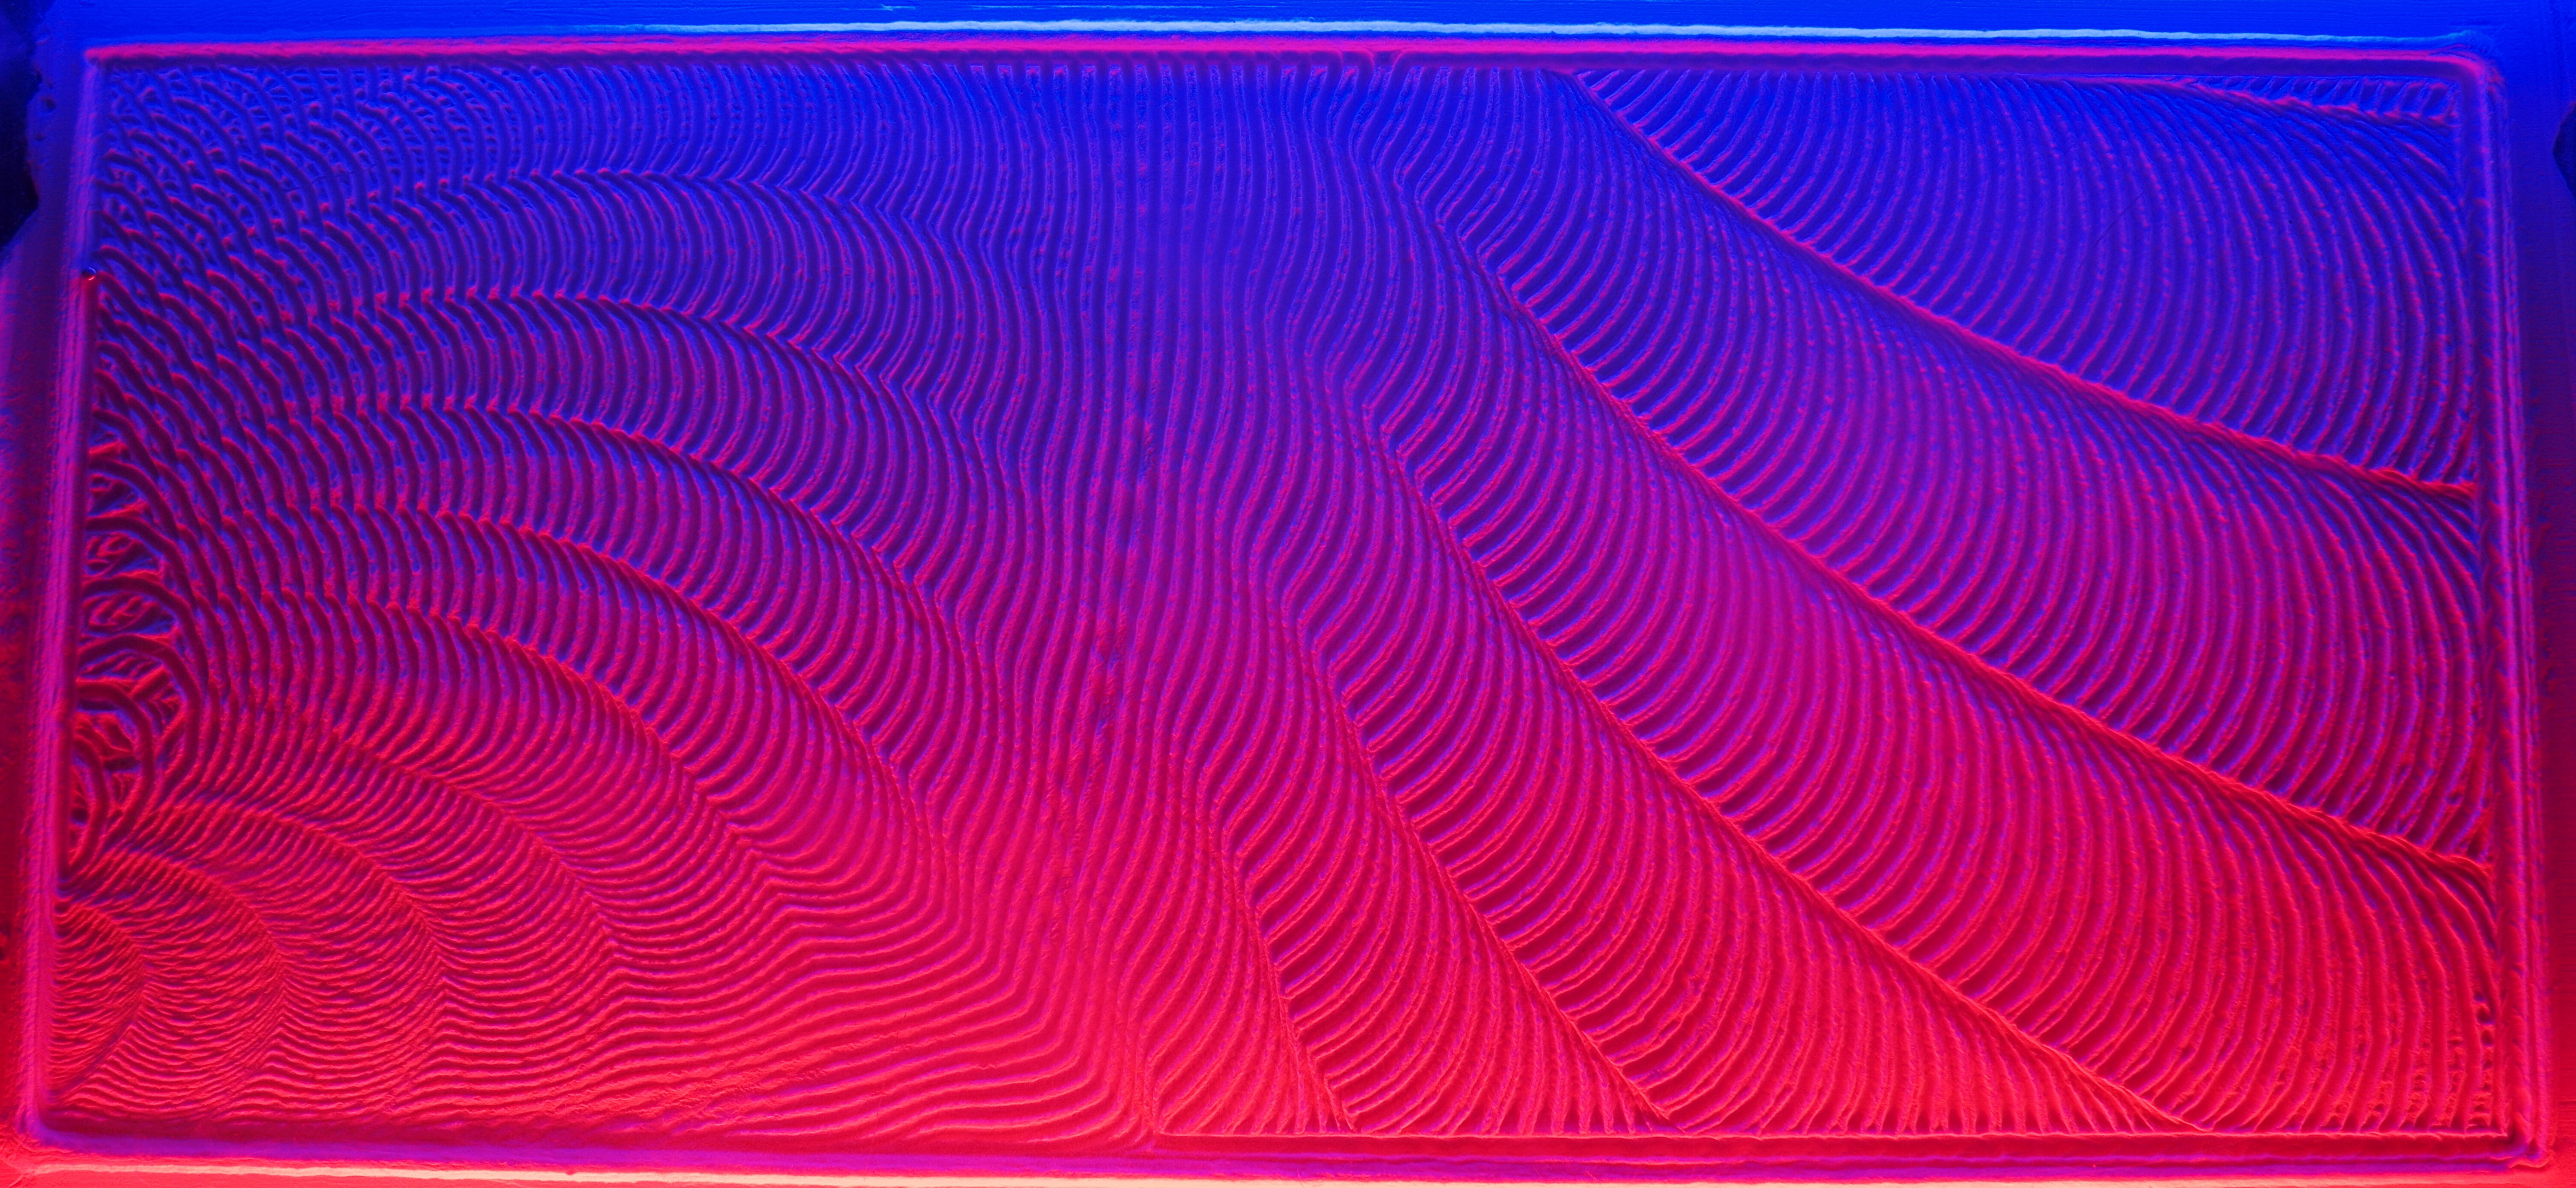
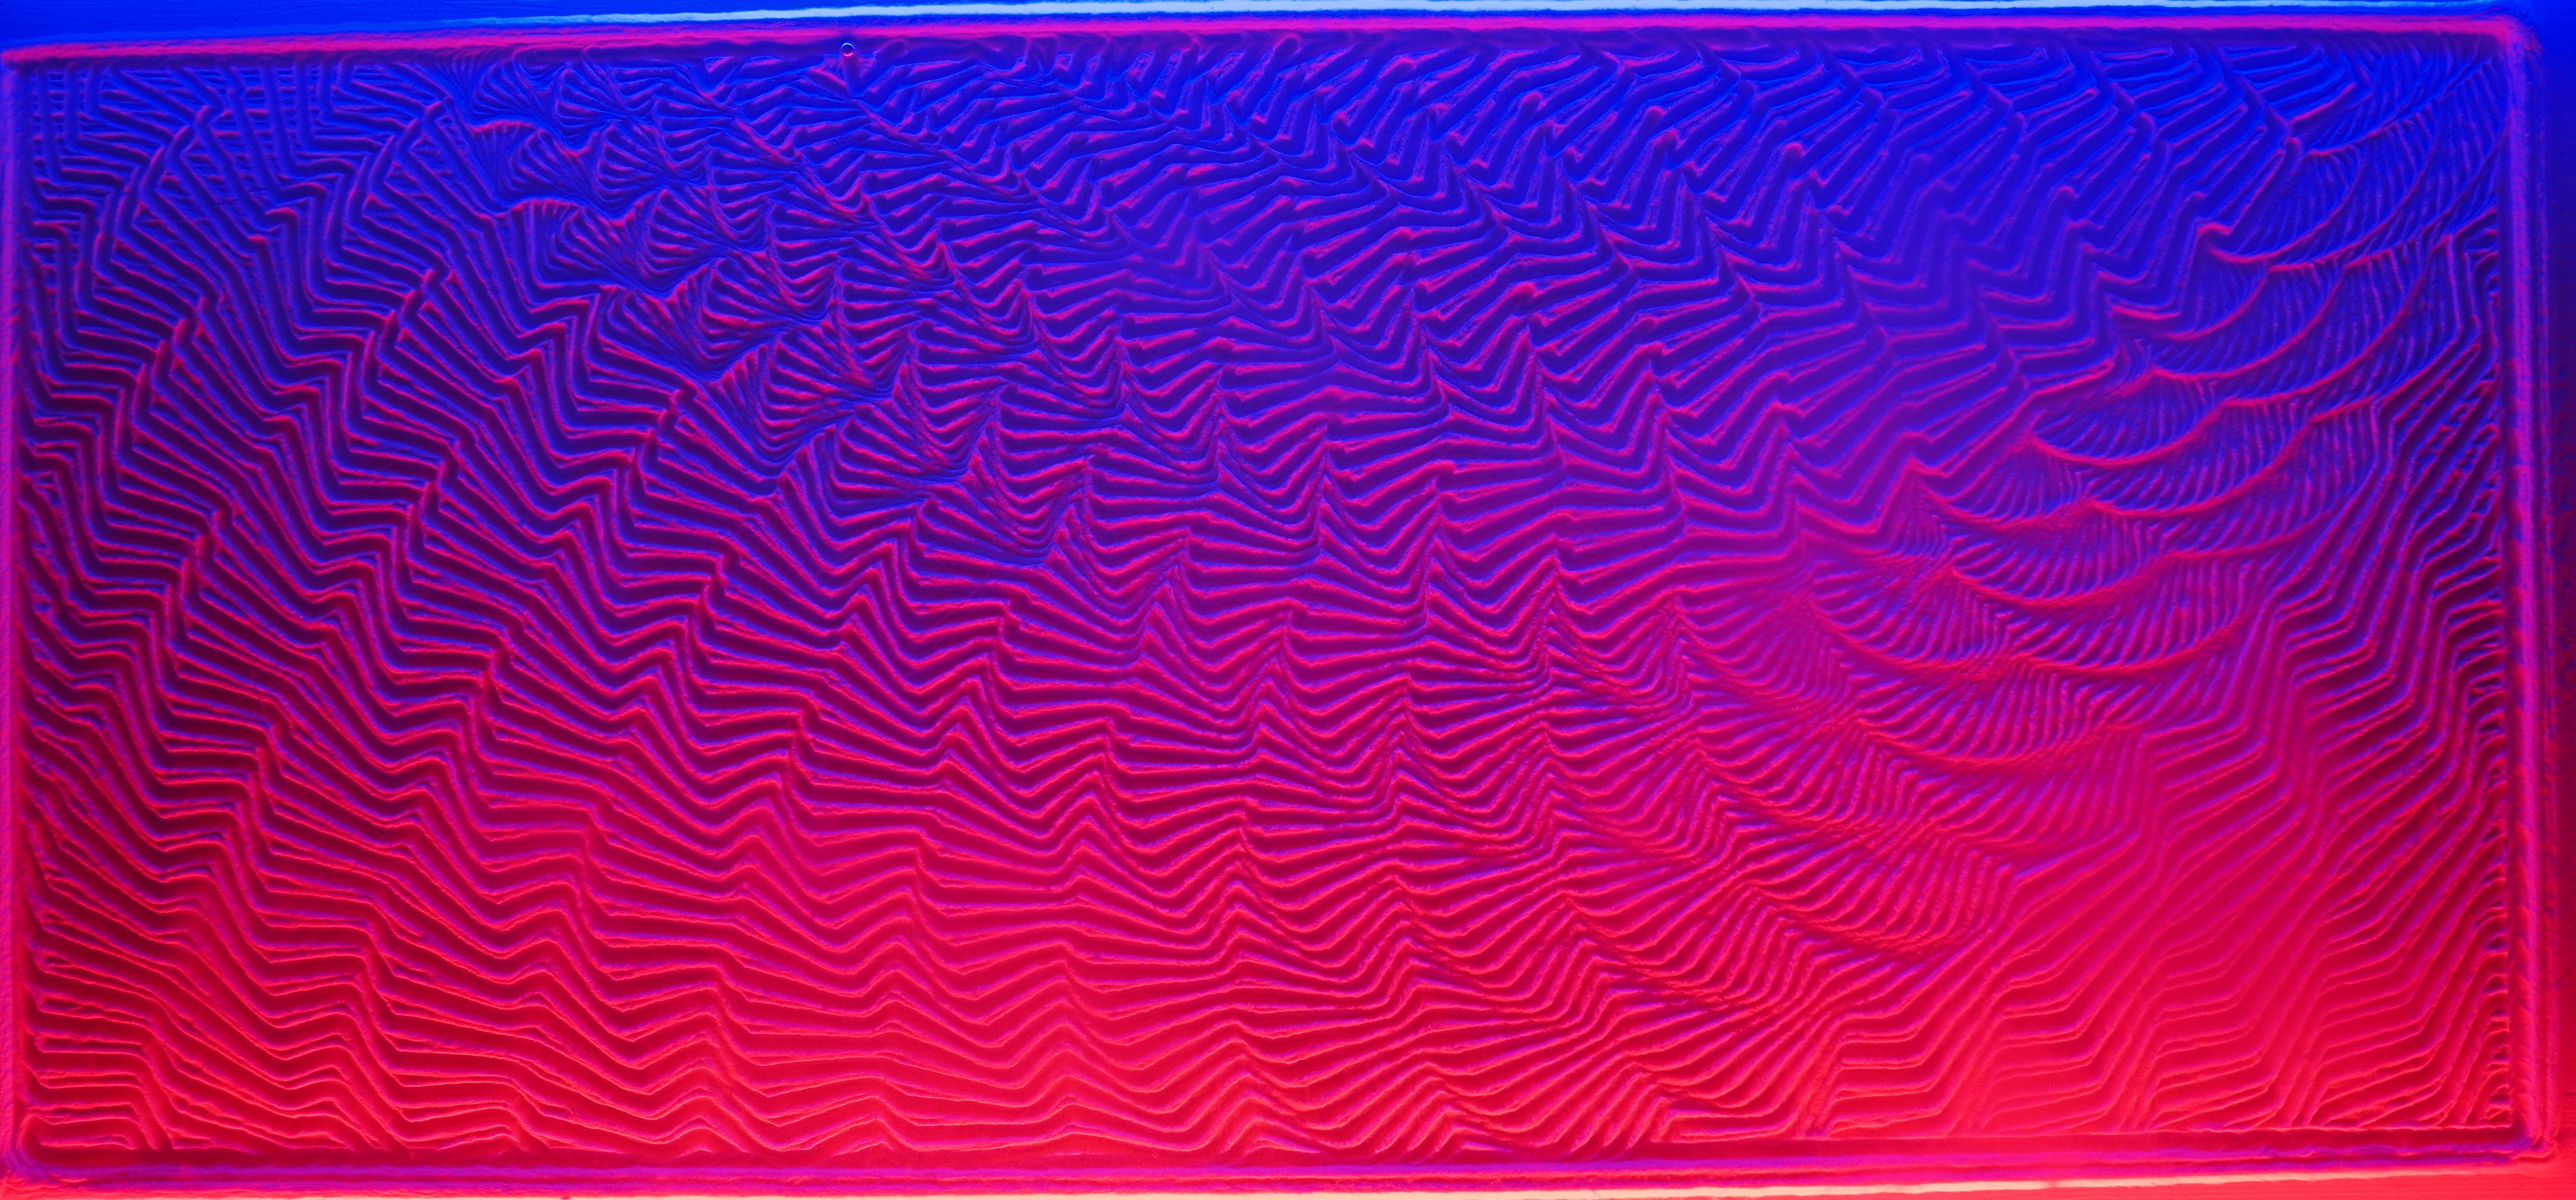
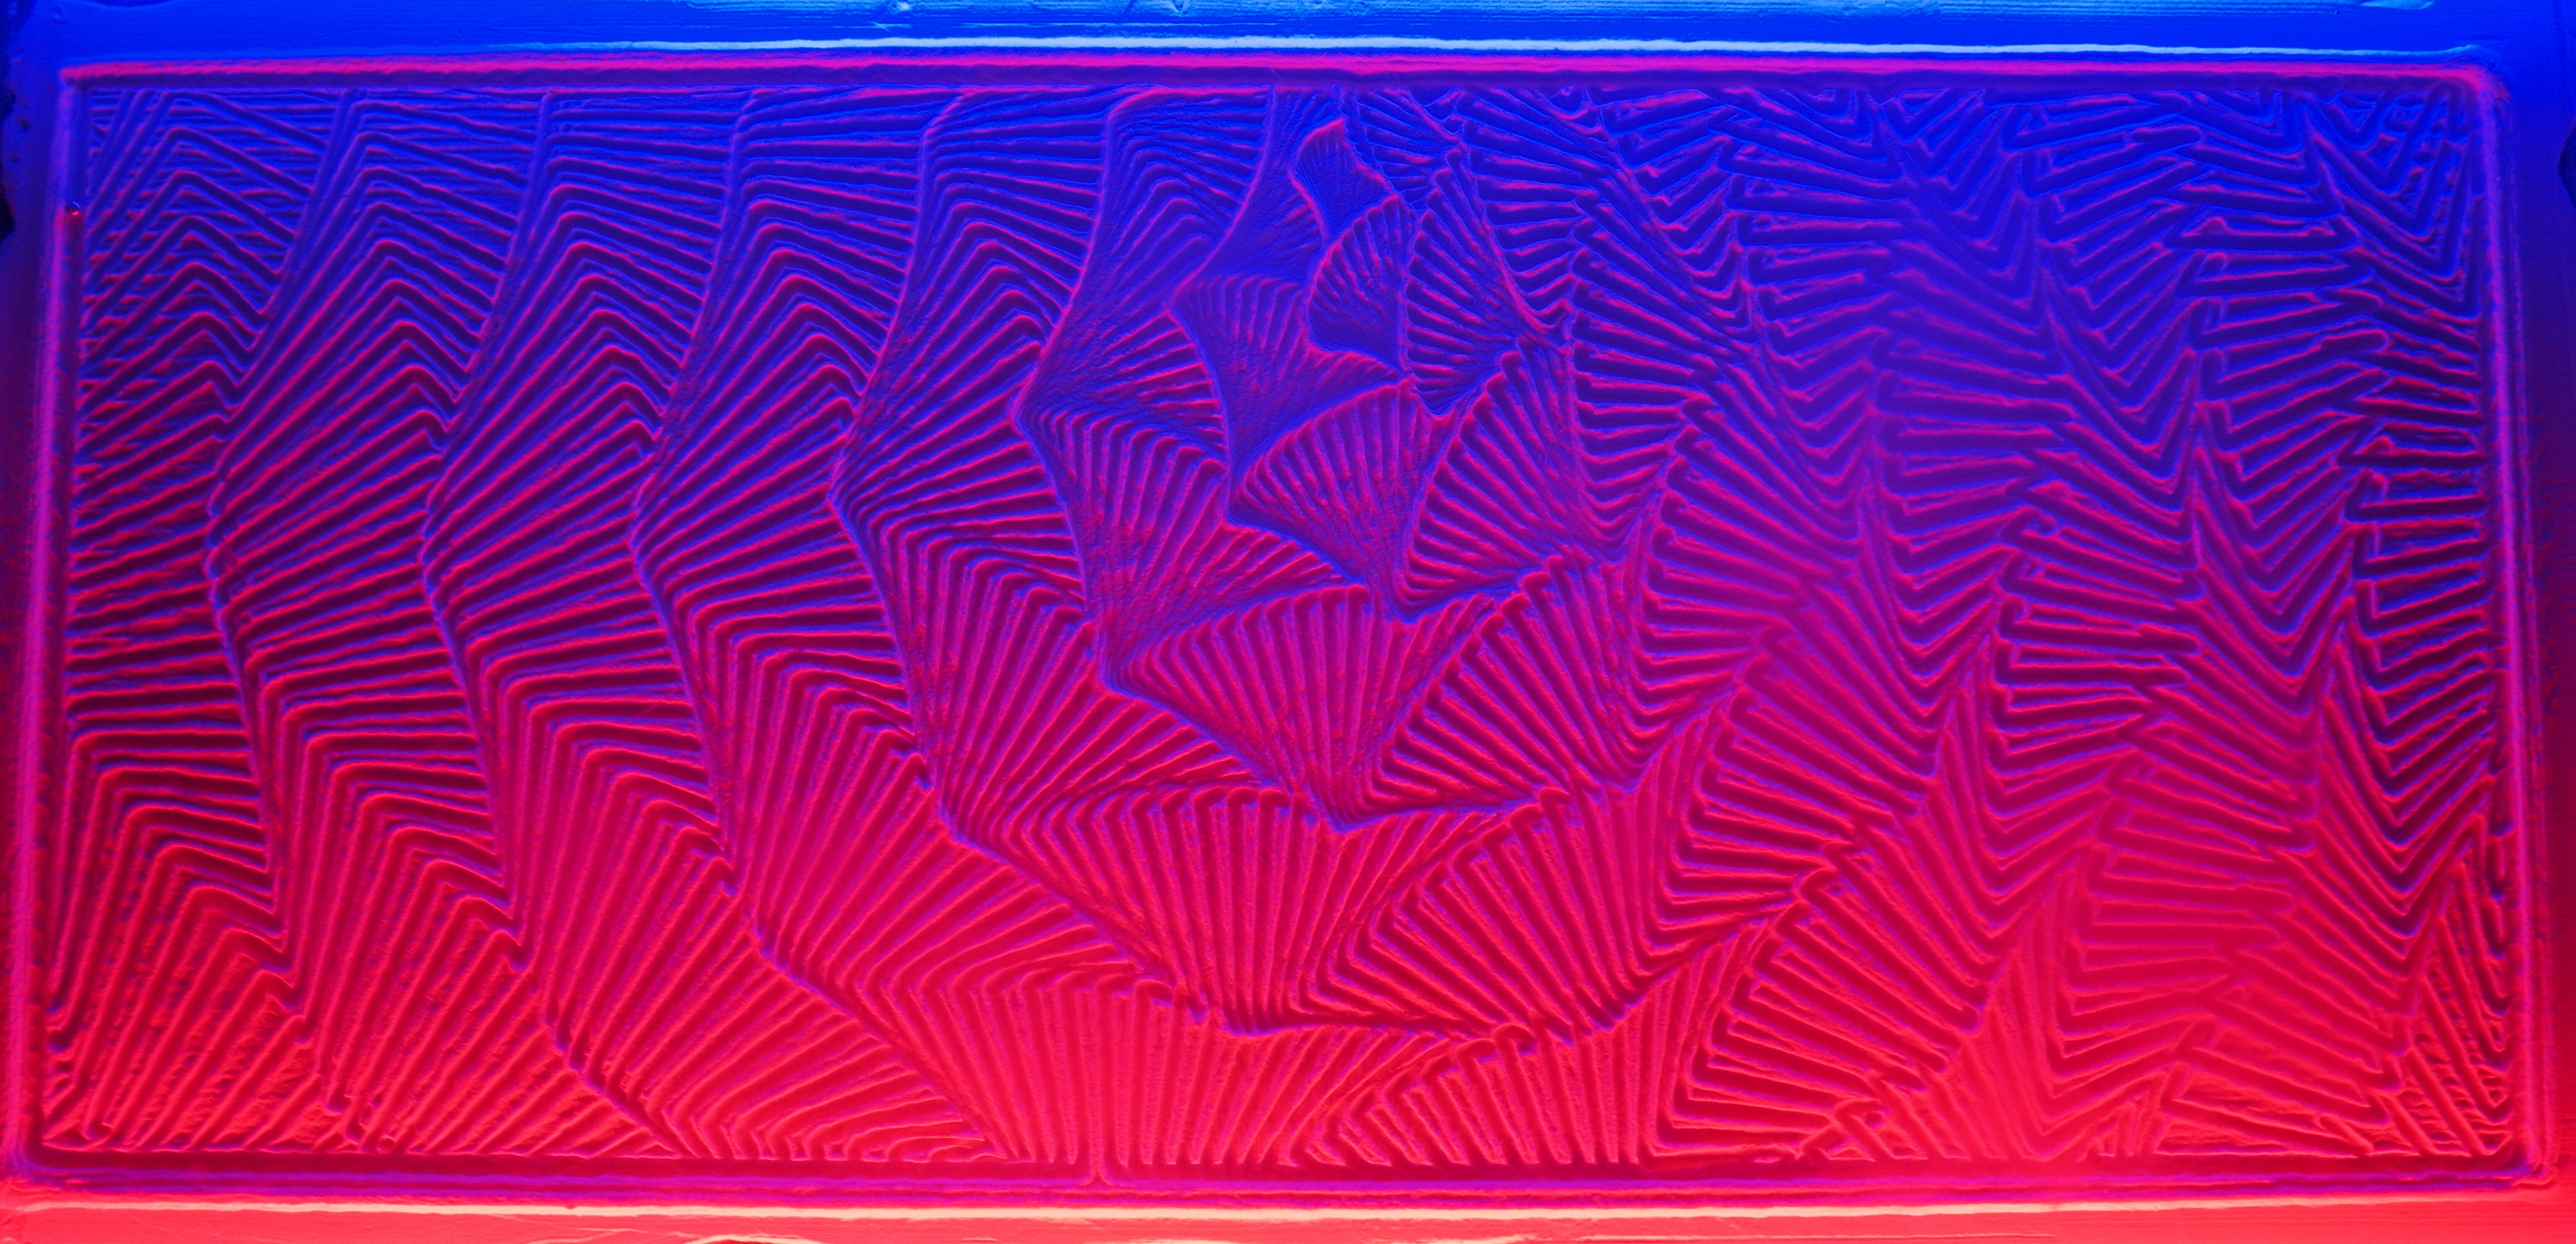
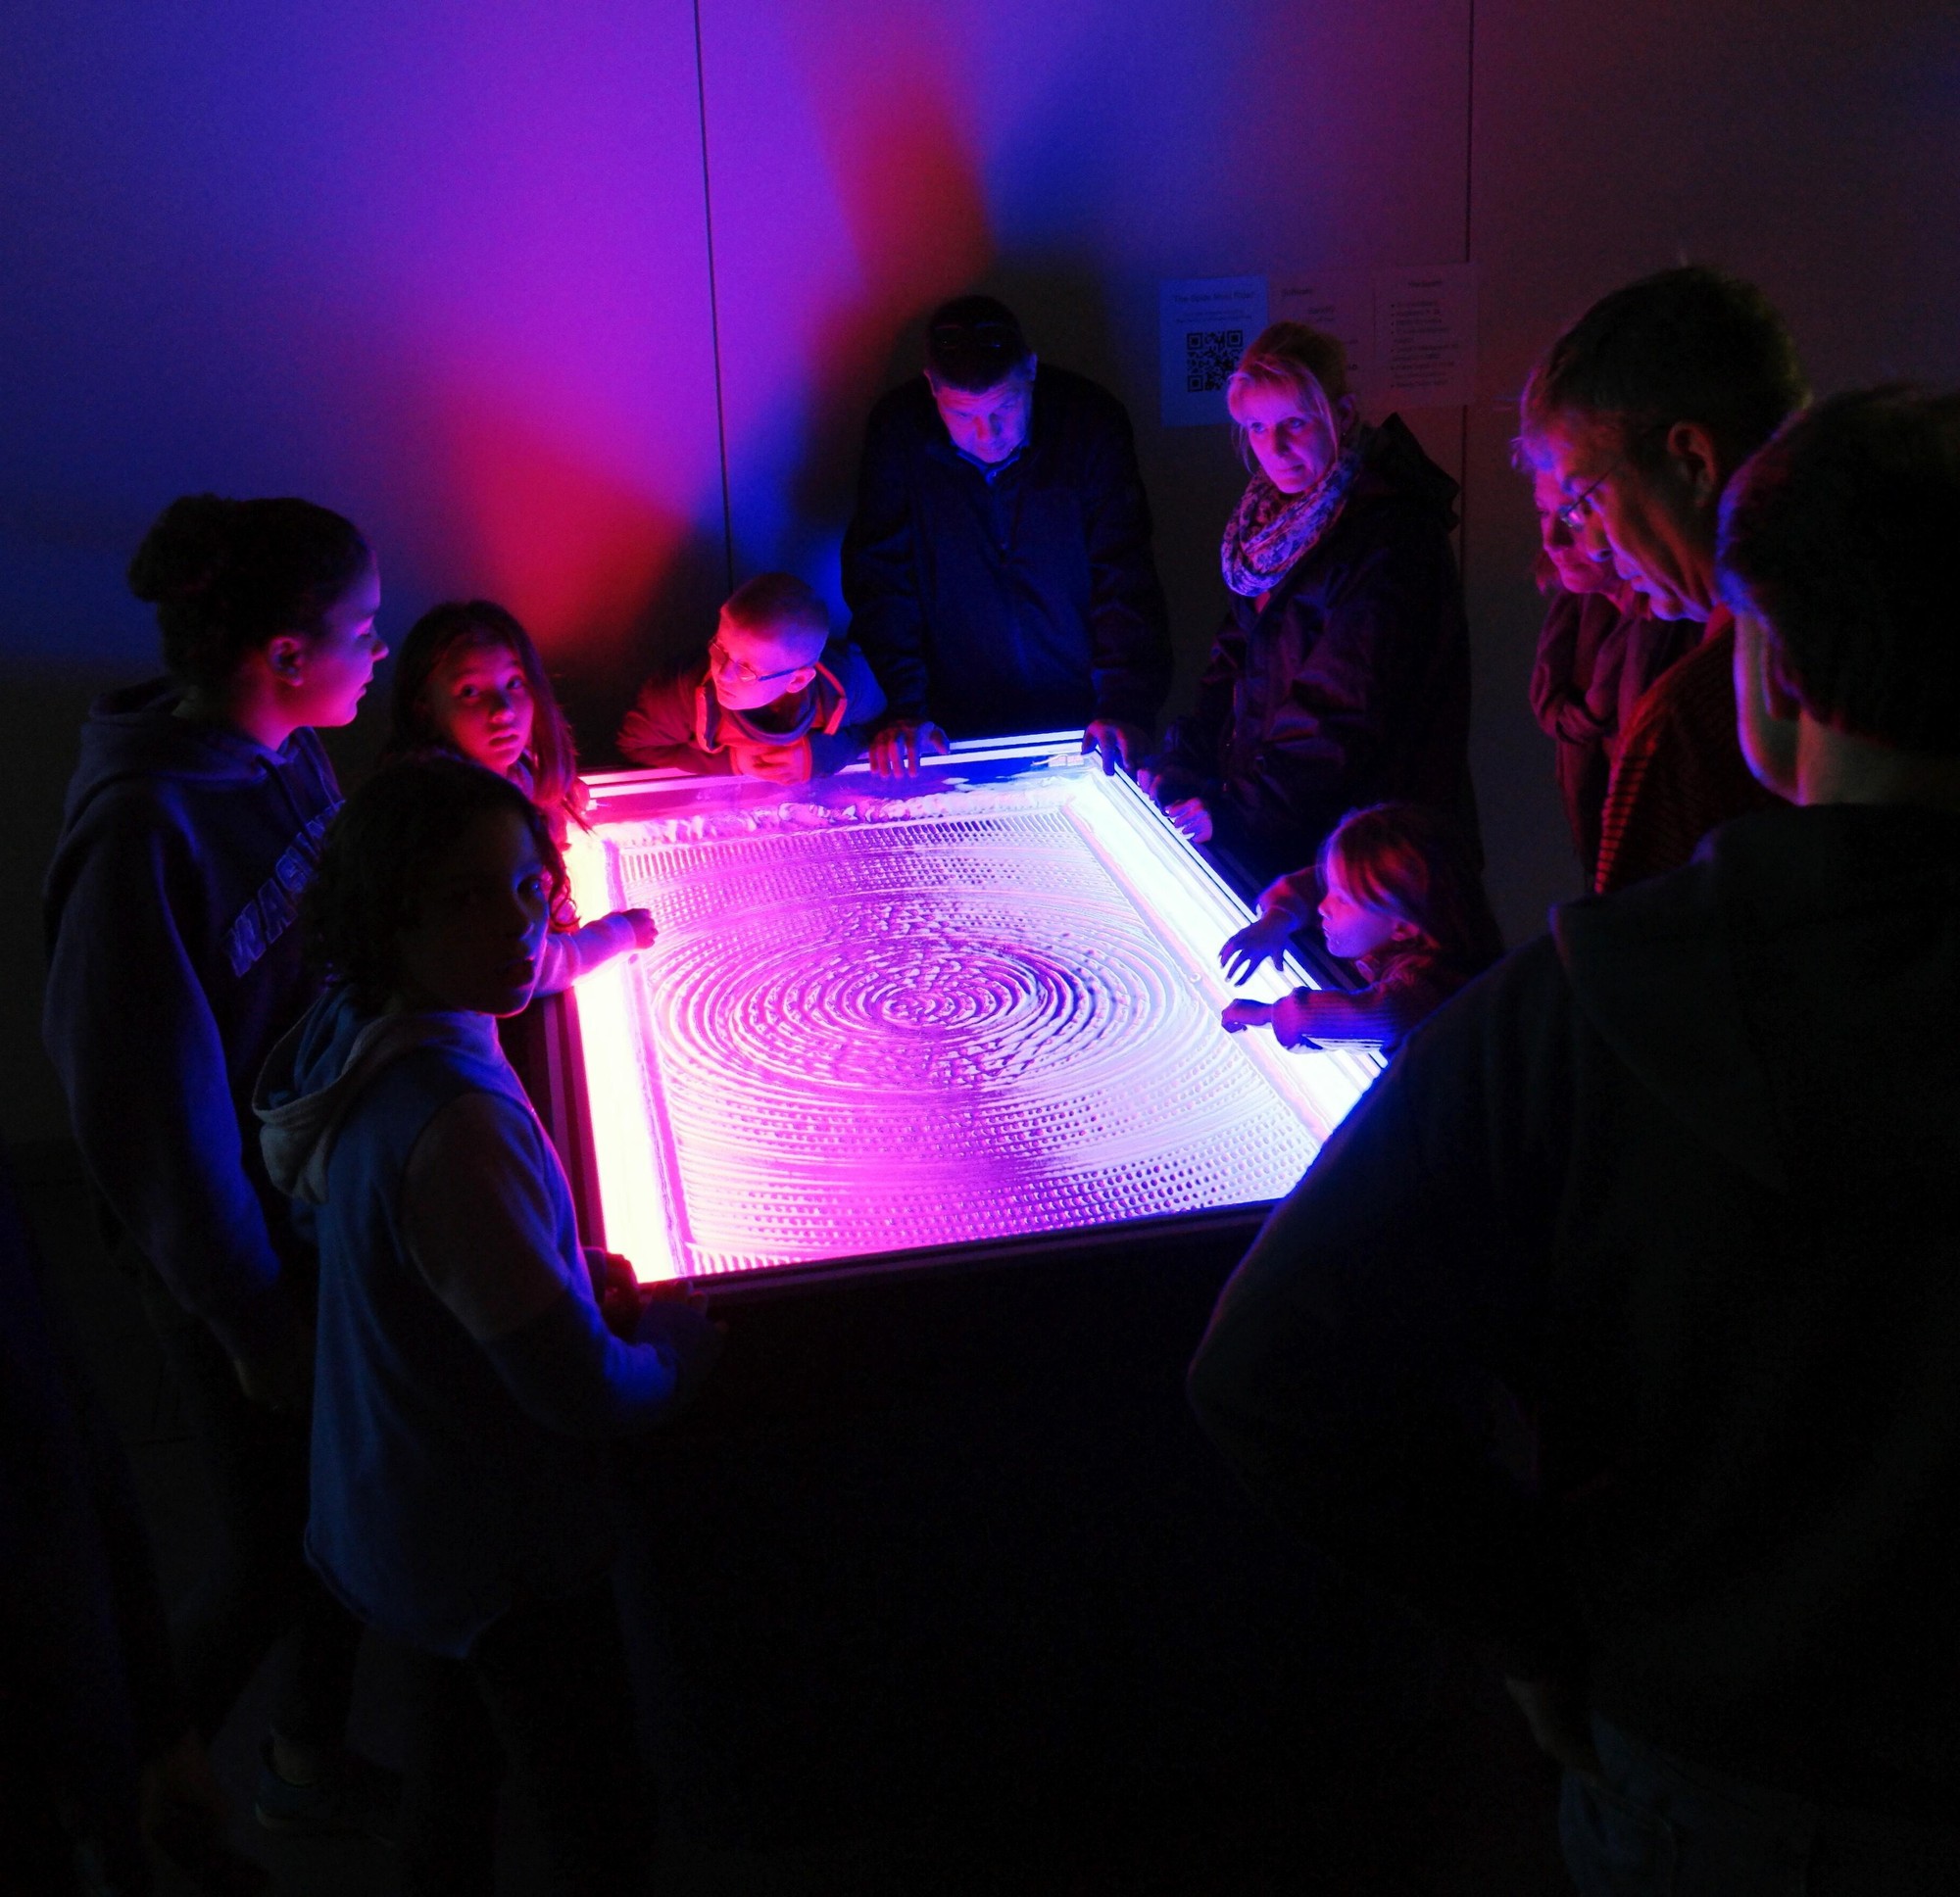
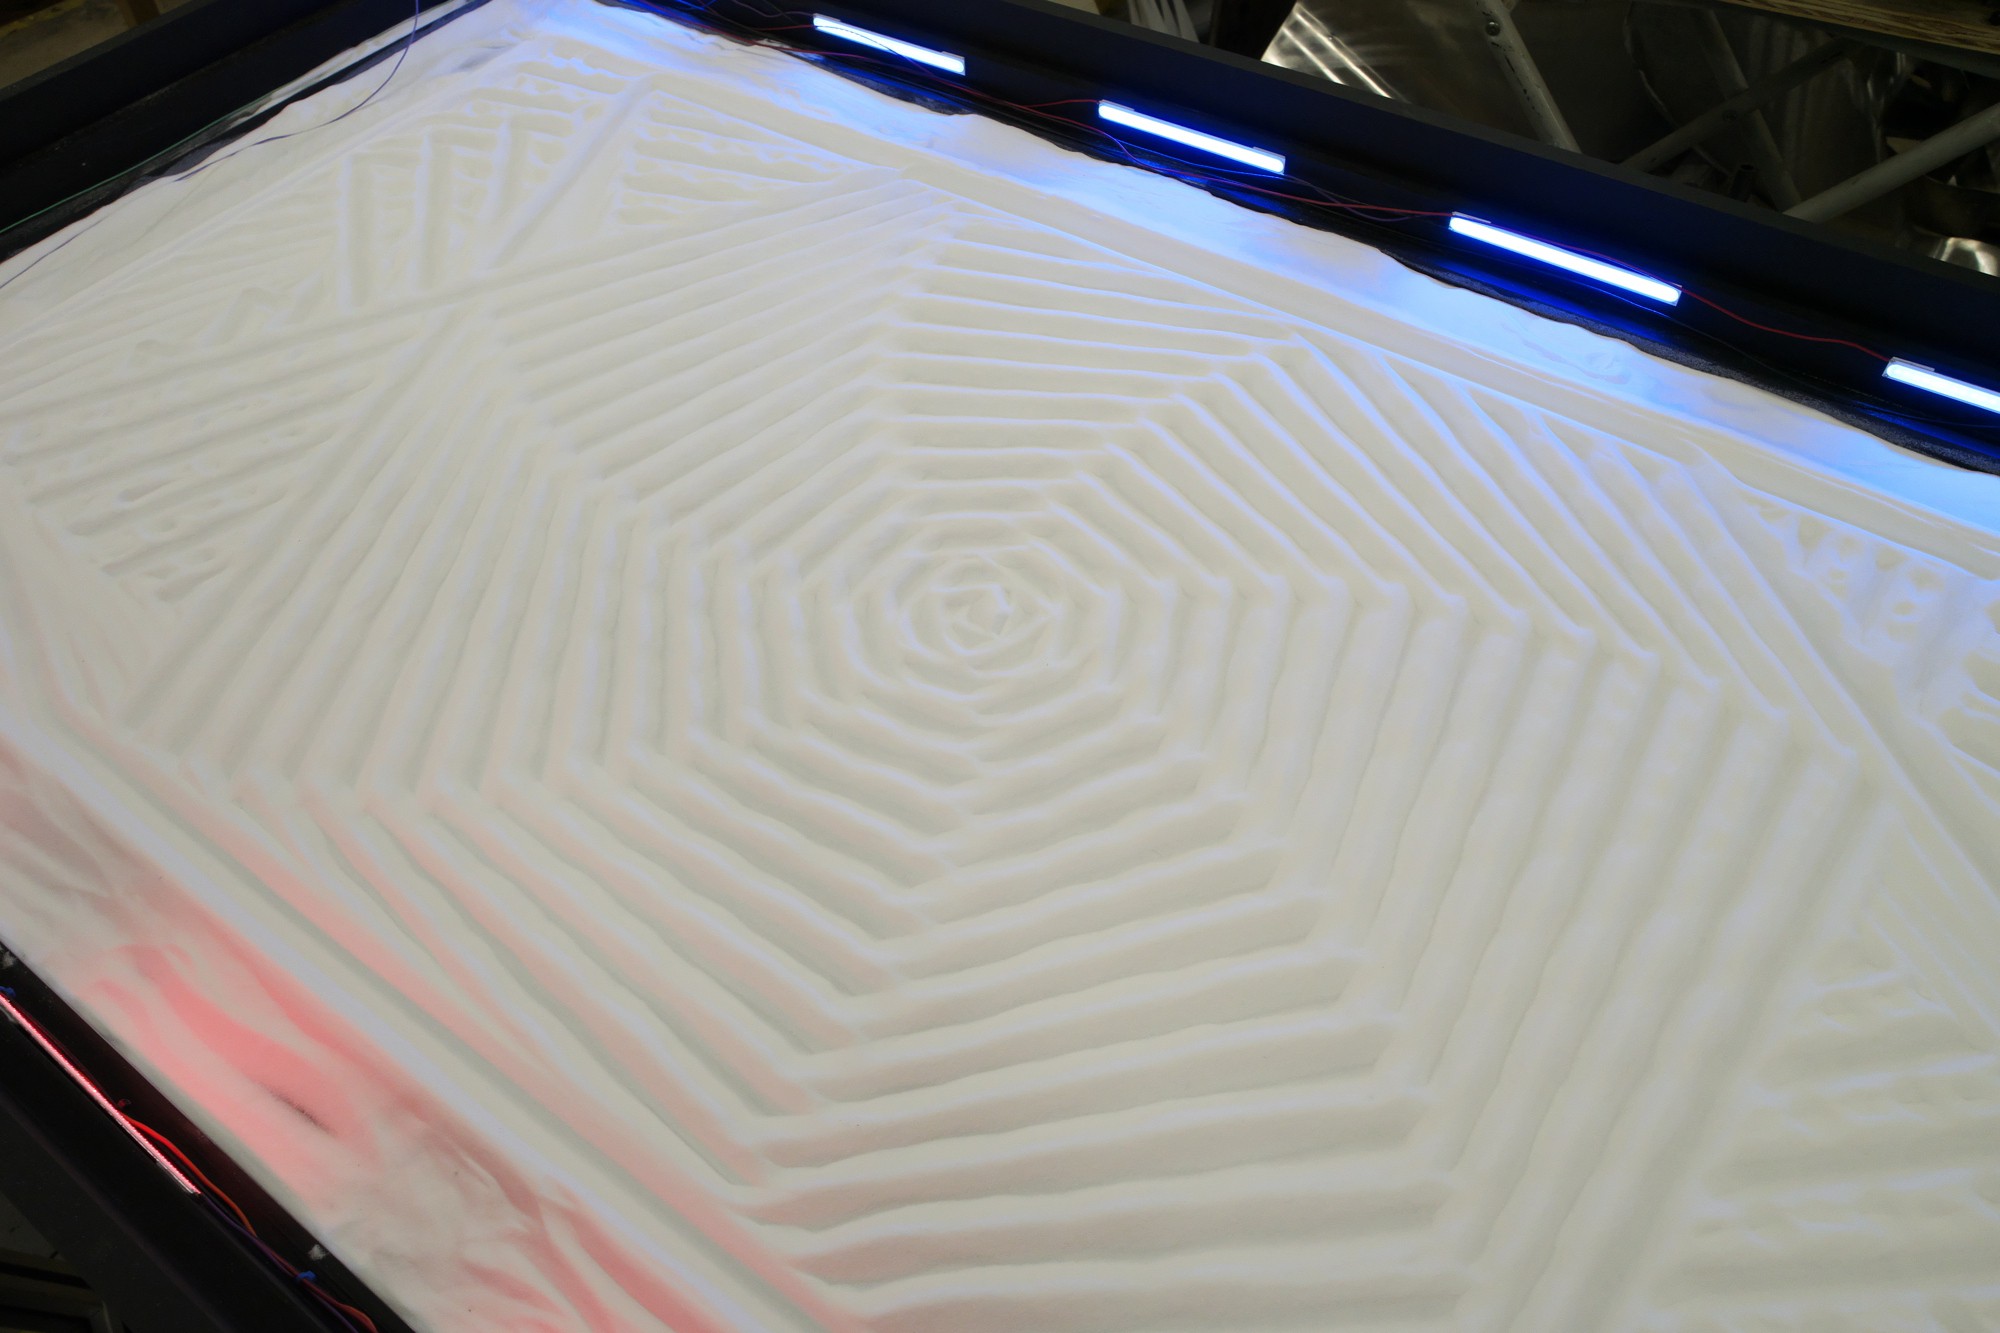
The top cover and base frame are made from 45 mm square aluminum t-slot picked up from a local scrap yard. They are identical size, and the wood part of the table is designed slightly larger so that the top cover drops into the wood frame and the wood part drops onto the base frame. I painted the wood parts flat black as this will be operating in a dimly lit room at the Milwaukee MakerFaire. The "sand" will be about 50 lbs of sodium bicarbonate blasting media. It's pure white and will provide great contrast with the flat black table. It will be lit with red and blue LEDs.
The mechanism uses two NEMA-23 motors I had handy (NEMA-17 would easily provide the needed torque) with 40 tooth drive pulleys and 6 mm wide GT2 belt. I copied the belt clamp on the magnet carriage from my 3D printer's Z axis- just a slot with a short piece of GT2 belt to engage the teeth.

I'm driving the mechanism with a smoothieboard controller I recently took out of my 3D printer when I installed a Duet board. An SD card will be loaded with patterns to print that will just run continuously and overwrite each other.
Current status is 90% complete. I added a corrugated cardboard cover to the bottom of the mechanism to keep people's hands out of it. Testing with media to begin in a day or two.


 FiveseveN
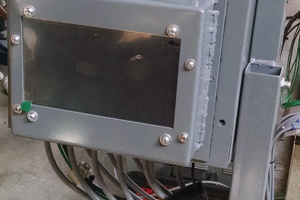
 willbaden
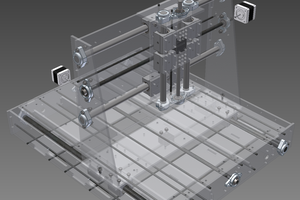
 Kert
Kert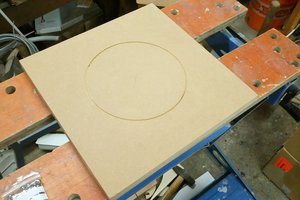
 treibair
Sandify!