So, last year, I made a small wrist-mounted 3d flamethrower project featured on Hackaday: https://hackaday.io/project/28221-3d-printed-wrist-mounted-flamer-thrower .
This year, I decided to make some upgrades after analyzing the successes and shortcomings of the previous flamethrower. I ended up making 2 new devices, the 'Flame-O-Tron' and the 'Flame-O-Tron 9000'.
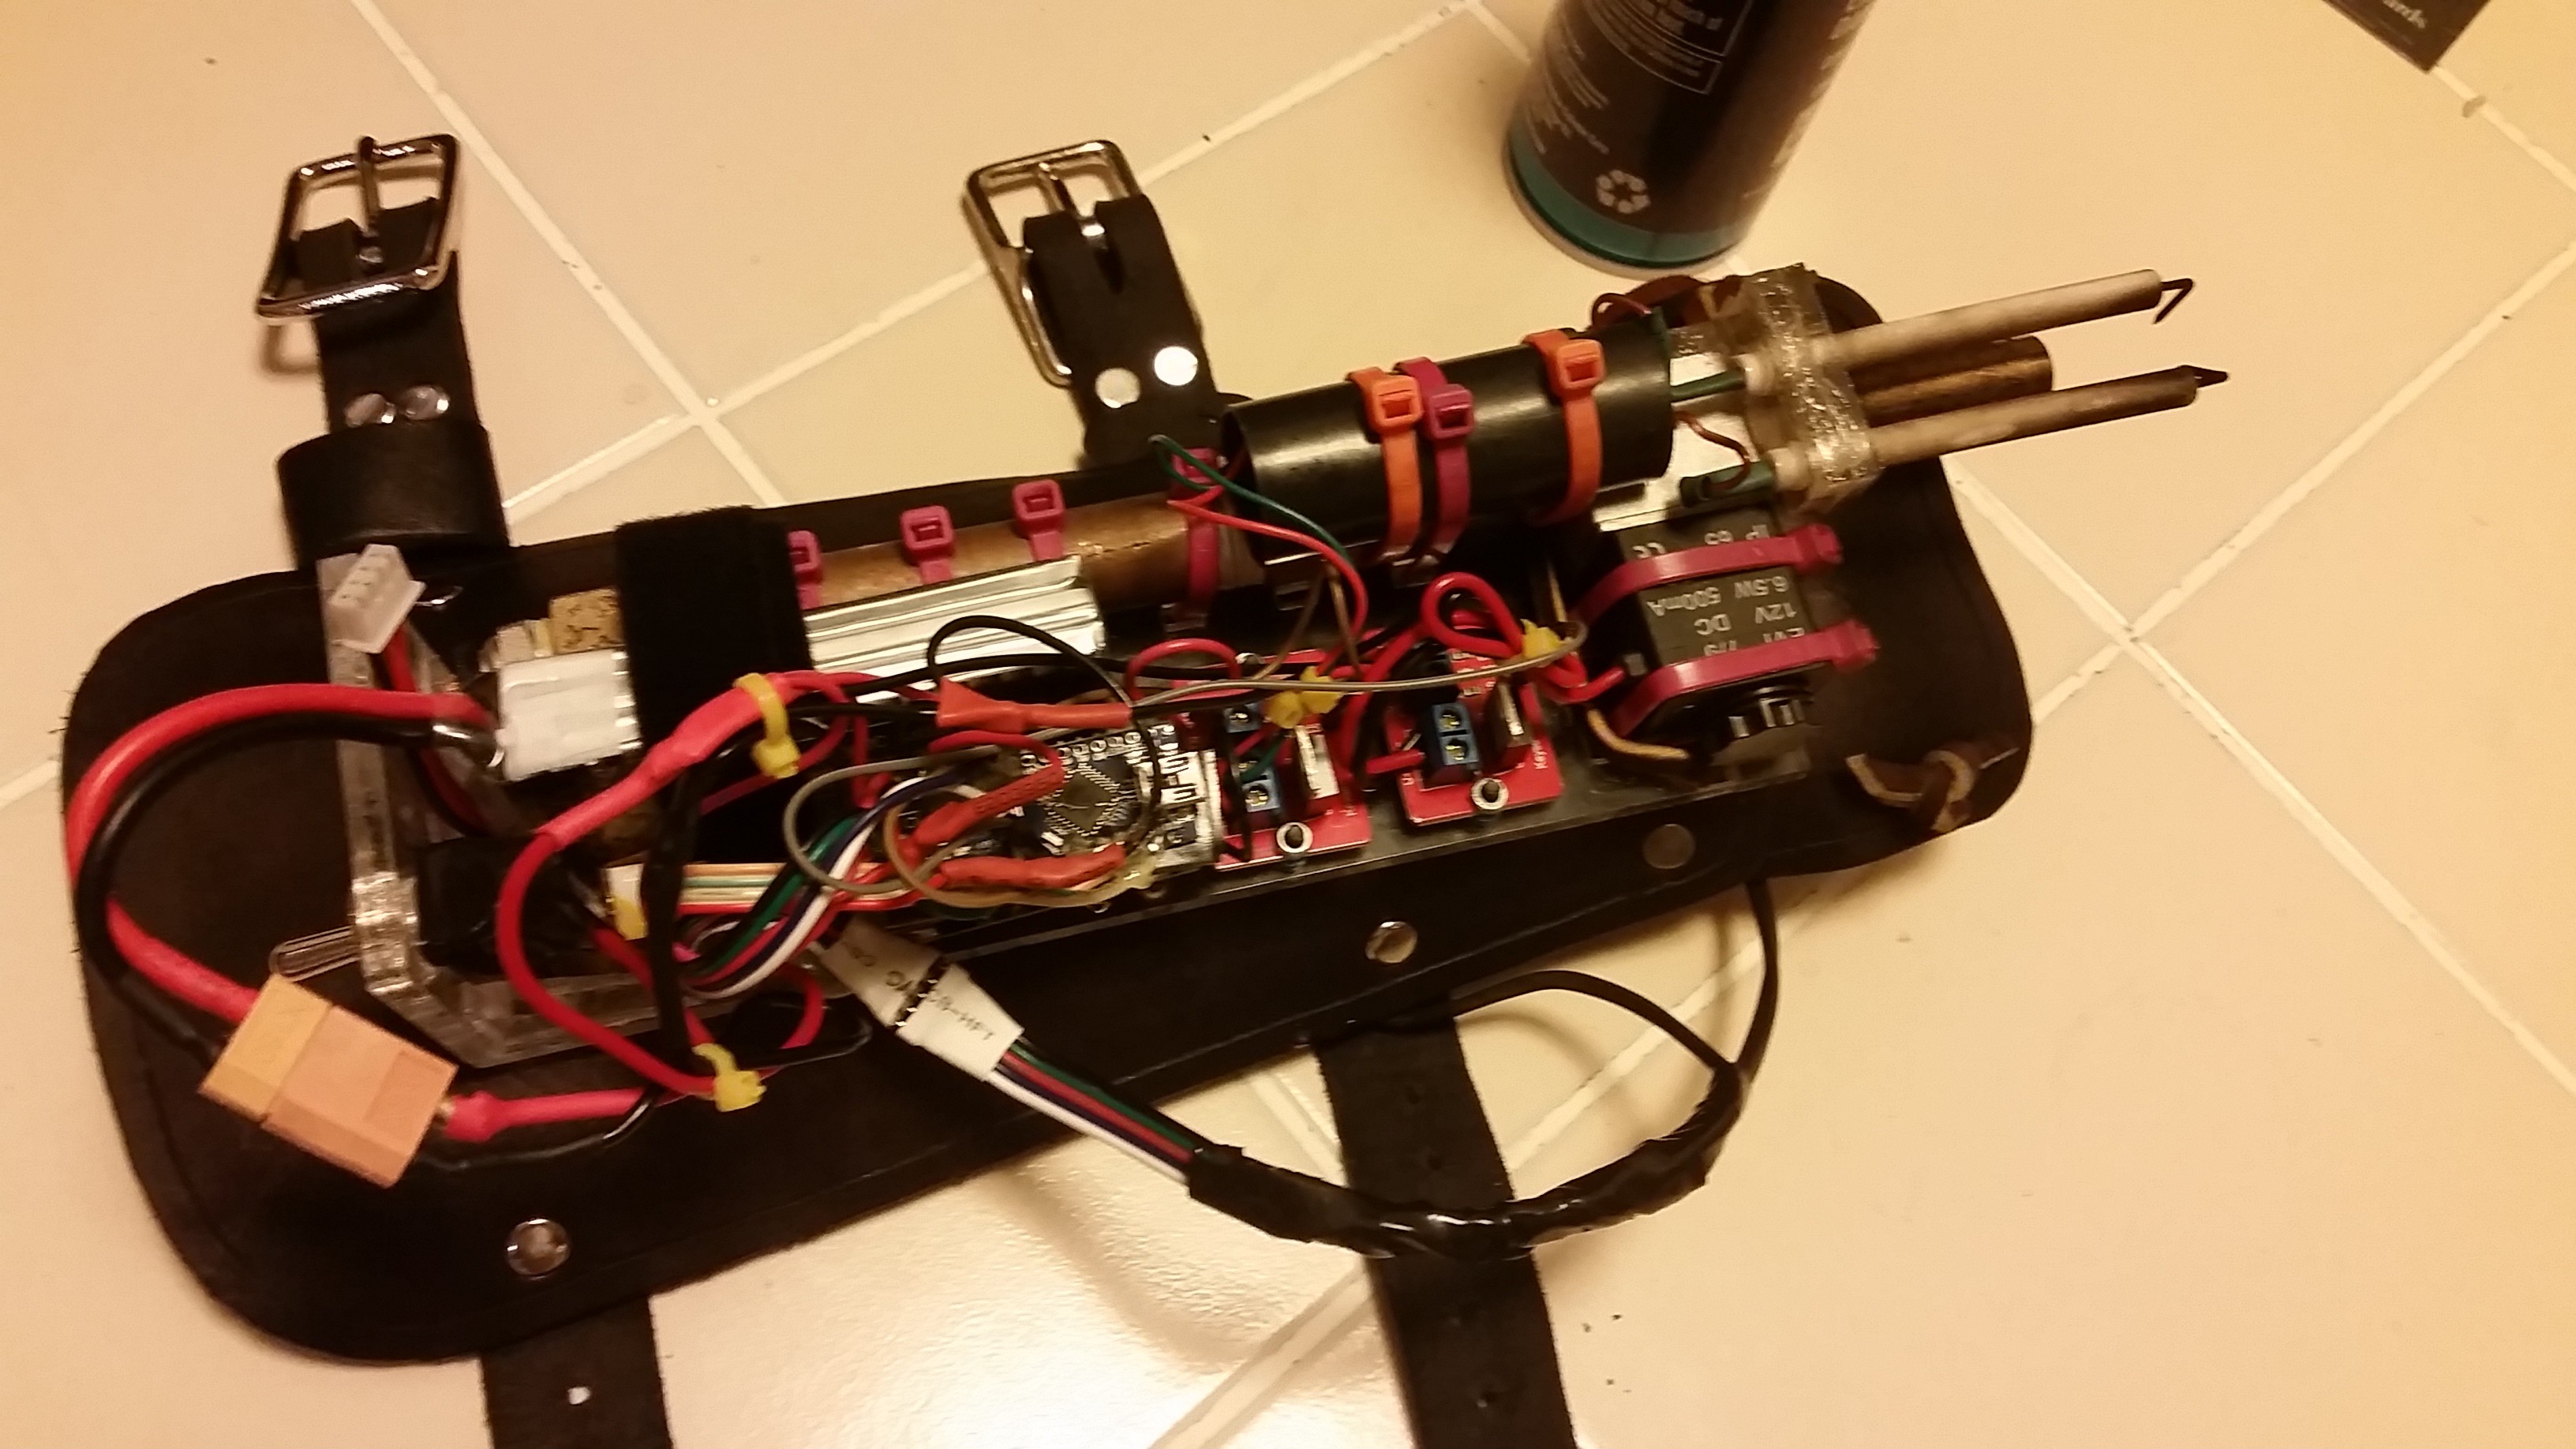
The Flame-O-Tron has 2 buttons, a trigger and mode select. A pulsing RGB led shows which mode is currently selected. It has : Single Burst , Continuous bursts, and continuous flame modes.
The flow of the gas is controlled by a flex sensor in the hand grip. When you bend down your hand, the Arduino changes the PWM of the solenoid. This allows the user to create a small flame or a huge blast!
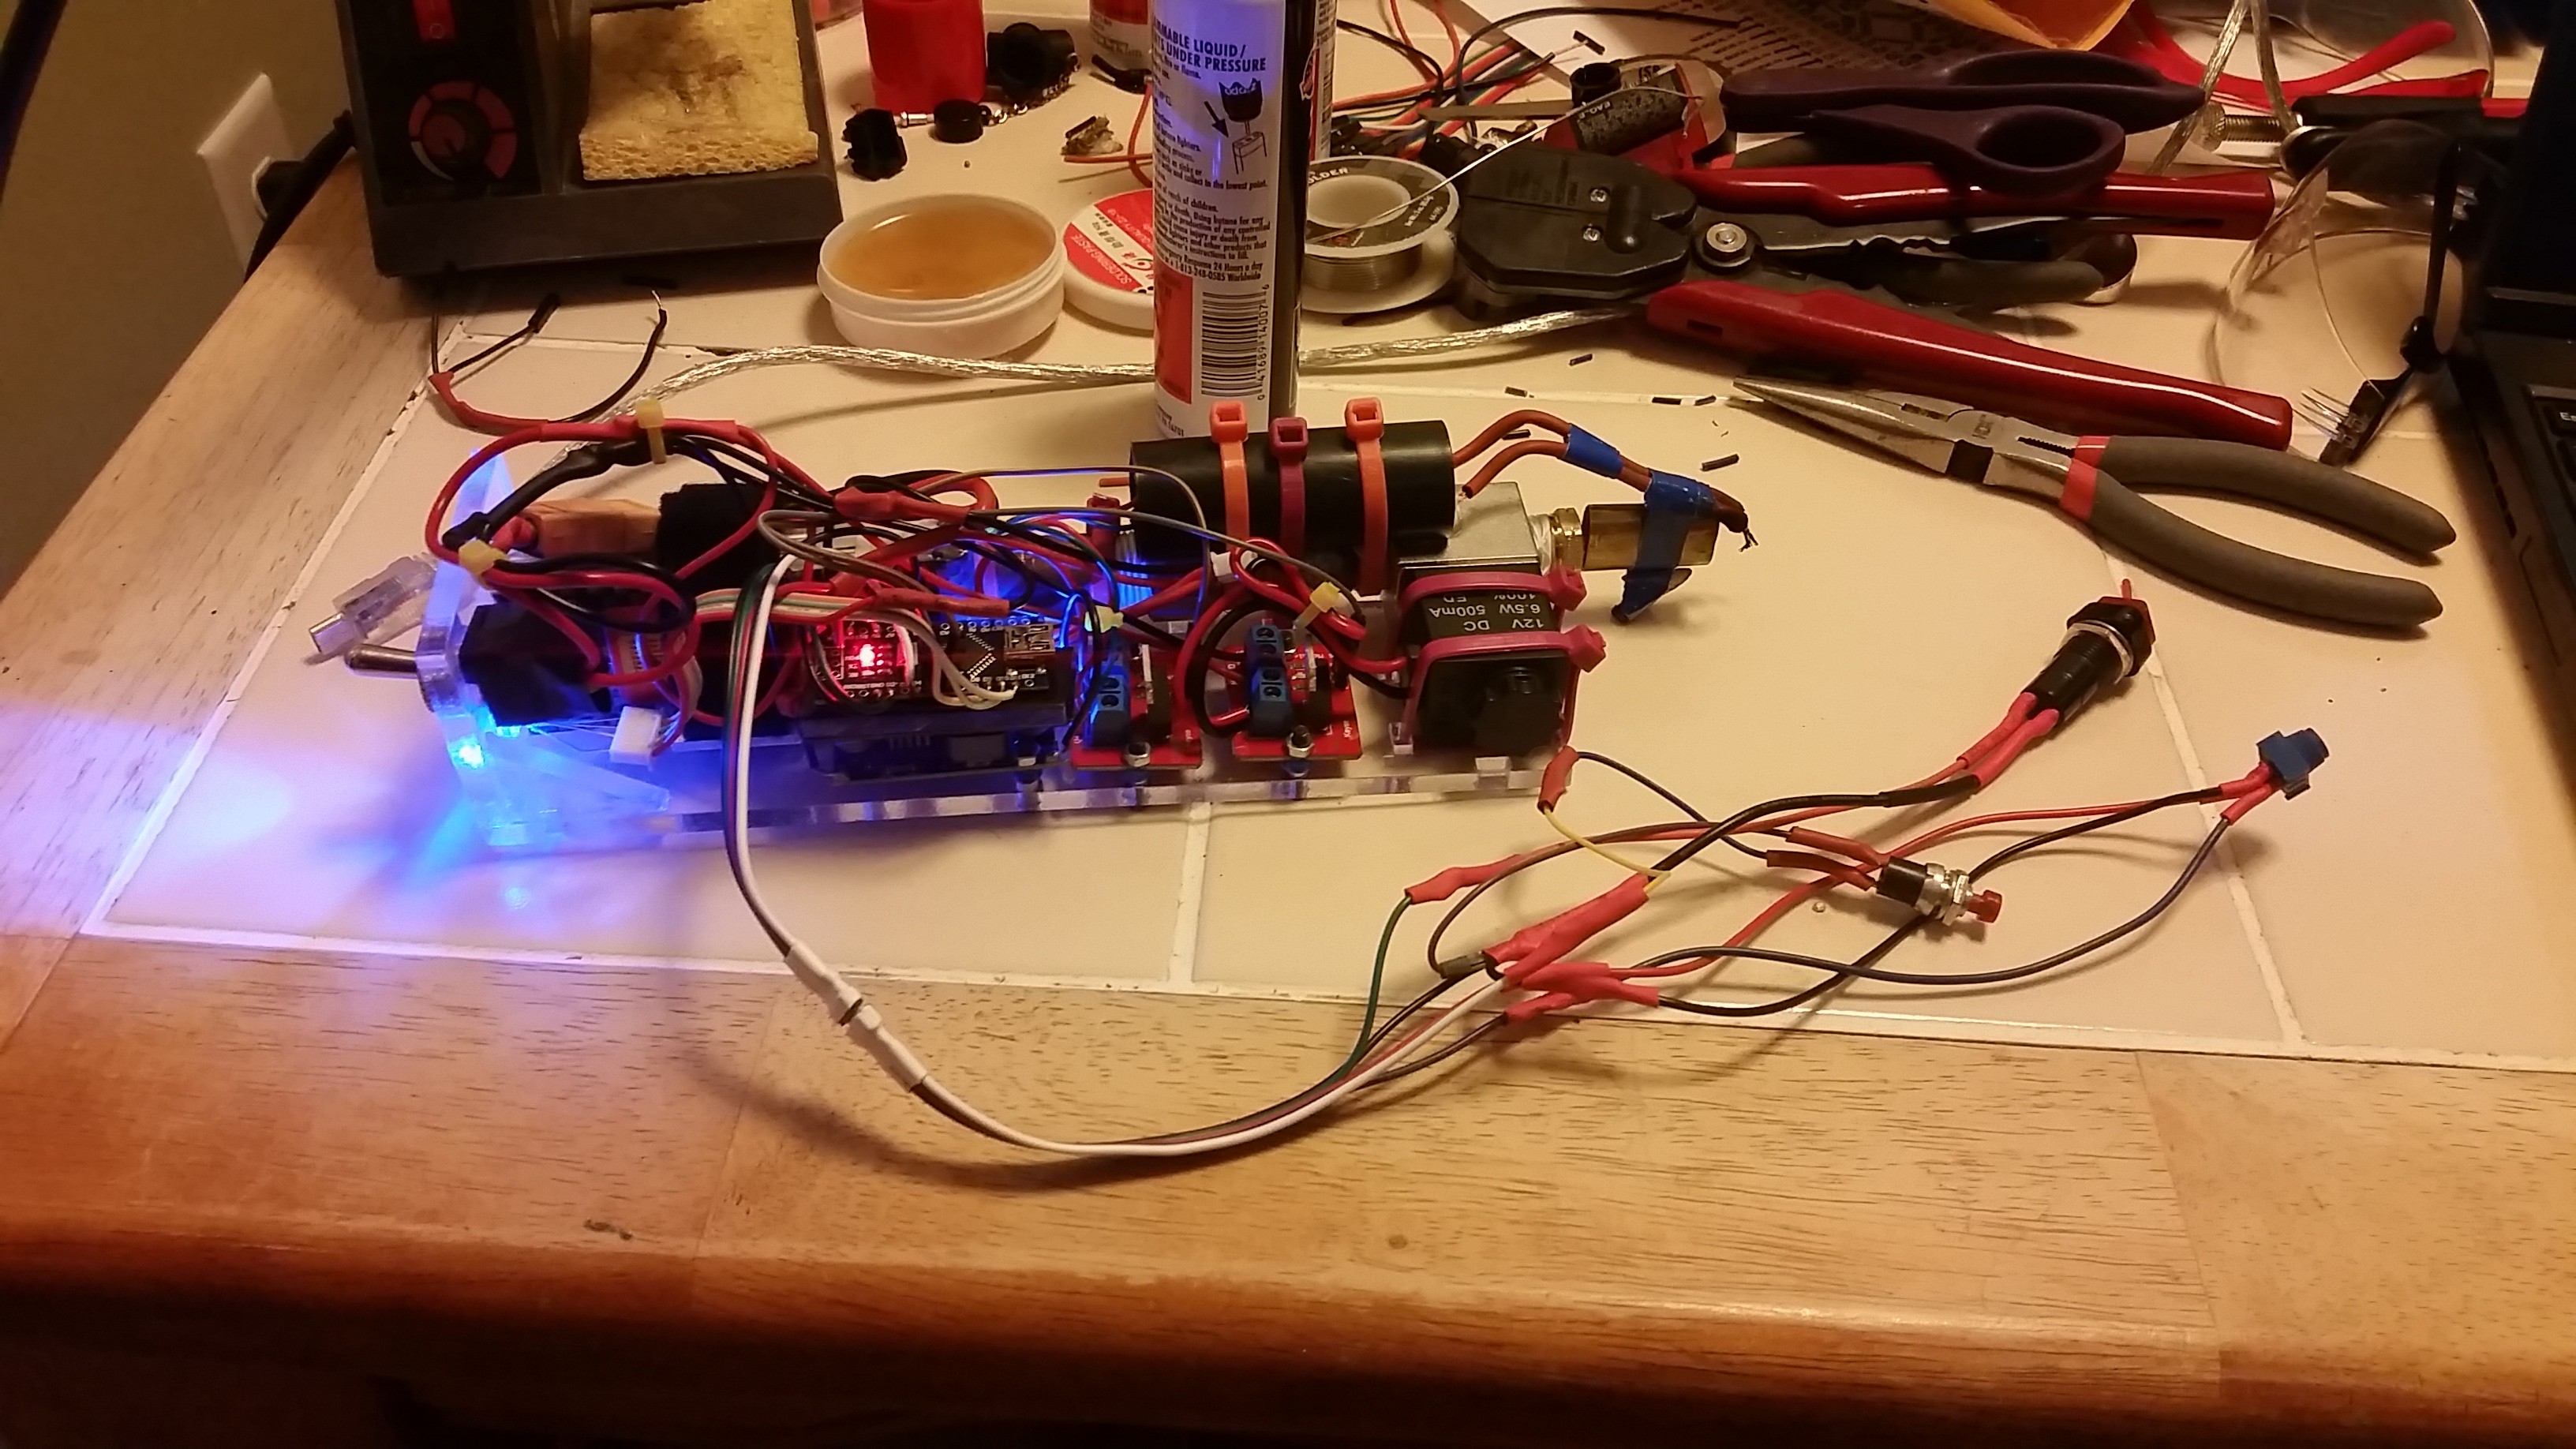
The major parts of the Flame-O-Tron consists of:
- Arduino
- HV coil
- 3S Battery
- Solenoid
- 2 MOSFET driver
- Butane tank
- Schrader fill valve
- Custom Leather wrist guard with straps
- Flex sensor and buttons
The Flame-O-Tron:
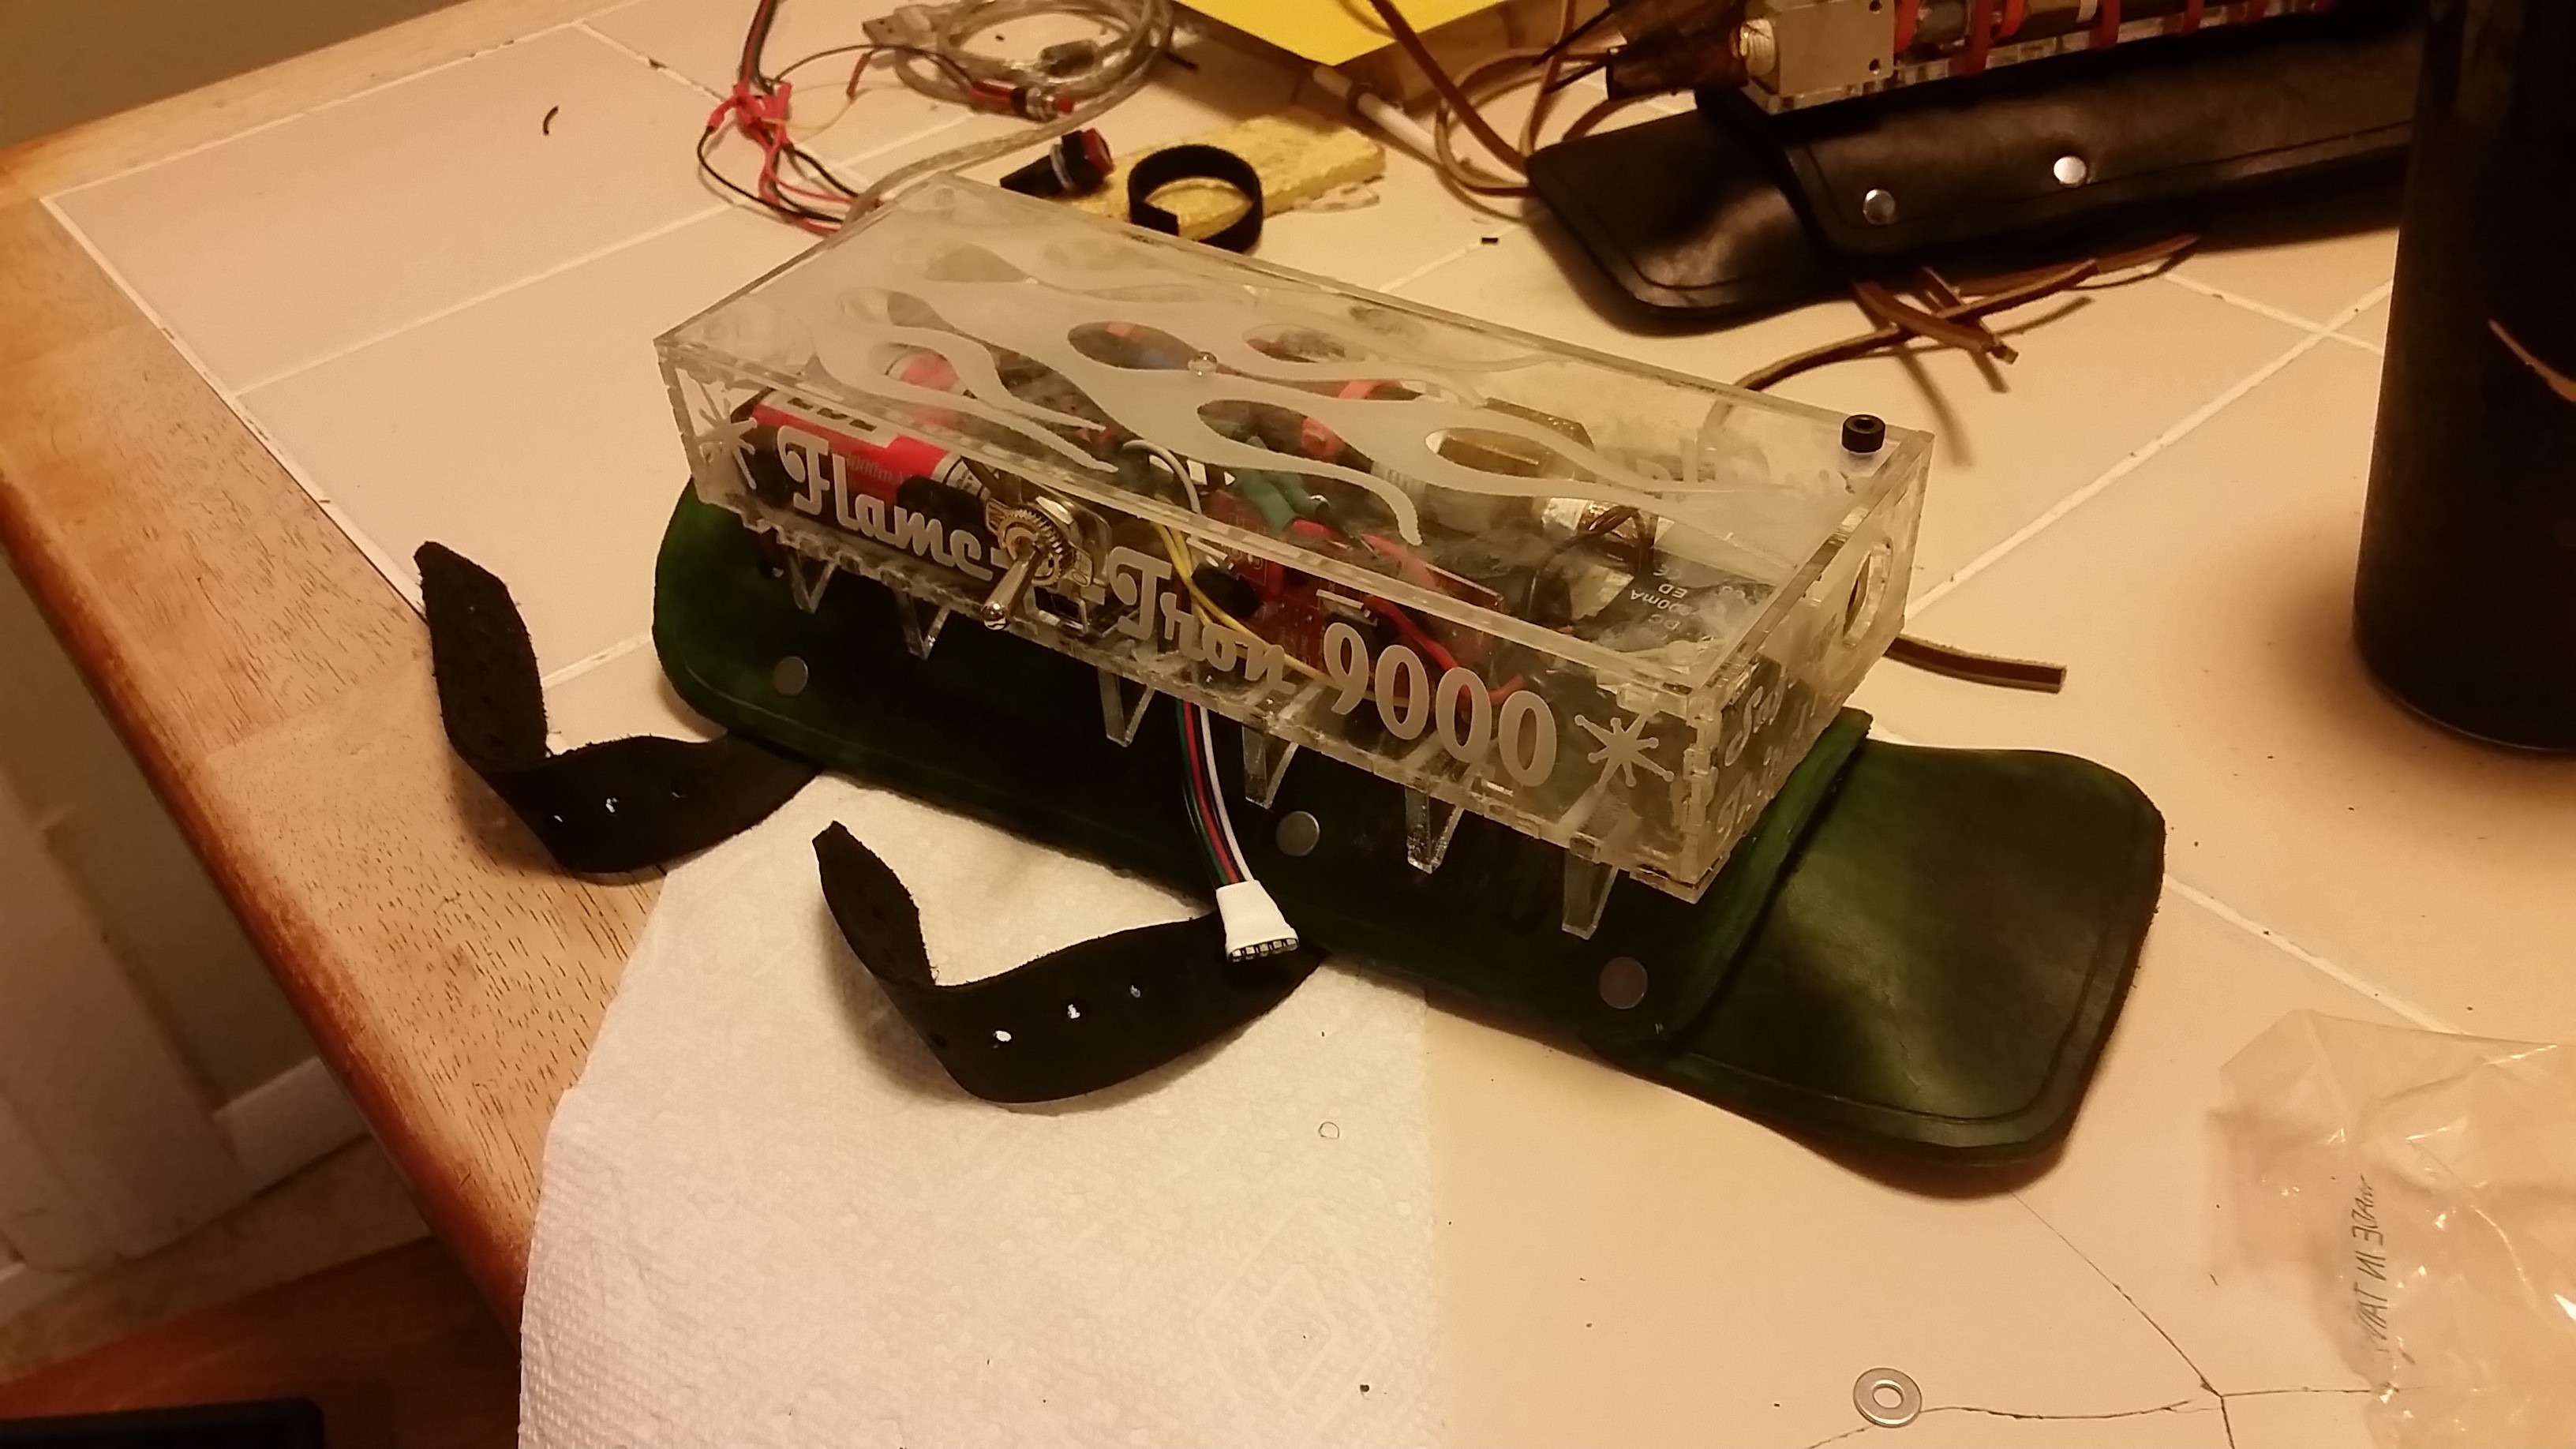
The 9000 model has a dyed green leather bracer, laser-engraved text and design, as well as alaser-cut acrylic box as well as a larger butane tank.
The Flame-O-Tron 9000
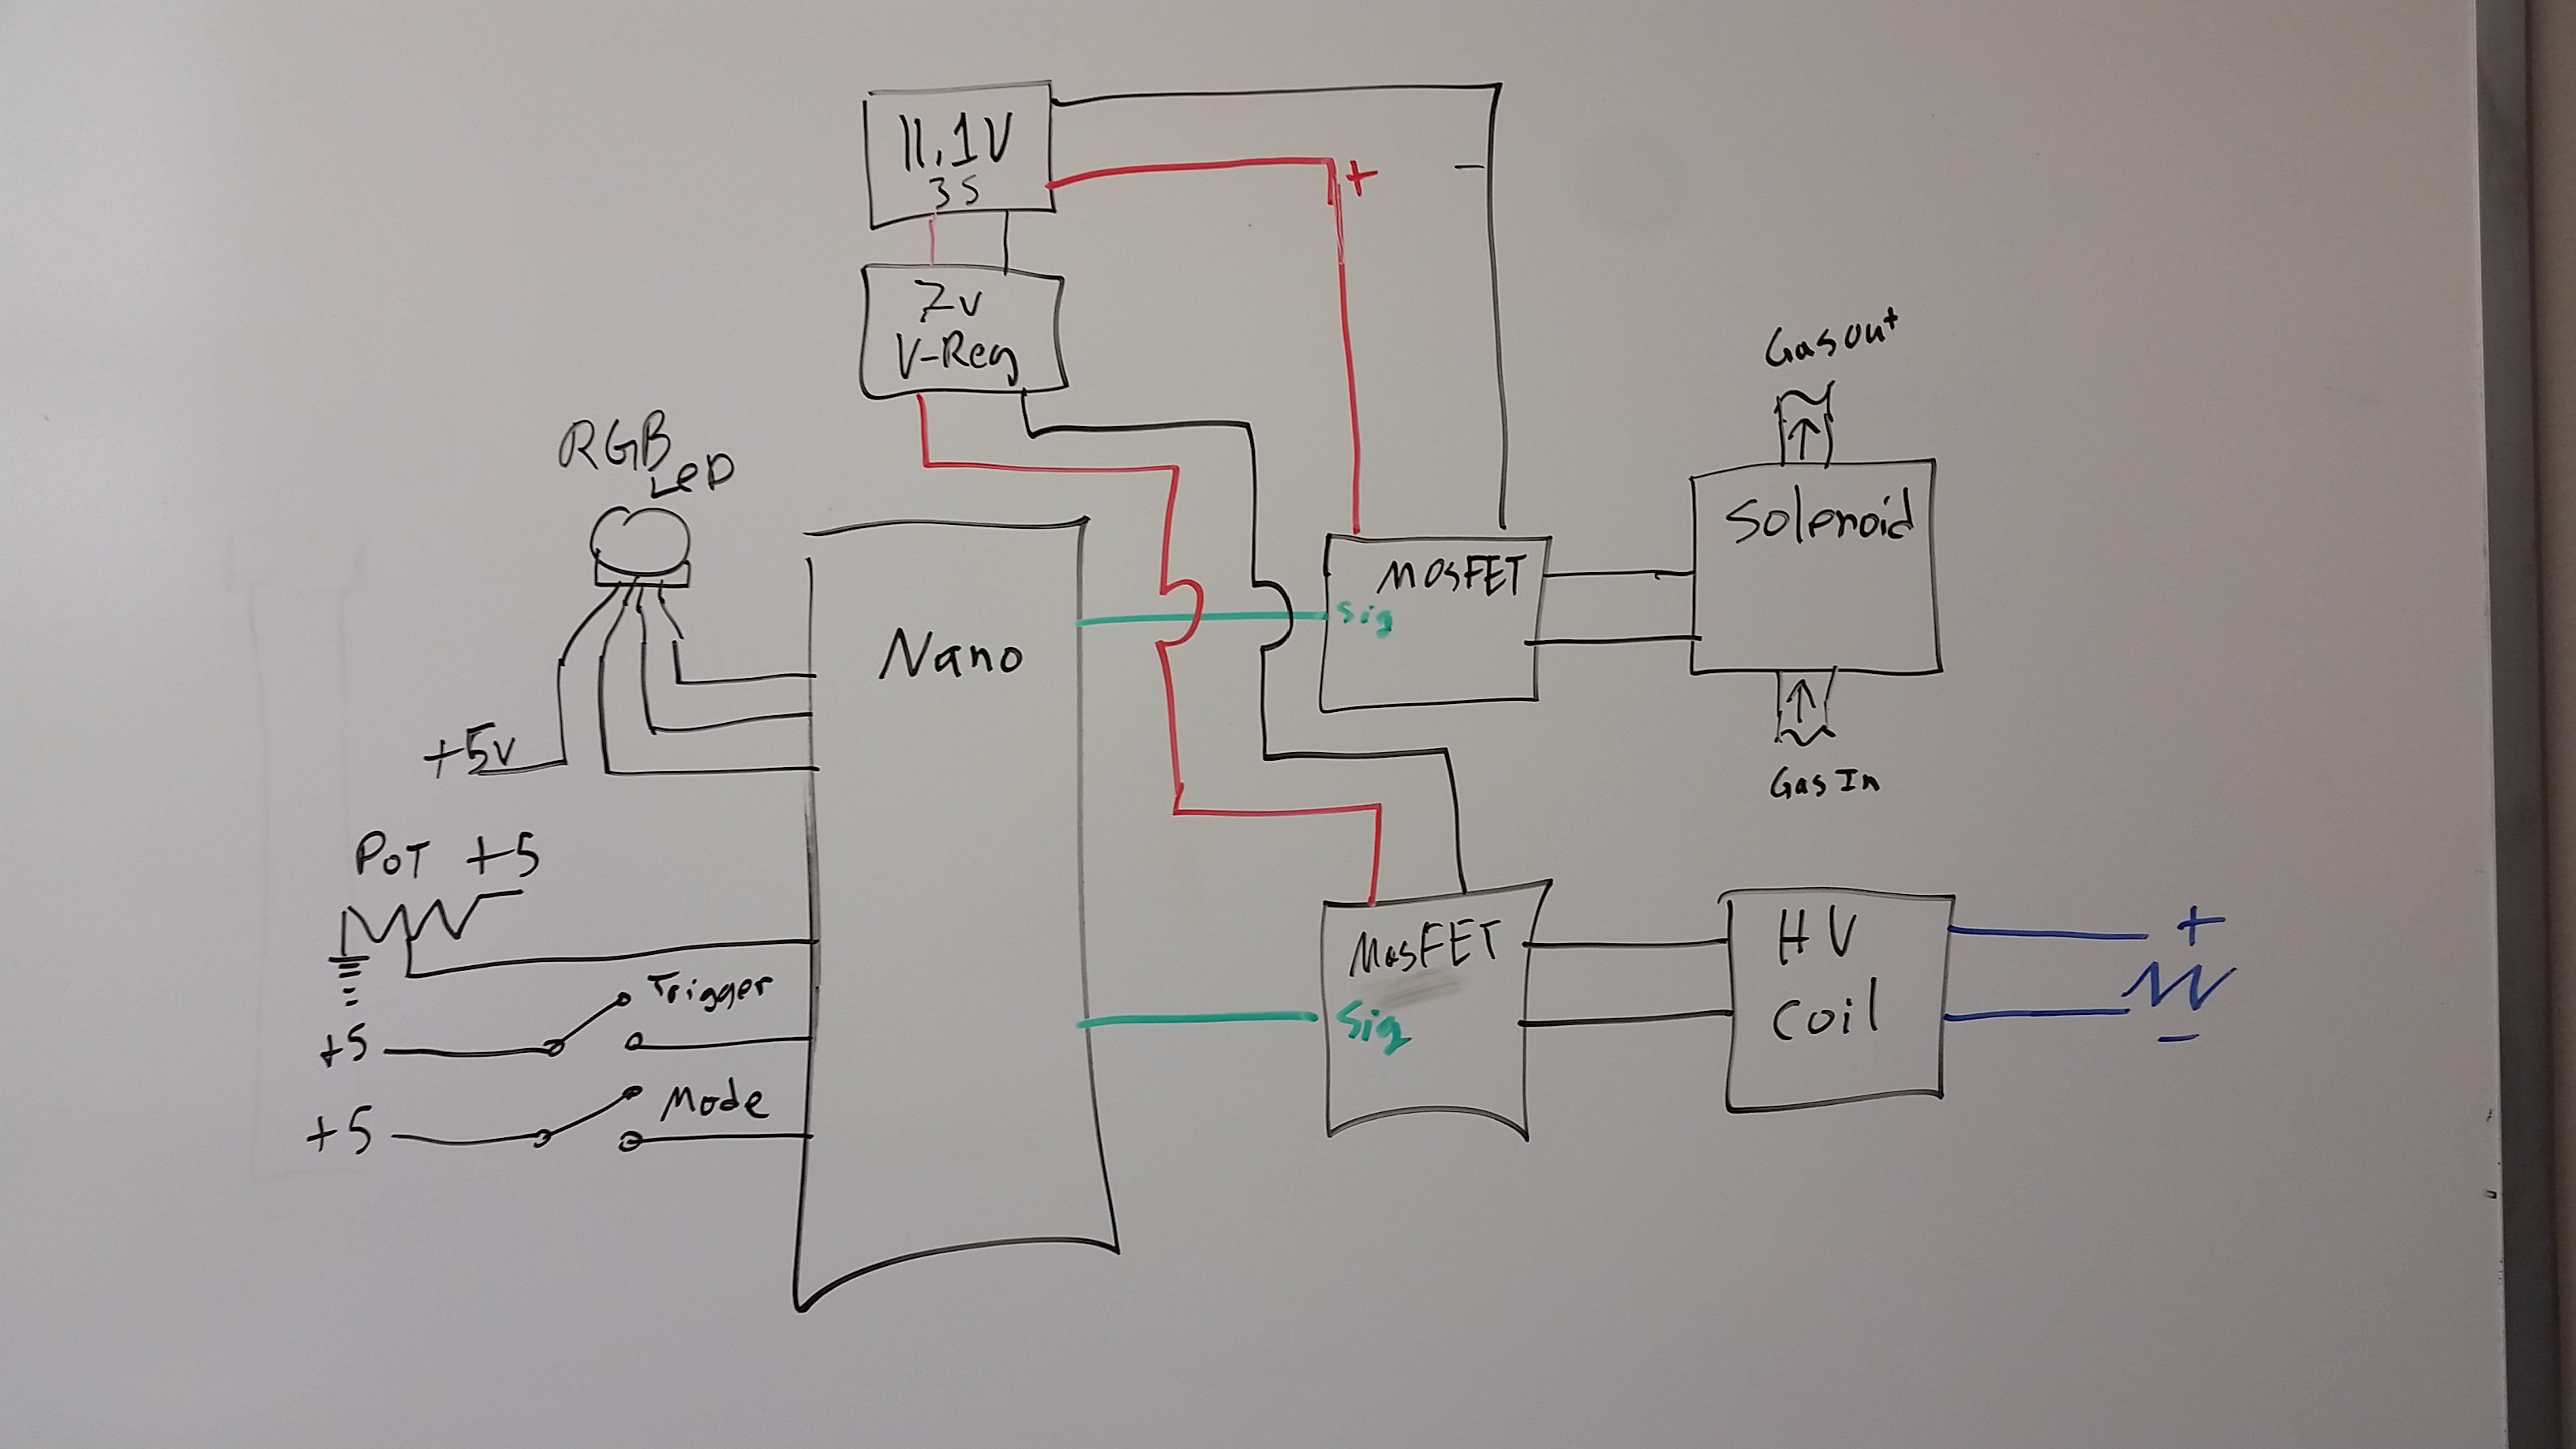
Here's a basic schematic:
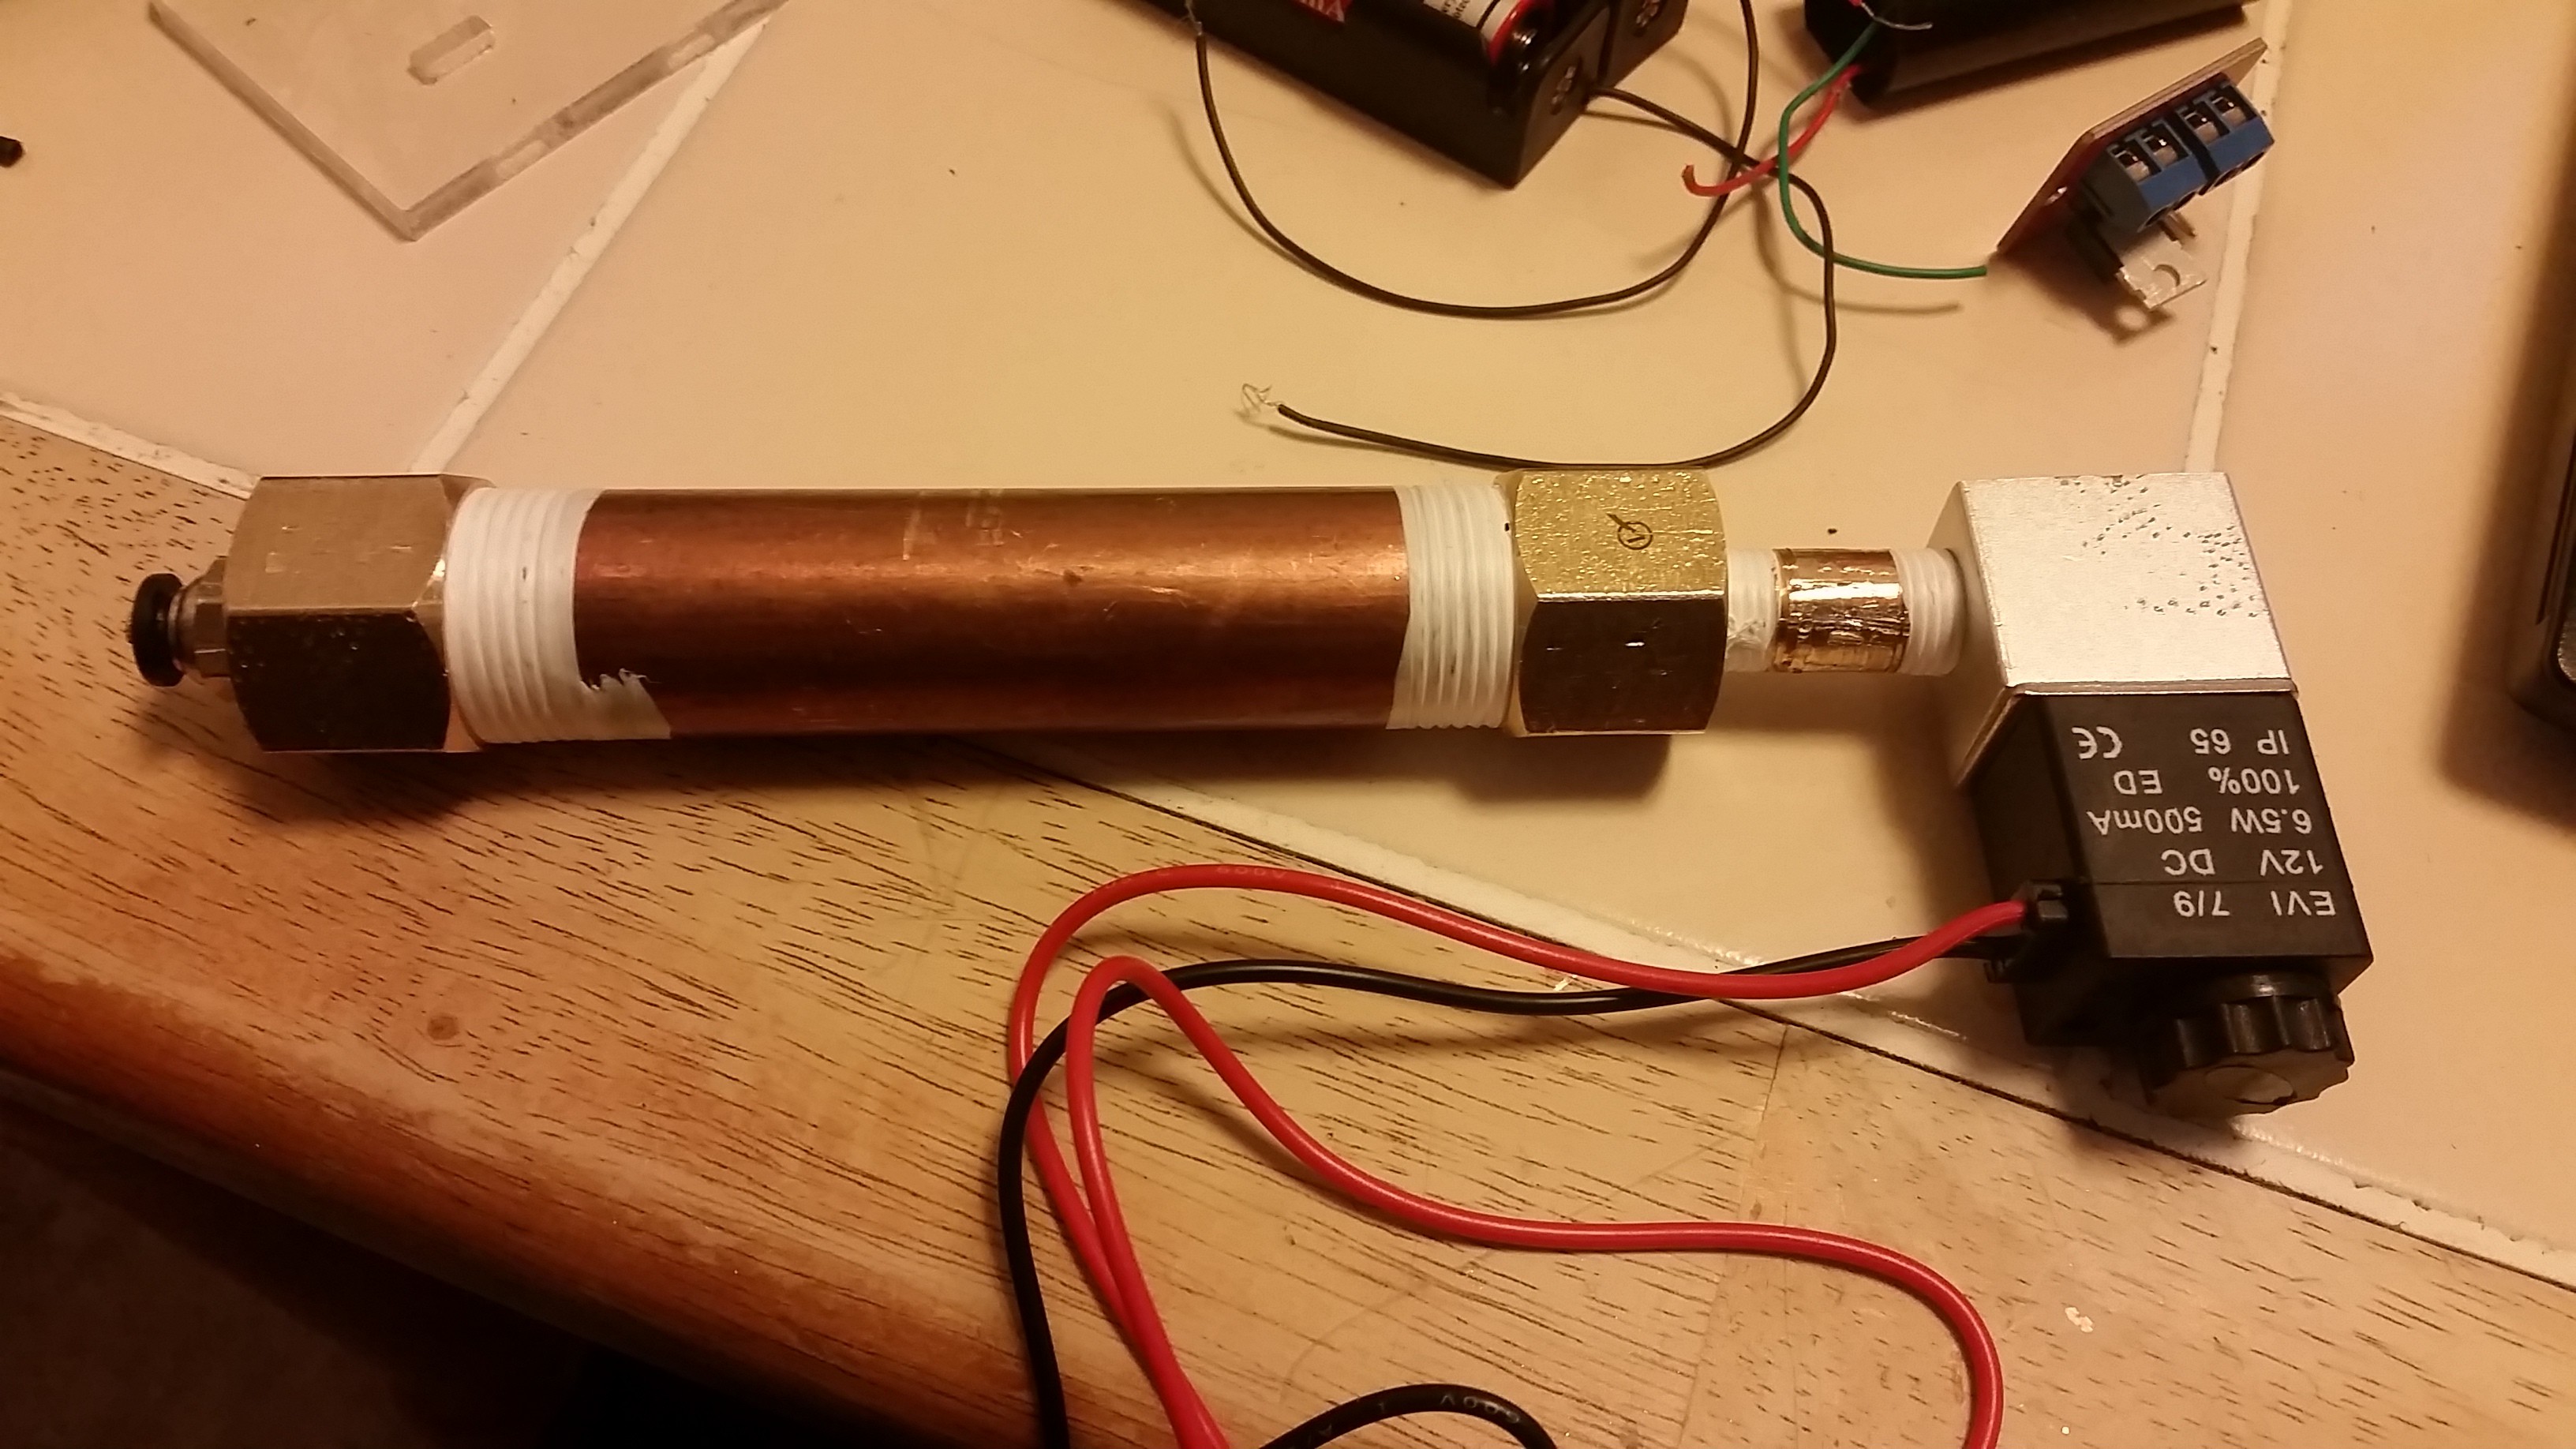
The custom butane container is coupled directly to the solenoid valve. All pipes are connected with PTFE tape.
Wiring it all up for the first time with a test button harness
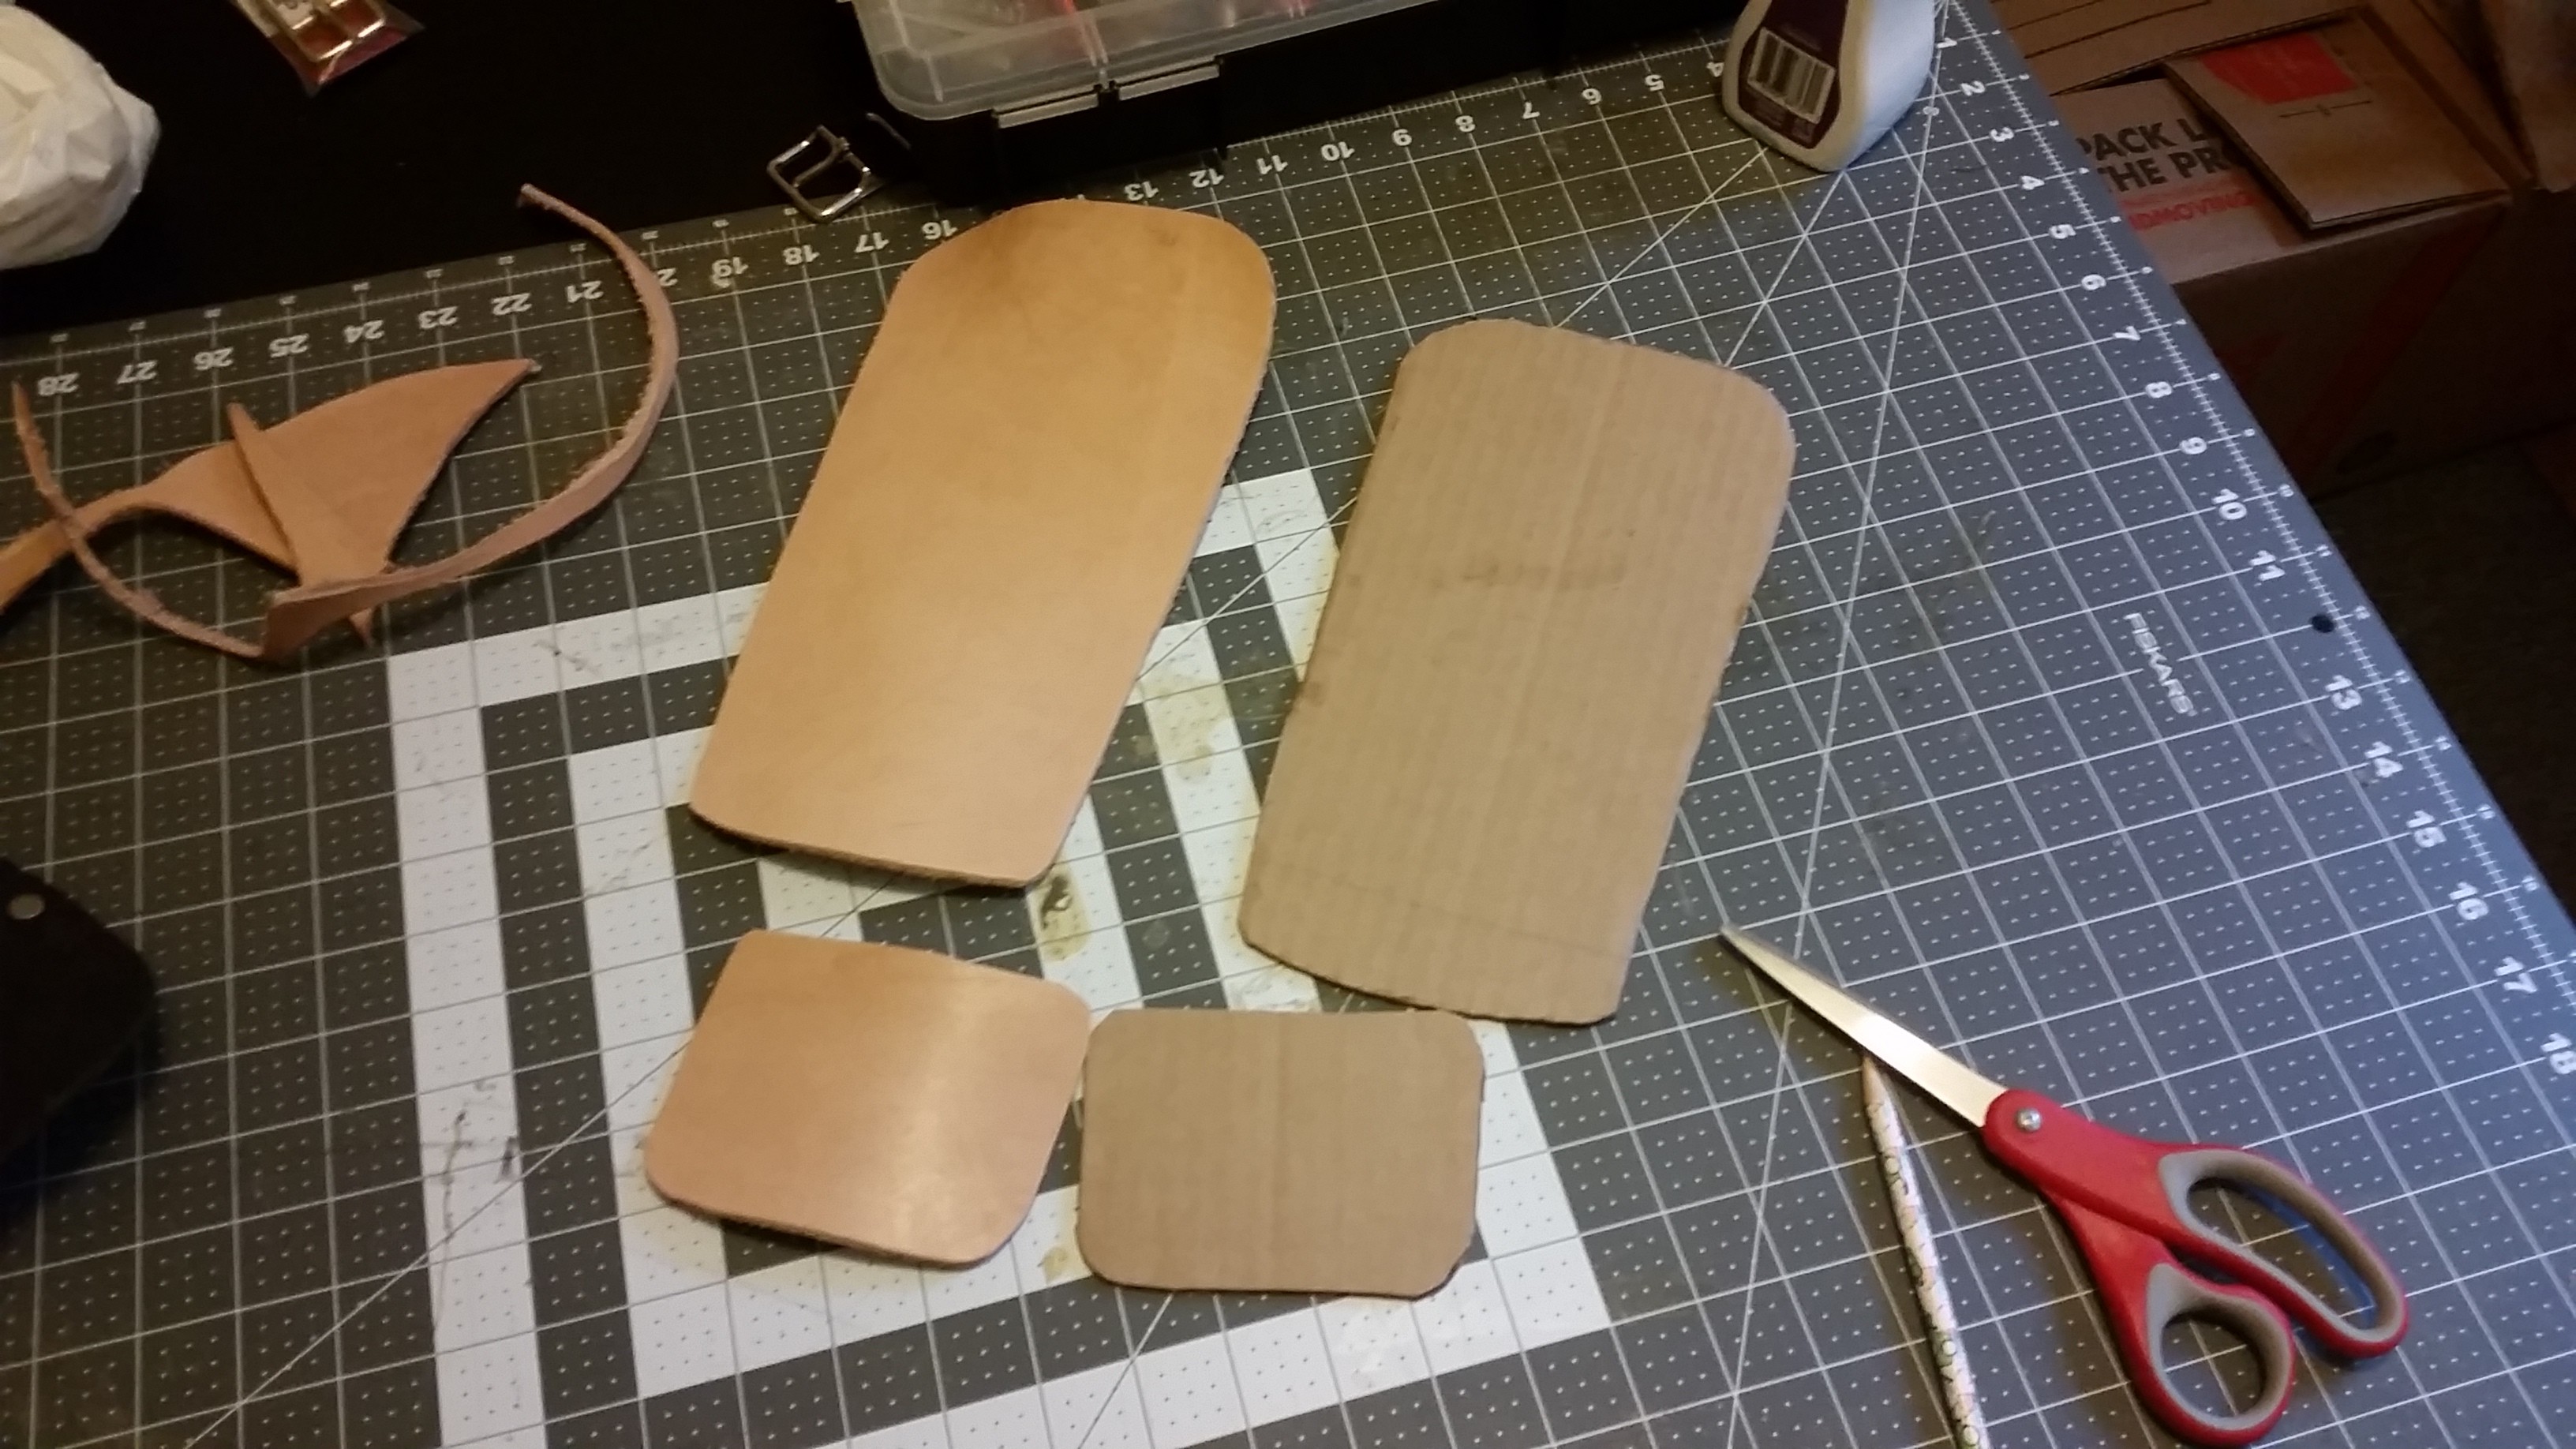
I made a basic bracer pattern with a hand-guard out of 13 oz. tooling leather.
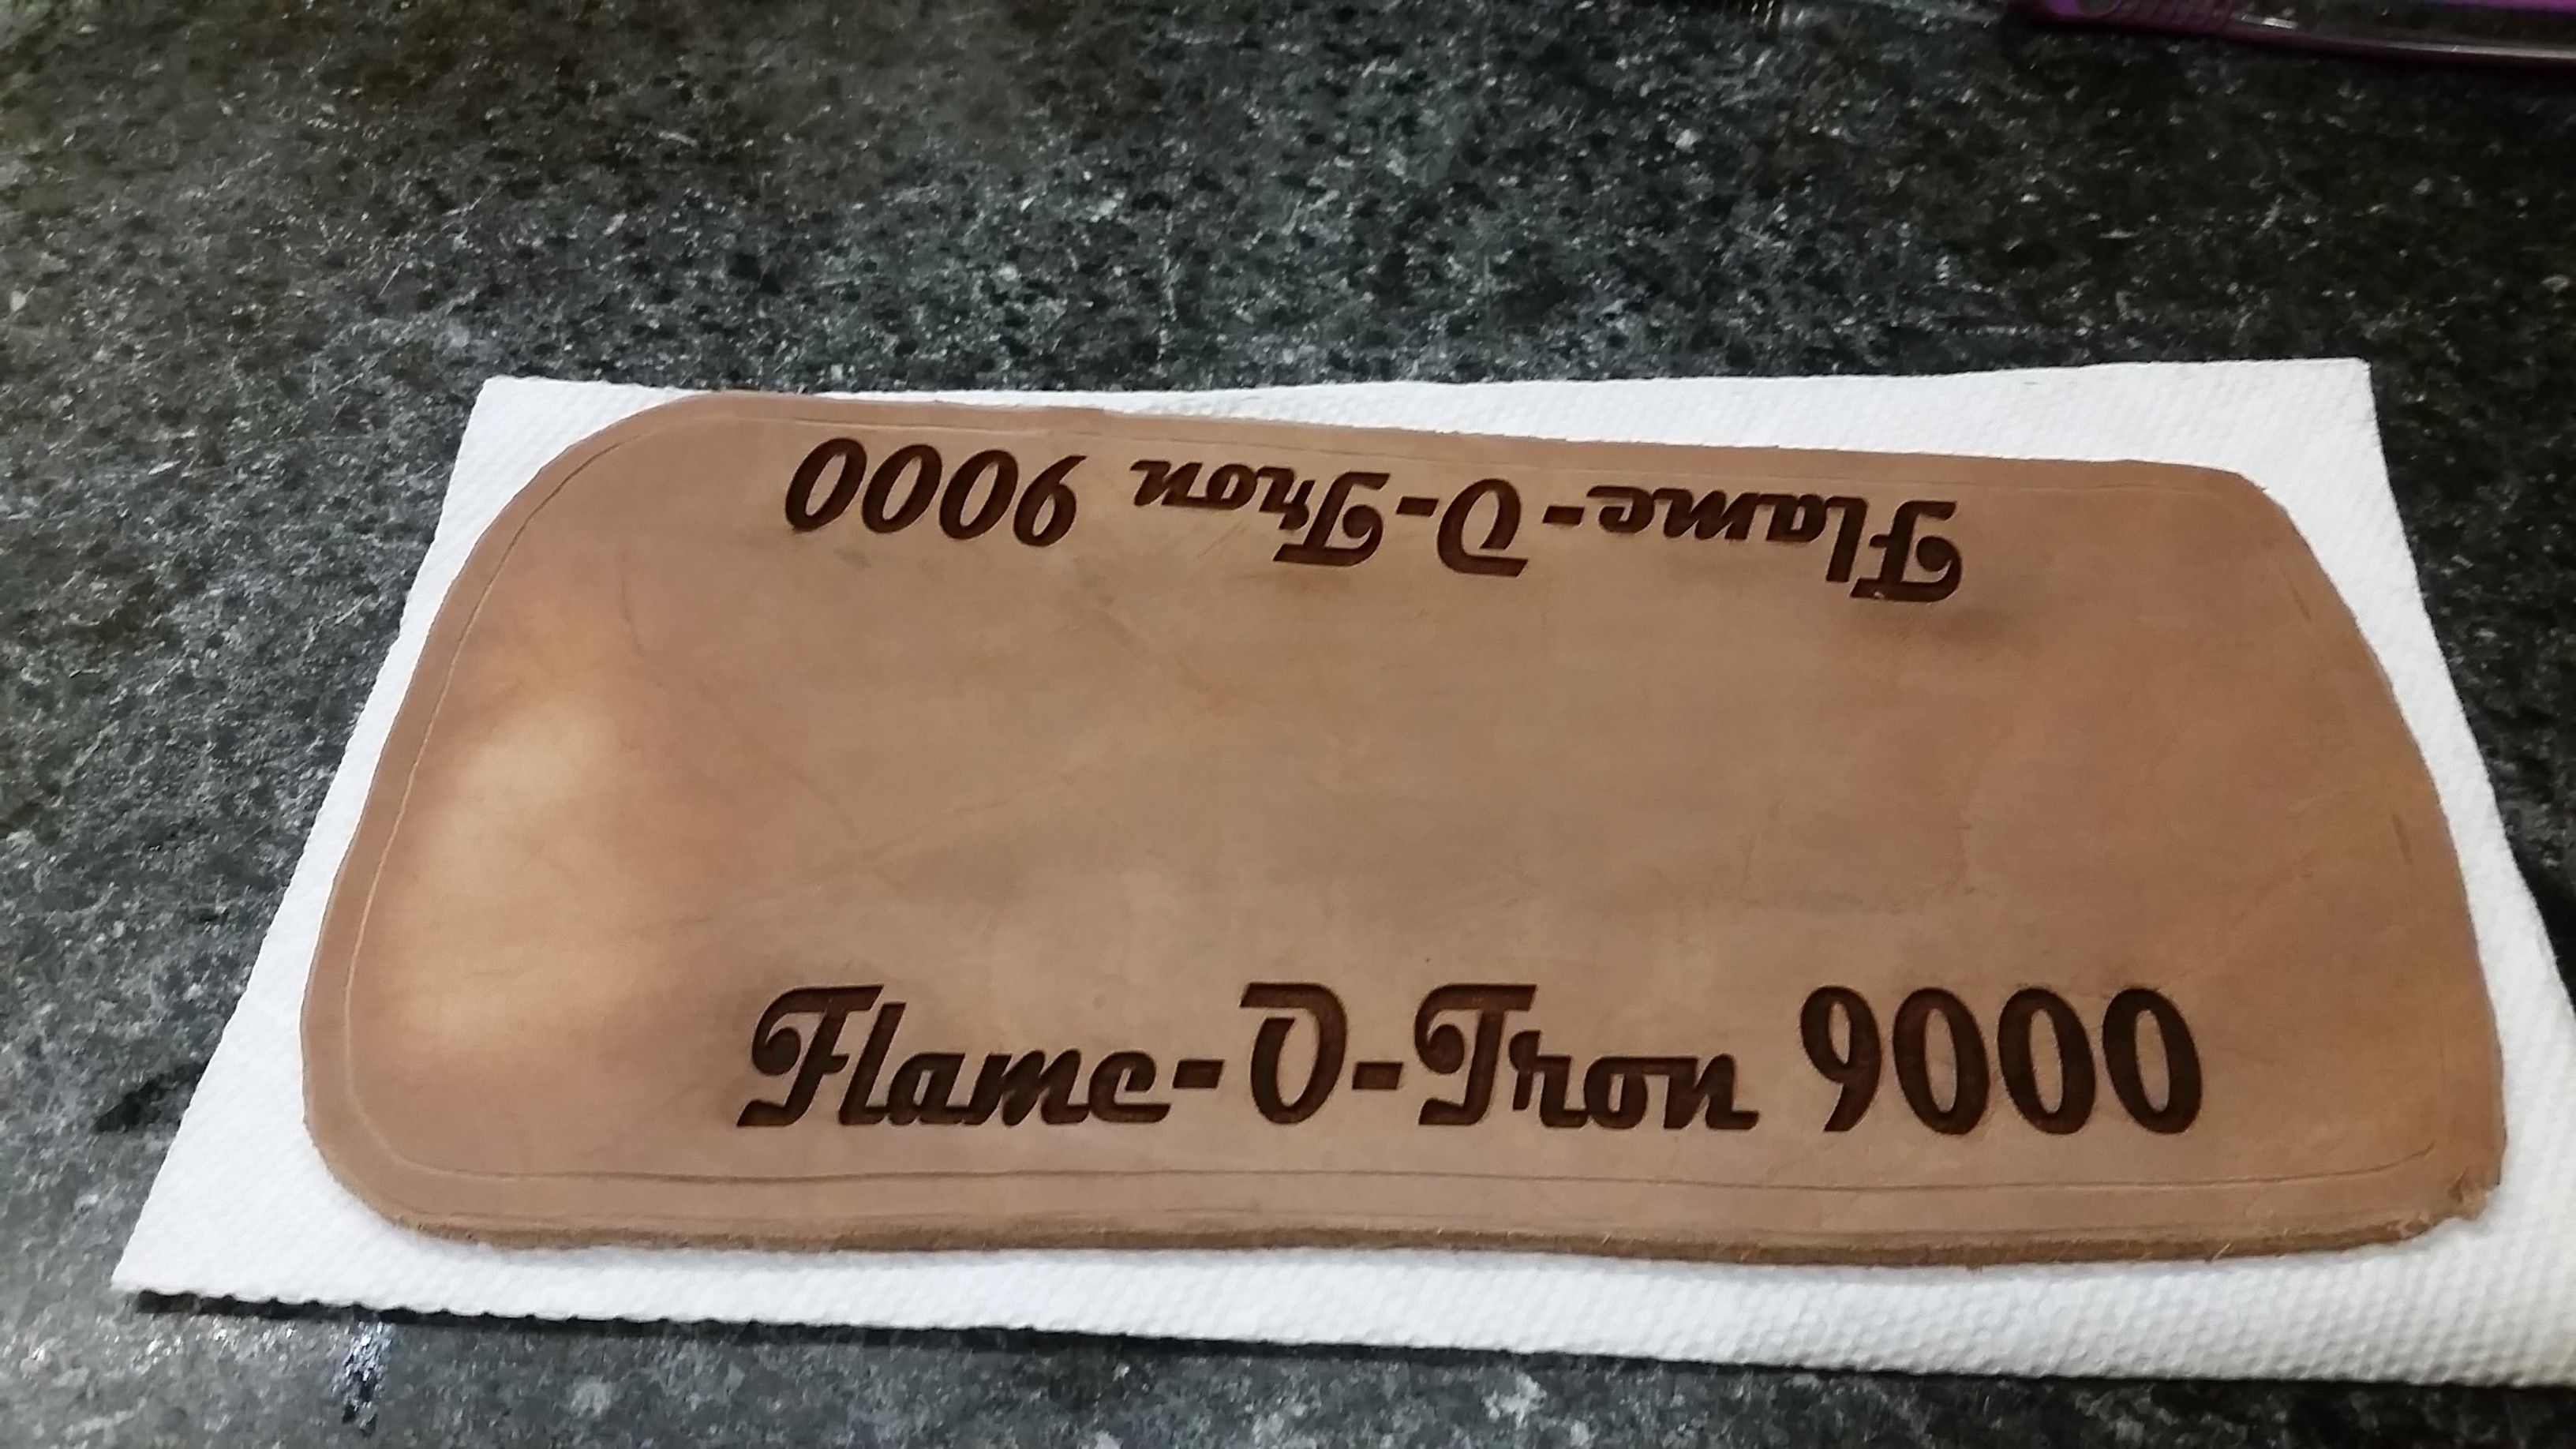
I used my 60 Watt CO2 laser to engrave the leather for the 9000 version
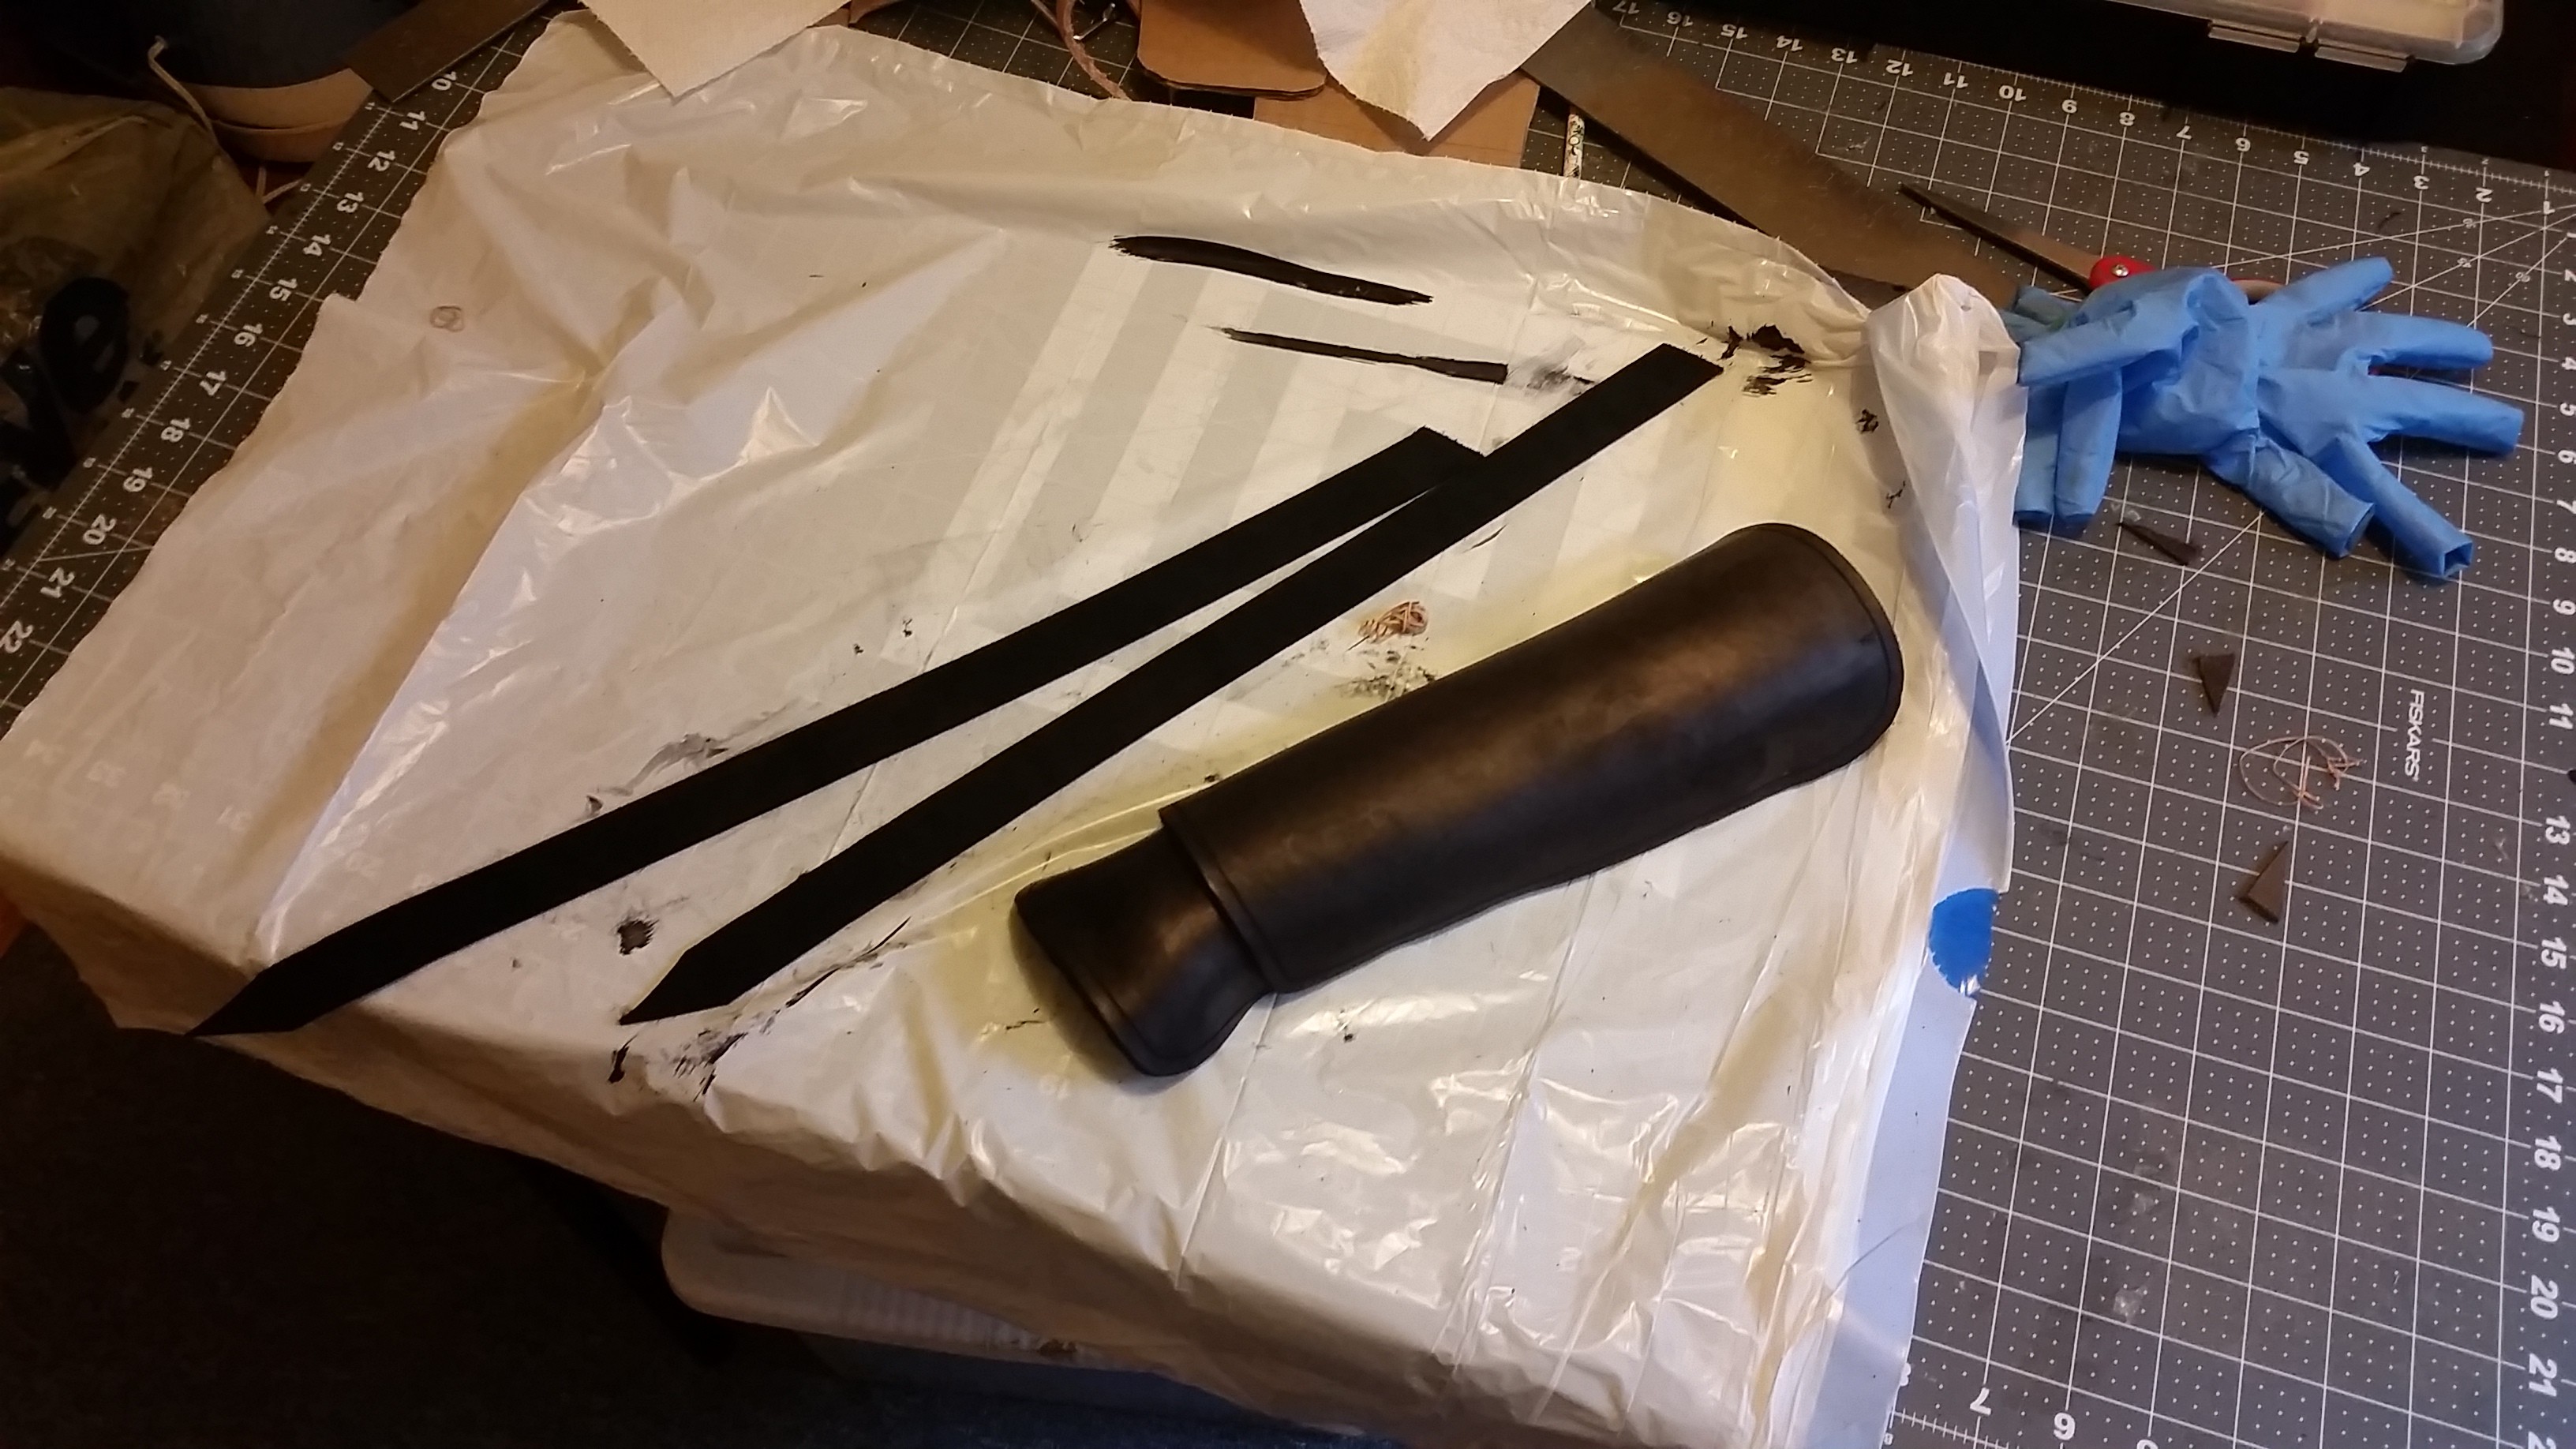
I dyed the leather and molded the form to fit. I used leather conditioner and Resolene to protect it all.
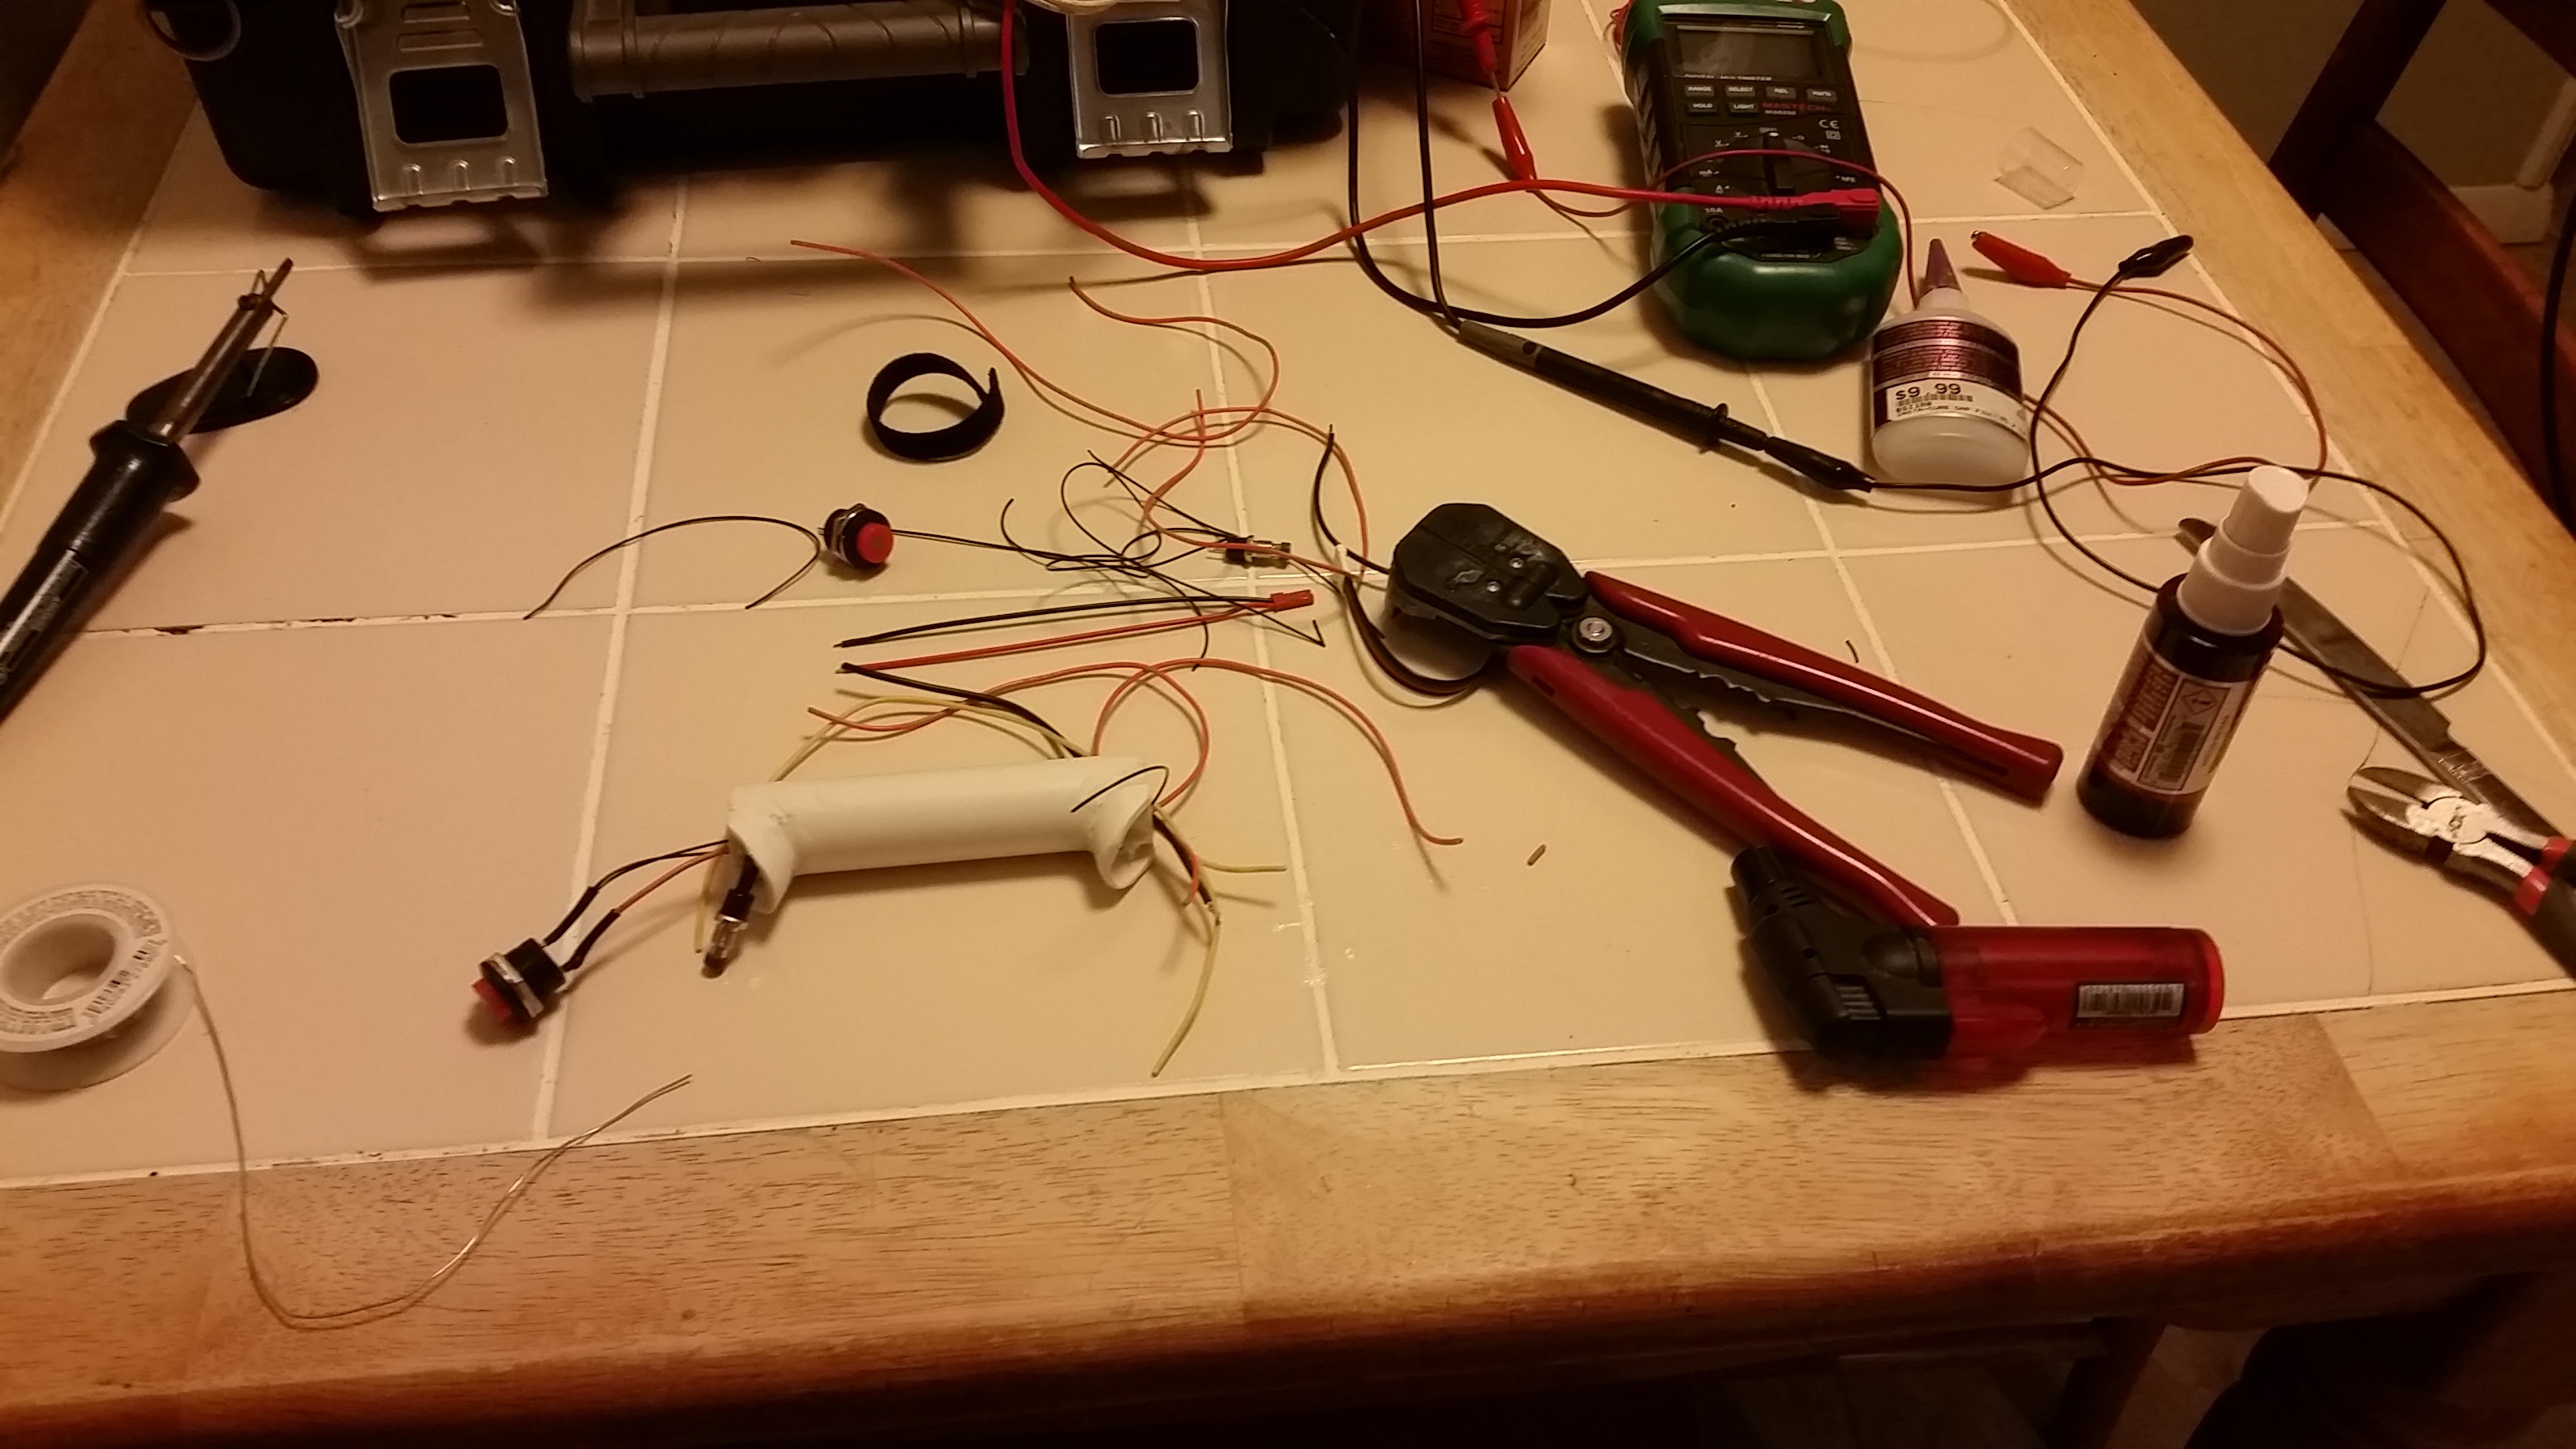
Crafting the hand-grip controller.
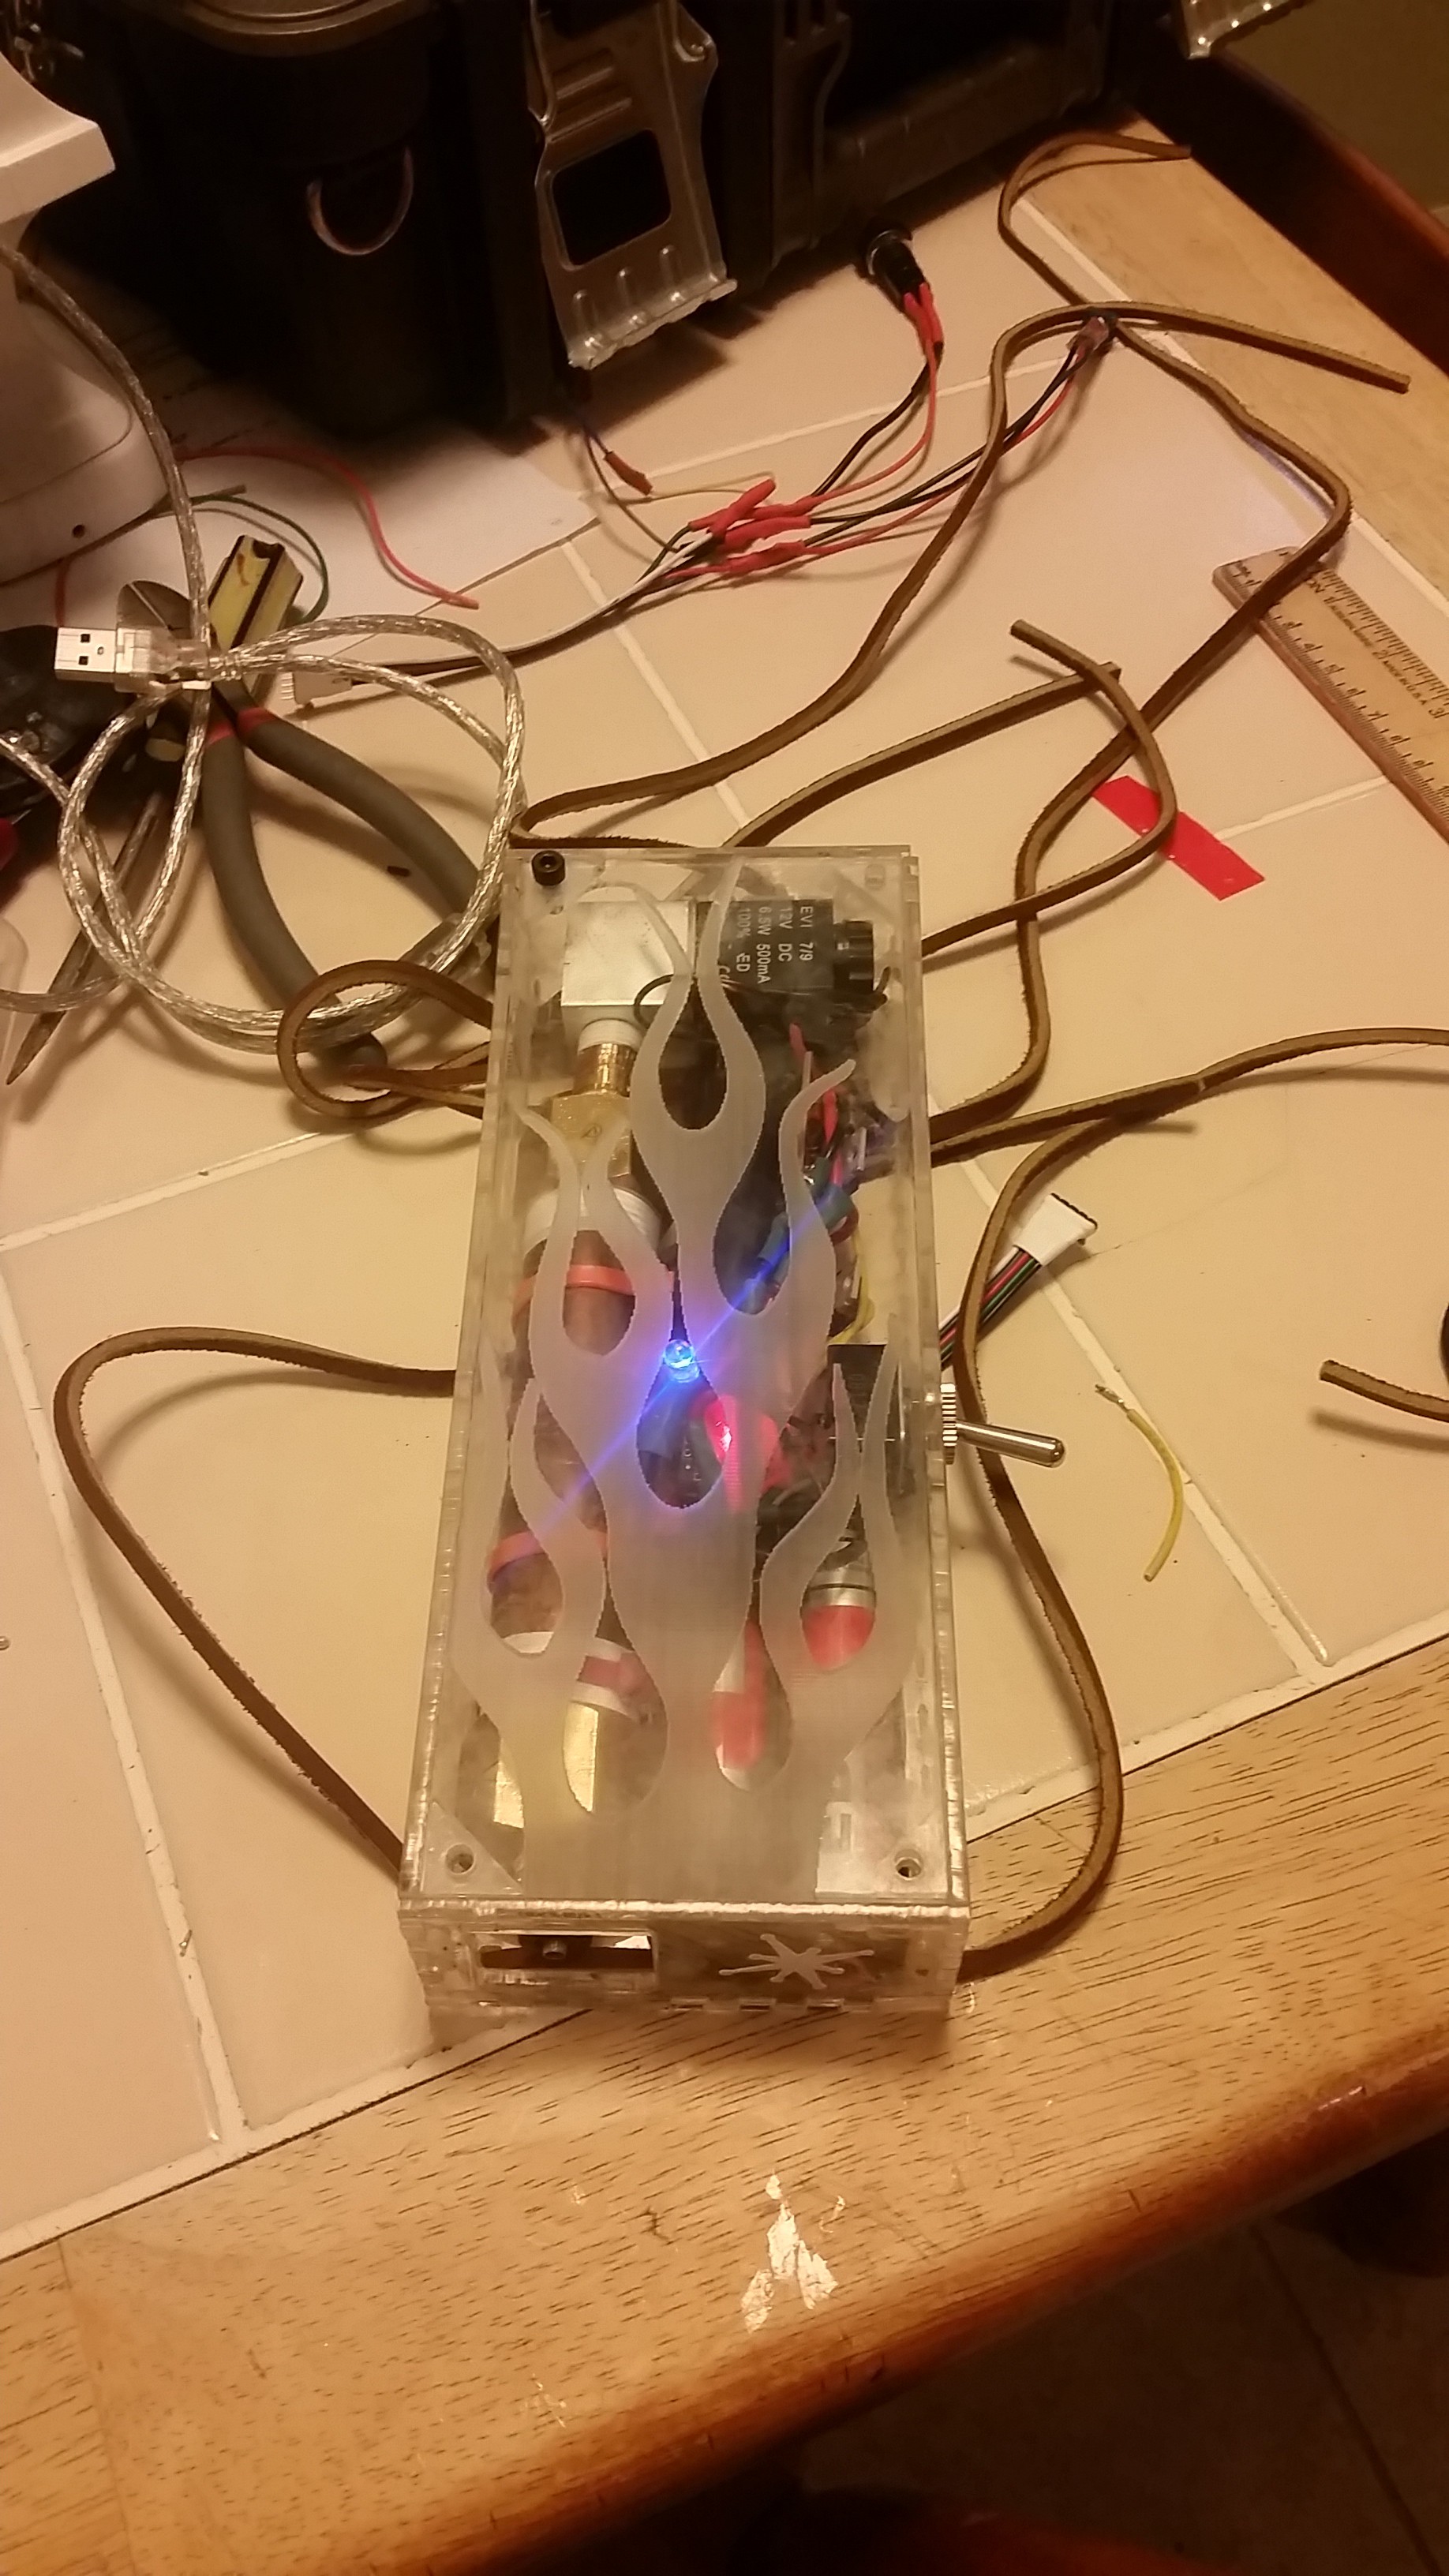
Bringing the 9000 online after initial programming. The USB port is below the switch.
Here's the Flame-O-Tron in action!! The clicking sound is the PWM control of the solenoid. The short buzzing sound is the HV ignition spark.
 Steve Hernandez
 David J. Sandoval
 Shu Takahashi
 David Karla
 Gwendolyn Scogin