 David H. Bronke
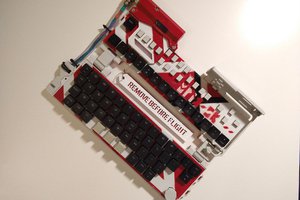
This involves replacing the basic PS/2 brain in the keyboard with a new USB-capable one. Additional features I'd like to add to the keyboard:
- Multiple user-defined key maps that can be uploaded via USB and easily toggled between on the fly (I want this to replace my Orbweaver)
- A TrackPoint module (below N and to the left of the up arrow) and some thumb-operated mouse buttons (below Enter and Space)
- Possibly a scroll wheel or two (ideally a tilt-scroll wheel mounted to the left of H and N, or to the right of G and B; not sure which yet)
- Media control keys - both transport control (Play/Pause/Stop/Next/Prev) and volume control
- The ability to cut the keyboard in half and move the two pieces independently, with a tether between them
- Maybe even replace/augment the thumb buttons with something more akin to the DataHand's thumb configuration (modifiers on the sides?)
 mkdxdx
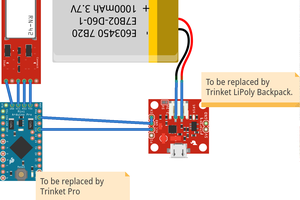
 tecywiz121
 Julian Calaby
 RasmusB