Rather than throwing a bunch of the documentation into the code, I'll try putting it here.
From our previous example when simulating the ALU, we can remove the SDL_Text library, the Nand2Tetris computer has it's own font and text rendering function. We'll need to include a few more headers for the individual components we'll be inspecting in the simulation (computer, rom, and memory).
#ifdef _WIN32
#include <SDL2/SDL.h>
#else
#include <SDL.h>
#endif

#include <cstdint>
#include <fstream>
#include <bitset>
#include <verilated.h>
#include "Vmy_computer.h"
#include "Vmy_computer_my_computer.h"
#include "Vmy_computer_my_rom.h"
#include "Vmy_computer_my_memory.h"
using namespace std;
Next is our renderer and simulated module global pointers along with our step function that will change the CPU clock on and off while updating the module simulation at each change.
SDL_Renderer *renderer;
Vmy_computer *top;

void step()
{
    top->clk = 1;
    top->eval();
    top->clk = 0;
    top->eval();
}
handleInput will be updated a little bit to allow capturing of the keyboard key presses. There's just a 16bit register in the model that we'll be updating based on the keyboard ASCII code. The only exception at this point is the Left and Right arrow keys. There's actually a couple other changes in the full computer but I'll just use these for now to allow the Pong paddle movement in the simulation (and keep the code fairly minimal). The keyboard register is cleared when the key is released.
int handleInput()
{
    SDL_Event event;
    while (SDL_PollEvent(&event)) {
        switch (event.type) {
        case SDL_QUIT:
            return -1;
        case SDL_KEYDOWN:
            if (event.key.keysym.sym == SDLK_ESCAPE)
                return -2;
            if (event.key.keysym.sym == SDLK_LEFT)
                top->my_computer->MEMORY->__PVT__keyboard__DOT__bits = 130;
            else if (event.key.keysym.sym == SDLK_RIGHT)
                top->my_computer->MEMORY->__PVT__keyboard__DOT__bits = 132;
            else
                top->my_computer->MEMORY->__PVT__keyboard__DOT__bits = event.key.keysym.sym;
            break;
        case SDL_KEYUP:
            top->my_computer->MEMORY->__PVT__keyboard__DOT__bits = 0;
            break;
        }
    }

    return 0;
}
initVideo is just updated with the new Window title (included here for completeness).
void initVideo()
{
    SDL_Init(SDL_INIT_VIDEO);
    SDL_Window *window = SDL_CreateWindow("N2T Computer - SDL", SDL_WINDOWPOS_UNDEFINED, SDL_WINDOWPOS_UNDEFINED, 640, 480, 0);
    renderer = SDL_CreateRenderer(window, -1, 0);
}
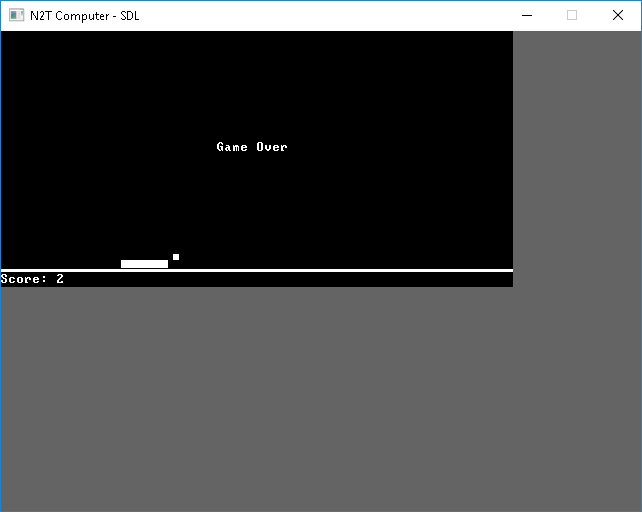
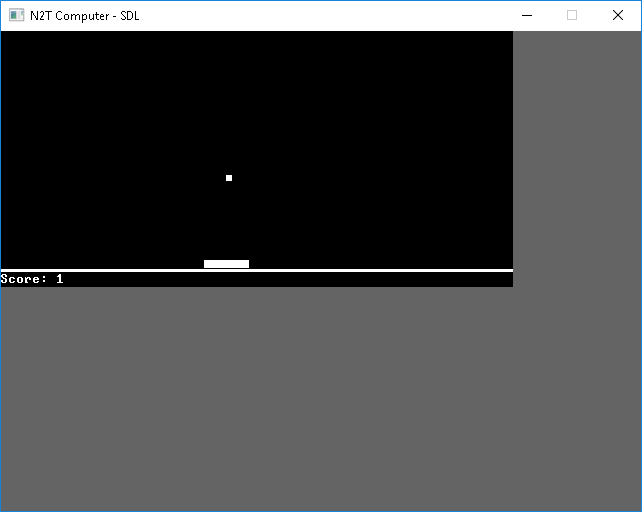
drawScreen is where most of our changes are placed. This is a relatively simple way to take the individual bits from the video ram in the simulated model and just throw those onto our display surface. We could do this more efficiently by converting the block of memory in bit format to our surface format, but this actually runs pretty quickly for our simulation purposes (most of the time is spent in the CPU cycle rather than display).
Notes on the display we're simulating: It's a two color (single bit per pixel) 512x256 display. The memory is a collection of 16bit memory values (hence our use of uint16_t for storing the value as an unsigned 16bit integer). It's all contiguous so we don't have to handle skipping locations or handling memory pages, and just have simple bit operations to grab the bit values.
void drawScreen()
{
    uint16_t *smem = top->my_computer->MEMORY->__PVT__screen__DOT__memory;
    for (int y = 0; y < 256; y++) {
        uint16_t *row = &smem[y << 5];
        int x = 0;
        for (int i = 0; i < 32; i++) {
            int xib = 1;
            for (int xi = 0; xi < 16; xi++) {
                if (row[x >> 4] & xib)
                    SDL_SetRenderDrawColor(renderer, 255, 255, 255, 255);
                else
                    SDL_SetRenderDrawColor(renderer, 0, 0, 0, 255);
                SDL_RenderDrawPoint(renderer, x, y);
                x++;
                xib = xib << 1;
            }
        }
    }
}
We'll use a gray for the background since our pixels are just black and white.
void draw()
{
    SDL_SetRenderDrawColor(renderer, 100, 100, 100, 255);
    SDL_RenderClear(renderer);

    drawScreen();

    SDL_RenderPresent(renderer);
}
Here's the other change major change for Part 4. We're loading the example hack code from the Nand to Tetris project "Pong.hack" into our rom. The format is pretty simple. Each row in the text file is a single string of ones and zeros in ascii that correspond to the memory contents that will be loaded in to each memory location into the ROM.
We simple load the file, grab a pointer to the ROM memory location, then iterate through the file and capture each 16 bit string and convert it to to an unsigned 16bit integer then throw that value into the ROM memory location and increment the ROM index to load the next.
After loading the ROM, then initializing the Video, we can start the simulation. Here I'm using 100,000 cpu cycles for each screen draw. This might need to be tuned different based on the computer that it's running on and if debugging is set or not. On the desktop, VM, and laptop I've tested it on (Win 10, Ubuntu, and OSX) it ran pretty descently with debugging turned on (comparable to the Nand to Tetris project's VMEmulator but certainly faster than the CPUEmulator). It runs a little too quickly when debugging is off and compile optimization is turned on.
int main(int argc, char *argv[])
{
    top = new Vmy_computer;

    //ifstream rom("Add.hack");
    //ifstream rom("Rect.hack");
    //ifstream rom("Fill.hack");
    ifstream rom("Pong.hack");
    assert(rom);

    string line;
    uint16_t *mem = (uint16_t *)top->my_computer->ROM->__PVT__mem;
    int i;
    for (i = 0;; i++) {
        rom >> line;
        if (!rom)
            break;
        uint16_t v = bitset<16>(line).to_ulong();
        mem[i] = v;
    }
    assert(i);

    initVideo();

    do {
        for (int c = 0; c < 100000; c++)
            step();
        draw();
    } while (handleInput() >= 0);

    return 0;
}
compile.sh to create our C++ from Verilog is updated to use the computer Verilog instead of ALU.
verilator --cc my_computer.v -I../01 -I../02 -I../03/a -I../03/bHere's a Makefile for the rest to replace build.sh
CXXFLAGS=`sdl2-config --cflags` -I/usr/local/share/verilator/include -I/usr/local/share/verilator/include/vltstd -I/usr/share/verilator/include -I/usr/share/verilator/include/vltstd -I/mingw64/share/verilator/include -I/mingw64/share/verilator/include/vltstd -D_DEFAULT_SOURCE -Iobj_dir -std=c++11 -O3 -march=native -mtune=native
LDLIBS=`sdl2-config --libs` -lSDL2_ttf -Iobj_dir
CC=$(CXX)

my_computer_test_sdl: my_computer_test_sdl.o \
        obj_dir/Vmy_computer.o \
        obj_dir/Vmy_computer__Dpi.o \
        obj_dir/Vmy_computer__Syms.o \
        obj_dir/Vmy_computer_my_computer.o \
        obj_dir/Vmy_computer_my_cpu.o \
        obj_dir/Vmy_computer_my_memory.o \
        obj_dir/Vmy_computer_my_mux16.o \
        obj_dir/Vmy_computer_my_rom.o \
        vwrapper.o

clean:
        rm -rf *.o obj_dir my_computer_test_sdl my_computer_test_sdl.exe
You can remove the -O3 -march=native -mtune=native and replace it with -g to enable debugging.
(Visual Studio solution and project can be downloaded - don't forget to run the Verilator compile command first though)