Handheld with case design inspired by the old Tiger games.
Display -Generic 3.5in HDMI TFT LCD
Sound - HDMI out to 2.5W amplifier to bone conductor transducer
Power - 3.7v 8000mah battery connected to USB power bank board to ATXRaspi for safe shutdown. Micro USB on back for charging.
Case and buttons - bamboo, oak, acrylic and aluminum designed in OnShape and cut on homemade CNC router.
Input - 6mm tact switches and 8x8x5MM silent switches, CNC cut and drilled PCB.
CPU - Pi 3B+ -removed USB and LAN connectors in order to make board as thin as possible. Re-routed one USB port to micro USB connector on back of case.
Software - RetroPie and Rretrogame for input

 shin
shin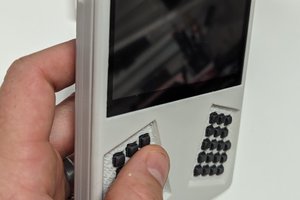
 Dan (a8ksh4)
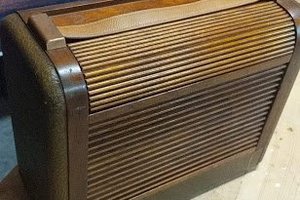
 Jacob Daniels
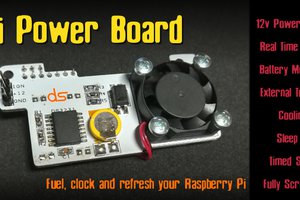
 Giuseppe
Hi mate! I am on the same kind of project, but using an orange pi pc 1gb ram. Well, it's my first time in this world, so I had some issues with my lack of knowledge of the electronics stuff, as long as it's a way I found to learn while doing a nice stuff, but most of it is already solved. Now, the only problem I'm facing is with the commands PCB. I didn't want to make any adaptation with others joystick PCBs, I wanted to make it my own, but I need a layout, and as long as I don't have the knowledge to project it, if you could tell me where I could find a layout for the commands and d pads, or share yours, as long as I also have 6 buttons command. If I'm not asking too much, I'd be very thankful. Your project is awesome, congratulations, mate! Thanks a lot for sharing, it was a huge inspiration and light for me hahahaha