 matthewkleinmann
For many years I just had a small, budget table saw. It was fine for ripping planks and dimensional lumber but not good for sheet goods. I often wanted to make larger pieces and was always stuck with using my circular saw and clamp on guide. That is much better than nothing but still a far cry form a nice table saw cut.
One day this bit of inspiration hit me and I ran with it. It is stupid and costless, and it works amazingly well for me.
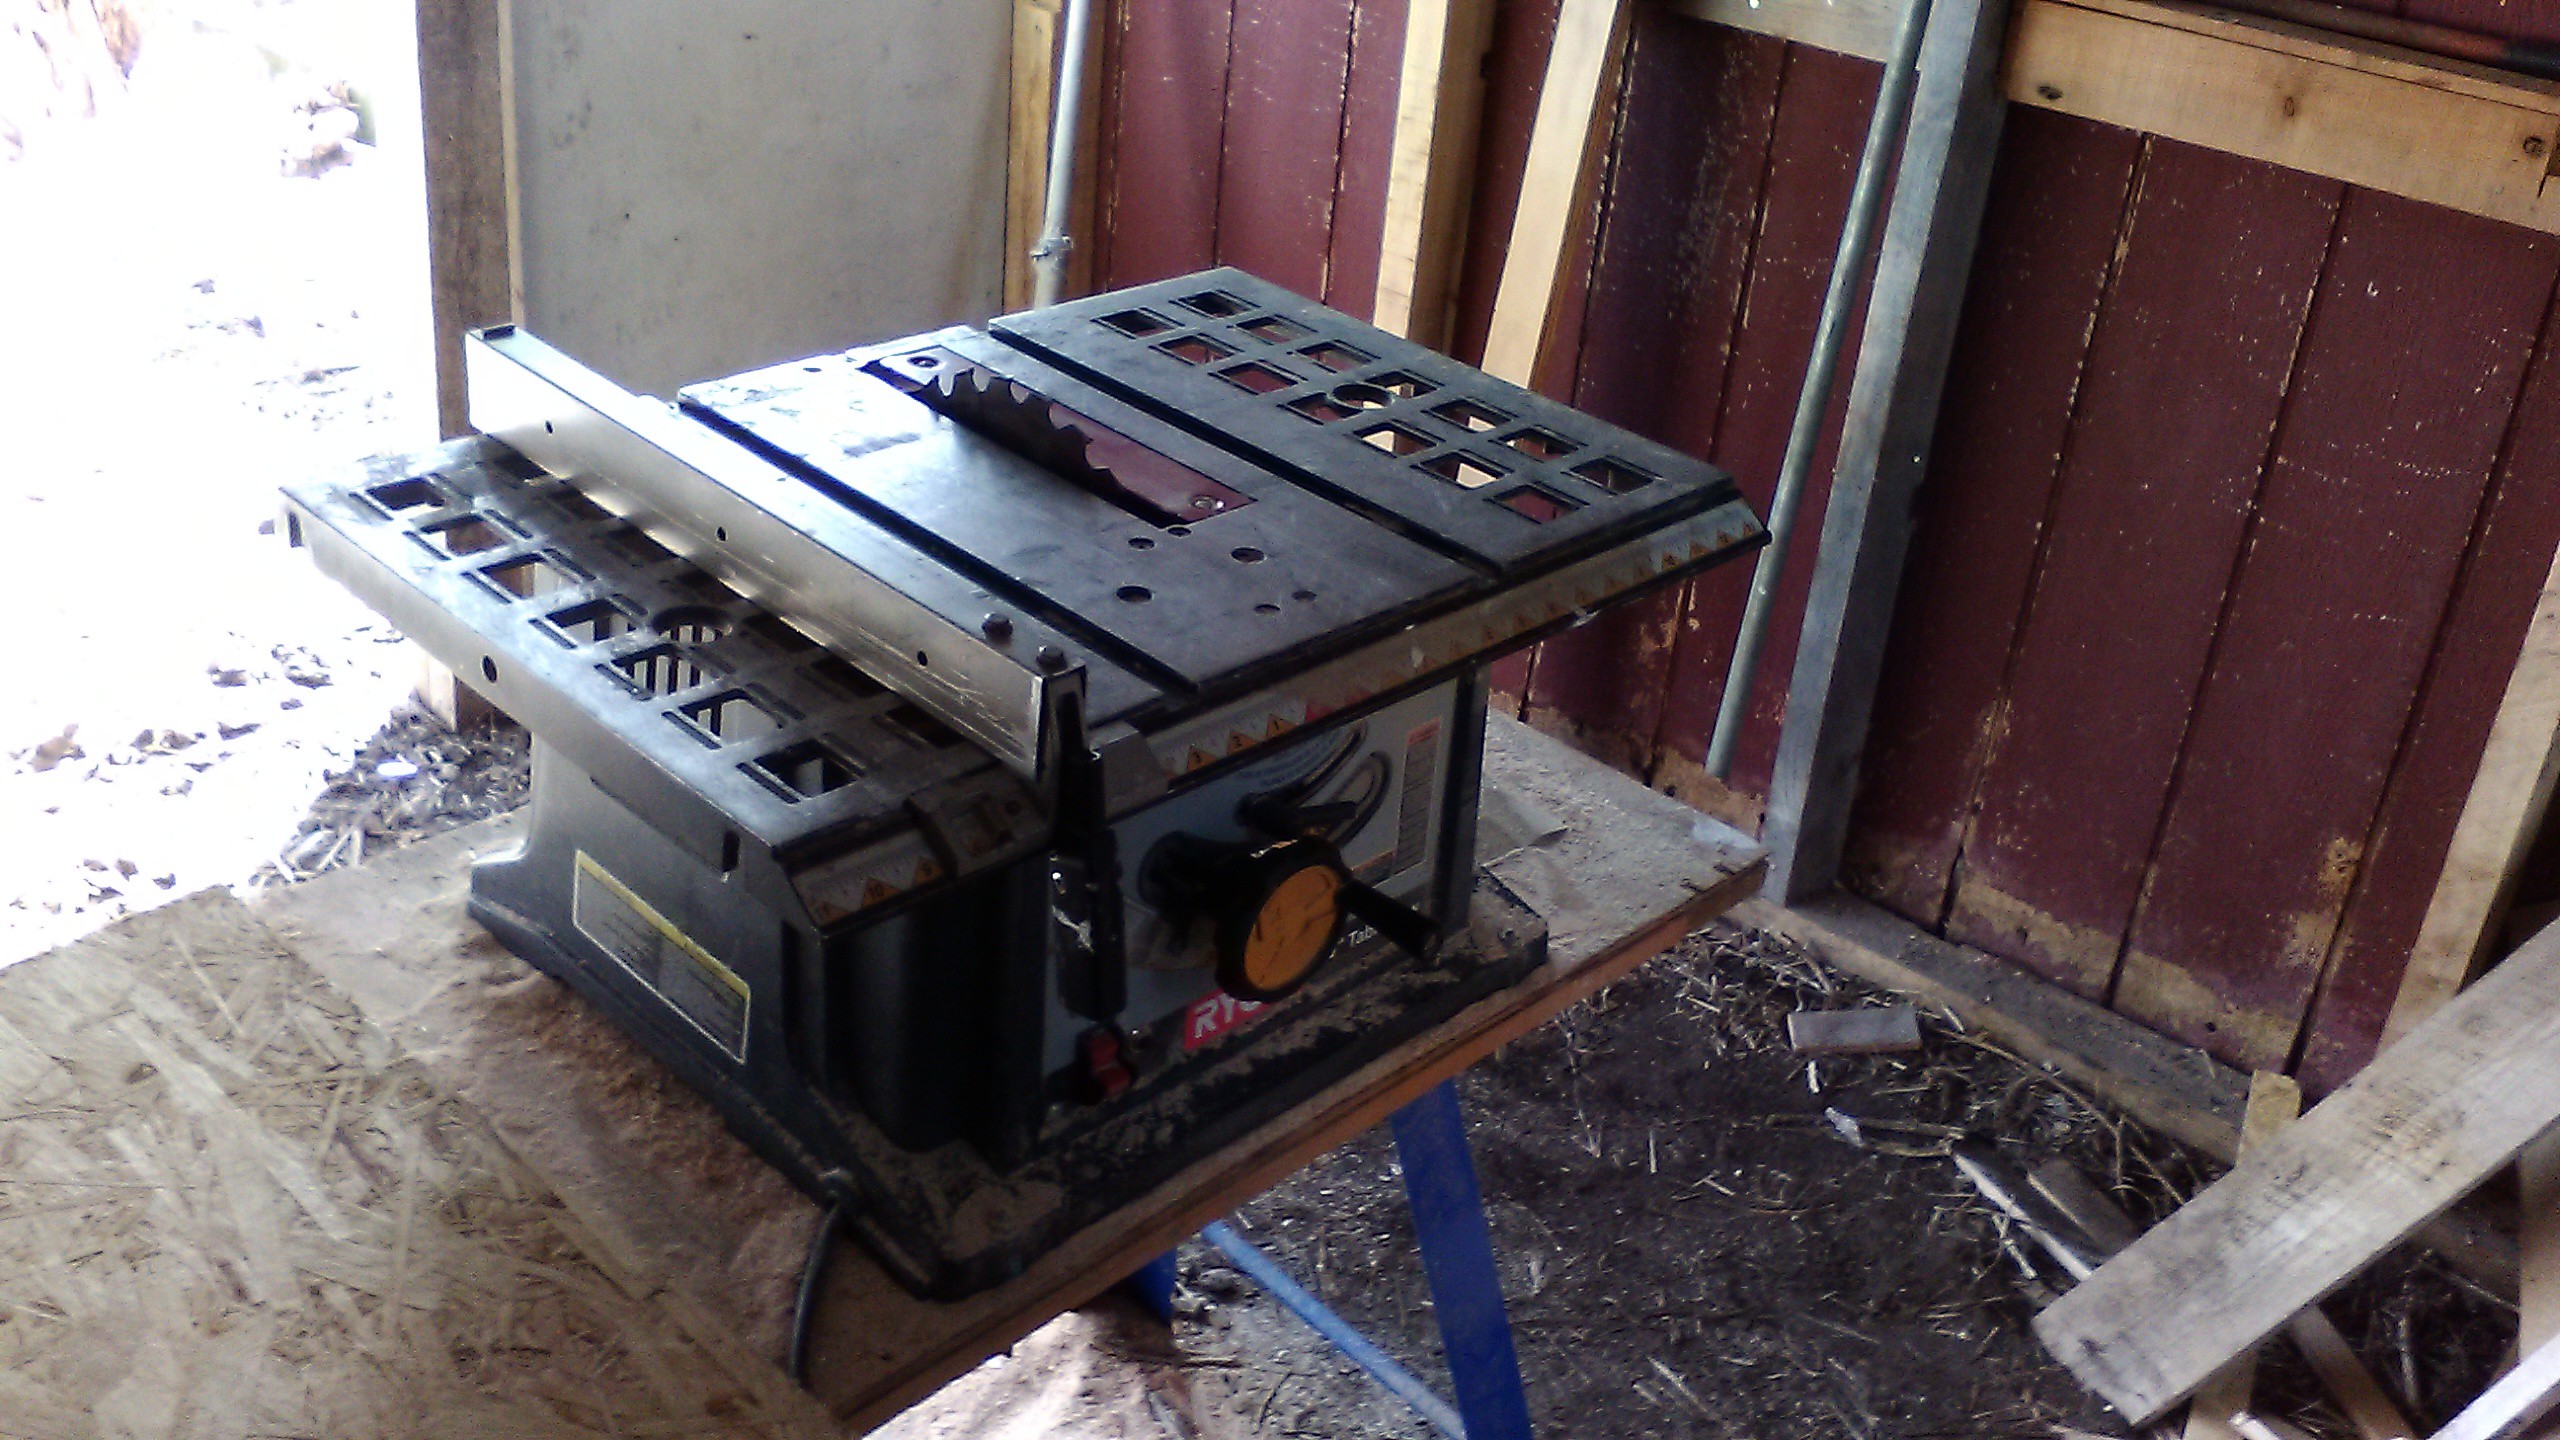
I was wanting a larger bed and I was surveying my copious piles of junk. My eyes kept going back to an old Craftsman saw I was given that has bolt on wings. Only nothing begins to line up and the wings are cast iron and heavy. Using these would take a lot of thinking, and truthfully, I am not sure if the plastic sides of my table saw could stand the leverage any weight out on the wing would impose on them. You can see the plastic sided construction in the pictures.
I did see the better part of a half sheet of 3/4" plywood I had rescued curbside someplace and I also noticed that I had some stips of plywood that was clad in craft paper. Interesting..
All of the sudden I had a flash. Put the plywood on the bed of my table saw and make a fence out of the craft paper clad plywood. Simple!
The process started with my deciding where I wanted the new surface area. I decided that I wanted most of it to the left rear of the saw. I put the blade all the way down and slid the plywood around until I found a tabletop geometry that worked for me.
Next, I got out my big Tee square, my framing square, and my circular saw guide. I found the best edge of the plywood by placing the narrow edge of my square over it and found the edge with the best cut. One was perfect. I am assuming that was a factory cut. I used my big Tee square to navigate down to the far end, make a perfectly parallel line and cut that with my circular saw and the guide.
Next, I measured down the sides, drew lines and cut. Truthfully, you really only need to have the front and back perfectly parallel and one side perfectly square, and even that can be navigated around to a large extent.
I measured the geometry of my existing table saw top and figured out where that was going to sit under the new table. I marked where the existing table was going to sit and I took a long strip of stiff wood and glued and screwed that so it followed the back of the my saw. The screws went in from the top and were countersunk so they were flat. Than I took another strip and put that on at a 90 degree angle, again gluing and screwing from the top. Lastly I placed the new top on the old top and put the third side on while it was sittin on my saw, Again, gluing and screwing.
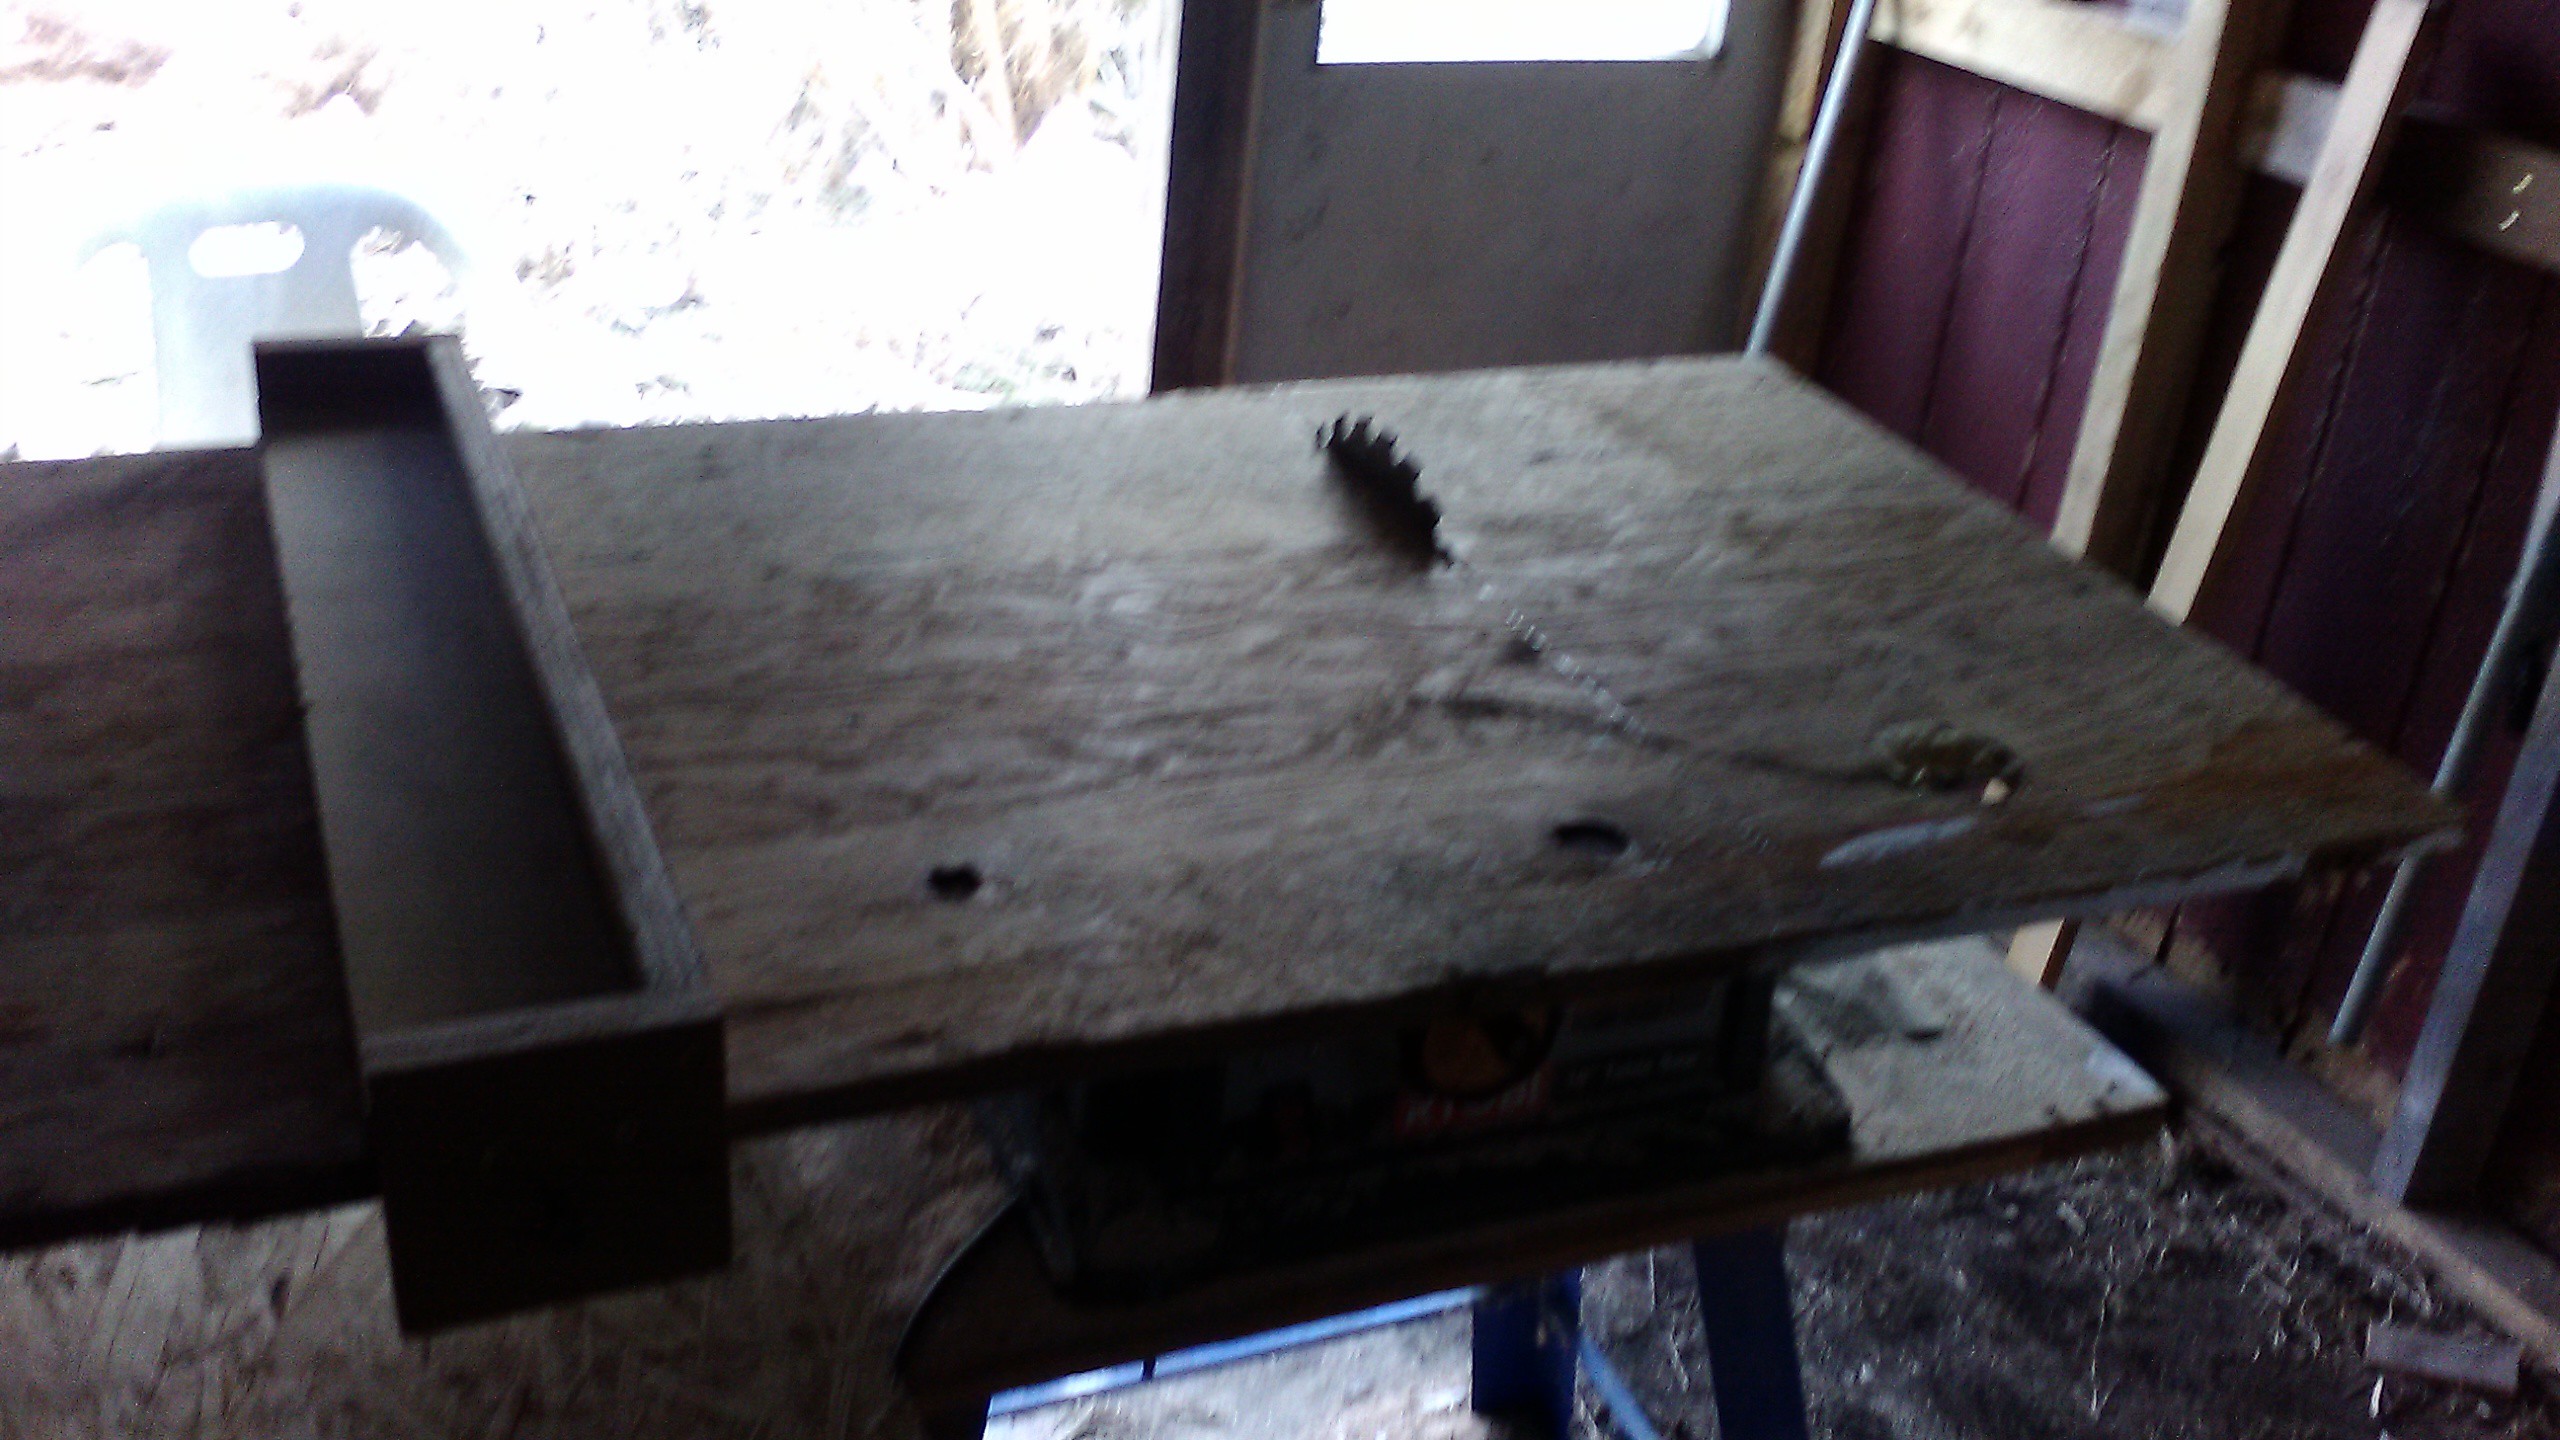
Cutting the blade hole was simple. Put the new top on the saw. Put a small C clamp on the back between the strut that is glued and screwed on and the back of the existing table. Turn the saw on and slowly raise the blade all the way up. It will protrude through the new top. Once the blade has stopped, lower it and use your large T square to trace a line following the blade from end to end of the table.
Now onto the fence. I made my fence a U out of the craft paper coated plywood. Gluing and screwing. The fence lock is a hole drilled in the fence that is threaded to hold a 1" 1/2-20 bolt. Both the front and back of the cence protrude down below the table level. Because of the U shaped geometry of the fence, it fits on the table pretty tightly and stays surprisingly parallel.
In actual use, I will take a tape and measure from the fence to the center of the blade line, first in the front of the saw, than at the back, tapping the fence as necessary to get it to line up perfectly on both. Once I have it, I turn the lock bolt until I can feel it engage, and then a bit more until it...
Read more »

 Øystein
 Petri Varsa
 kristina panos
Great job. If you did know more about table saw or circular saw please visit https://sawstrend.com/the-best-table-saw-reviews-2023/