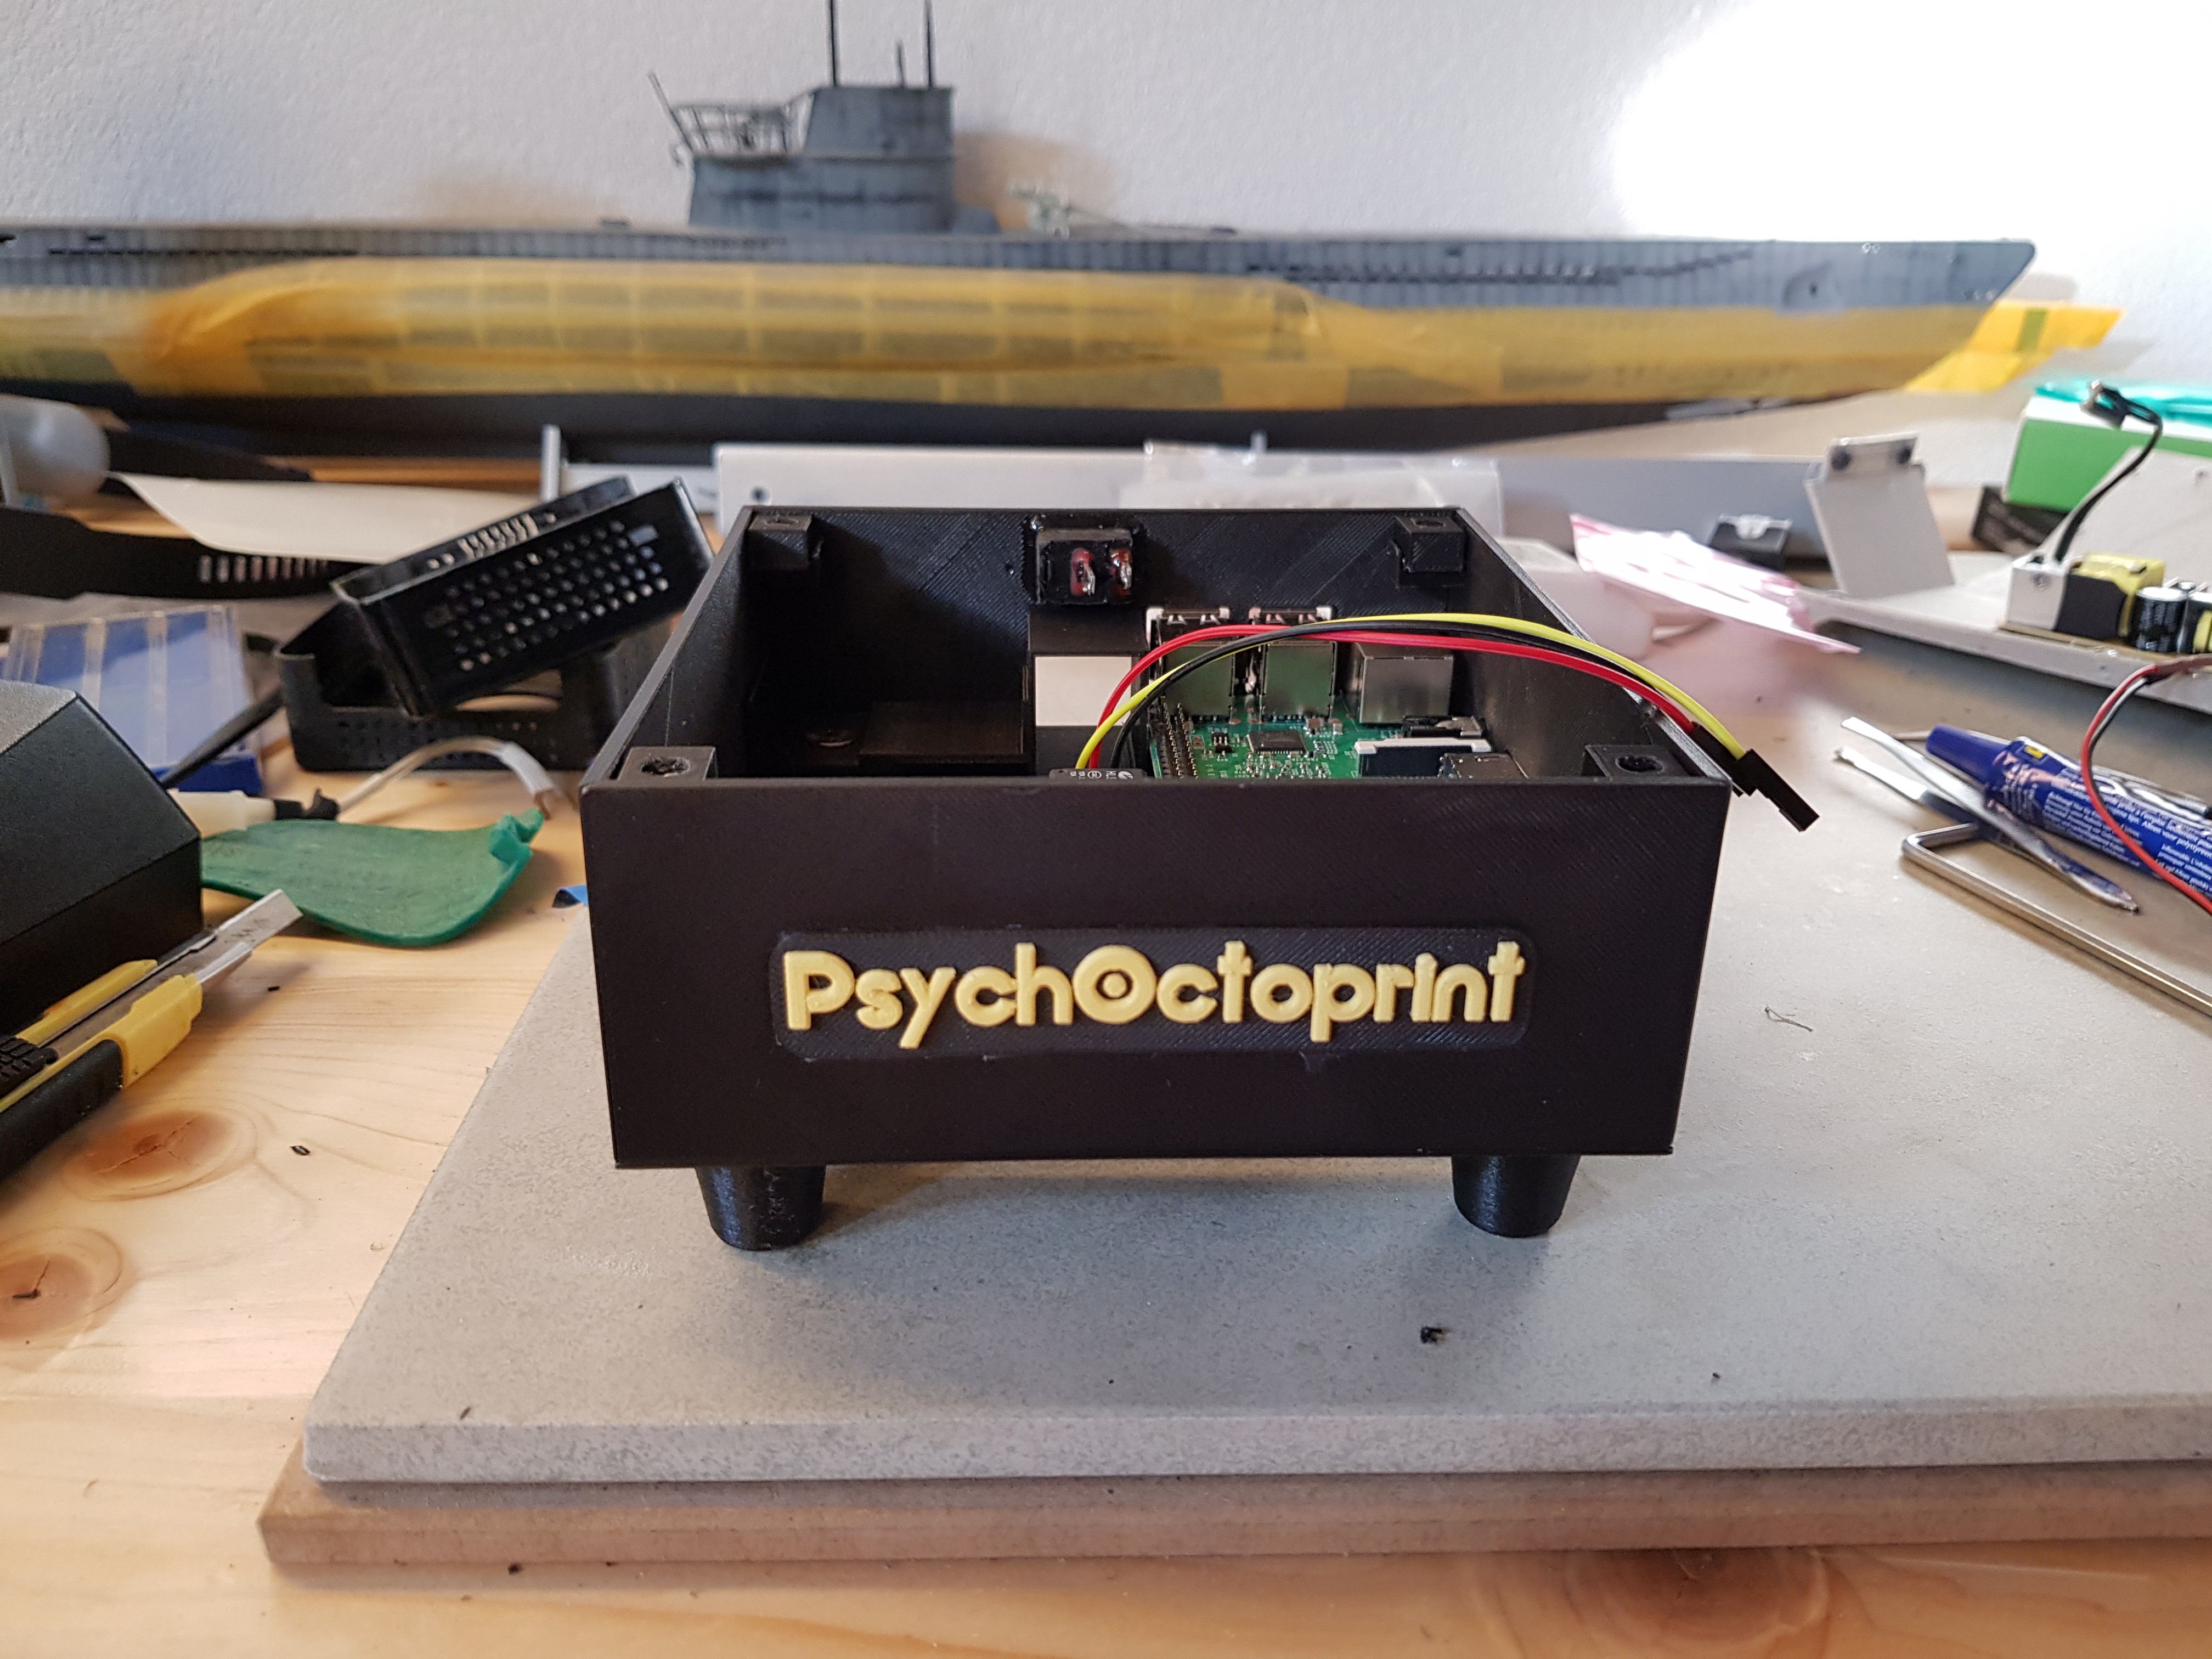
 Psycho
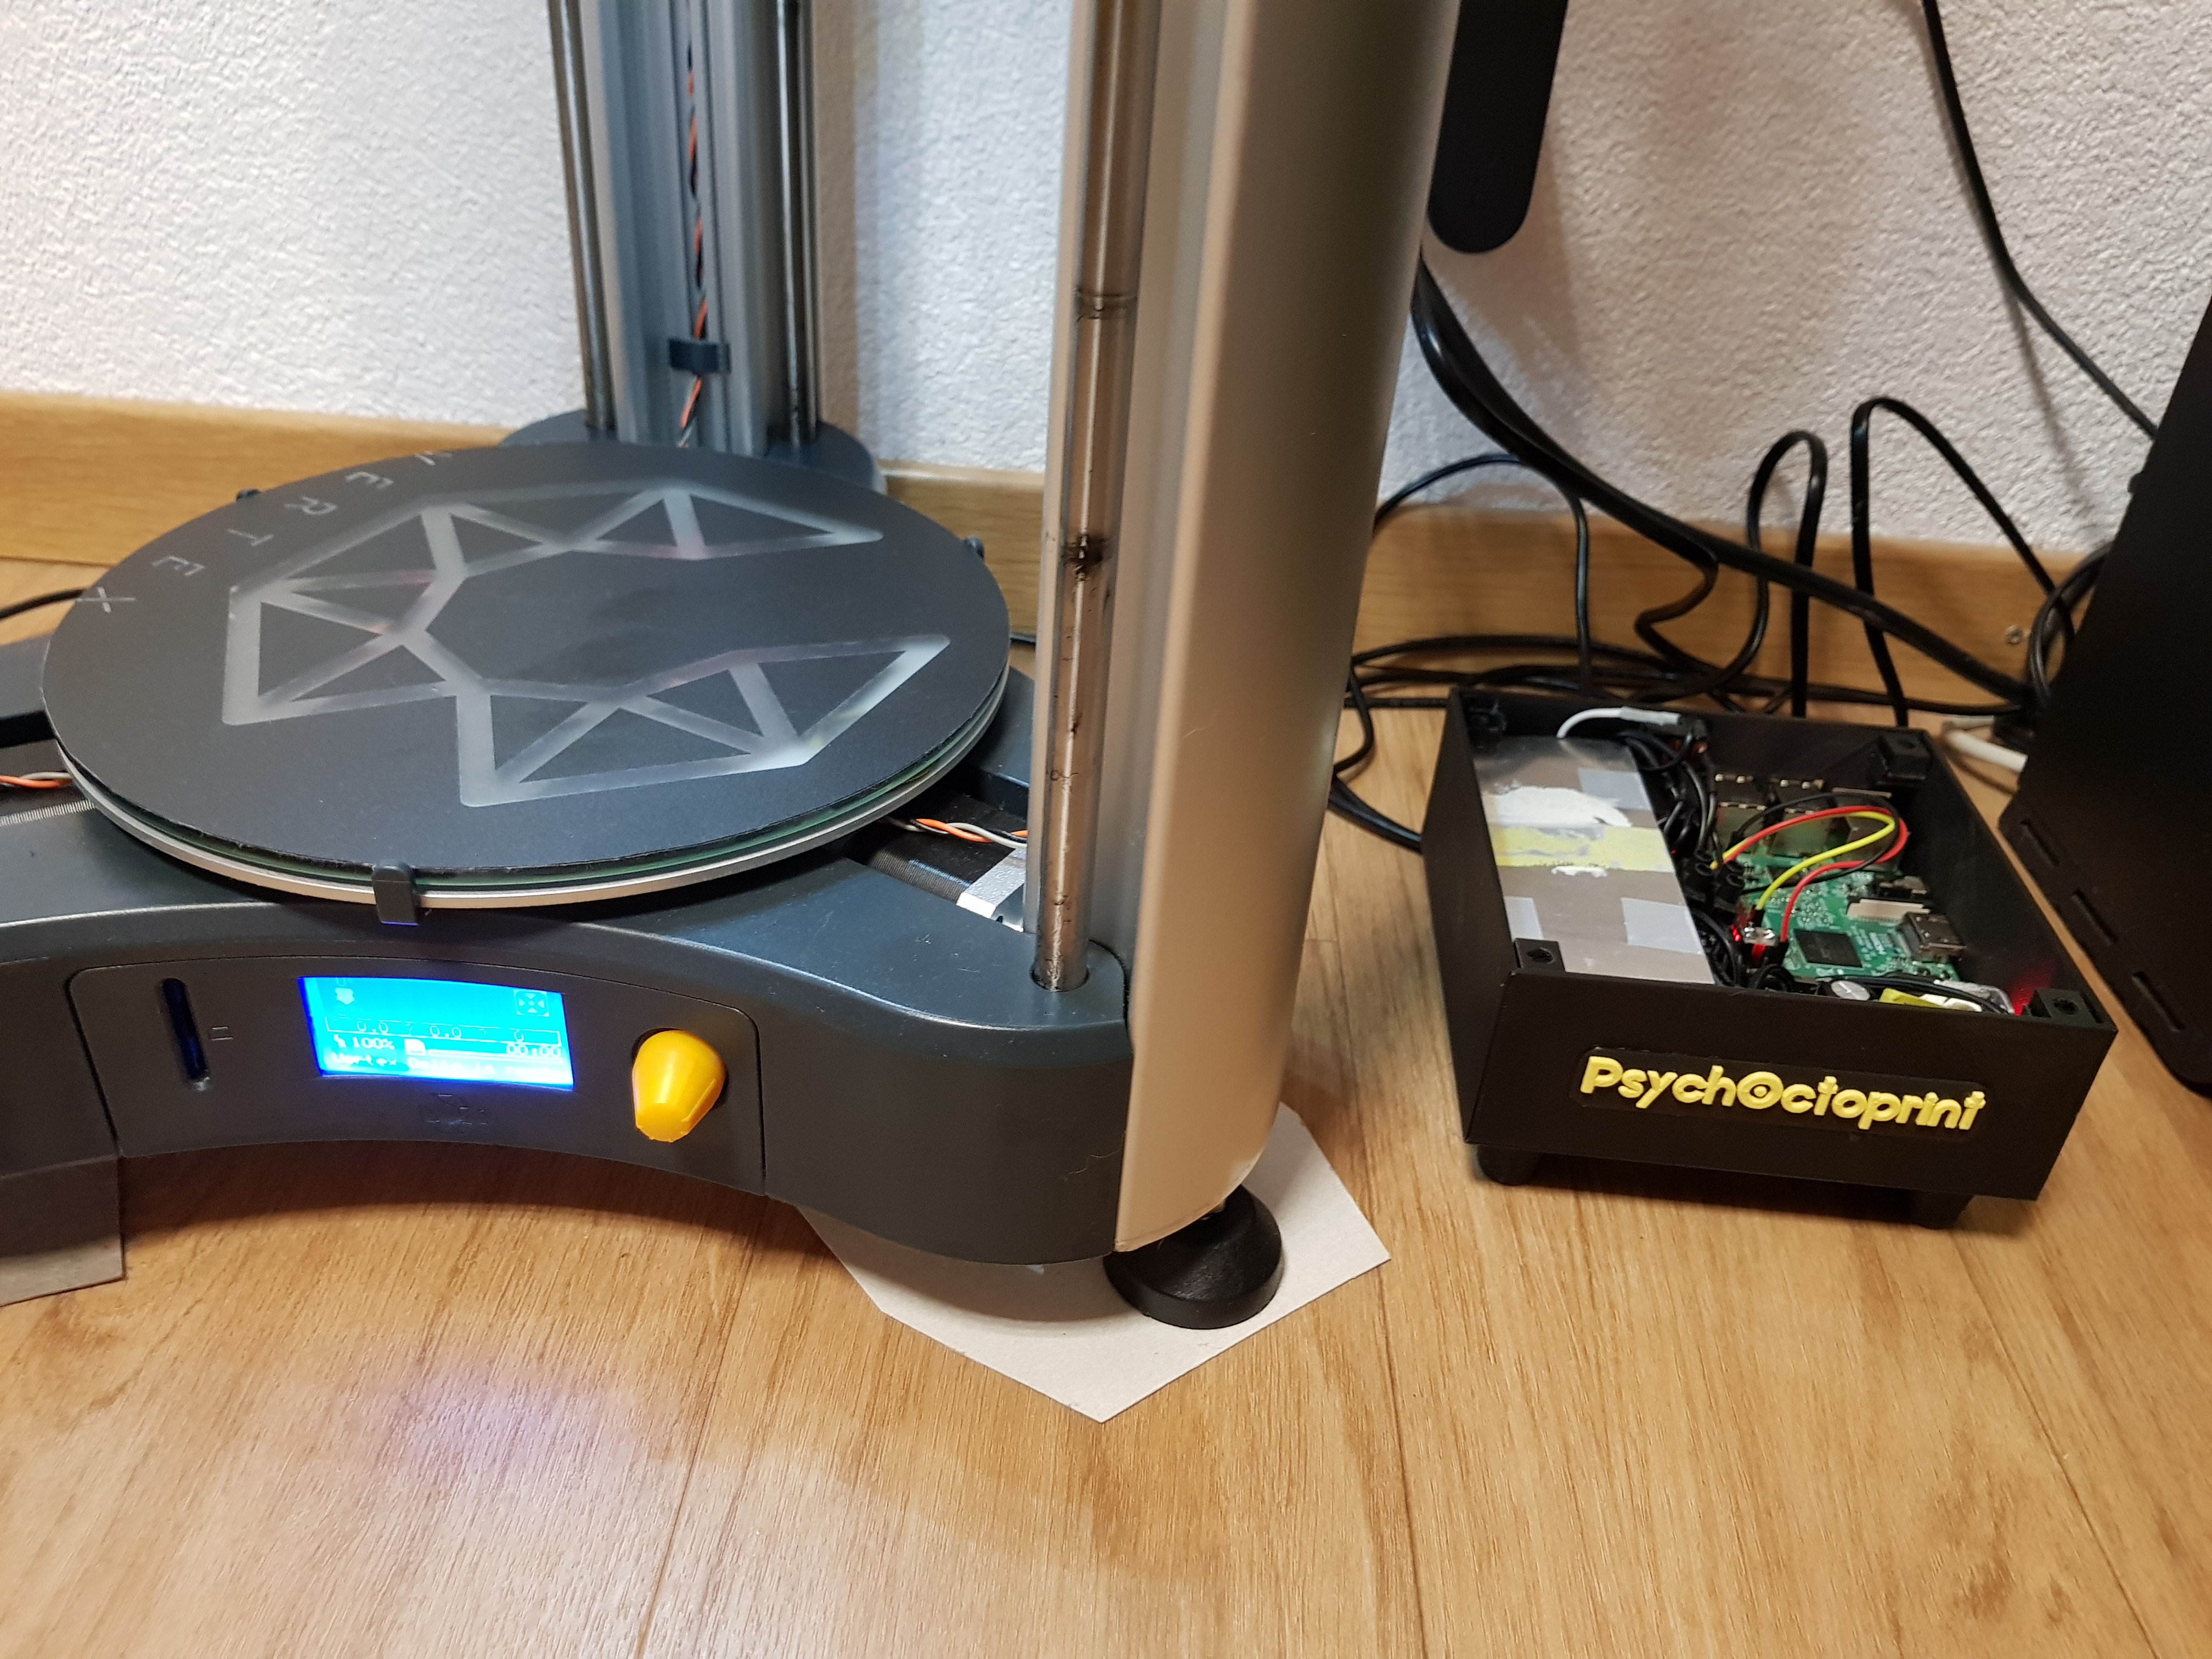
The project was started a few month ago, but I haven't had the time to finish it unfortunately. My work life is retty busy...
When I started to think about adding buttons, screens, fan control, filament detector etc etc, I thought about doing my own PCB for all of this. About a week later I got a private message here, on hackaday.io, from Daisy @JLCPCB, that proposed to sponsor my next PCB order in exchange for a review. I accepted and designed my own pcb and ordered them. The result is awesome and will be shown in the coming updates
I had to stop working on the project once the PCB was completed, as I didn't have any crimping tool but really wanted to make my own connectors. So I went on bangood where I ordered some JST and Dupont material along with a tool. It took 24 days to come to Switzerland... But it arrived! And it's good stuff! Wow, so I made my own wires and all and started to work on the project again. Let's explain all there is
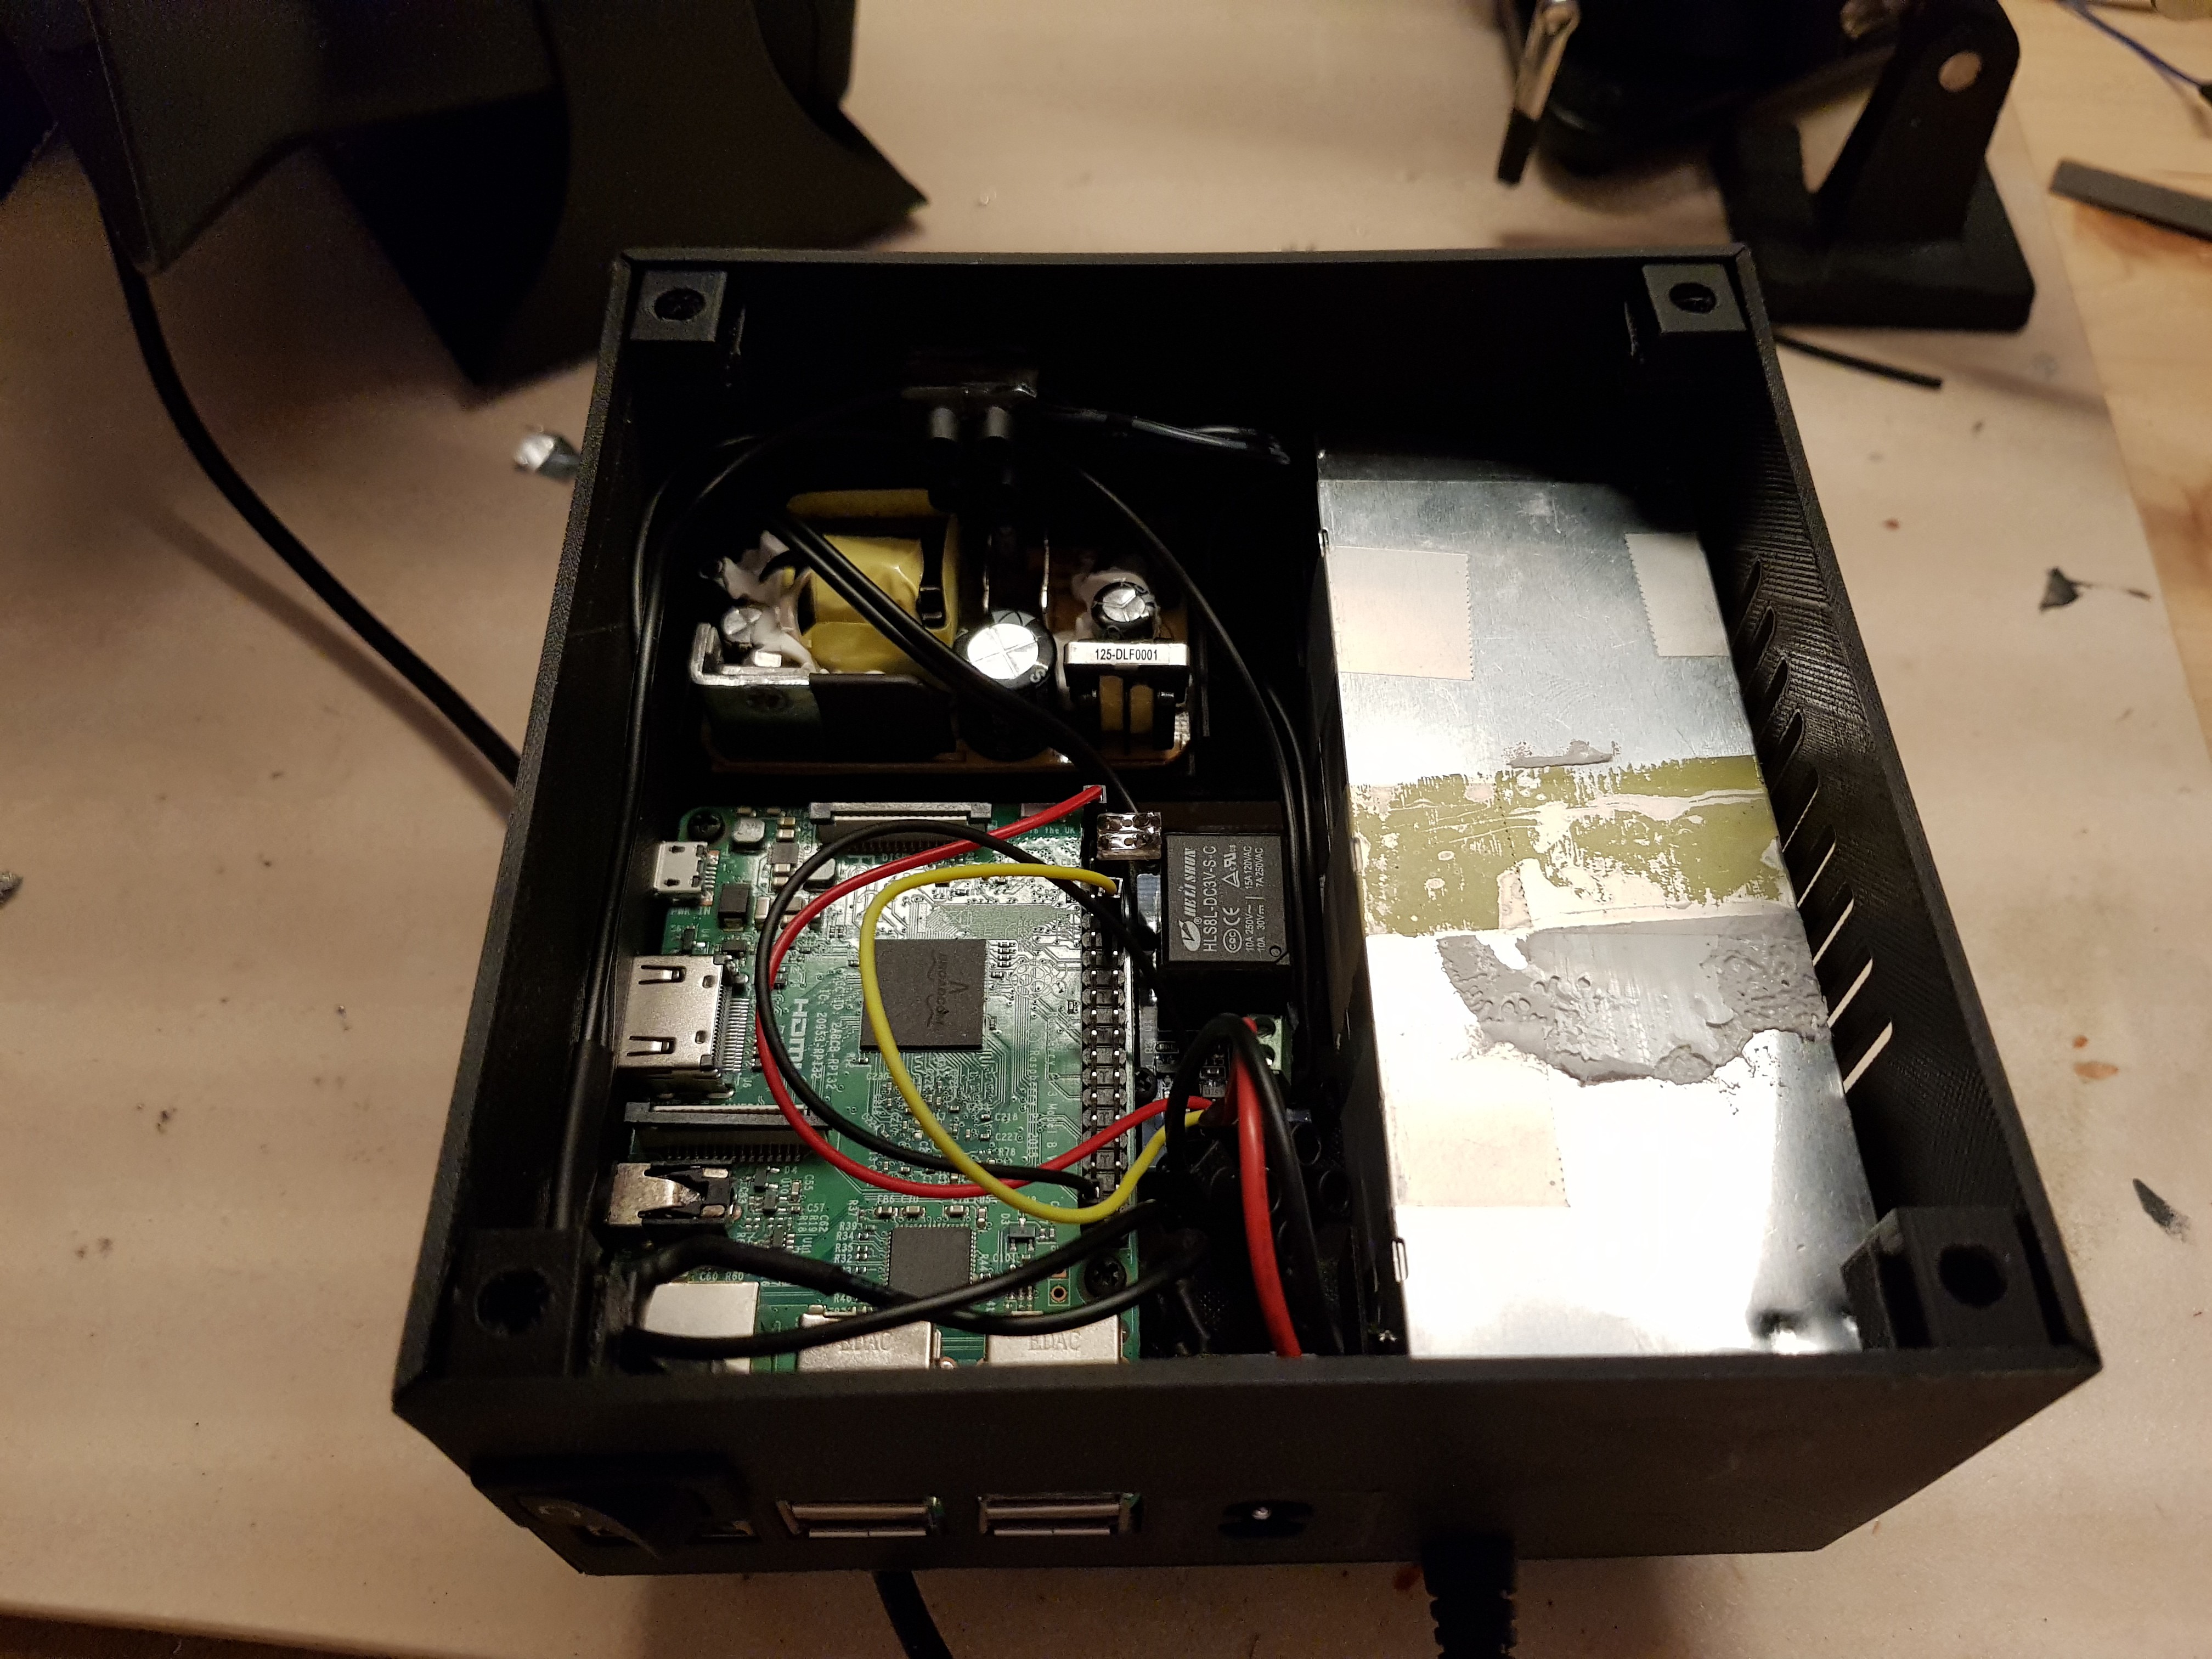
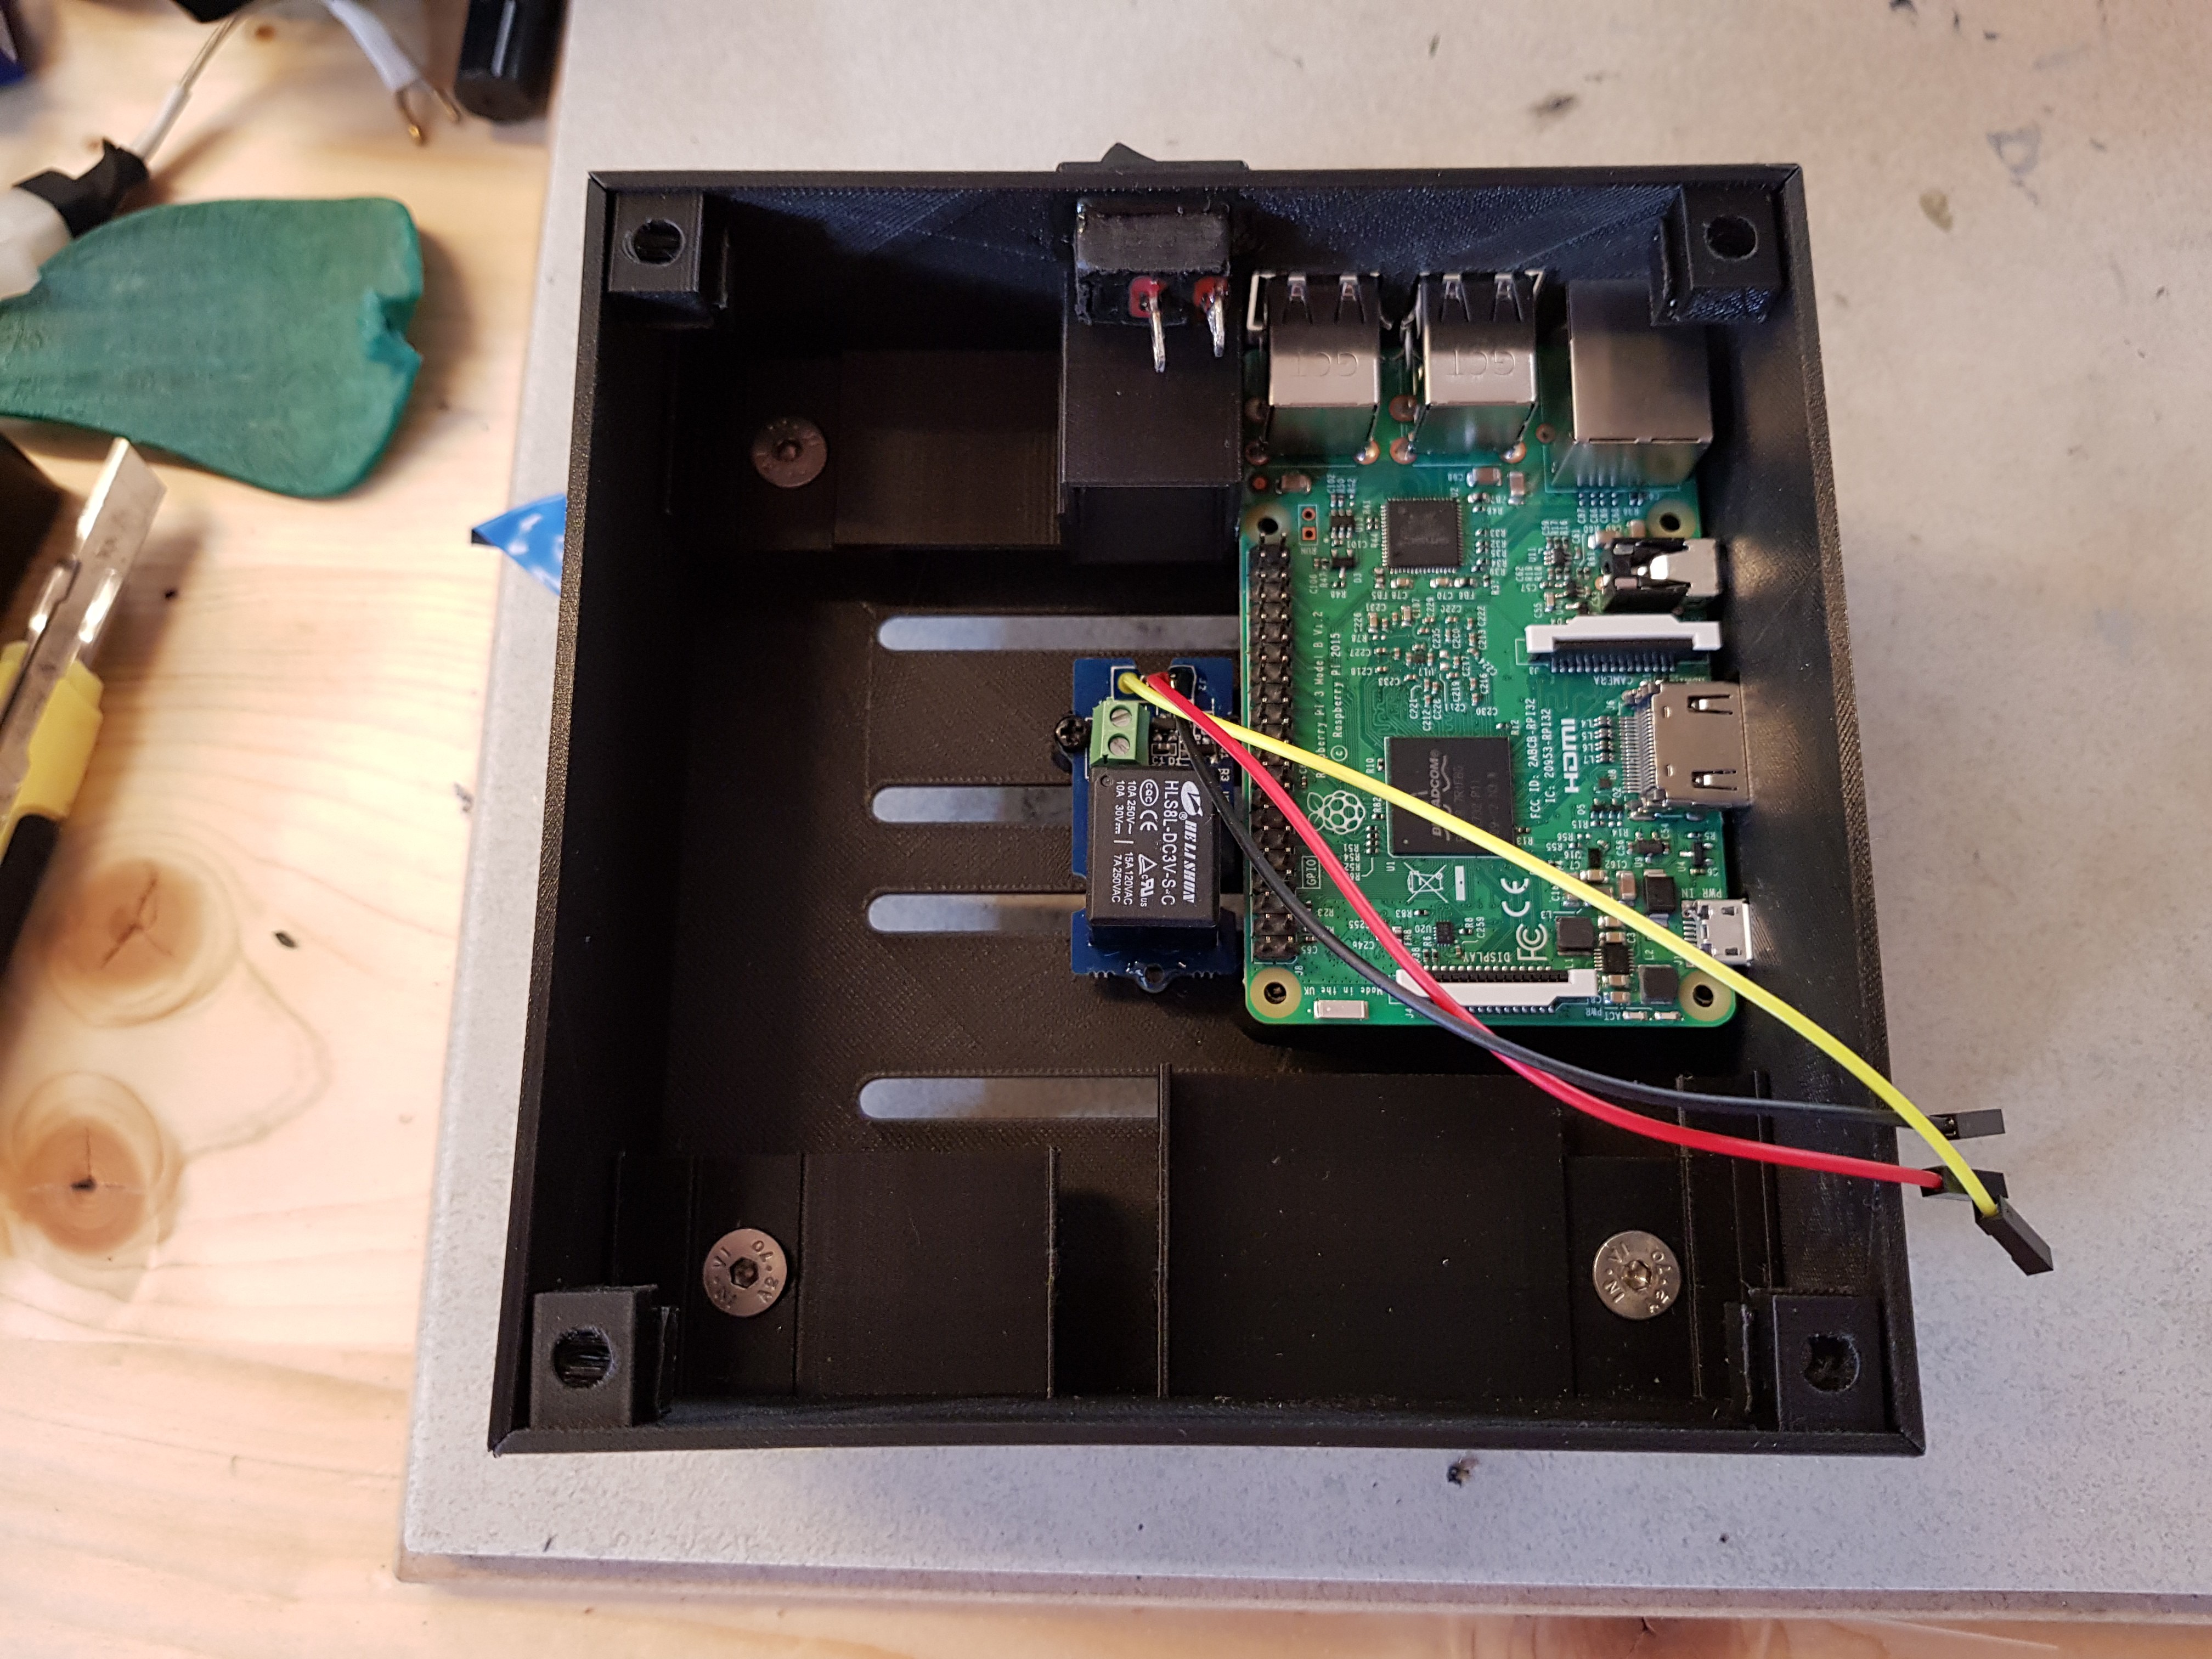
- Raspberry PI 3
- Raspberry PI PSU
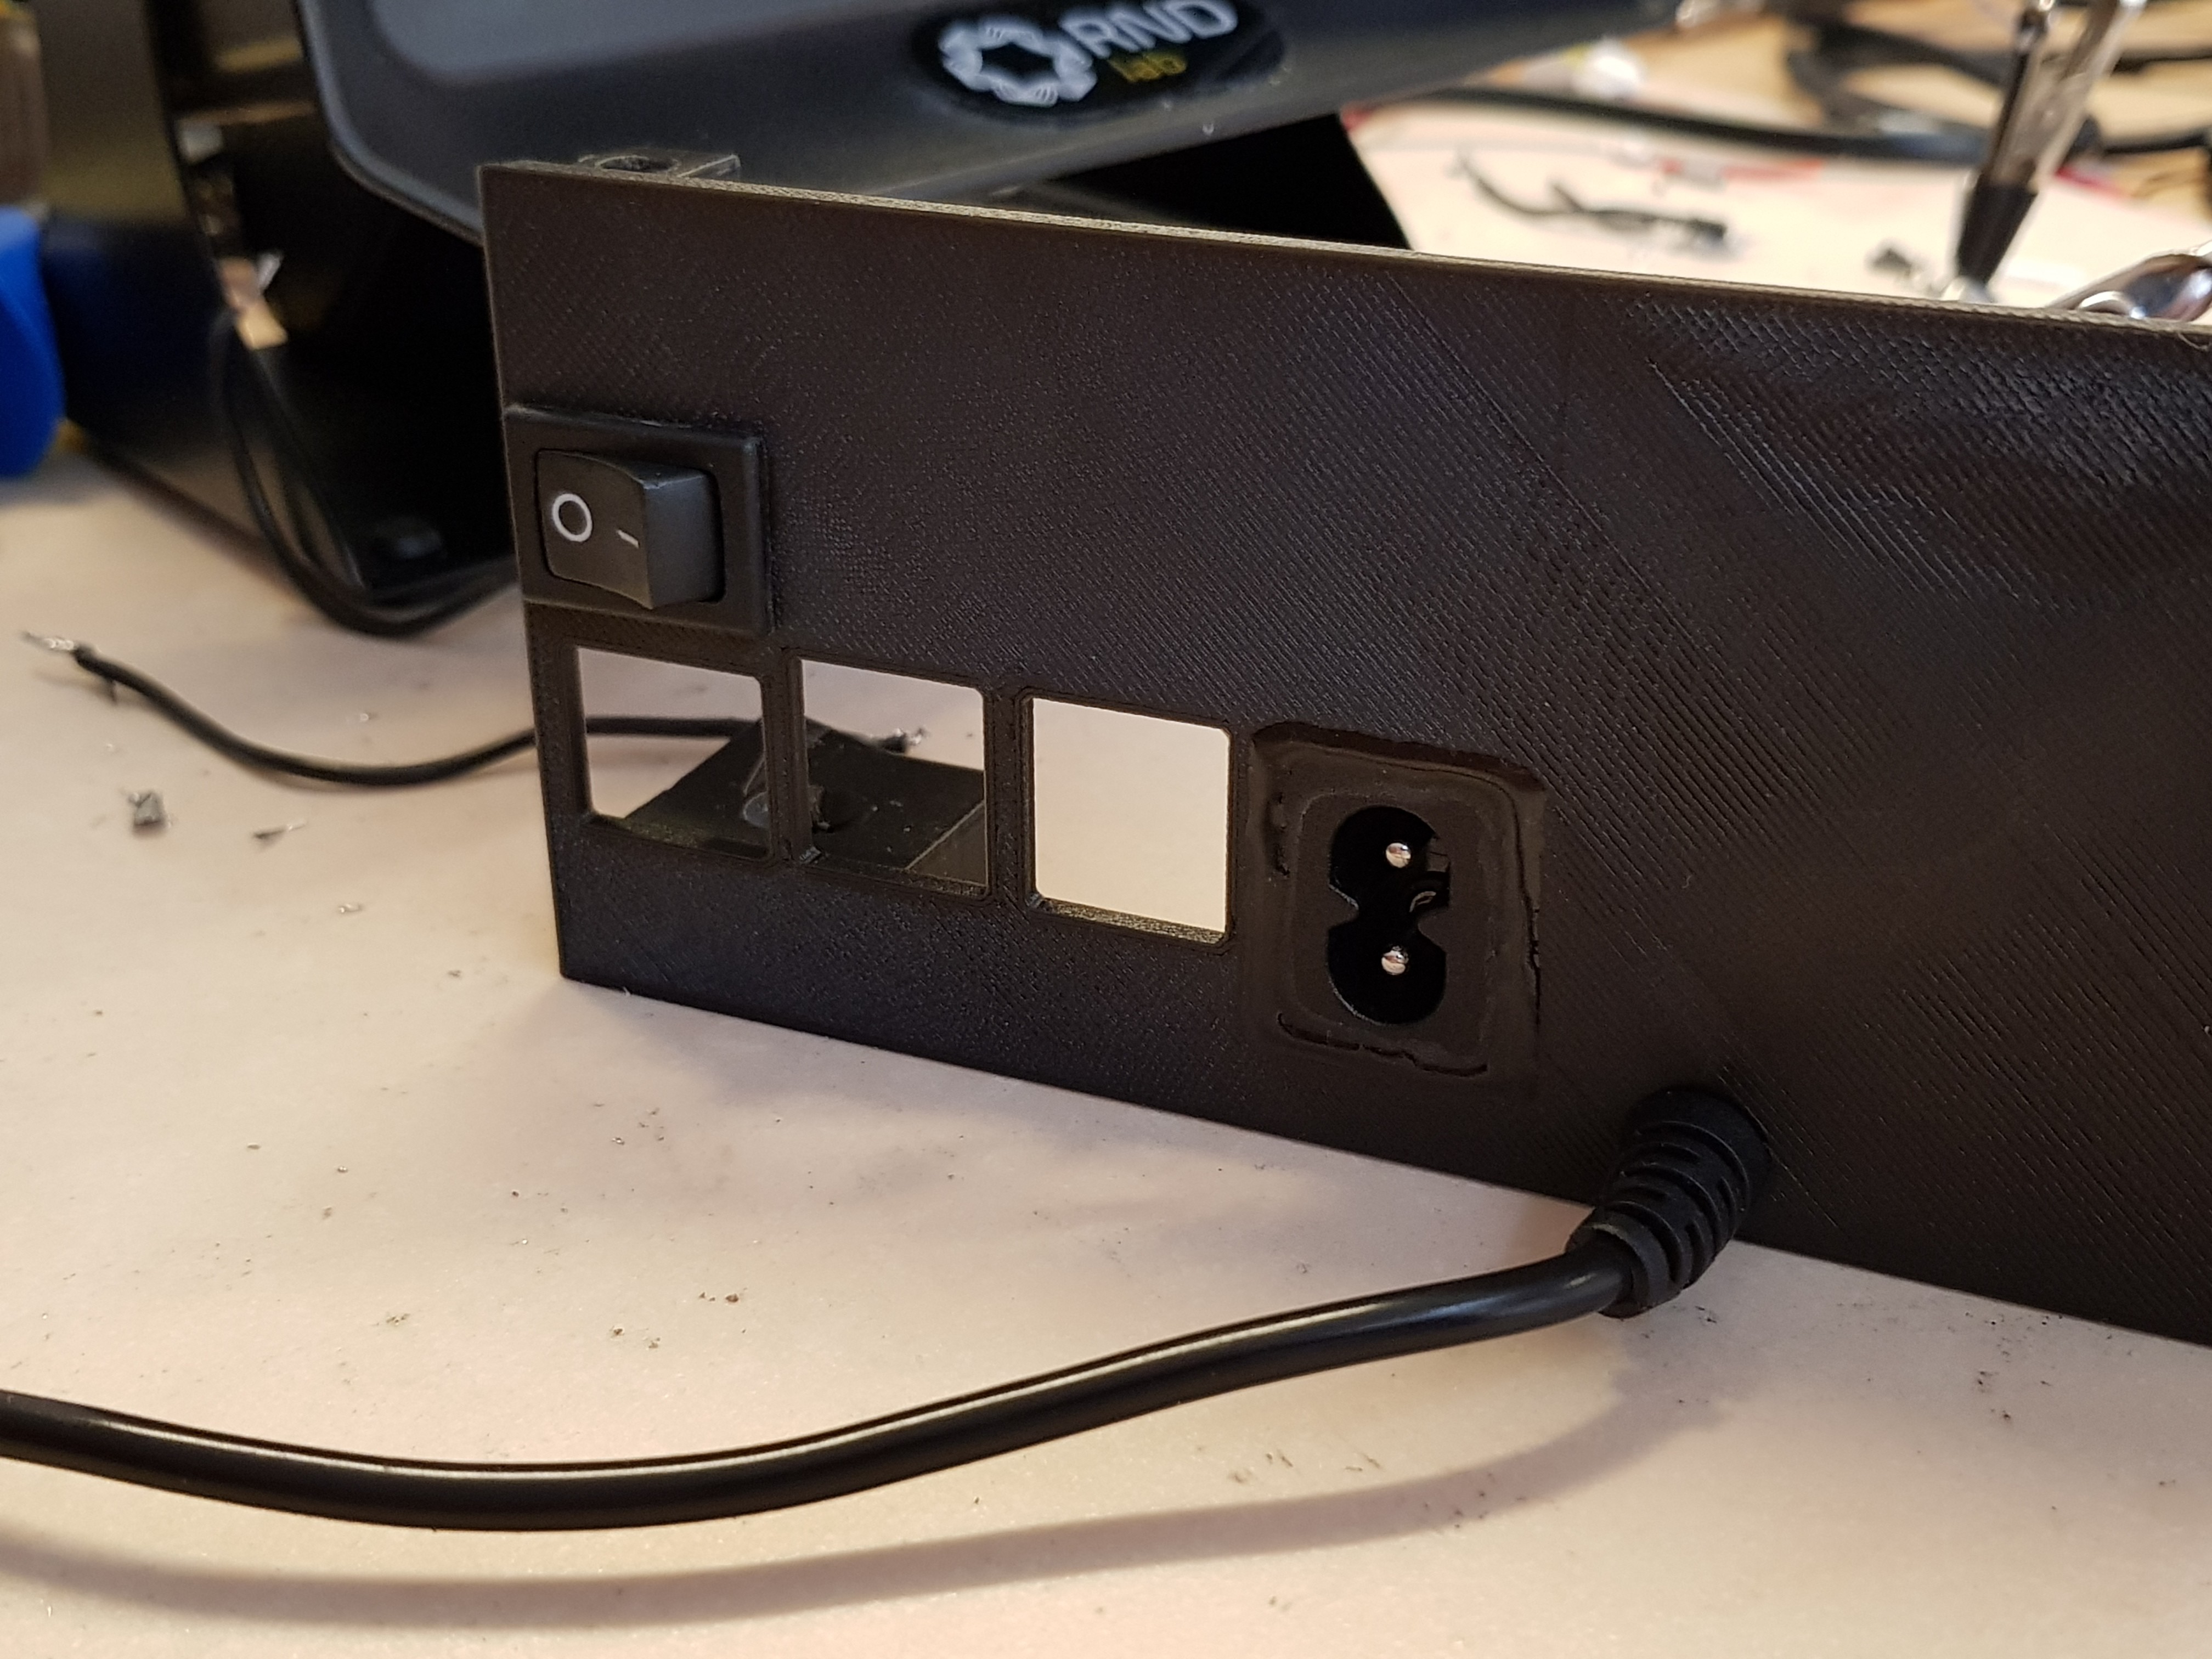
- Rocker switch
- Power slot
- Integrated printer PSU
- OLED screen
- 4 buttons
- Camera
- Servo motor for camera privacy cover
- Temp sensor
- Pins for filament detector
- Fan to cool down the case
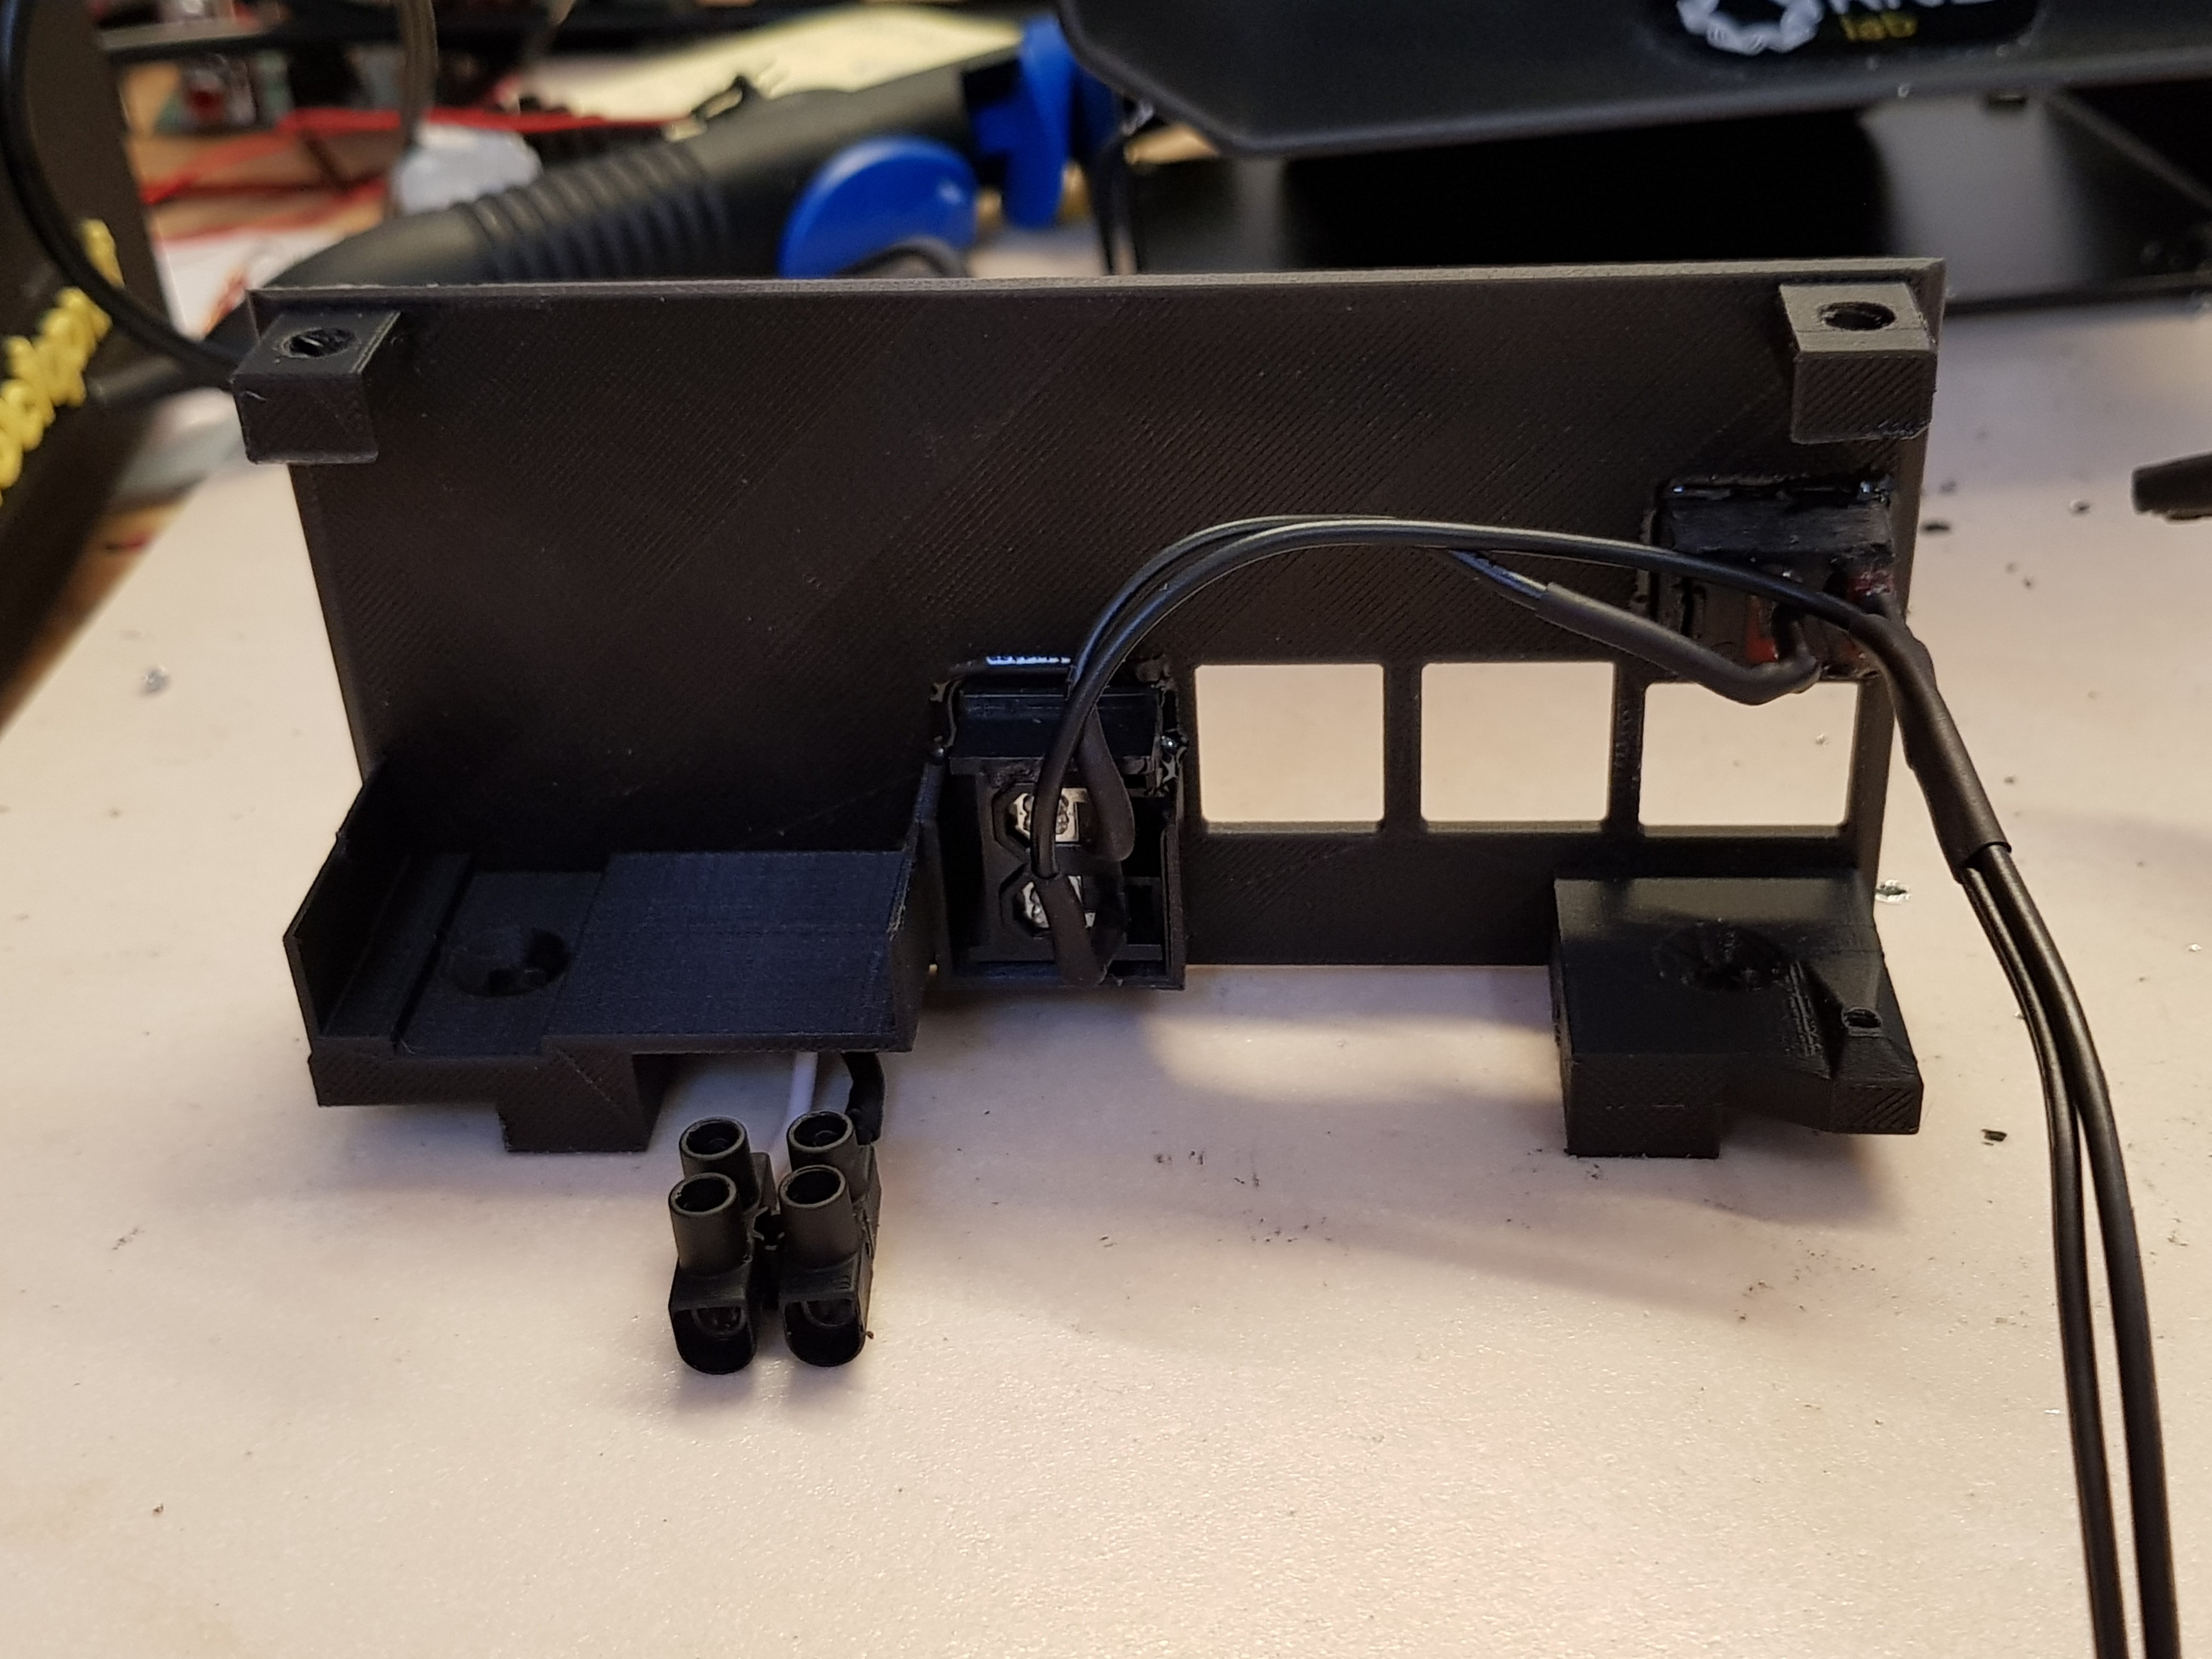
- Relay to cut the printer PSU hot side
The 5v silent small fan is mounted behind a MOSFET to toggle it on/off. The servo motor is mounted behind a mosfet to cut the 5v input to stop the jittering. The idea is to auto open the camera cover when the print starts and close it when it stops.
Oh, and also 2 1kuf capacitor and a bunch of resistors to protected your raspberry!
The ultimate goal is to have my printer voice controled... So I decided to integrate a little speaker and a mic to use Snips in order to control some basic functions like "Turn the printer on", "Stop printing", "Pause the print" etc etc
The buttons are meant for some functions like an emergency stop, a change filament function, a printer power toggle etc etc.
The screen is meant to display the hotend temperature, the box temperature, if the fan is running, the print percentage, the file currently printing, the ETA to print finish etc etc. All this informations are easily retrievable on Octoprint using the included API


 megahercas6
 Gorky
Gorky
 wes
wes
 Vítor Barbosa