Close
0%
0%

SYNDRUM: An Atari 2600 Drum Machine

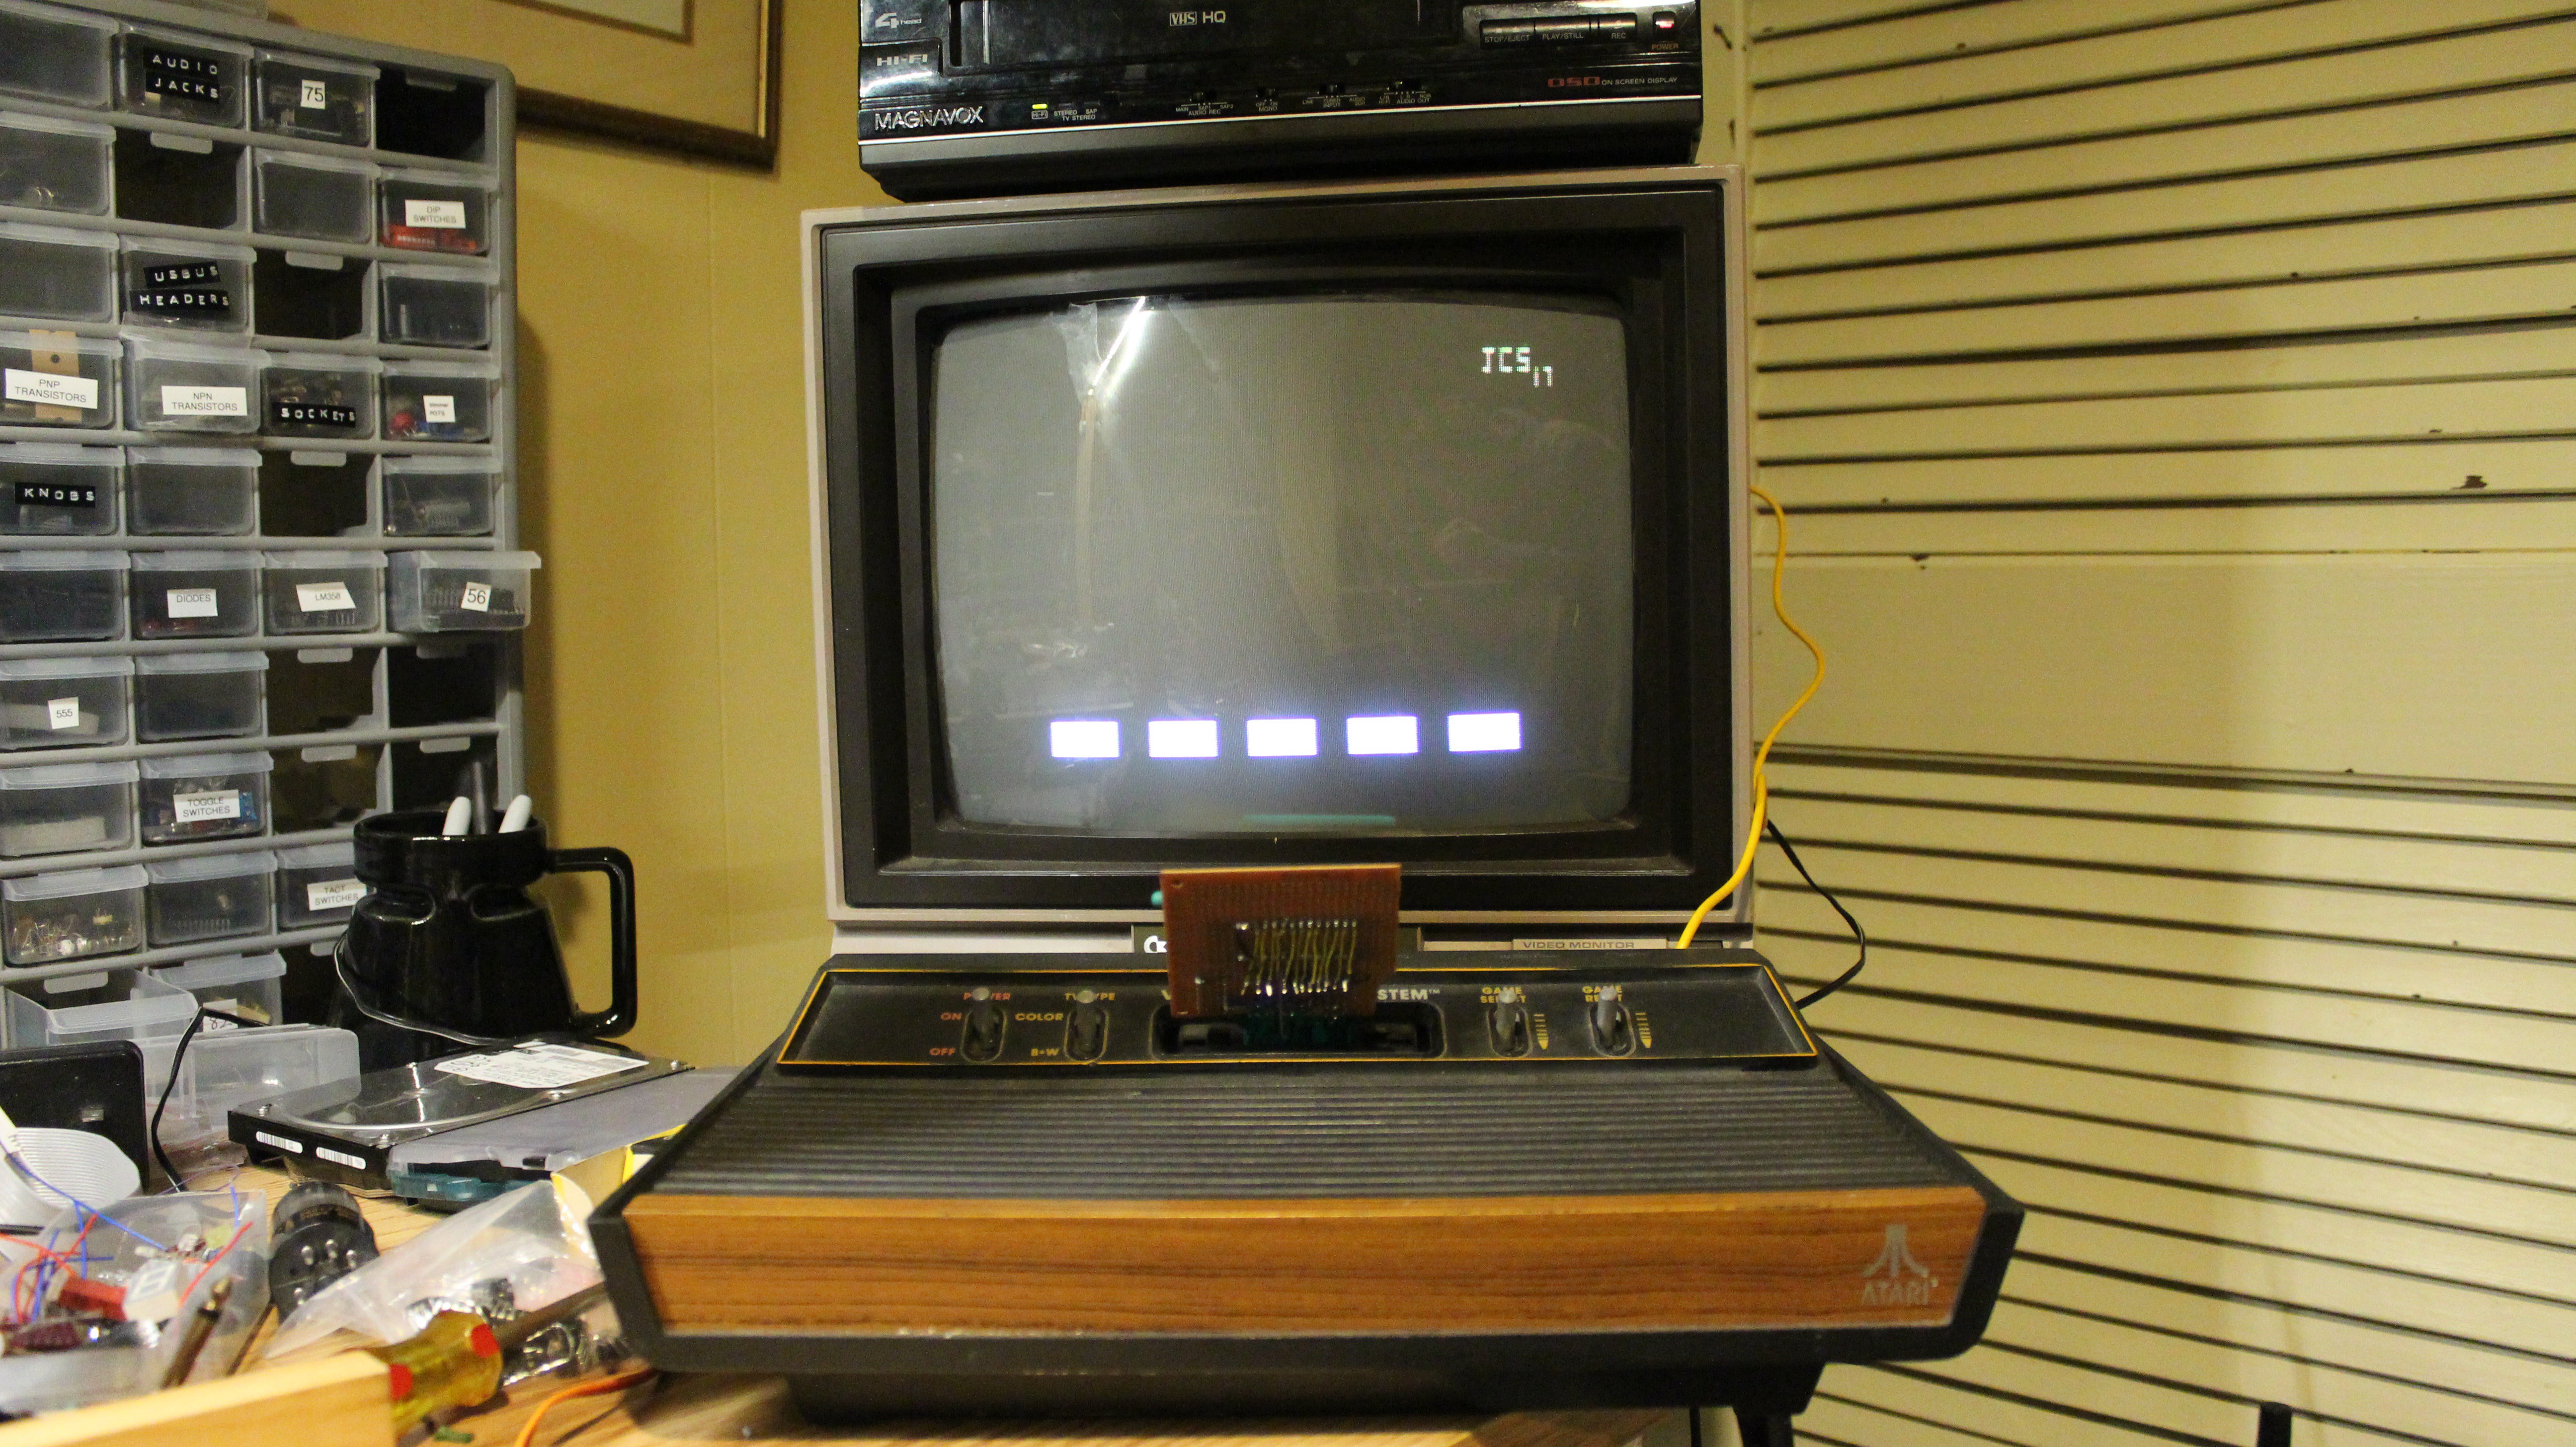
Yeah, so I wrote a little program and built a hardware interface that turned my Atari VCS into a MIDI-capable drum machine

Similar projects worth following
Alright, so back in late 2017 I was messing around with batari Basic and thought to myself "Hey, wouldn't it be cool if I could do some kind of music-related thing with the Atari?" After finding out that the VCS' TIA chip was less tonal than a kazoo, I crossed "Atari Synthesizer" off the project list and replaced it with "Atari Drum Machine".
And, I wrote some code!

Then engineering finals happened.

Then Calc.

Then I totally forgot about the project until the Hackaday music contest came up.
But hey, now it's finished and working! So, follow the project logs if you want to see how I hacked this thing together [or just watch the video down below].

https://youtu.be/rJQEGqaRtjs

I used the following software to develop SYNDRUM:

>batari Basic      a pretty limited BASIC-inspired language that spits out .bin files for the Atari

>VisualbB           the IDE in which batari Basic lives and does my bidding

>Stella                a tried and true emulator of the Atari

>MiniPro             eprom programming software that probably has all the computer viruses but is                                    the only software that works with my eprom programmer (I ran this one in a VM)

>Windows XP     to run MiniPro. Why are you looking at me funny?

>Virtual Box        no way am I installing XP on a separate machine!

>Windows 10      what can I say? My linux-fu is weak.

  • Log 5: Building A Better Cartridge

    John Sutley09/30/2018 at 21:51 0 comments

    "Goddamn, that last cartridge was terrible! I can do better than that!"

    So, I did.

    SYNDRUM Cart Ver 2.0
    Ahhh, much better

    This cartridge has new features like:

    > Will work

    > Not finicky

    > It's an actual cartridge

    > May summon wizards

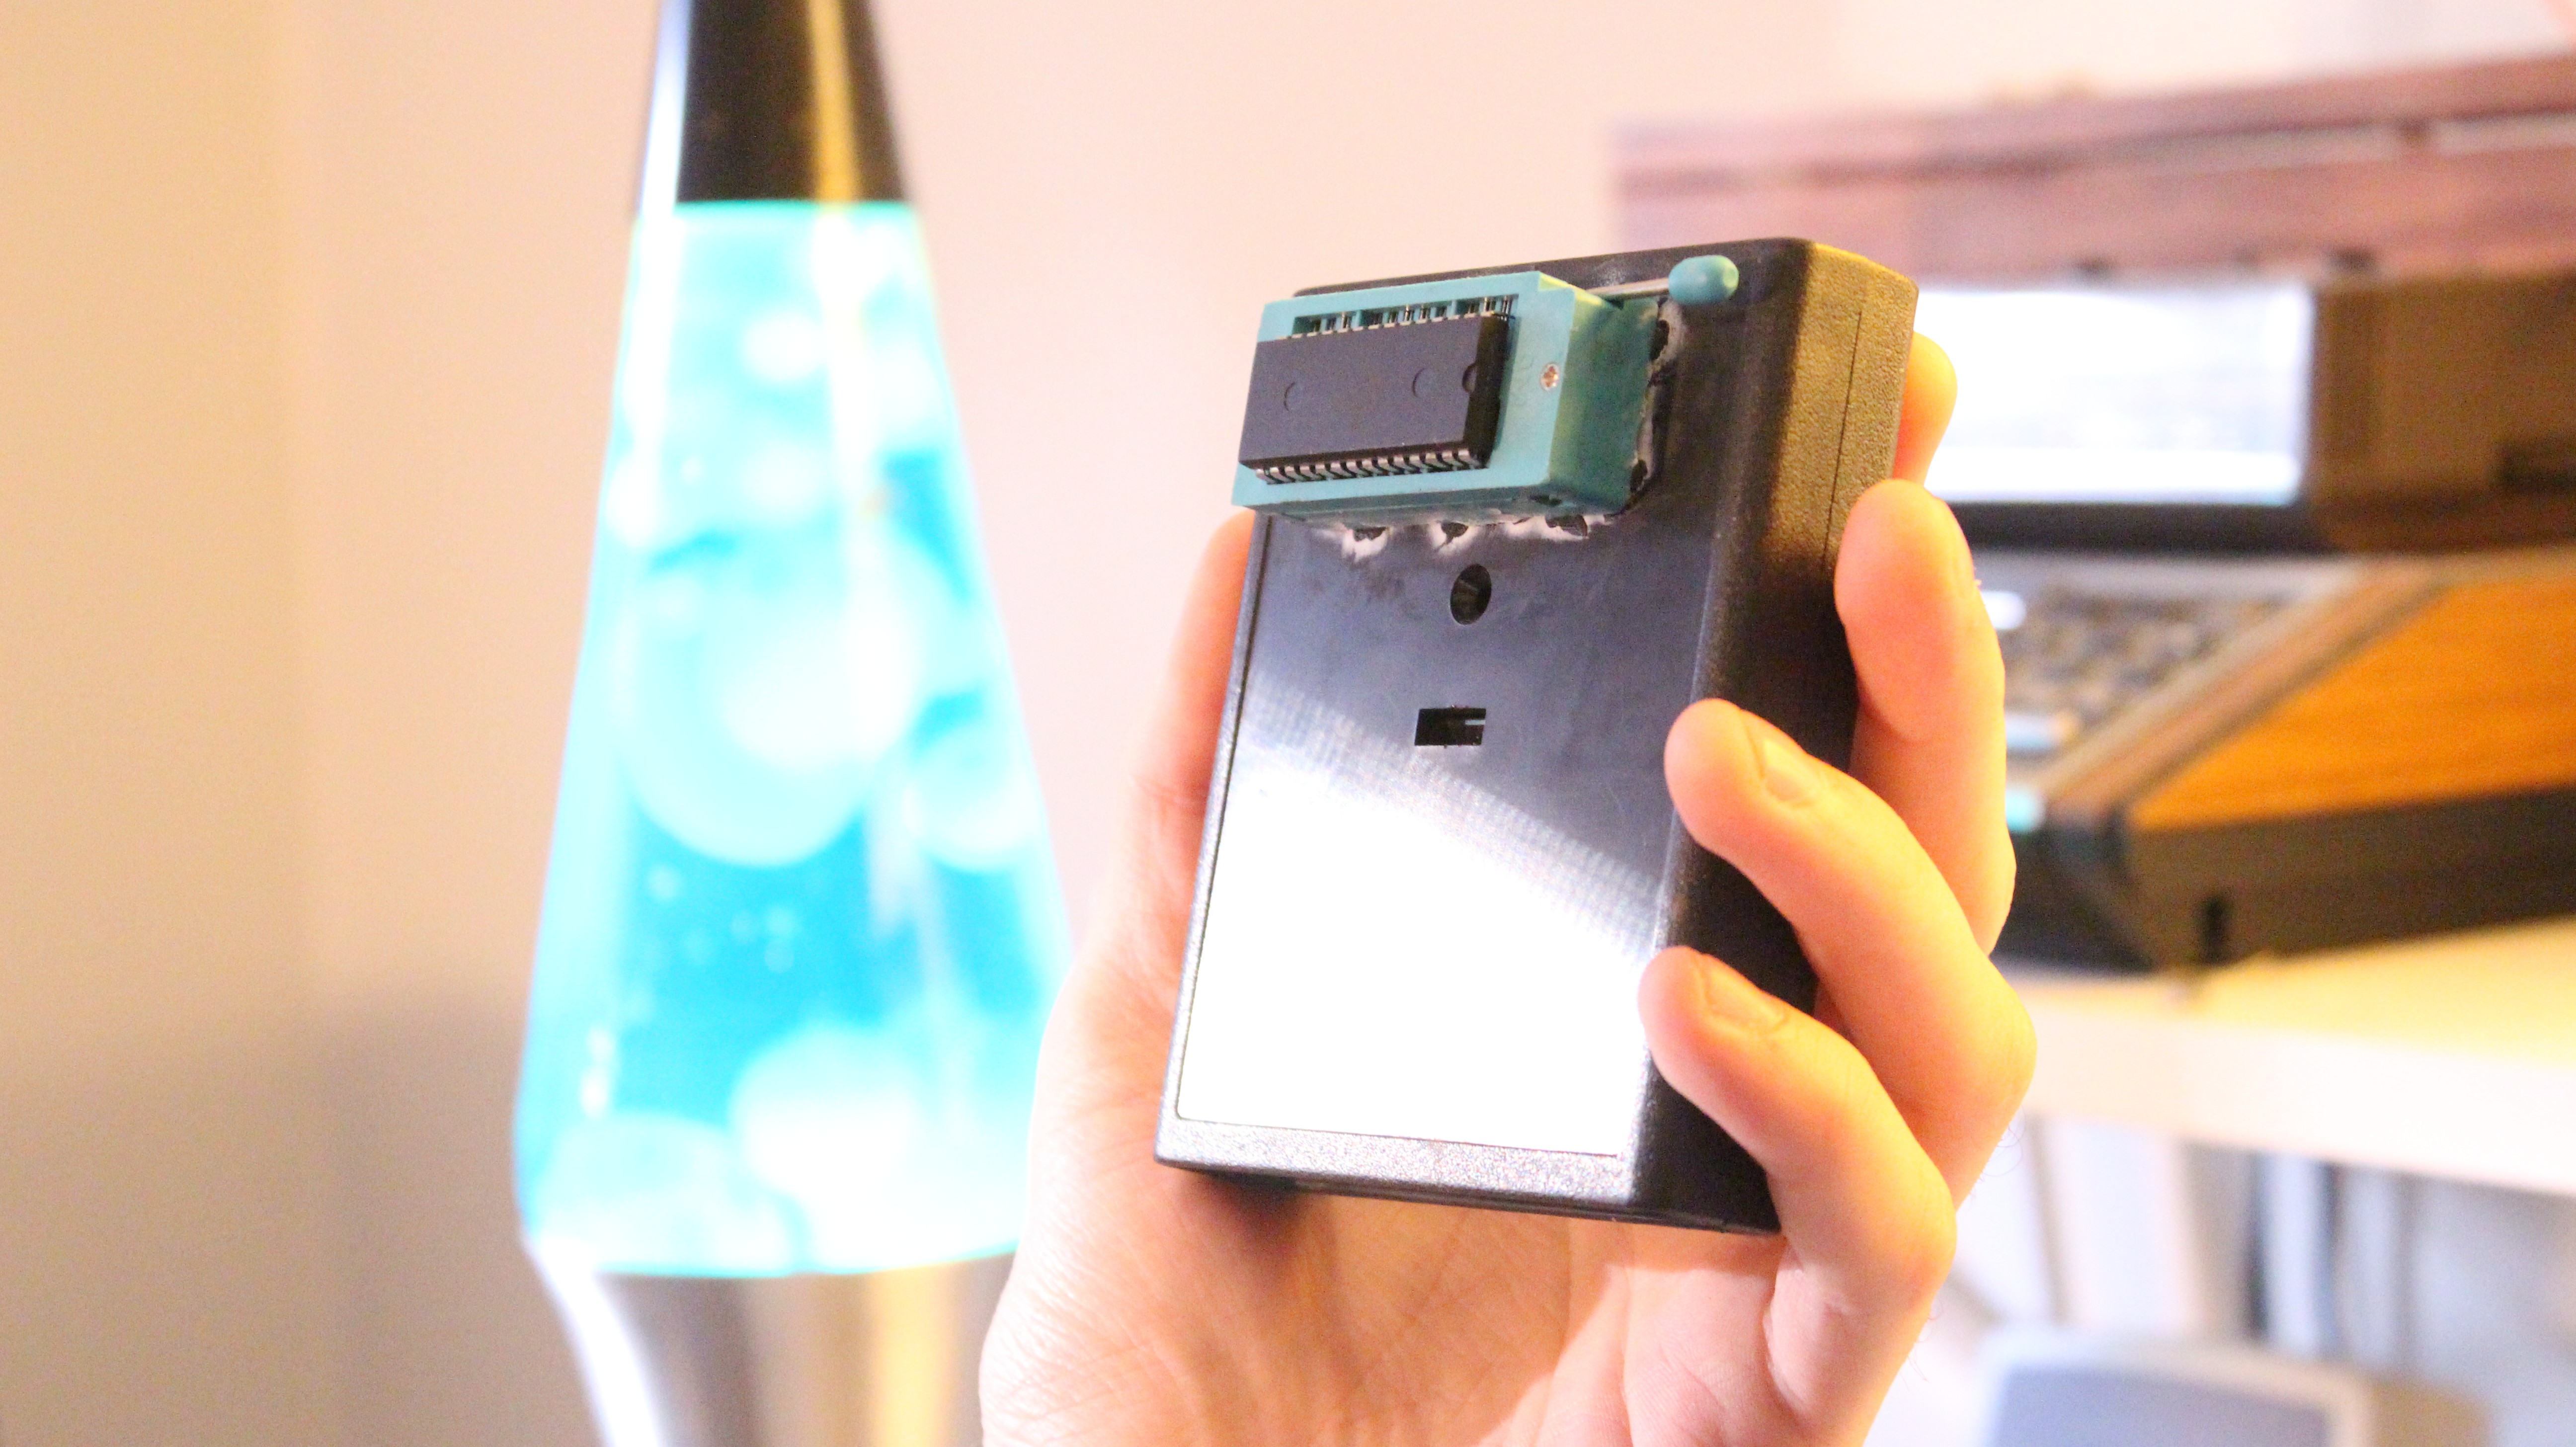
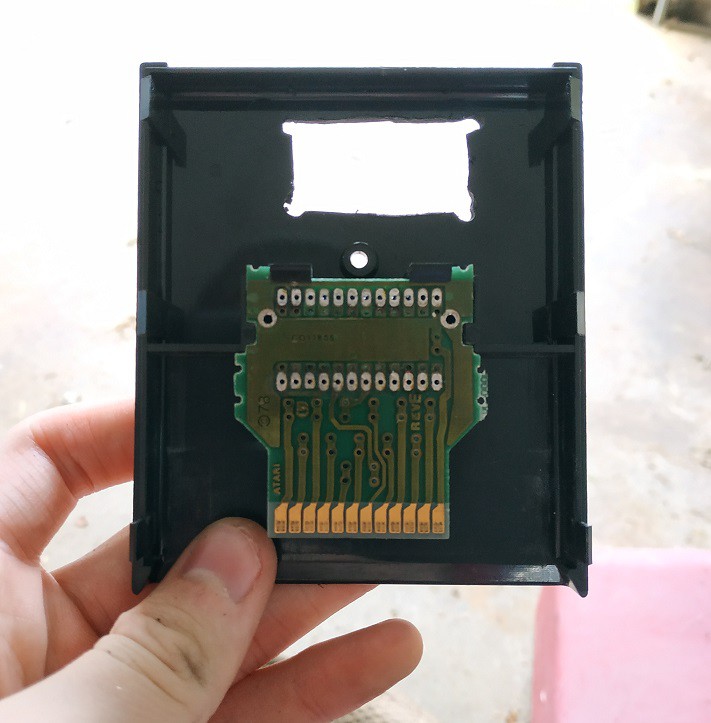
    The first matter of business was to find a new cartridge pcb. After digging through one of many boxes of junk, I found the pcb & ROM for Asteroids (I turned the cartridge into a guitar pedal a while back). After de-soldering the mask ROM, I placed the board in an old Combat cartridge, removed the labels, and cut out a hole for the zif socket.

    No wonder it doesn't work, it's got a big hole in it!

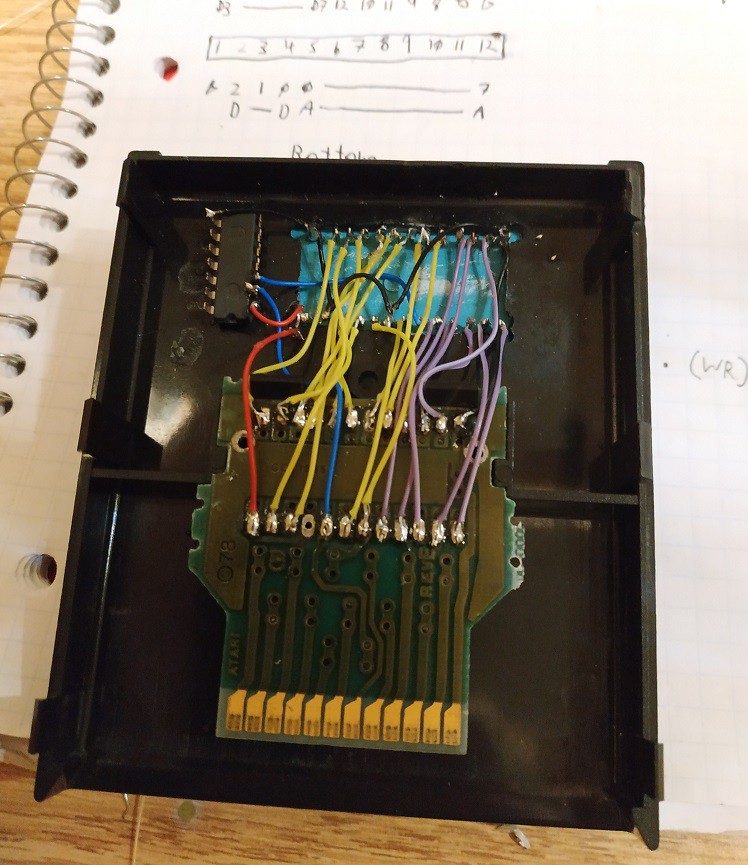
    The wiring is the same as the previous cart, except I now have an actual A11 address line!

    b'youtiful

  • Log 4: MIDI-fy it!

    John Sutley09/30/2018 at 21:00 0 comments

    I can now plug a controller into my Atari 2600 (VCS?) and make neat 8-bit drum sounds. 

    "Hey, that's cool and all, but isn't MIDI a thing?" -some part of my brain

    Well I'm glad I asked. 

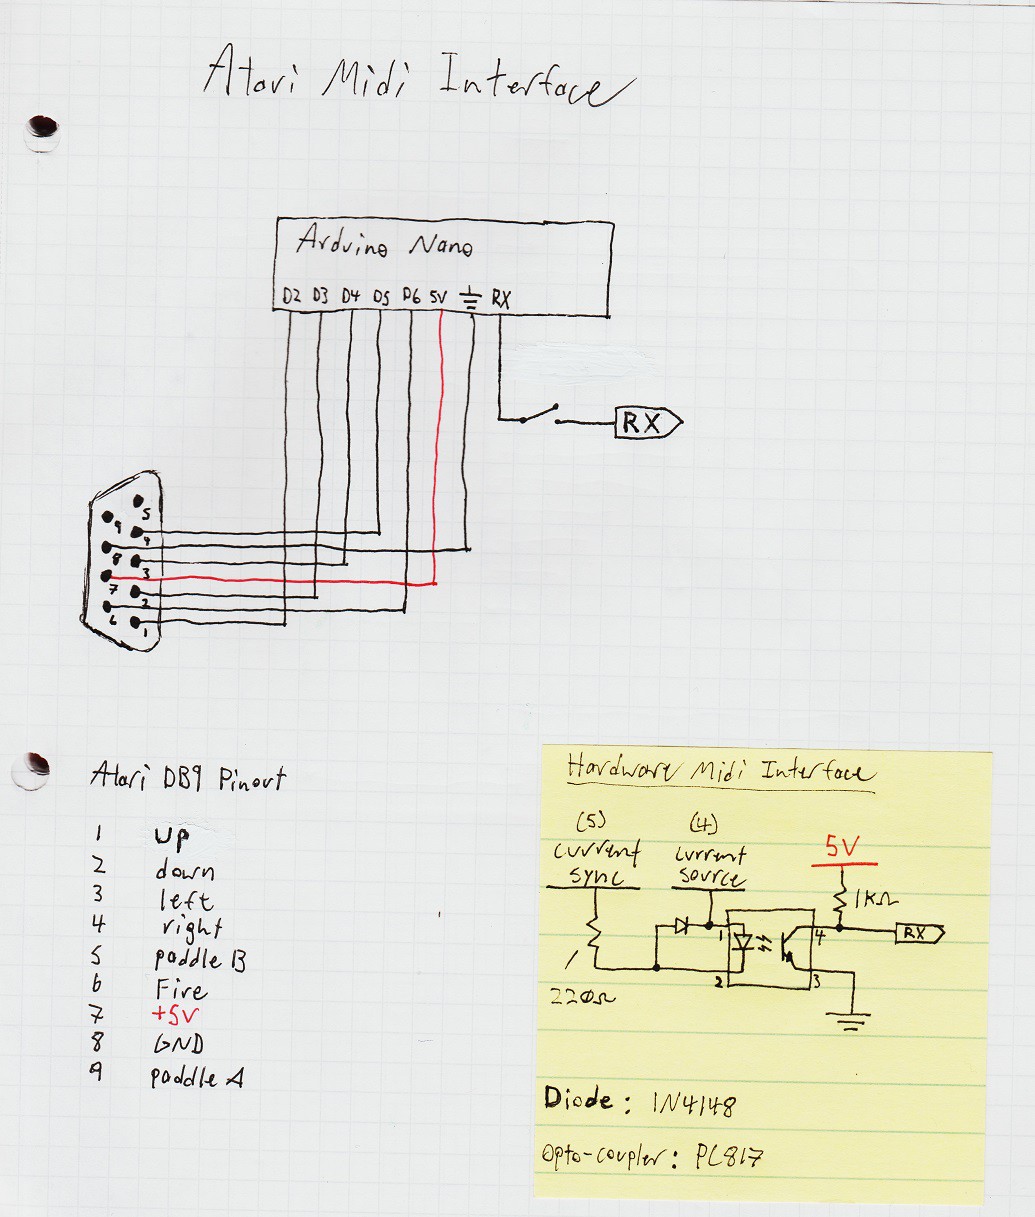
    The (5) and (4) over "current sync" and "current source" are pins on the DIN-5 connector

    Boom! The answer to "Why can't I plug my MIDI device into my Atari?" is here.

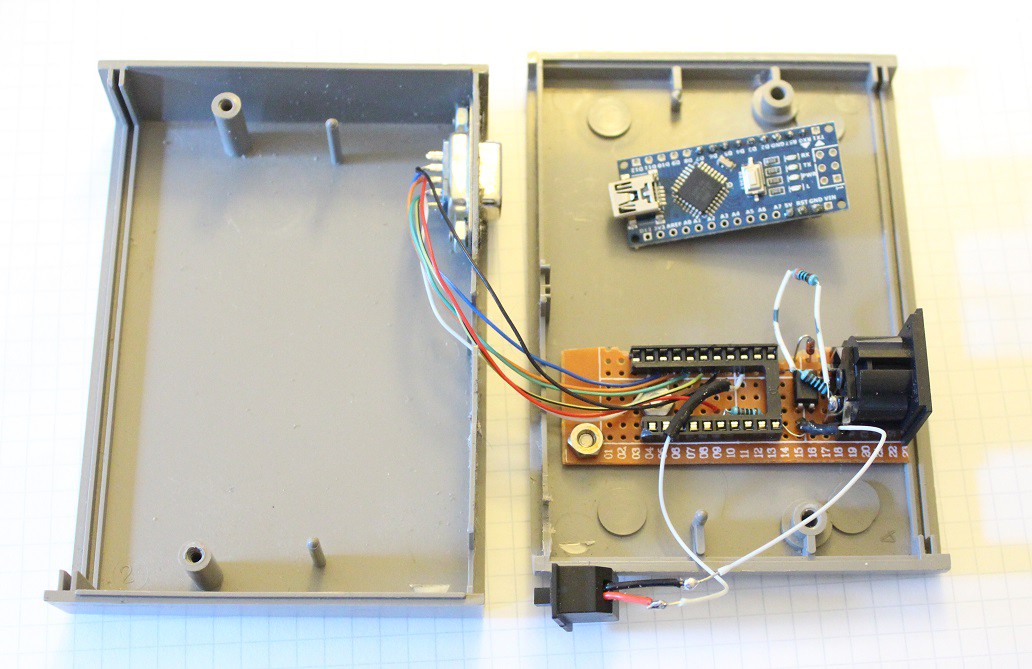
    A little hardware MIDI interface circuit I whipped up takes the weird electrical stuff coming out of the DIN-5 connector, and presents it in a more traditional TTL fashion to an Arduino Nano. A toggle switch on the RX line allows for the Arduino to be reprogrammed without removing it from the circuit (the Arduino uses the same hardware UART for programming the chip and for serial communication, in this case MIDI). Pins D2-D6 serve the button signals to the Atari VCS (2600?), which are active low.

    The Arduino sketch is located here on Github.

    The code is recycled from a couple other projects that involve doing things in response to MIDI messages, which is why it looks like trash. Only MIDI channel 10 gets recognized by the Arduino and the following MIDI note numbers trigger the drum sounds.

    35 - sound 1

    42 - sound 2

    45 - sound 3

    50 - sound 4

    38 - sound 5 (which I didn't program in SYNDRUM but will still trigger the Fire button)

    Even if you don't end up using this with SYNDRUM, it will at least make for an interesting Atari controller. Imagine playing River Raid or Pitfall! with this and a set of MIDI pads or a keytar!

    Inside the MIDI interface /w the Arduino Nano removed
    Controller port interface, USB [for programming only], and programming switch.
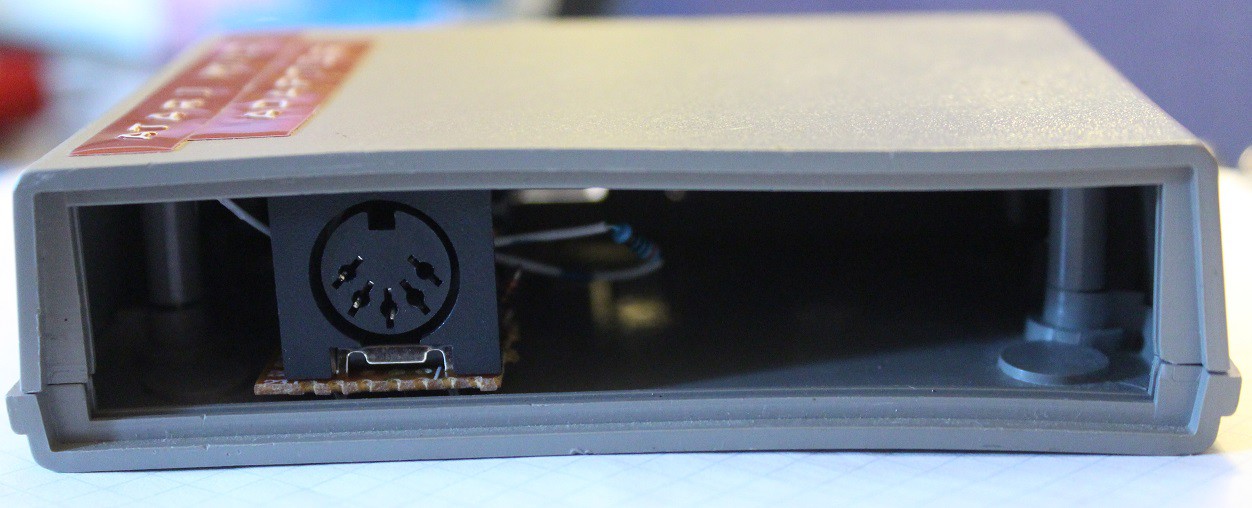
    DIN-5 MIDI port

  • Log 3: Reading The EEPROM - An Atari's Perspective

    John Sutley09/27/2018 at 21:17 0 comments

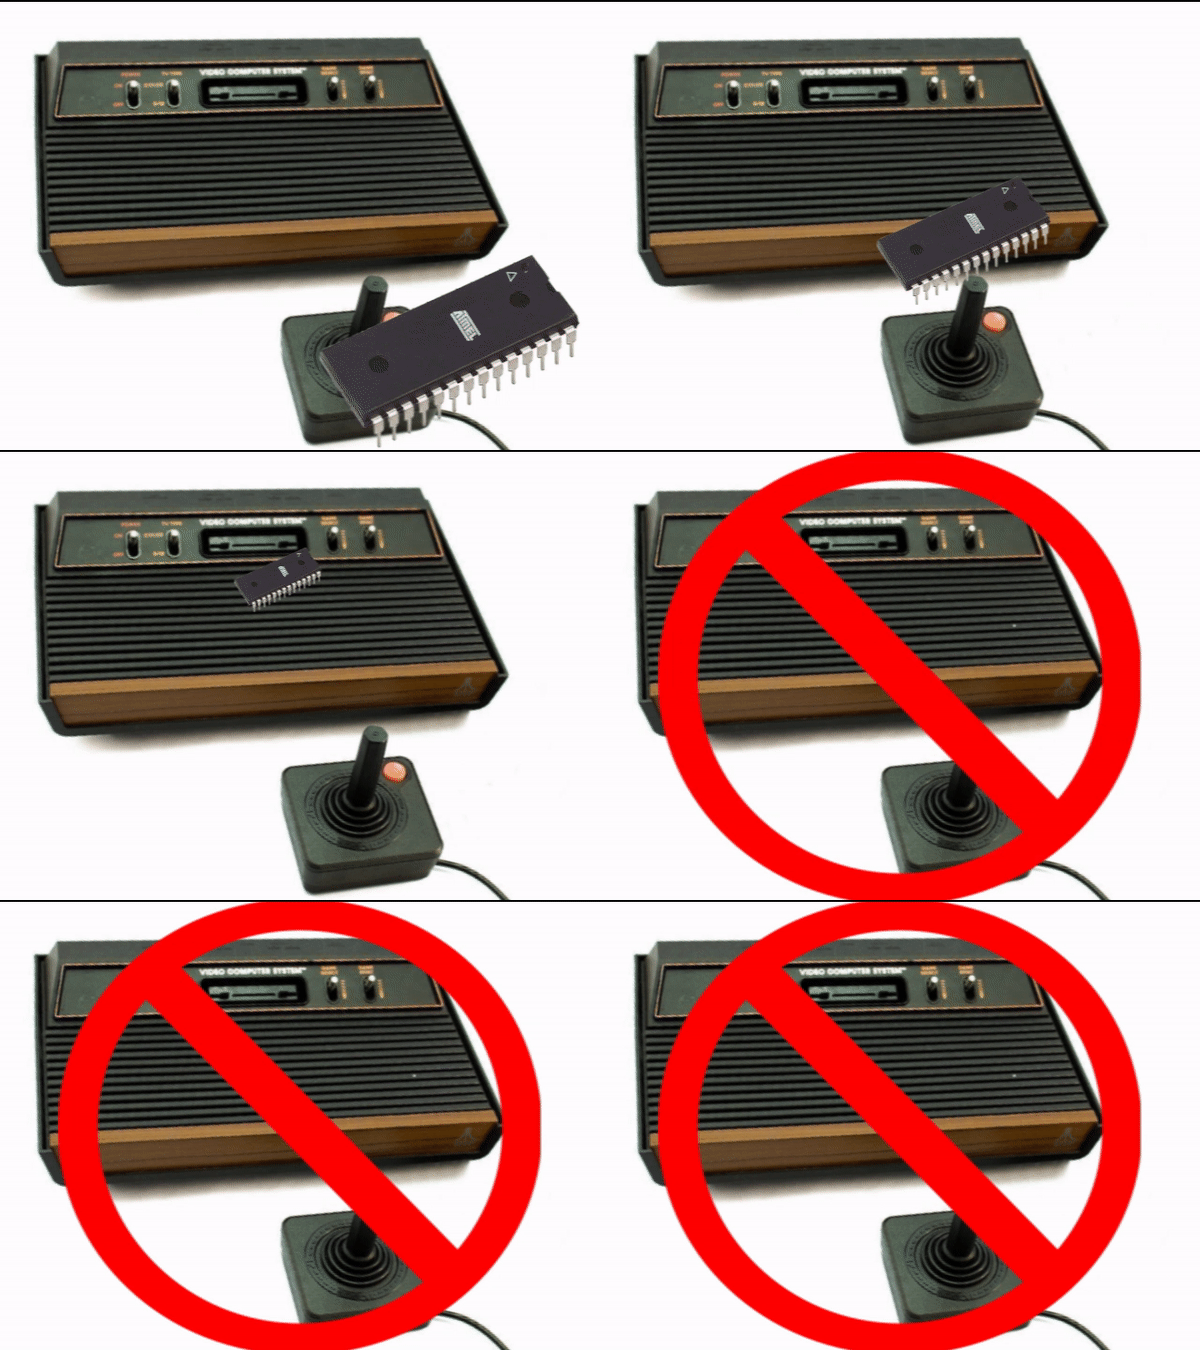
    My code is now on a chip that was made in 2017! Great, now how do I get it to talk to a machine that was designed in the mid-70's?

    No. Just stop.

    After numerous attempts at trying to cram the EEPROM into the cartridge slot, I've gone for the meticulous route of designing a custom circuit and reproducing it using proto-board and cannibalized Atari cartridges.

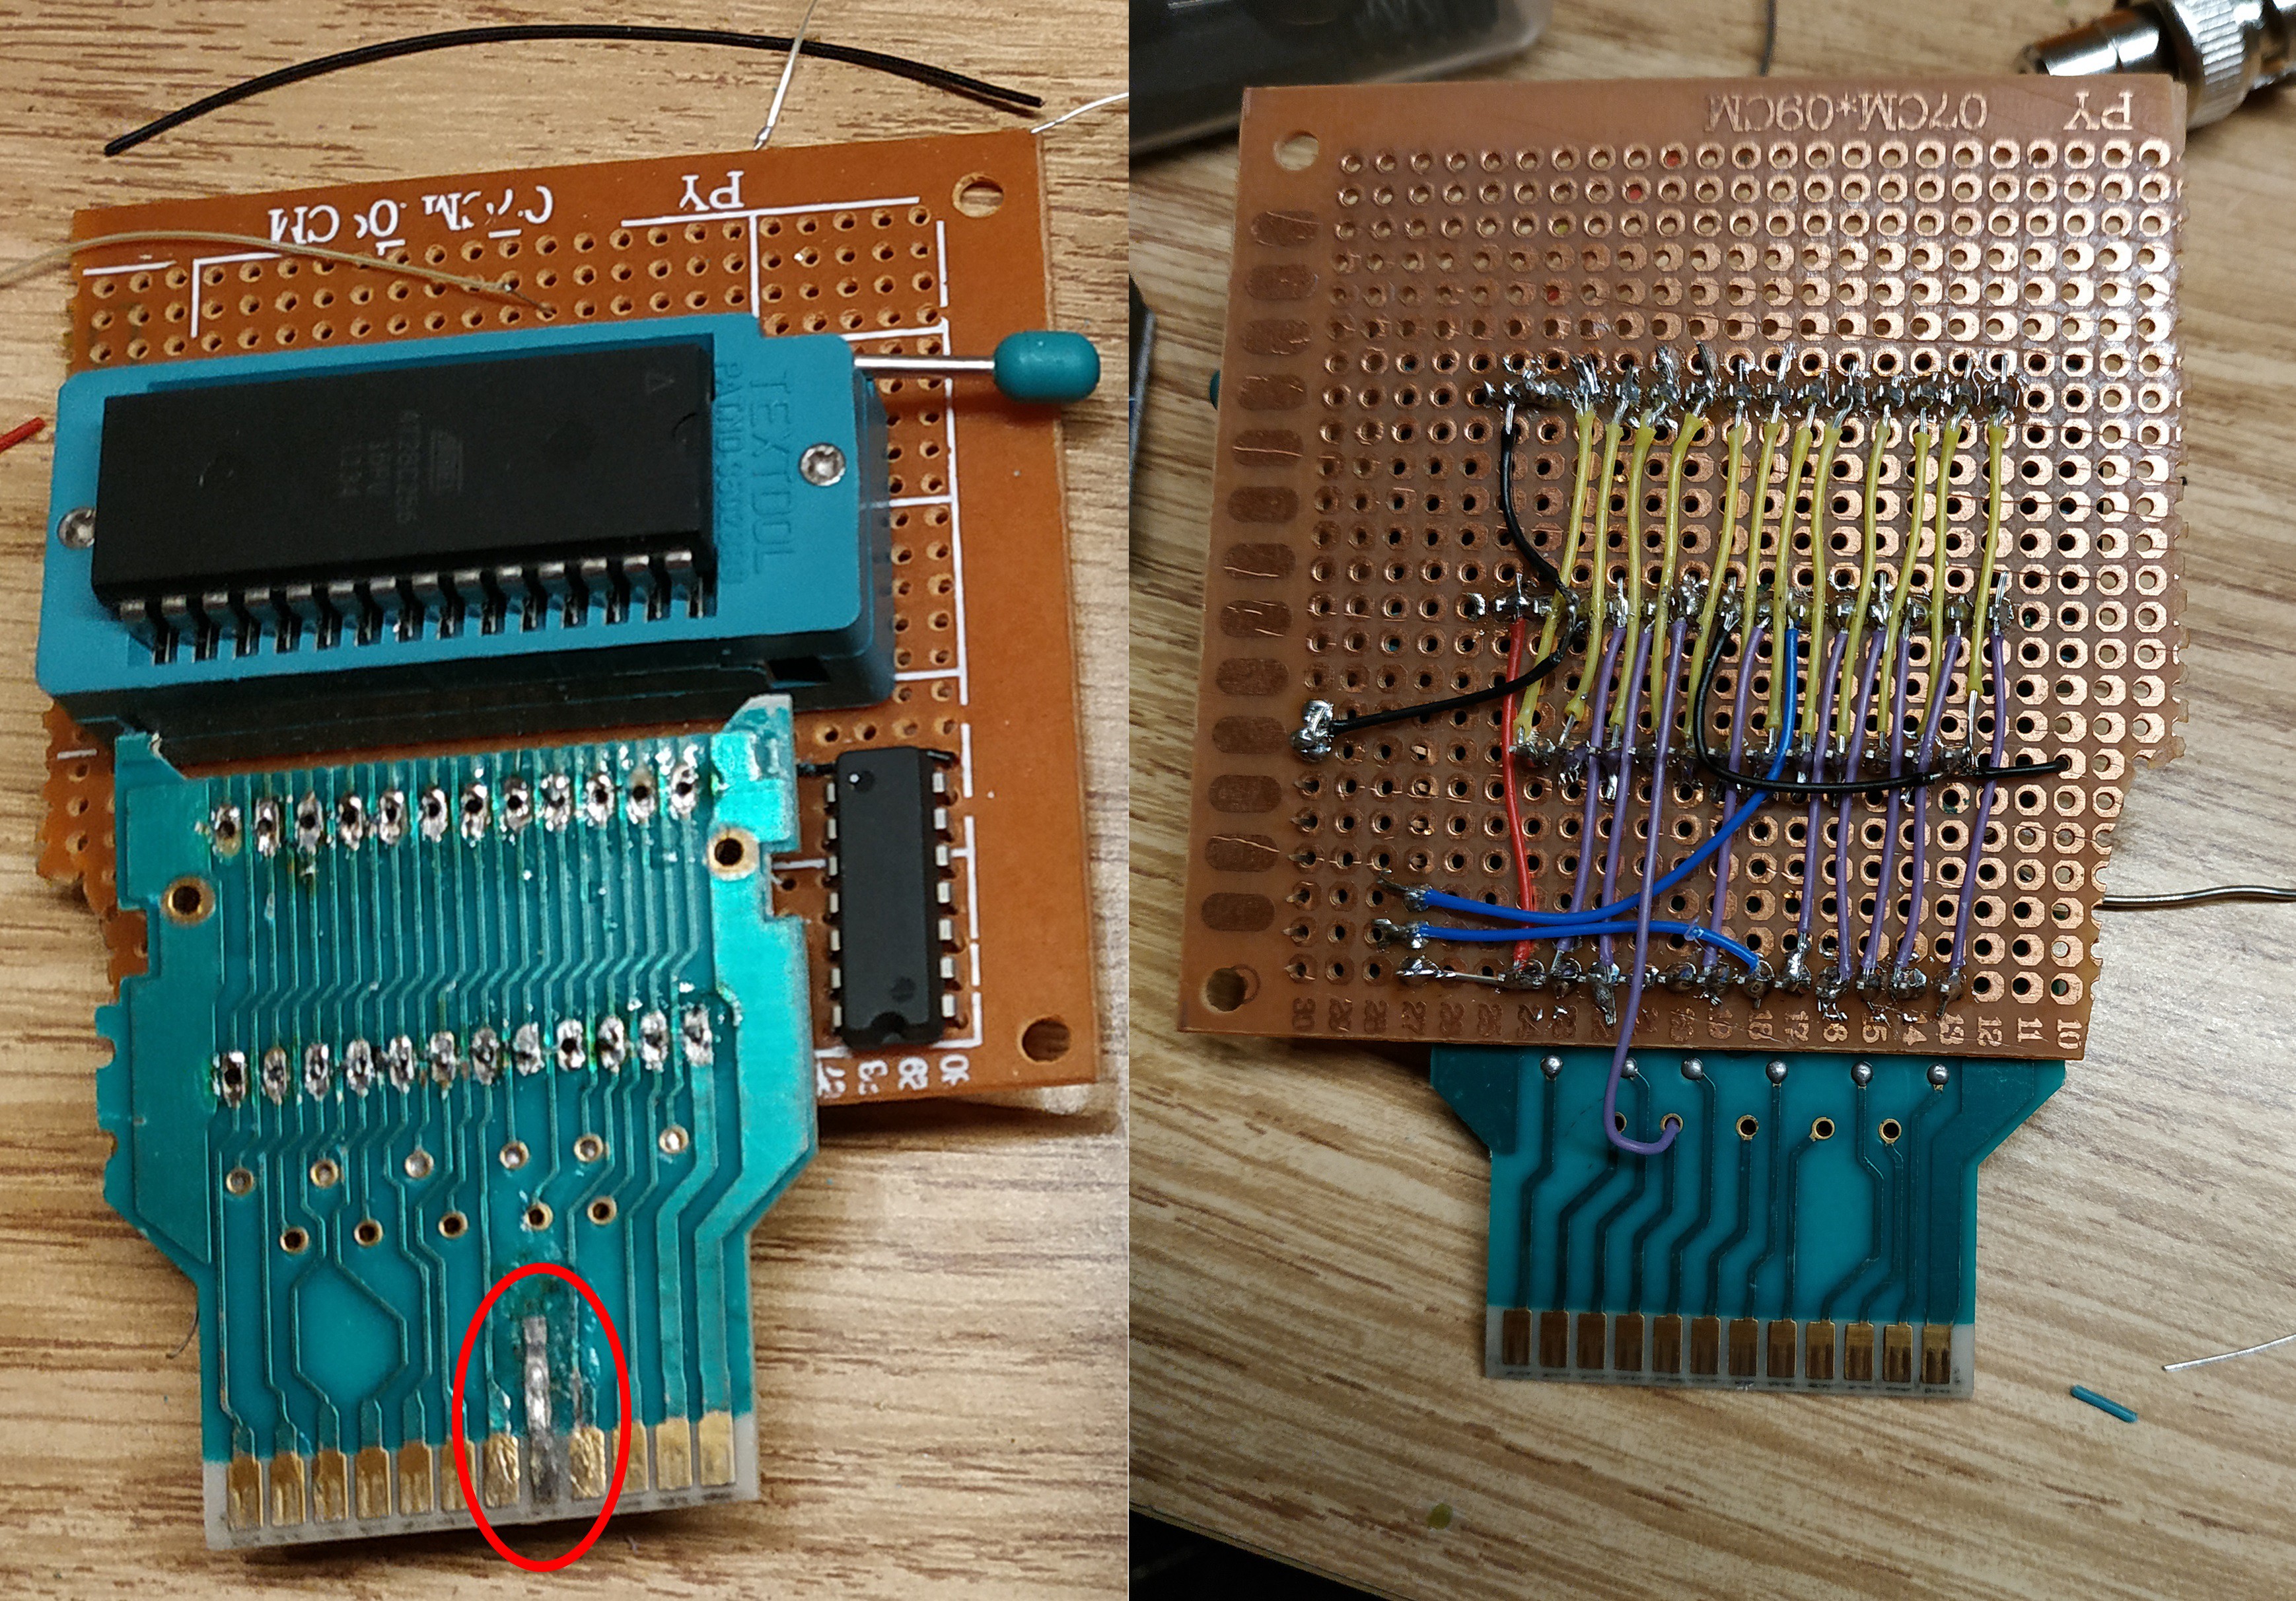
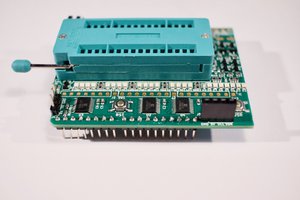
    Not wanting to go through the trouble of having to design and pay for a custom pcb, I used an old Combat cartridge pcb to handle the "plugging in to the Atari part", a zif socket to hold the EEPROM and a bunch of wires from an old LPT printer cable.

    Here's what I was thinking electrical wise:

    I marked the key differences between the two chips [left] and used that as the basis of the schematic [right]

    The cartridge port acts as a pretty straight-forward bus for the Atari's Data lines (pink dots in the schematic) and Address lines (green dots). Pin 6 on the top row acts as the chip select, which had to be inverted since the Atari's original mask roms have the CS line active high rather than low like in the EEPROM. All other address lines on the EEPROM are pulled low.

    And when I finally went to assemble everything according to the schematic, I goofed.

    The Combat rom was only 2k.

    SYNDRUM is 4k.

    There was no A11 address line (and subsequently, no A11 pin) on the Combat cartridge. Instead of panicking and instinctively hurling a half-finished circuit board at the nearest brick wall, I instead super-glued a bit of metal where an A11 address line should have been and soldered it to it's respective bit of wire.

    The purple wire that goes through that hole SHOULD connect to that A11 pin. So much for consistency between pics.

    The result is something that's definitely not pretty to look at and works only if you have your tongue at the right angle, but it DOES work!

    One step closer to taking over the world.
    It's ALIVE!

  • Log 2: EEPROM Programming

    John Sutley09/26/2018 at 22:48 0 comments

    Hi!
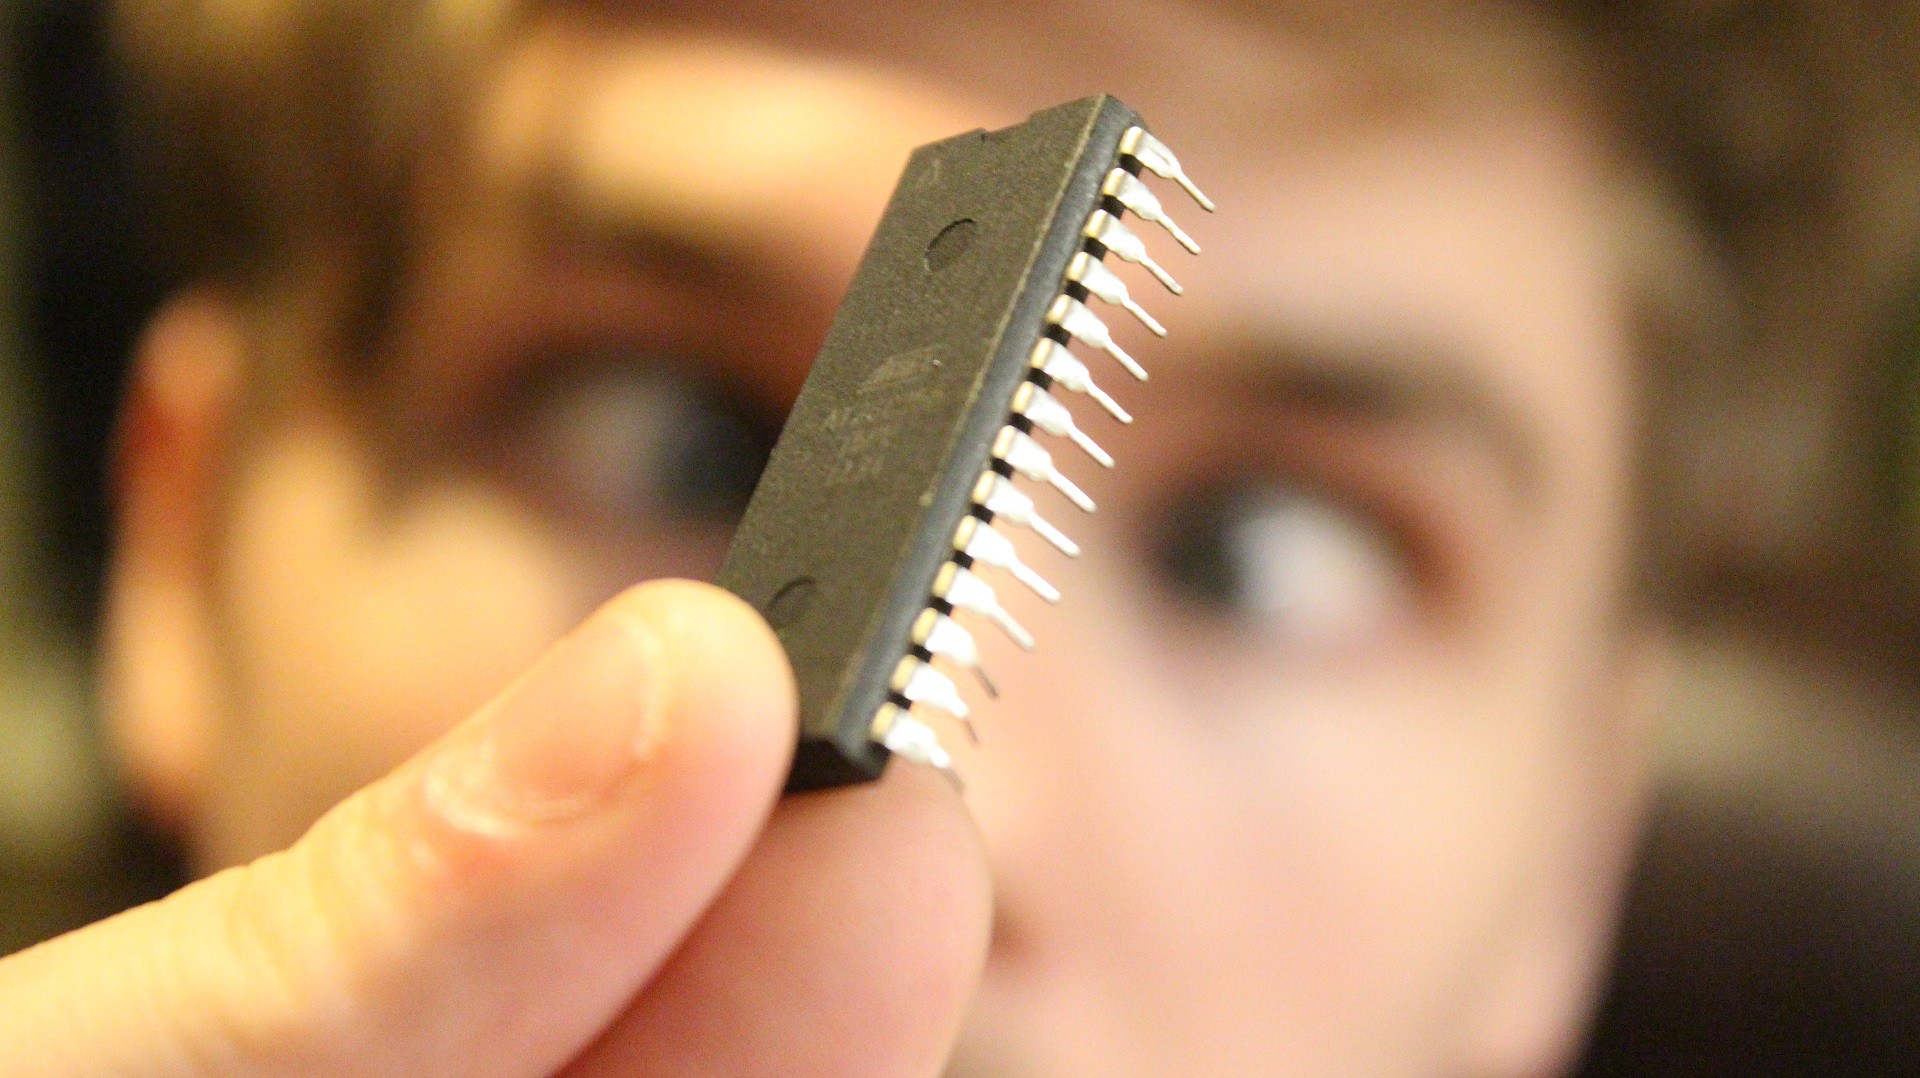
    Behold! The AT28C256 EEPROM

    After batari Basic compiled the the program into a binary file (default.bas.bin), I burned it to an EEPROM [in this case an Atmel AT28C256]. 

    The EPROM programmer I used was one of those little TL866II Plus programmers you find after searching "eprom programmer" on eBay and checking the 'Under $75.00' box.

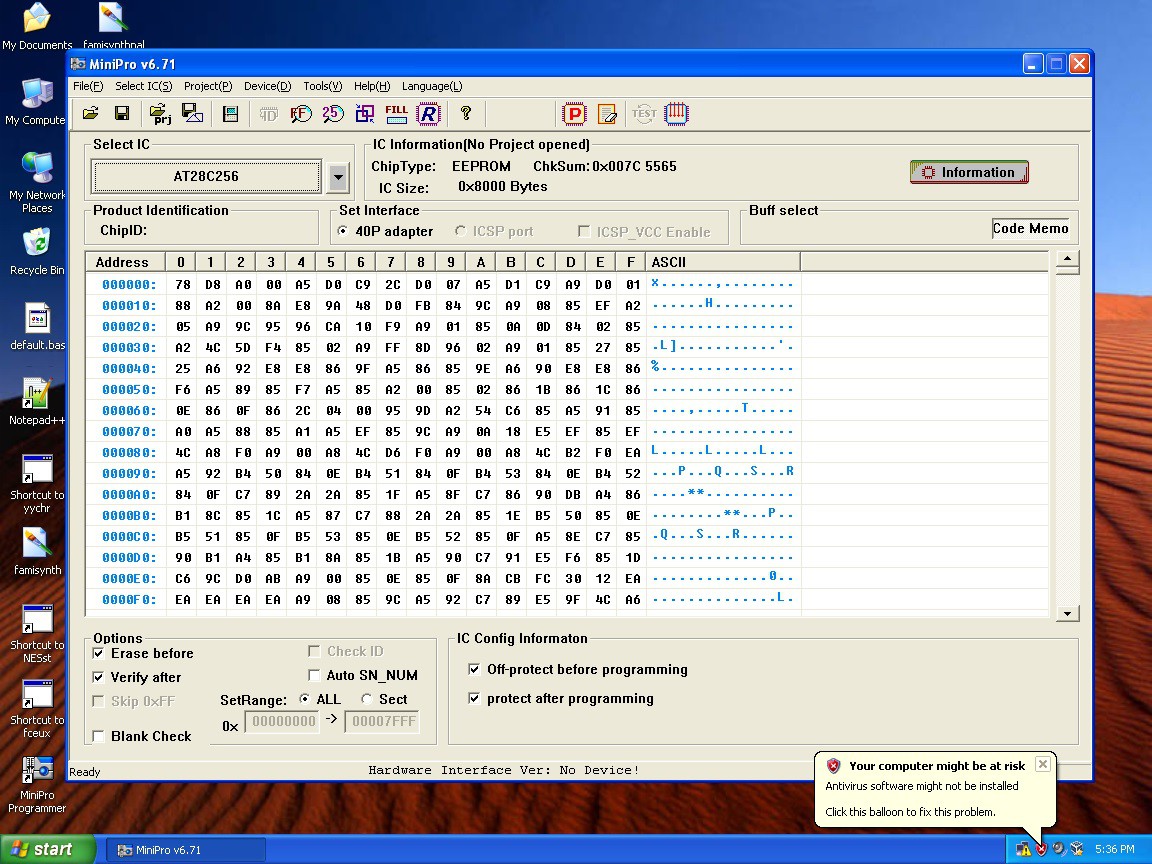
    Upon receiving the programmer with a highly suspect mini CD, I set up a Windows XP VM and tossed the disk in the trash. Then I needed the software. After some extensive googling, I found it in some sketchy back-alleyway of the internet:

    Here it is! Click Me!

    Yeah, run this one in a VM. I used version minipro_setup671 and it seemed to work without much fussing about. Obviously, I'd recommend picking up a name-brand programmer with all kinds of fancy software support that WON'T steal your credit card number in the background. Well, if you have the means...

    Ah, the memories!
    My computer might be at risk. Better delete system32.

  • Log 1: batari Basic

    John Sutley09/25/2018 at 16:04 0 comments

    VisualbB
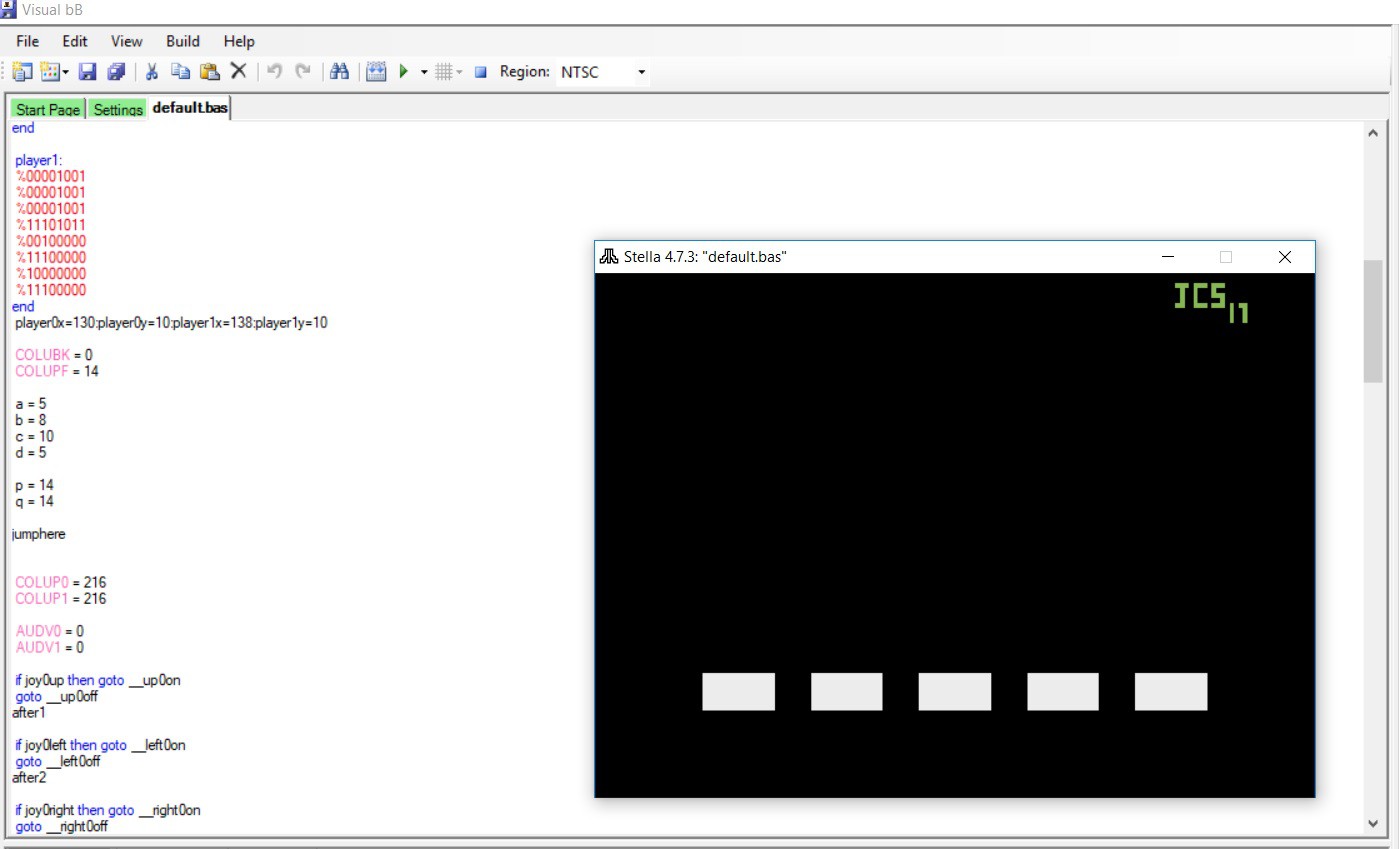
    SYNDRUM running on Stella /w VisualbB in the background

    After nearly a year of work (in reality, a few hours of work), here it is! My garbage code that runs on Atari's Video Computer System! OK, all joking aside, this is a much better alternative to writing in 6502 assembly. It just works, and that's all I need it to do.

    The batari Basic code & .bin file can be found here.

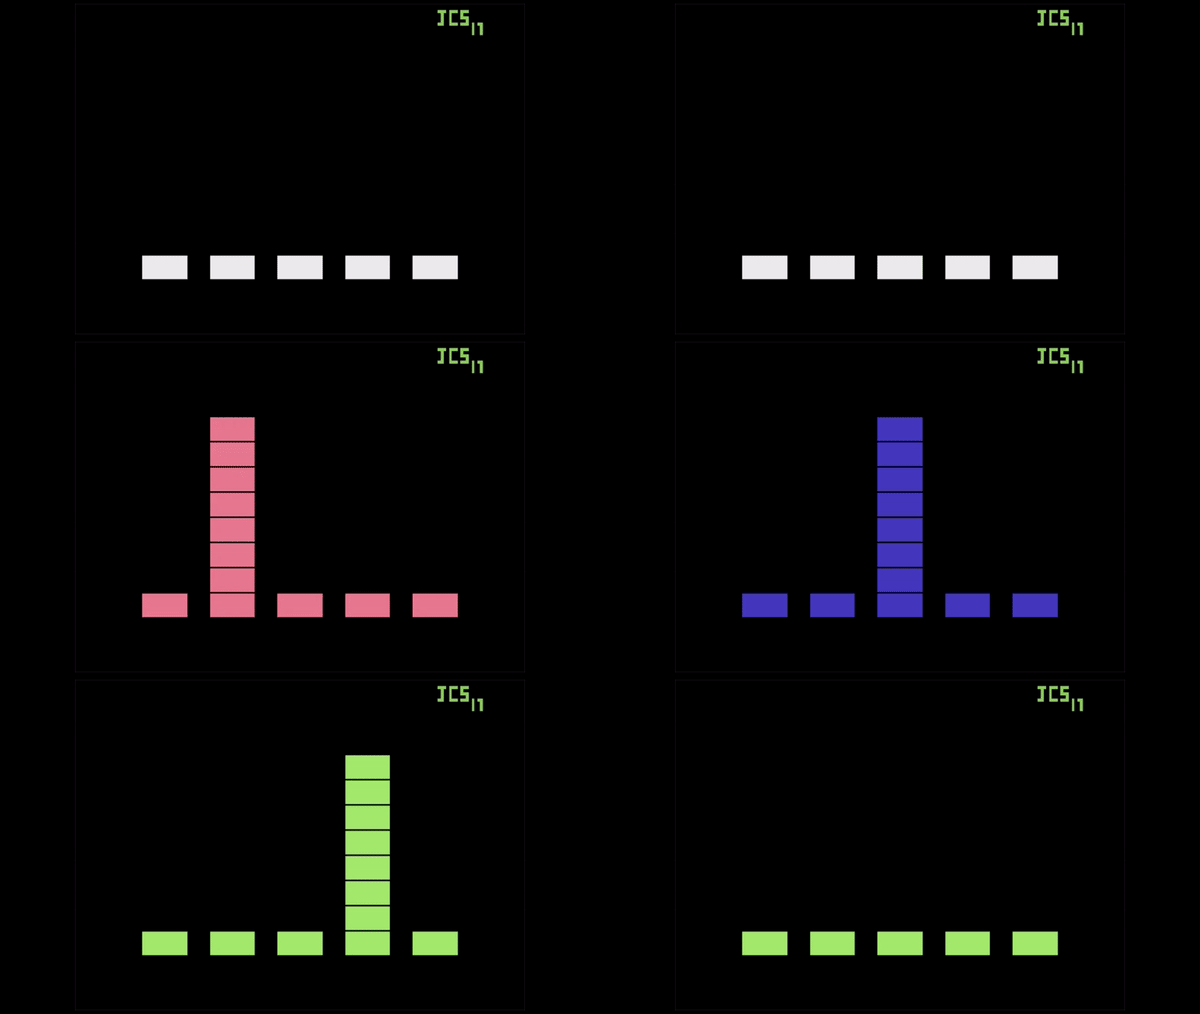
    At the bottom of the screen are 5 blocks. Each block corresponds to a different drum sound and a different button on the controller [UP, LEFT, RIGHT, DOWN, and FIRE].

    The blocks act as VU meters. When each sound is triggered, it activates the corresponding meter and changes the color of the screen.

    The 5th block doesn't do anything. There was a substantial bit of lag in the emulator with all the graphics and conditional branching in the program, so I chose not to add a 5th voice. I even made a version without any graphics to get rid of this alleged lag, which turns out was a fault in the emulator. Despite the program running lag-free on actual hardware, I chose not to add a 5th voice after the fact because I'm way too lazy for that kind of nonsense and have other projects to work on. Jeez!

    Where were we? Ah right, the graphics! This is what the VU meters look like:

    No, they don't reset to white afterwards
    VU meters made from batari Basic playfield blocks

    The meters are made of 'playfield blocks' and not actual sprites. The VU meters all change to the same color depending on the sound that's triggered. They don't keep their individual colors because I'm just not that good. You also may have noticed the 'JCS17' up in the top right. I'm keeping it 17 because '18' is too wide and won't fit in the two playfield sprites that make up 'JCS17'.

    So there it is! A mostly functional, bodged-together program written over to course of a year!

    Why did I mark this as finished?

View all 5 project logs

Enjoy this project?

Share

Discussions

aldolo wrote 05/16/2021 at 02:51 point

great. i can not ignore the real problem of all the electronic hobbyest: the holes in the box!

  Are you sure? yes | no

Edu Arana wrote 10/24/2018 at 22:44 point

Superb.

  Are you sure? yes | no

Similar Projects

Does this project spark your interest?

Become a member to follow this project and never miss any updates