 Steve Wells
Light at the end of the tunnel
OK! loads of progress to update on, it's been a while since I have had a chance to do this entry on the terrain.
The tunnel grouting turned out OK, I have learned a lot about terrain building from Mel the Terrain Tutor, he has a great resource on YouTube and I encourage anyone wanting to find out more to visit his channel https://www.youtube.com/channel/UCx_aro8CTHw7ZD5H661hC6Q
He has some brilliant ideas and hacks about making your own materials and well explained tutorials on landscaping that I have borrowed from heavily as you will see from the next few log entries.
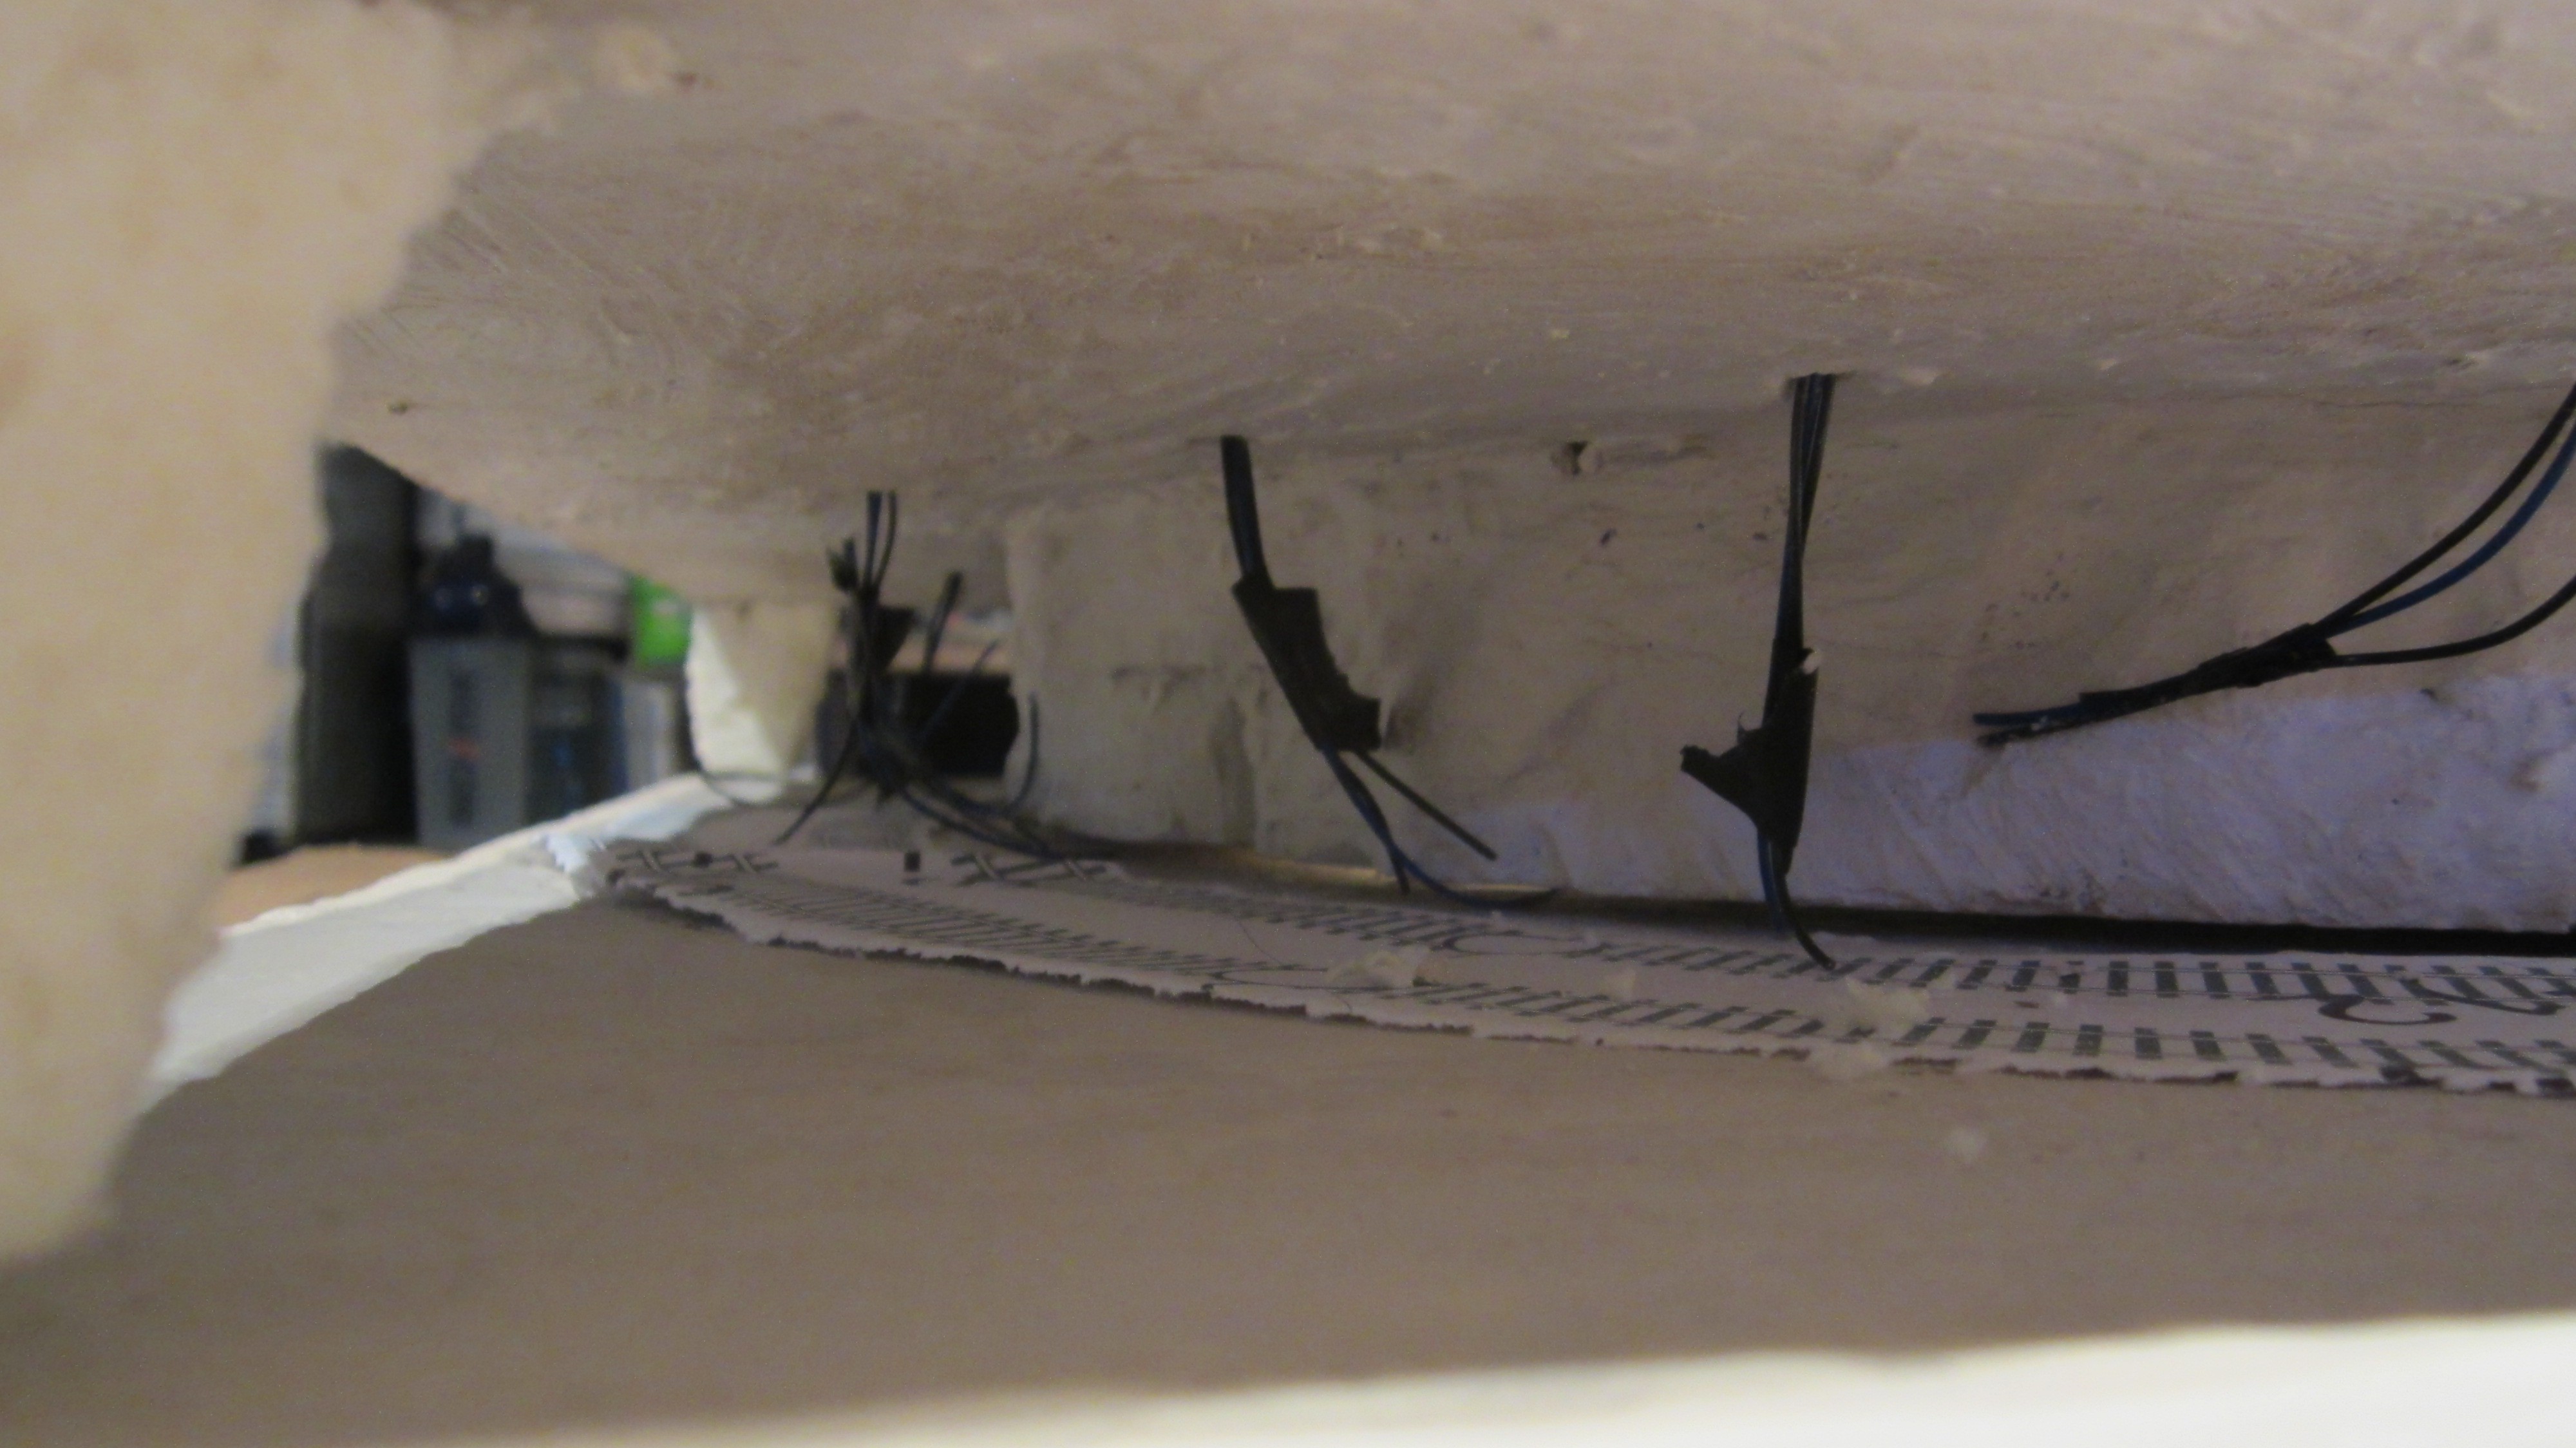
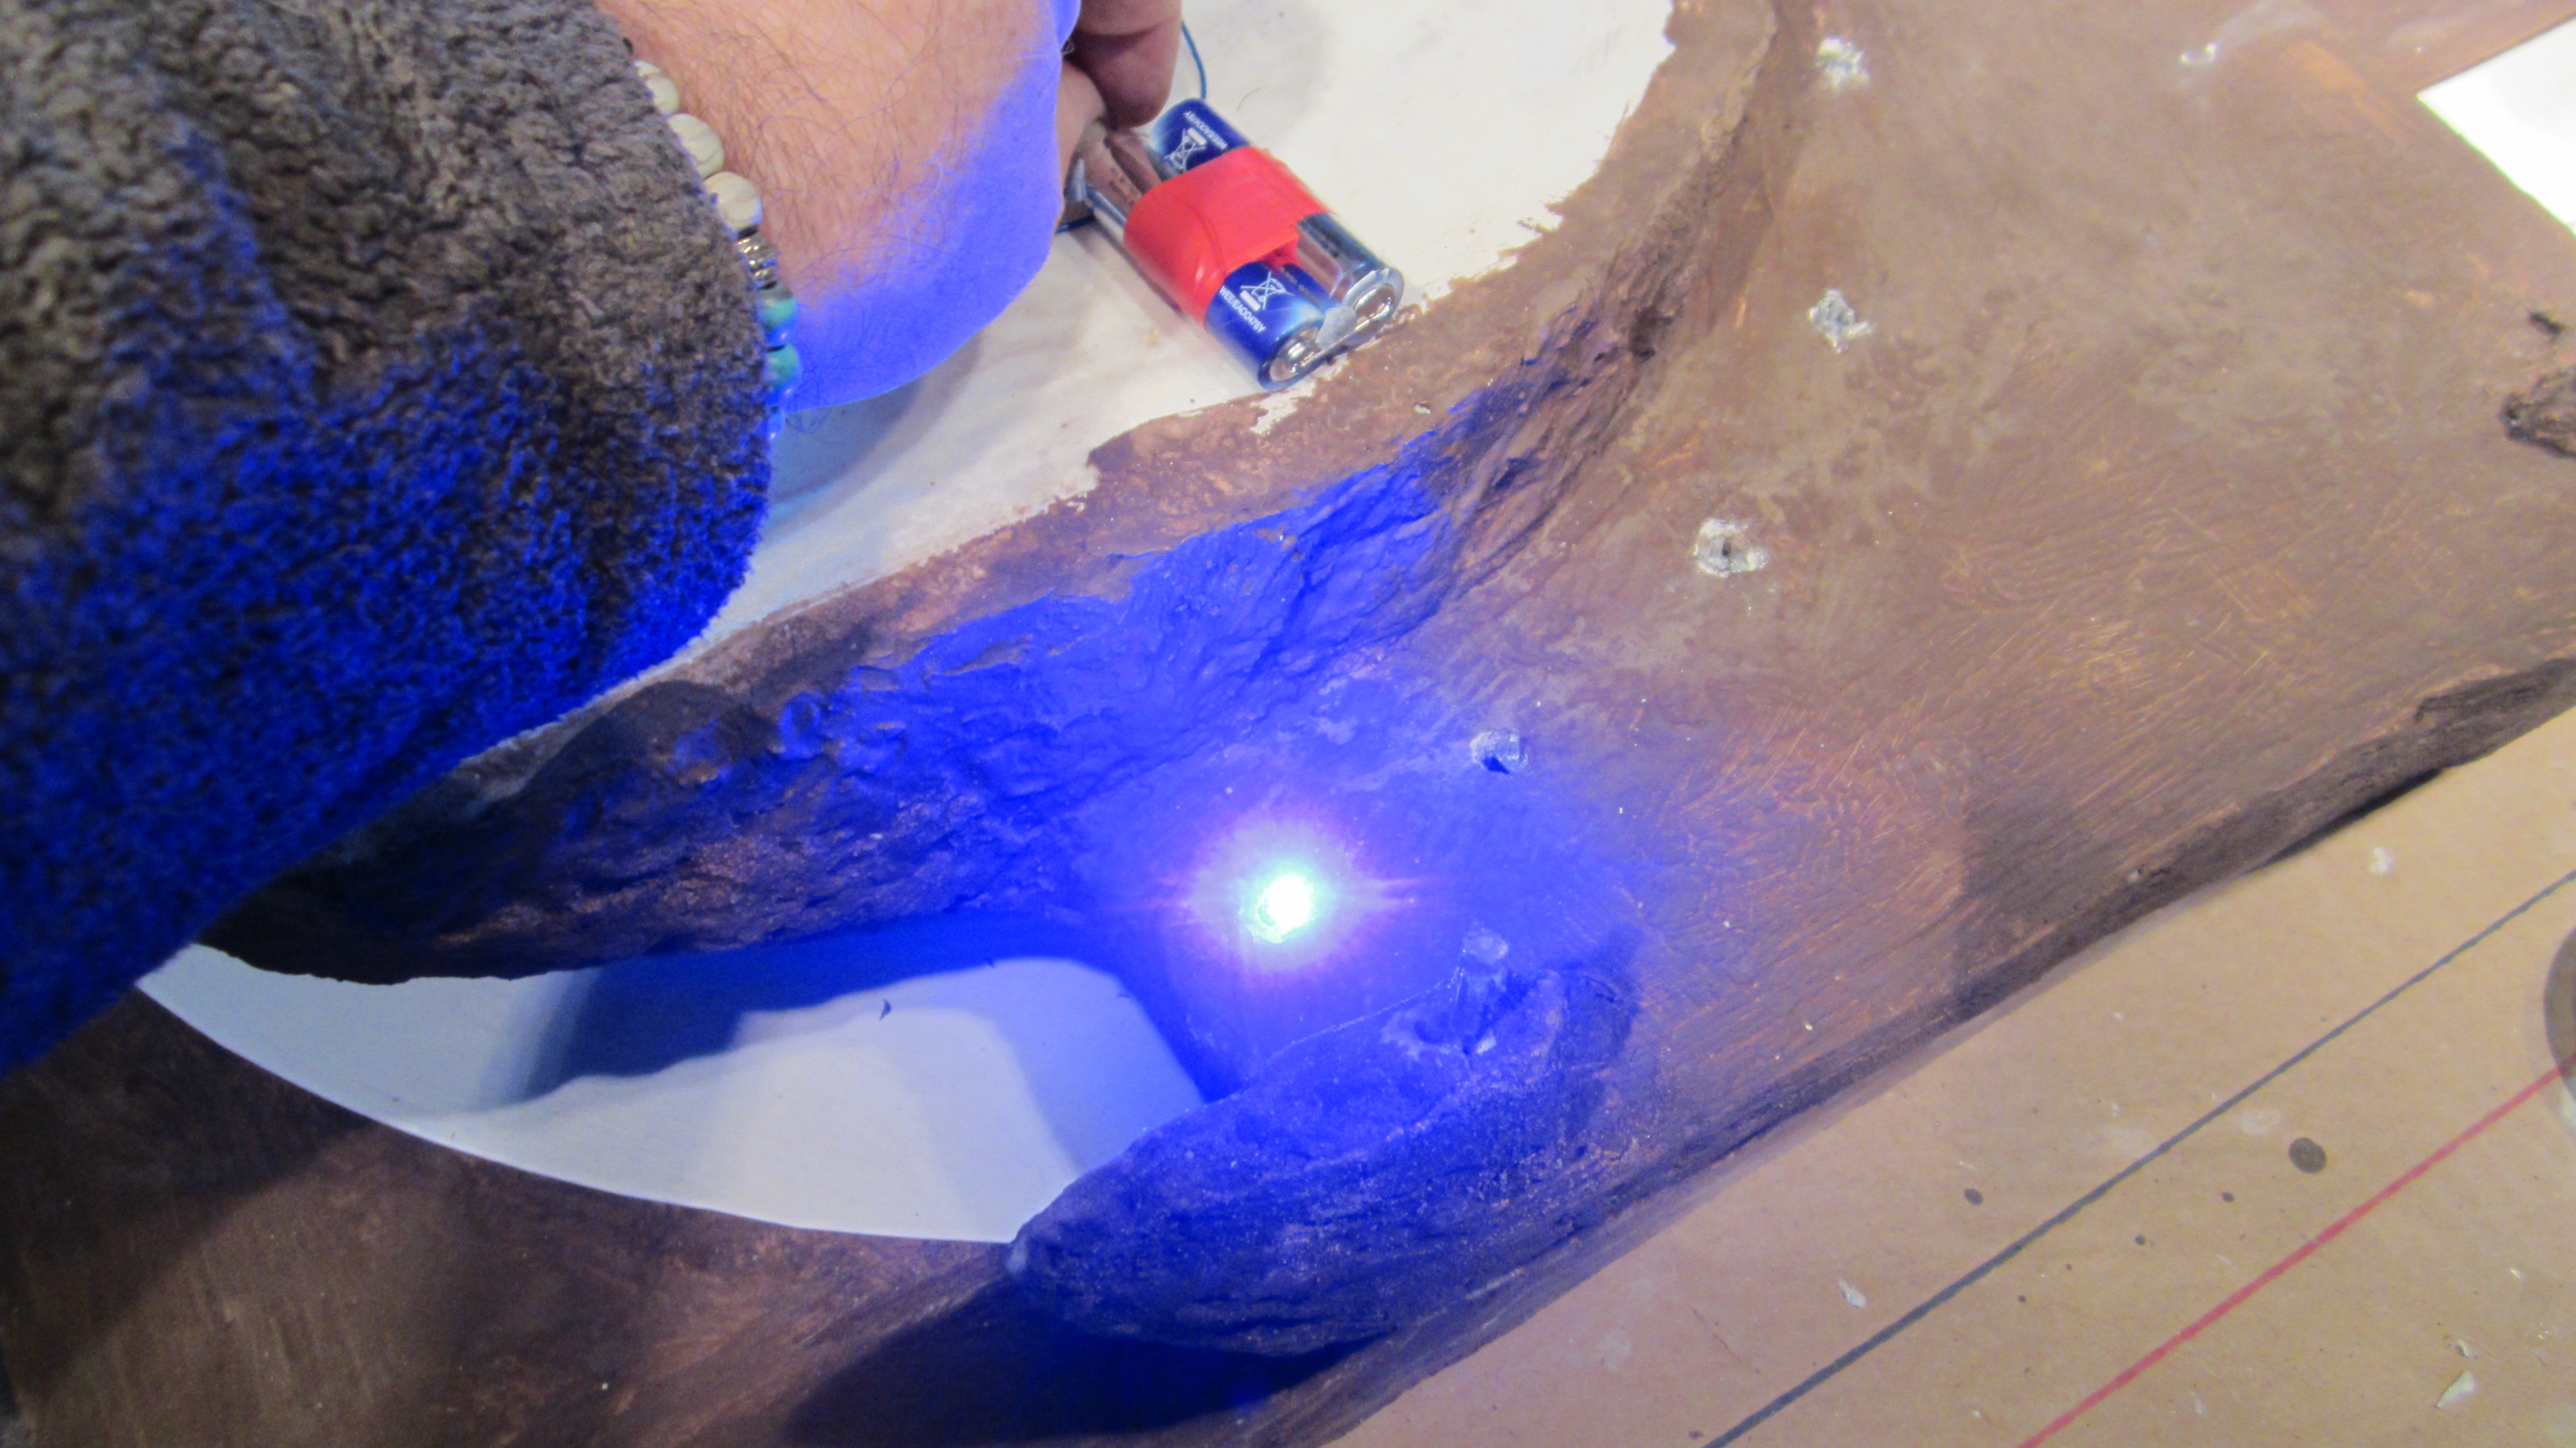
But first to catch up, the tunnel was just begging for some lights and at that point I wired it for led's, the intention was to have white light but I didn't notice until I had them in position and was able to test them that I realised they were blue.

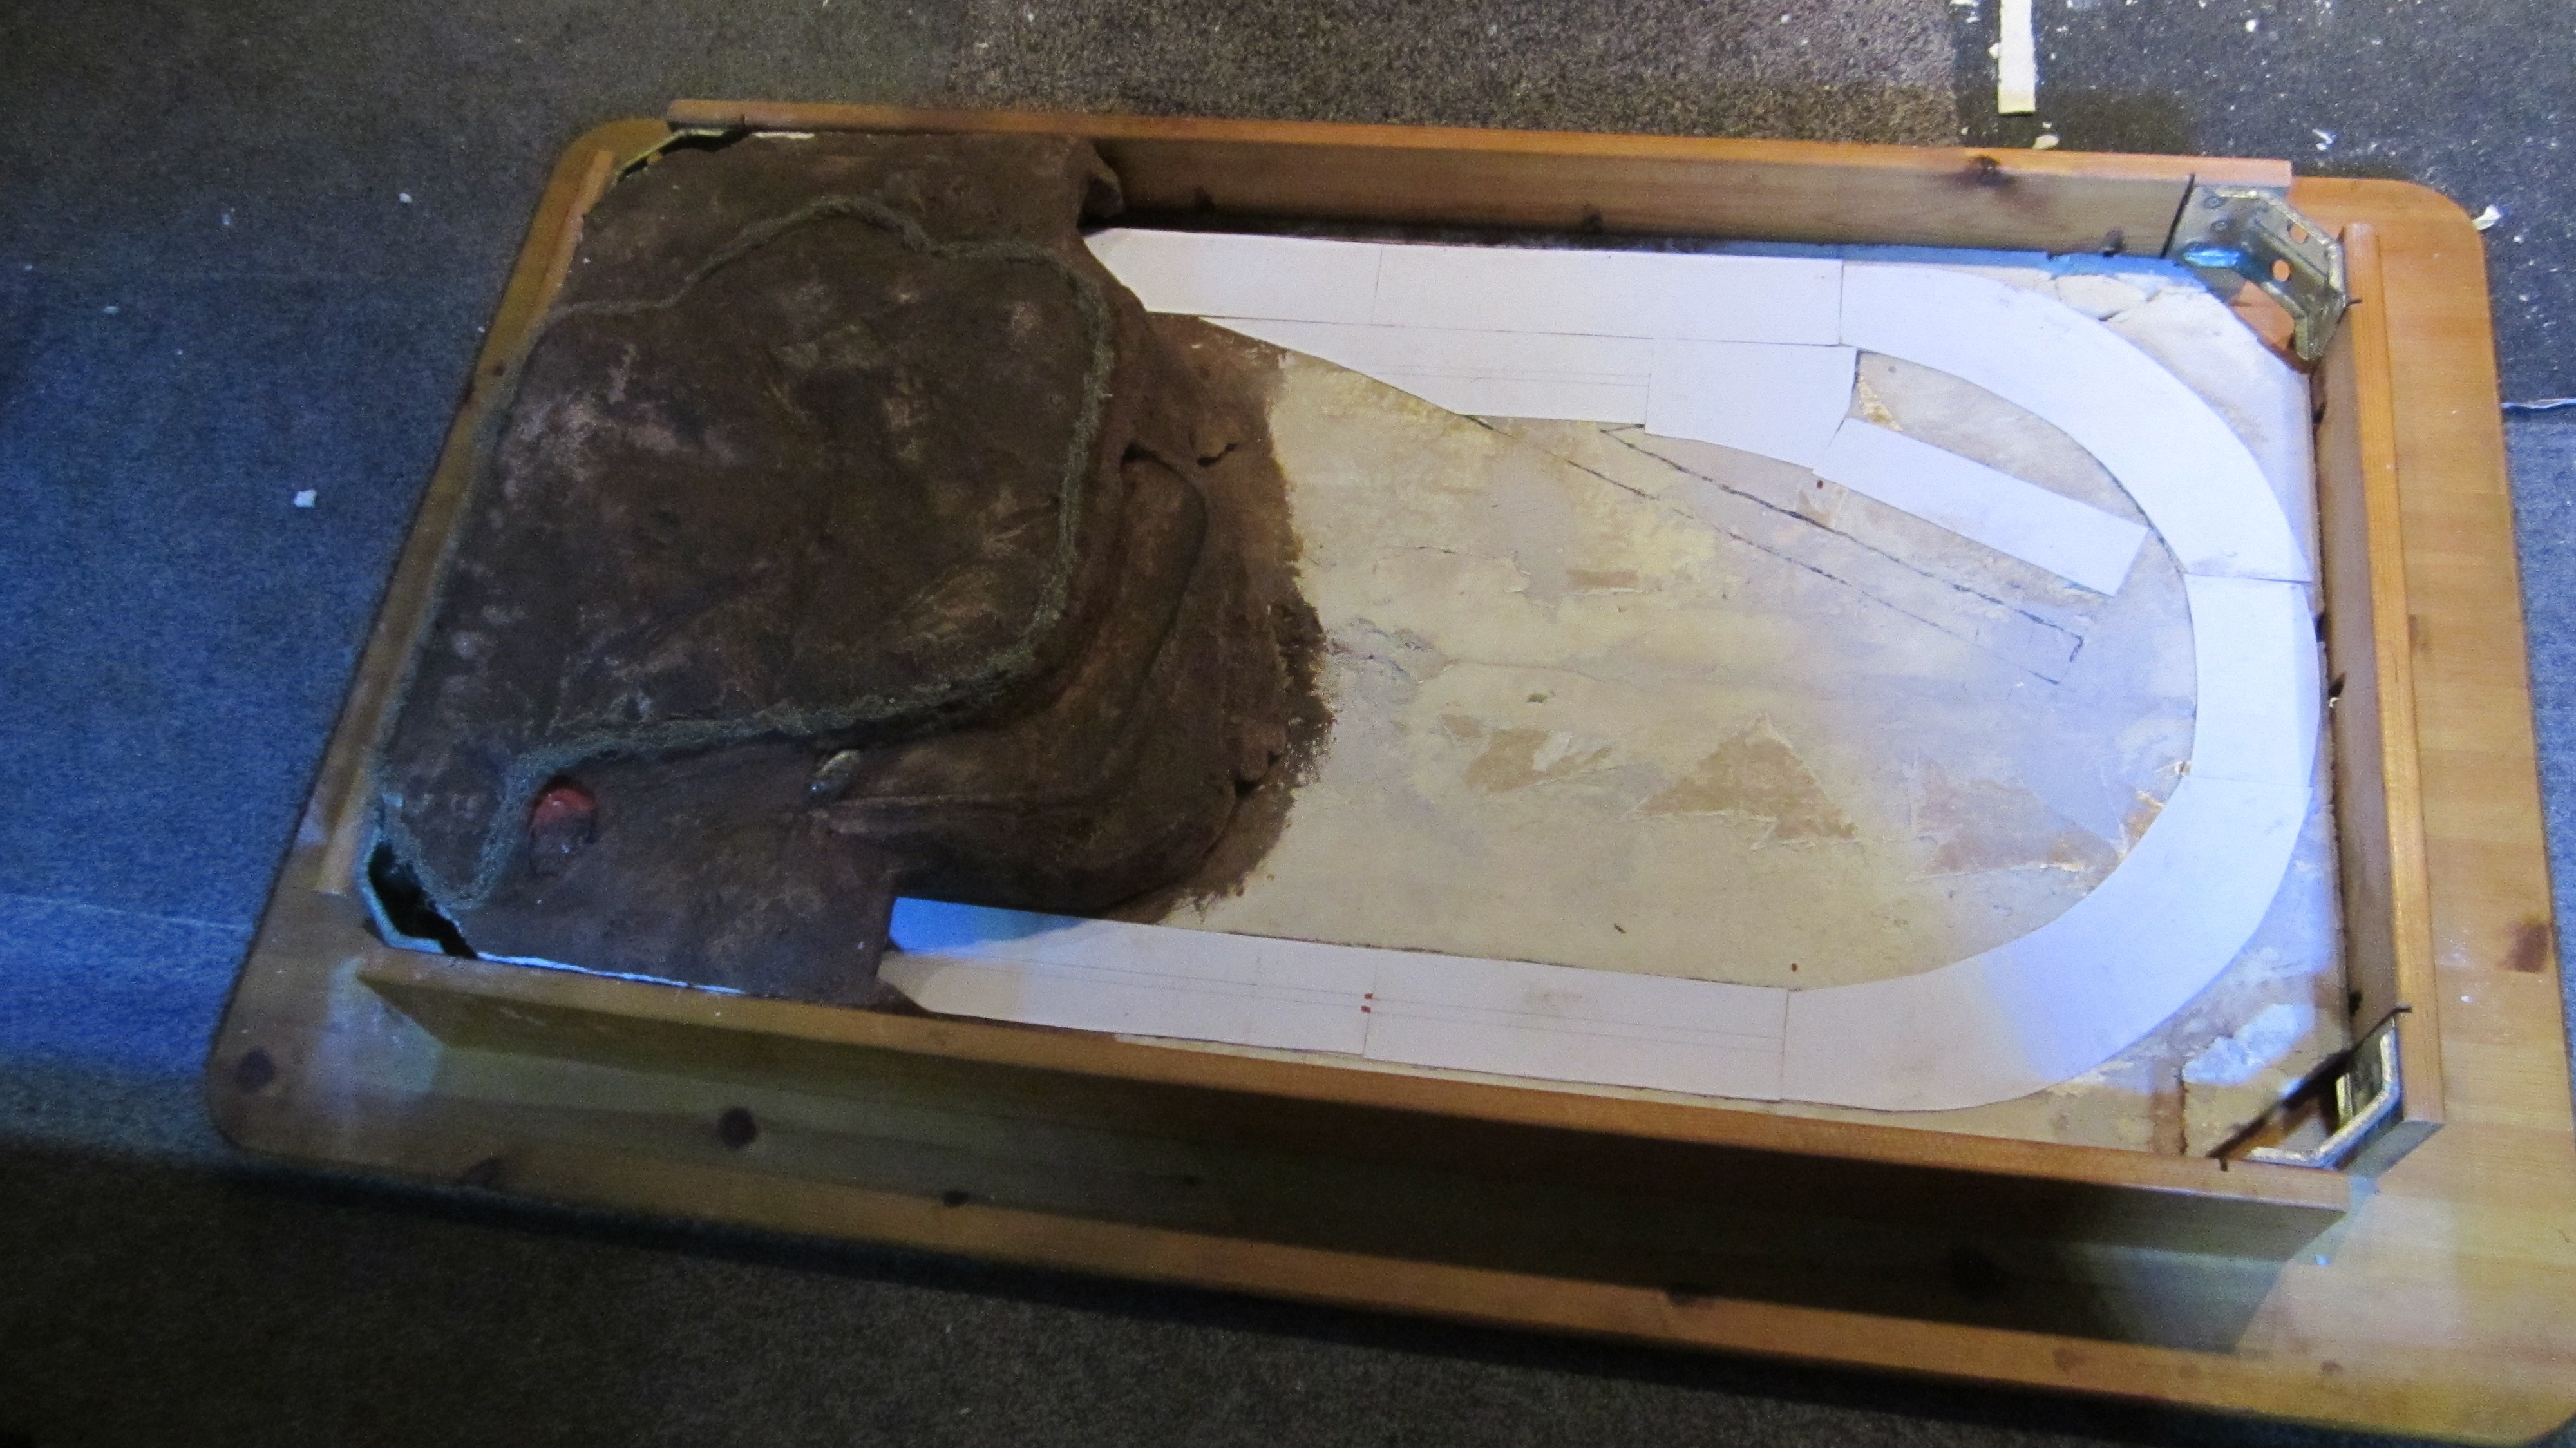
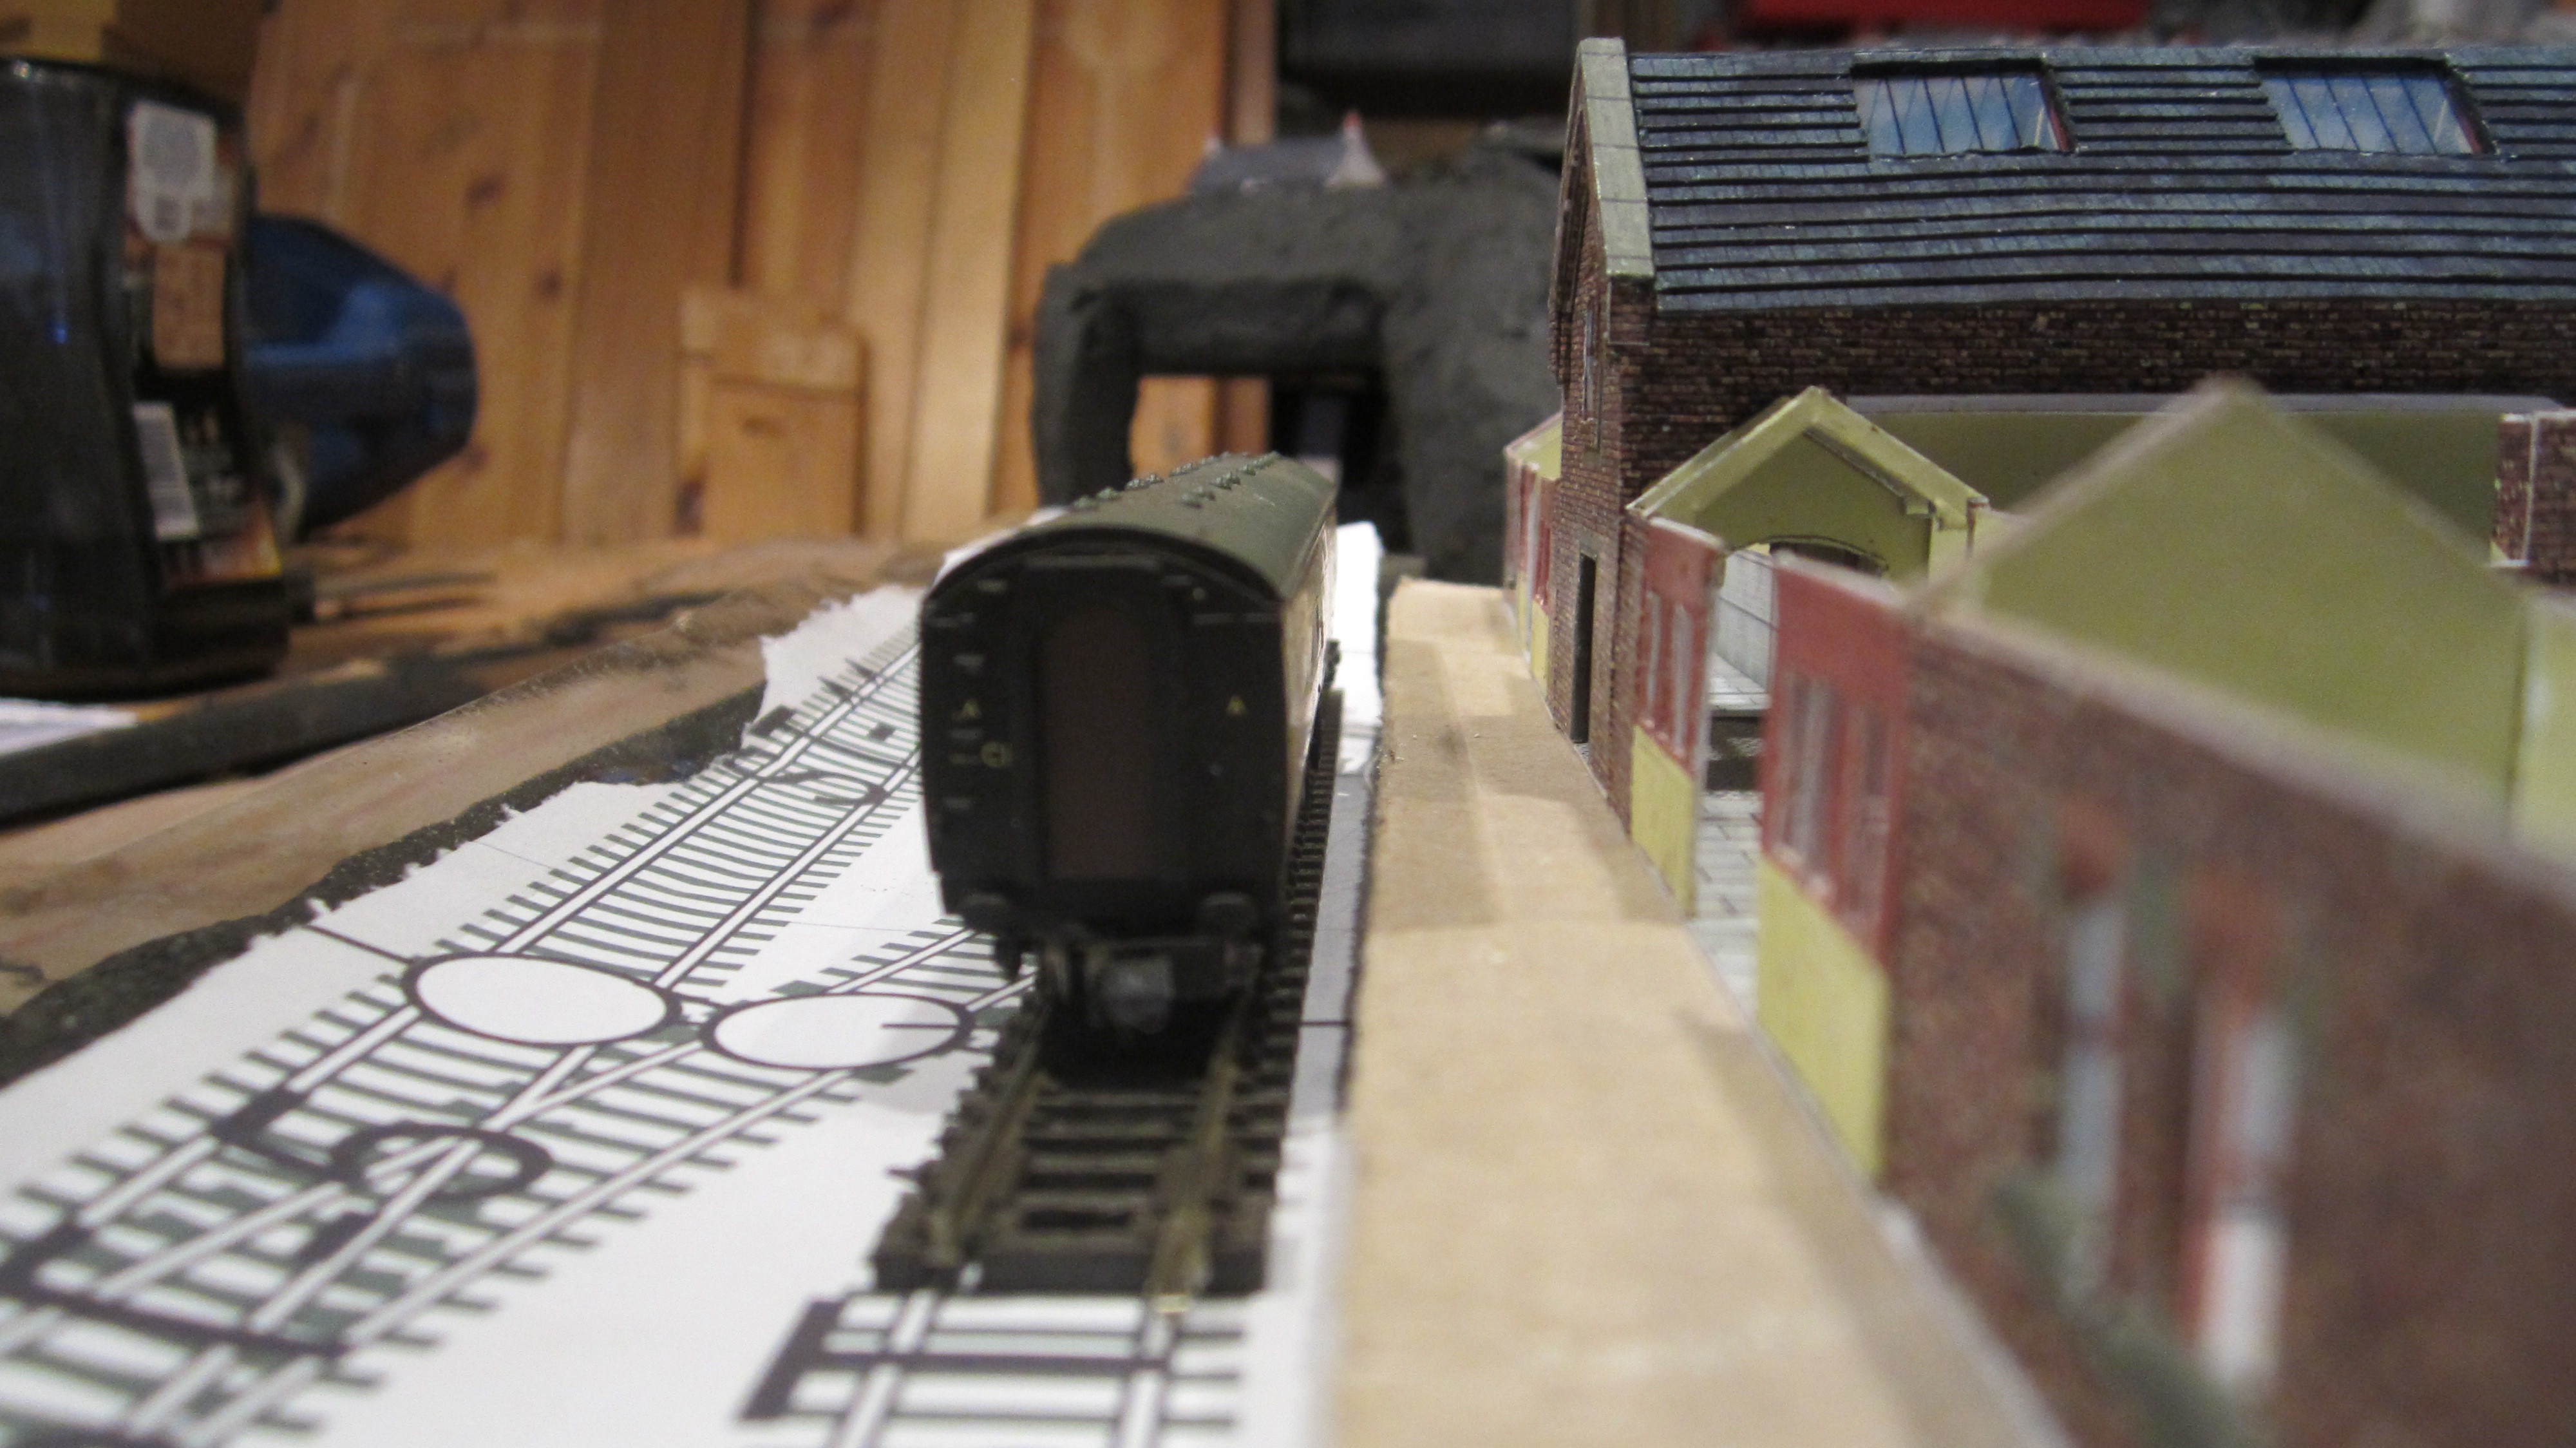
I printed a full size track layout using AnyRail v6.16 DRail Modelspoor Software (Trial Version), a resource that has proven really useful when planning a model railway.
The full size track layout was a useful guide for checking the tunnel for clearances.
What the Flock!
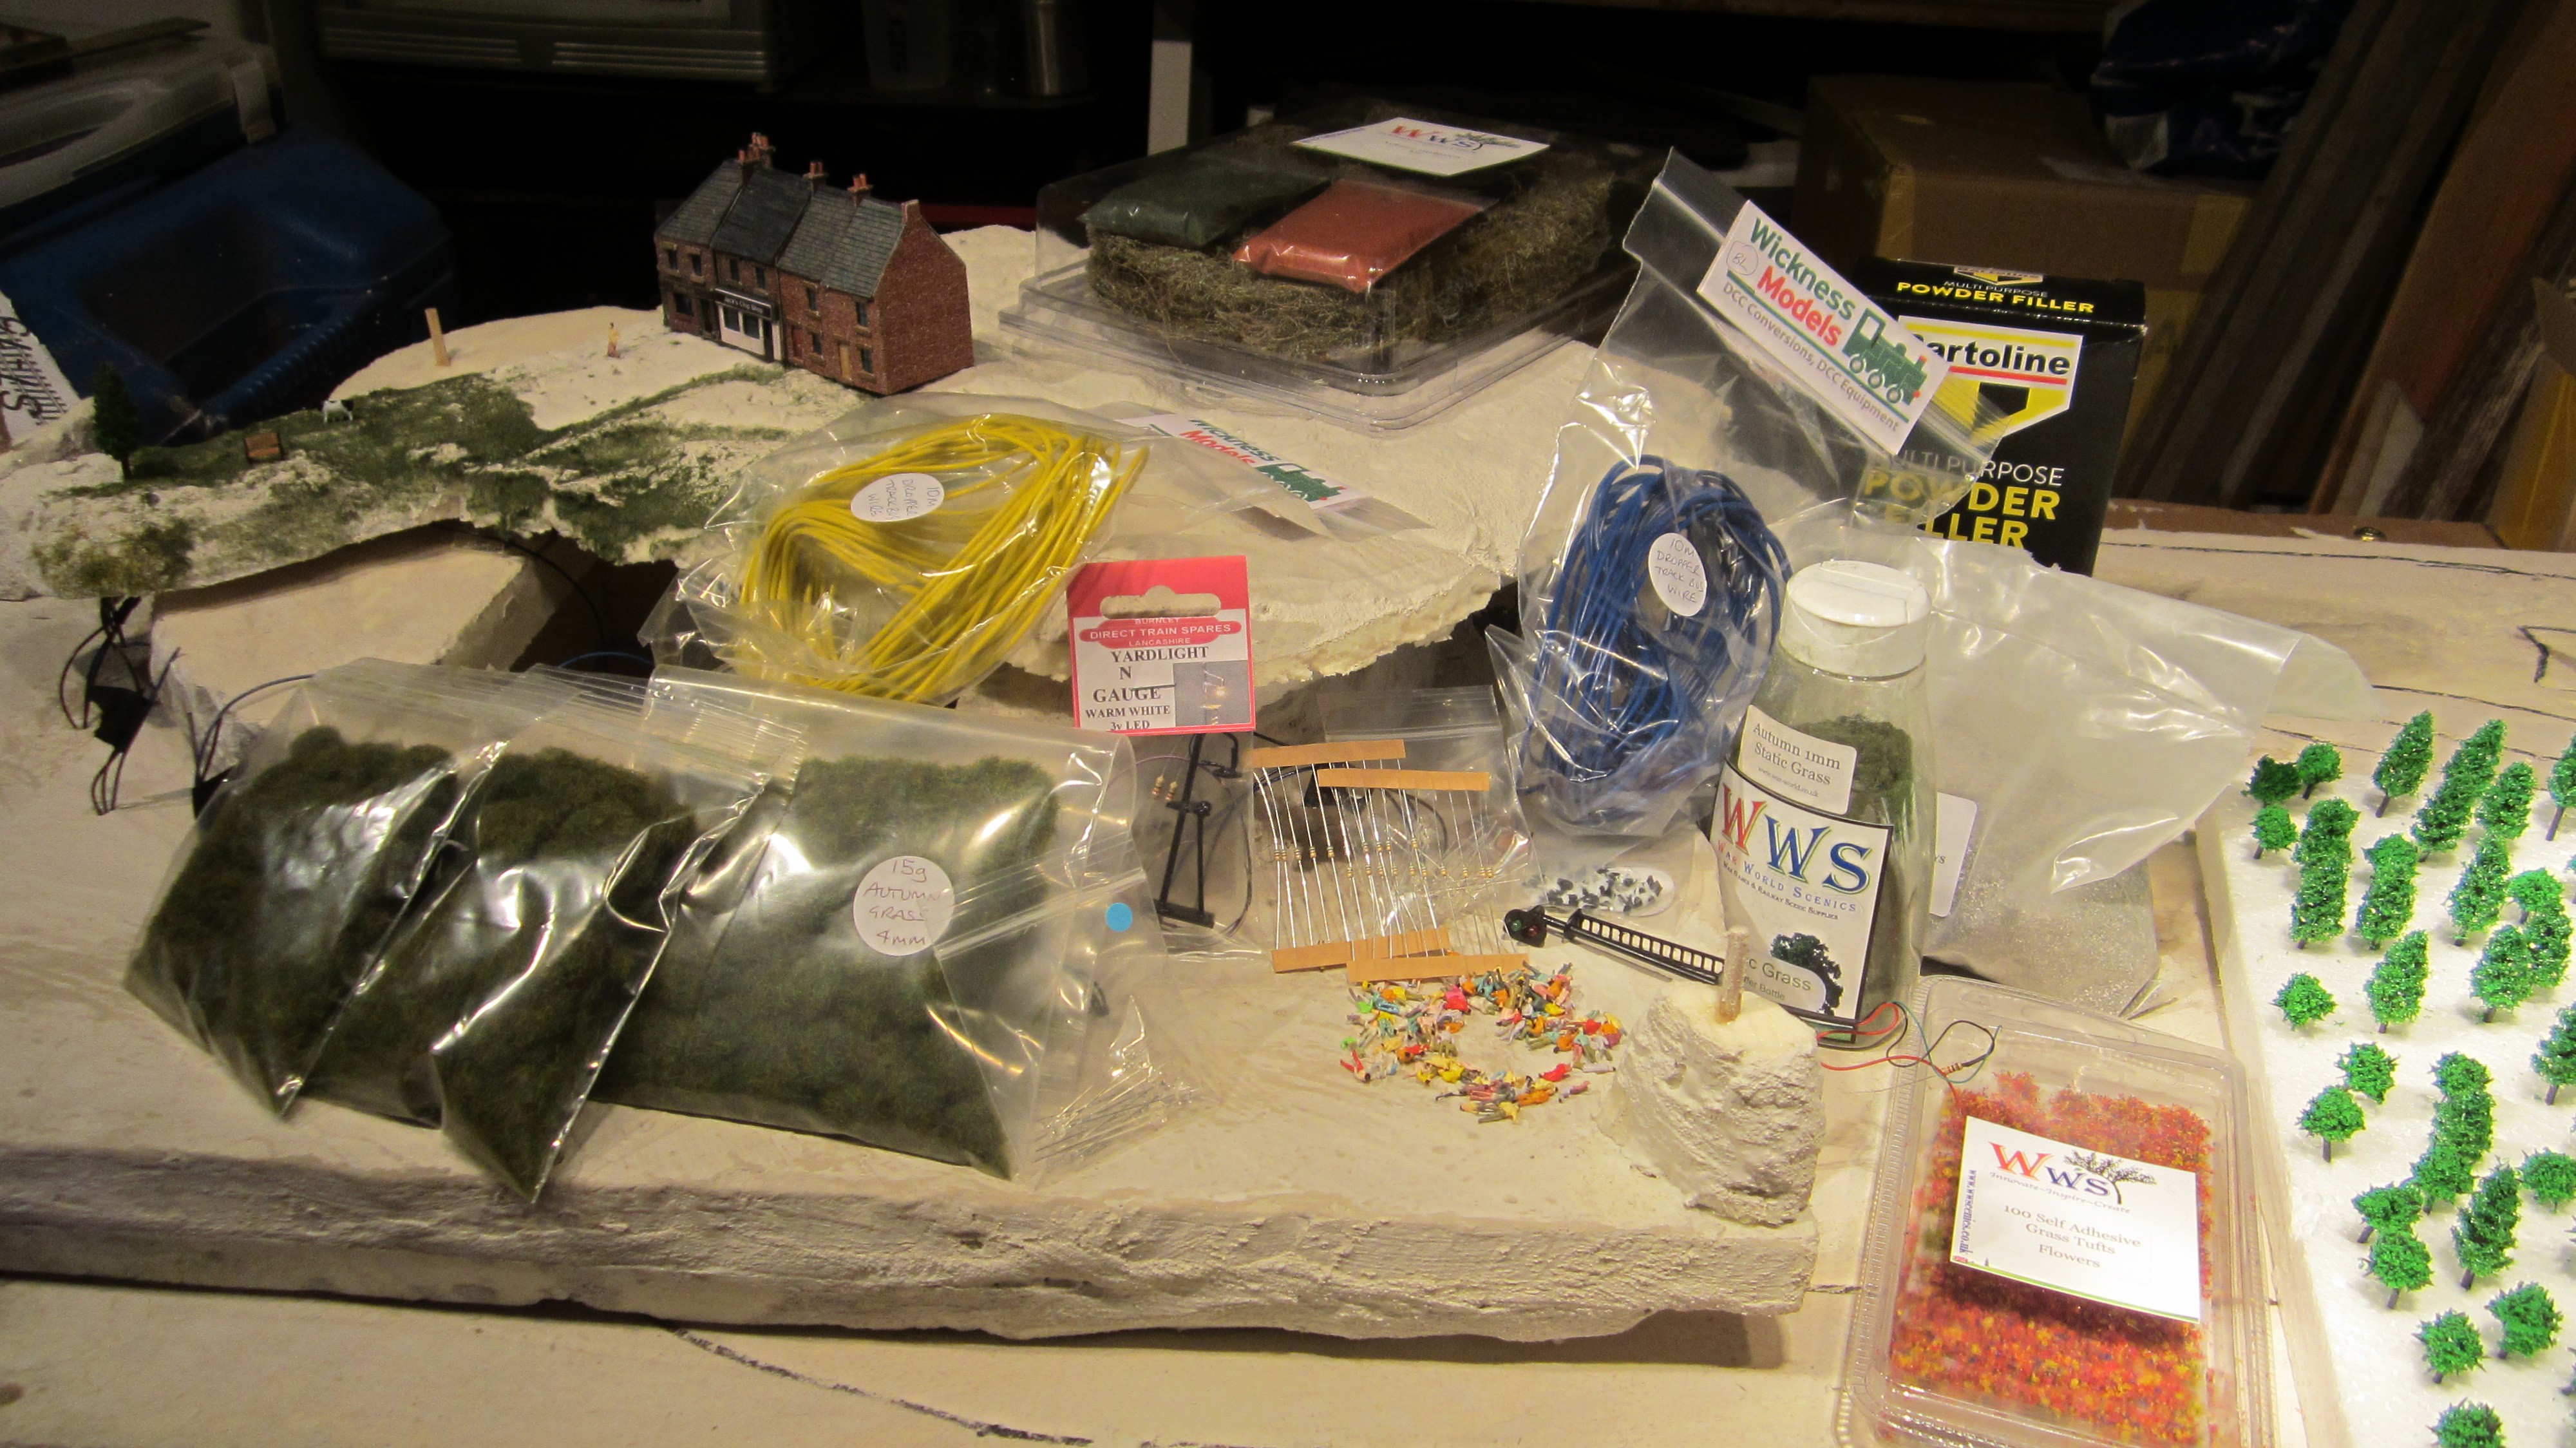
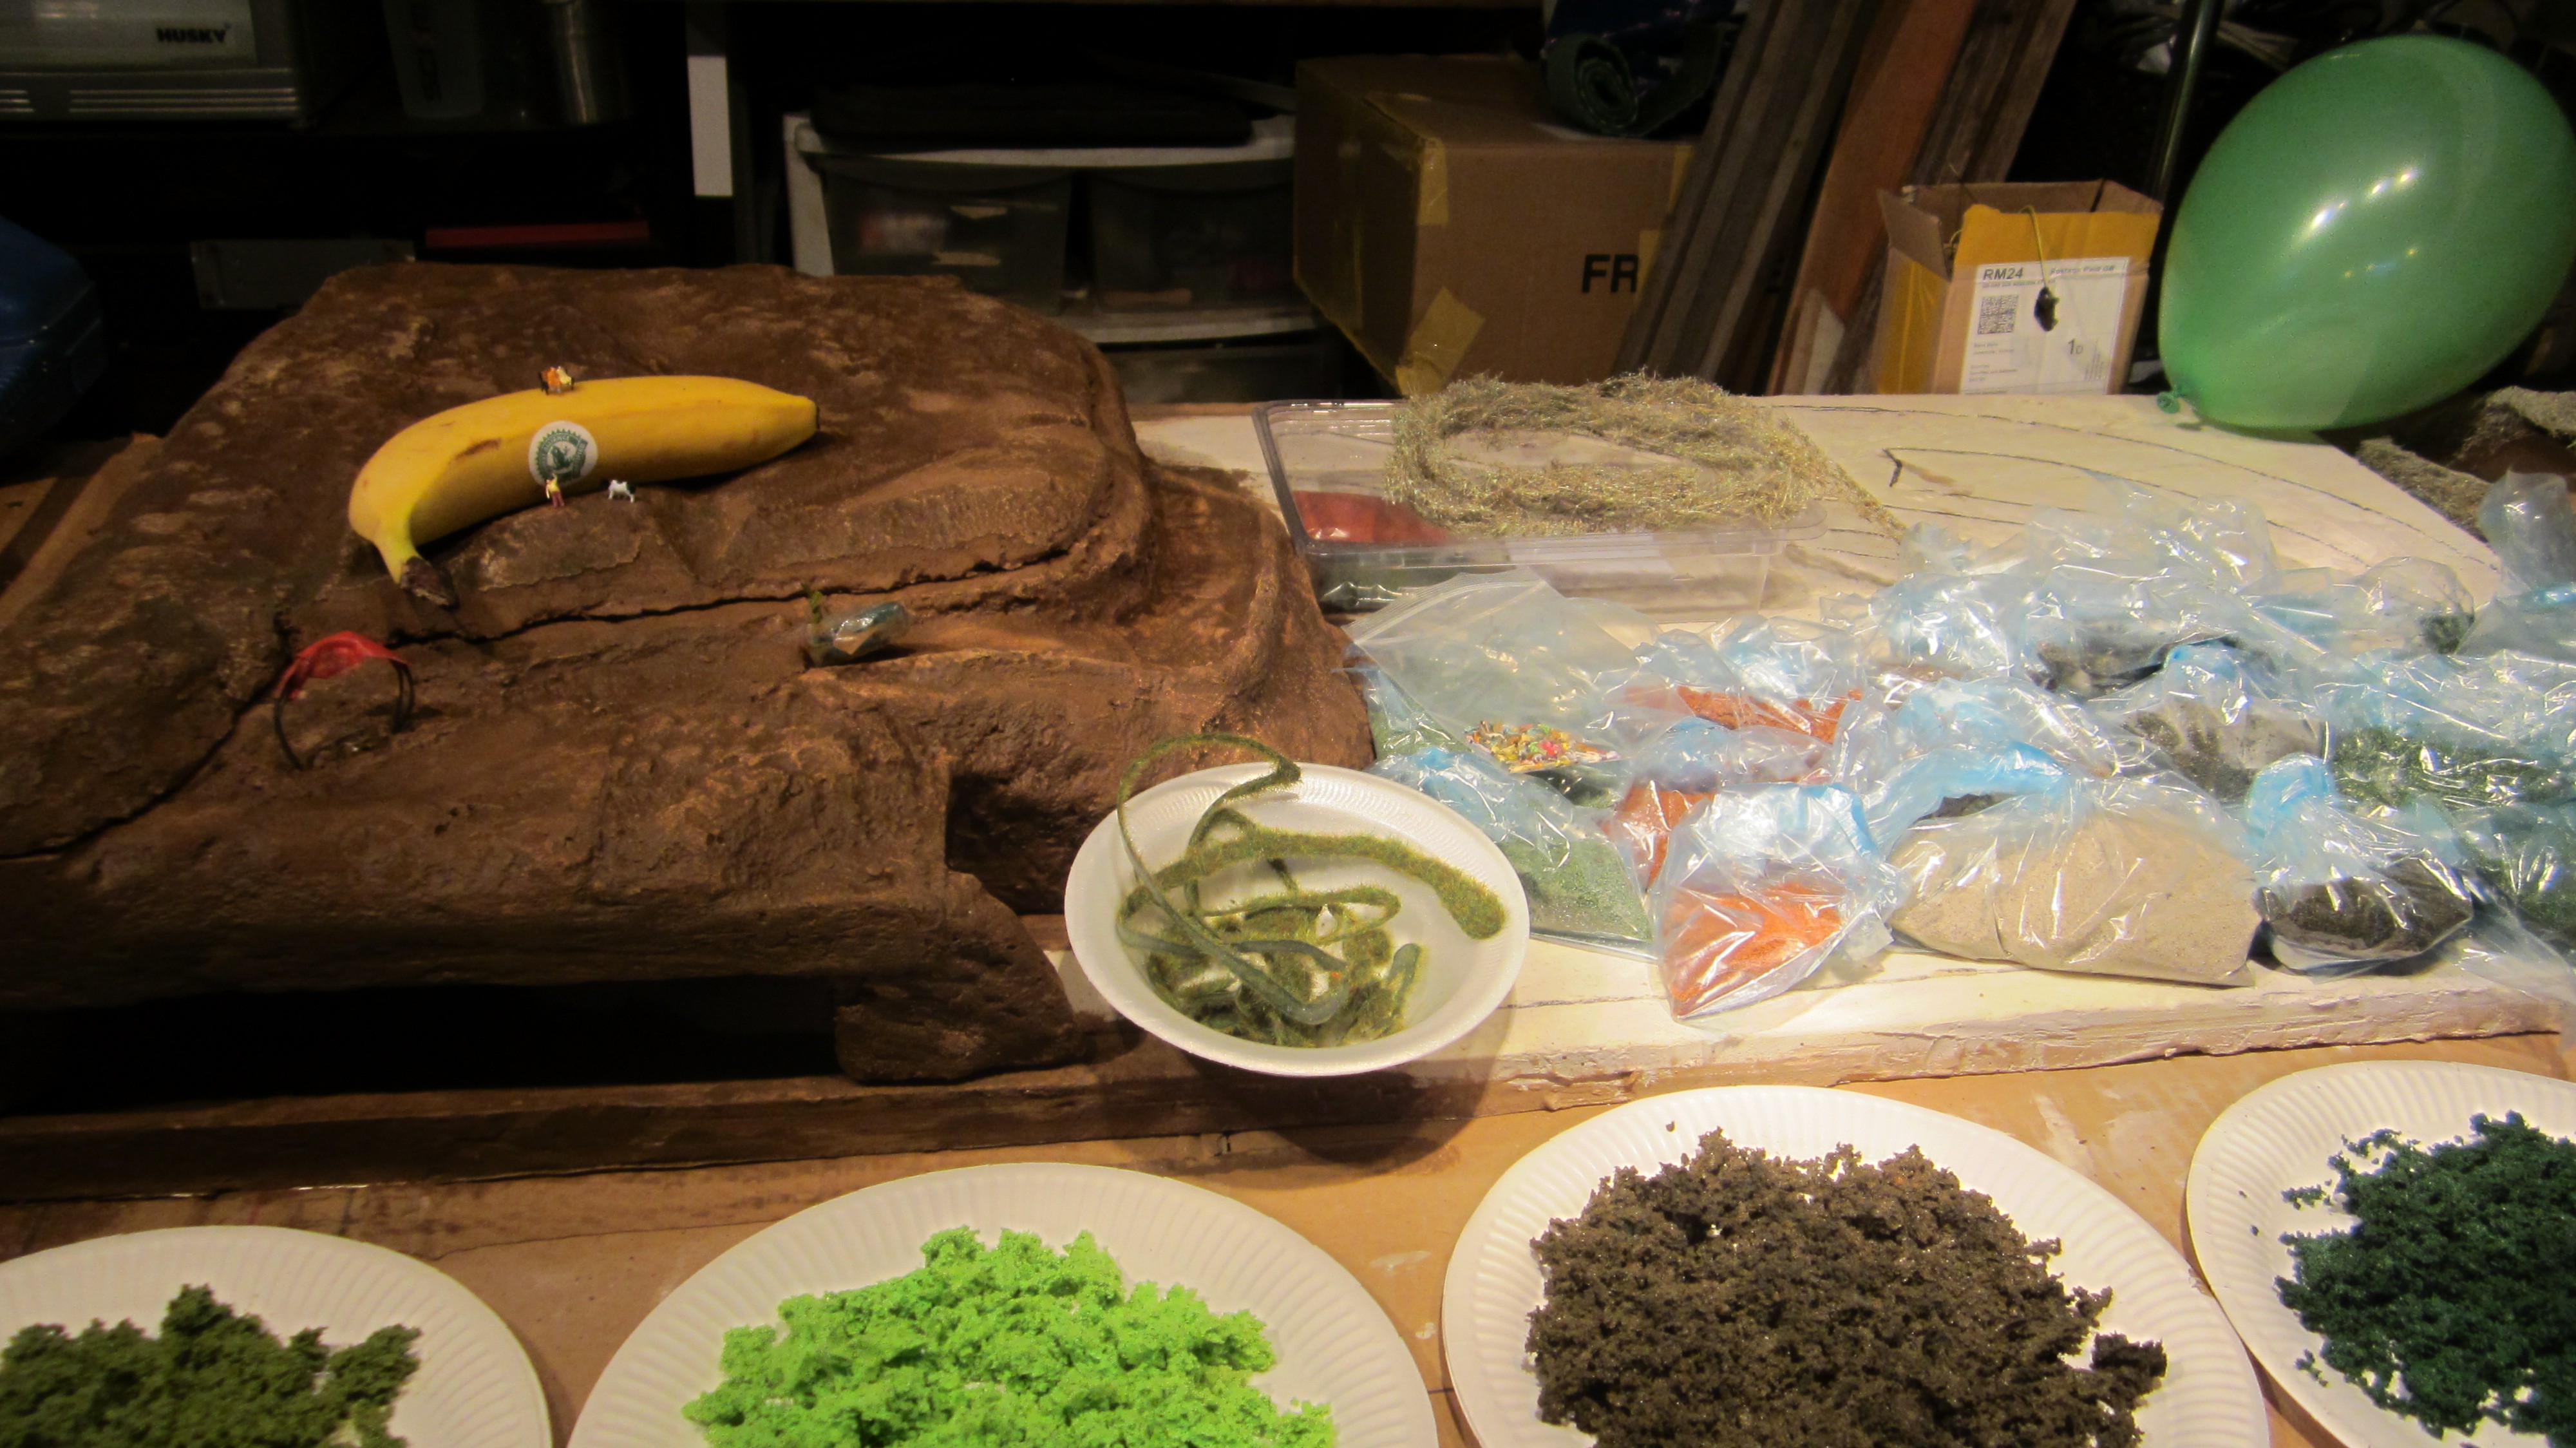
It was time to get on the internet and get some materials for the next stage, this is where I quickly realised how expensive the materials for model making were, I bought some small items (literally!) to get the feel for the scale and experiment with.
This is when Mel The Terrain Tutor came in, and I began creating my own flock and foliage using sawdust, fish tank sand, and a sponge.
I looked at making a static grass applicator but did't have the time or budget to make one never mind buy one, so I went for the super budget version and a balloon rubbed on my jumper, I experimented with PVA glue on a plastic tray, I put blobs of PVA on the tray and chucked some static grass at it, then waved my static charged balloon over it, looks OK and will do for now, cheap and cheerful.
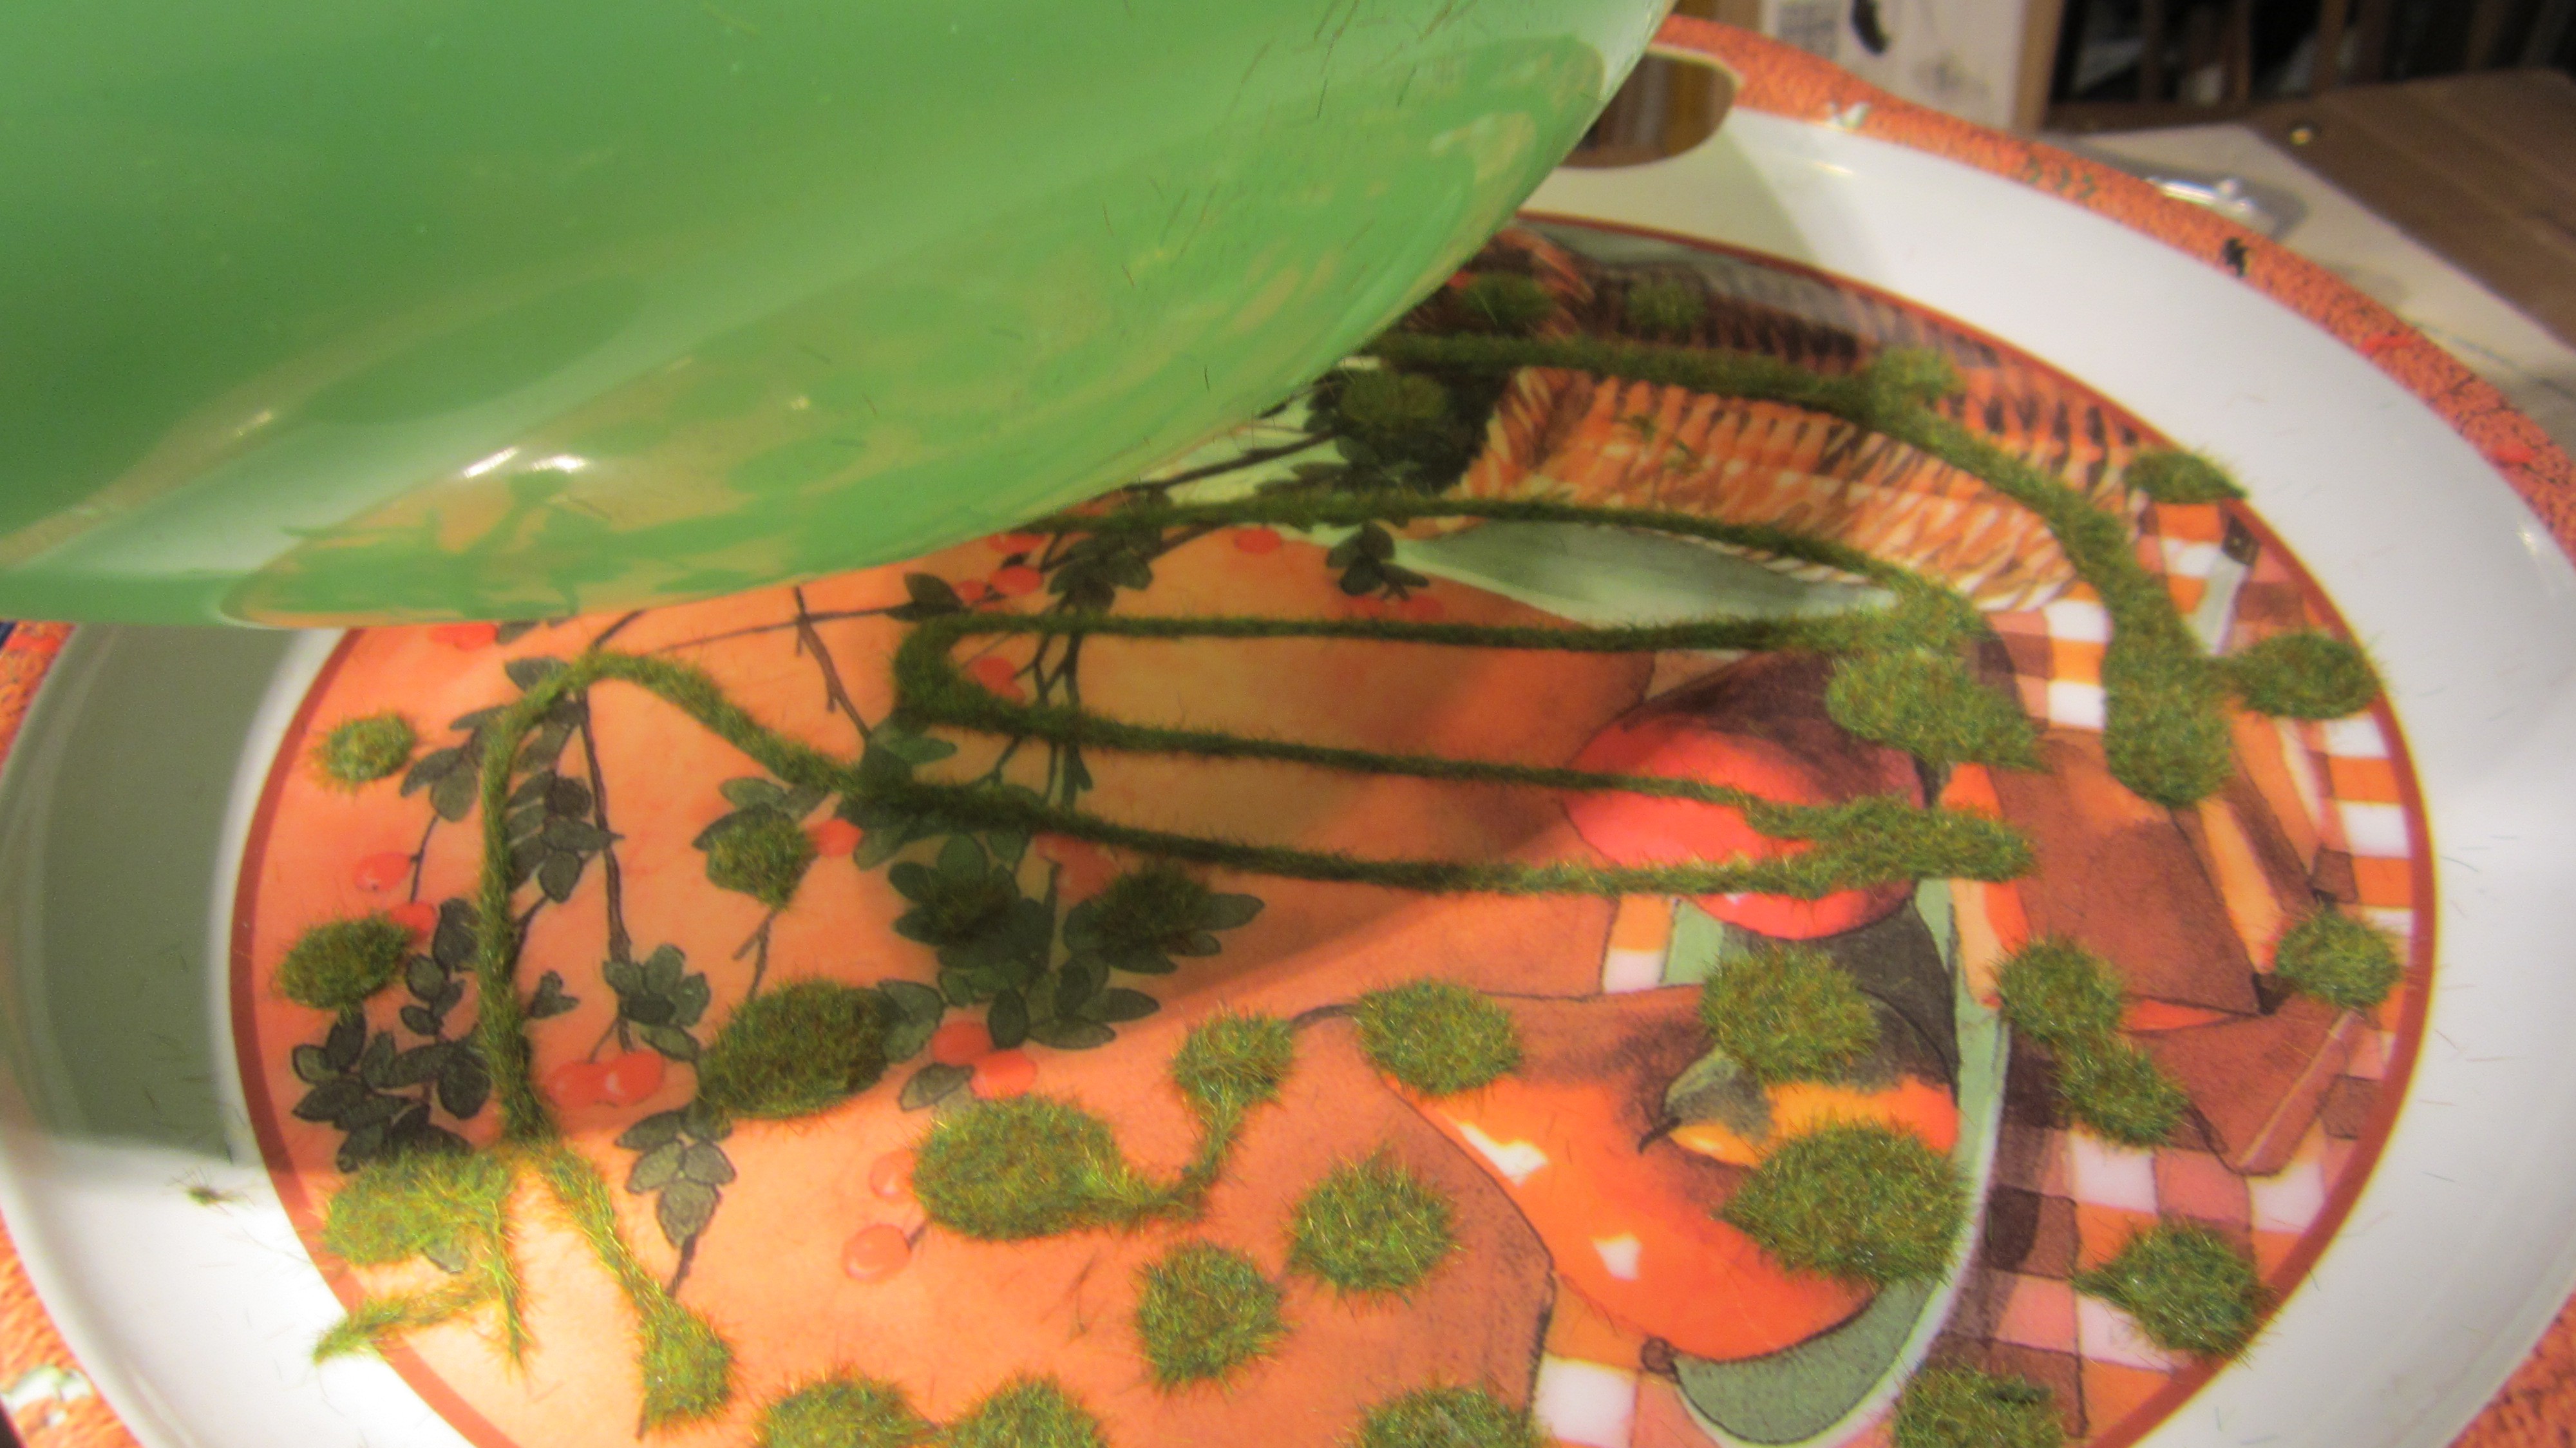
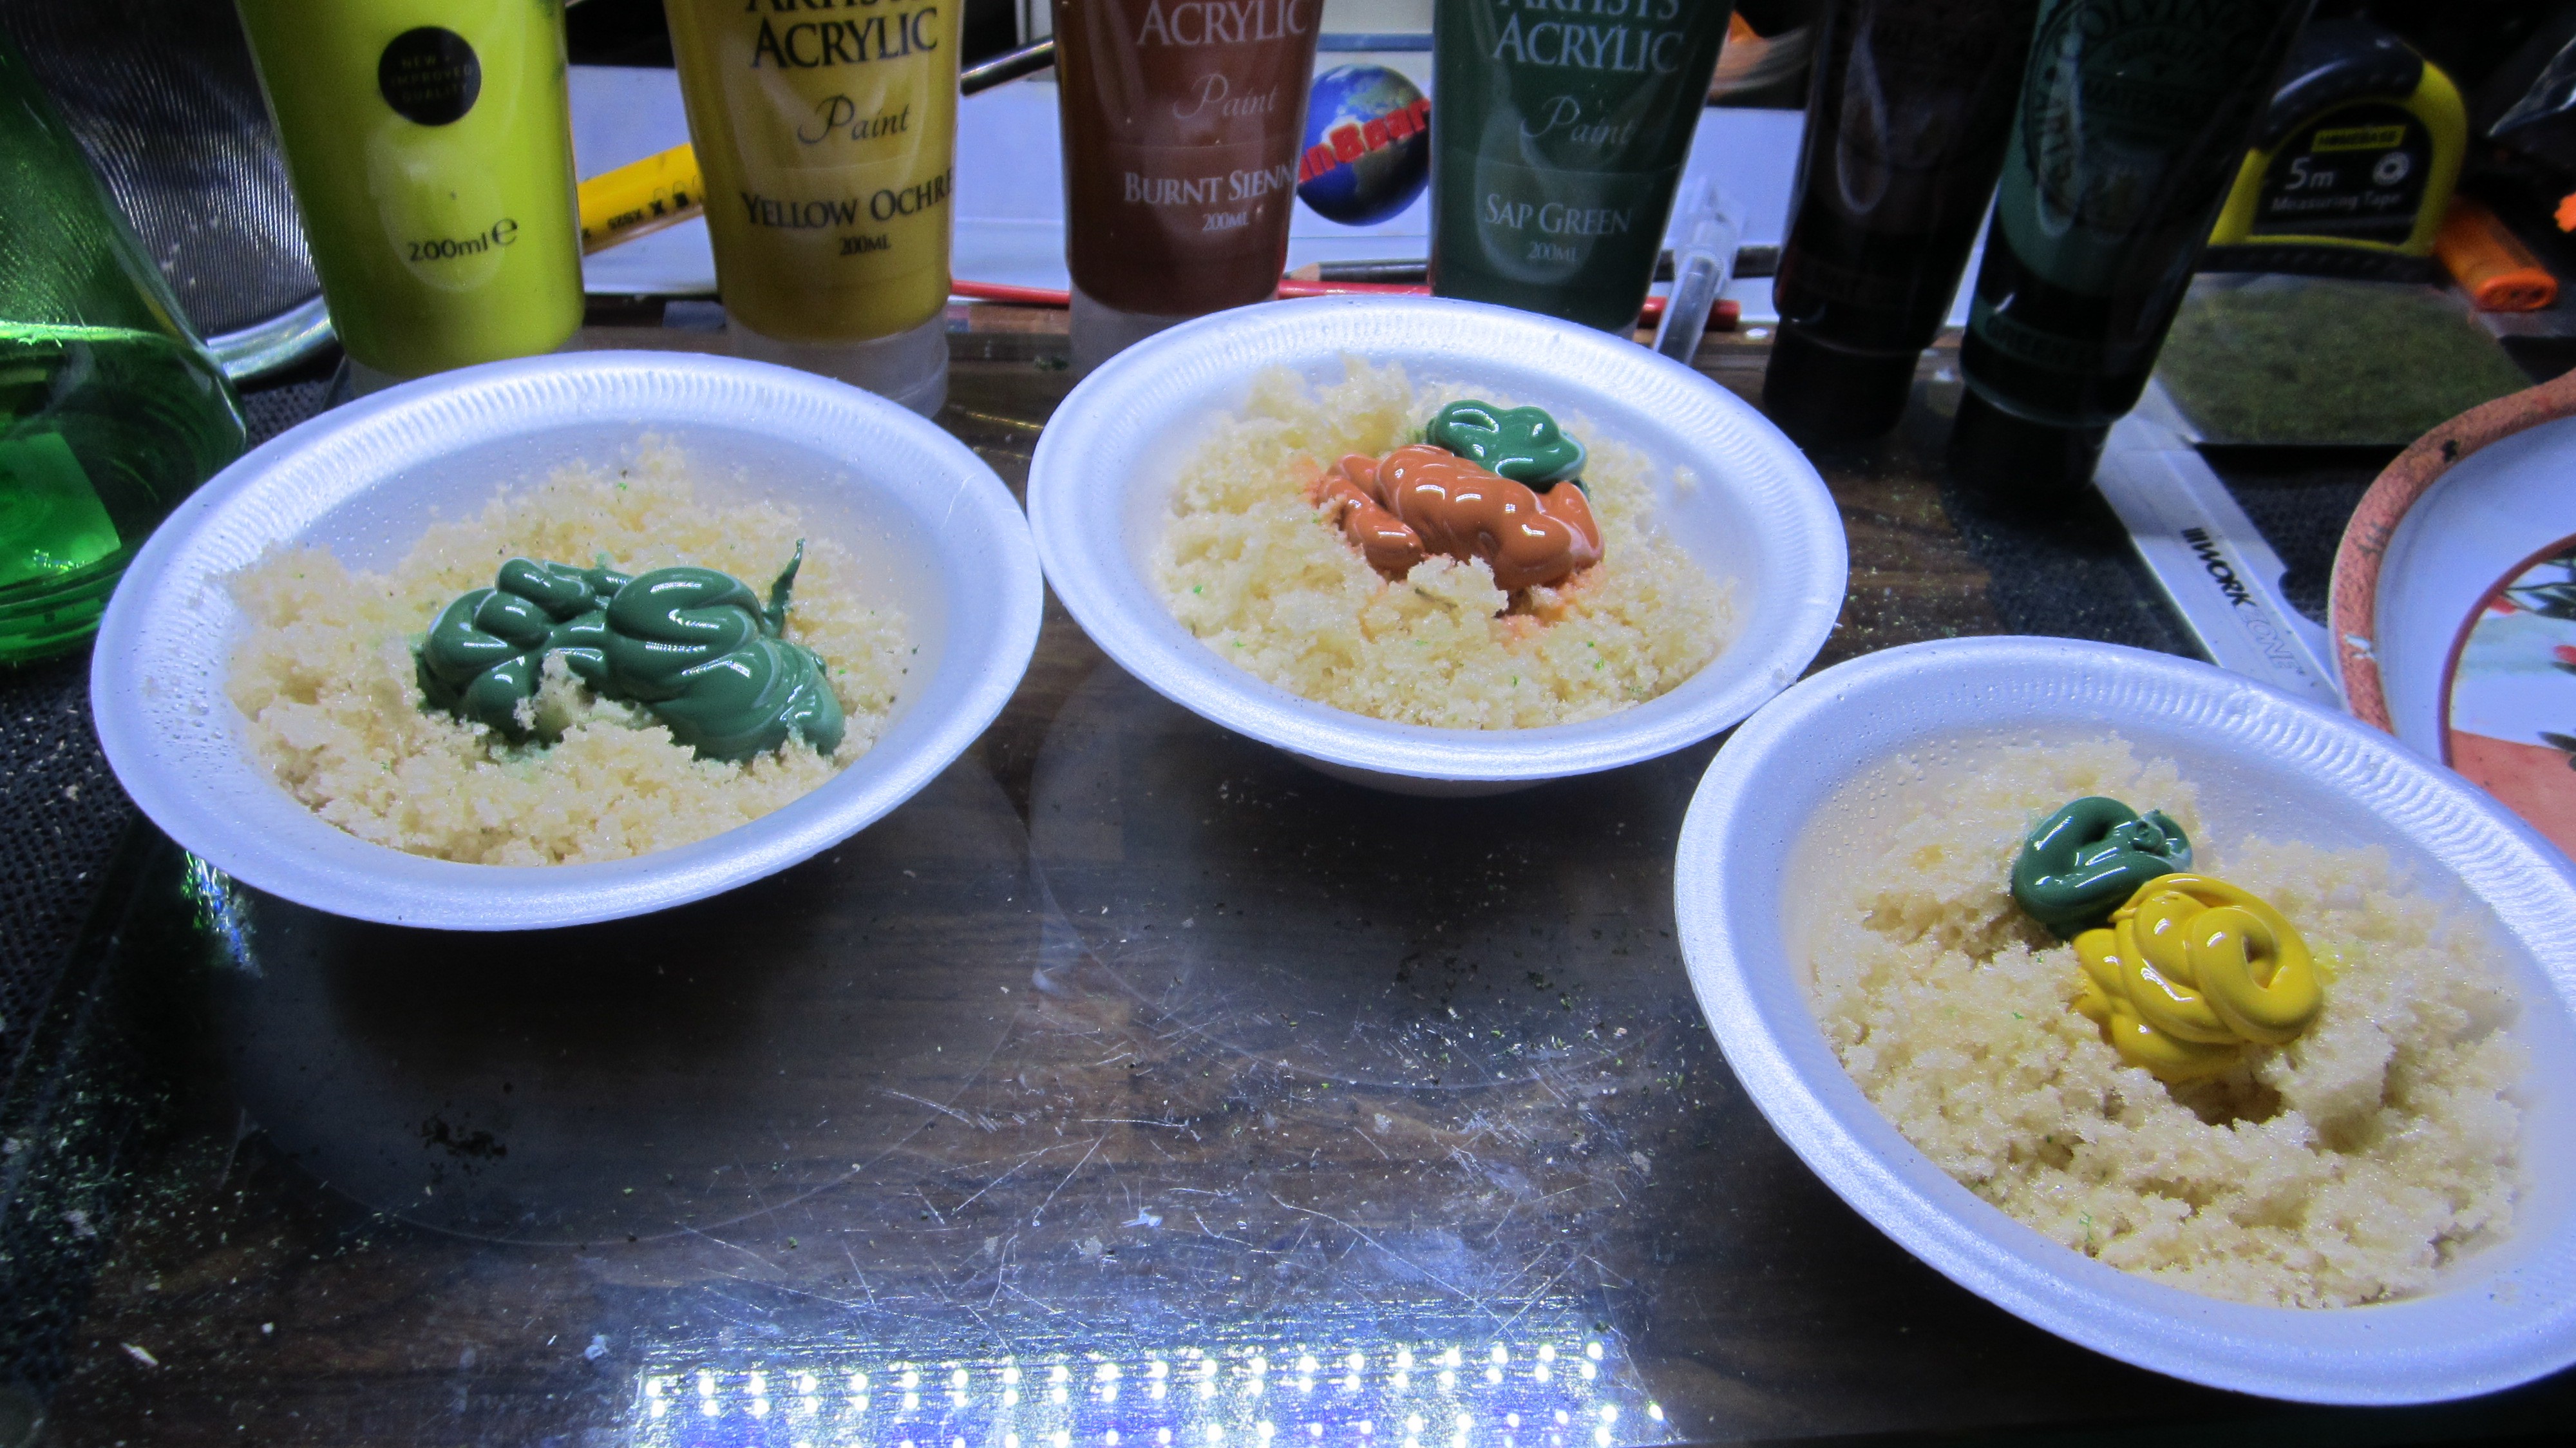
I gathered up the sawdust from the table saw and used acrylic paint to colour it, left it to dry for a couple of days then sieved it into 3 different sizes.
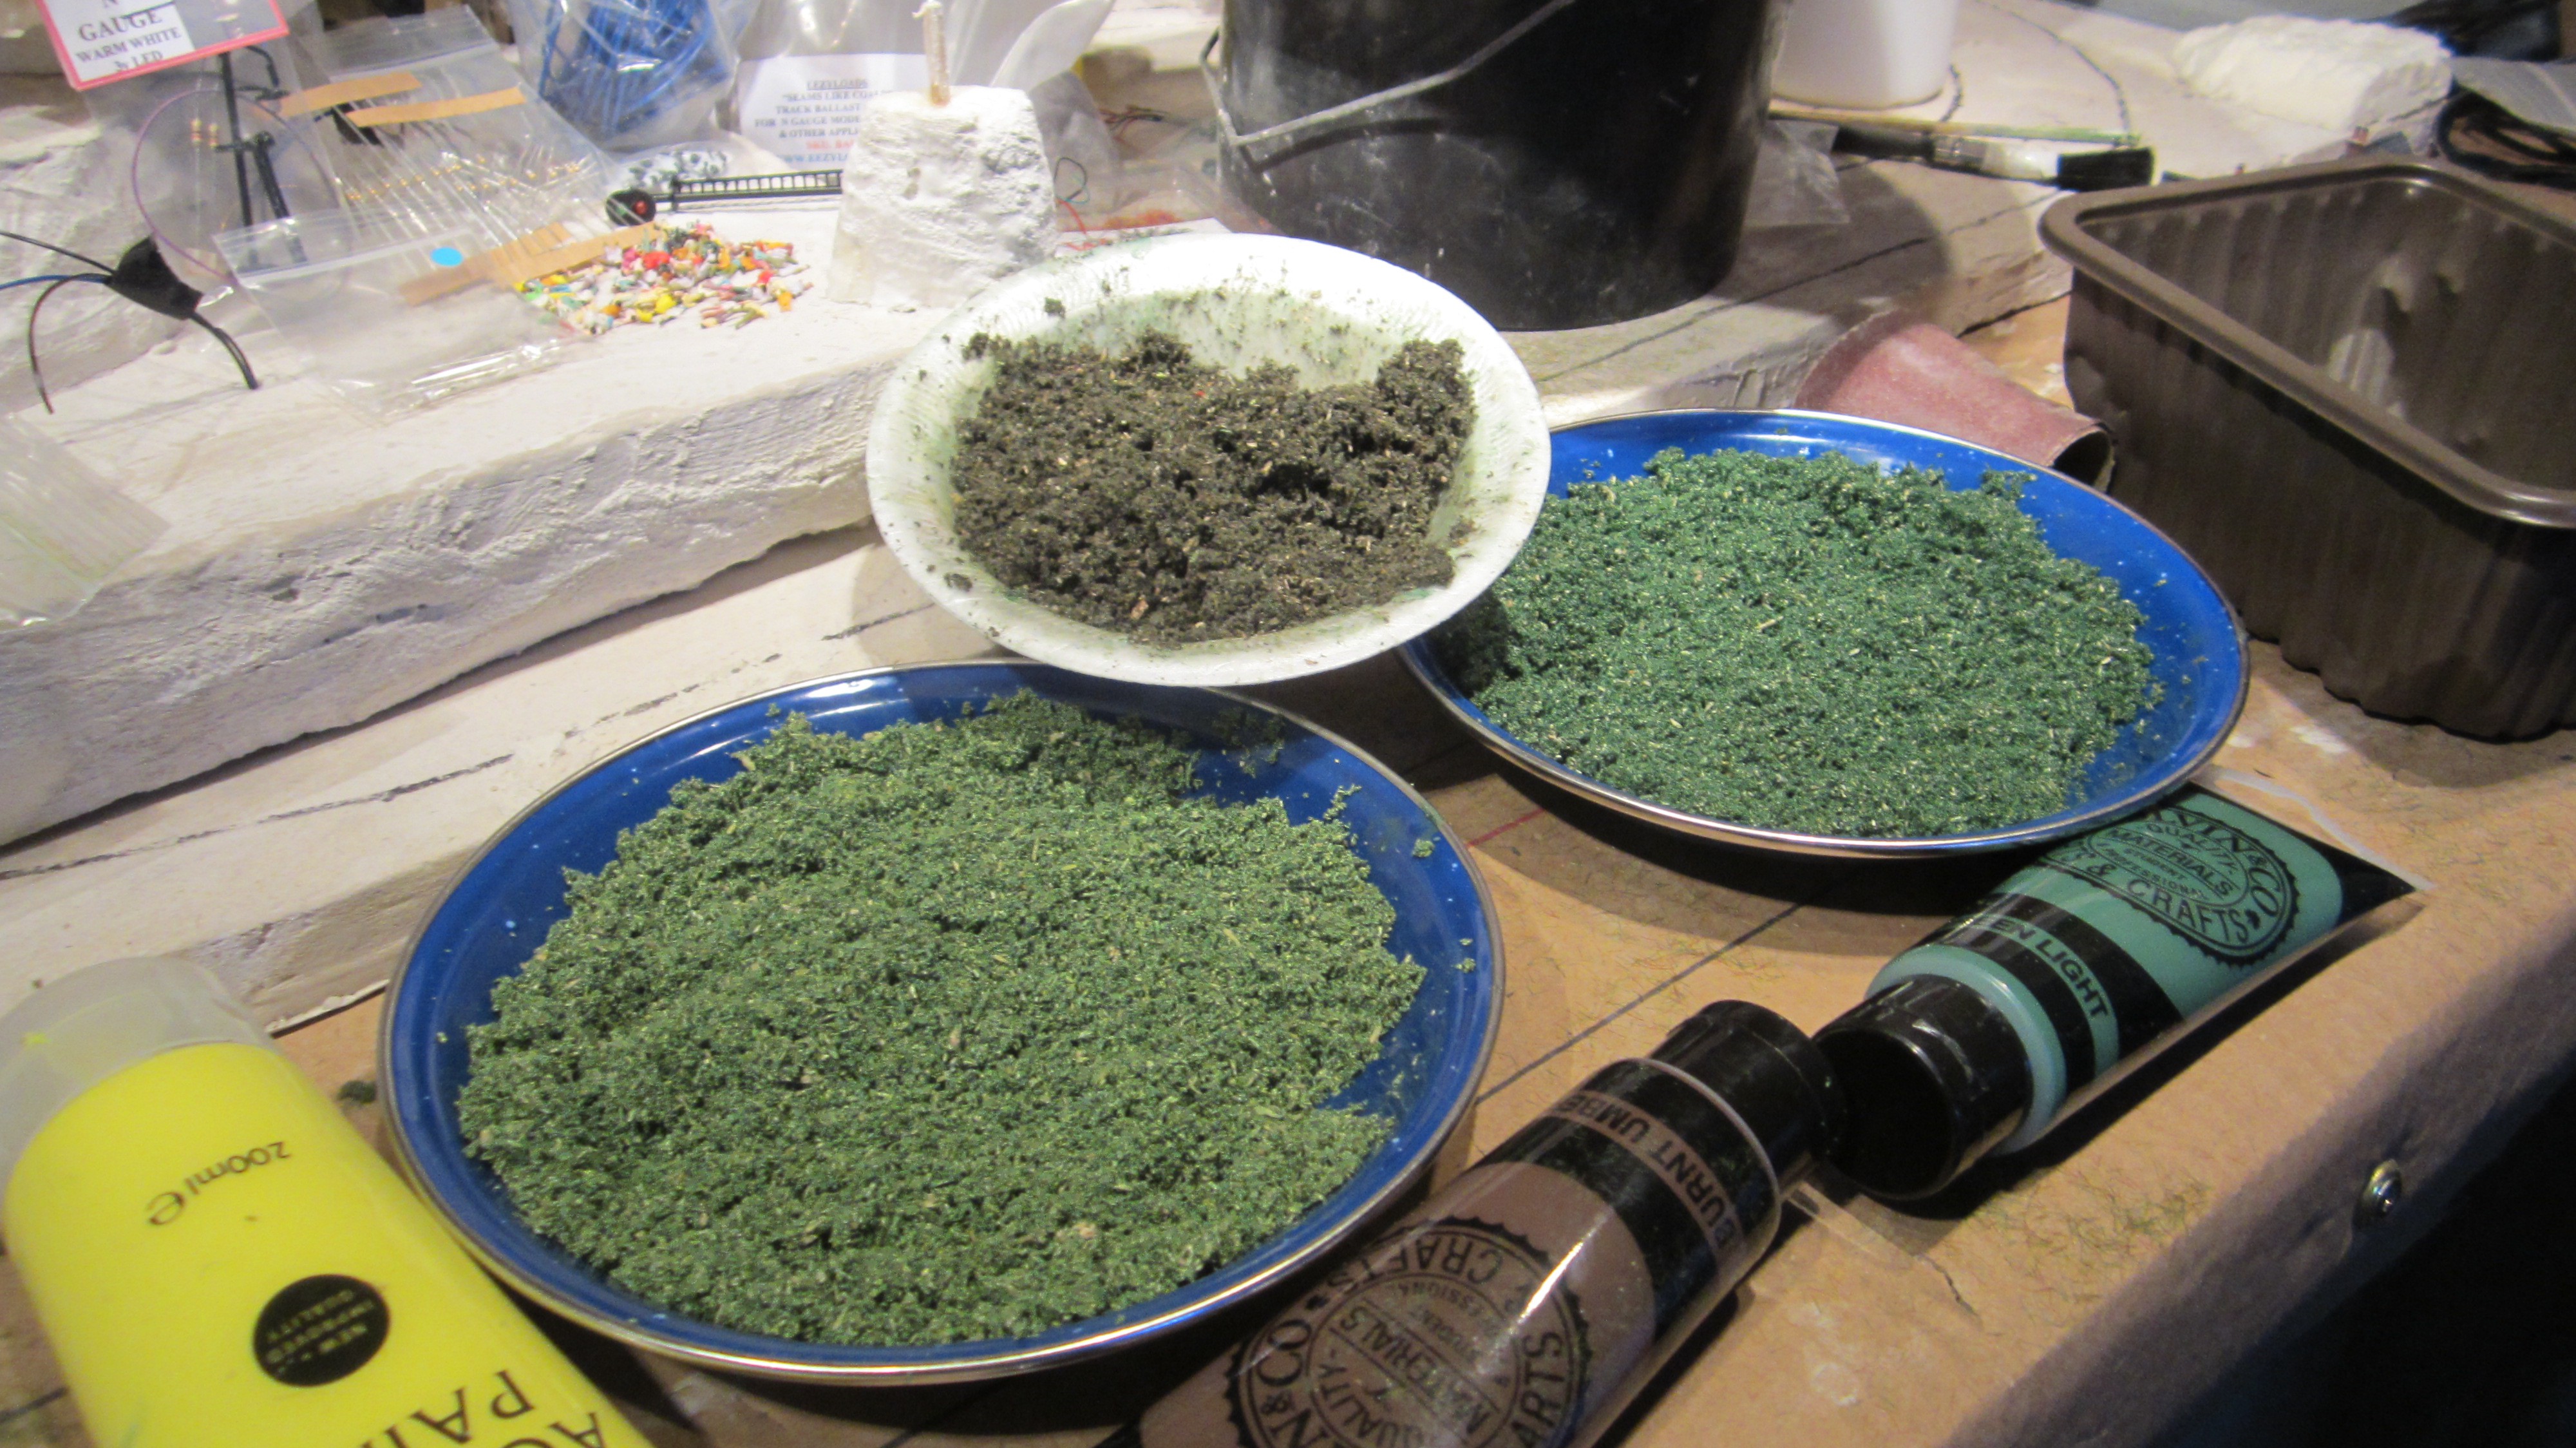
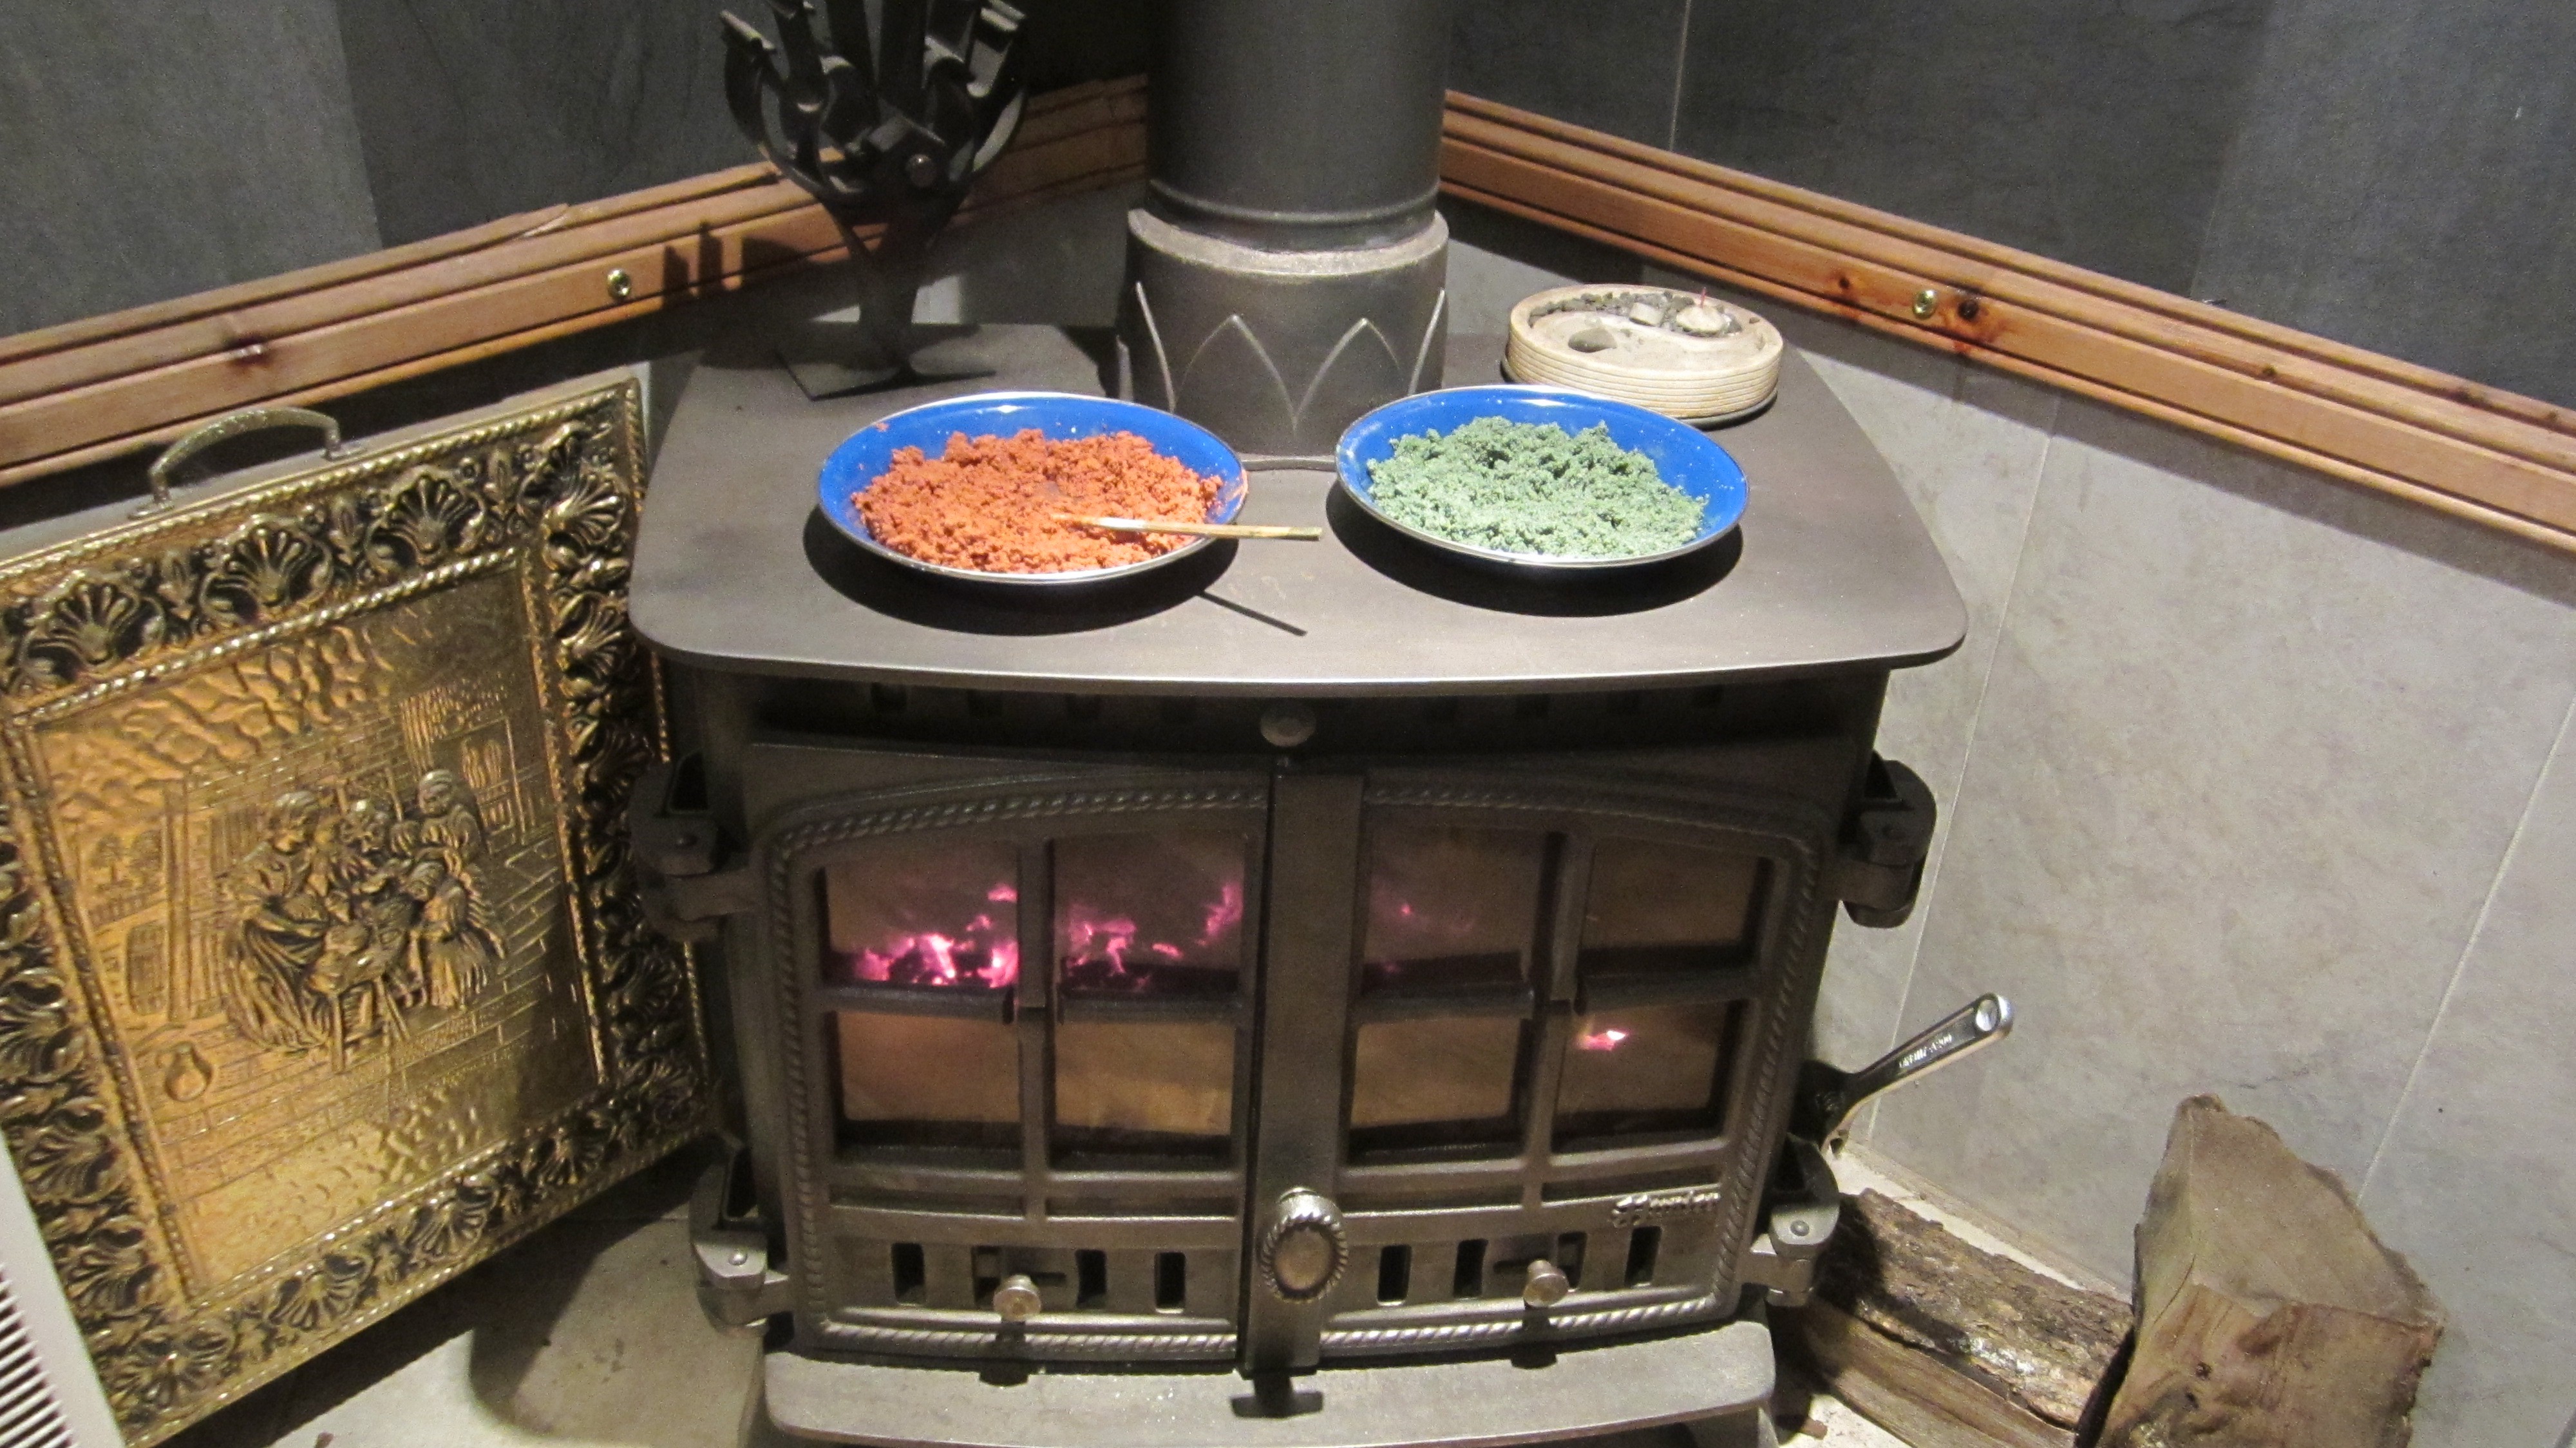
I took some fine light sand out of my aquarium and after mixing it with acrylic paint I aggressively dried it on top of the wood-burner.
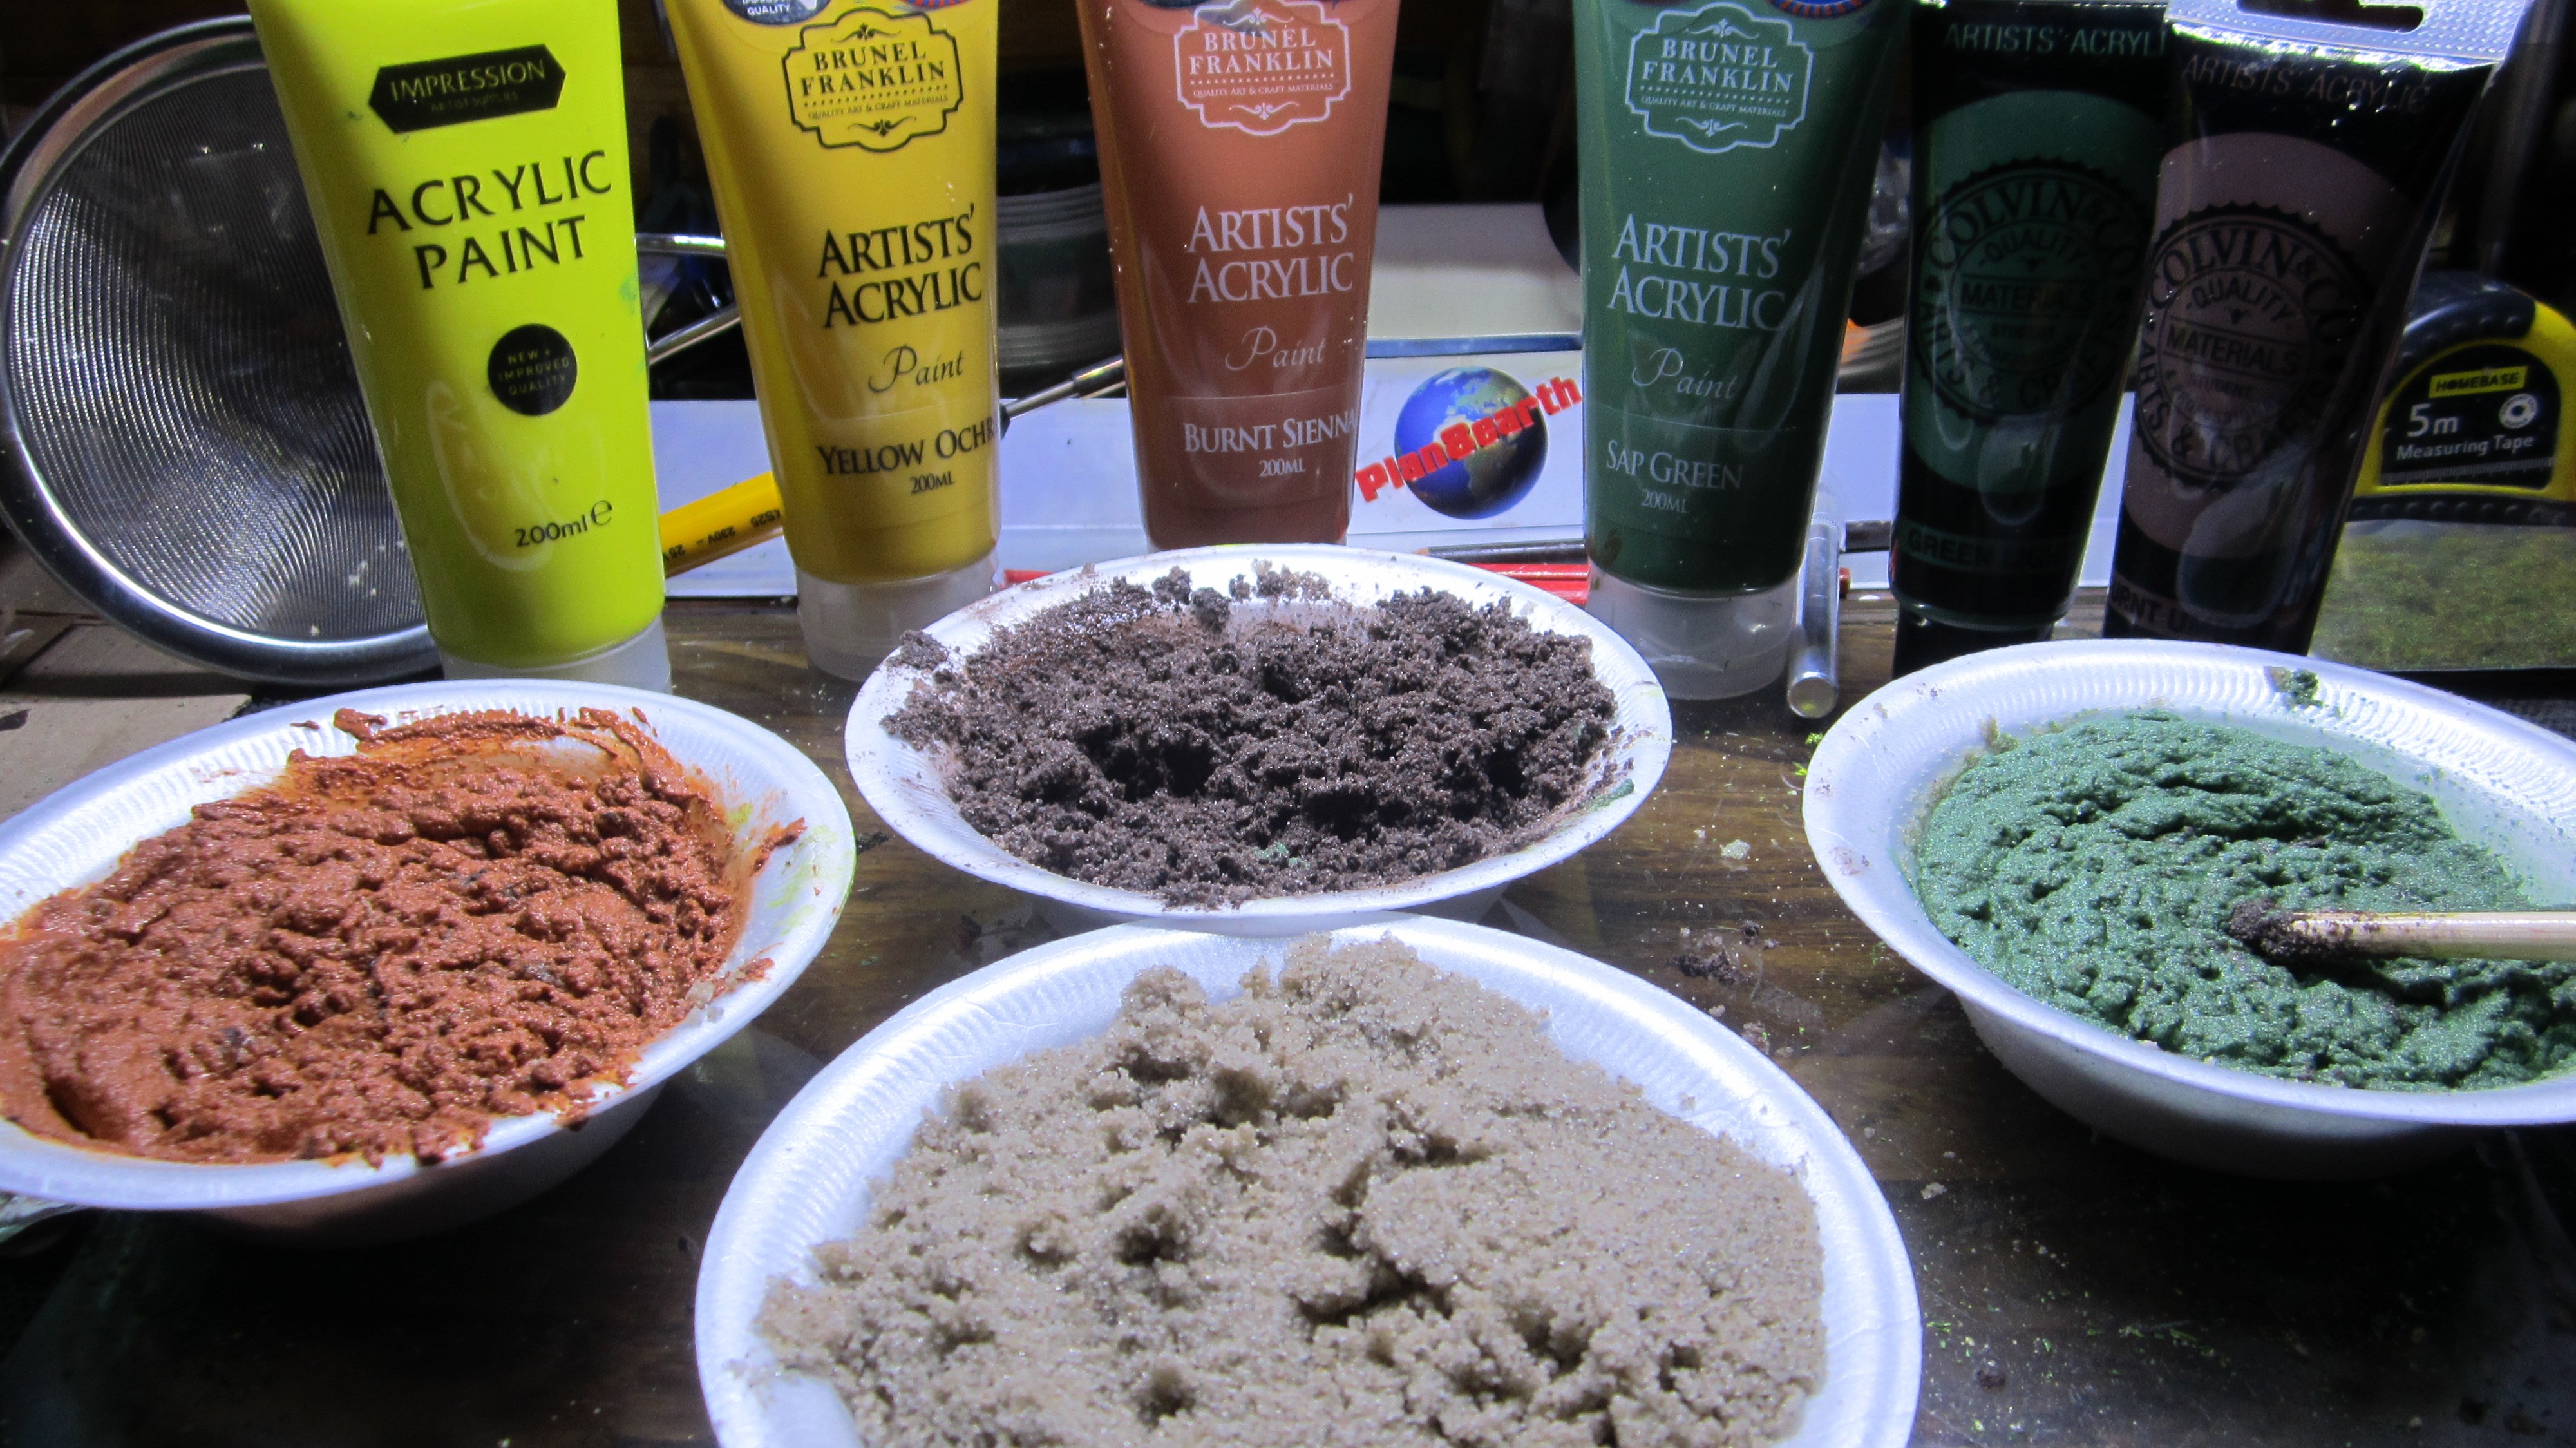
I then shredded a sponge with my drill and wire brush and once again coloured with acrylic paint, then air drying for a few days.

Garden earth and leaves collected from the garden baked and sieve graded into 3 sizes completed the terrain material creation.
Blue it!
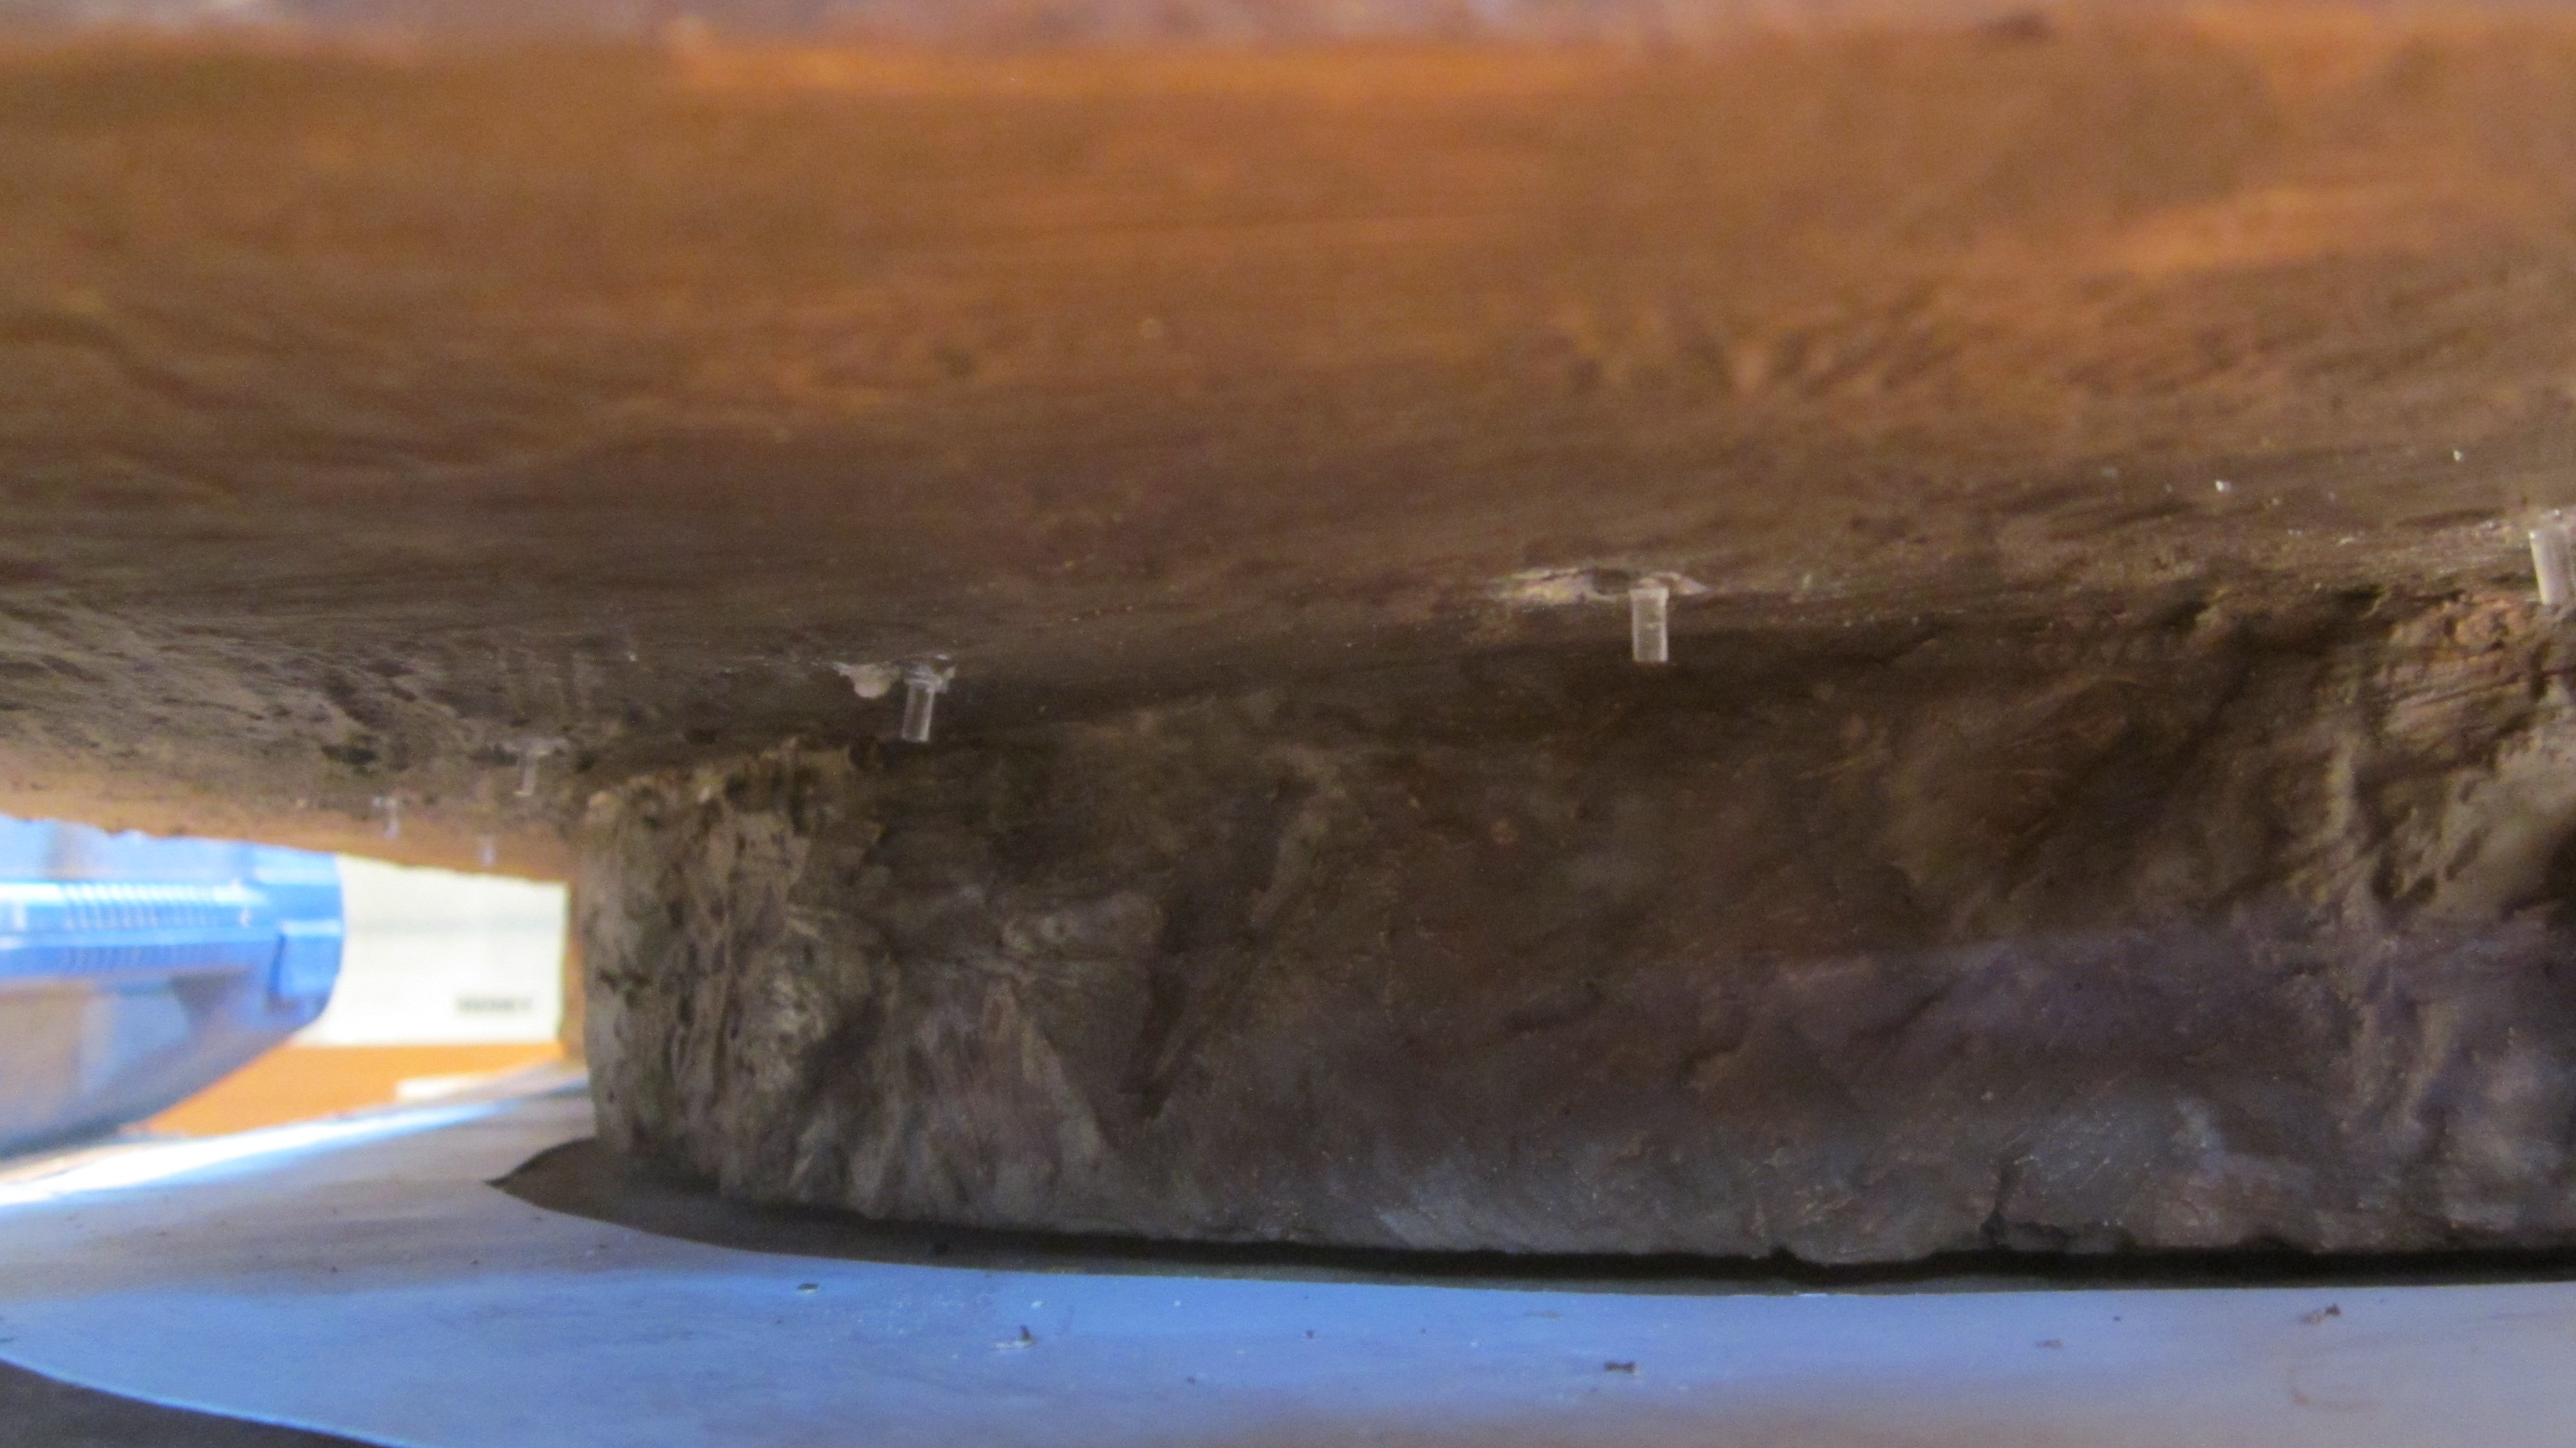
The grout rock tunnel structure was painted brown then the LED's soldered and sunk into the tunnel roof, later after rigging up a 3v tester from two AA batteries I realised that the LED's were blue, can live with it as it was the only long nose LED's I had, plus they were soldered and embedded in place at this point. These were linked together by the -ve terminal and each with a tail back to the control box area in the tunnel hill centre.
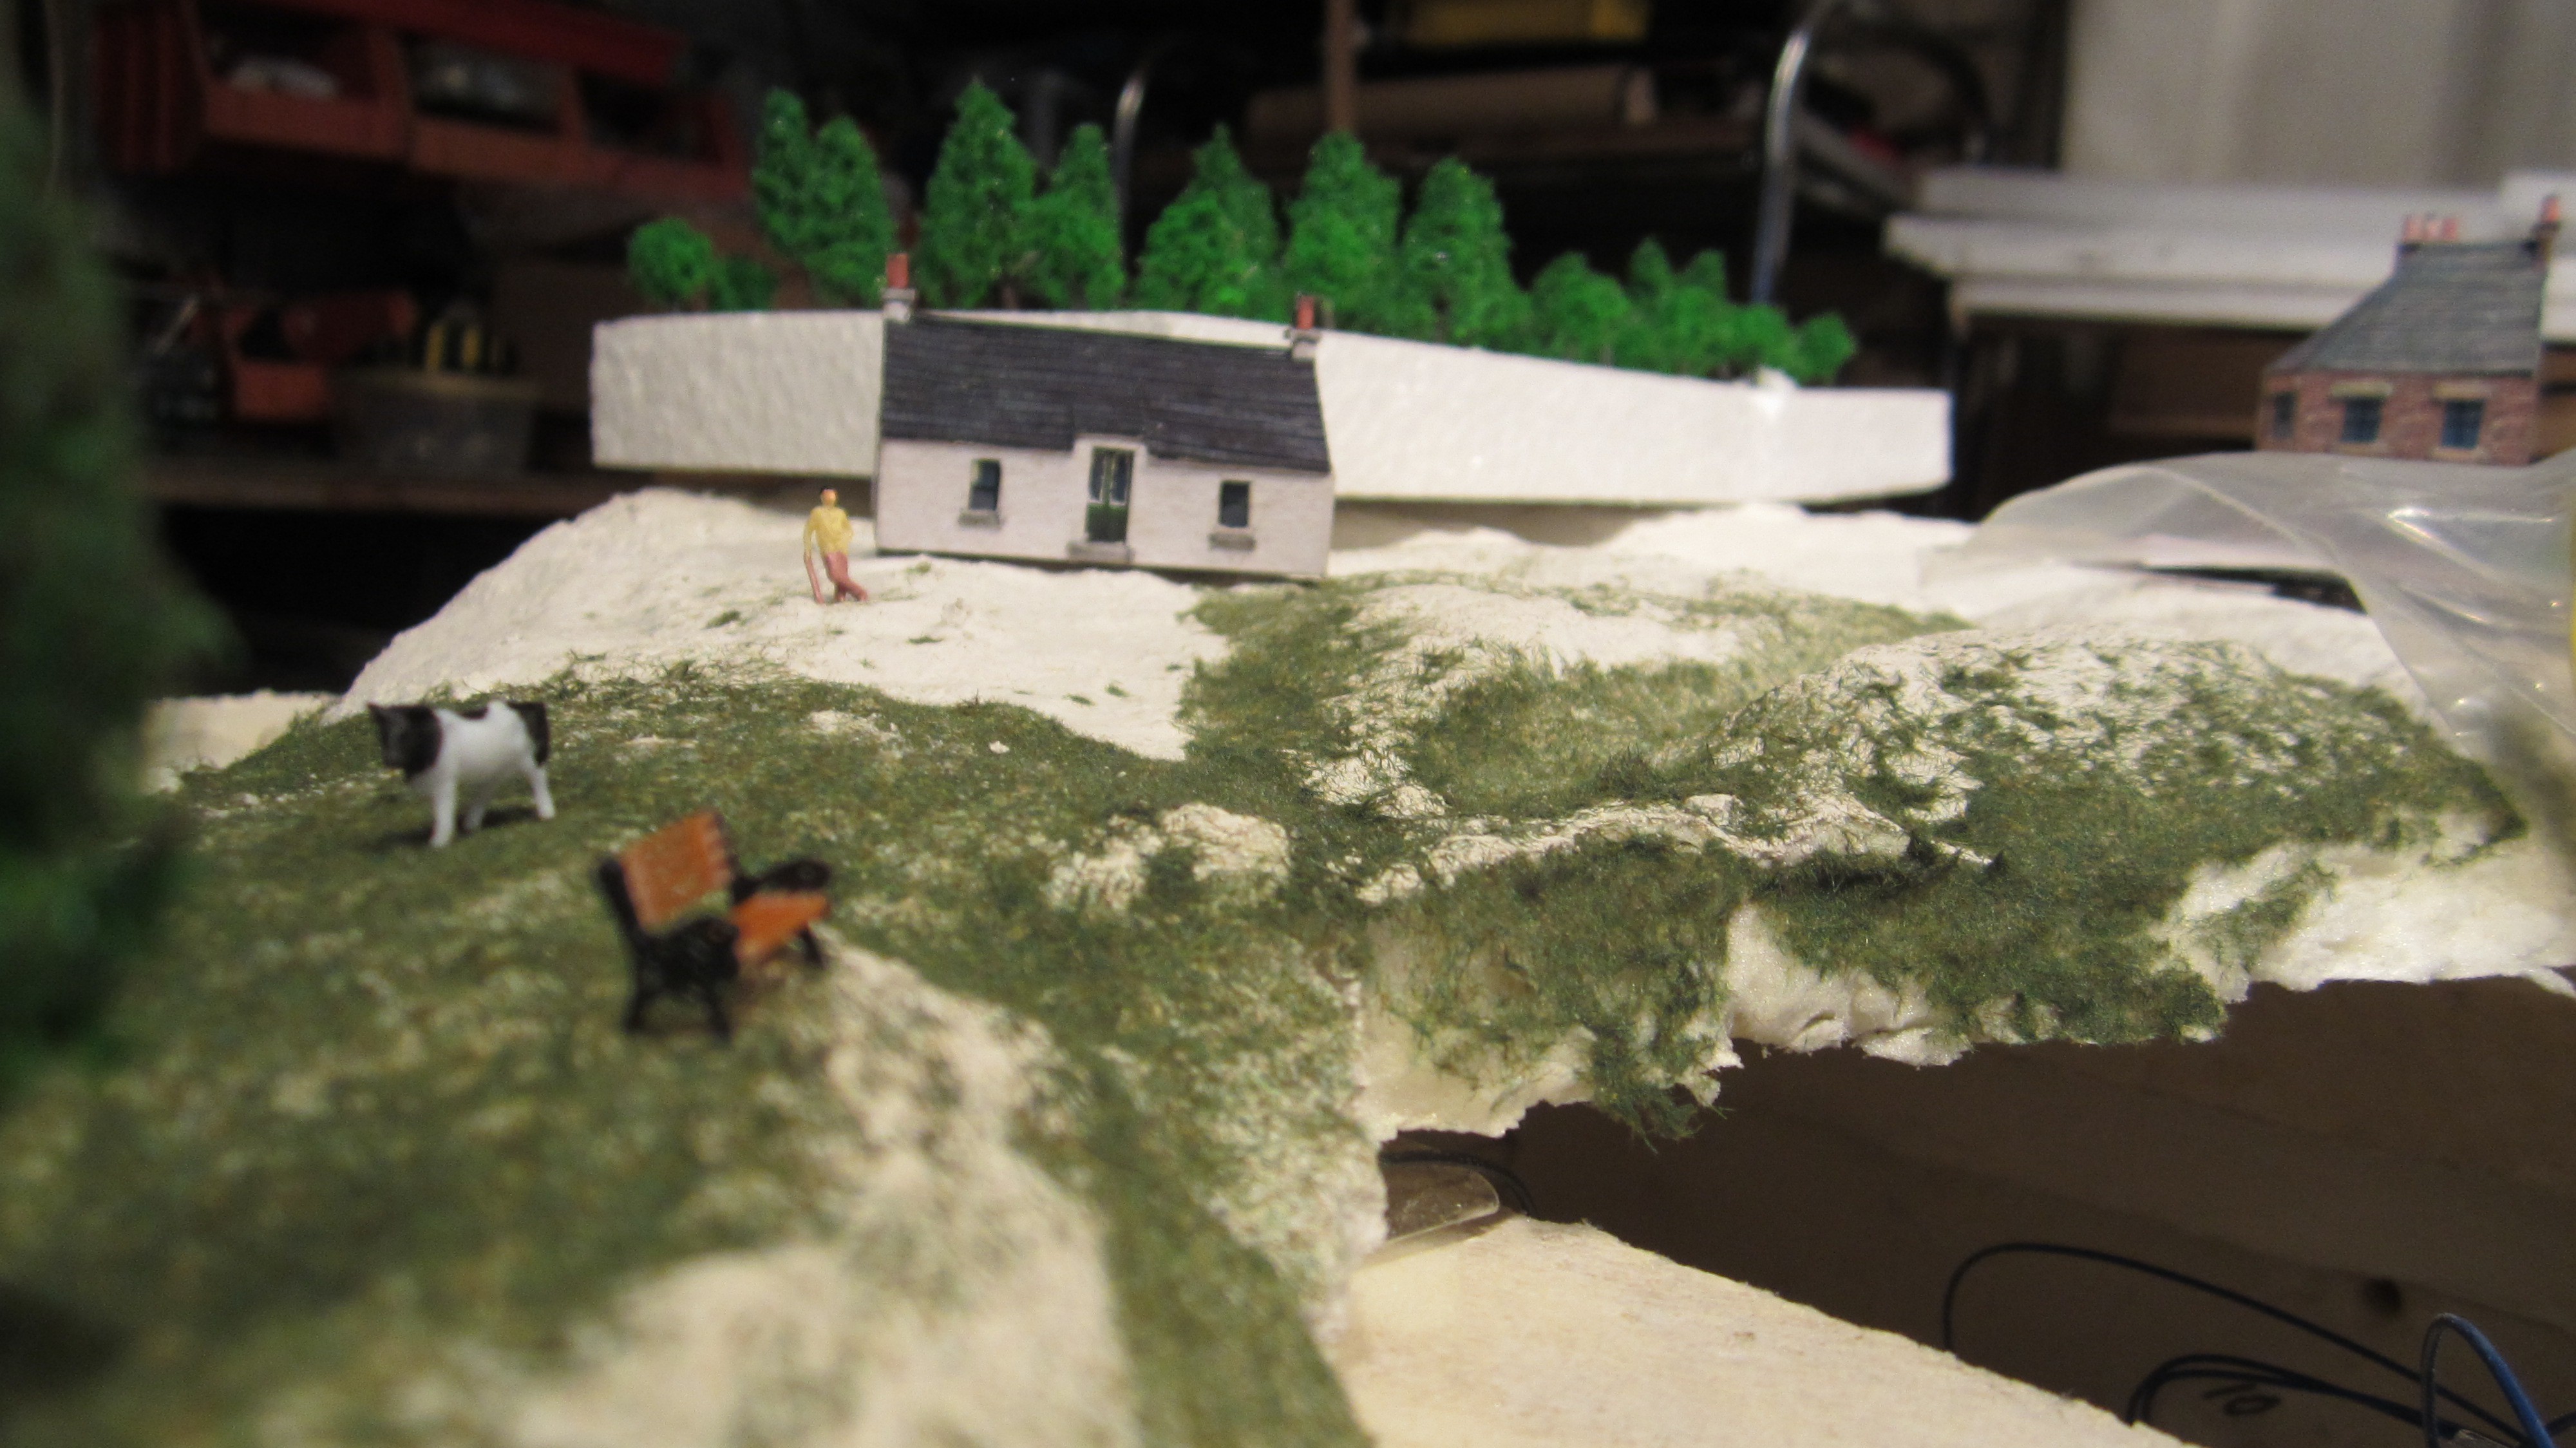
Having being gifted a kitchen table I test fitted the terrain and measured the overall height. I had to cut the corners of the board base to accommodate the leg brackets of the table.
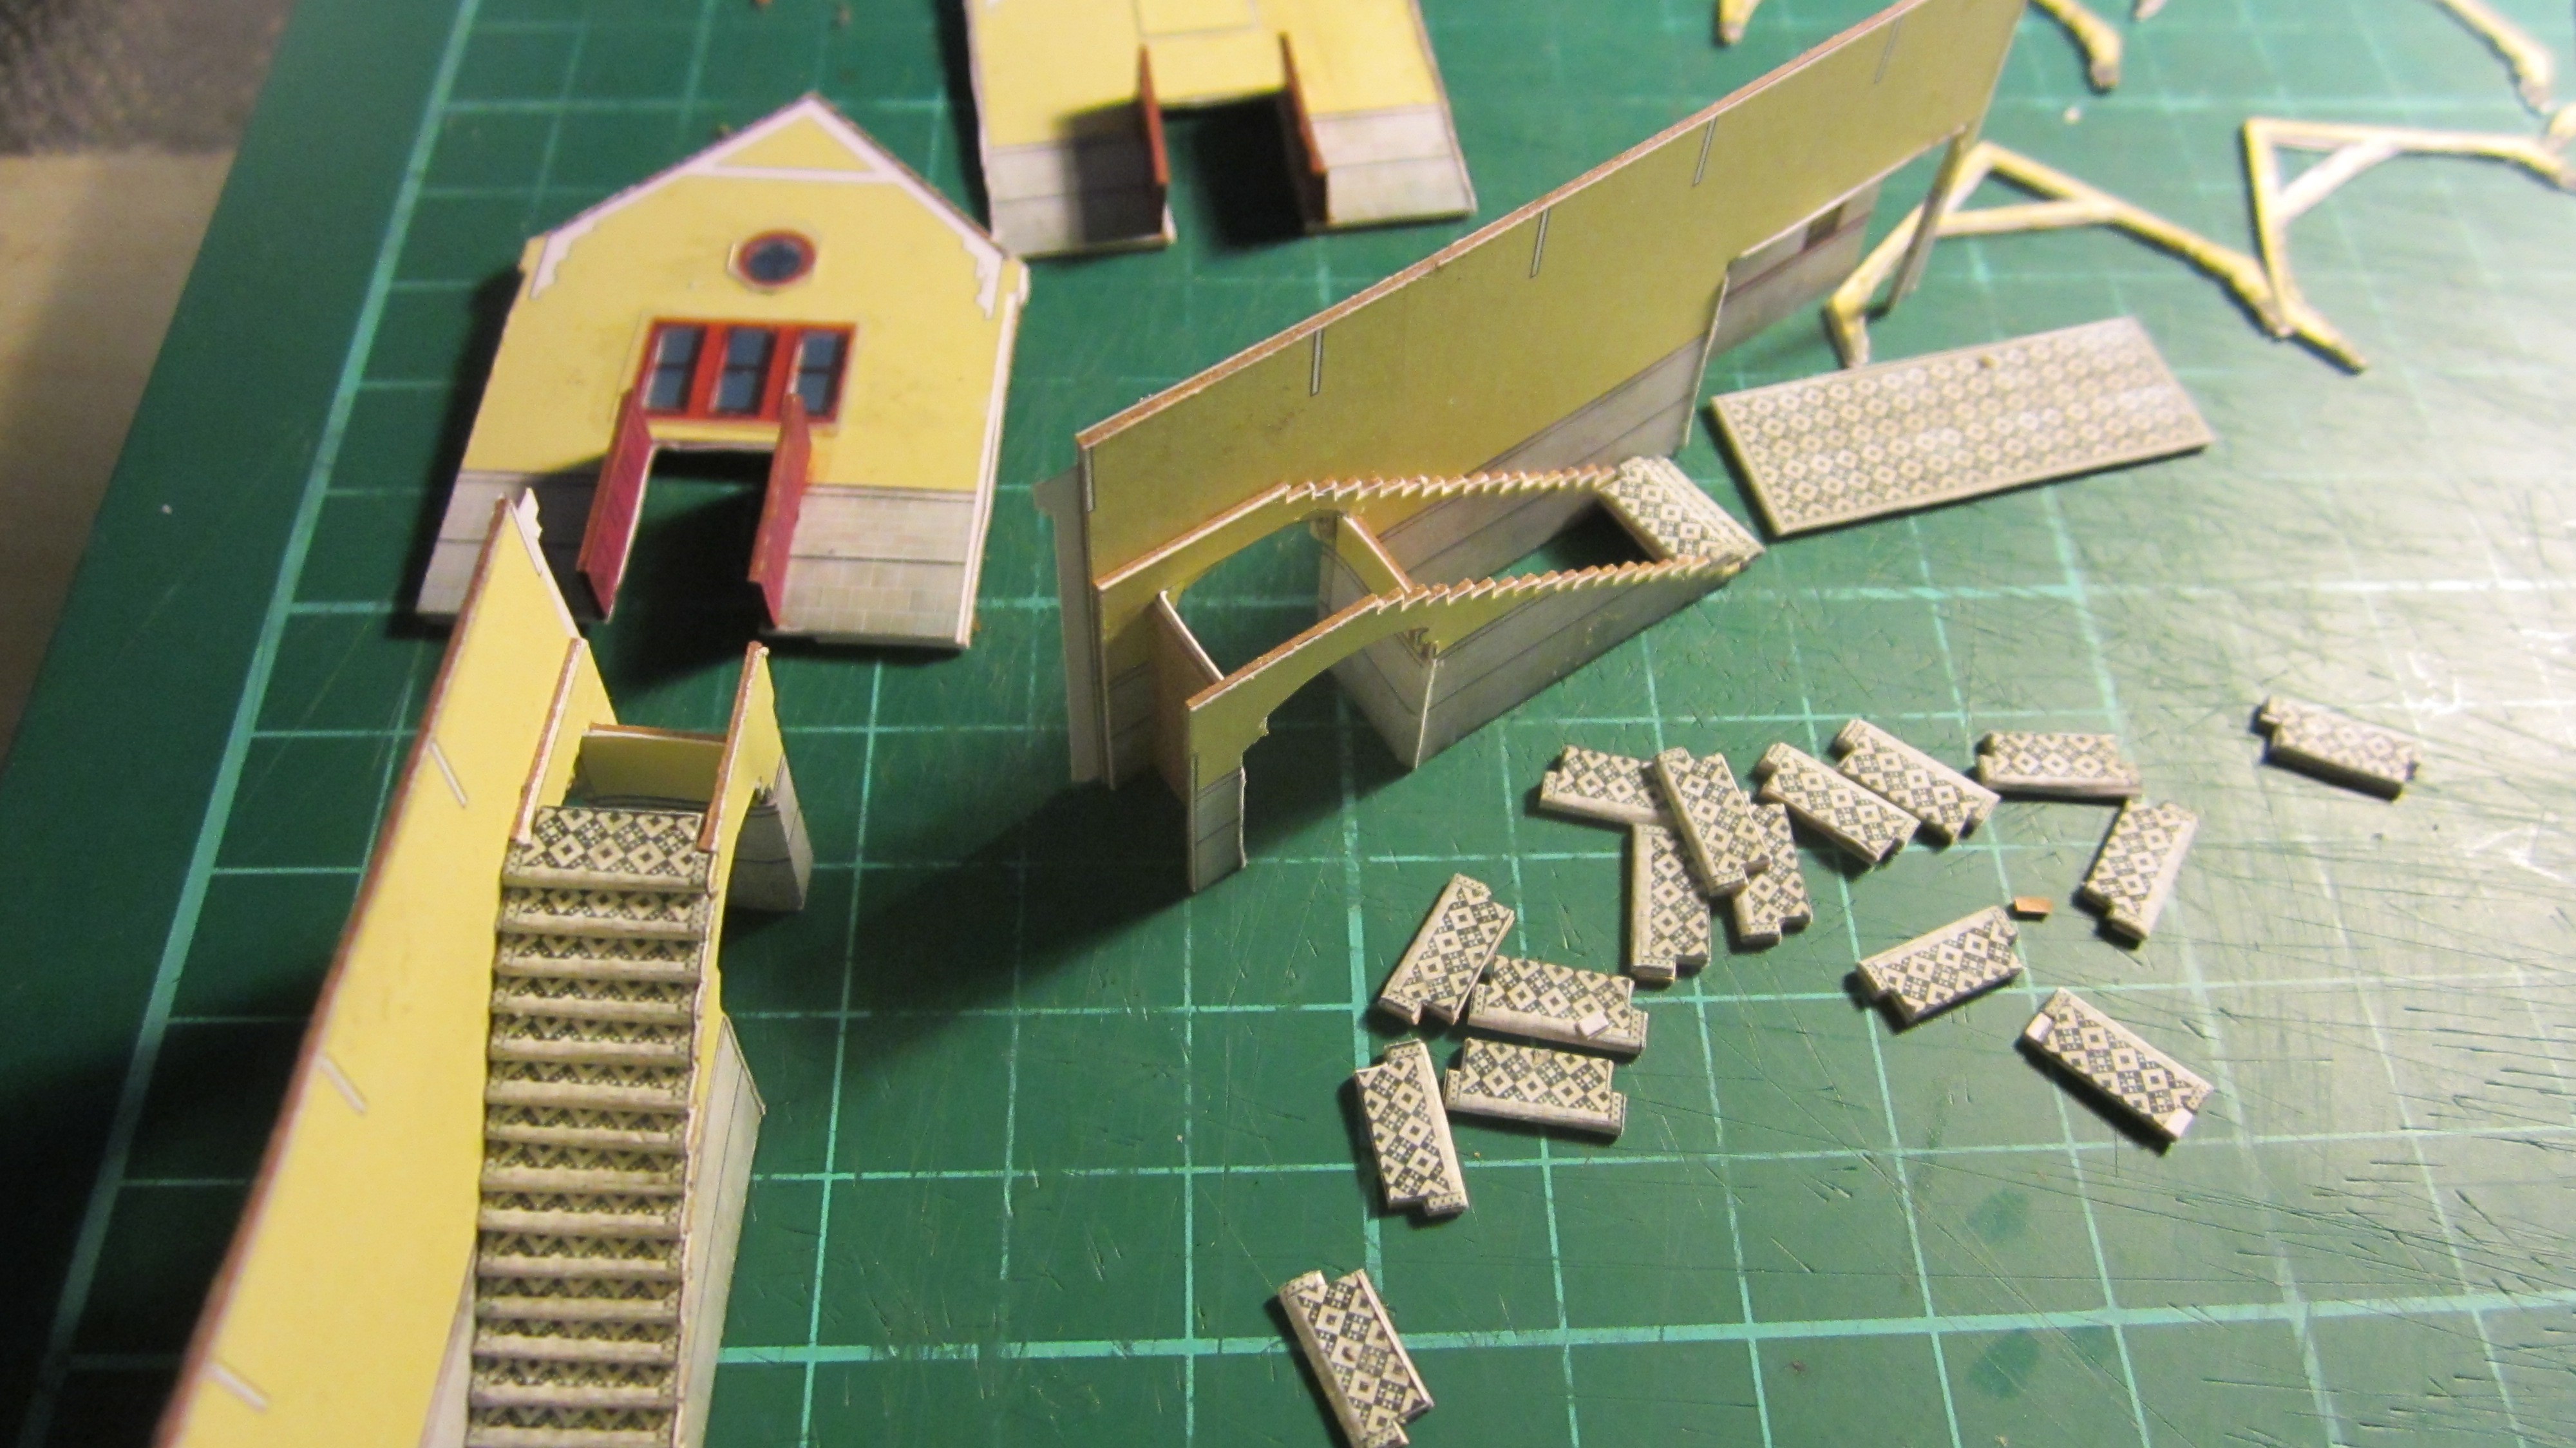
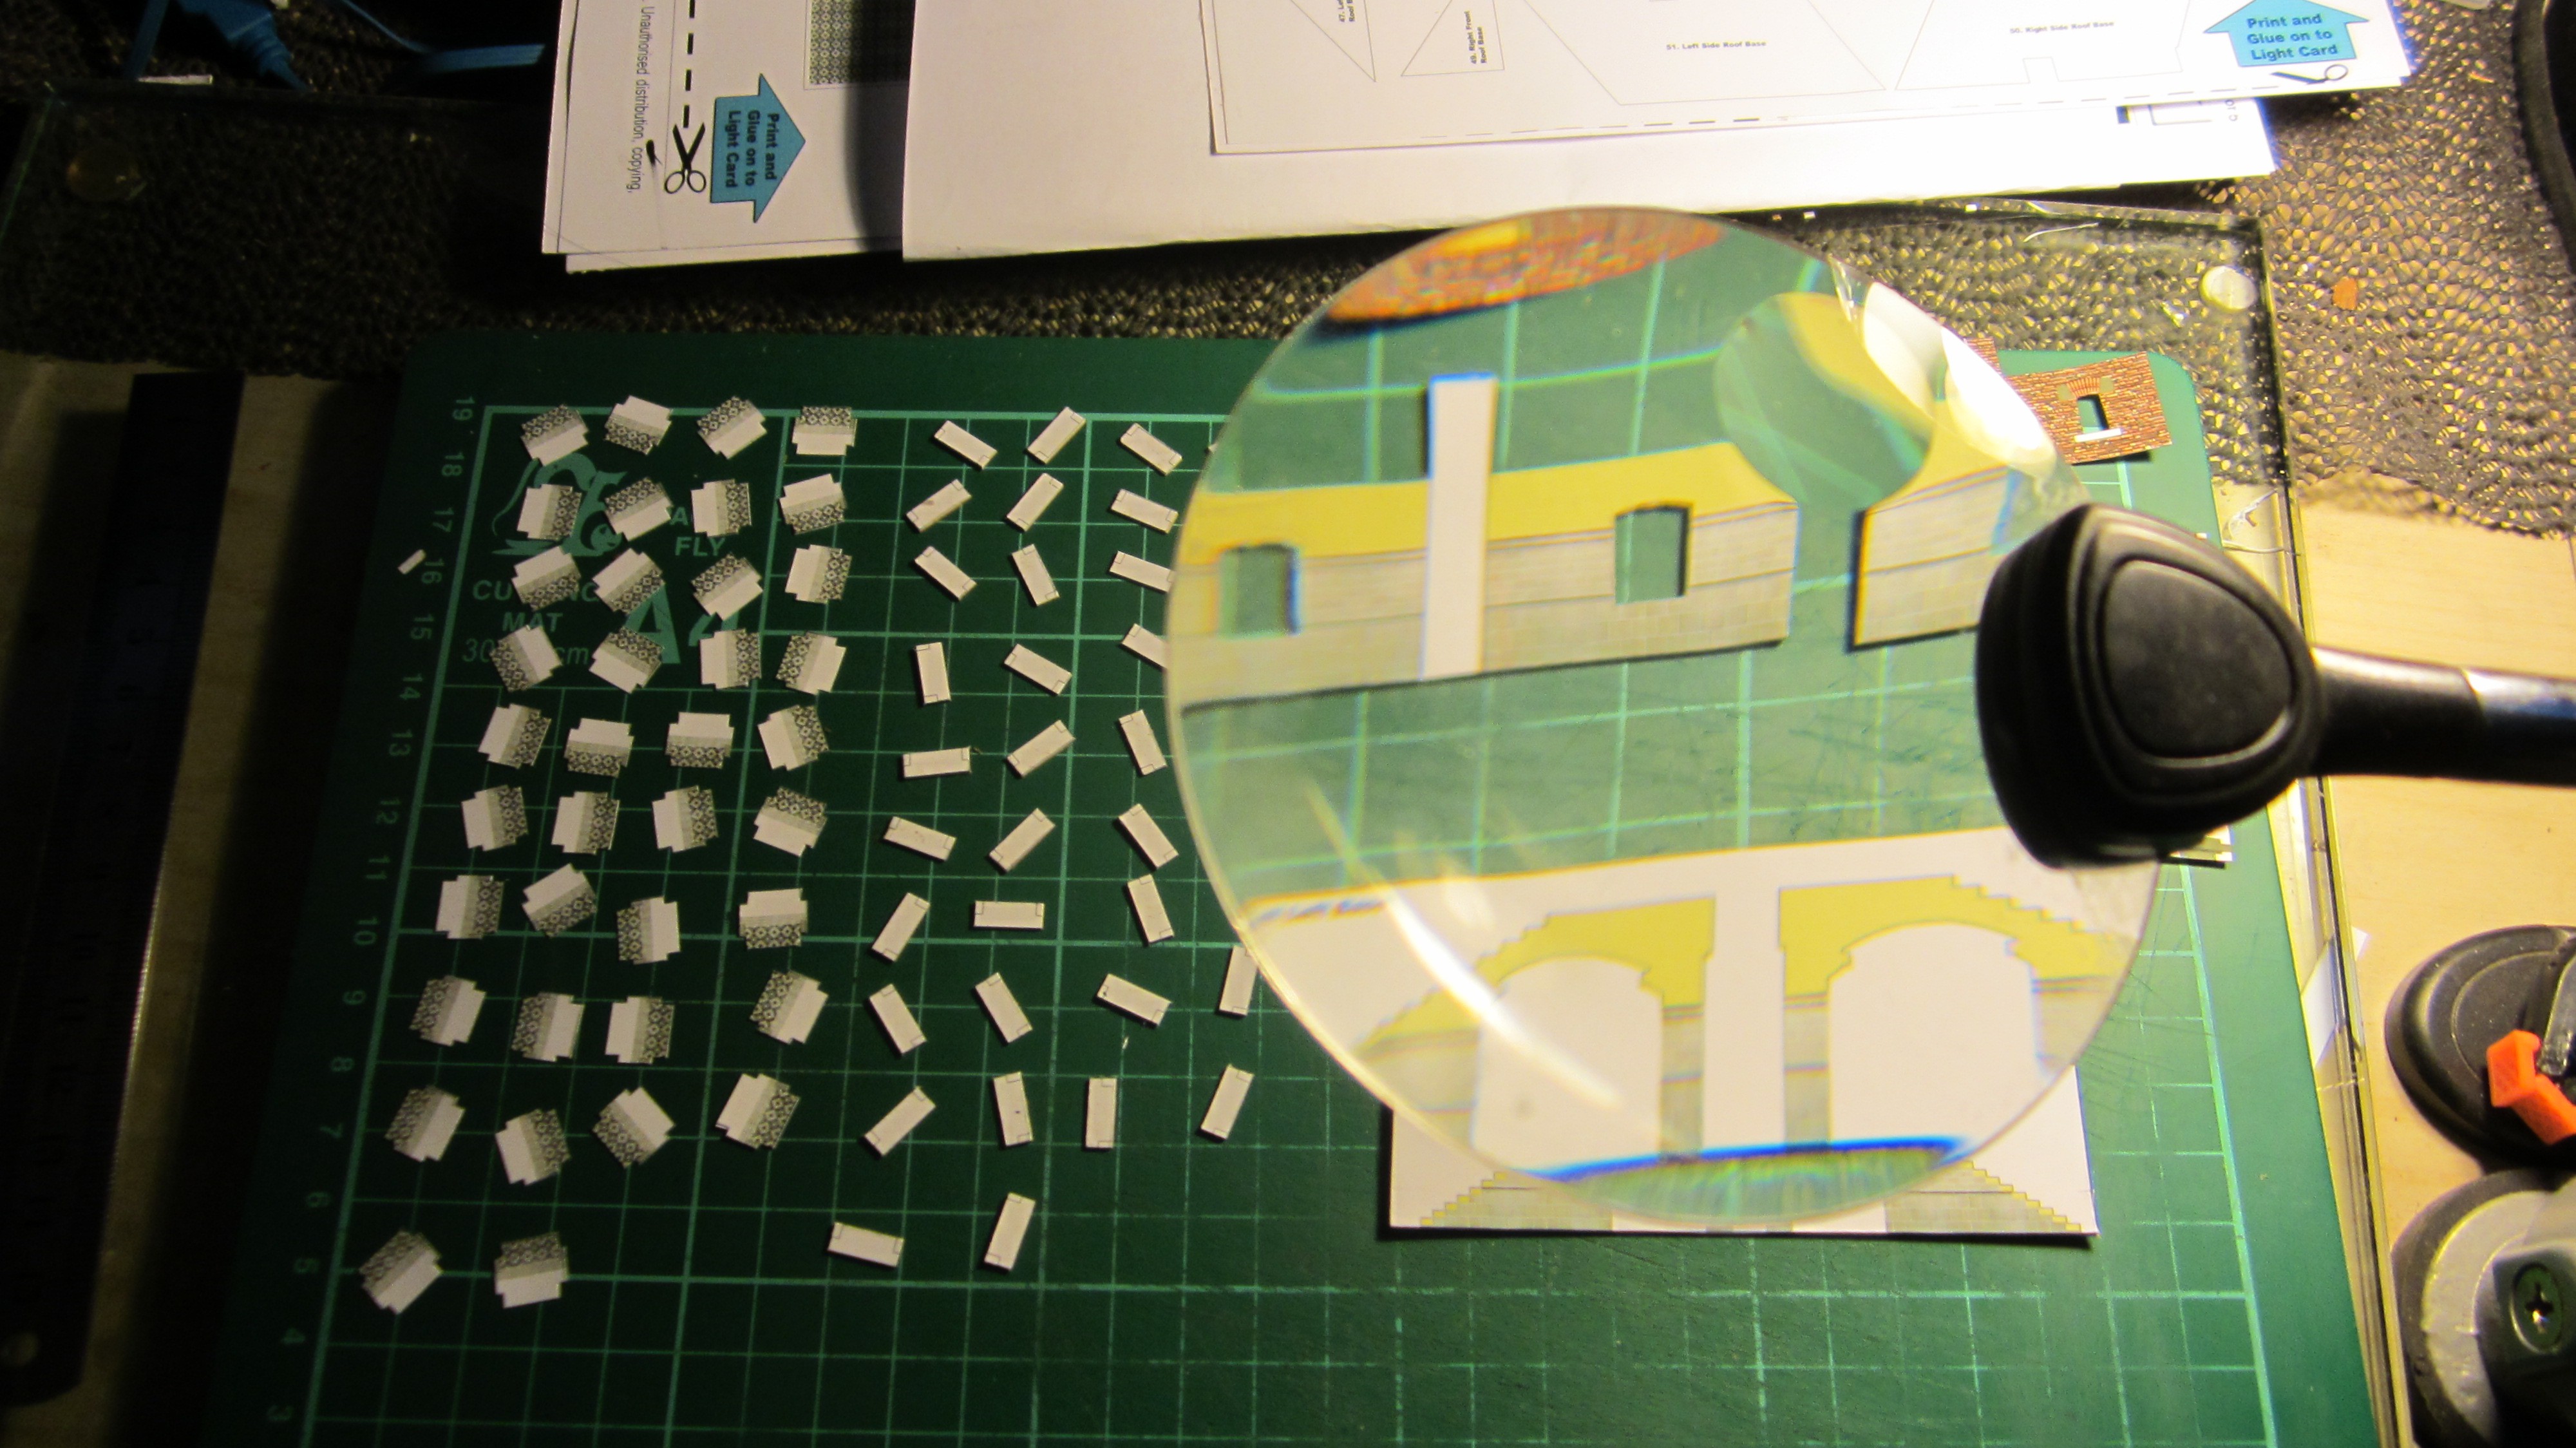
Stairway to Heaven!
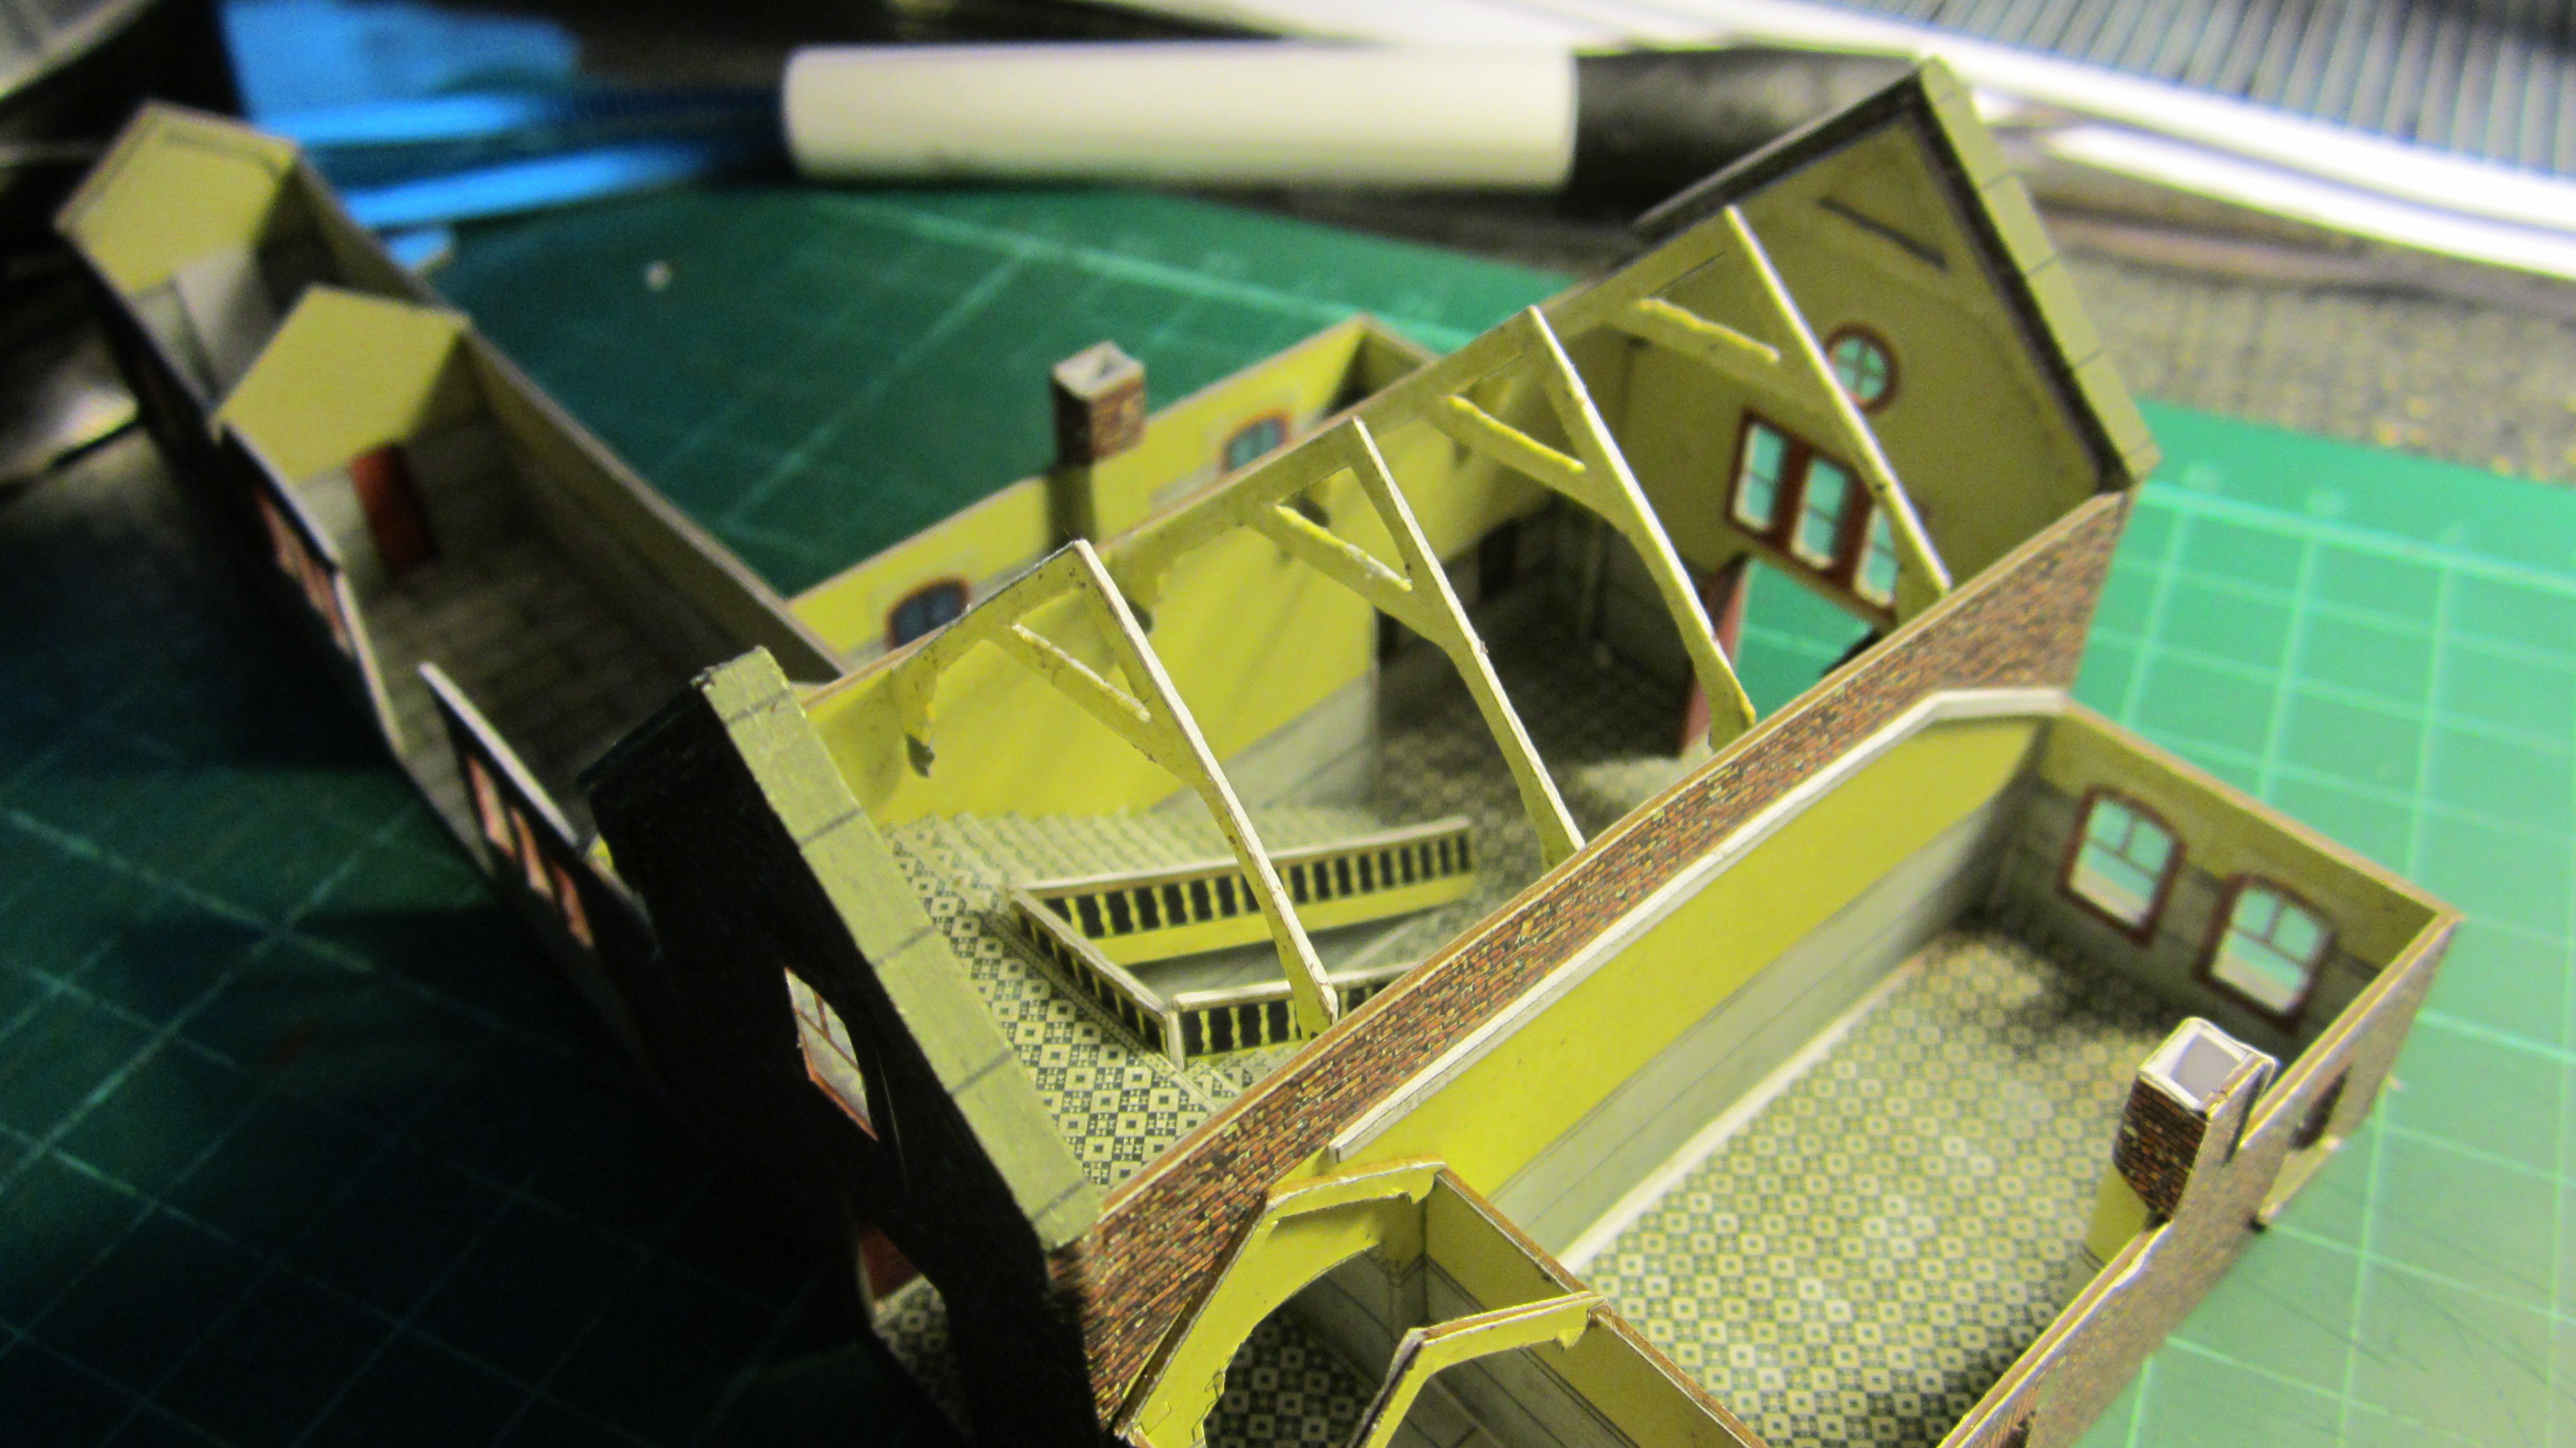
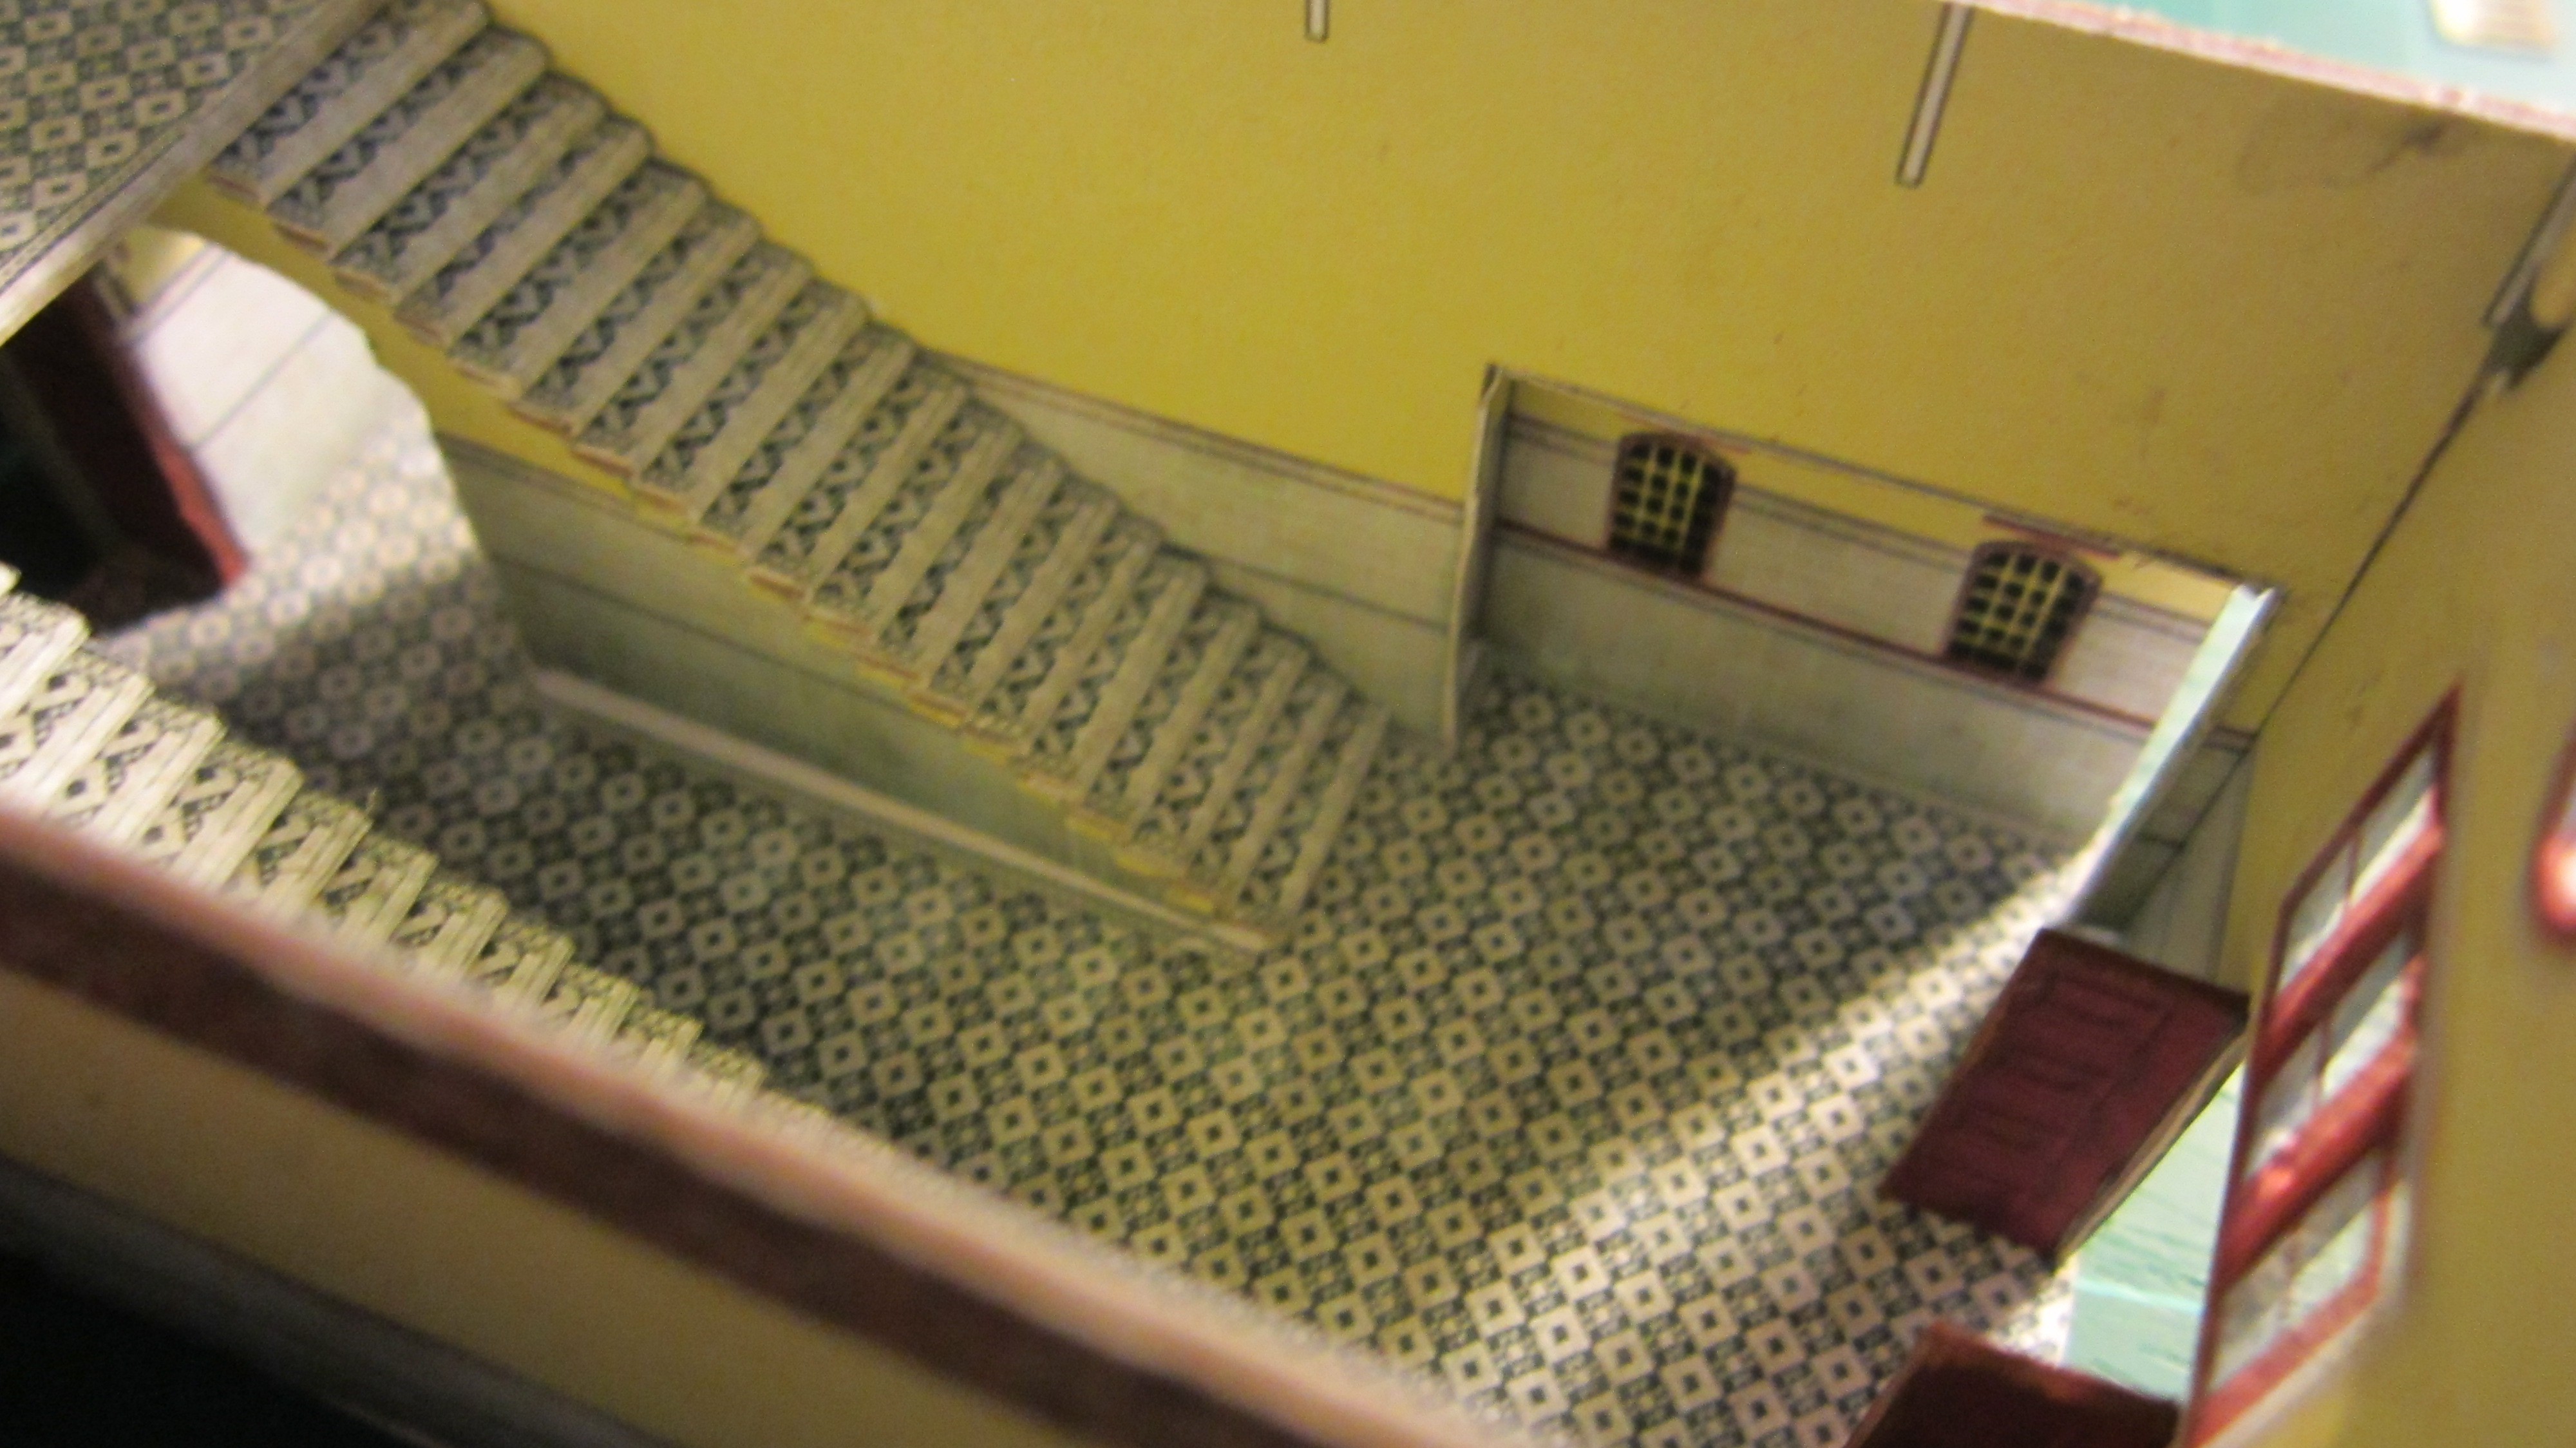
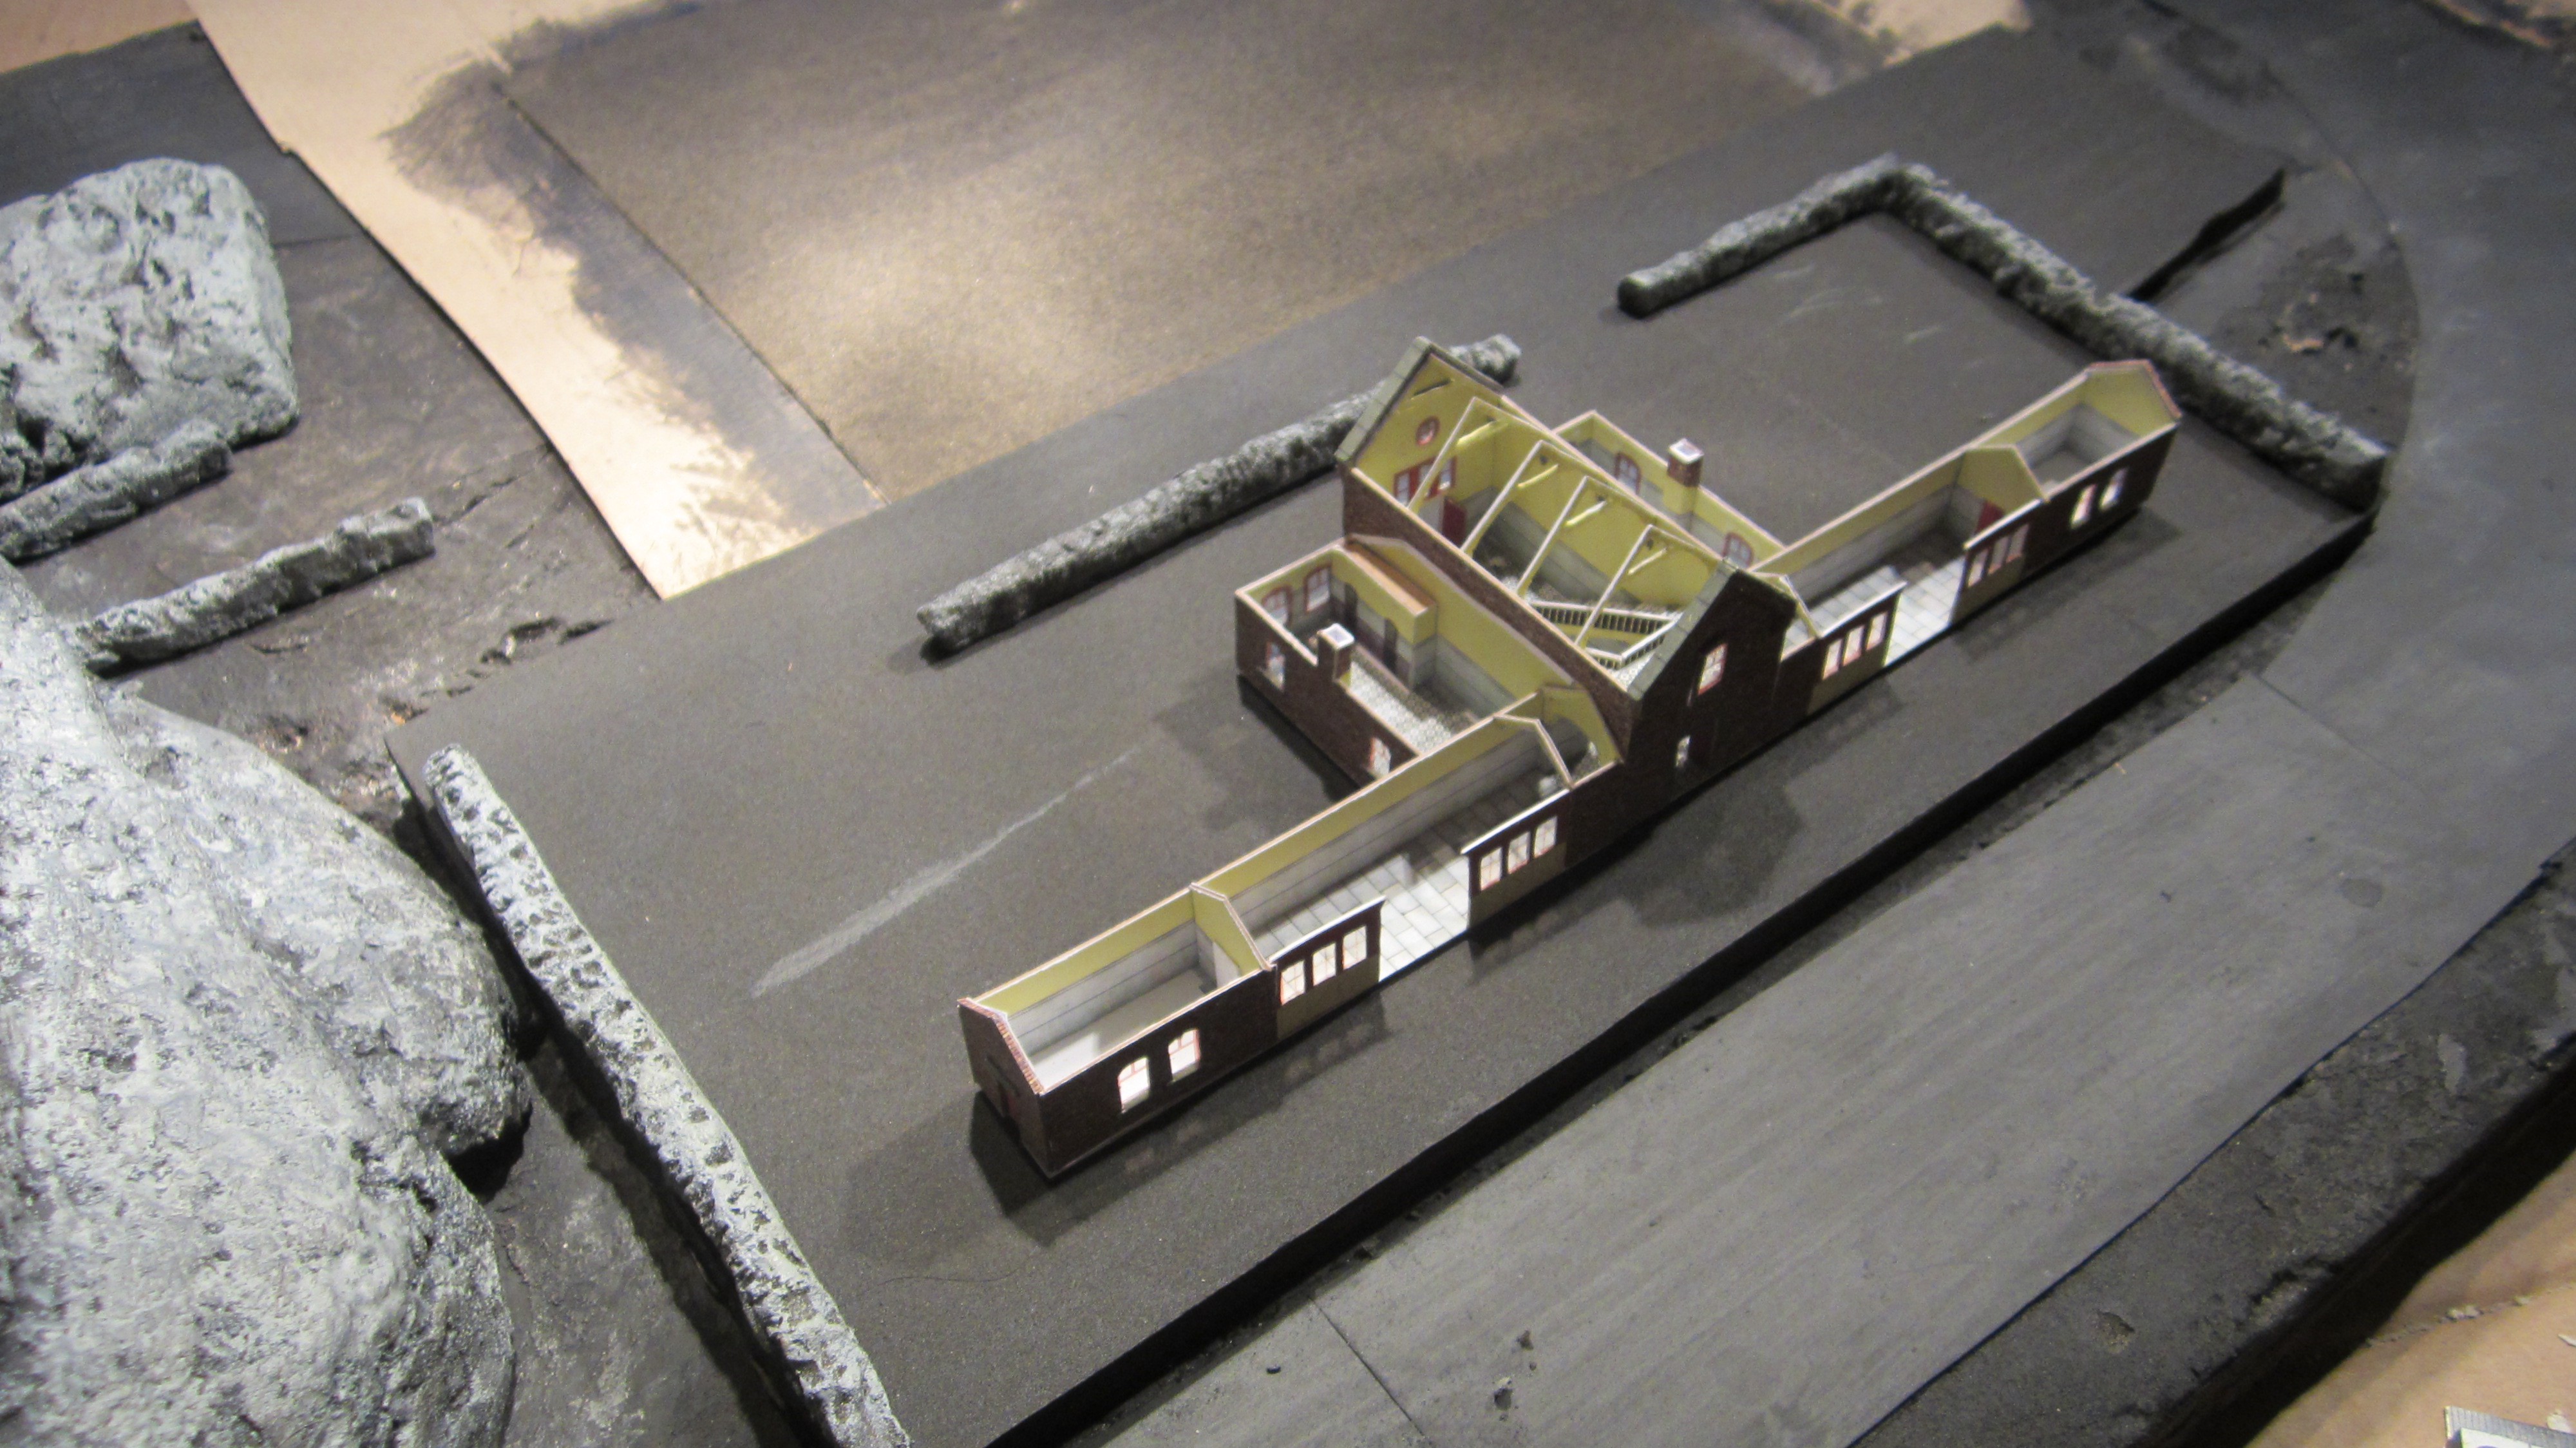
My attention turned to the buildings that we want for the layout, a Station is a must, once again I printed, cut out and assembled the building using scalescene kits. These are pretty detailed and take a lot of time and patience to build, but really satisfying to complete, the stairs and roof trusses on the station look awesome, there is a good chance a casual admirer would not notice, but a nice touch if you take the time to try to see through the windows. More buildings to follow.
The station was mounted on a bit of plasterboard that happened to be the right thickness for the platform, having finally bought the extra track needed.
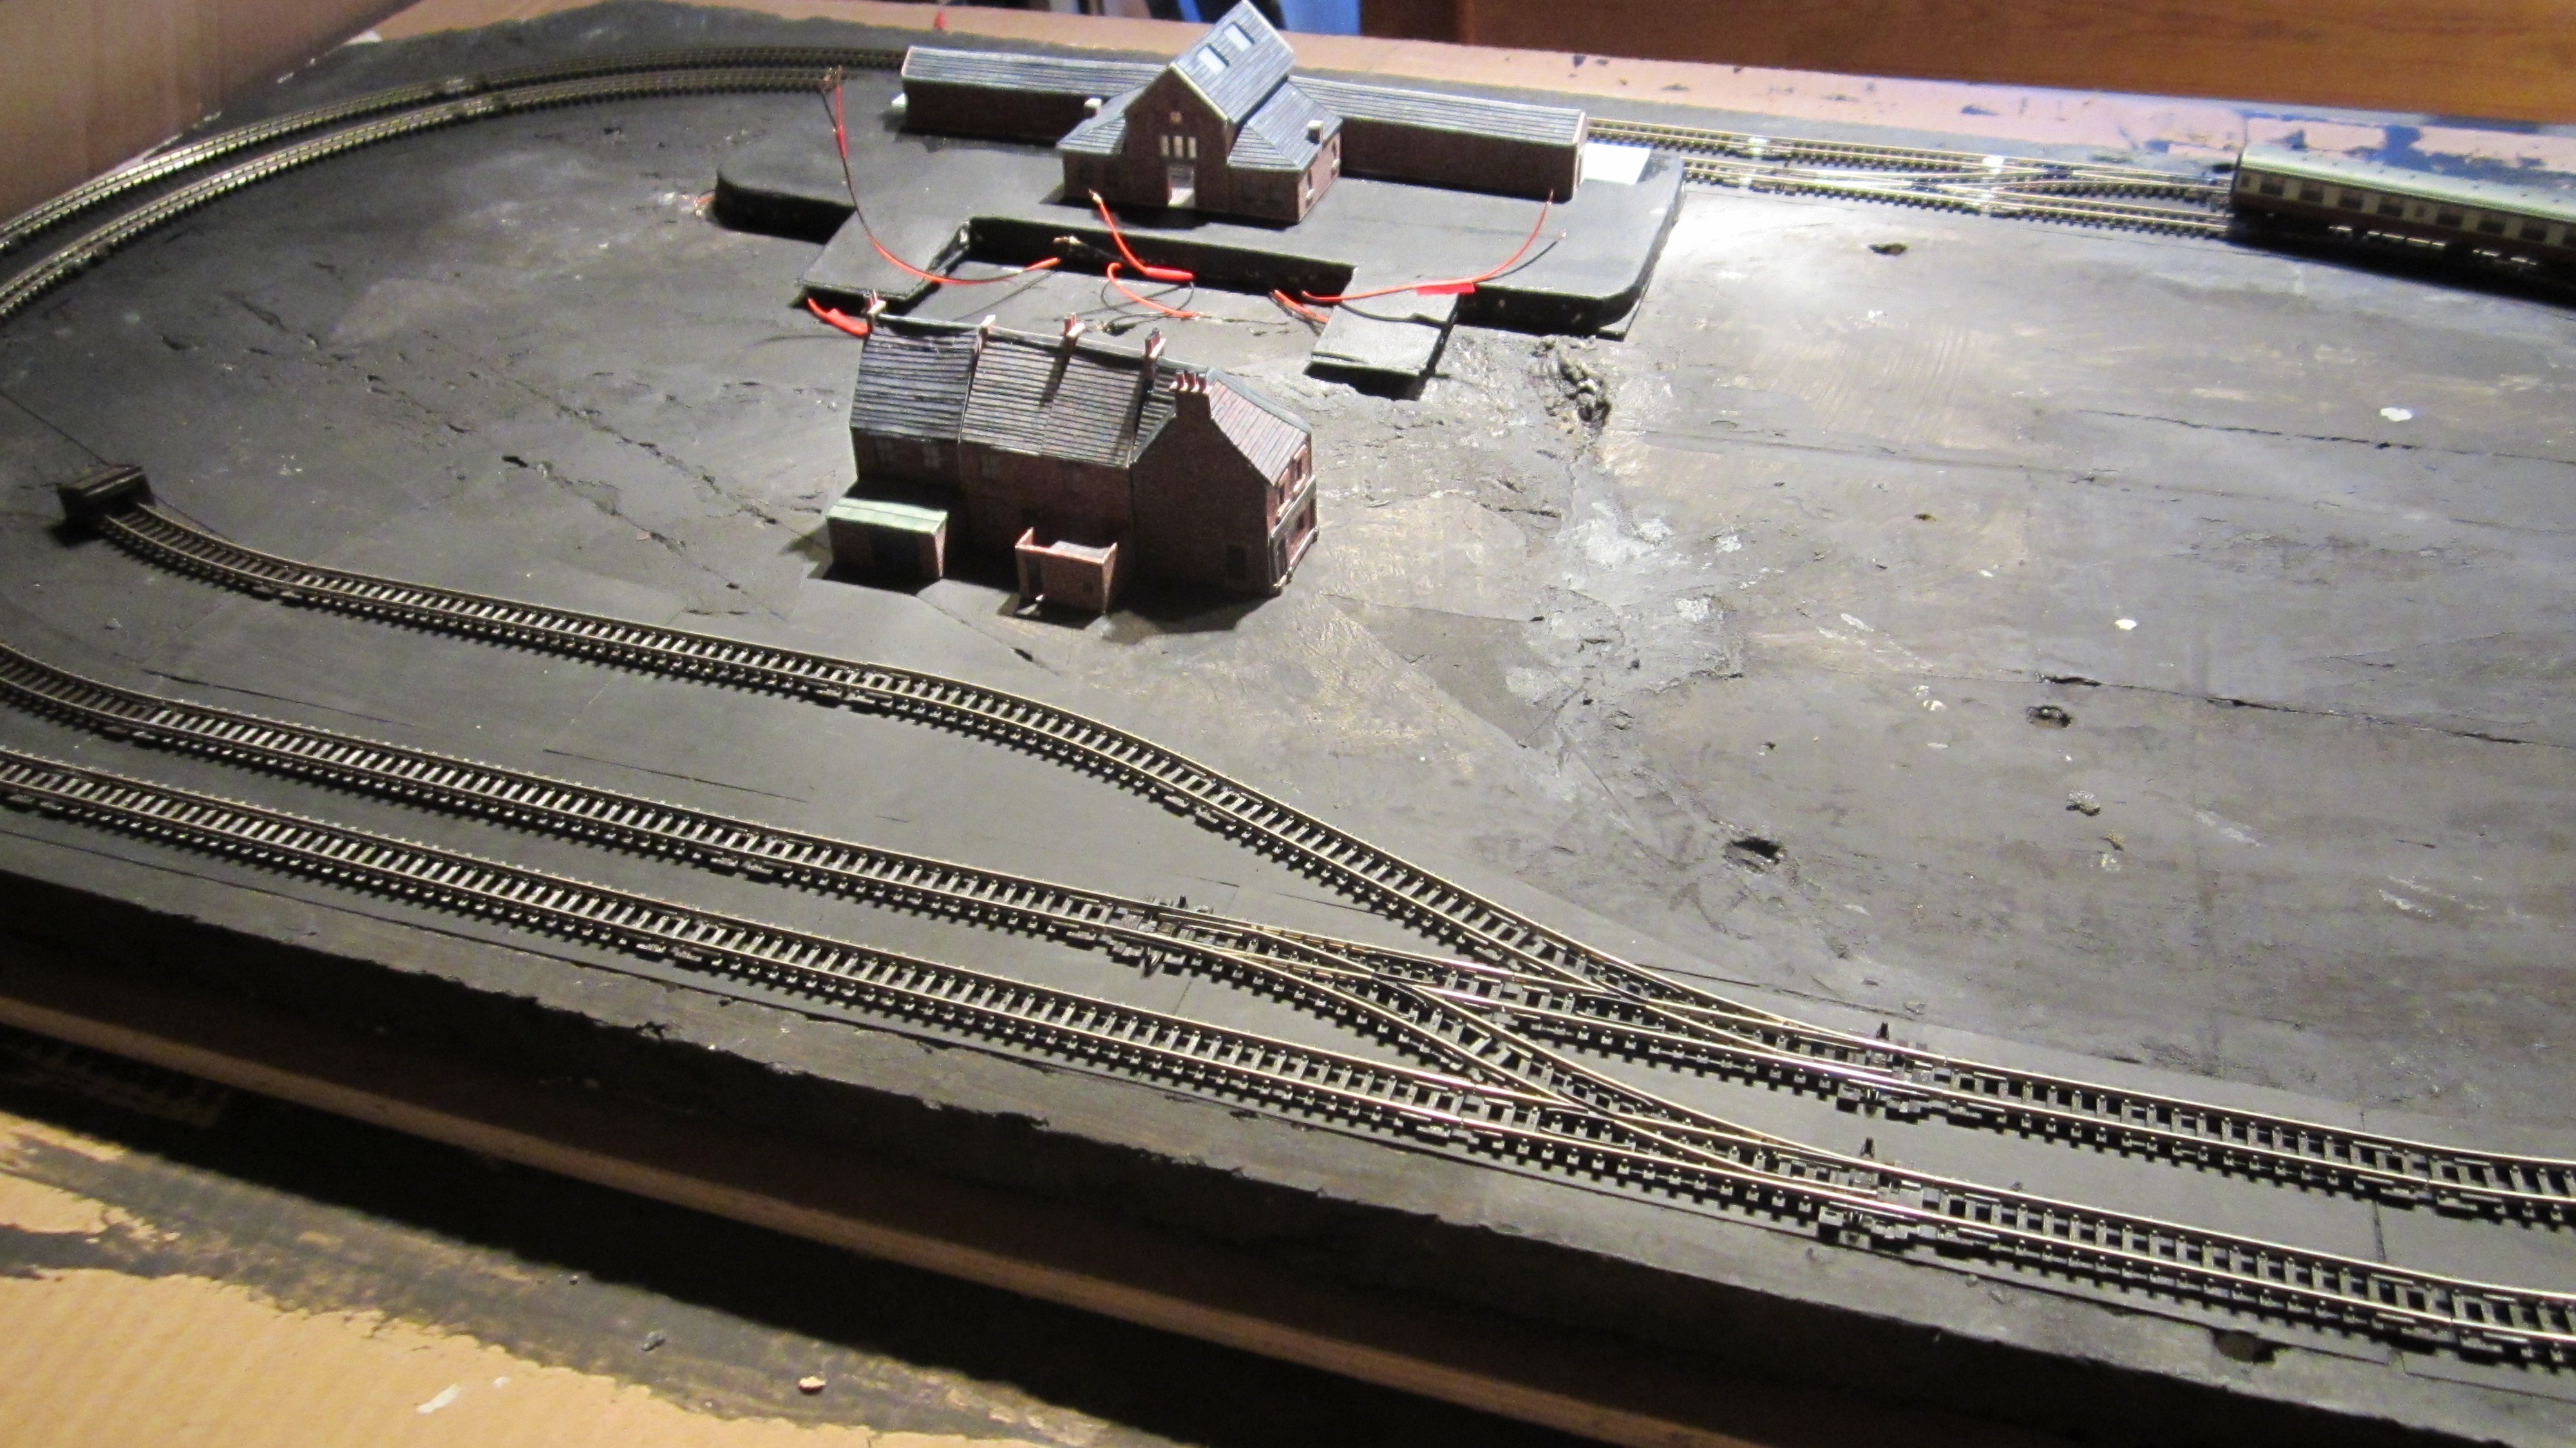
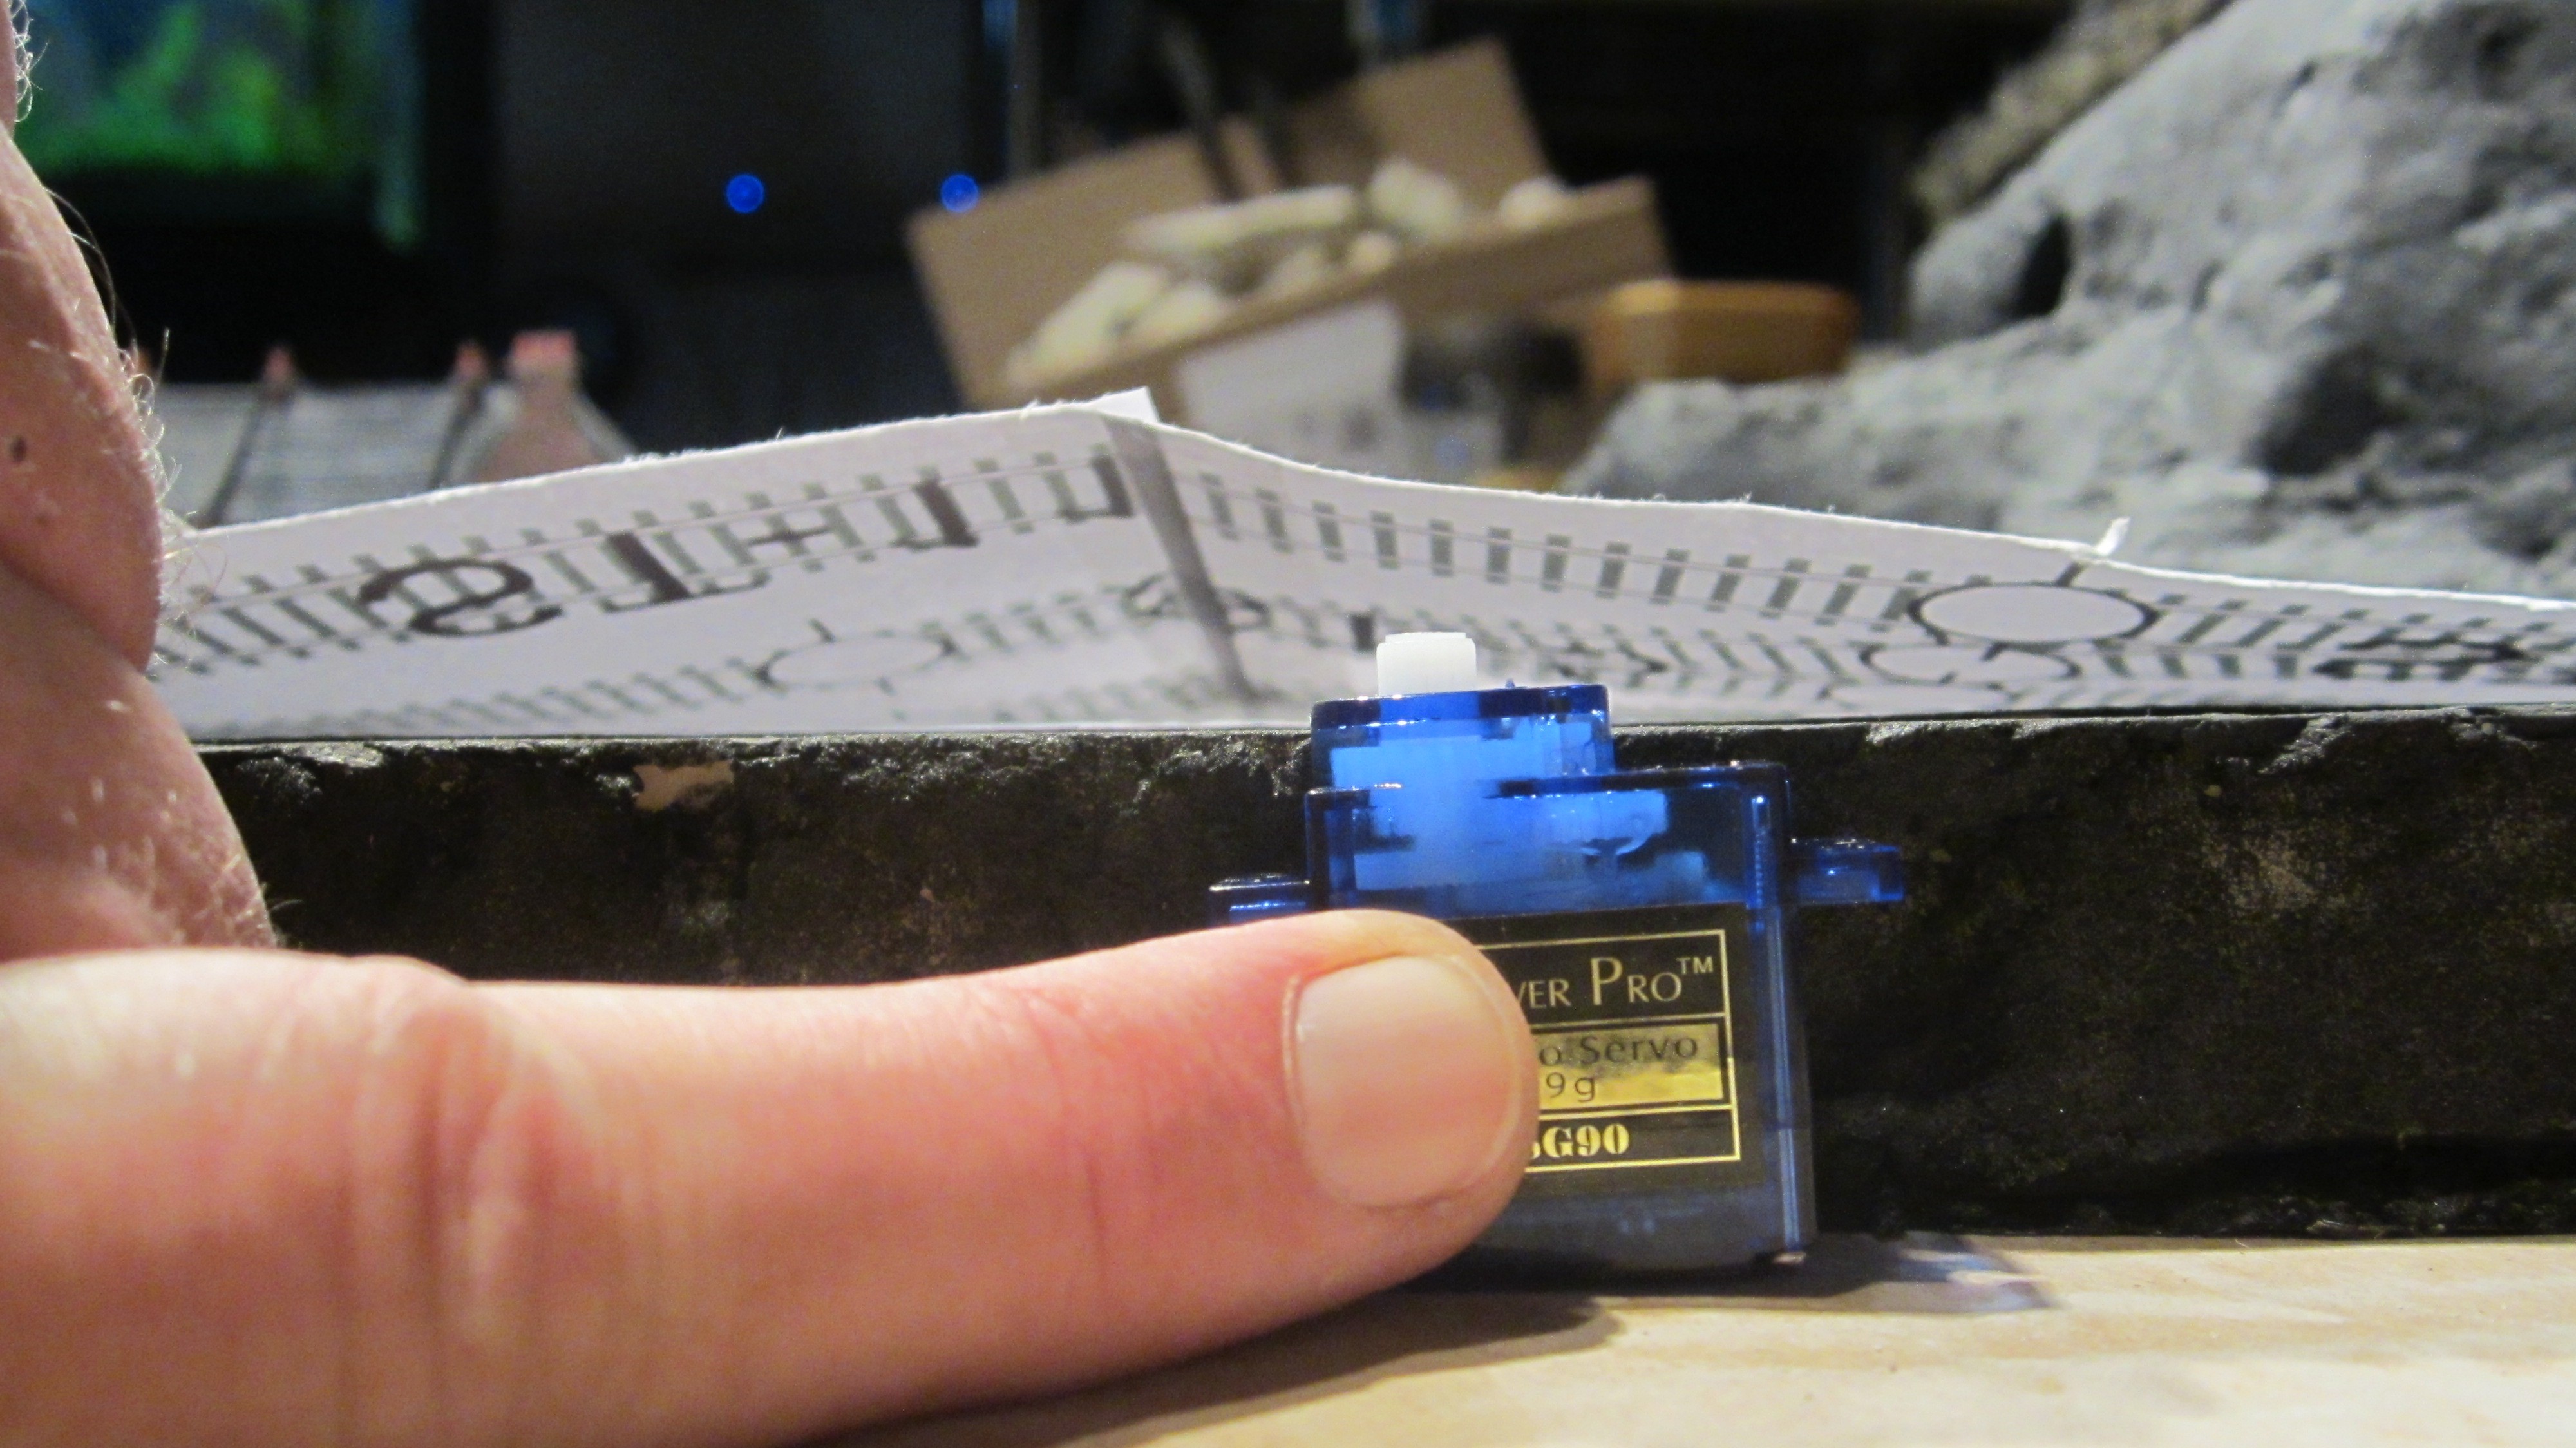
The next stage is to run all the wires for LED's, Servo's and track bus back to the control box area ready for fitting the hardware.
Discussions
Become a Hackaday.io Member
Create an account to leave a comment. Already have an account? Log In.