Close
0%
0%

Hector 9000

Fancy barbot with lots of needless features and ...of course... WiFi and a bunch of blinky LEDs

Similar projects worth following
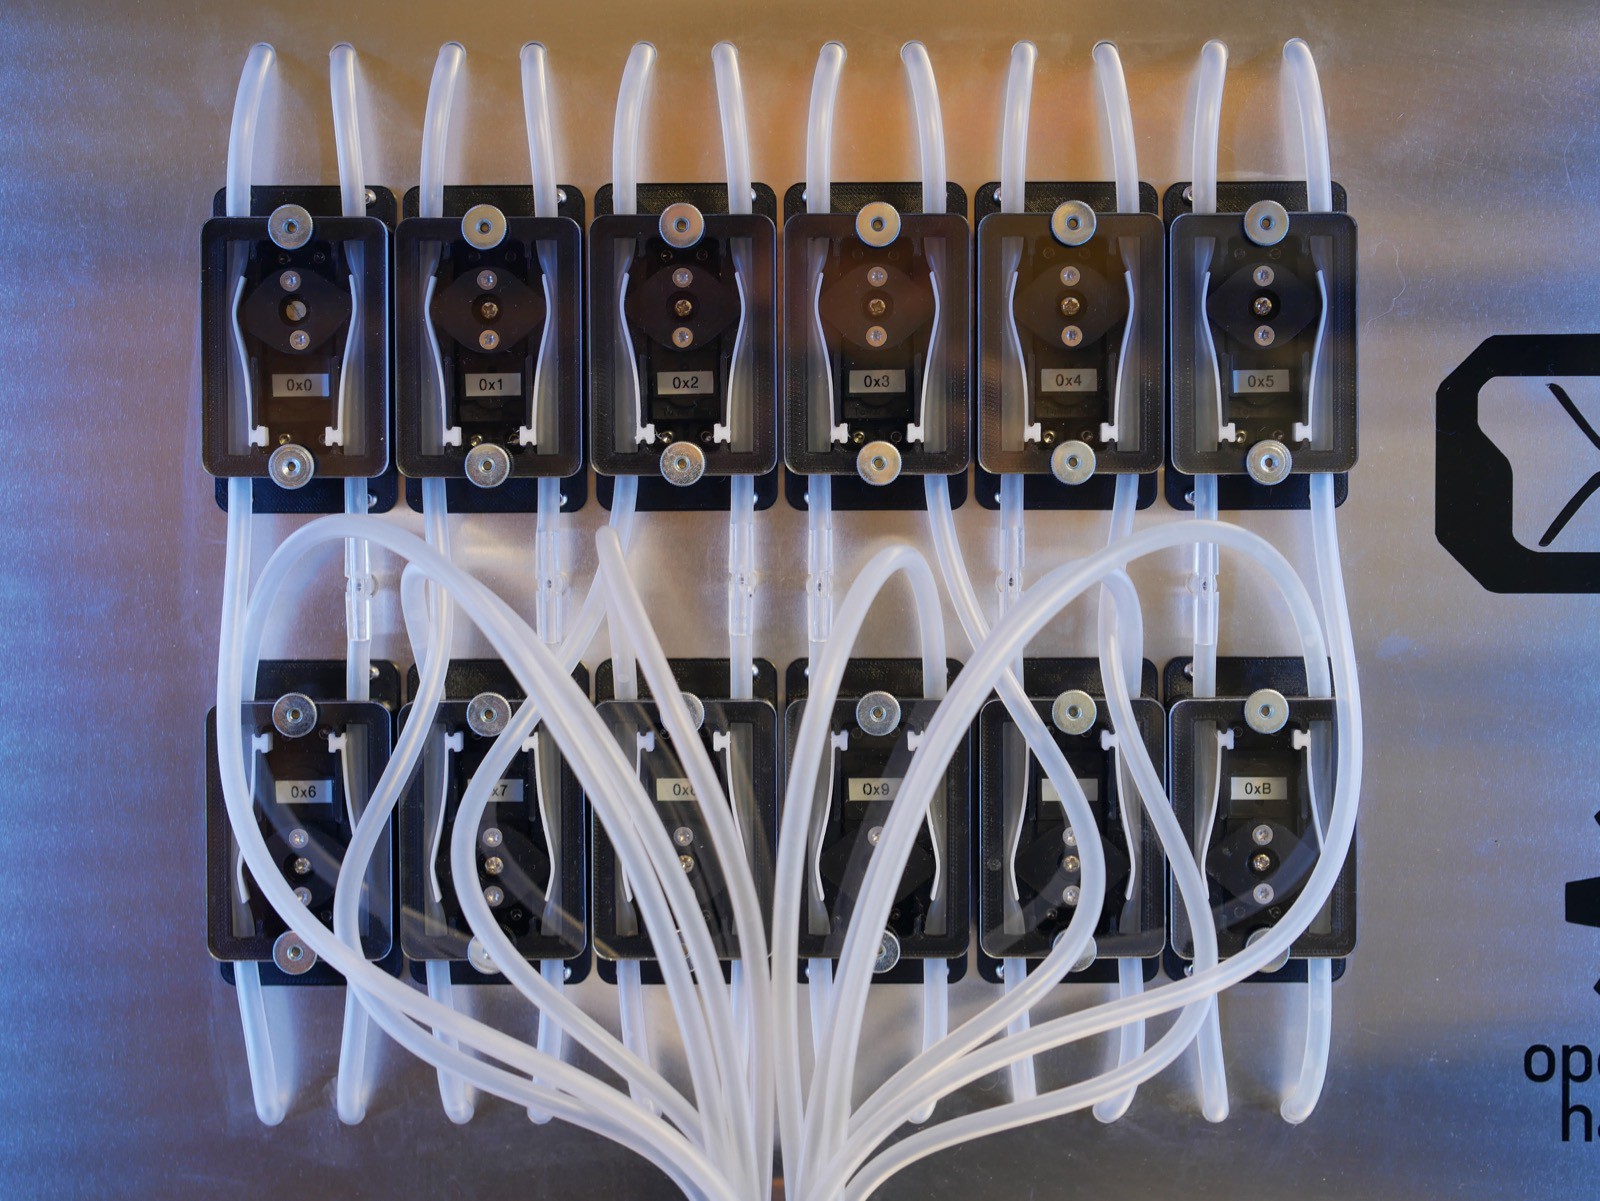
The idea was to build a barbot which is able to dispense 12 different liquids. We did not want to use peristaltic pumps, because it should be possible to dispense carbonated drinks. So we decided to pump the liquds with pressured air. The mass of the dispensed liquids are measured by a load cell. By using pressured air there is some loss of carbondioxide, but the Cocktails are still fizzy.
Beside the dispensing function we included some eyecandys like some (needless) moving parts and blinky LEDs.
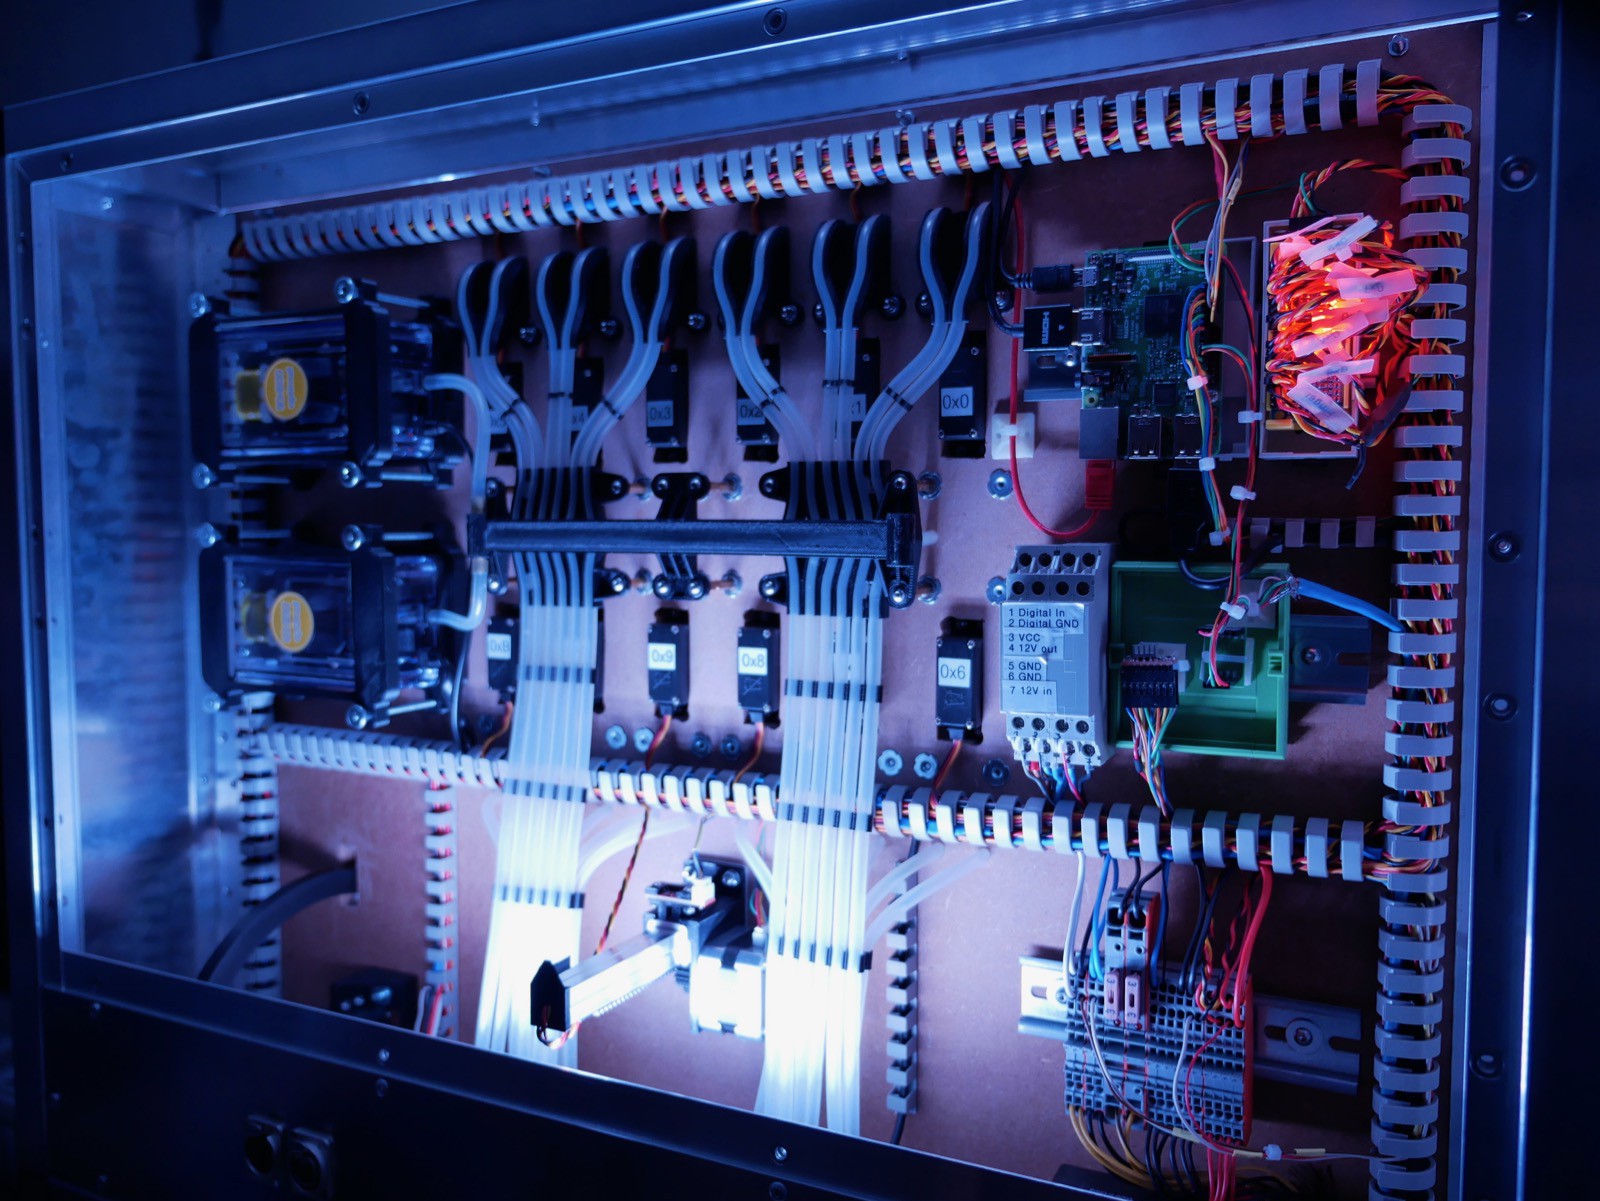
To control the barbot we choose a Raspberry Pi. You can choose the desired Cocktail on a 7" touchsreen. After mixing the drink Hector gives an acoustic signal.

One of our focal points for the development of Hector 9000 is, to make it as easy as possible to replicate the machine. Thus we 

  • used of the shelf & easy to source electronic components
  • made the mechanical hardware parts mainly by FDM printing (without support)
  • host the software on GitHub
  • try to make a good documentation

We also made most of the functional parts independent from the structural parts to give a high degree of freedom for an individual case/cabinet design.  

During the work on Hector 9000 we had a lot of ideas for additional features and improvements. Here are some of them:

  • Ice dispensing unit
  • Cocktail Umbrella dispensing unit
  • Dispenser for sugar
  • GUI based on Qt
  • Statistic functions (Best Drink of the Day, ...)
  • AI to create new Coctail recipes

all software and CAD files have been transfered to GitHub

<--- follow the links on the left side ---<<<

all software and cad files have been transfered to github - 0 bytes - 04/26/2020 at 19:39

Download

...also the documentation

<--- follow the link on the left side ---<<<

also the documentation - 0 bytes - 04/26/2020 at 19:36

Download

  • 1 × Scale DIY, see "Notes on Assembly"
  • 1 × Pump see "Notes on Assembly"
  • 1 × Adafruit PCA9685 Servo Driver Board
  • 1 × Raspberry Pi 3B
  • 1 × Bell Assembly DIY, see "Notes on Assembly"

View all 11 components

  • Hector Pi Image

    DevTown04/04/2022 at 17:17 0 comments

    Now Hector9000 has his own Pi Image.

    You can find it here:

    https://github.com/H3c702/Hector9000-Image/releases

    Have fun an enjoy.

  • Files have been transfered to GitHub

    Cadmium04/26/2020 at 20:02 0 comments

    Due to better maintenance and collaboration, we transfered the CAD files, the software and the Documentation to GitHub.

    We will also provide the STEP files for the 3D printed parts in the near future.

    You will find the files in the following Repositories:

    Software

    WebUI

    CAD Files

    Documentation

  • New Release

    DevTown01/01/2020 at 21:36 0 comments

    A new release of the software is here.

    Have a look at ->  https://github.com/H3c702/Hector9000/releases

    Have fun ;-)

    In 2020 there will be more to come.

  • Hector9000 Cups

    DevTown07/31/2019 at 14:54 0 comments

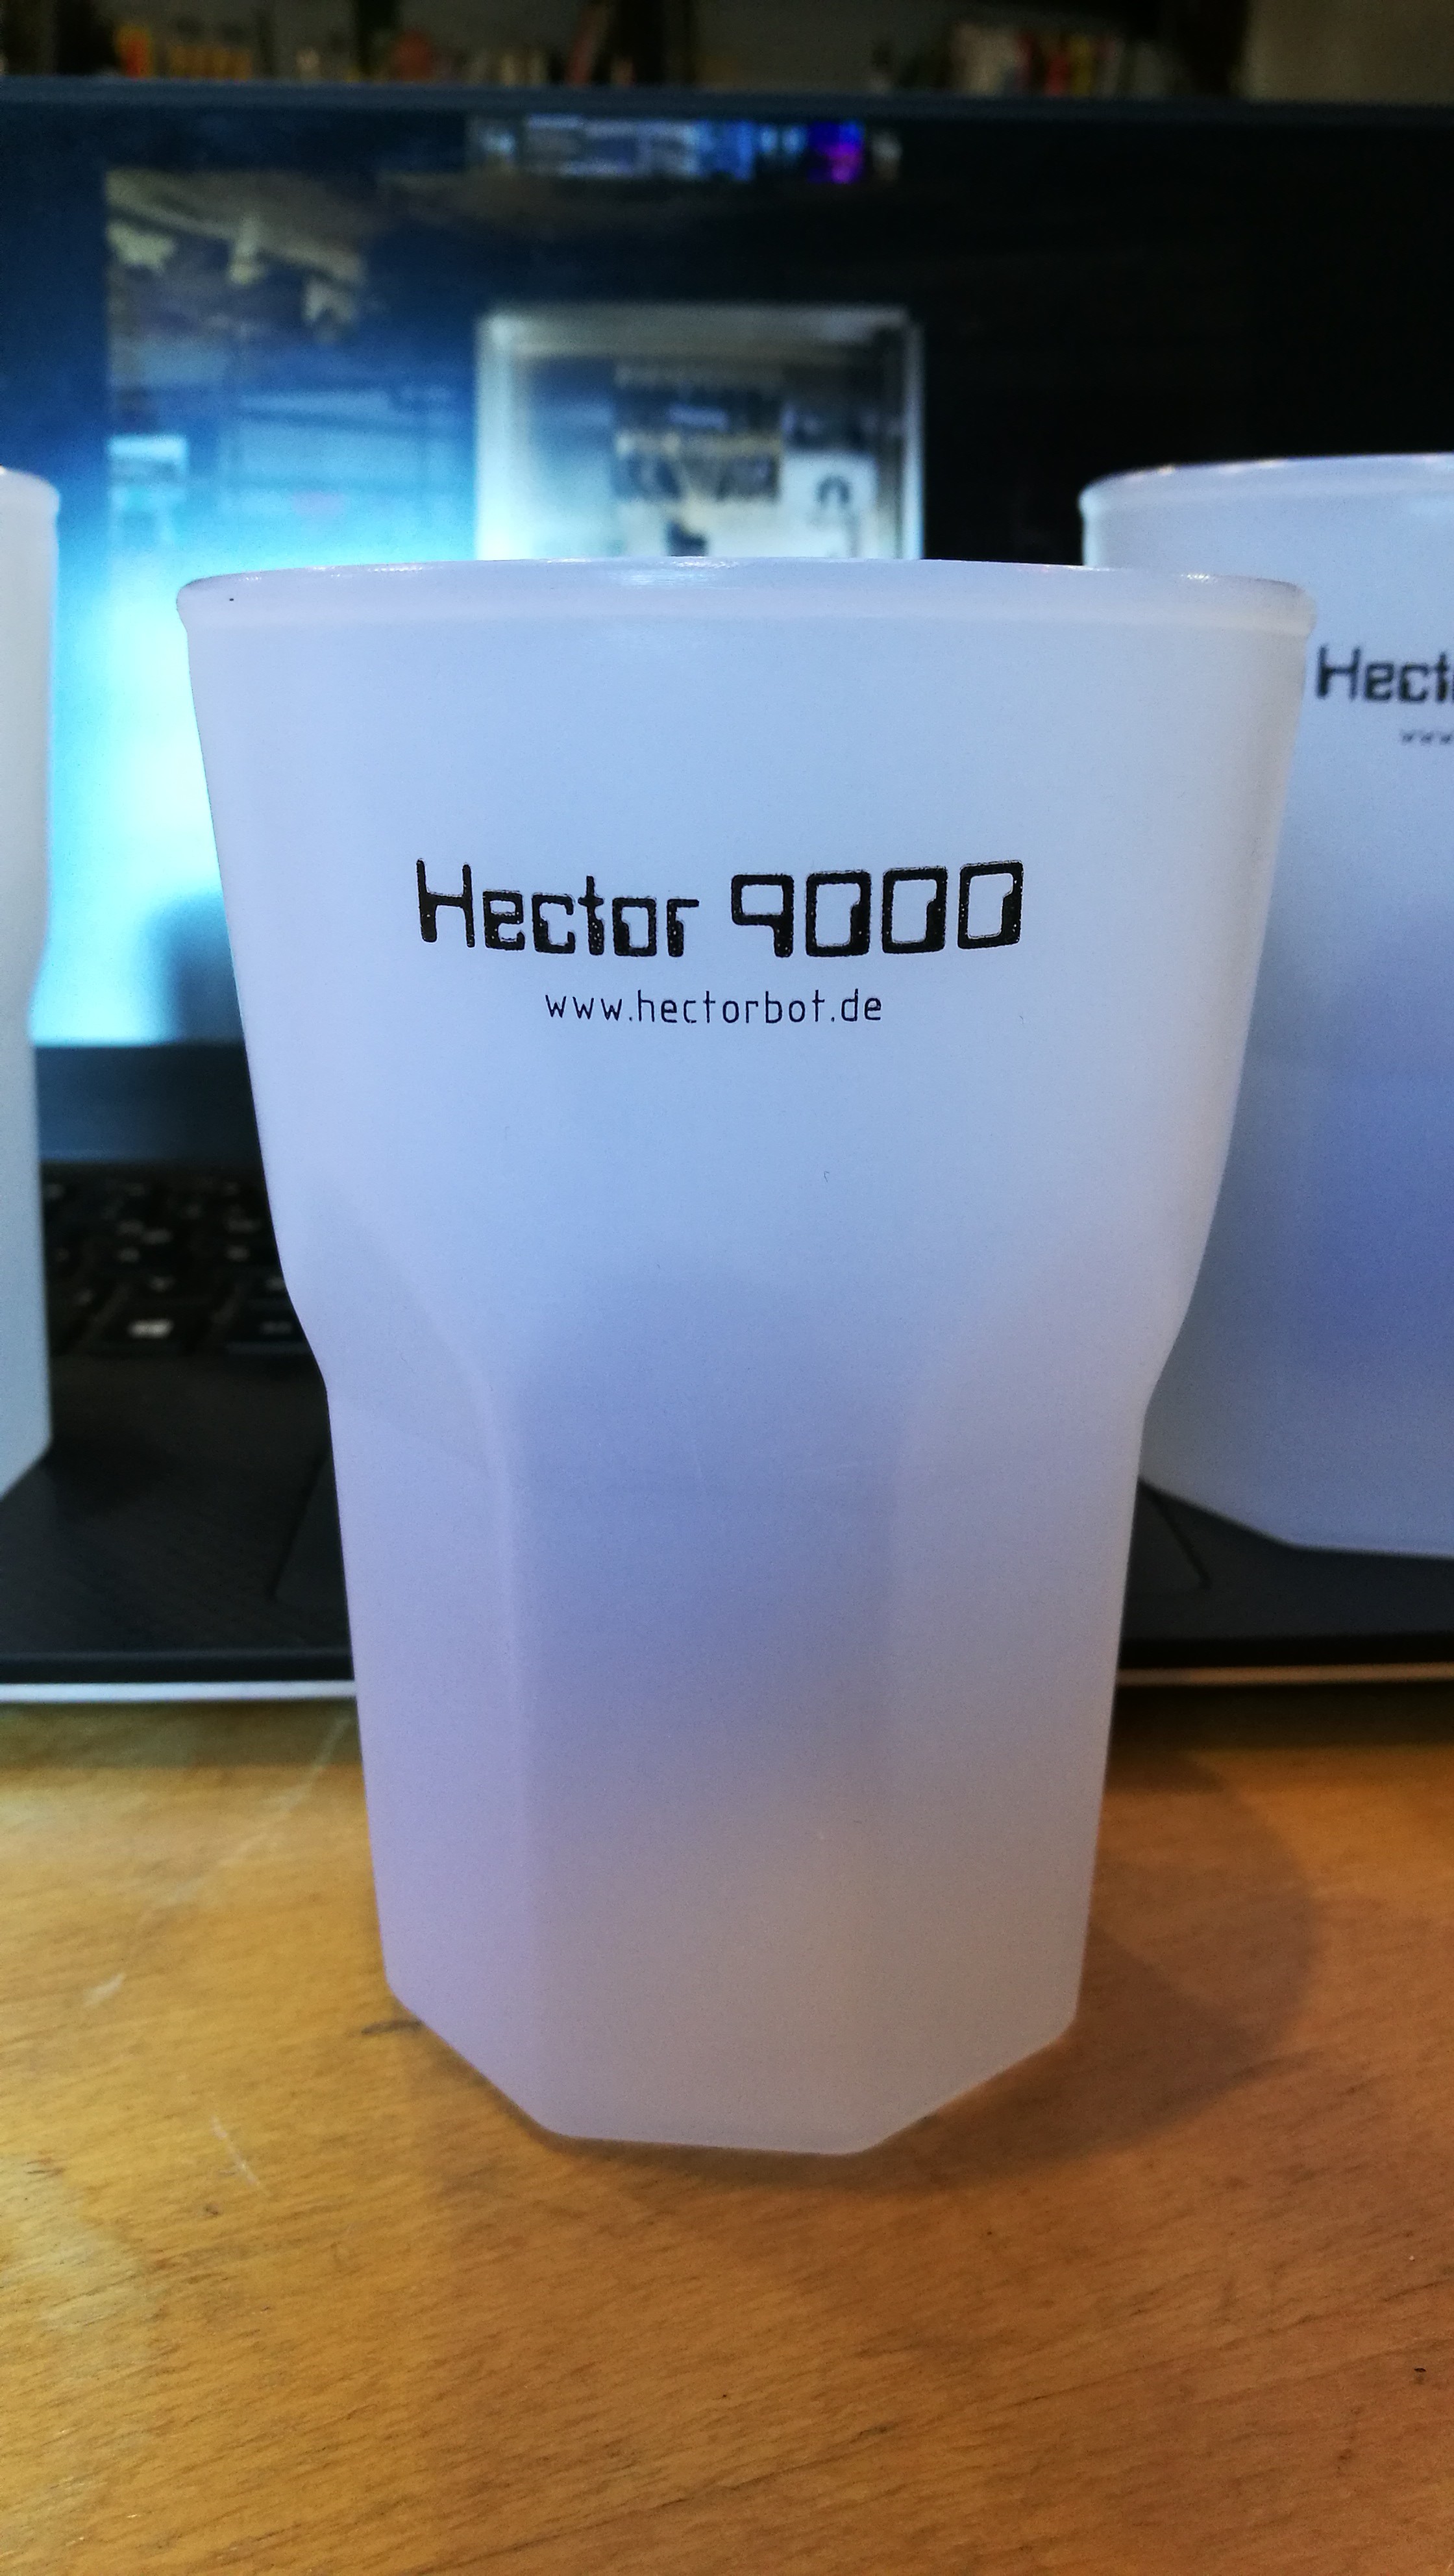
    We have our own cups now ;-)

  • Hector on event

    DevTown07/16/2019 at 13:11 0 comments

  • Fixed .stl-file

    Cadmium07/10/2019 at 08:03 0 comments

    We fixed a wrong positioned hole in the .stl-file for the valve body.

  • CAD Bug

    Cadmium07/09/2019 at 06:58 0 comments

    Some of you mentioned that there is a bug in one of our CAD files. It seems that at least one hole for mounting the servo into the valve body is not positioned correctly. I will fix it within the next week. We have to apologize for the inconvenience. 

  • New Photos Part II

    Cadmium03/18/2019 at 14:36 0 comments

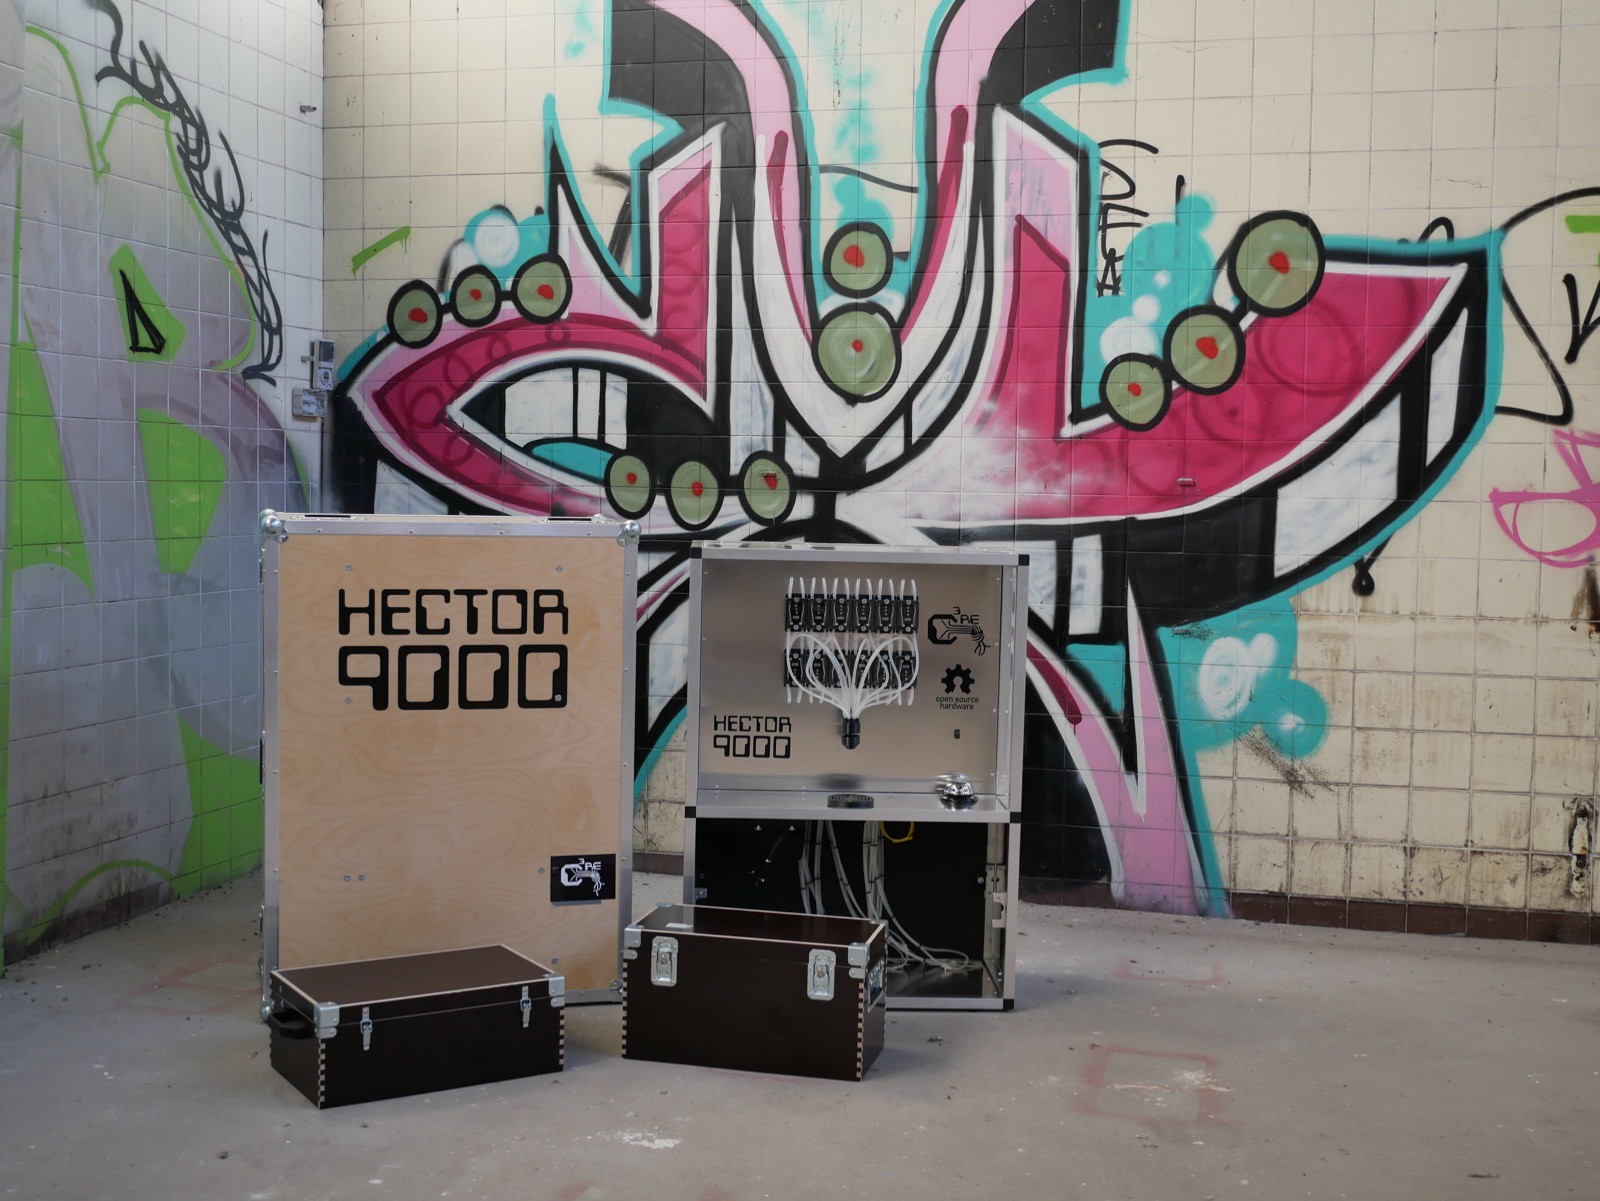
    Today we will share some photos which are showing the current state of Hector 9000.

  • New Video and Pictures

    Cadmium03/13/2019 at 11:35 0 comments

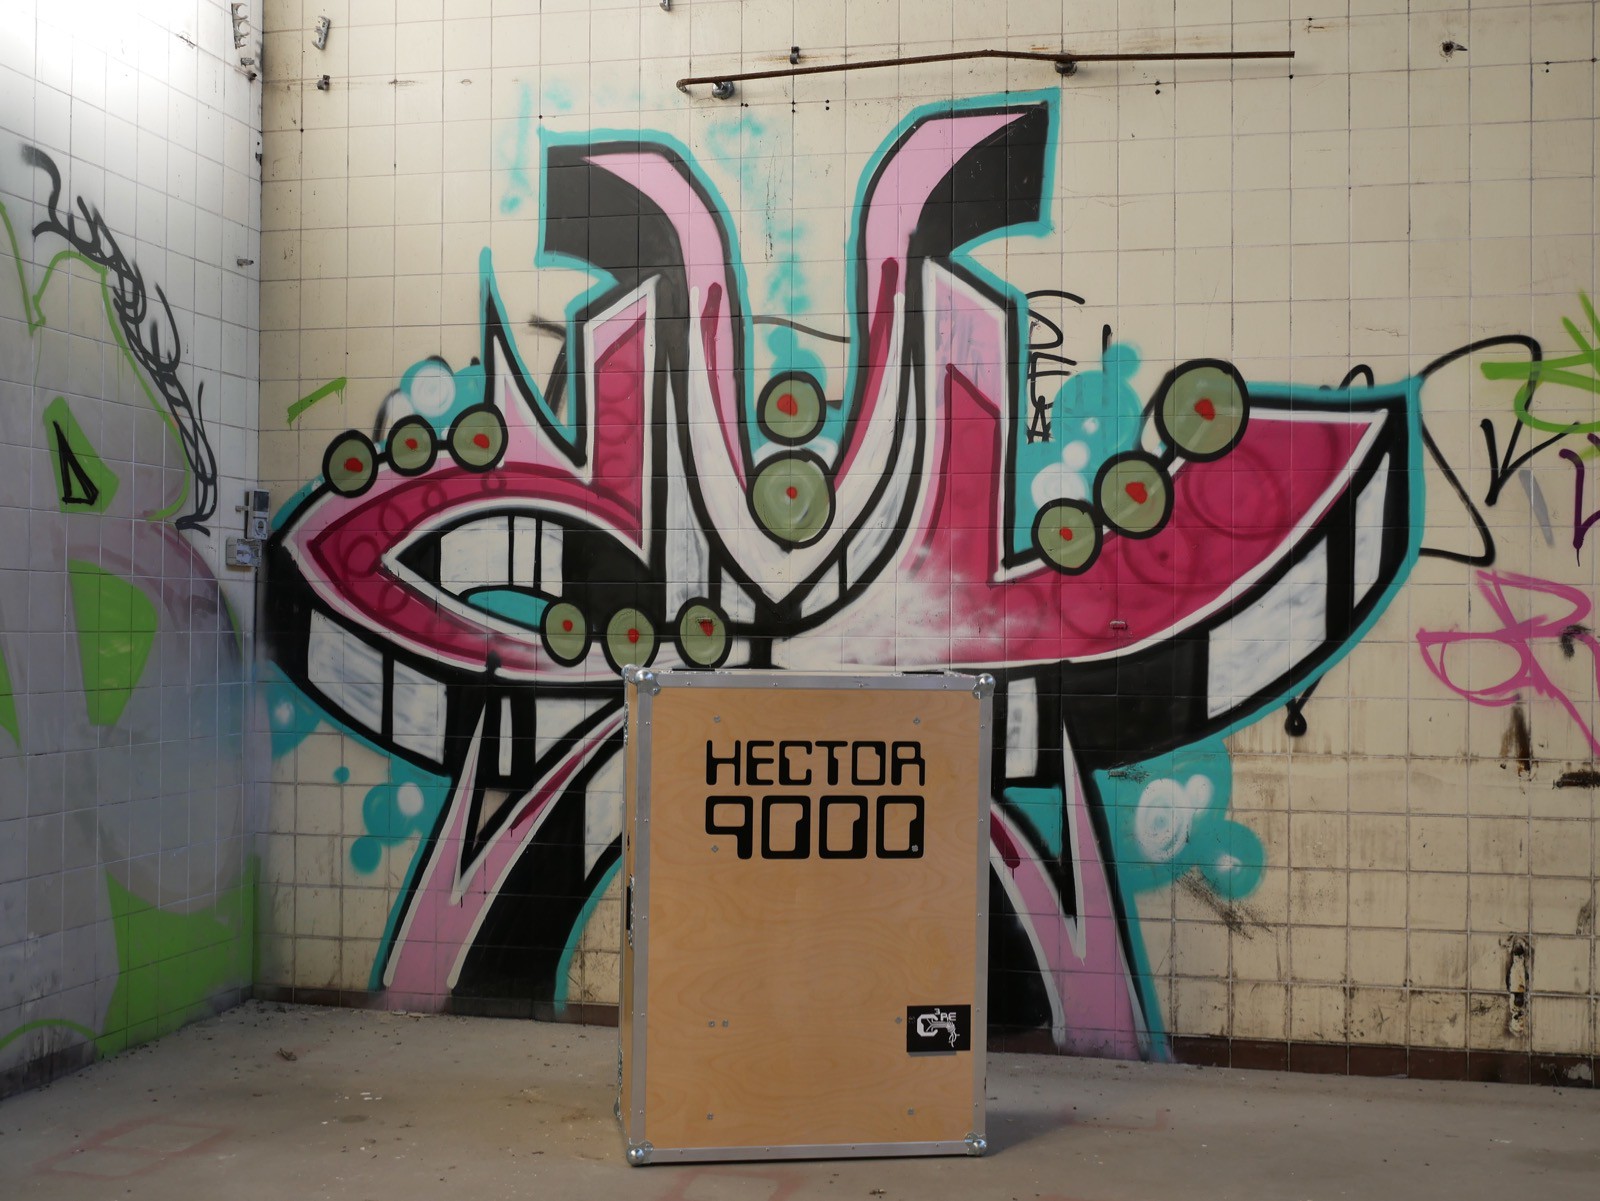
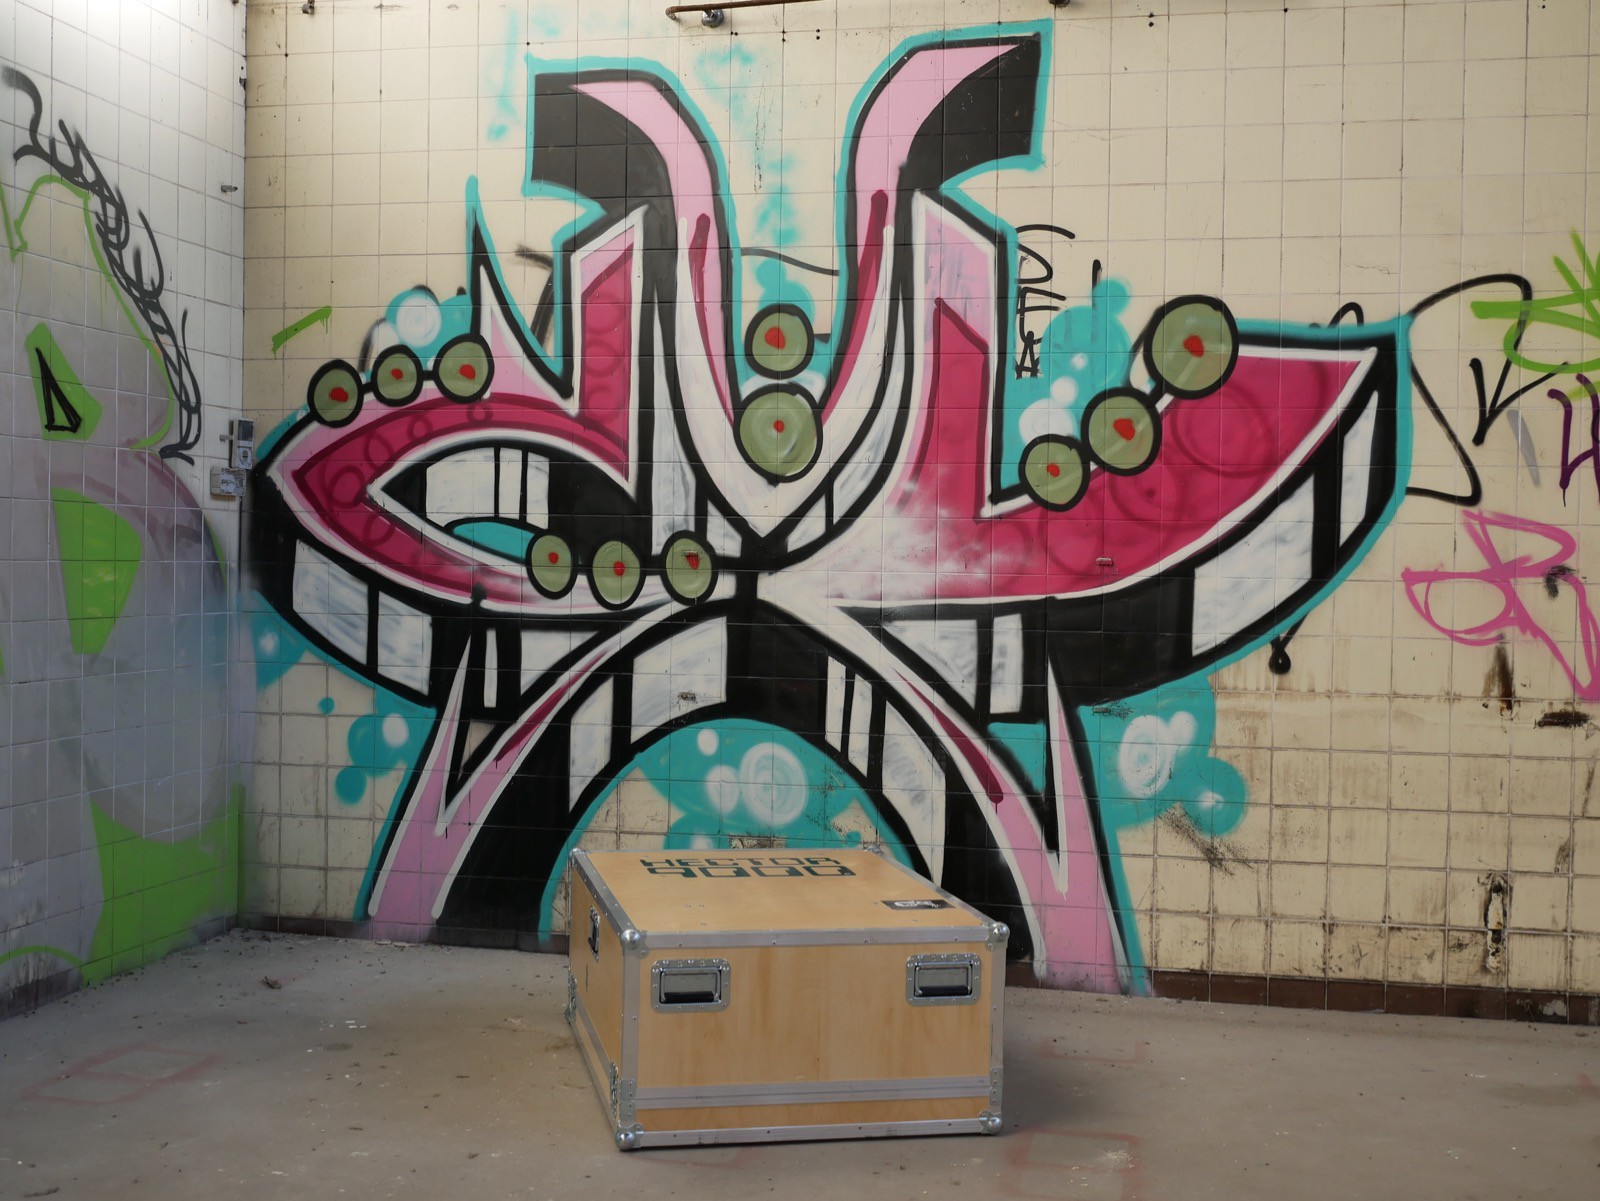
    Meanwhile we made a video and took some pictures which we want to share with you. We will publish the content within the next week. Today I will start with the video and some pictures of our flightcase.


  • EZ-to-assemble™ Cam

    Cadmium02/07/2019 at 19:58 1 comment

    We got some feedback from people which are building their own Hector 9000.

    Thank you very much for the feedback!

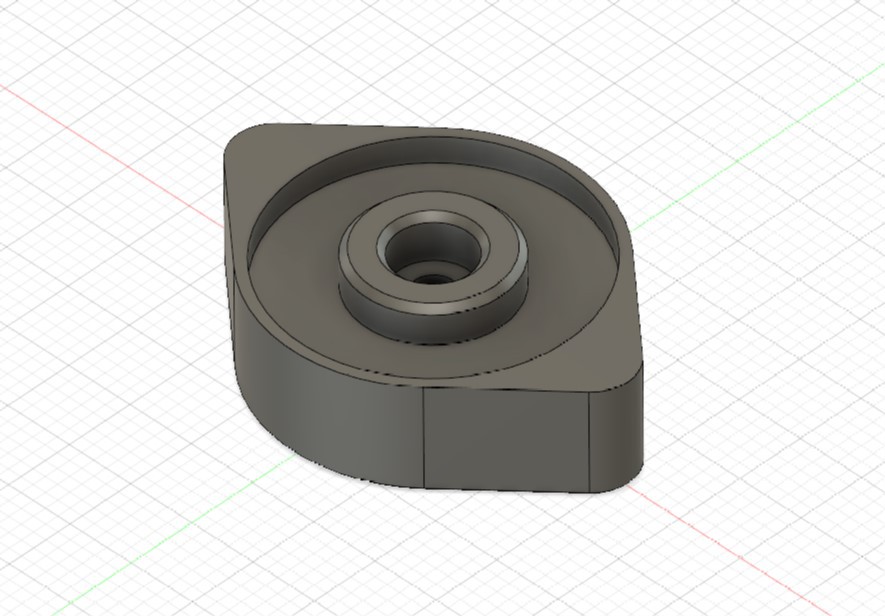
    Some of you pointed out that it is very much work to assemble the valves, because it is neccessary to customize the diameter of the original servo horns. So we tried to create a cam which you could directly mount to the servo shaft.

    Because it is nearly impossible to print the splines of the servo shaft with an ordinary FDM printer, we think it could be possible to press a cam directly onto the shaft and secure it with a M3 bolt. We propose to use PETG or ABS for the print.

    Unfortunately our printer is down for maintenance so we could not test the design. If you decide to try the new cam, it would be nice to get some feedback. You will find the .stl file for the cam in the download area as a single file (not included in the stl archive).   

View all 15 project logs

  • 1
    Download the files

    Download the files on github.com and hackaday.io

  • 2
    Print the parts

    Additional information can be found in the documentation

  • 3
    Build a case

    Be creative. Consider the size for transportation and the possibility for upgrades.

View all 6 instructions

Enjoy this project?

Share

Discussions

bleachuser89 wrote 09/17/2024 at 11:58 point

Hat schon jemand erfolgreich neue Zutaten/Cocktails hinzugefügt? Hatte bei Cocktails in der drinks.py Datei zwar halbwegs Erfolg, aber sobald ich neue Zutaten in der database.py hinzugefügt habe und neue Cocktails mit diesen Zutaten erstellen will, kommt es zu Problemen. Gibt es eine Weitere Datei in der ich die "Ingredients" anpassen muss? Hatte ebenfalls das Problem, dass ich bei der Umbenennung der Zutaten immernoch die alte Außgabe hatte, trotz neustart etc.

  Are you sure? yes | no

chucky99 wrote 05/15/2024 at 21:23 point

Hallo, finde das Projekt super und wage mich mal daran es nachzubauen. :)

Hat jemand vll einen Anschlussplan dazu? (Bin ein absoluter noob beim Anschließen der Hardware).

Habt Ihr 4-Leiter-Durchgangsklemmen benutzt?

  Are you sure? yes | no

Zach wrote 06/21/2023 at 18:32 point

Love a good Barbot, but never been a huge fan of perstaltic pumps. Usually too slow for my liking. The one I've been playing with, I have a rubber stopper with 2 drilled holes. A small hole for a small tube for air to be pumped into the bottle and a larger hole for a hose that goes to the bottom of the bottle. Air gets pumped in and pressure pushes the liquid out the hose.

If you want even more needless features get a magnetic stirrer as your cup platform. Drop a Magnetic stir bar in your glass and then when the drink comes in just turn the stirrer on and mix as you make.

  Are you sure? yes | no

olivier wrote 01/03/2022 at 09:36 point

Hi, I would like to build a Hector 9000 version with a larger hose diameter. I am thinking of 6 or 8mm. For this I would redesign the servo module and possibly construct the servo horn with 2 ball bearings to close the hoses.  Has anyone already considered a larger hose diameter? Do you see a problem that I may have overlooked?

  Are you sure? yes | no

space-x wrote 01/06/2022 at 15:31 point

Hi Olivier, depends on what is your intention of larger hoses. If you like to fill the glass quicker you can use a stronger pump with e.g. 260l/h. That is what I did and even Grenadine type of liquid fills really quick.

  Are you sure? yes | no

olivier wrote 01/06/2022 at 18:56 point

Hi Space-x, Thanks for the suggestion, yes I would like to fill the glass faster. Which pump do you use? 

  Are you sure? yes | no

space-x wrote 01/02/2022 at 18:30 point

Hi, I want to add an A/D Converter to my Hector for an extension. I like to use the MCP3008 that is connected by SPI I/F and there are drivers availabe e.g. from Adafruit. The problem with these drivers is that they all use the GPIO in GPIO.BCM mode which then conflicts with the GPIO.BOARD mode used in the Hector S/W. Does anybody have an idea (or MCP 3008 driver in GPIO.BOARD mode) how to solve this?

Many thanks in advance

  Are you sure? yes | no

space-x wrote 01/06/2022 at 15:26 point

I solved the problem already, issue is closed :-)

  Are you sure? yes | no

Flint1984 wrote 10/12/2020 at 17:06 point

Hi, i have a Problem, i cant install the software and start it

  Are you sure? yes | no

Jens.Niels wrote 07/18/2020 at 16:42 point

I have the same problem with raspian-buster.

Several attempts to install shiboken2 were unsuccessful.

Could not find a version that satisfies the requirement shiboken2==5.12.1 (from -r requirements.txt (line 21)) (from version: )

No matching distribution found for shiboken2==5.12.1 (from -r requirements.txt (line 21))

When I switch to MoveToDB Branch I get the same error message. Are there any ideas to work around this problem?
Thanks in advance for the support

  Are you sure? yes | no

DevTown wrote 08/10/2020 at 18:29 point

Mm the shiboken2 is not in the requirements anymore . Plz check if you  clear the folder before switching .  I checked the Tests on TravisCI and there are no installation problems.

  Are you sure? yes | no

Blendd wrote 05/14/2020 at 13:48 point

Englisch(short):

Ordered my Servos at hobbyking, like recommended, at 22.09.19 shipped From UK, now realized that the Label says "Towerpro" and not "Tower Pro" like the original Pictures from the Manufacturer. Rest of it looks good (Alu gear, imprinting "Tower Pro" in the Housing...)

Is there a good Reason for it or did I order fakes from the recommended Store?

Here is an example how my Servos look like: https://www.roboter-bausatz.de/3123/tower-pro-mg996r-digitaler-servo-motor-mit-metallgetriebe

German:

In eurer Anleitung steht, dass nur (am besten) original TowerPro Servos verbaut werden sollen. Ihr nennt hier den Shop von hobbyking, wo ich letztendlich auch meine Servos bestellt habe (shipped from UK, bestellt am 22.09.19, https://hobbyking.com/de_de/towerpro-mg996r-10kg-servo-10kg-0-20sec-55g.html?wrh_pdp=1 ).

Da diese bei Hobbyking seit langer Zeit für UK und EU ausverkauft sind habe ich mich nach alternativen Händlern umgeguckt und habe dabei auch jede menge Fakes gefunden und mich daher mit dem Thema deutlich mehr auseinander gesetzt.

Nun ist mir aufgefallen, dass auf meinen Servos von Hobbyking auf dem Label "Towerpro" steht und nicht "Tower Pro". Ansonsten sieht es original aus (Alu, eingeprägtes "Tower Pro" im Gehäuse...)

Gibt es hierfür eine Erklärung oder habe ich jetzt doch irgendwelche Fakes bestellt? Ich werde ja nicht als einziger dort bestellt haben.

So sehen die erhaltenen Servos von mir aus: https://www.roboter-bausatz.de/3123/tower-pro-mg996r-digitaler-servo-motor-mit-metallgetriebe

  Are you sure? yes | no

Finn wrote 05/14/2020 at 10:59 point

Is it possible to realize this project, without a 3D-Printer?

Have a nice Day

Finn

  Are you sure? yes | no

Blendd wrote 05/14/2020 at 13:59 point

I don't get what you are asking for...

There a plenty of 3d printing fulfillment service out there. So ,Yes, it is possible.

  Are you sure? yes | no

Achim Kuntz wrote 04/01/2020 at 11:39 point

Hallo Leute,

ich habe gerade mit dem Bau meines eigenen Hectors angefangen und habe gleich Probleme, dass die gedruckten dinge nicht passen.

Zum einen die Zungen für die Ventile. In PLA gedruckt passen die nicht, wie den auch, die Aussparung ist 3x1,6mm und die Zungen sind 3x1,6mm. Erst beim drucken mit TPU konnte ich die mit der Flexibilität des Materials überhaupt anbringen. Ist das so gewollt?

Dann hab ich ein Gehäuse für die Ventile gedruckt aber der 6x4mm Schlauch passt nicht durch, weil das loch auch nur 6 mm. Wie habt ihr den Schlauch da durch bekommen?

Achim

  Are you sure? yes | no

Cadmium wrote 04/01/2020 at 15:05 point

The tolerances of the parts are very tight. If you have trouble with them, you could try to scale the parts in your slicer. For example set the print size for the tongue to 98%.

For the tongues you should use Iglidur or PETG. The tribologic properties of TPU are not suitable in this case.

It is intended that there is a press-fit tolerance between the hoses and the valve body. To install the hoses, we cut one end of the hose diagonally. The diagonal cut shoud have a lenght of about 5cm.

  Are you sure? yes | no

Achim Kuntz wrote 04/03/2020 at 12:14 point

Yes, with 97% it works and the trick with the diagonal cut also lead to success.

Now I have received all ordered parts for the scale, but I can assemble it. I am a programmer, so I not very firm with the mechanical parts, but I should assemble the scale through the table. So far, so good, but the hole in the box for the scale is to small and when I have the scale in the box, there is not enaugh place to put the HX711 inside the box. Is this because I have baught the wrong one or will the HX711 not be in the scale box?

  Are you sure? yes | no

Anian Glasner wrote 03/19/2020 at 18:48 point

Hallo Leute,

ich bin gerade am nachbauen vom Hector9000, aber ich habe Probleme mit der Software. Ich habe das neueste Raspbian (release 13.02.2020) installiert und habe versucht die Hector Software zu installieren, aber wenn die requirement.txt aufgerufen wird, bekomme ich einen Fehler in Zeile 21 (Shiboken2). Der Fehler ist wie folgt:

Could not find a version that satisfies the requirement shiboken2==5.12.1 (from -r requirements.txt (line 21)) (from version: )

No matching distribution found for shiboken2==5.12.1 (from -r requirements.txt (line 21))

Könnte mir da jemand weiterhelfen, würde mich echt freuen.

Danke und Grüße aus München

Anian

  Are you sure? yes | no

DevTown wrote 03/21/2020 at 21:49 point

Hi, This is a error with python 3.8. The fix is already in my workingcopy. I hope it will find its way in main next week. ;-)

  Are you sure? yes | no

Anian Glasner wrote 03/22/2020 at 06:52 point

Thanks a lot 

  Are you sure? yes | no

Anian Glasner wrote 03/28/2020 at 19:11 point

Hi DevTown, I don´t want to bother you, but I need the new Software, because the hardware is ready and I want to test it.

Thanks

Anian

  Are you sure? yes | no

maurice.demmer wrote 03/29/2020 at 10:22 point

Hi,

I have the same problem with raspian-buster.

Several attempts to install shiboken2 were unsuccessful.

When I switch to MoveToDB Branch I get the same error message. Are there any ideas to work around this problem?

Thanks in advance for the support

Maurice

  Are you sure? yes | no

Dennion wrote 03/08/2020 at 13:25 point

Hello,

do you already have a plan when you want to include the actions in the WebUI?

Greets Dennion

  Are you sure? yes | no

luga64319 wrote 02/26/2020 at 10:13 point

Das Projekt Hector9000 hat mir schon beim Lesen in der "MAKE:" gefallen und nach euren Berichten und Erfahrungen hier, habe ich mich an die Umsetzung gemacht.
Die Hardware und der Aufbau sind fertig, Danke auch an https://github.com/alesti.
Aber jetzt "hänge" ich bei der Software. 
Leider bin ich auch noch ein absoluter Rasbian-Anfänger und komm auch nach etlichen Forum Recherchen einfach nicht weiter.
Status: 
- Raspberry Pi 3B+ läuft mit Rasbian

- github repo Hector9000 und Hector9000WebUI geholt

- python 3 installiert

- start.sh (eigentlich alle *.sh Dateien) melden mit Thonny: "Syntax error" schon in der ersten ausführbaren Zeile

- Das in https://github.com/H3c702/Hector9000/blob/master/README.md genannte "cd srv" und "python3 main.py" existiert nicht.

- Im Terminal gestartete einzelne *.py Dateinen (z.B."python3 test_database.py") finden die Module nicht ("No Module named 'conf' ")

Ich glaube, da habe ich schon ganz am Anfang was falsch gemacht...
Gibt es irgendwo eine genauere Anleitung für die Software für Anfänger ?

vielen Dank schon im Voraus

  Are you sure? yes | no

Dennion wrote 03/08/2020 at 13:24 point

Hey, wenn du Discord hast meld dich gerne mal bei mir im Discord. Dann kann ich dir da sicherlich weiterhelfen :)

Discord: Dennion#2701

Grüße, Dennion

  Are you sure? yes | no

luga64319 wrote 03/12/2020 at 08:50 point

Hallo Dennion, auf welchem Discord Server erreiche ich dich ?
Grüße, luga64319

  Are you sure? yes | no

DevTown wrote 03/21/2020 at 21:52 point

The new version of our Software has changed a little. If you have any problems plz write a report on Github or a DM here. (Including what error and what version of Hector you are using) .

  Are you sure? yes | no

noname112 wrote 01/01/2020 at 16:12 point

Hey, I'm also new here and I'm looking forward to build this project.

I'm a maker with less knowledge in programming. So is there a detailed description about the software and how the whole machine can get started by a newbie like me?

Best regards

Kai

  Are you sure? yes | no

DevTown wrote 01/01/2020 at 21:38 point

Have a look at Github. The Readme should be a new Version. Hope that will help you.

  Are you sure? yes | no

cermjani wrote 11/20/2019 at 12:46 point

Hallo Leute, wäre auf der Suche nach dem Gehäuse? Hat wer zufällig eine Skizze die er mir zusenden kann.

Danke im Voraus 

  Are you sure? yes | no

schuetzi99 wrote 10/16/2019 at 11:47 point

Hi. I'm new here and at the very beginning of building my own Hector9000, but anyway I want to ask you, what you are thinking about my thoughts. I want to design a foot part for the valve housing, so I don't have to saw and file rectangular holes in the plate, but only drill holes into it for screws.The valves then stick out more into the room by the height of the servos.

Don't you think, there should be a place where to put remixes , improvements and enhancements? And wouldn't it be the best to share the OpenSCAD files to force such improvements? That would be my way to give something back to this great project.


Best regards, Klaus

  Are you sure? yes | no

jocamel wrote 09/24/2019 at 11:37 point

I designed the Servohorn with smal gears to fit the servos better. Feel free to download
Didn´t assemble the valves, but the horn fits the servos 100%

https://drive.google.com/file/d/1c3oVi0axGWq_kQ-XumtjCbFueZxsn8Pg/view?usp=sharing

  Are you sure? yes | no

space-x wrote 11/03/2019 at 15:50 point

Hi jocamel

I used your servohorn and it fits well. It would be even better if there would be a larger hole on top so that the screwhead completely moves into the horn (Versenkung). A hole with a diameter of 6mm and depth of 1,7 or 2mm would be ideal. Would it be possible to add this or to provide the source file?

Many thanks

Uwe

  Are you sure? yes | no

jocamel wrote 11/04/2019 at 13:27 point

https://drive.google.com/file/d/1Nyk3x4RyGRrylkLPSuvUWsVlI5ujh_P8/view?usp=sharing

Find attached with d=6 mm x 2 mm Senkung

I also set resolution of STL export higher, might make a difference in smoothness

  Are you sure? yes | no

Anian Glasner wrote 09/17/2019 at 01:55 point

Hi everyone,

I like this project and I already started to build it, so I have all the hardware already and my Test assembly is very messy but it‘s working fine, just one thing I didn‘t bring to work, the Neopixel stripe (WS2812b). I tried the how to on the raspberry pi Homepage with the files from jgarff/ws281x that’s working fine, but I have no idea how it works with the hector 9000. Help me, please.

Thanks

Anian

  Are you sure? yes | no

DevTown wrote 09/17/2019 at 19:57 point

Hi,

there is a NeoPixcel.py you have to start.

At the moment the WS2812b are controlled from this script.

On further development it will be implemented in the normal workflow of hector ;-)

  Are you sure? yes | no

marouanomary wrote 09/16/2019 at 18:44 point

hello, im looking through hacking rockey 4 smart dongle (lisence) any help please ?

  Are you sure? yes | no

Avatario wrote 09/14/2019 at 18:37 point

Hi, thanks for this great project! I am currently working on a prototype and need some help. My valves don't close properly, i.e. even in the 'close' position there is some air / liquid flowing through the tubes. I could make the valve tongues a bit thicker but before I do that I wanted to ask whether there was a better solution?! Cheers, Christian

  Are you sure? yes | no

Cadmium wrote 09/16/2019 at 17:35 point

Hi,

first you should check if the cam is properly centered onto the shaft of the servo. If you have problems with the alignment, you could try to use the new cam design without the adapter plate for the servo. 

I think the quickest way to solve your problem is to make the tongues thicker. You can also increase the outer diameter of the cam. 

  Are you sure? yes | no

Avatario wrote 09/16/2019 at 18:39 point

Hi,
yes, the cam is properly centered and I used the new design. I'd prefer to change the cam but it is hard as I don't have the source file (only .STL). Could you pls provide a source file?

Thanks, Christian

  Are you sure? yes | no

DevTown wrote 09/16/2019 at 17:58 point

Hi,

or it is possible that your servos did have a different position.

If you have a look in the

HectorConfig.py

you can find the open and close positions for every servo, so you could adjust the position.

  Are you sure? yes | no

Avatario wrote 09/16/2019 at 18:47 point

Hi, I used a servo tester and fine-tuned the position, so I found the best position. But the cam plus the tongue did not fully lock / close the tubes.

Thanks anyway for your help!

  Are you sure? yes | no

Does this project spark your interest?

Become a member to follow this project and never miss any updates