Cadmium
-
Hector Pi Image
04/04/2022 at 17:17 • 0 commentsNow Hector9000 has his own Pi Image.
You can find it here:
https://github.com/H3c702/Hector9000-Image/releases
Have fun an enjoy.
-
Files have been transfered to GitHub
04/26/2020 at 20:02 • 0 commentsDue to better maintenance and collaboration, we transfered the CAD files, the software and the Documentation to GitHub.
We will also provide the STEP files for the 3D printed parts in the near future.
You will find the files in the following Repositories:
-
New Release
01/01/2020 at 21:36 • 0 commentsA new release of the software is here.
Have a look at -> https://github.com/H3c702/Hector9000/releases
Have fun ;-)
In 2020 there will be more to come.
-
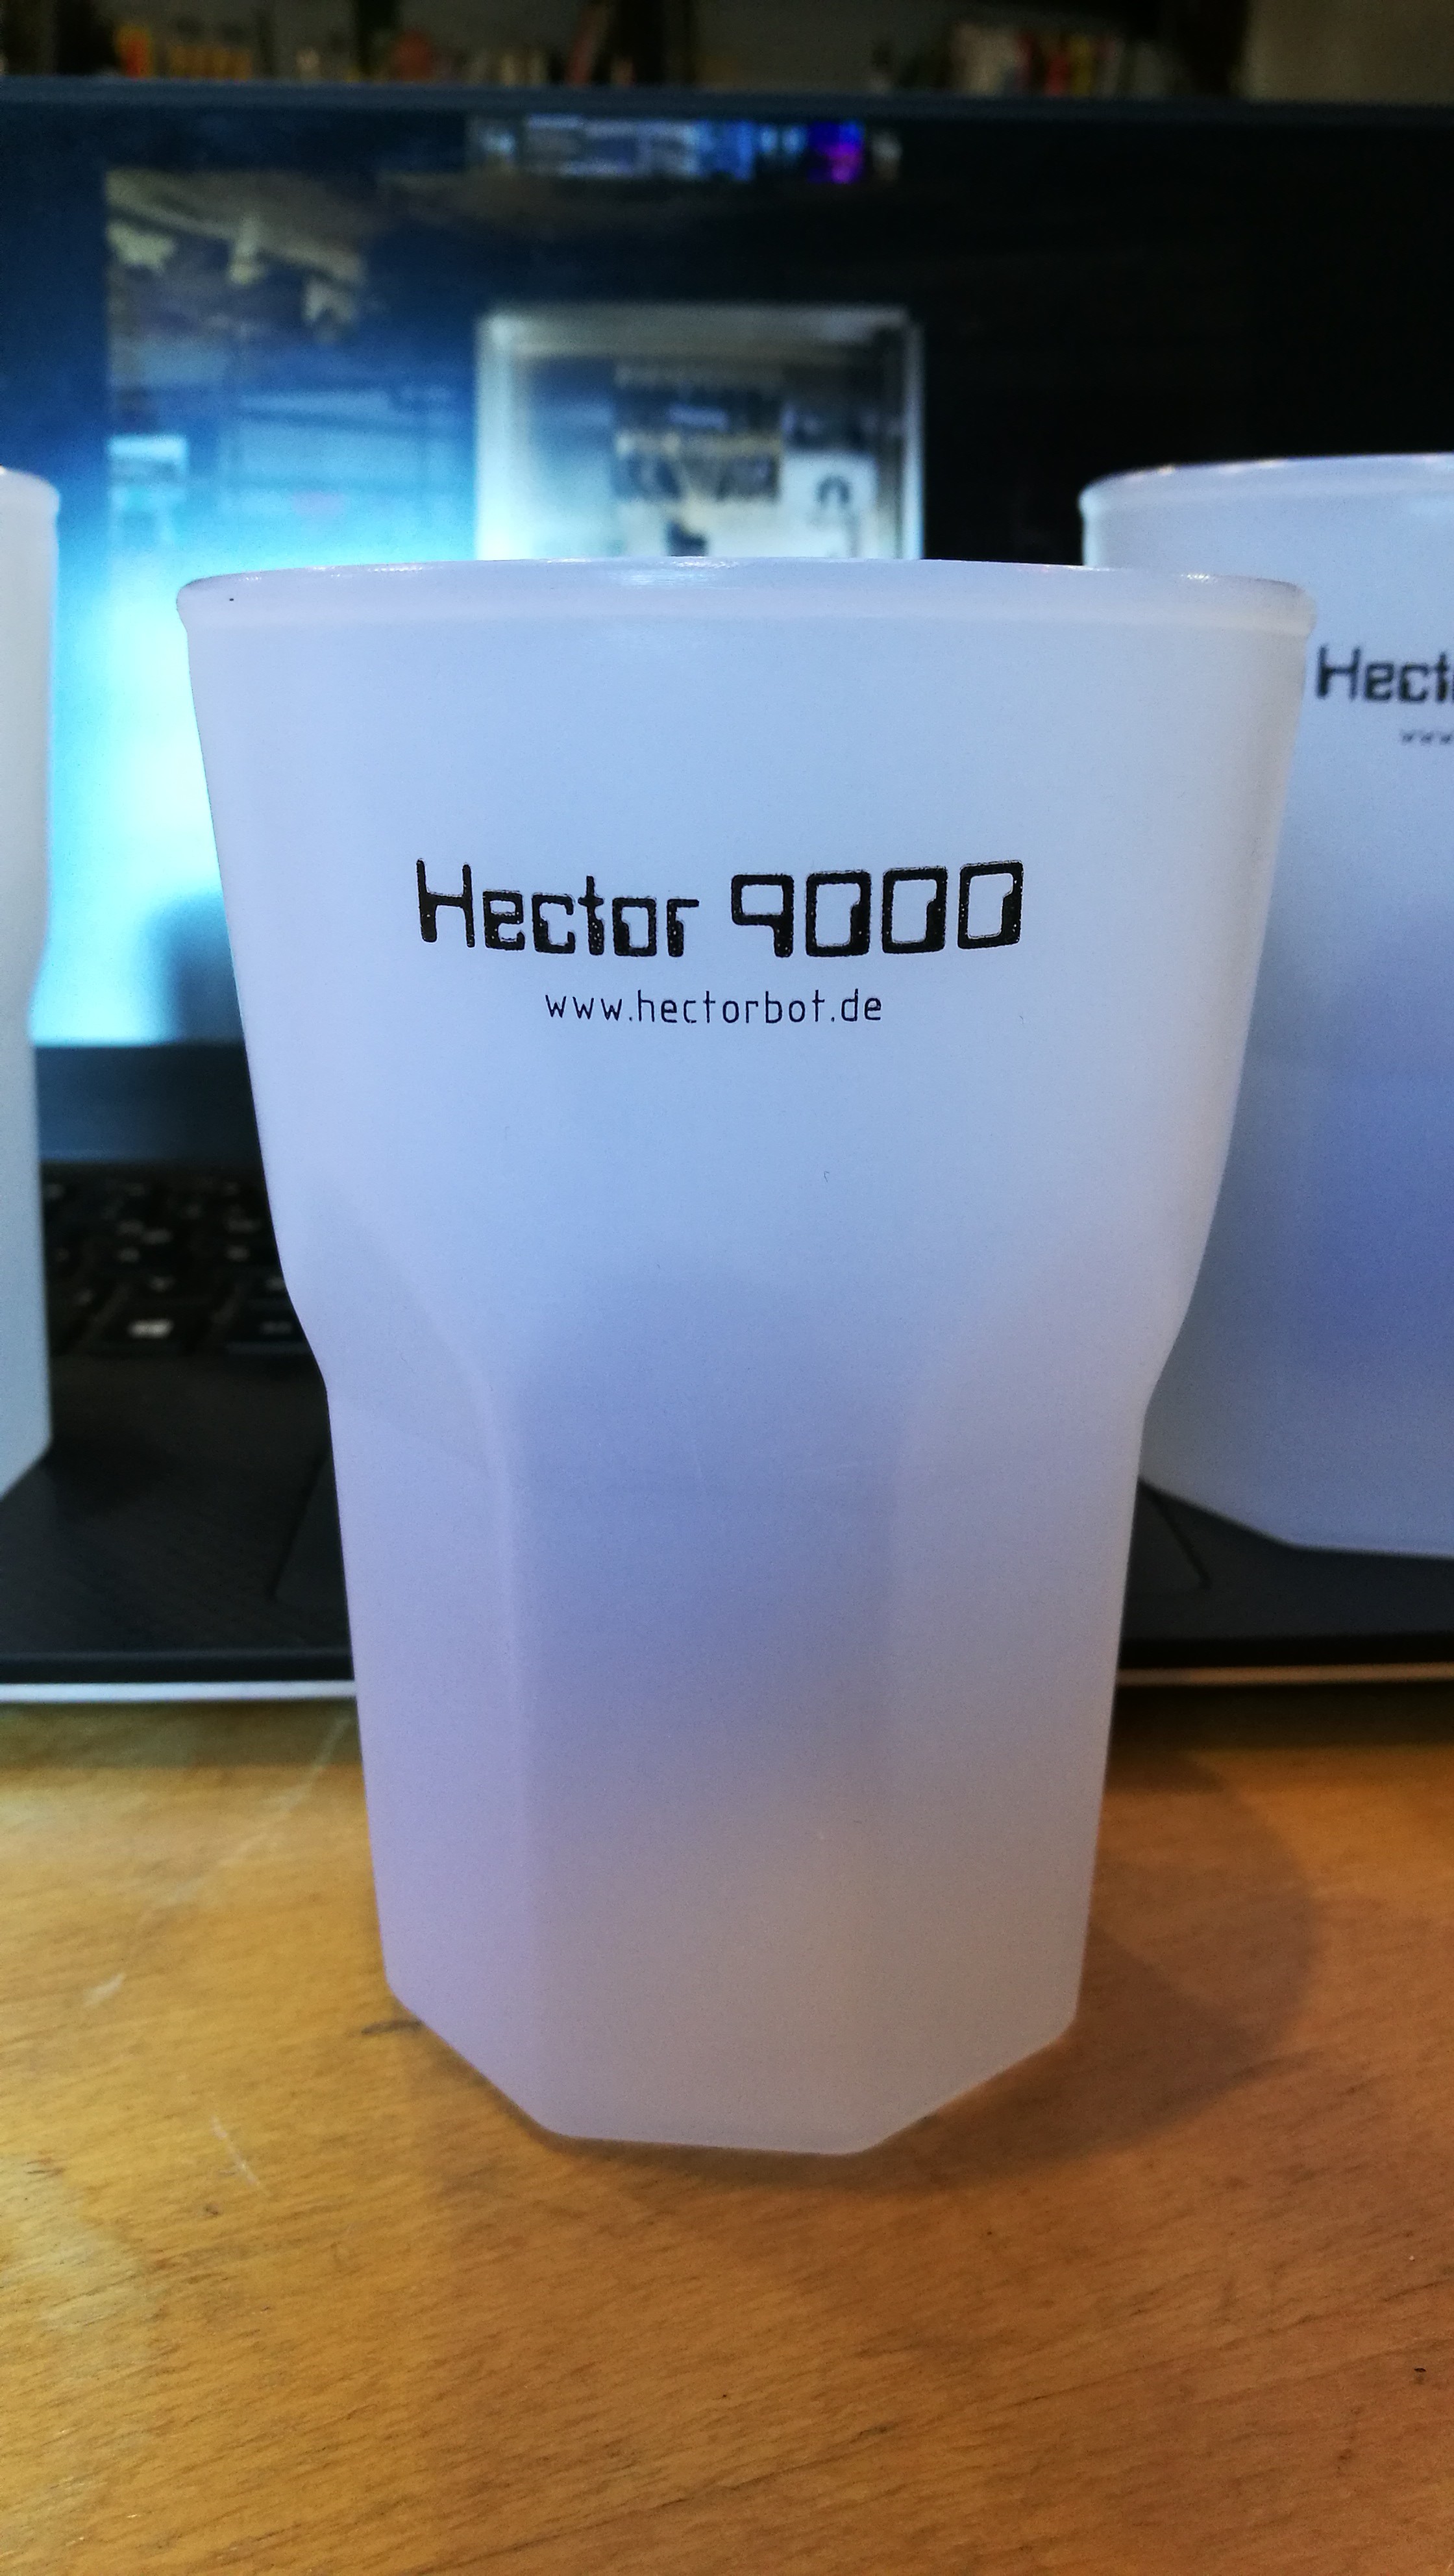
Hector9000 Cups
07/31/2019 at 14:54 • 0 commentsWe have our own cups now ;-)
![]()
-
Hector on event
07/16/2019 at 13:11 • 0 comments![]()
-
Fixed .stl-file
07/10/2019 at 08:03 • 0 commentsWe fixed a wrong positioned hole in the .stl-file for the valve body.
-
CAD Bug
07/09/2019 at 06:58 • 0 commentsSome of you mentioned that there is a bug in one of our CAD files. It seems that at least one hole for mounting the servo into the valve body is not positioned correctly. I will fix it within the next week. We have to apologize for the inconvenience.
-
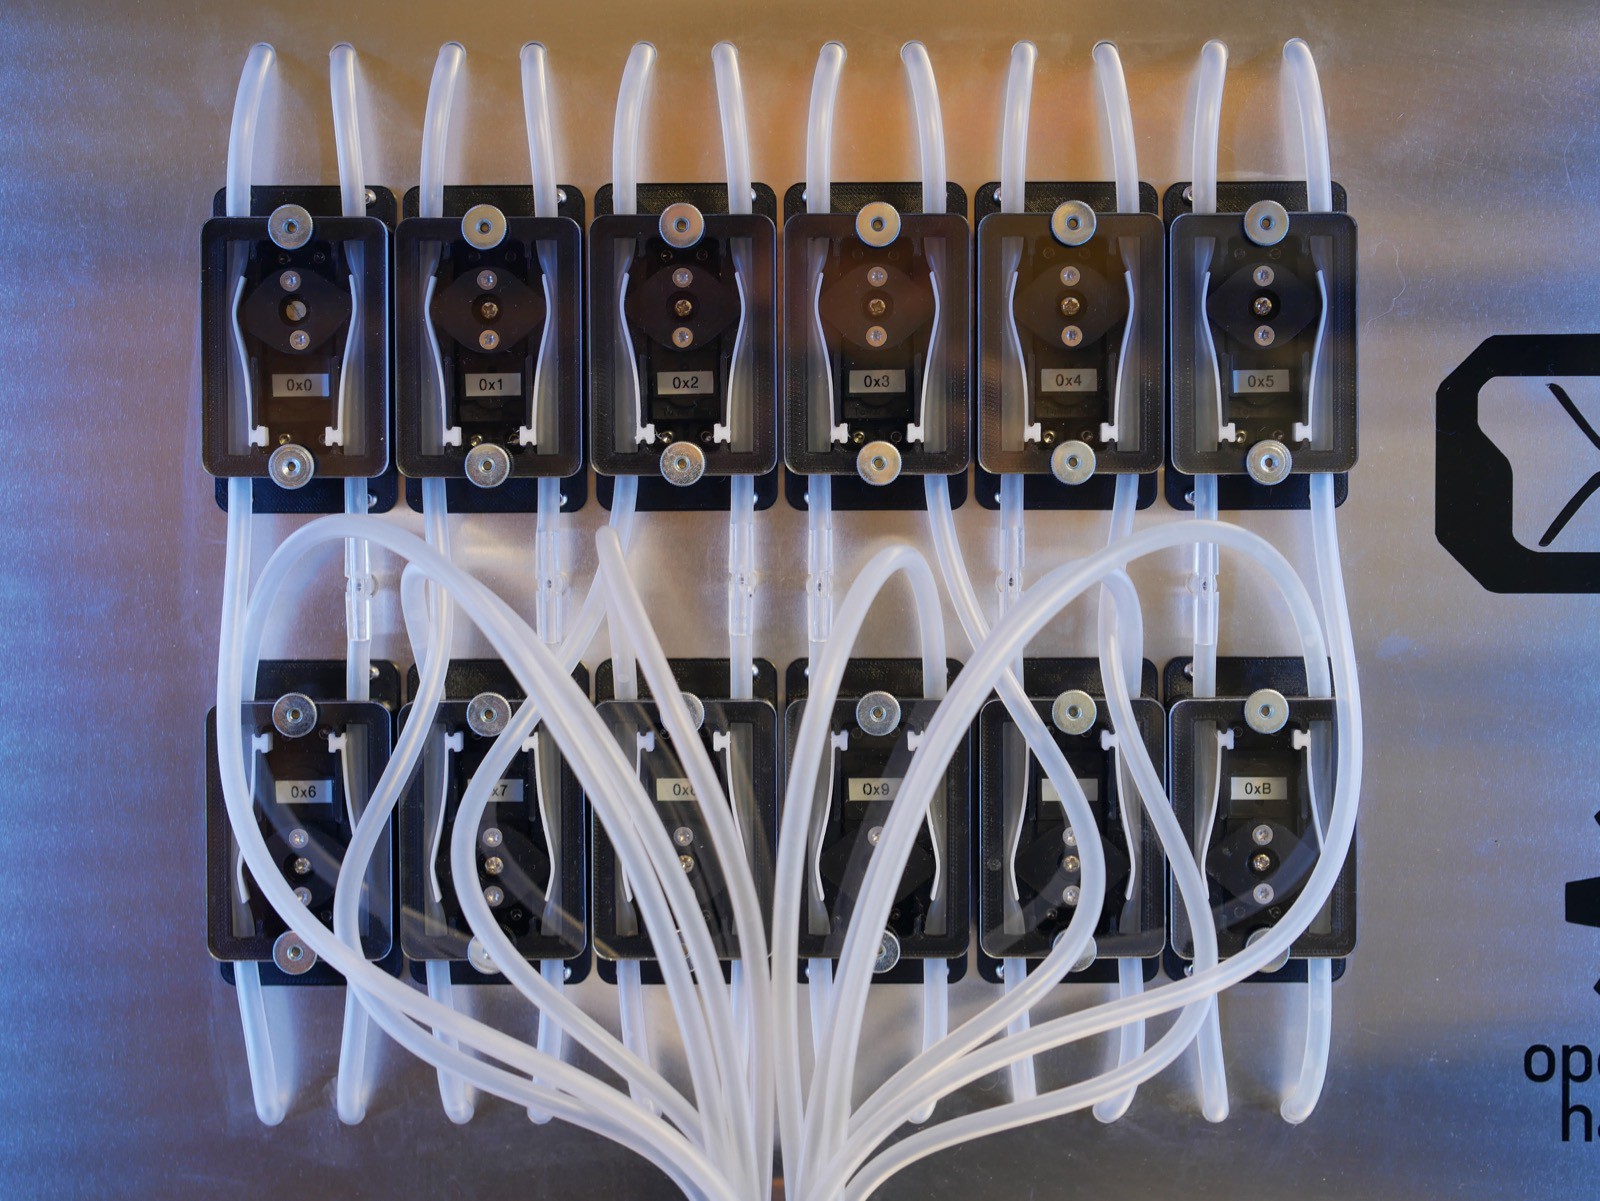
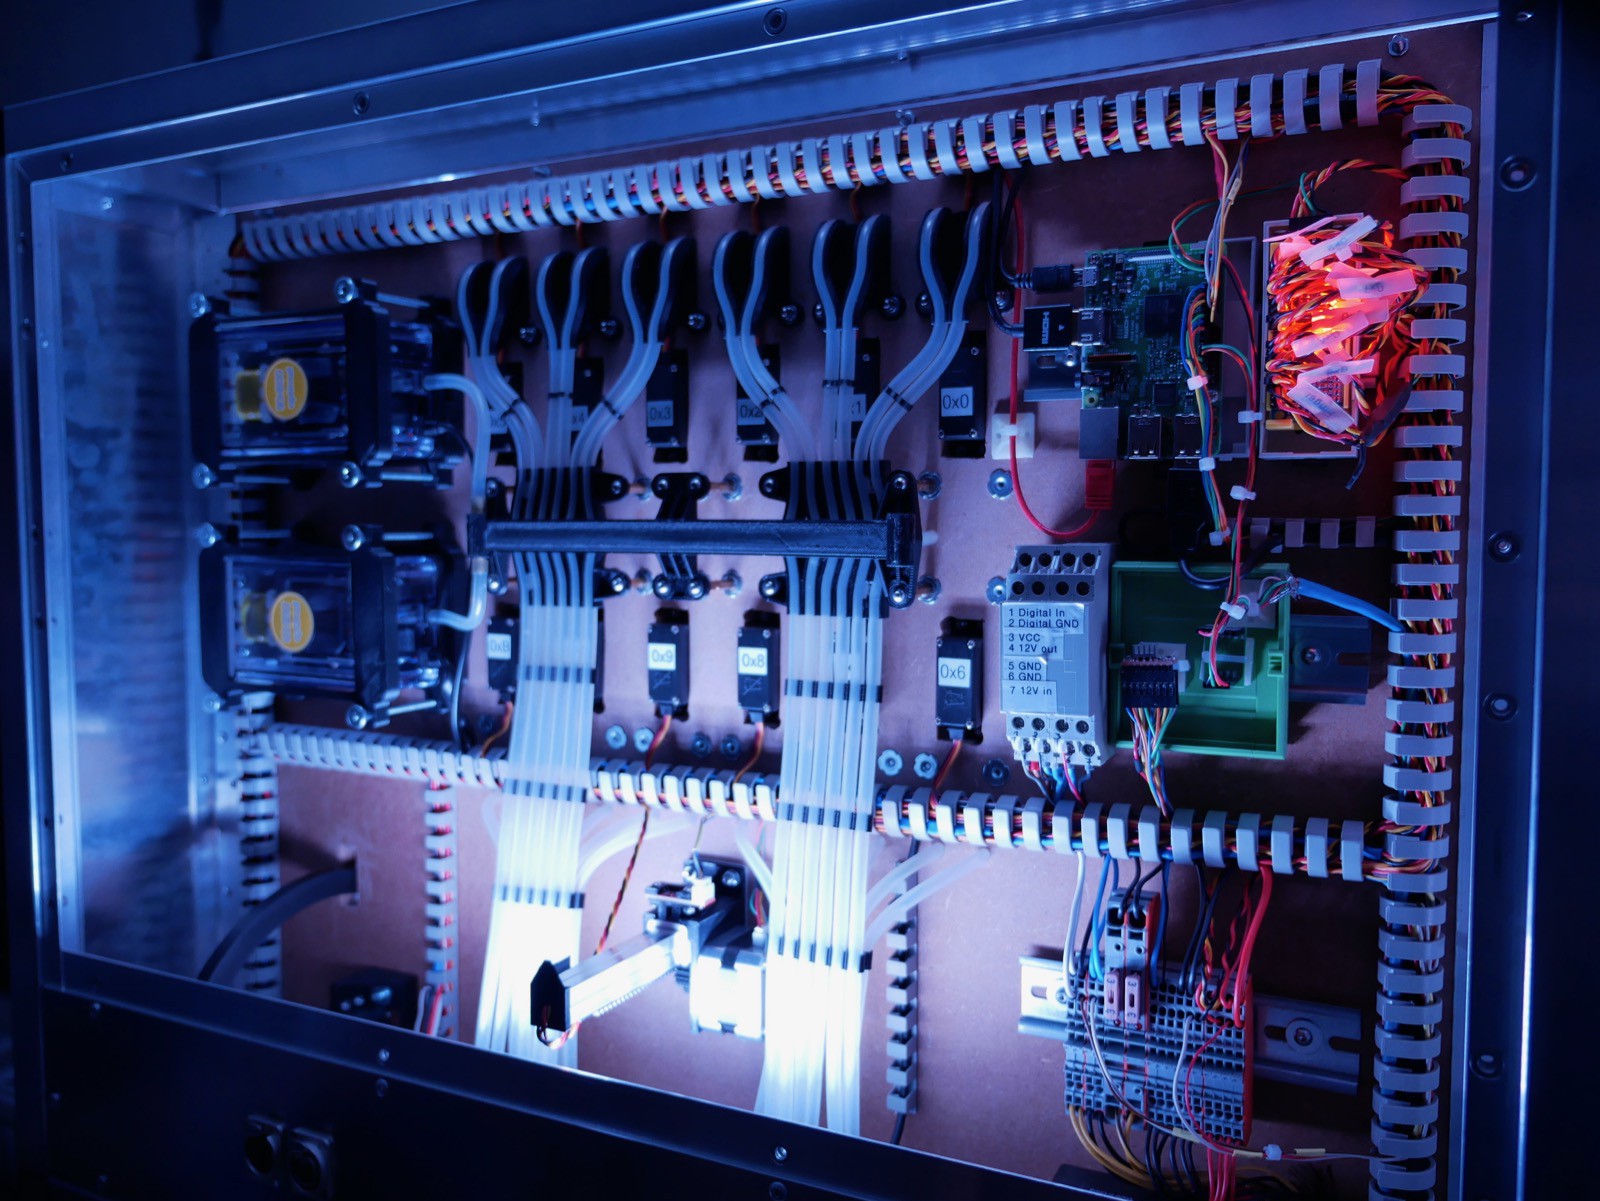
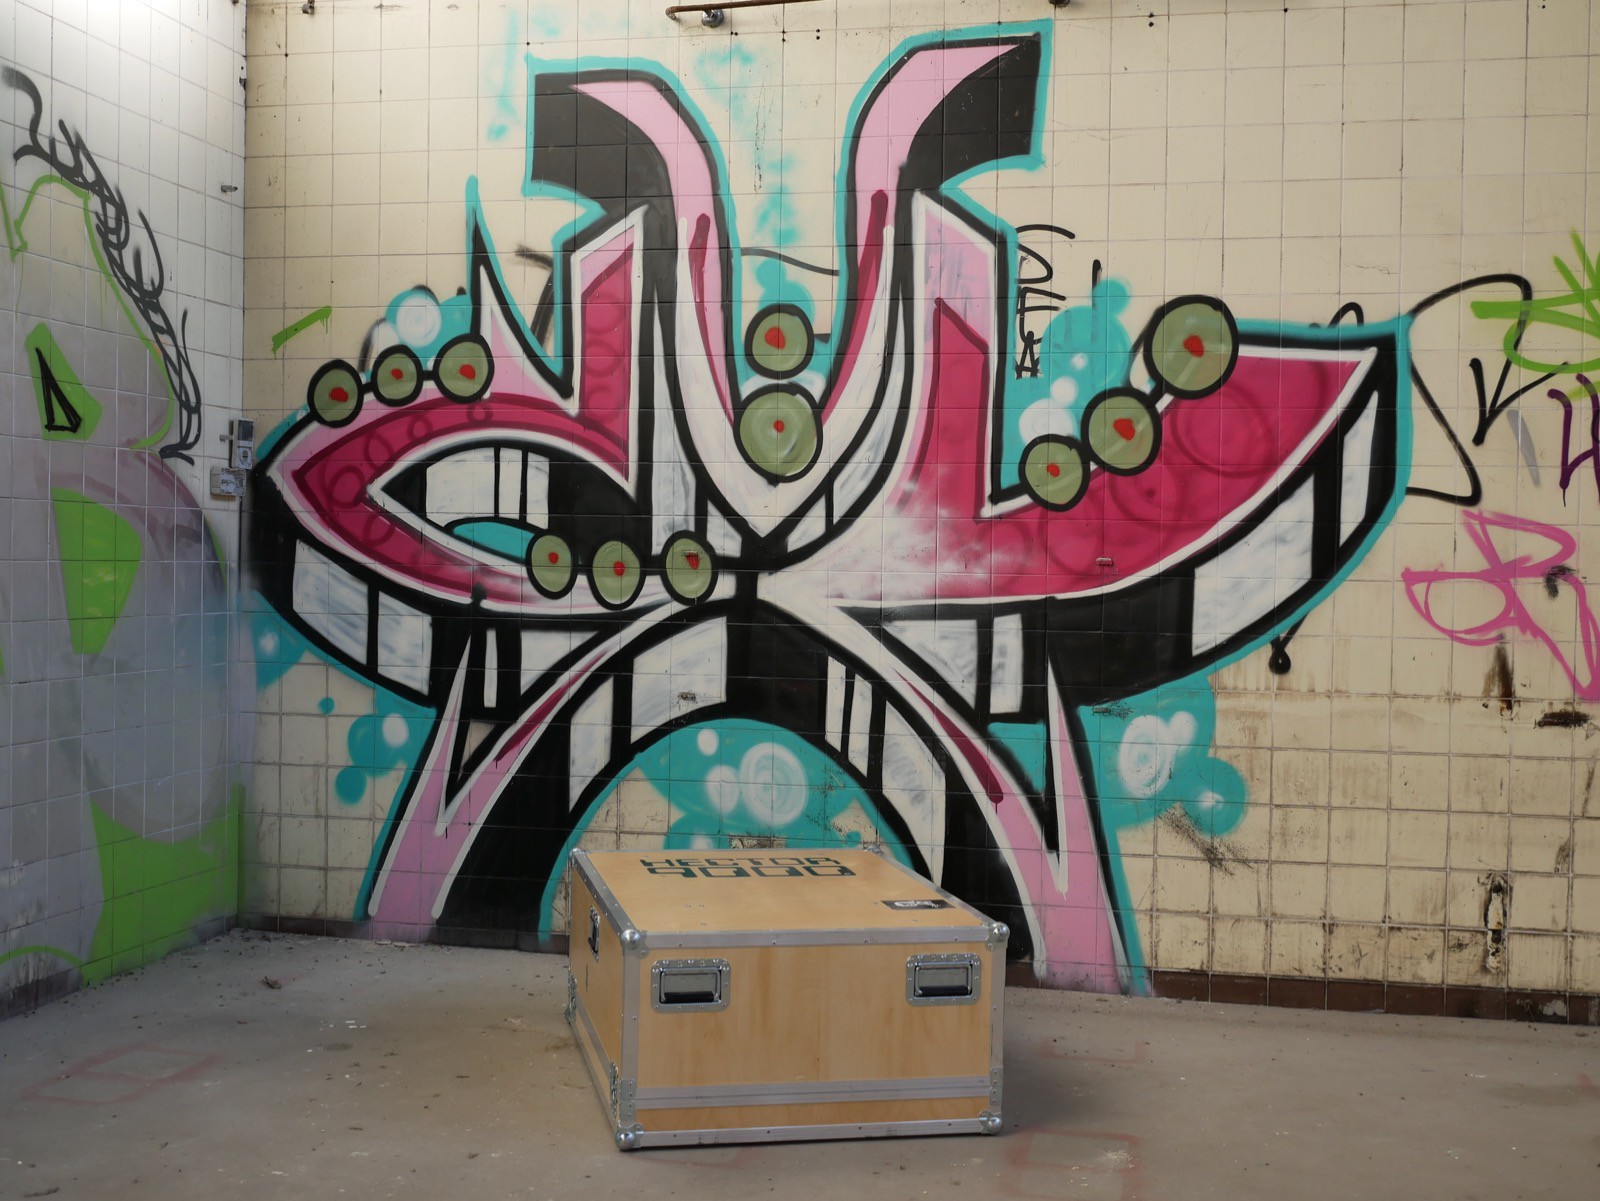
New Photos Part II
03/18/2019 at 14:36 • 0 commentsToday we will share some photos which are showing the current state of Hector 9000.
![]()
![]()
![]()
-
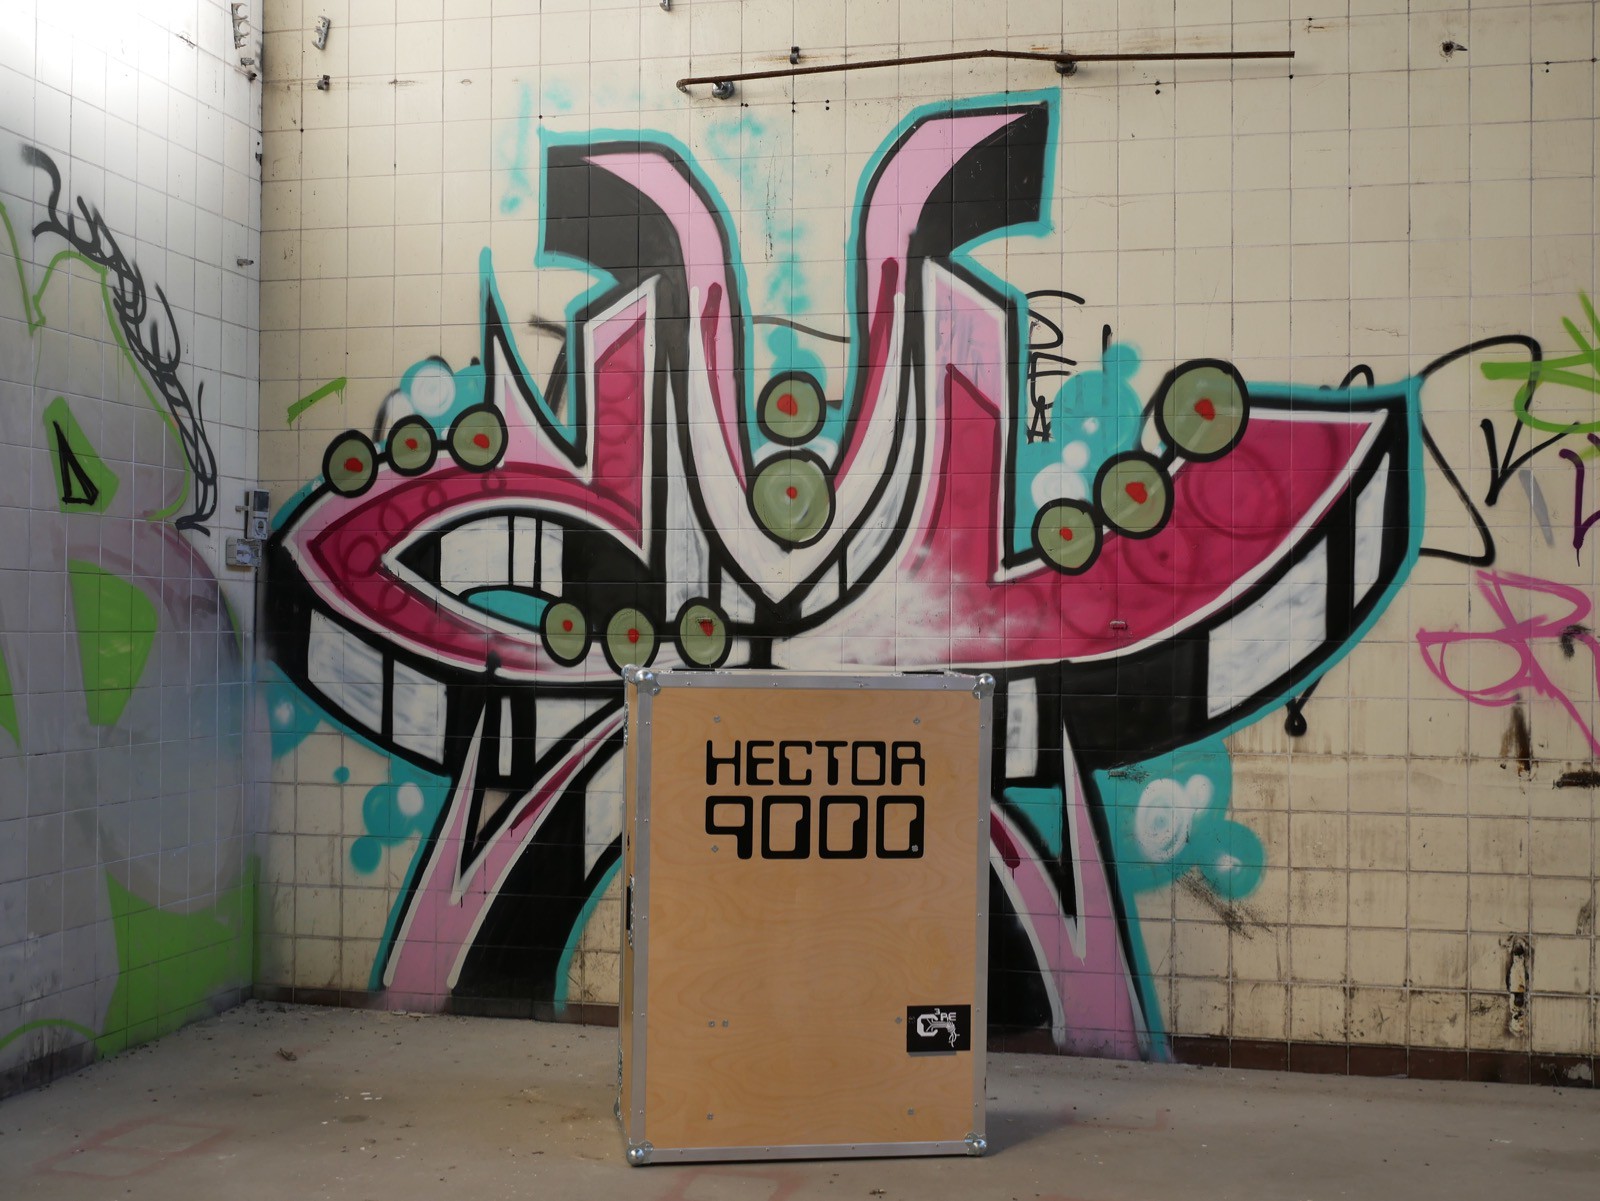
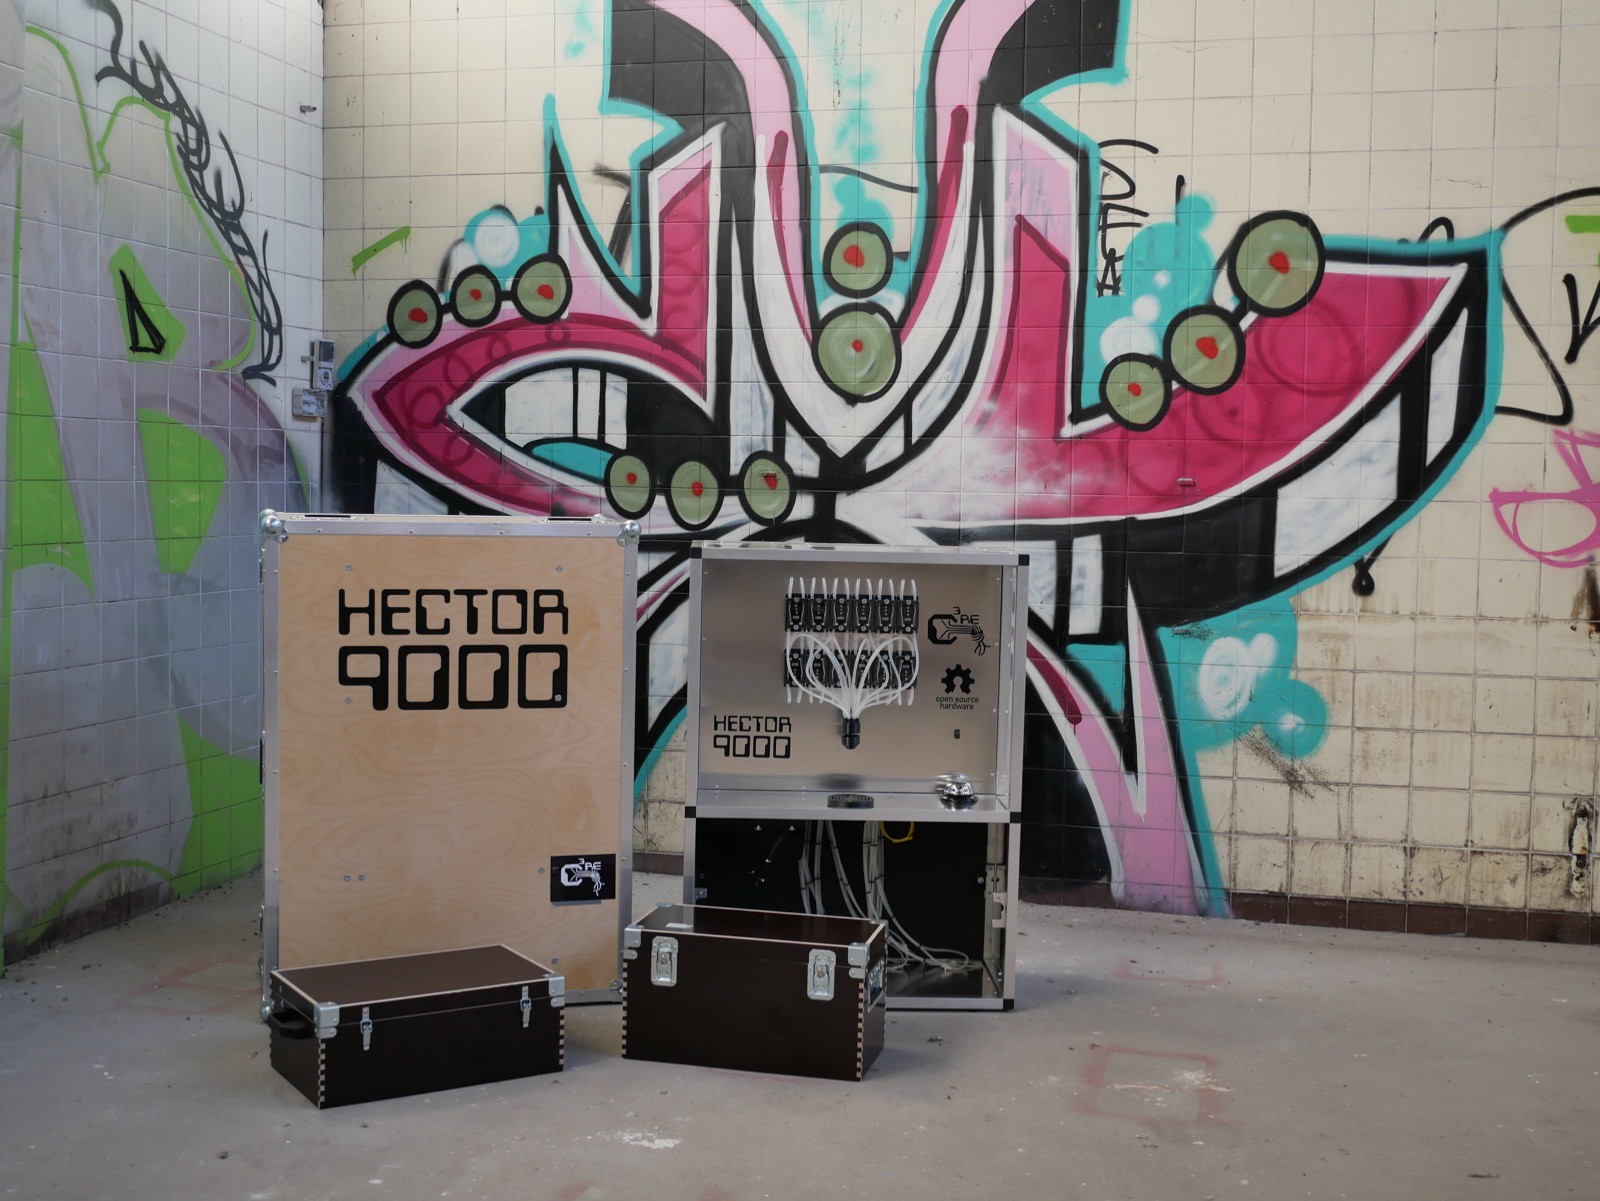
New Video and Pictures
03/13/2019 at 11:35 • 0 commentsMeanwhile we made a video and took some pictures which we want to share with you. We will publish the content within the next week. Today I will start with the video and some pictures of our flightcase.
![]()
![]()
![]()
![]()
-
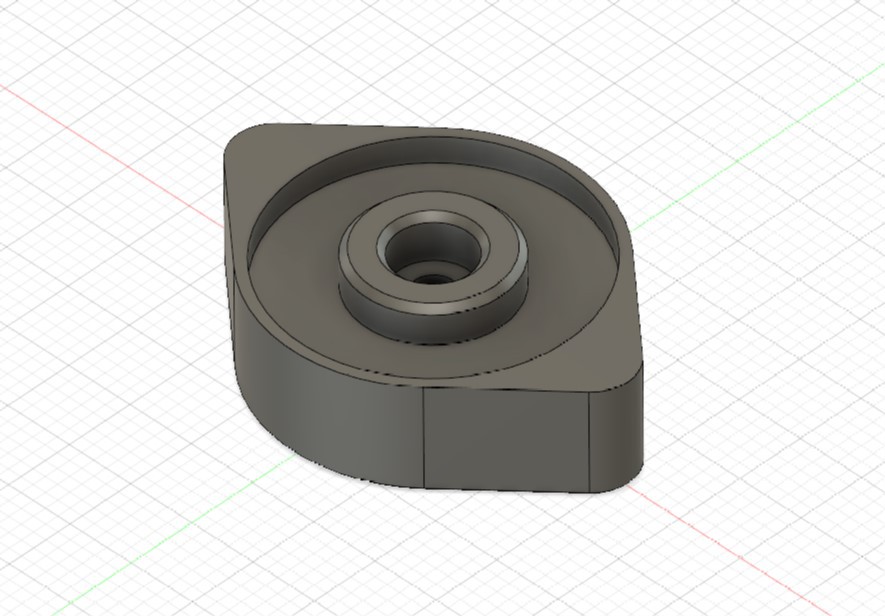
EZ-to-assemble™ Cam
02/07/2019 at 19:58 • 1 commentWe got some feedback from people which are building their own Hector 9000.
Thank you very much for the feedback!
Some of you pointed out that it is very much work to assemble the valves, because it is neccessary to customize the diameter of the original servo horns. So we tried to create a cam which you could directly mount to the servo shaft.
Because it is nearly impossible to print the splines of the servo shaft with an ordinary FDM printer, we think it could be possible to press a cam directly onto the shaft and secure it with a M3 bolt. We propose to use PETG or ABS for the print.
![]()
Unfortunately our printer is down for maintenance so we could not test the design. If you decide to try the new cam, it would be nice to get some feedback. You will find the .stl file for the cam in the download area as a single file (not included in the stl archive).
Hector 9000
Fancy barbot with lots of needless features and ...of course... WiFi and a bunch of blinky LEDs