 Robin Hartley
This little fella is designed to grab your attention and alert you to exciting digital events like new subscribers, upvotes or comments.
For our mutual delight, I created a video detailing the design, building and testing of this prehistoric print – I hope you enjoy it!
The heart of this project is a 3D printed rack and pinion system which uses two servos to drive the movement you see in this popup dinosaur.
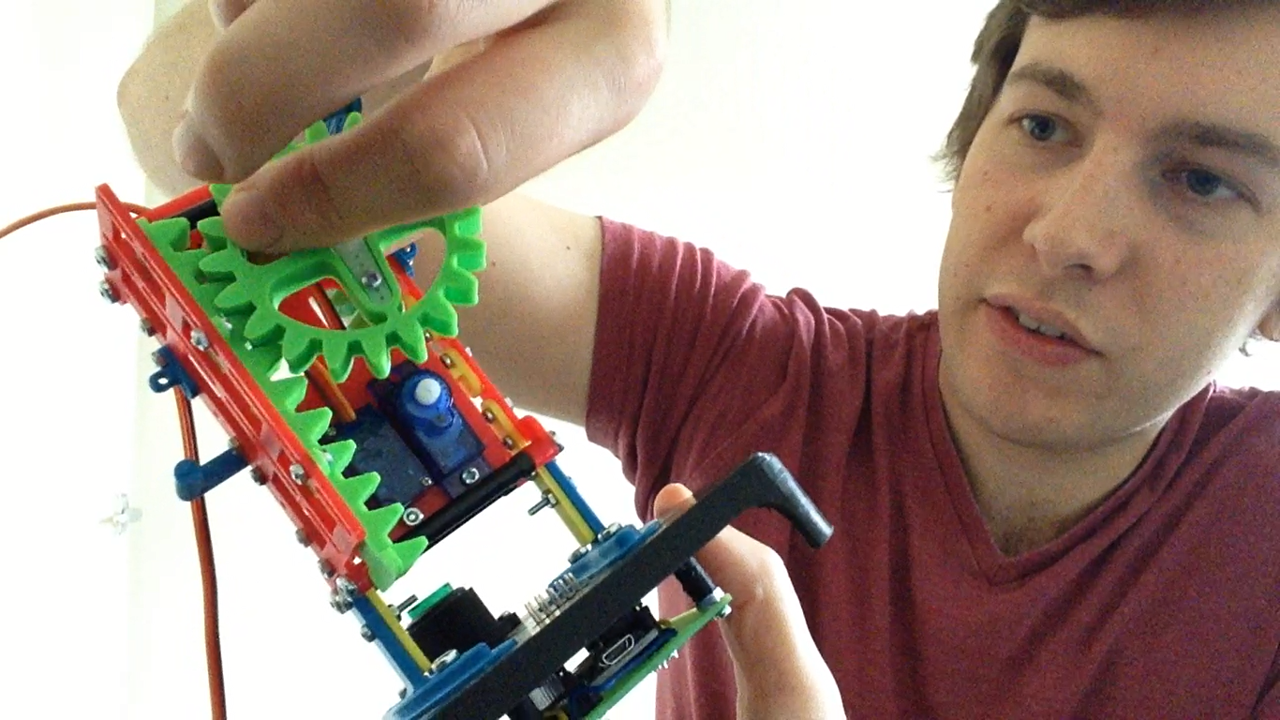
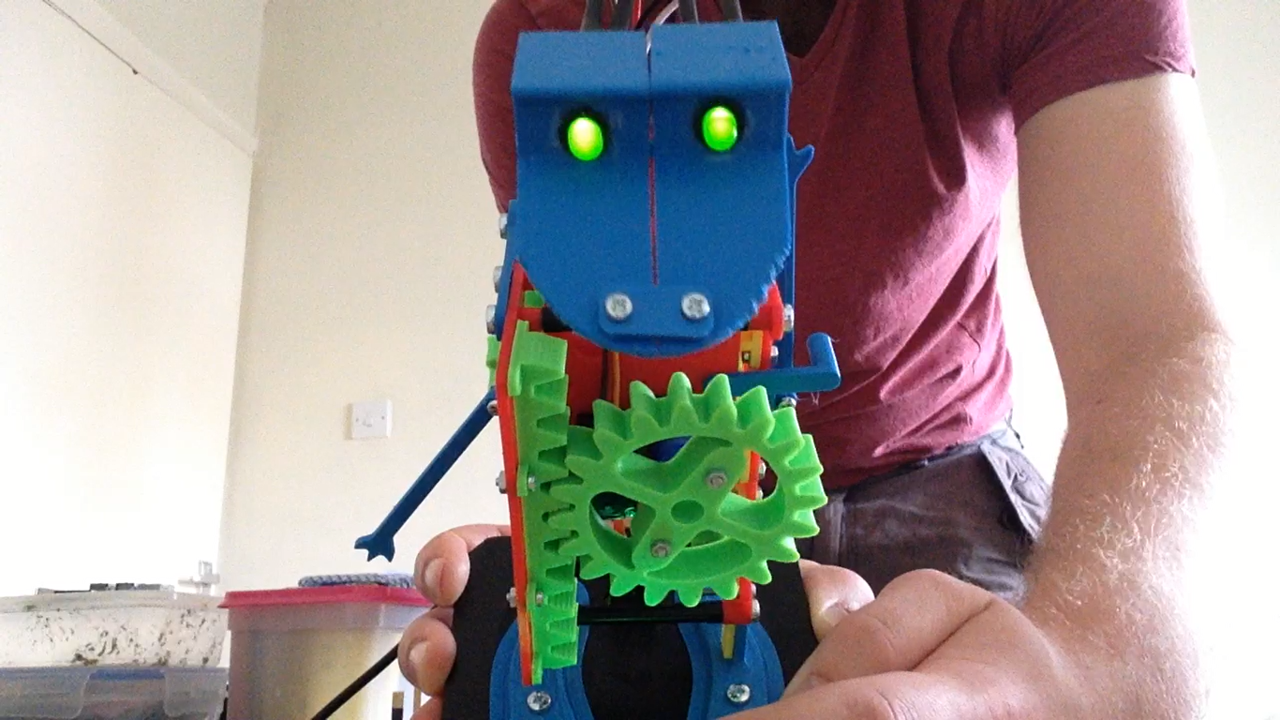
As the servos turn, the dino’s head is lifted up and his tail is lowered. At the same time a little rod pushes his arm upward to cause a delightful waving motion. The icing on the cake is that he has LEDs mounted in his head which light up, giving him glowing eyes.
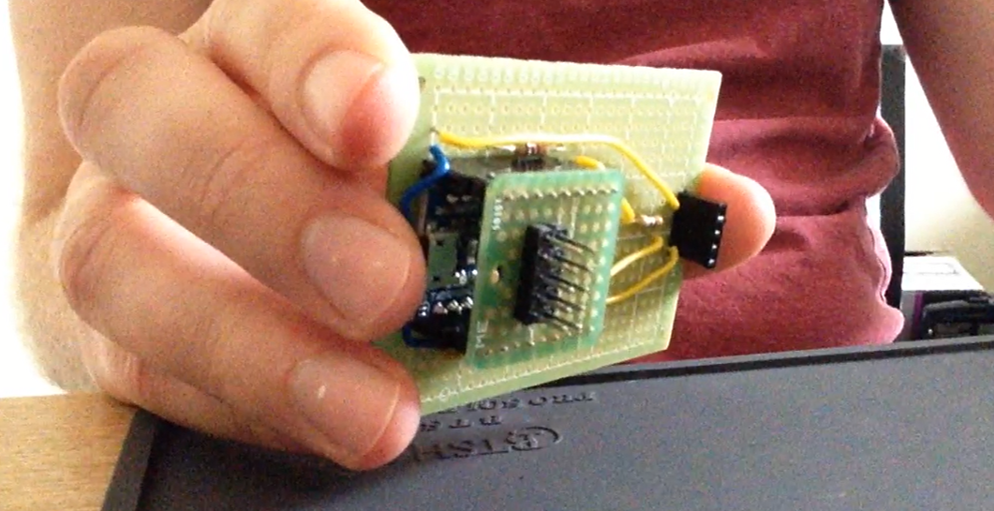
A cool thing I’d like to show you is the way the electronics mount into the stand of the dinosaur.
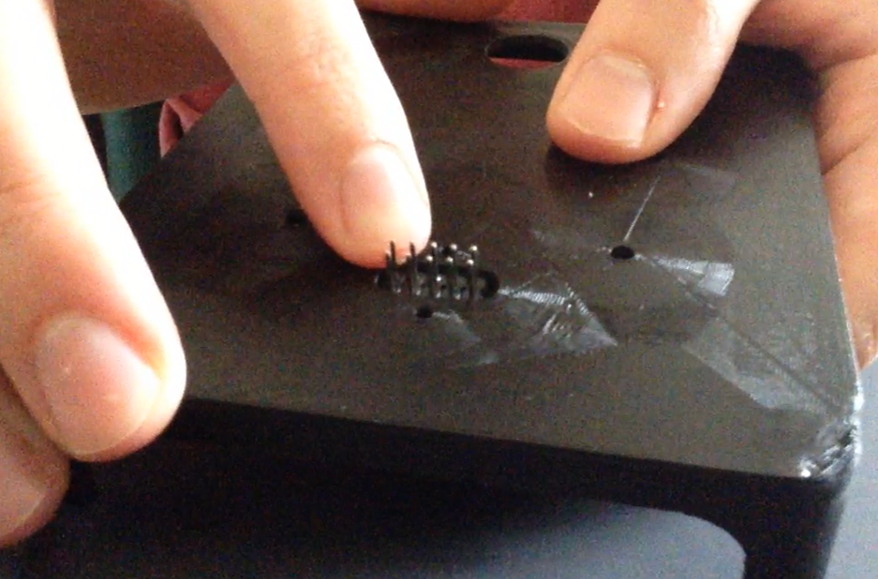
The ‘brains’ of this project is a small Arduino and I created a little add-on circuit board which slots on top of the Arduino, as you can see in this picture.
Now when the circuit board is screwed onto the bottom of the stand…
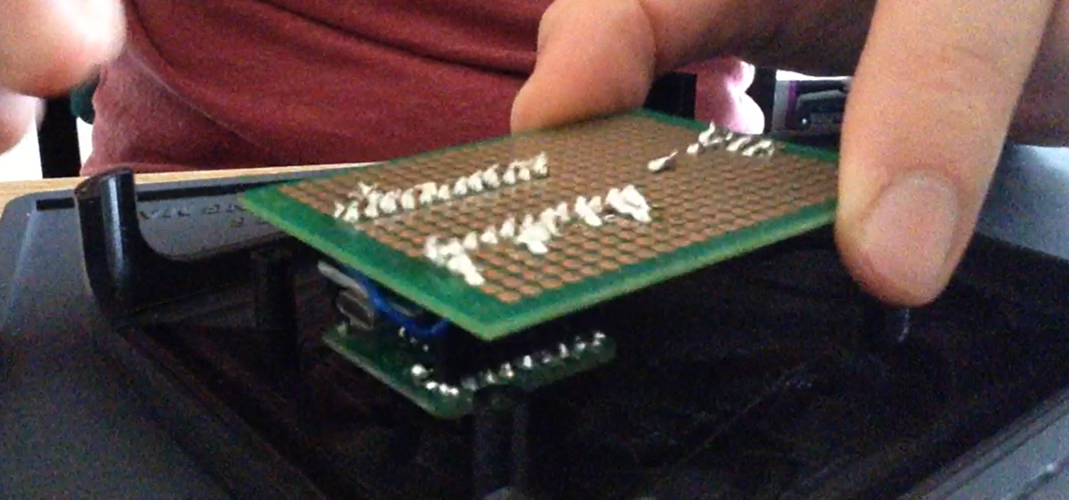
The headers on top of the little add-on circuit board poke through the stand, providing a convenient location to plug in all the wires for the dinosaur. Neat, ey!
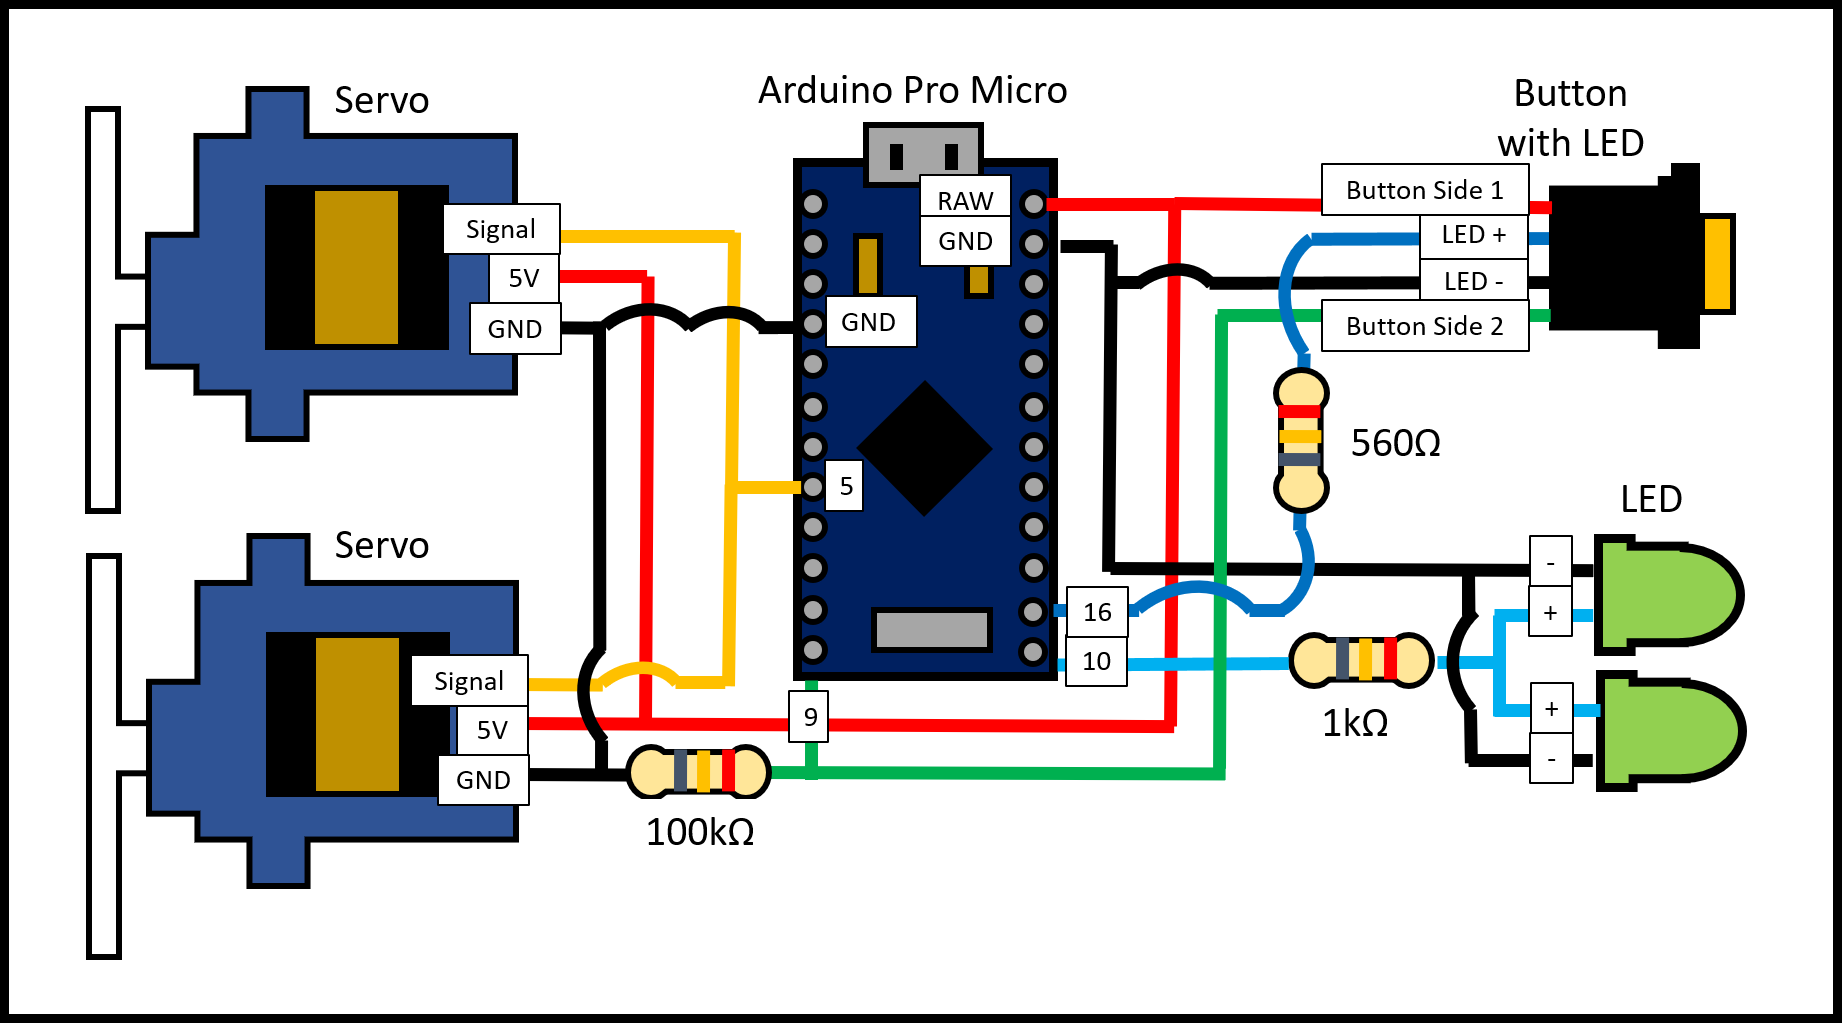
This project is fully open source – you can find the 3D prints, code and circuit diagram here: http://hartleyhacks.com/making/mechanical-popup-dinosaur/
As a taster, here is the circuit diagram schematic.
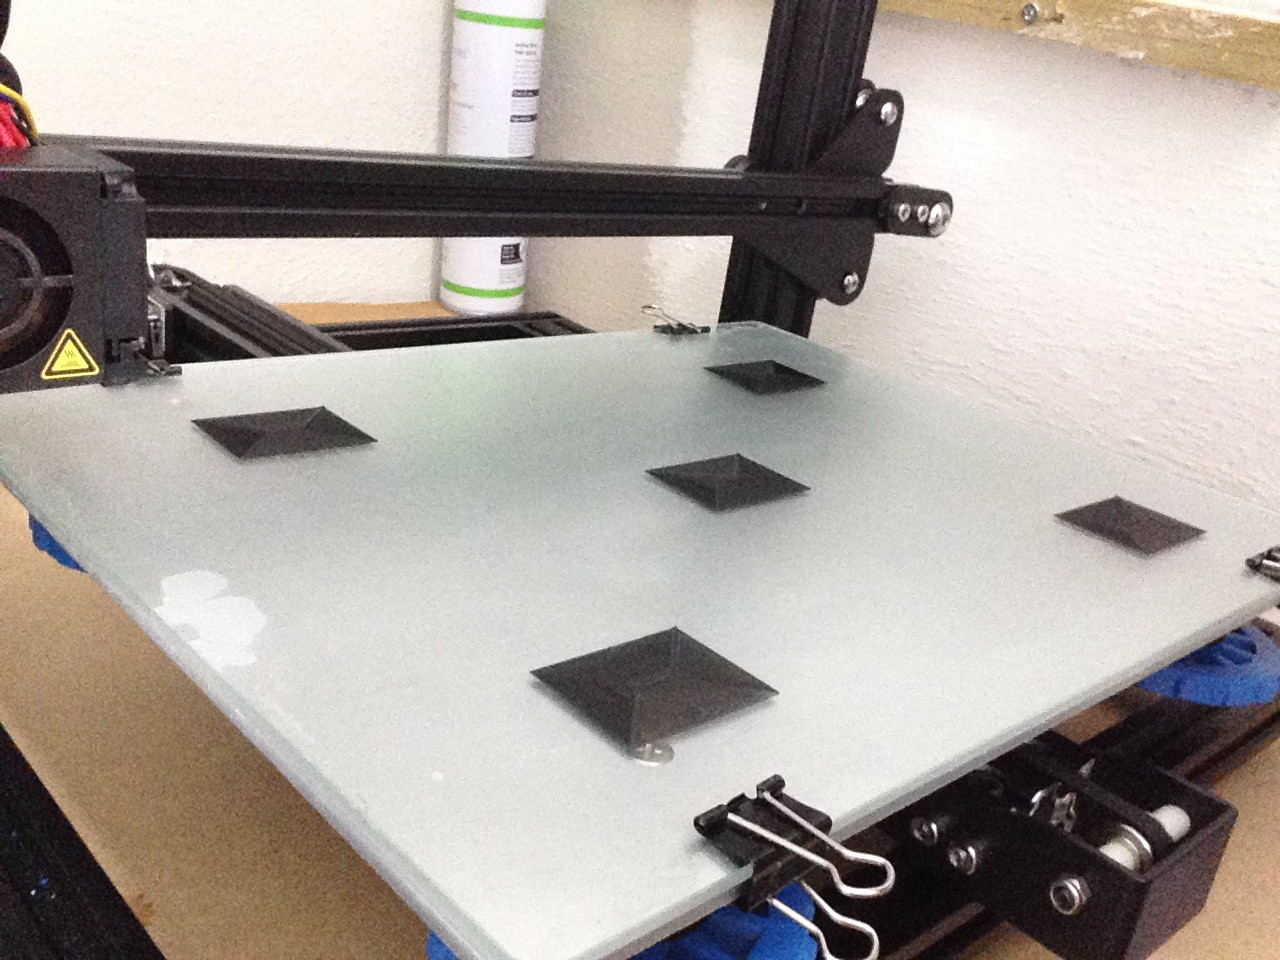
A final thing which is exciting is that in the middle of this project I got my own 3D printer and used it to print all the blue and black prints you see in this project. I went for a Creality CR-10 mini and I would thoroughly recommend it as a first 3D printer.
This has been such a fun project – I hope you’ve enjoyed it and if you’d like to know anything more, feel free to get in touch. I’m always happy to provide more detail.
Happy hacking!
Robin
 Bits4Bots
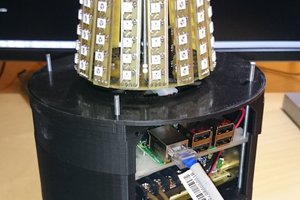
 SUF
SUF
 Ian Shannon Weber
 Eric Moyer
Nothing "vague" about "it's open Source" - follow the KISS strategy.