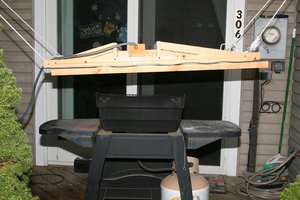
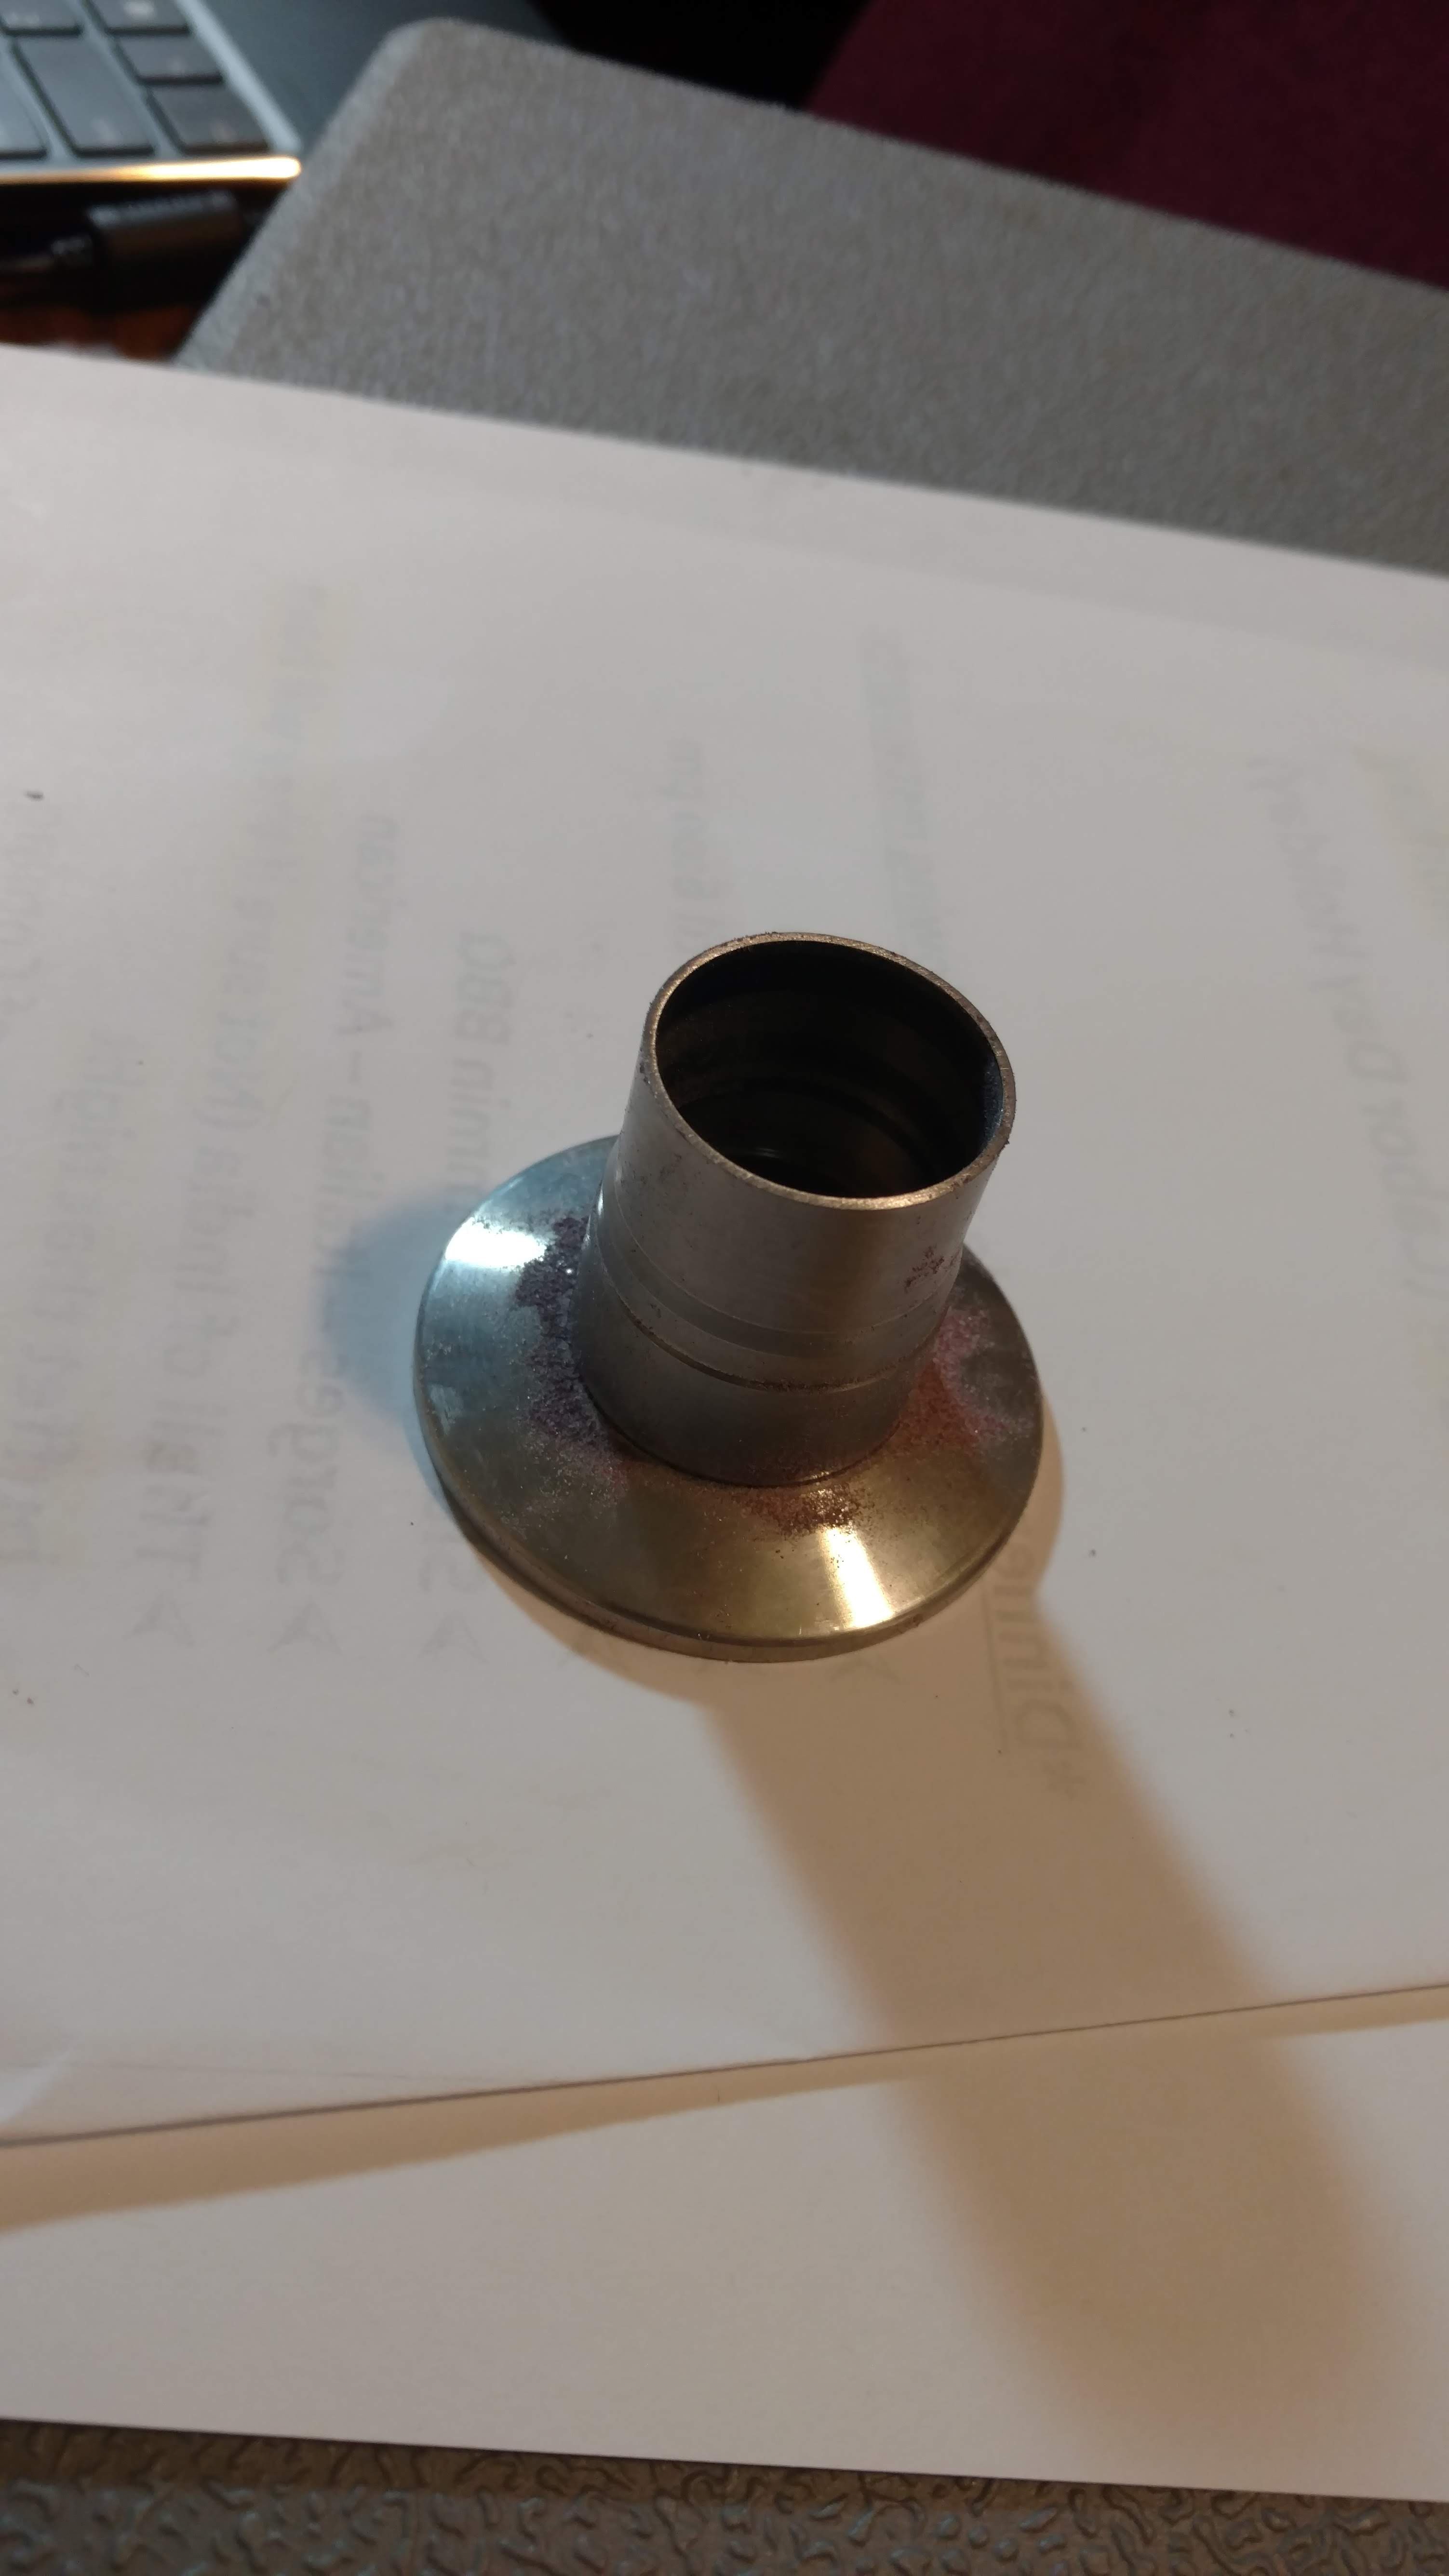
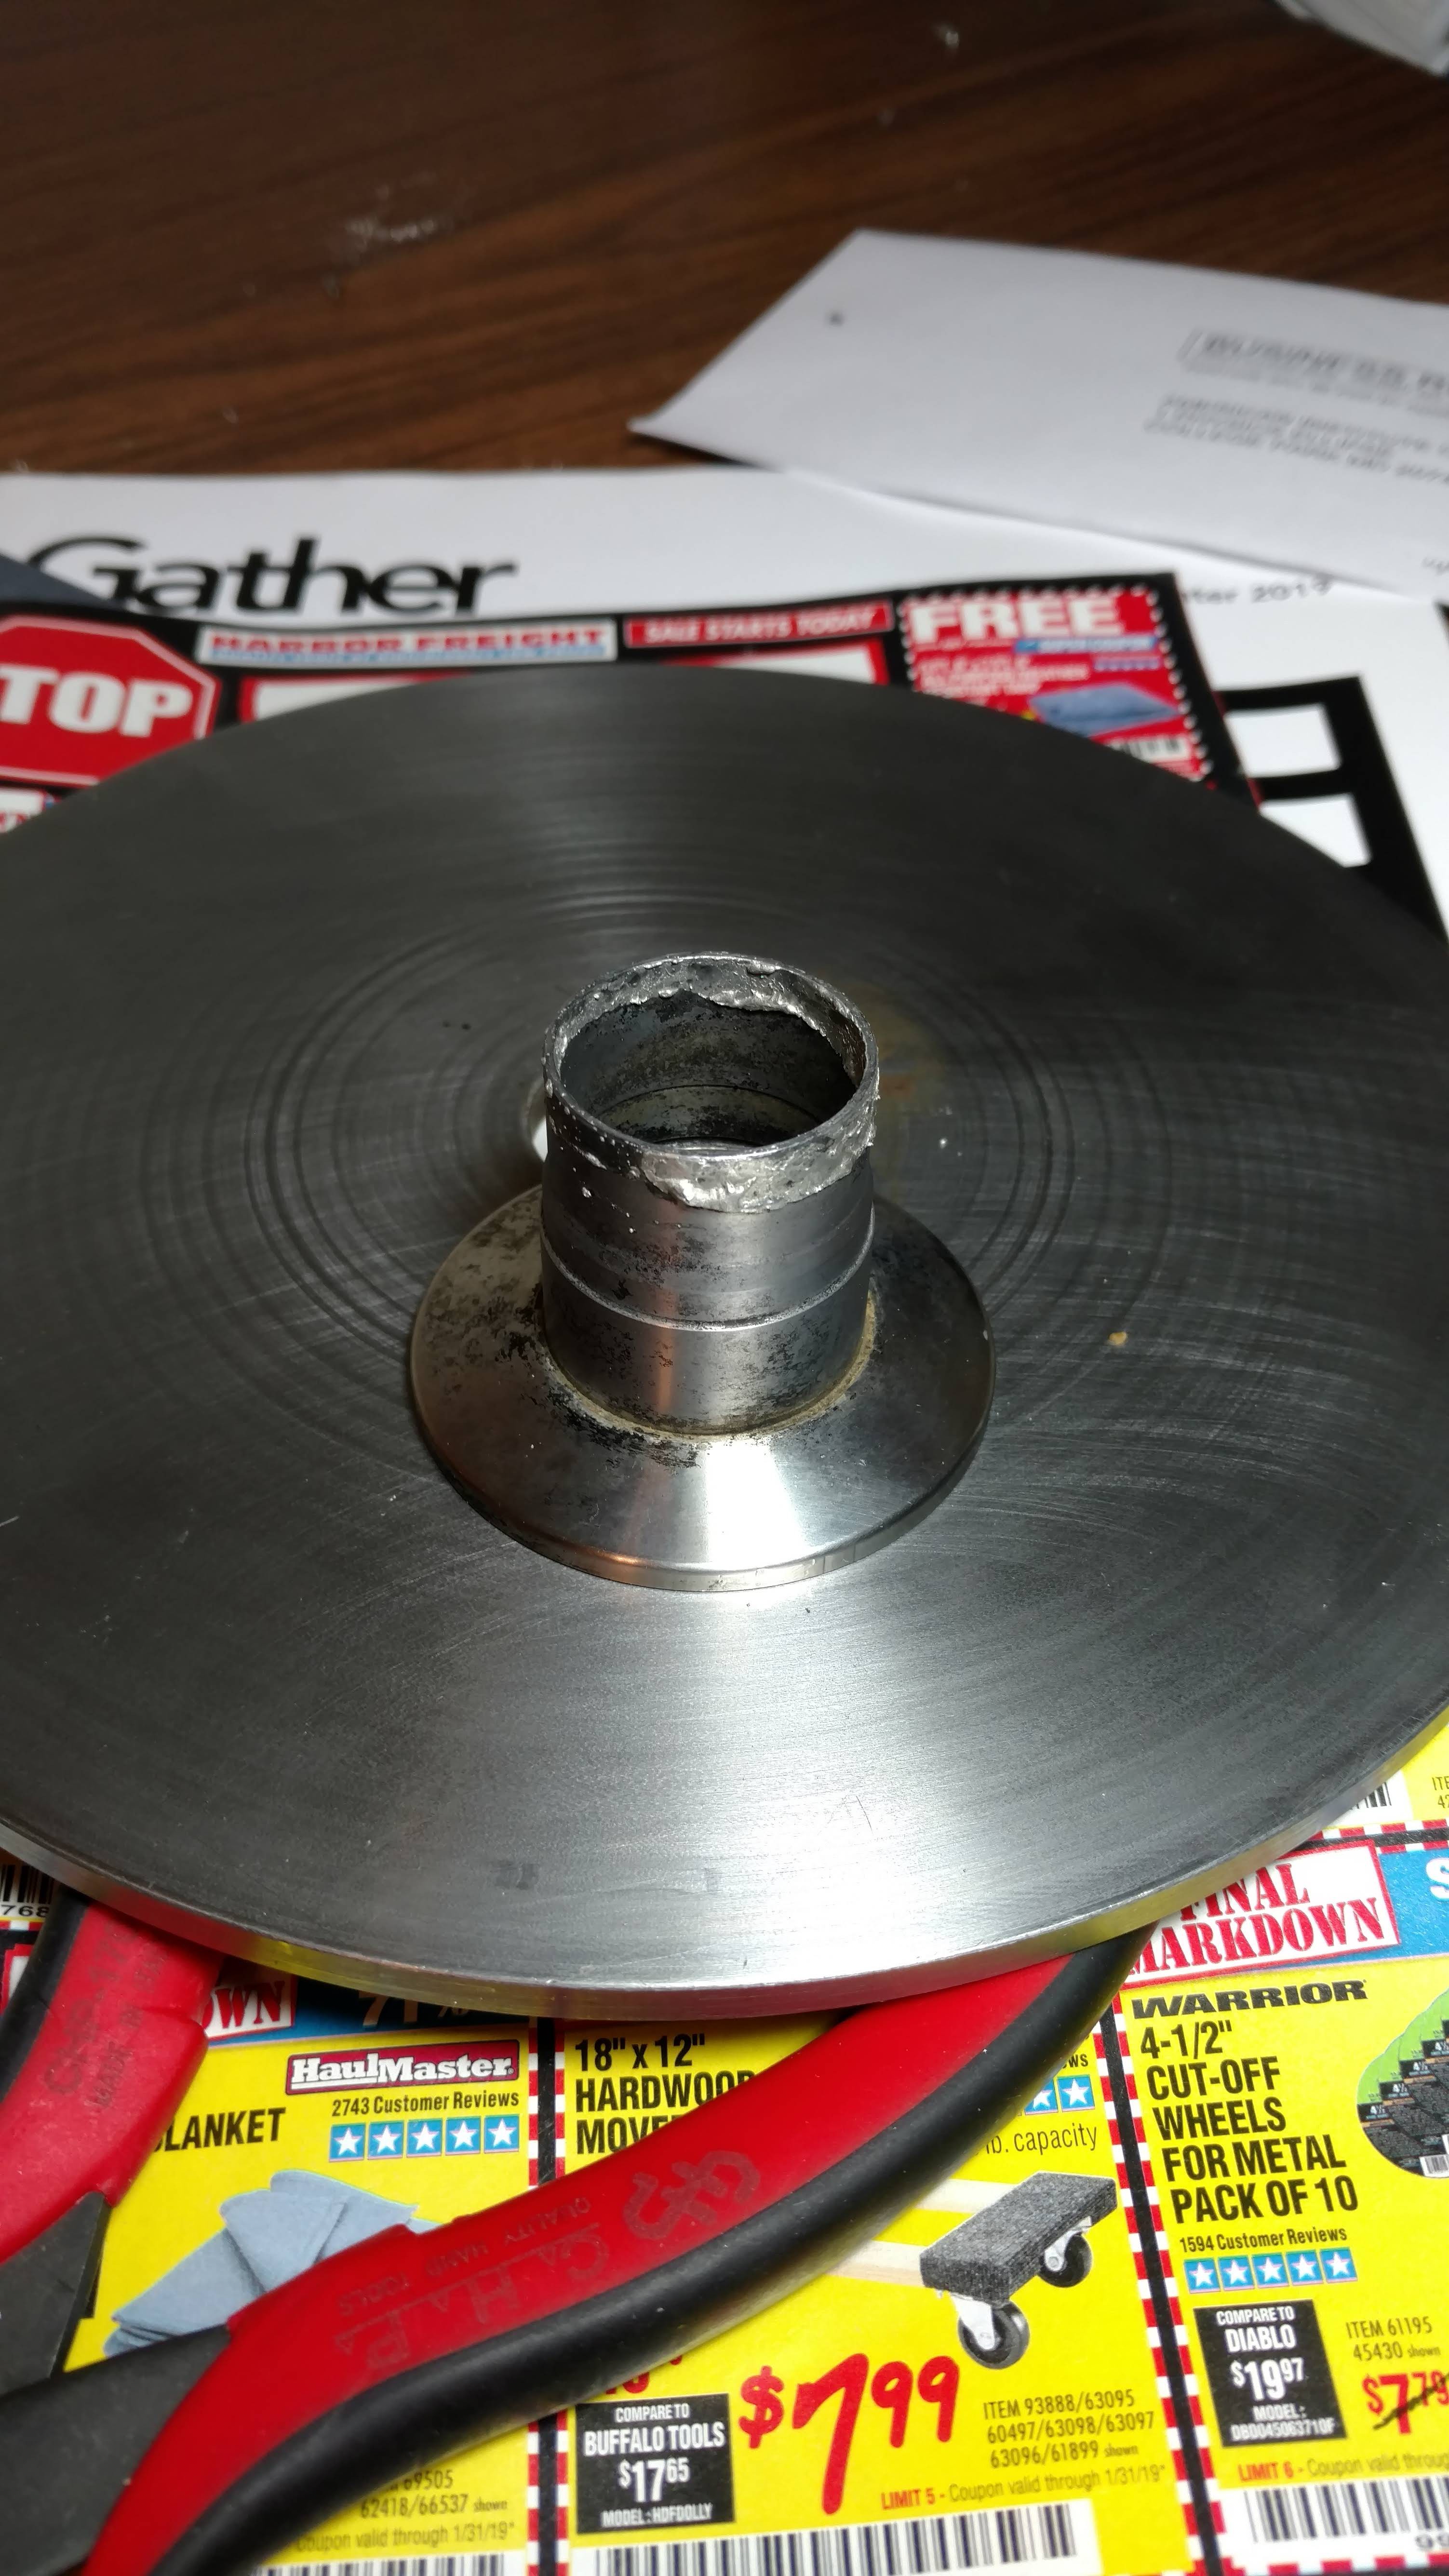
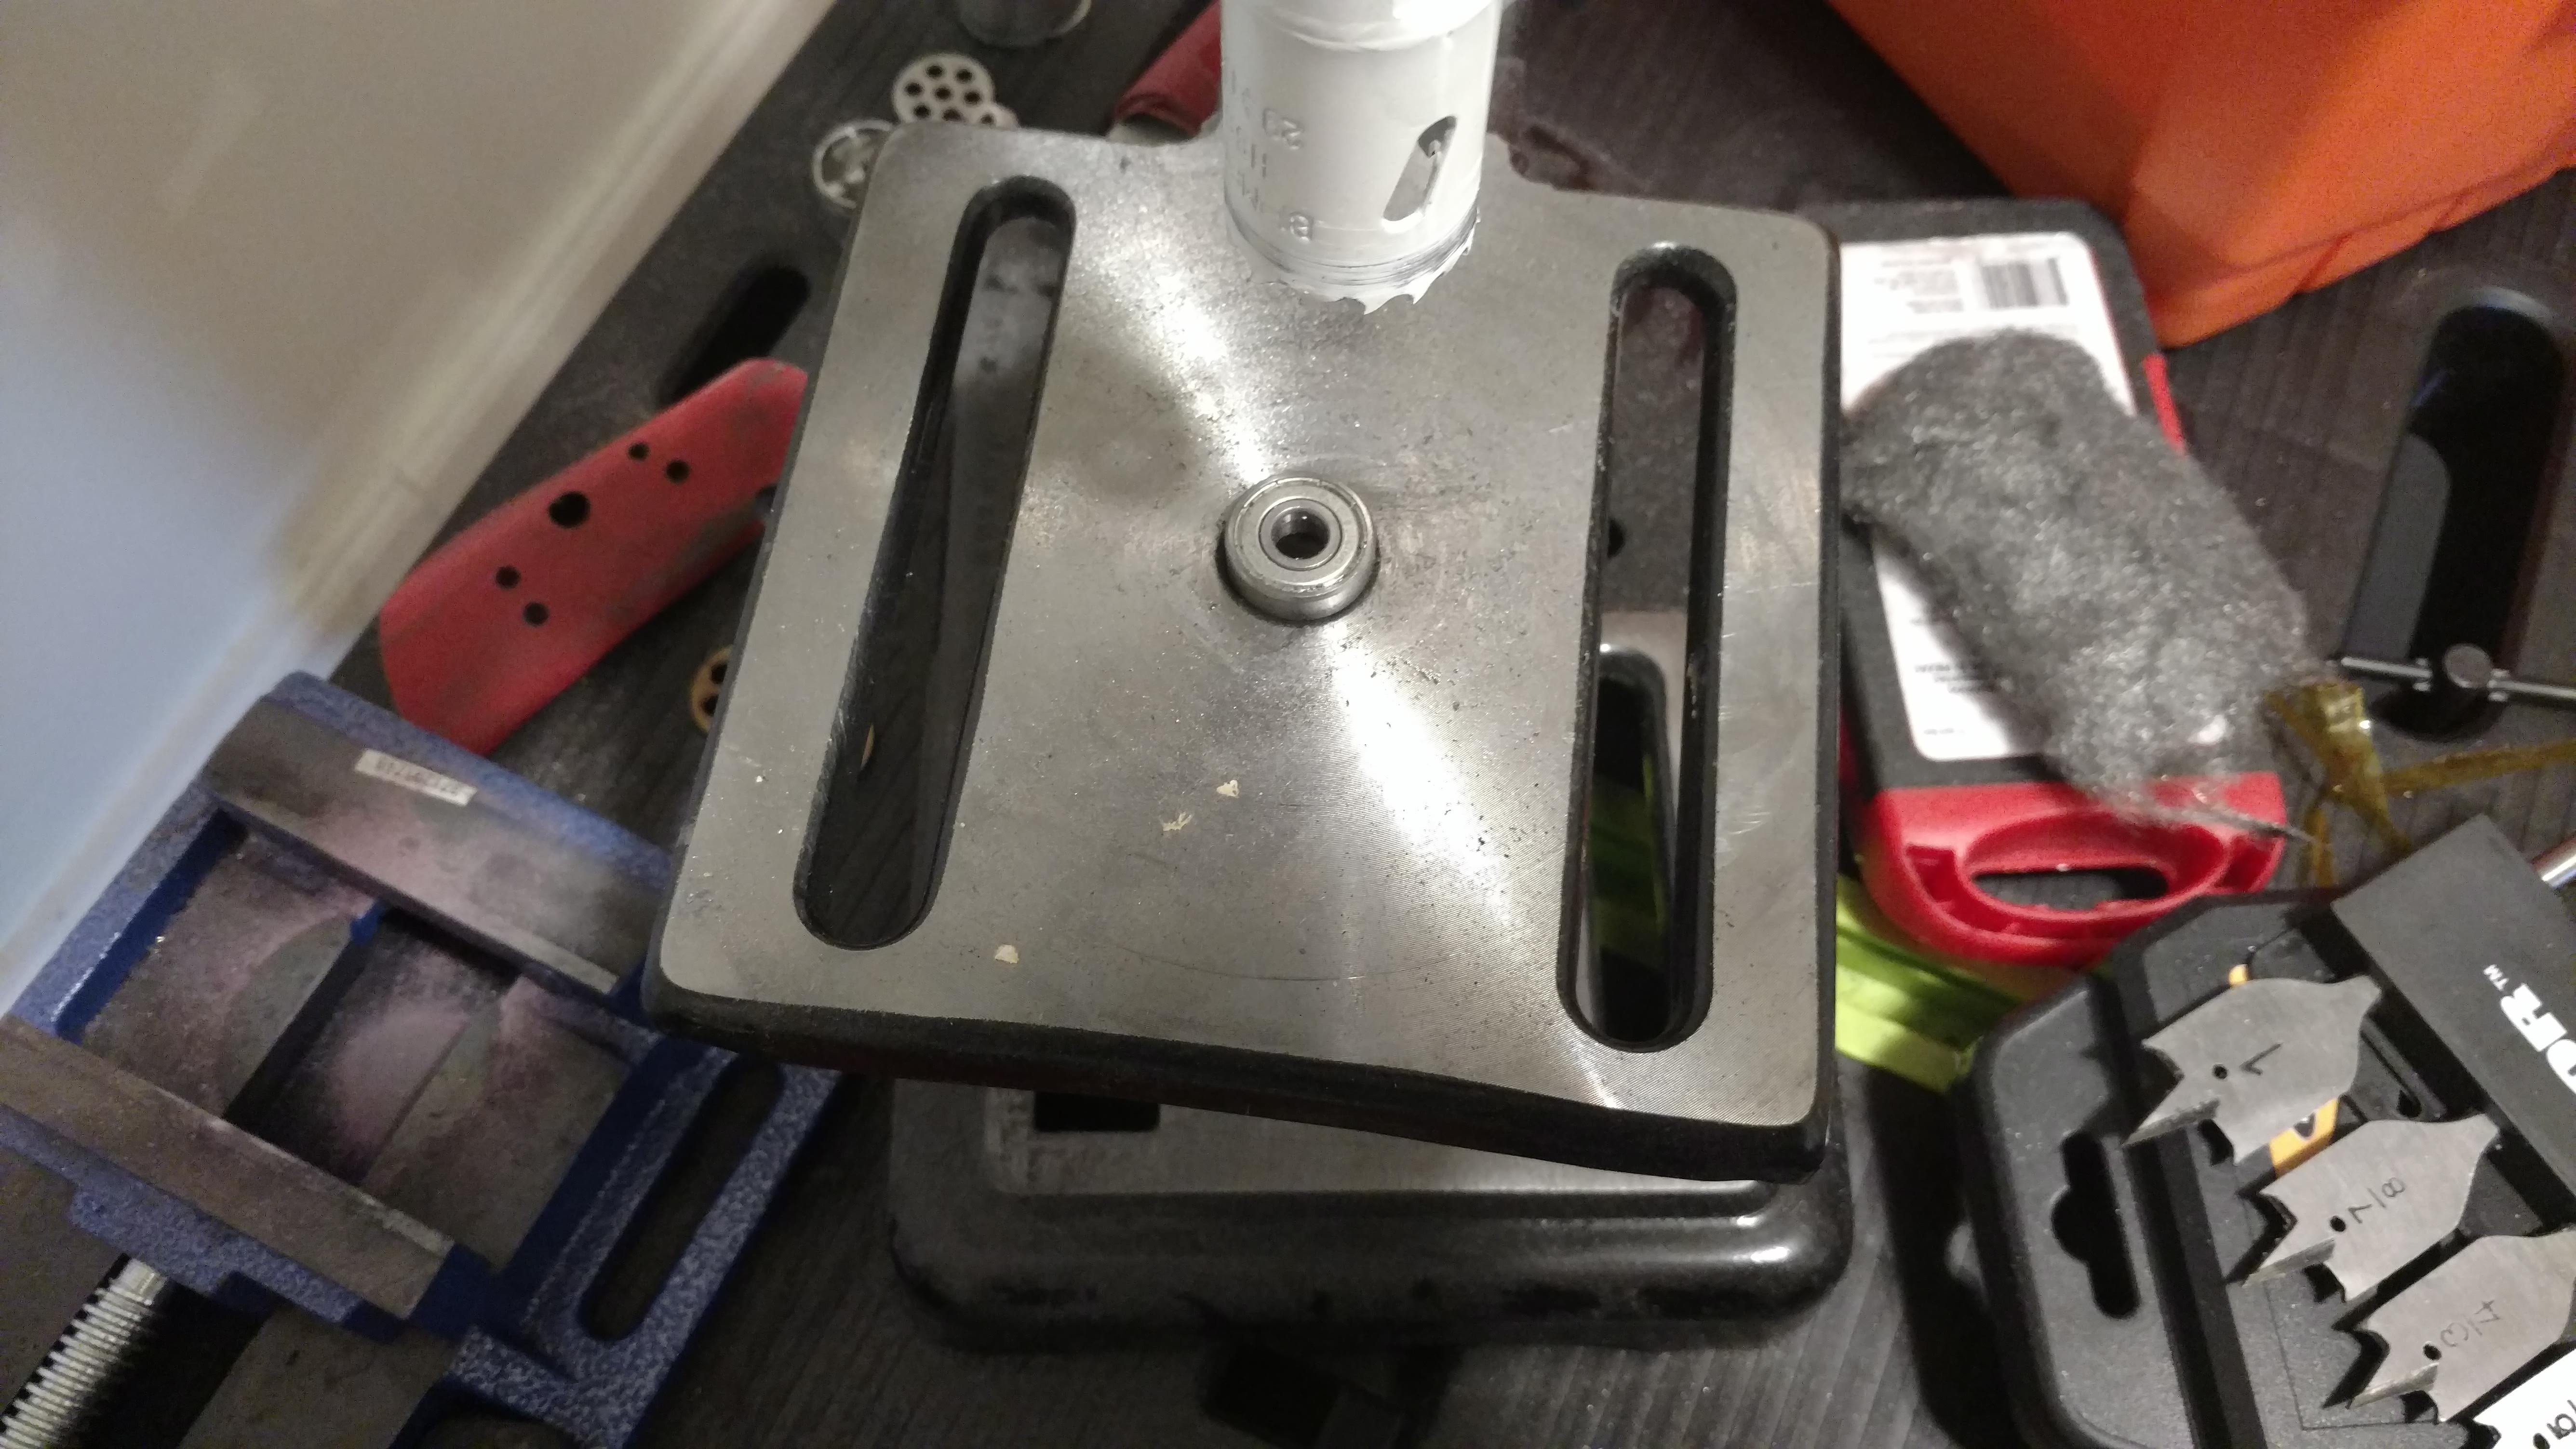
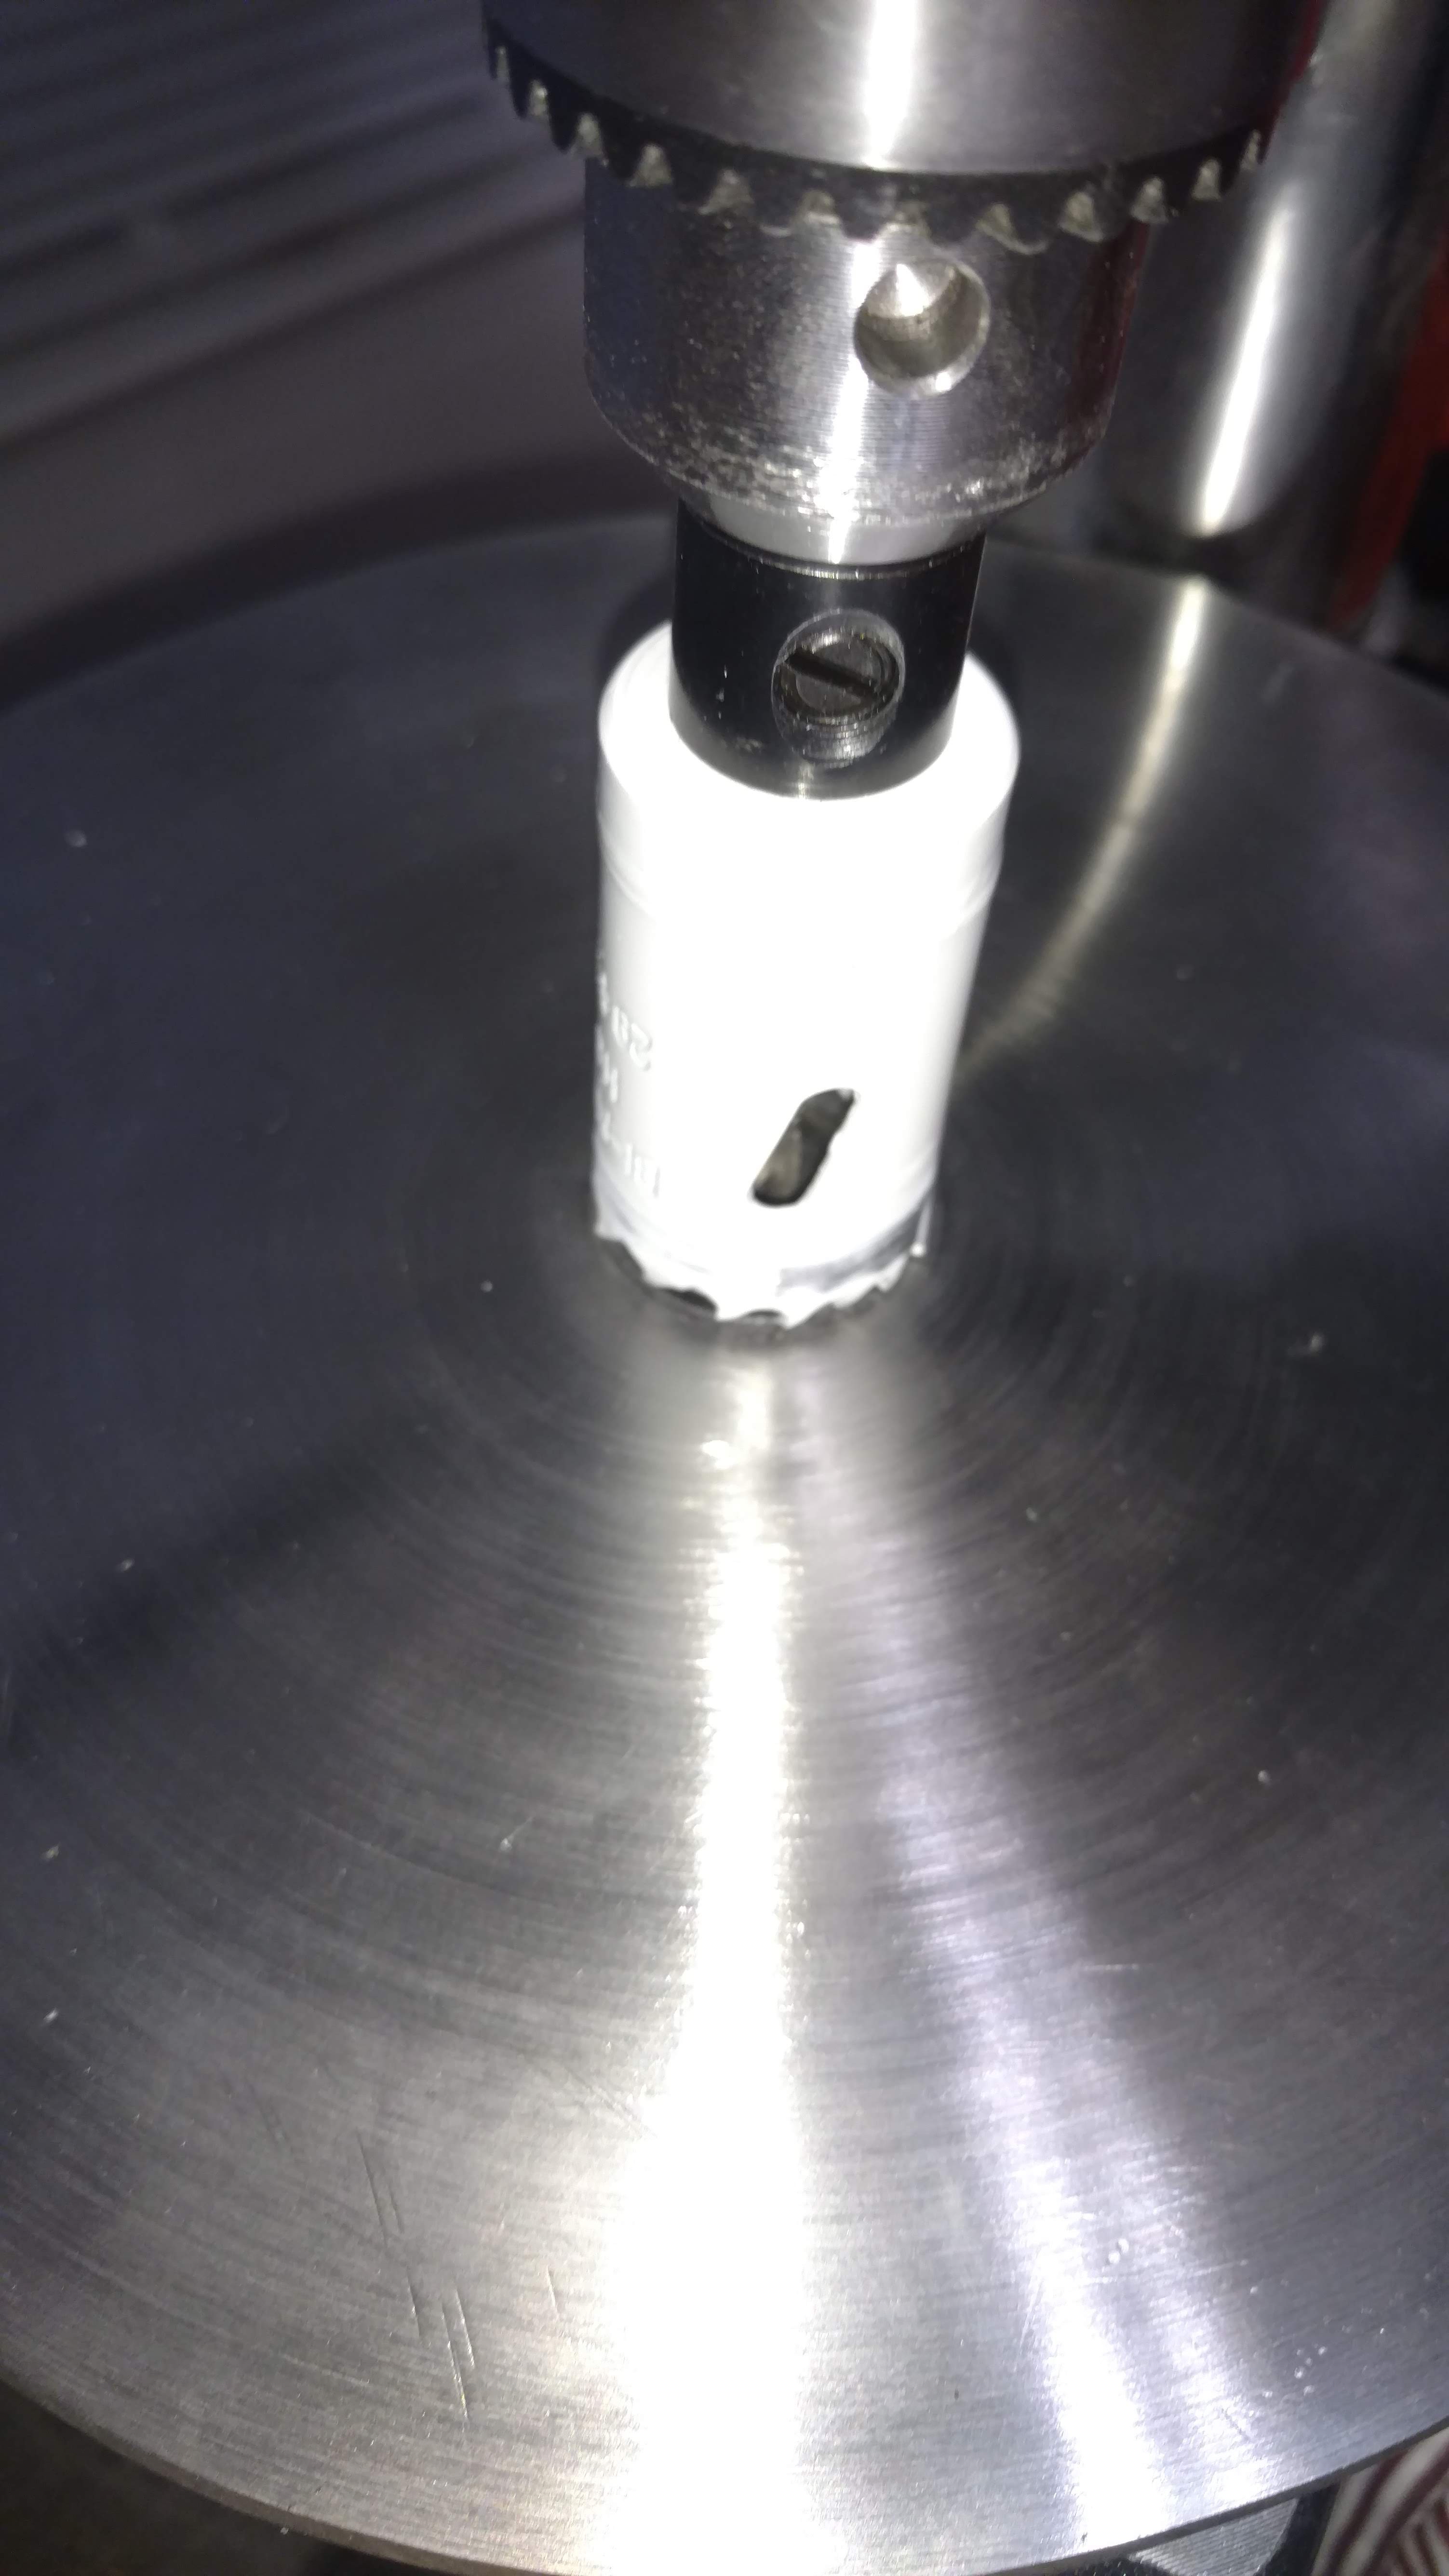
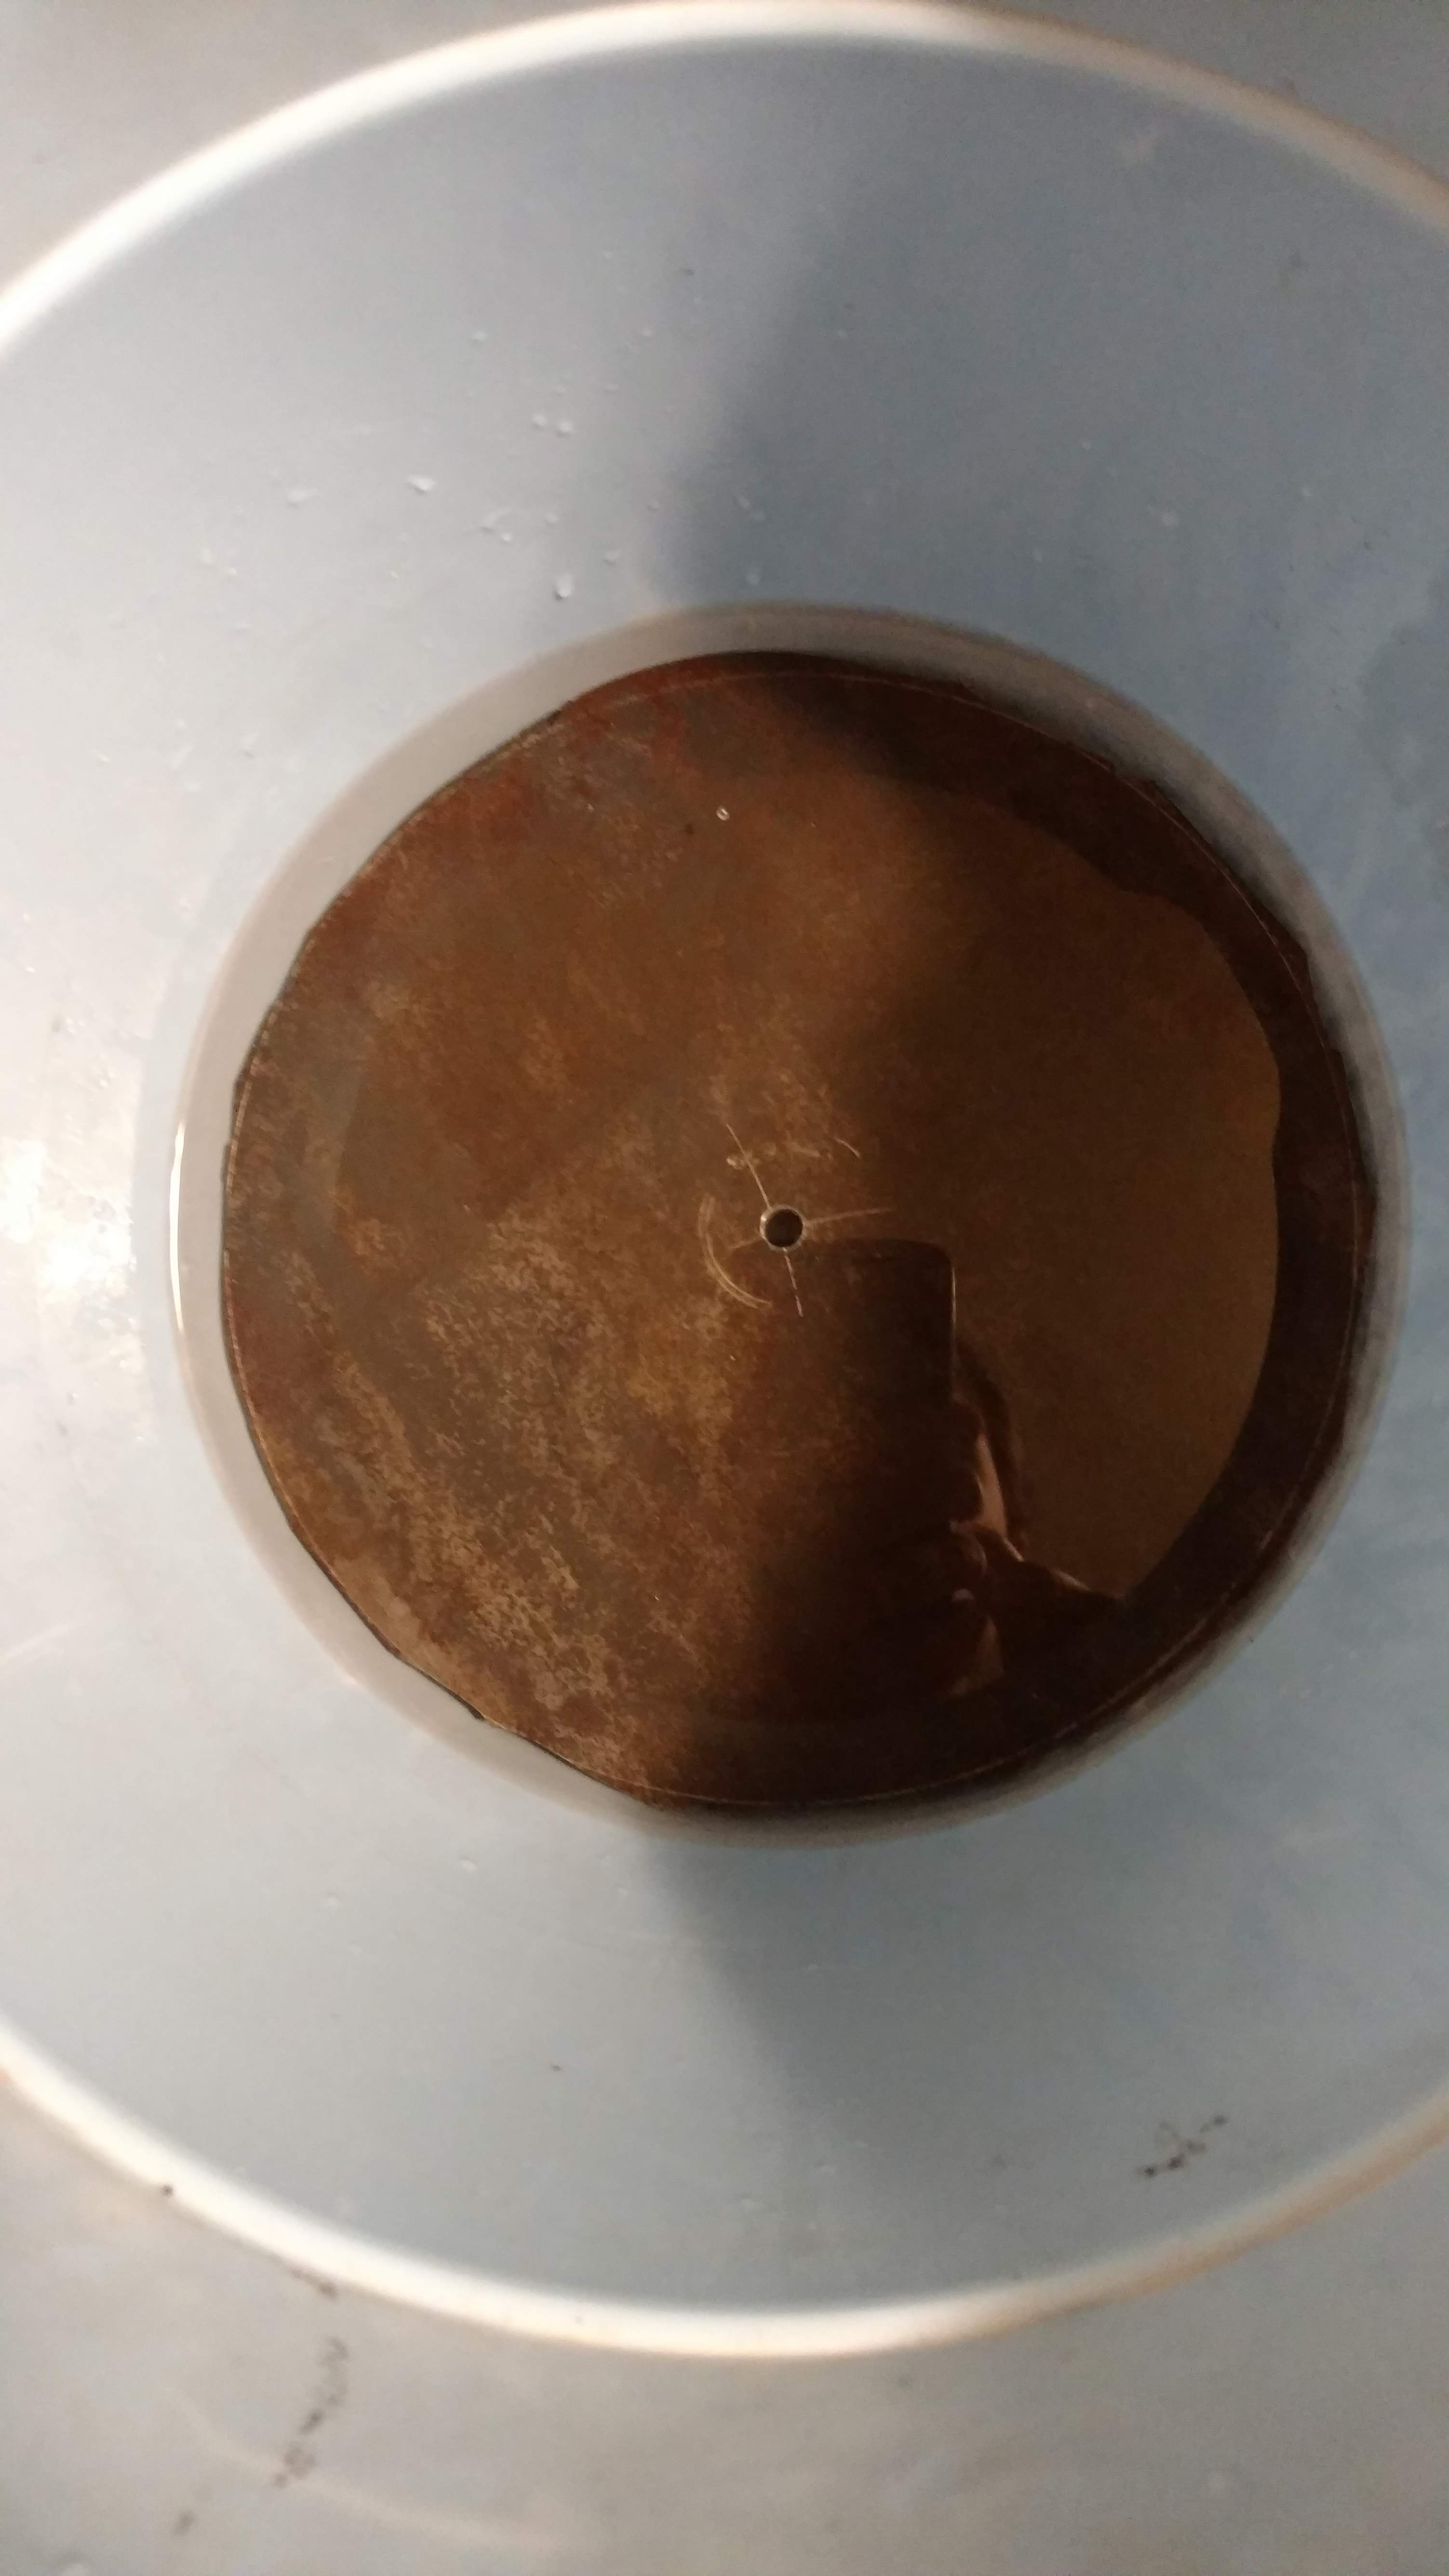
• Home stretch

    rbalsan103/06/2019 at 02:35 0 comments

    Funny how things seem to come together all at once.  I hadn't worked on this in a while, but today I got it to my desired endpoint.  

    Solder problem solved:

    Worthington Liquid stainless steel flux- contains ammonium bifluoride and hydrocloric acid and zinc chloride. Nasty stuff but can not argue with the results.  The 96/4 Sn/Ag solder sealed the deal.

    After I Cleaned it up with barkeepers friend and a paper towel.

    With that done I turn to the glass chamber.

    With high vacuum there is a massive danger using glass, due to implosion.  Make sure to have a safety cover to place around your chamber.I recommend poly-carbonate.  I annealed my broken piece at 560 degrees C for 2 hours.  Then I cut it on the diamond saw.  The piece was massive so i clamped a marker to my table and rotated the piece gently in saw blade.  After that I ground the ends flat with 120 grit carborundum.   I used a lapping wheel., But this can be done on flat plate glass.  Be sure to rotate to keep even pressure.  To check to see if there is a good sealing surface, take a piece of plate glass and wet it.  Then place it over the edge of the tube.  You will be able to see if there are any gaps in the sealing surface.  Here is the finished piece.  You can see that the edge is smooth, but the corners are sharp.

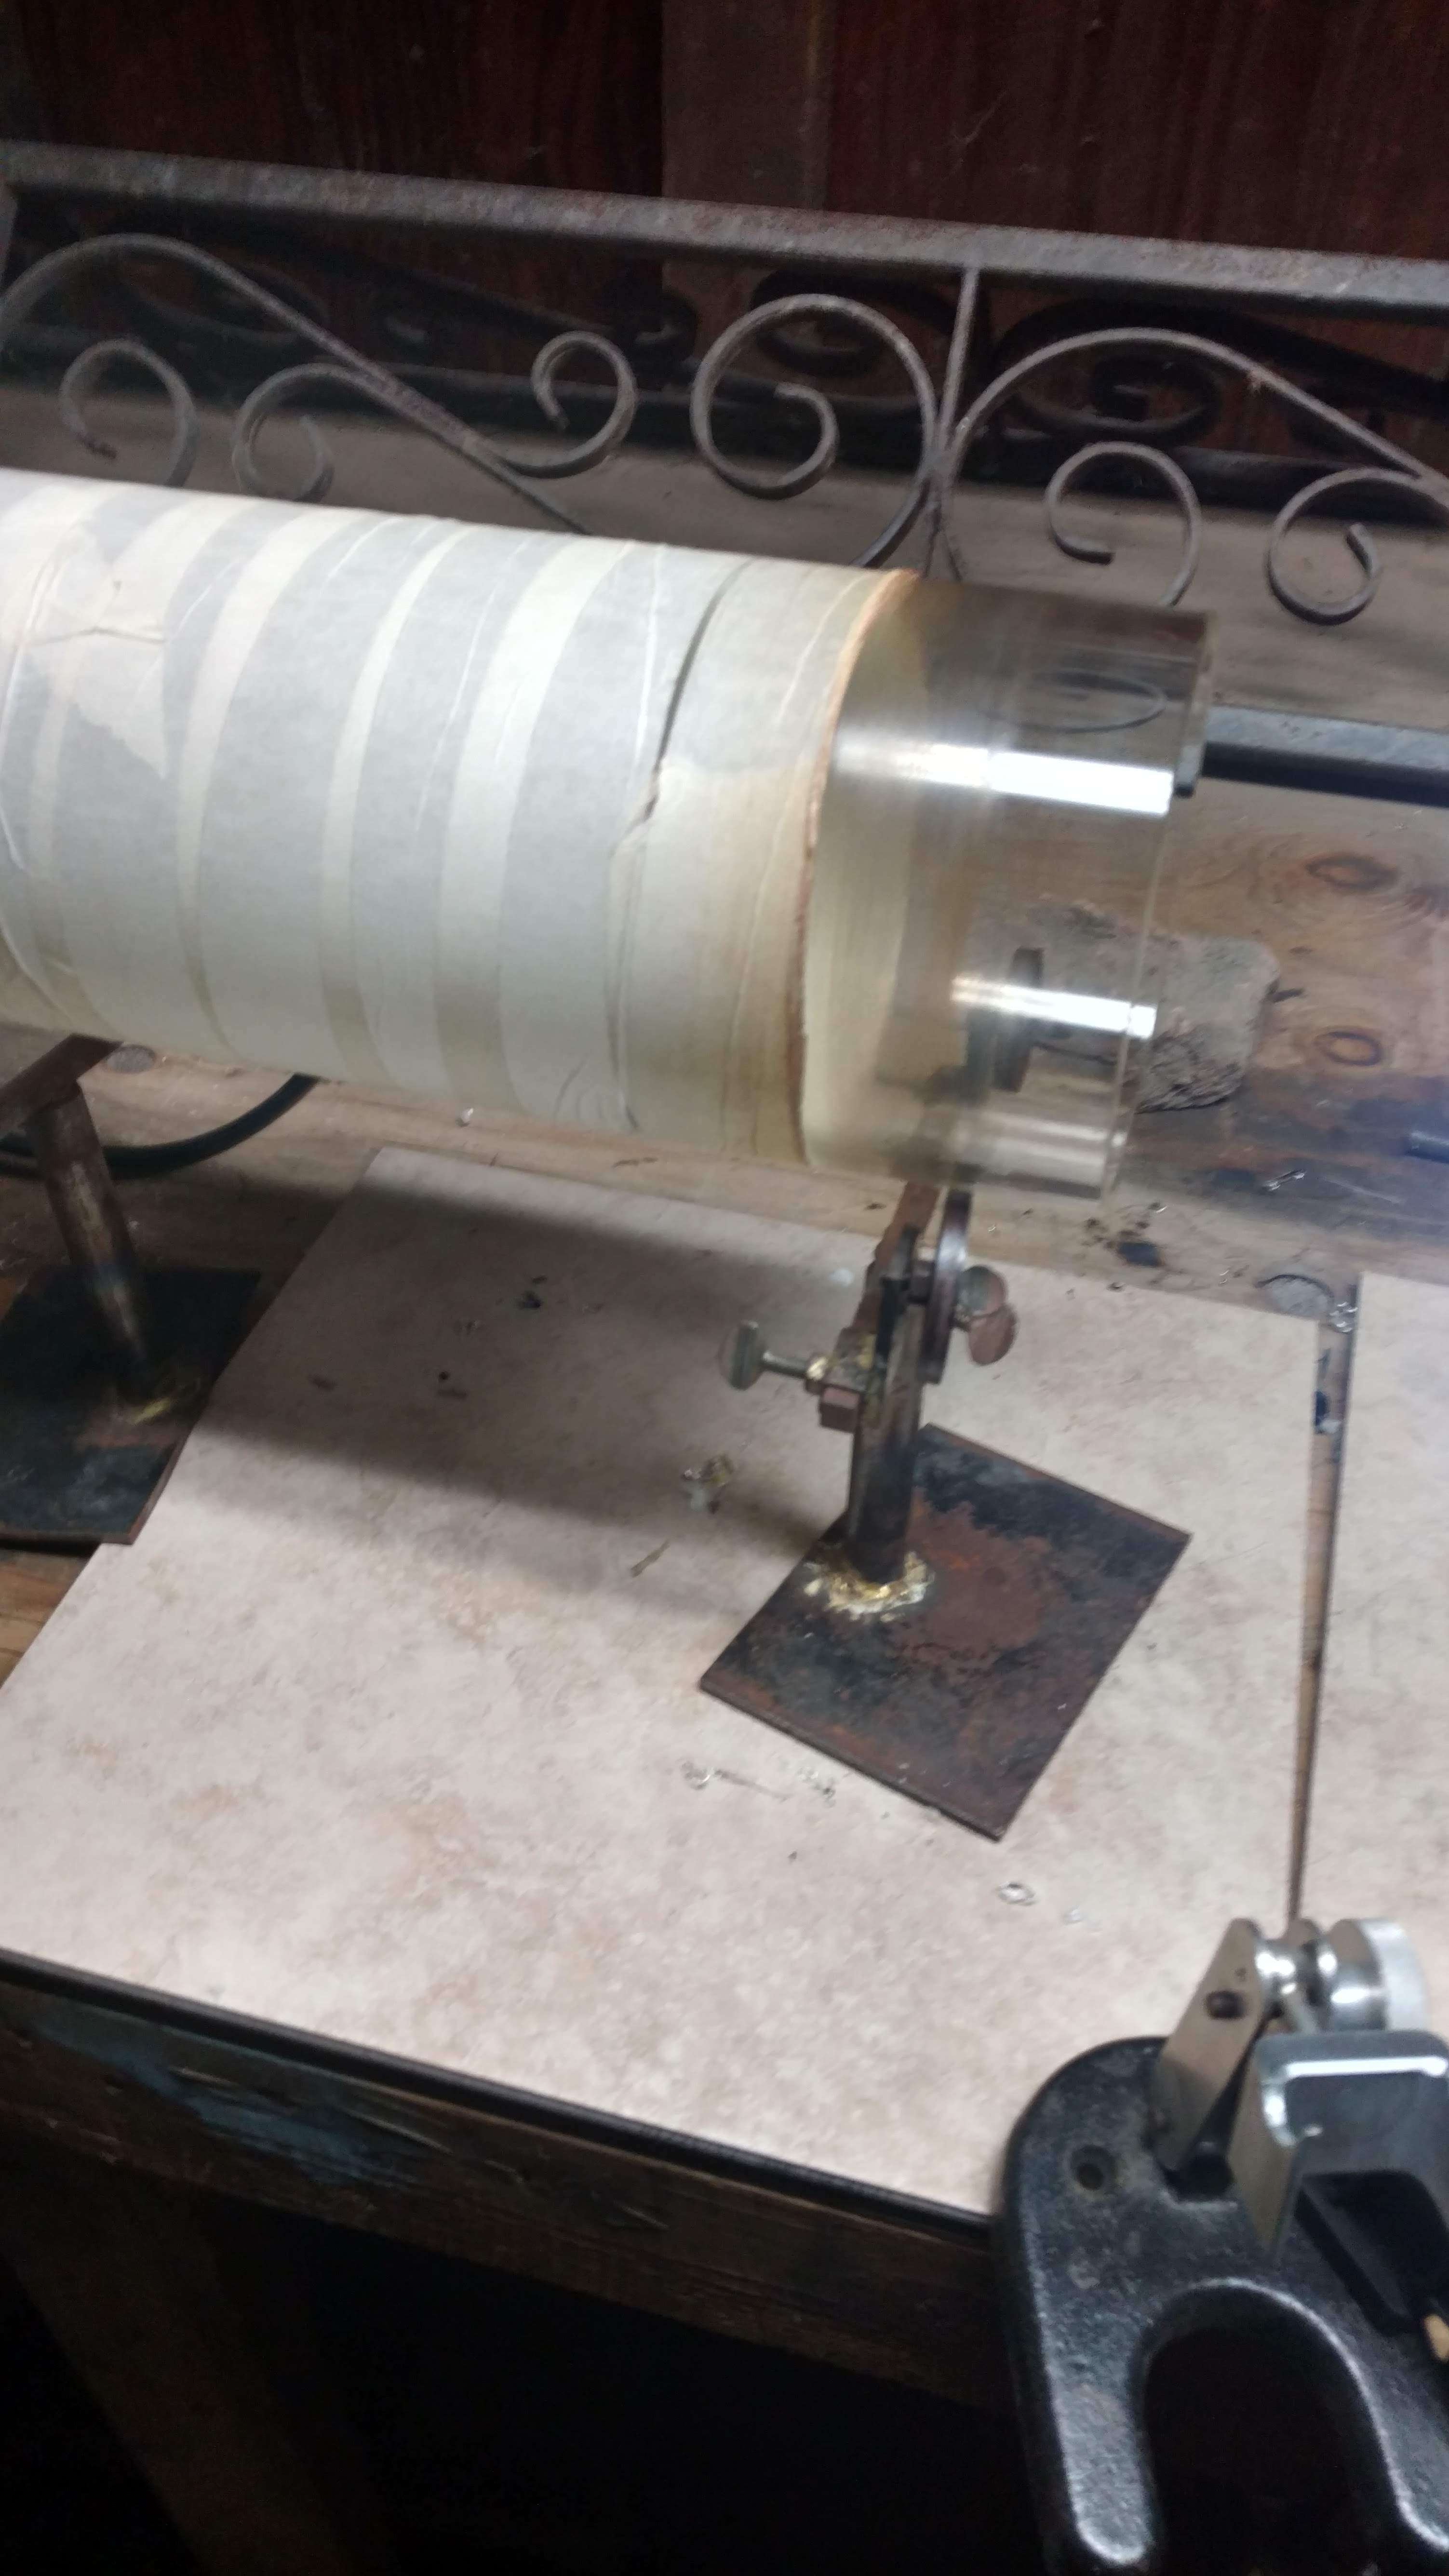
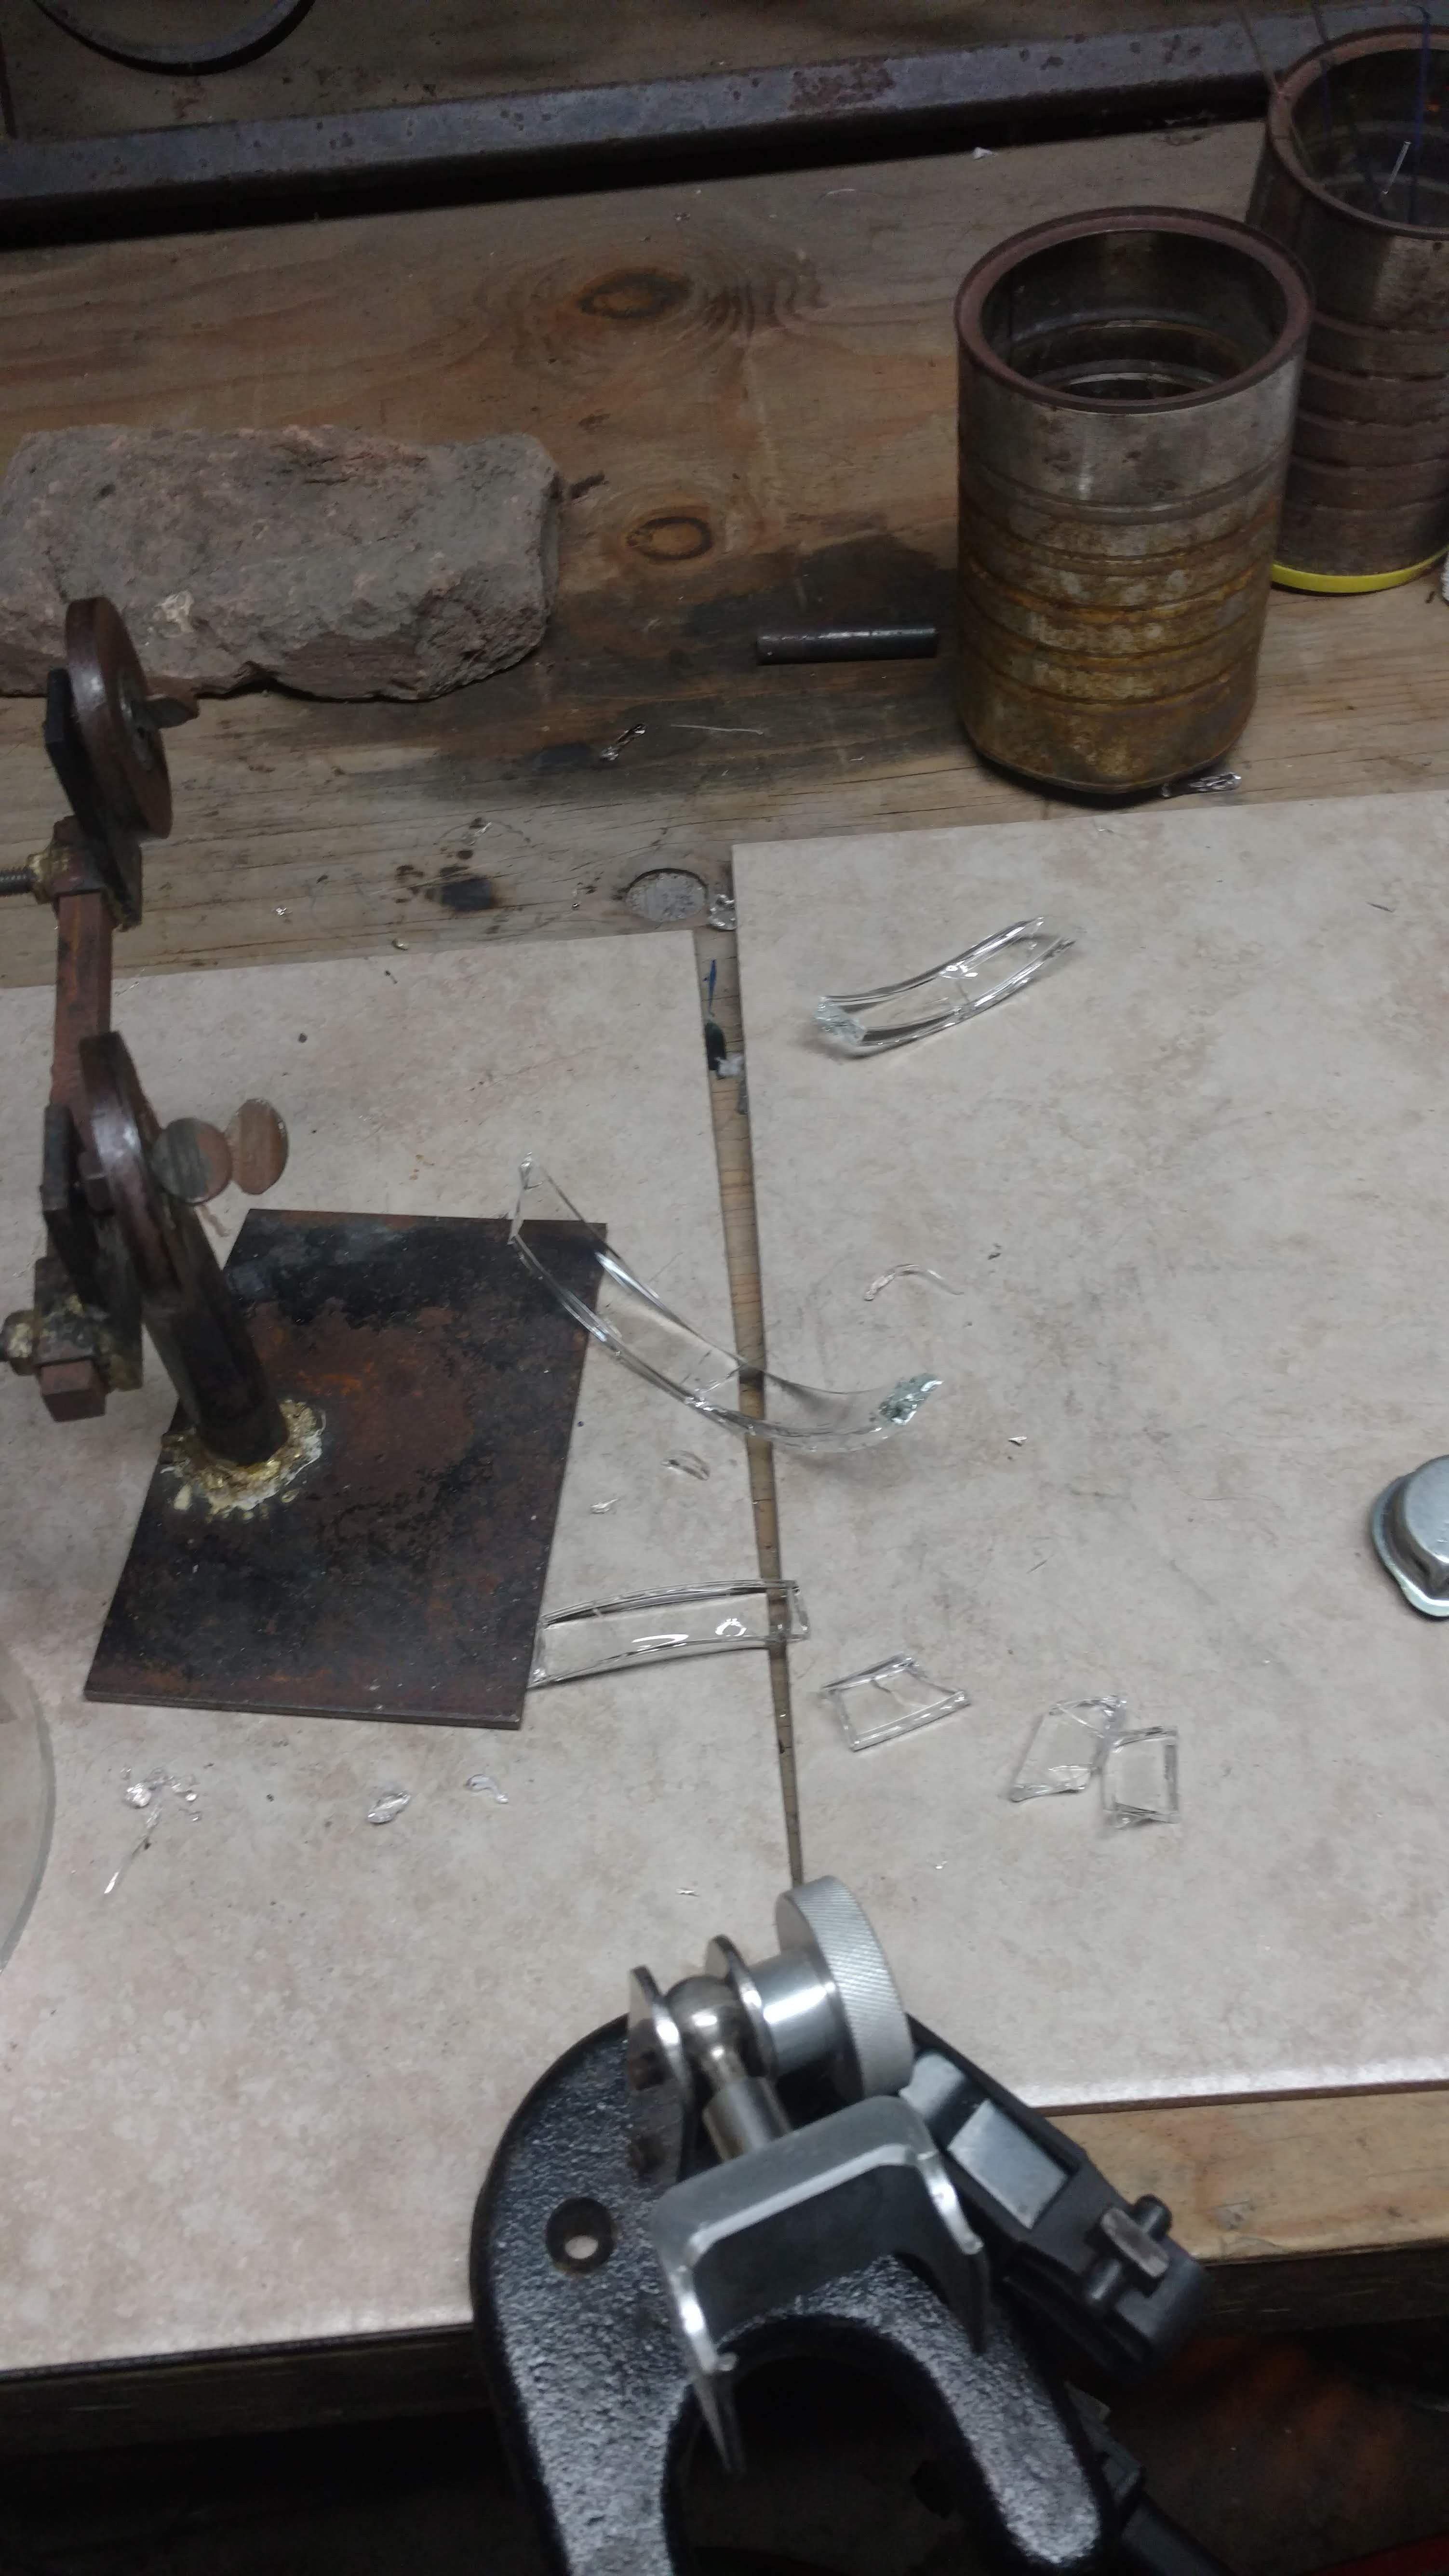
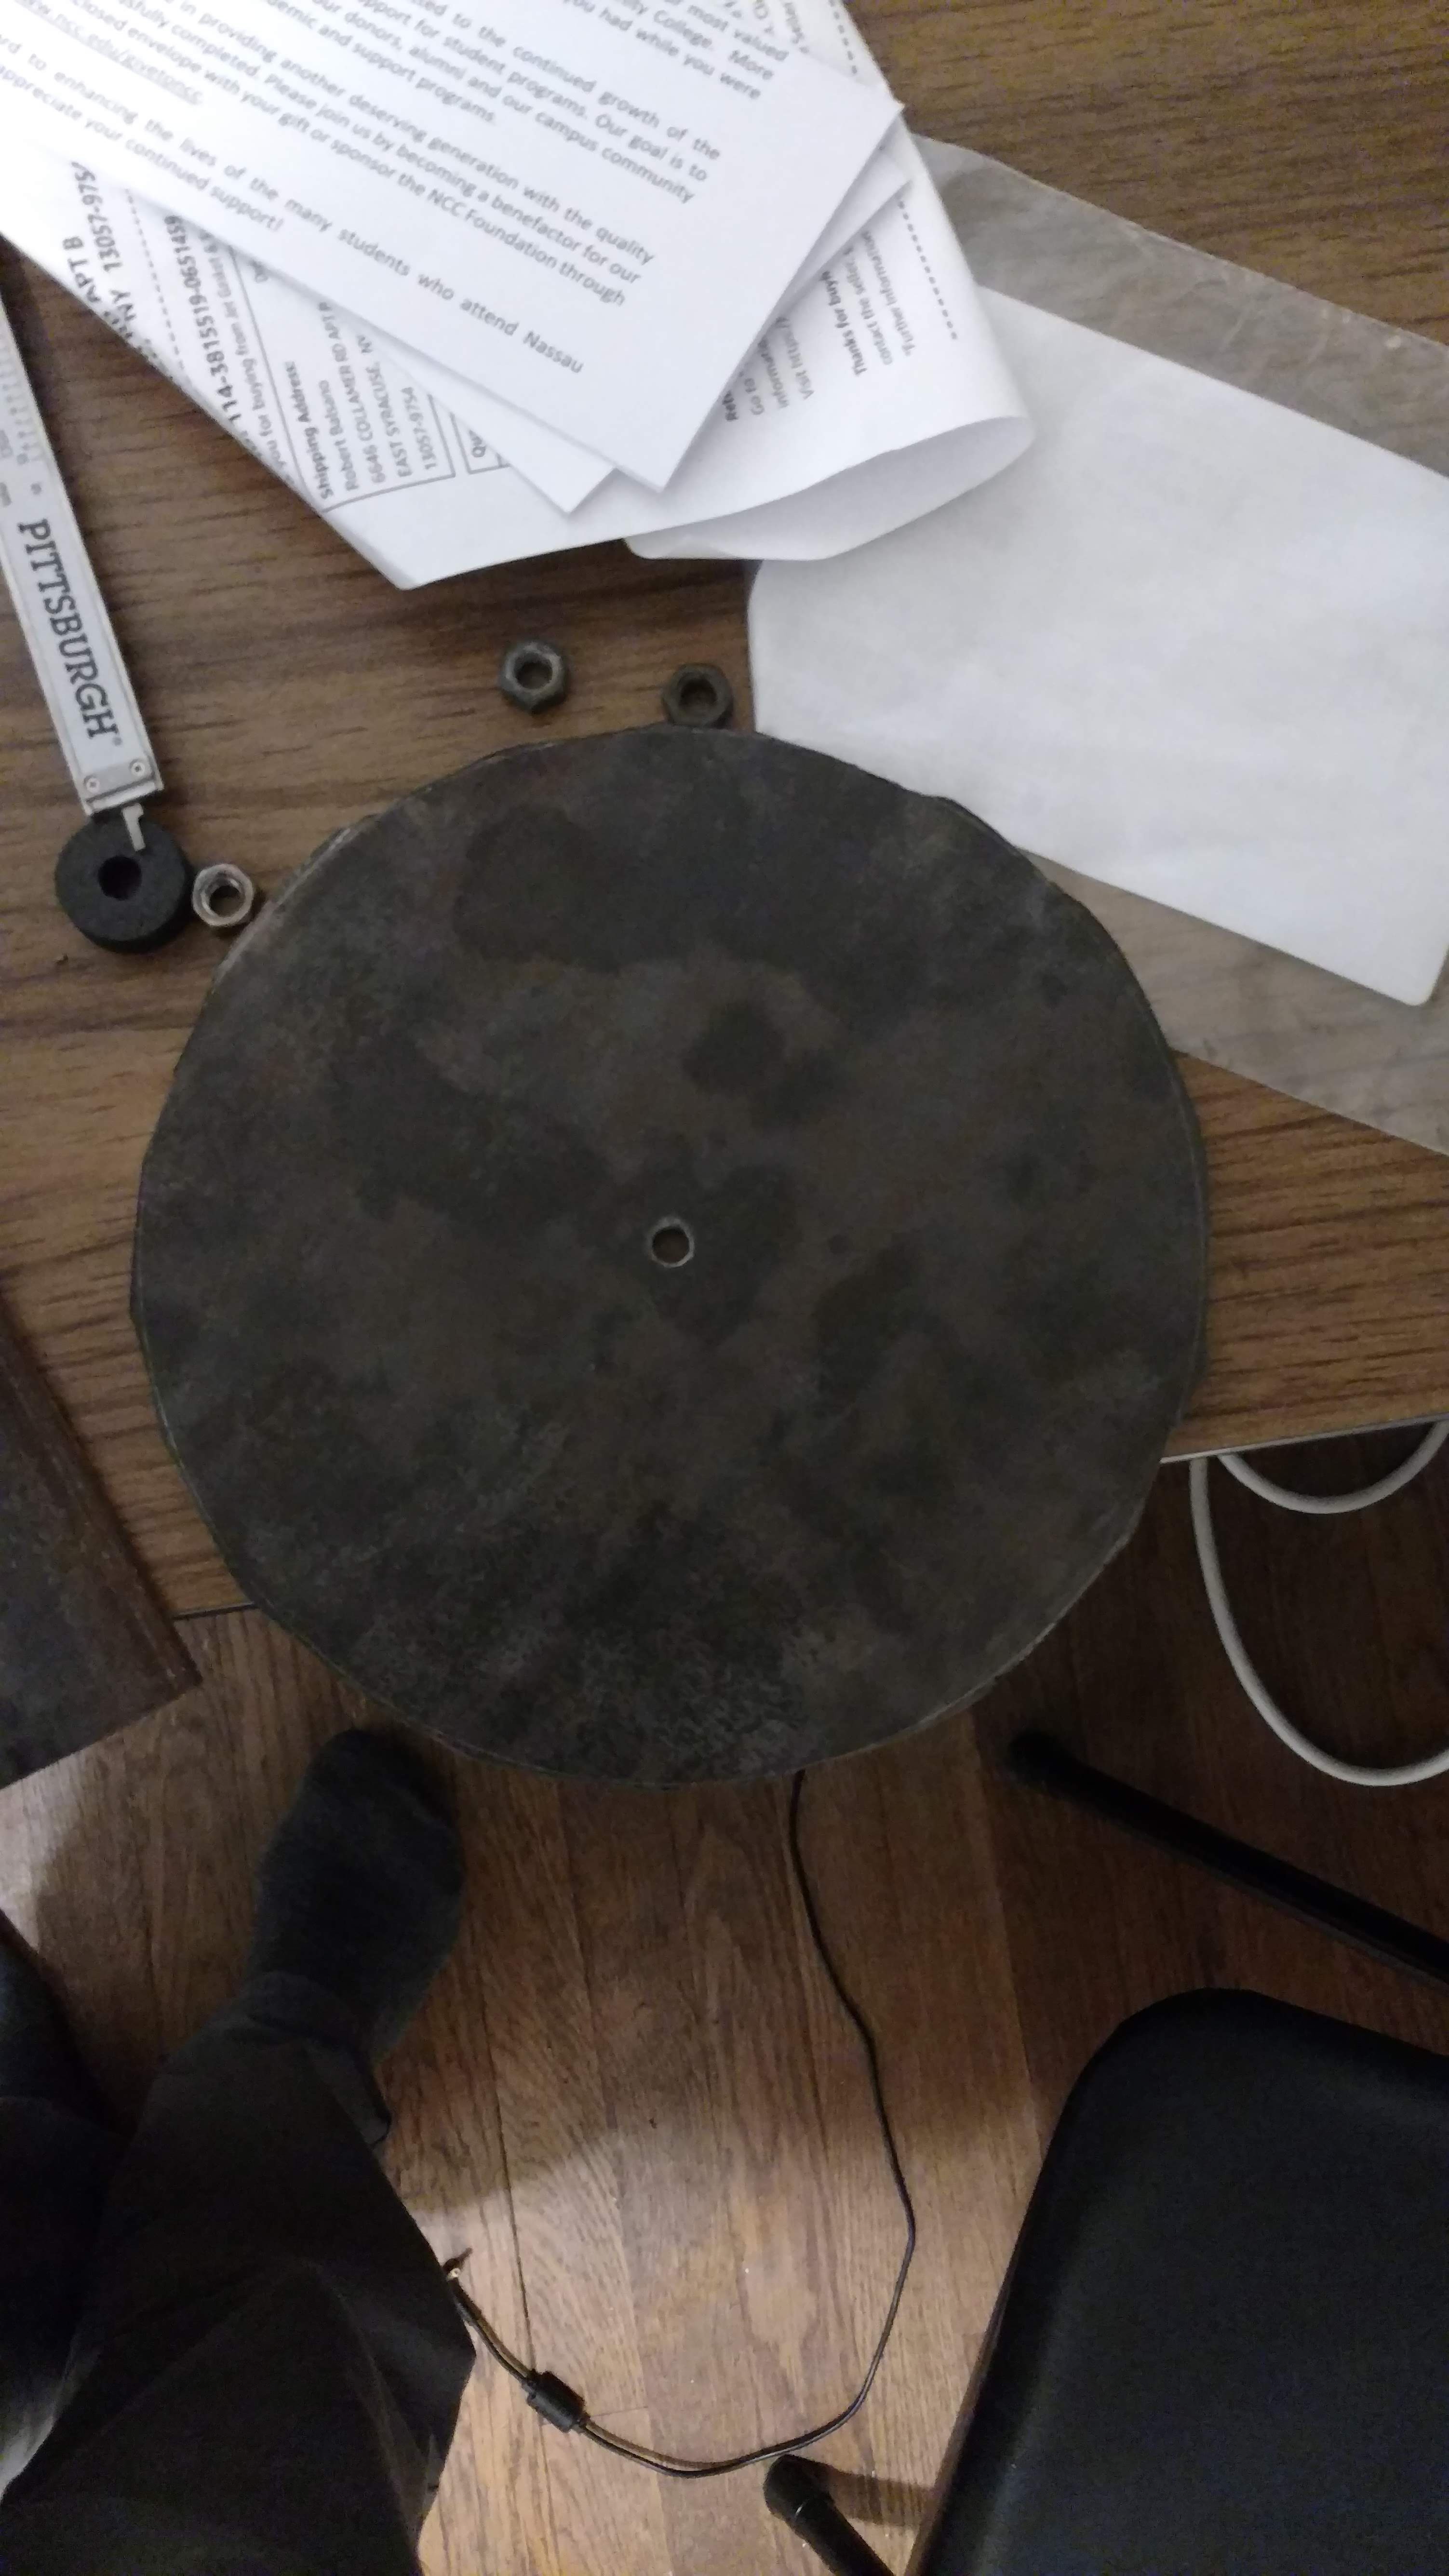
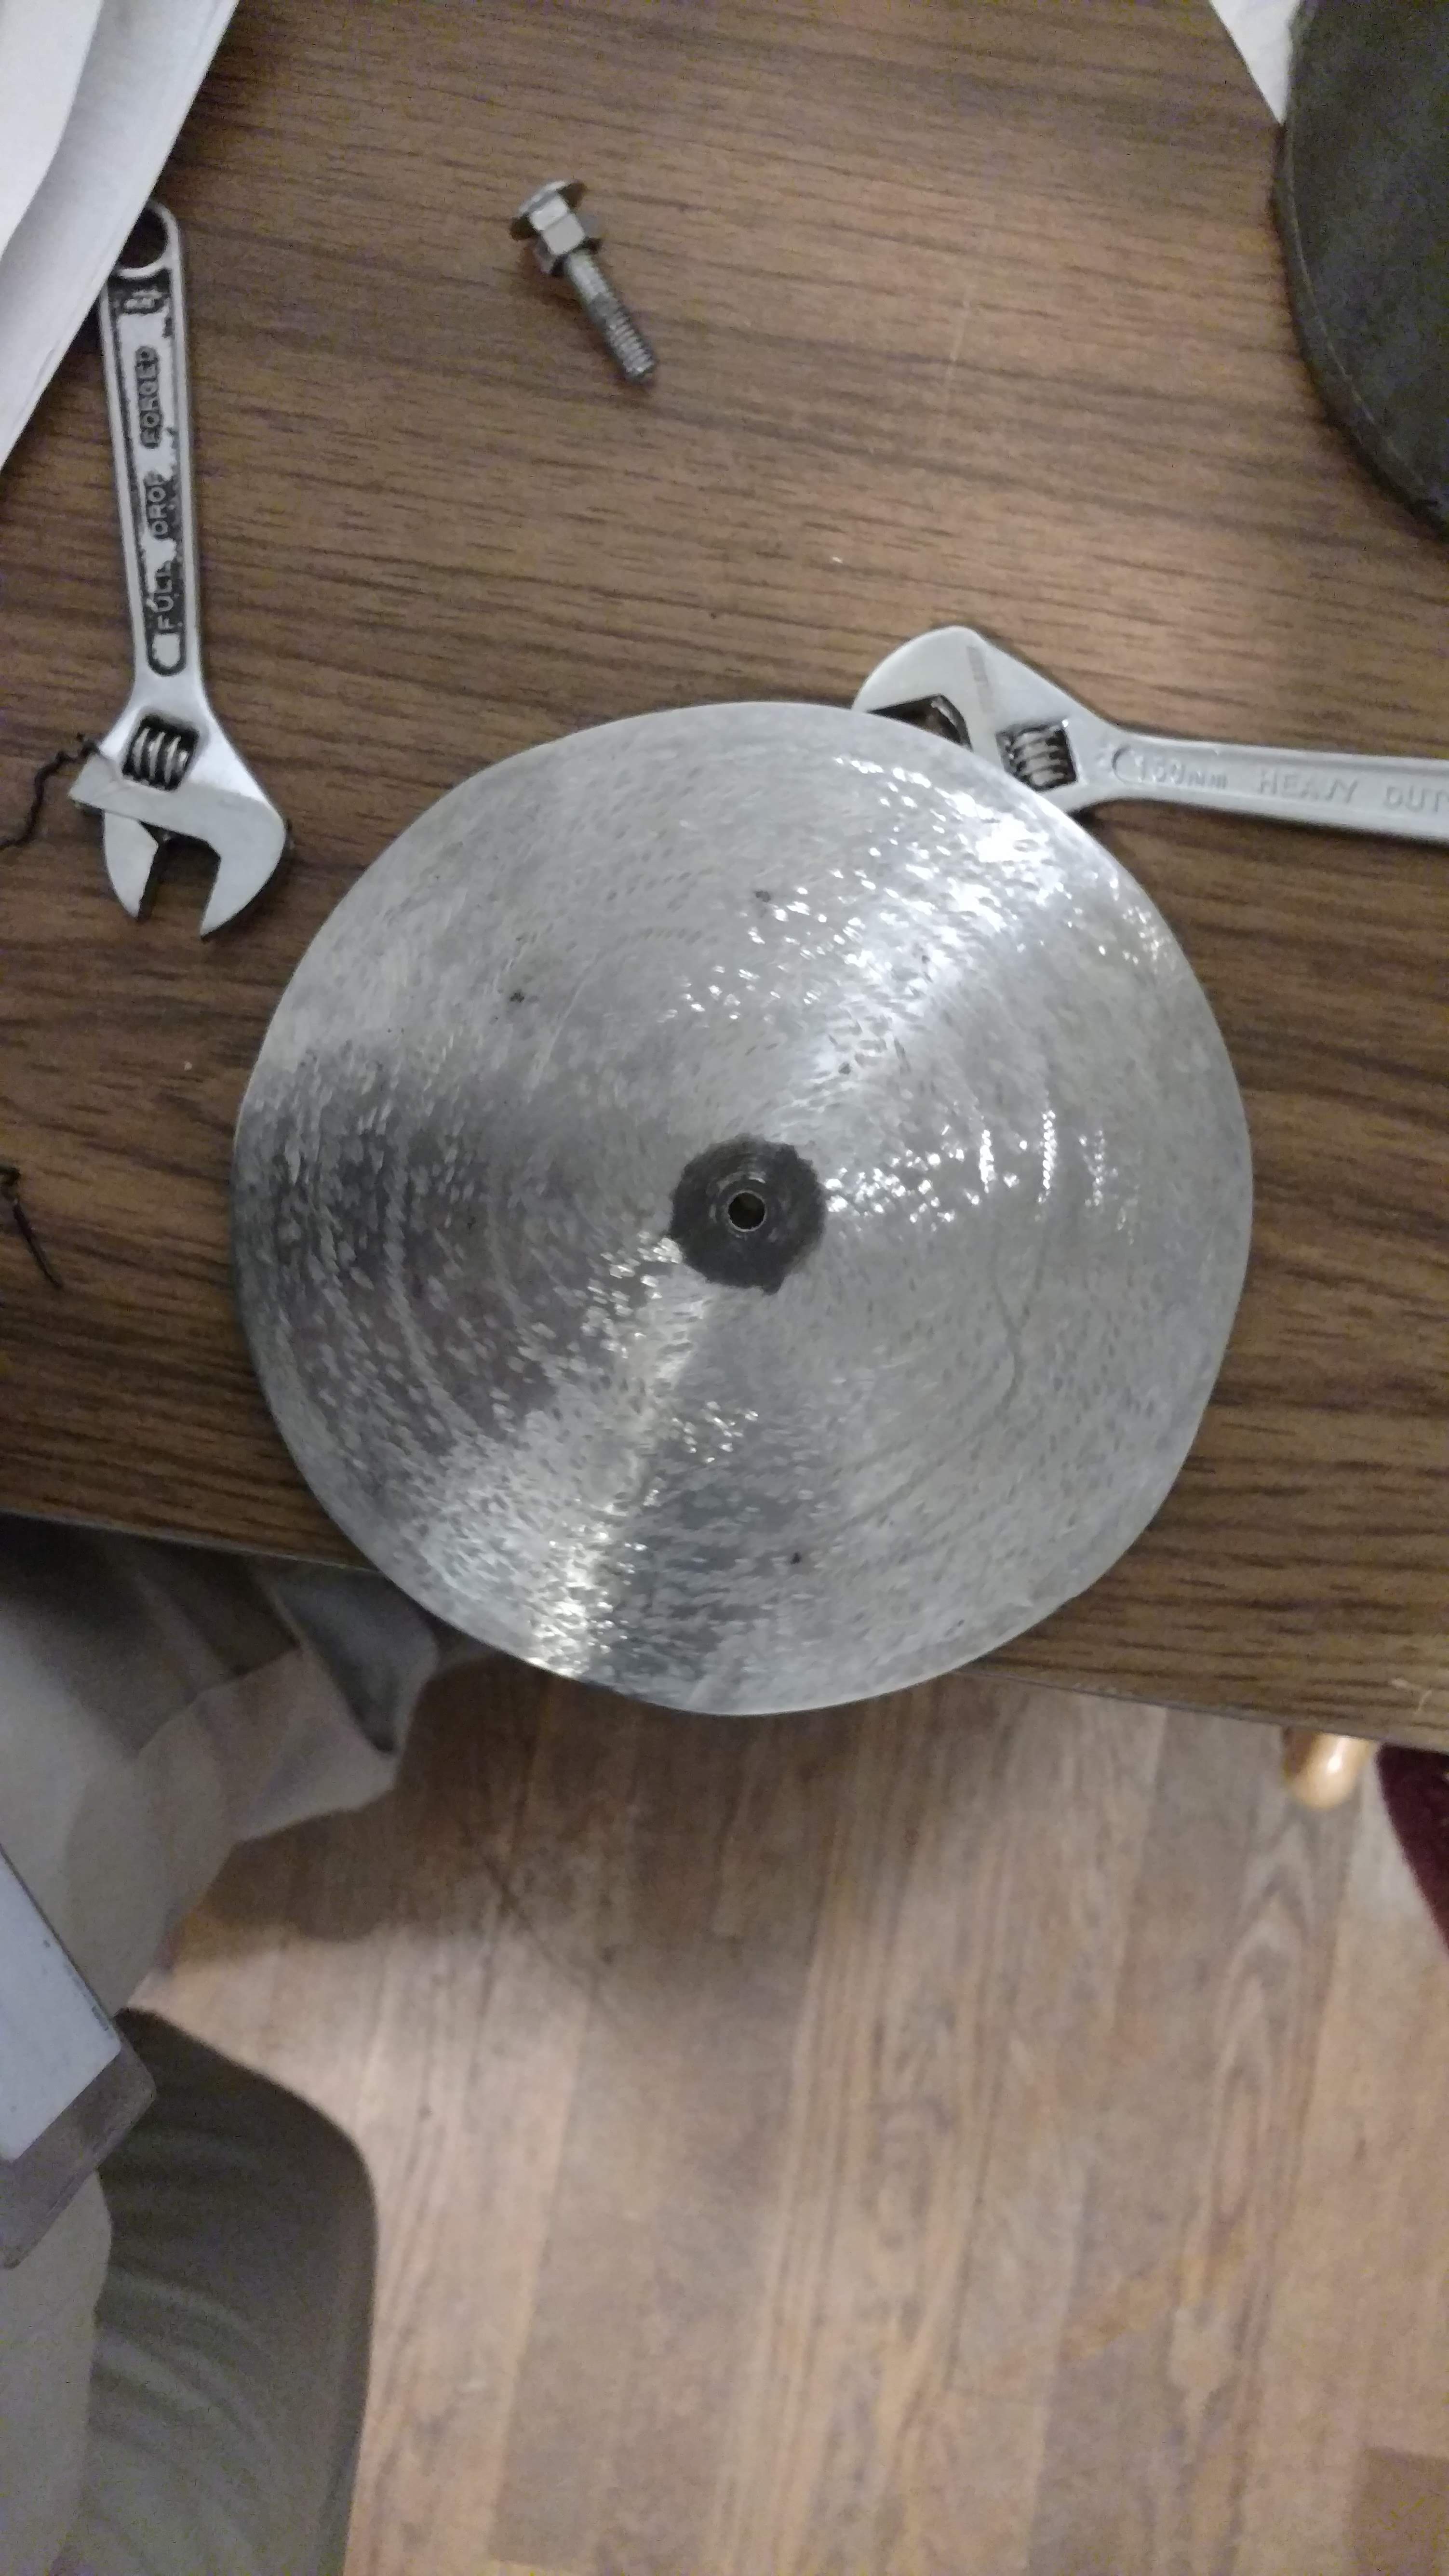
    No I was ready to put it all together Leak test results coming soon.
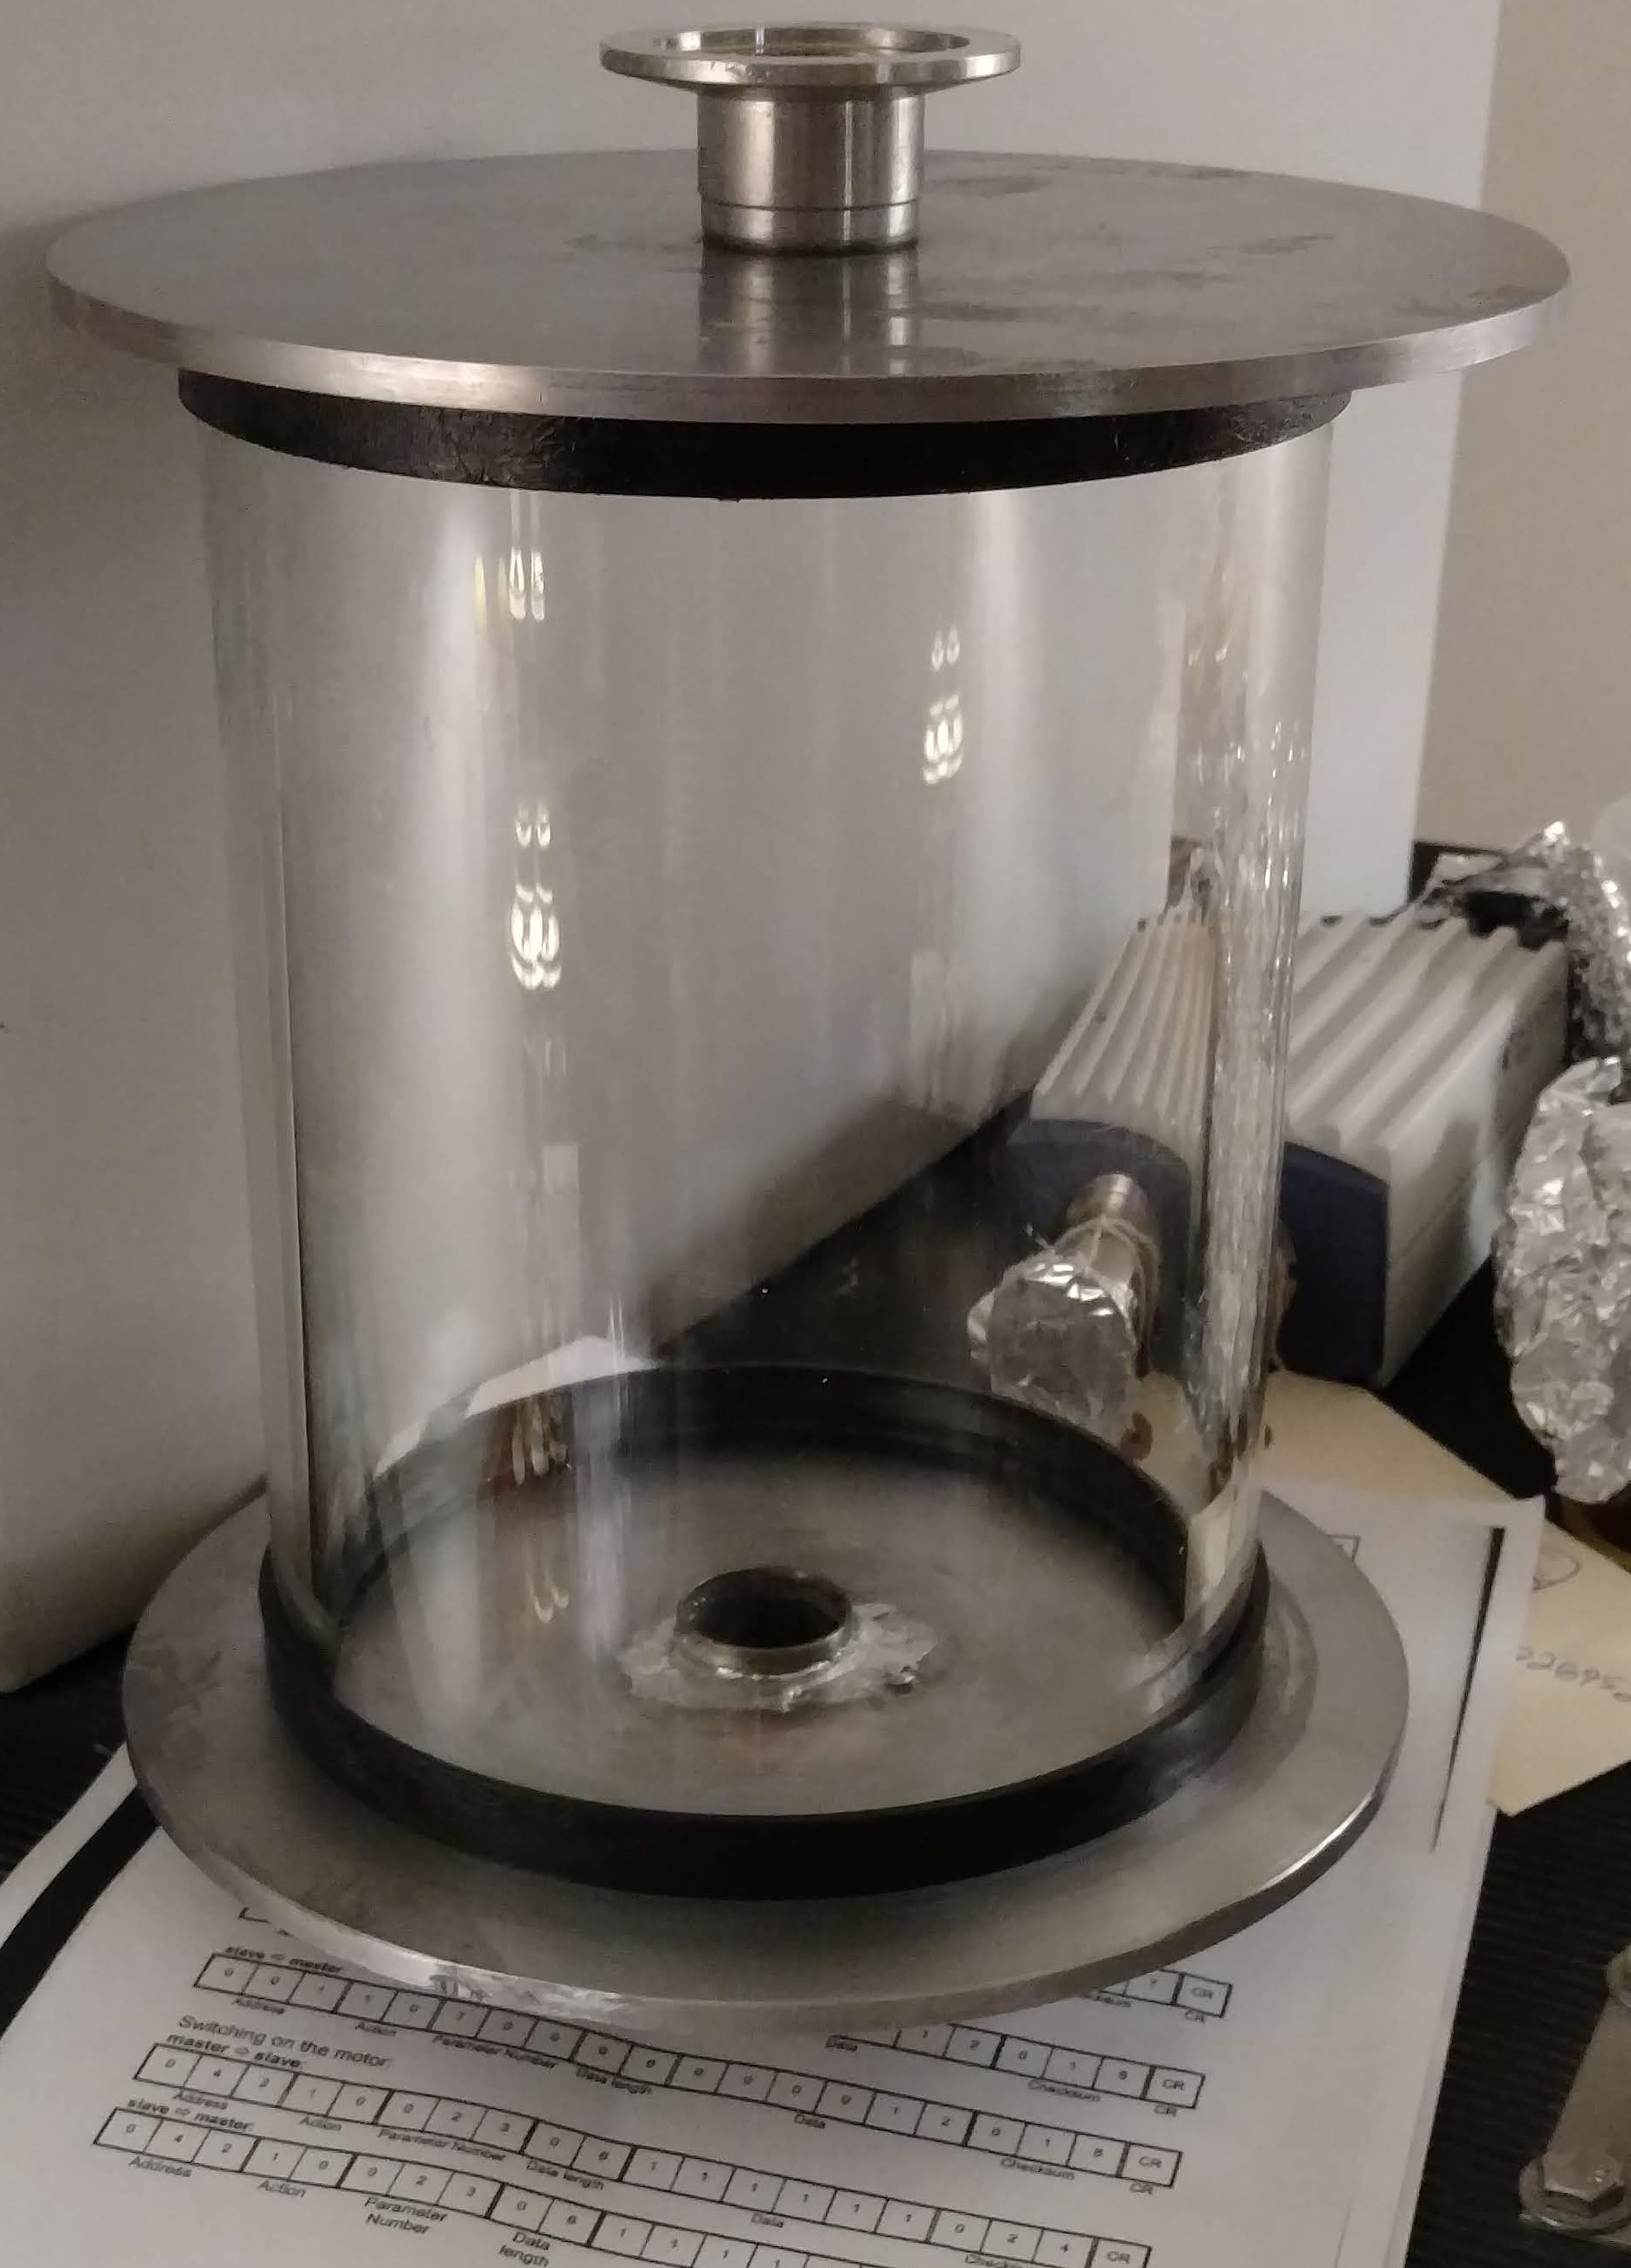
  • More parts coming in, solder problems and a fail

    rbalsan101/28/2019 at 03:04 0 comments

    So, I made a lot of progress with sanding disc/ angle grinder drill press and ball bearing , but this technique was very frustrating.  I caved and gave the base plate to a friend to face in their lathe: They look great.

    I also have a couple of stainless steel KF40 flanges that I plan to solder to the plates.  

    The soldering is the main issue.  Stainless is a major hassle to solder.  I had reasonable success using a rotary tool to wire brush the outside, applying  zinc chloride flux and then dipping the fitting in molten solder  solder in my kiln at roughly 340 C.  All this just to pre-tin the parts so I can join them more easily.

    In the photo you can see incomplete wetting on the outside, but a complete ring of wetted solder on the inside.  If I come up with a better technique I'Ill post.

    Lastly my chamber came in.

    I got 6 inch OD heavy wall pyrex tubing.  The supplier shipped it to me pre-cut in 4 equal pieces from a 5 foot tube.  You can see in the picture that the edges are smooth in some places, but still have some rough spots and some sharpness.I opted not to have the 4 pieces  fire polished for an extra $200.  That seemed reasonable I can fire polish glass tubing.  So I rapped up the tubing like a mummy and put it on my hand rollers and got out a big ole oxy-popane torch and got to work.

    For starters, I wrapped the tube so my steel rollers wouldn't scratch the glass.  After trying to rotate the glass with the rollers under the tape I quickly found out that there was too much friction and had to move the rollers into contact with the glass.  Then I found I wasn't getting the edge of the glass red hot with my single burner so I moved the torch closer heating the outside and inside edge of the tube until this happened:

    The tube shattered at the edge I was polishing.  I assume I heated a little close on the inside to one of the cool rollers on the outside causing a massive thermal gradient causing the break. Bummer.  but the biggest disappointment was that the edges I was polishing were still nowhere near as smooth as I needed.  This will probably take multiple torches and a lot of patience.

  • Polishing the plates/ solder/brazing

    rbalsan111/12/2018 at 17:30 0 comments

    I have been spending what feels like way too much time preparing the vacuum plates.

      Overnight in vinegar did remove all of the mill scale.  

    I do not have a lathe though so I could not do faceing to get a good sealing surface.  Instead I used a drill press and a bearing and a hole saw to turn it while i sanded with an angle grinder.  The results were quite nice and cleared out most of the divots.  I have to go back with finer paper to finish gleaning everything up before cutting the holes for my KF40 flanges.

    I now am starting to worry about brazing compounds to allow modest baking of the camber to get a nice base pressure.  I am considering using 95/5 tin silver solder do to the steel stainless compatibility.  I am worried that the joint won't be strong enough.  I have been looking at brazing alloys, but I cannot find anything without zinc.  

    Anyway I've got plenty of steel left I'll try the solder and see how it holds up.

  • Small fail/component update

    rbalsan110/29/2018 at 03:34 0 comments

    L-Gaskets came in they are pretty much perfect.  

    I still don't have a glass tube for the chamber yet.

    I attempted to use cheap glass 150 mm tube.  I could not get it to cut on the saw without breaking in weird spots. When I scored it, it still refused to break on the score.  I have given up on the idea of using this type of glass the wall was only a few millimeters thick anyway.  I think I have to go for Corning Pyrex.

    On the base plate, mill scale has to be removed so I dunked it in vinegar over night

    I am hoping for a smooth enough surface so that I can get a good seal with the gaskets.  I  am withholding the requirement of many KF flanges as a size seems like it is way too small to load anything other than electrodes and single feedthoughs.  It seems like a way better Idea to build a custom base plate for a particular application.  So that is the path I will follow.  

  • Materials choice

    rbalsan110/19/2018 at 03:22 0 comments

    I have started picking out the materials for this.  

    Aluminum is a tad bit too expensive and not to great without a lathe.  I'm not going for tight dimensions, but I need a 6" diameter to do anything interesting.   I chose plain carbon steel for the base and top plate.  I'm looking to use 2 8" diameter discs 1/4" thick.  I got the steel from a local supplier.  I ended up getting a board ten feet long 8 inches wide for about $120. I have prepared one using a portable handsaw and an angle grinder .

    I chose buna lip gaskets or l-gaskets to make the seal to the main chamber.  These end up costing bout 50 bucks for two at the 6" diameter.  A drop of Dow corning high vacuum grease will make a great seal.  The stuff is a little pricey for a whole tube but you can get 1/4 oz containers on ebay for about 5 bucks.

    The chamber itself I'd like to be glass just over a foot high.  Glass is very inert has a low gas permeability and blocks UV light and x-rays that may come from experiments inside the chamber.  With glass it is important to be prepared for an implosion.  A shroud is an important accessory I recommend a sheet of lexan to be safe.  The glass wall thickness should be a minimum of 5mm.  This assessment is based on what I see out there in glass chambers.  I'd really like a reference that makes a recommendation based on ultimate desired pressure.  Wale sells some heavy wall 7mm thick glass  with a 6 inch OD.  It is about $200 for 5 feet shipped.  I do have a saw that can cut this tubing.  A tile saw will work.

    Flanges are necessary to connect gauges, pumps valves and feedthroughs.  I want at least 3 flanges on each plate.  Blanks can be fitted when they are not in use.  flanges can be bought on ebay for less than $10 a piece.  They can be bought as blanks or adapters and brazed onto the chamber.