 Kevin Harrington
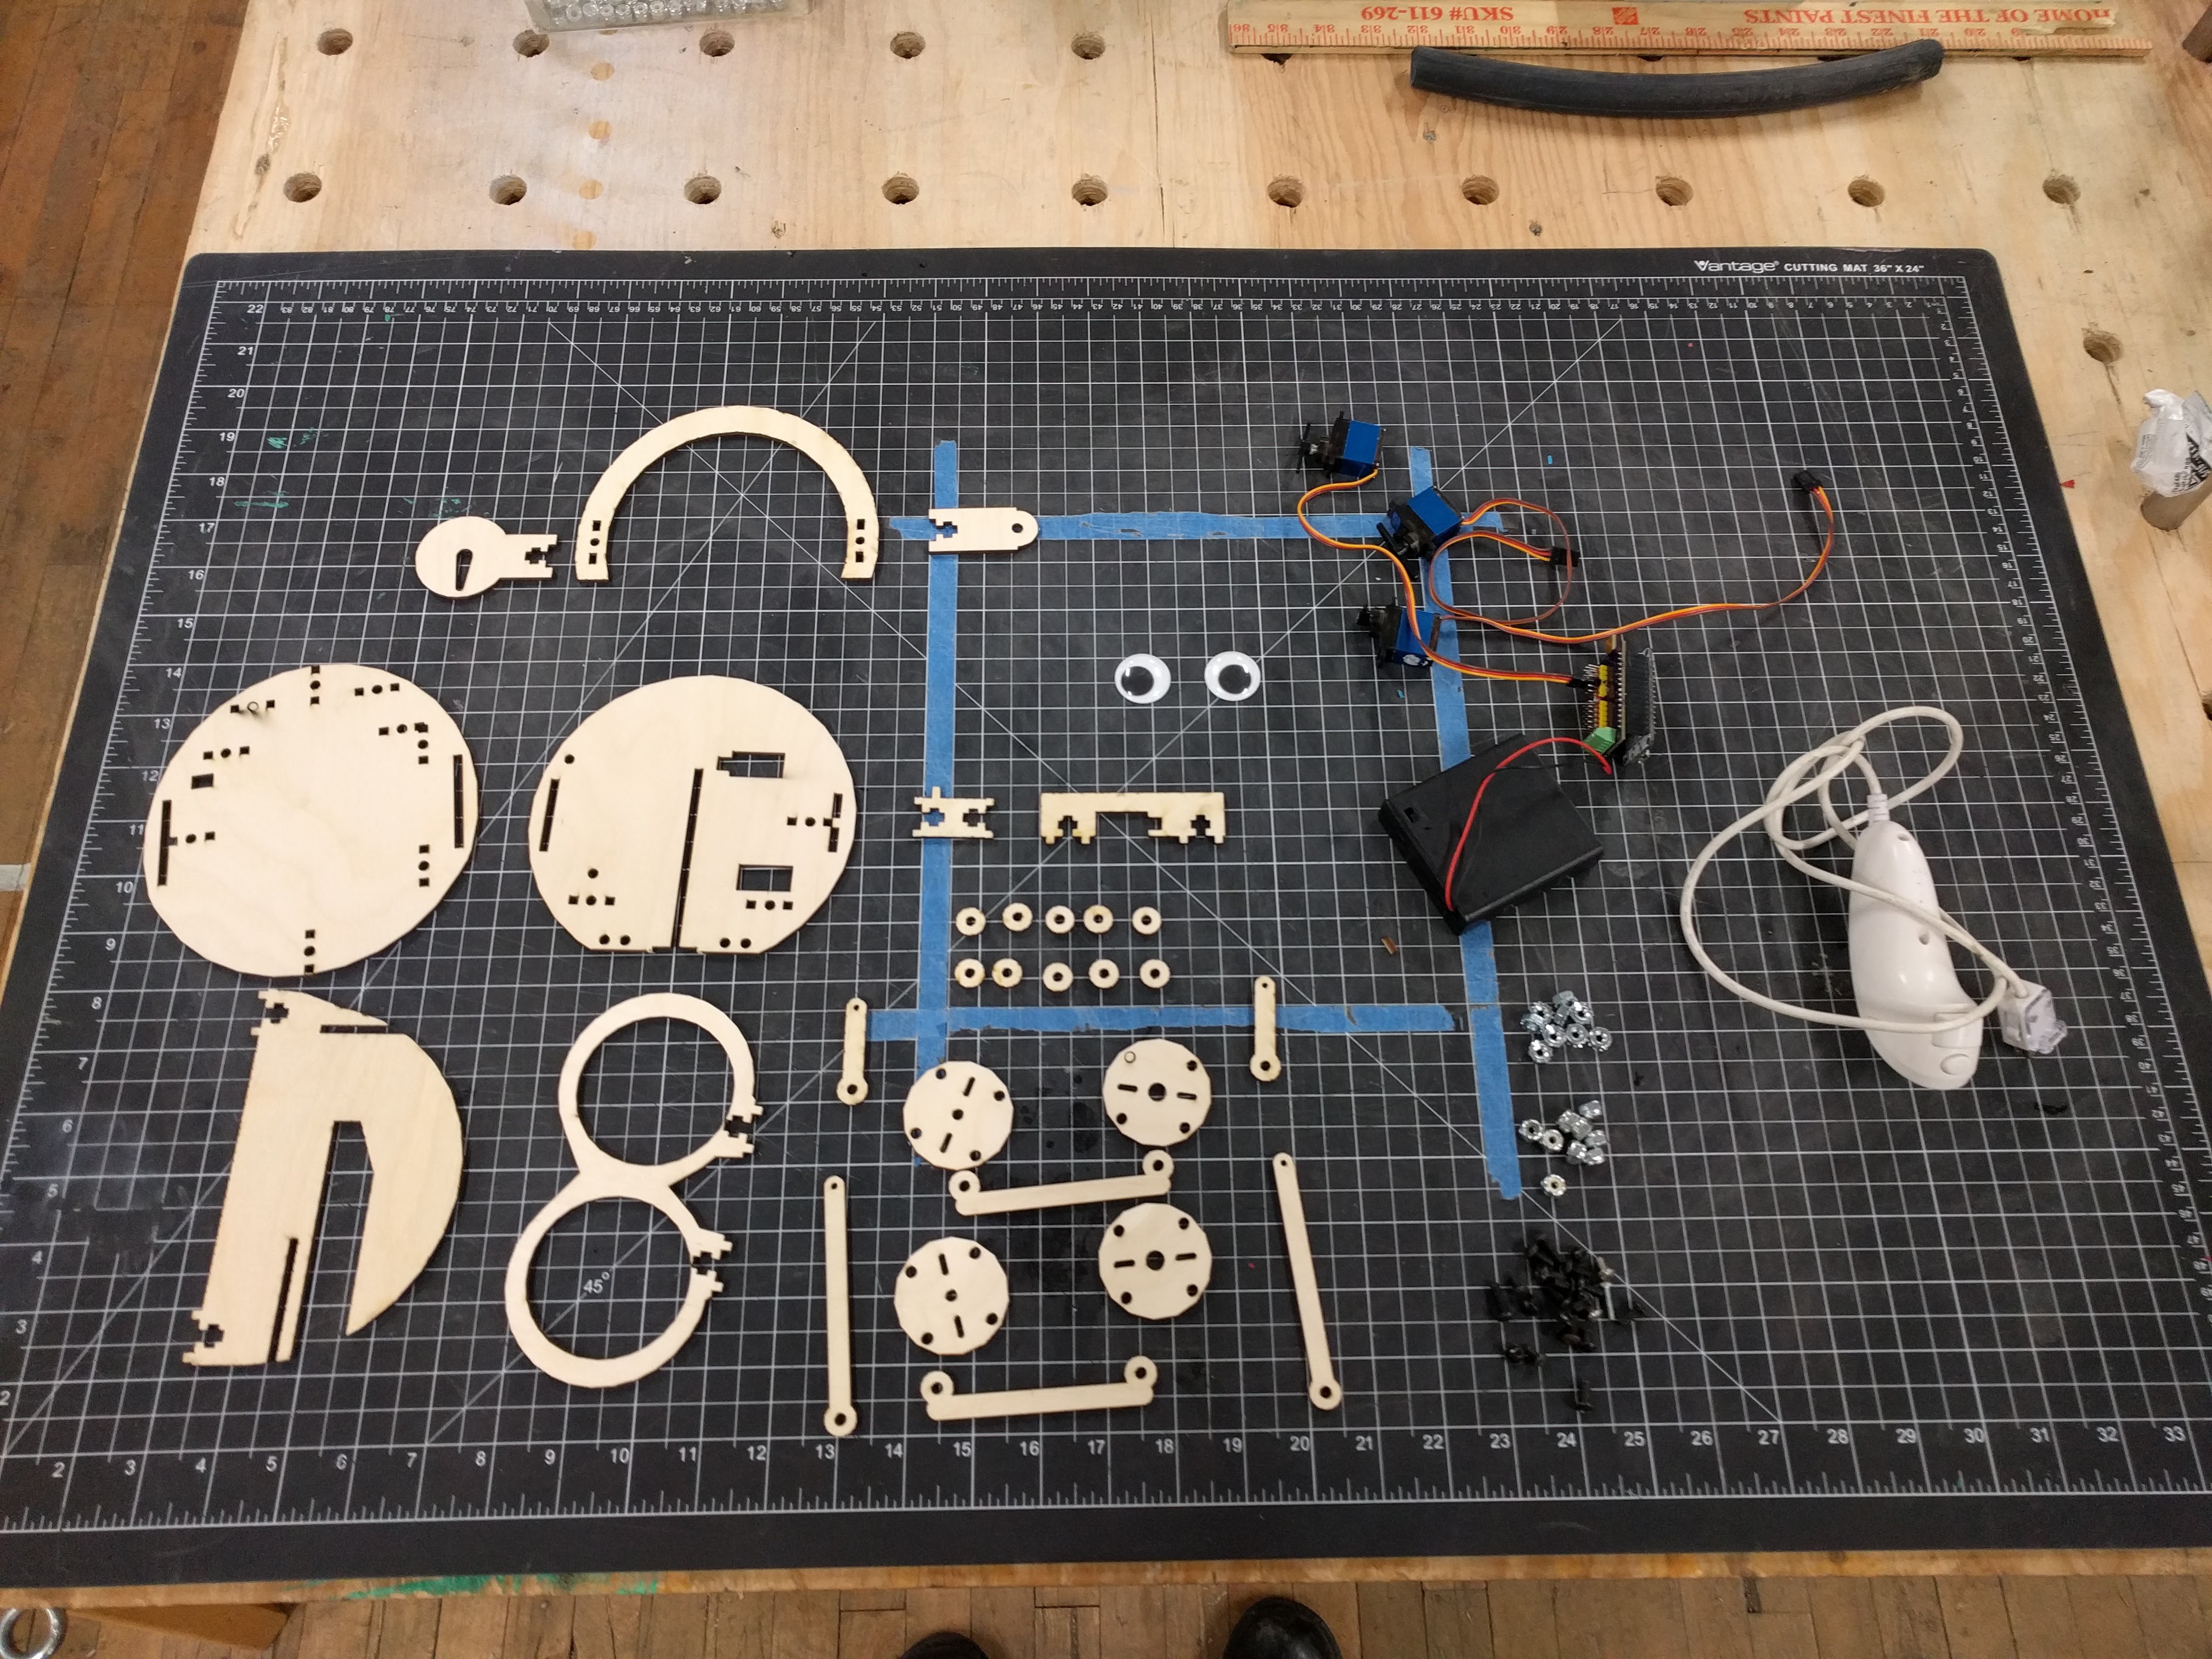
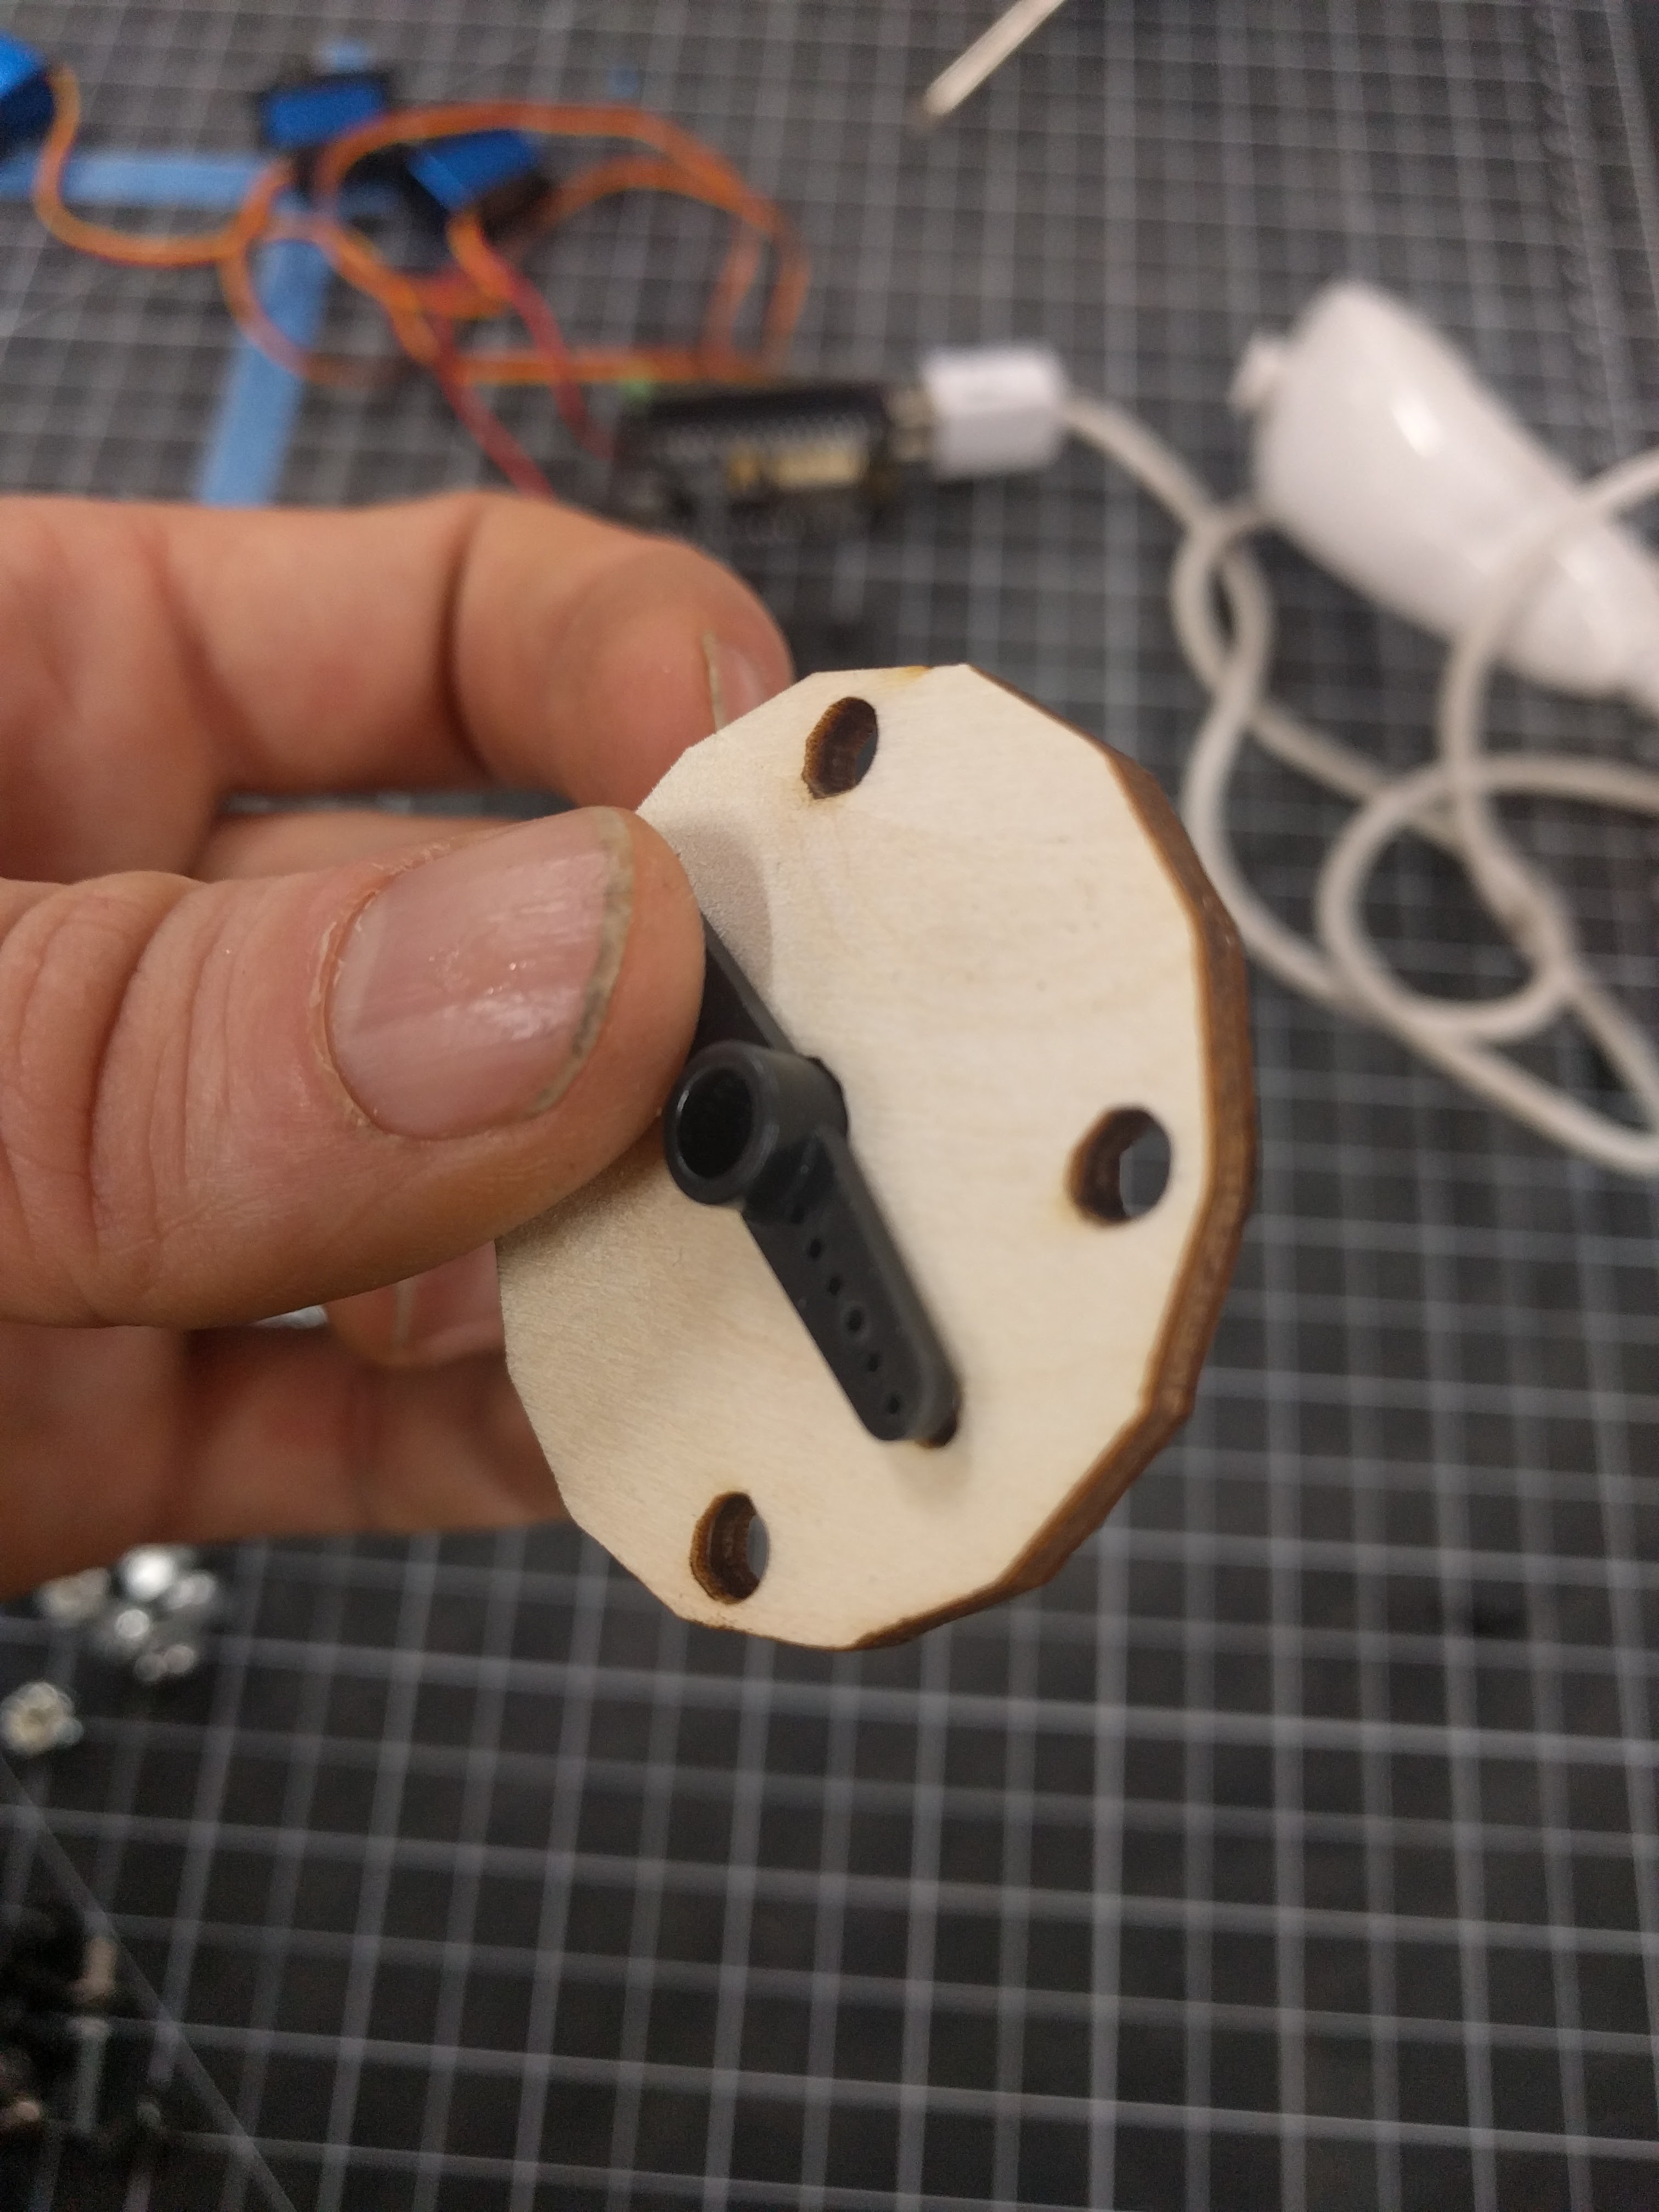
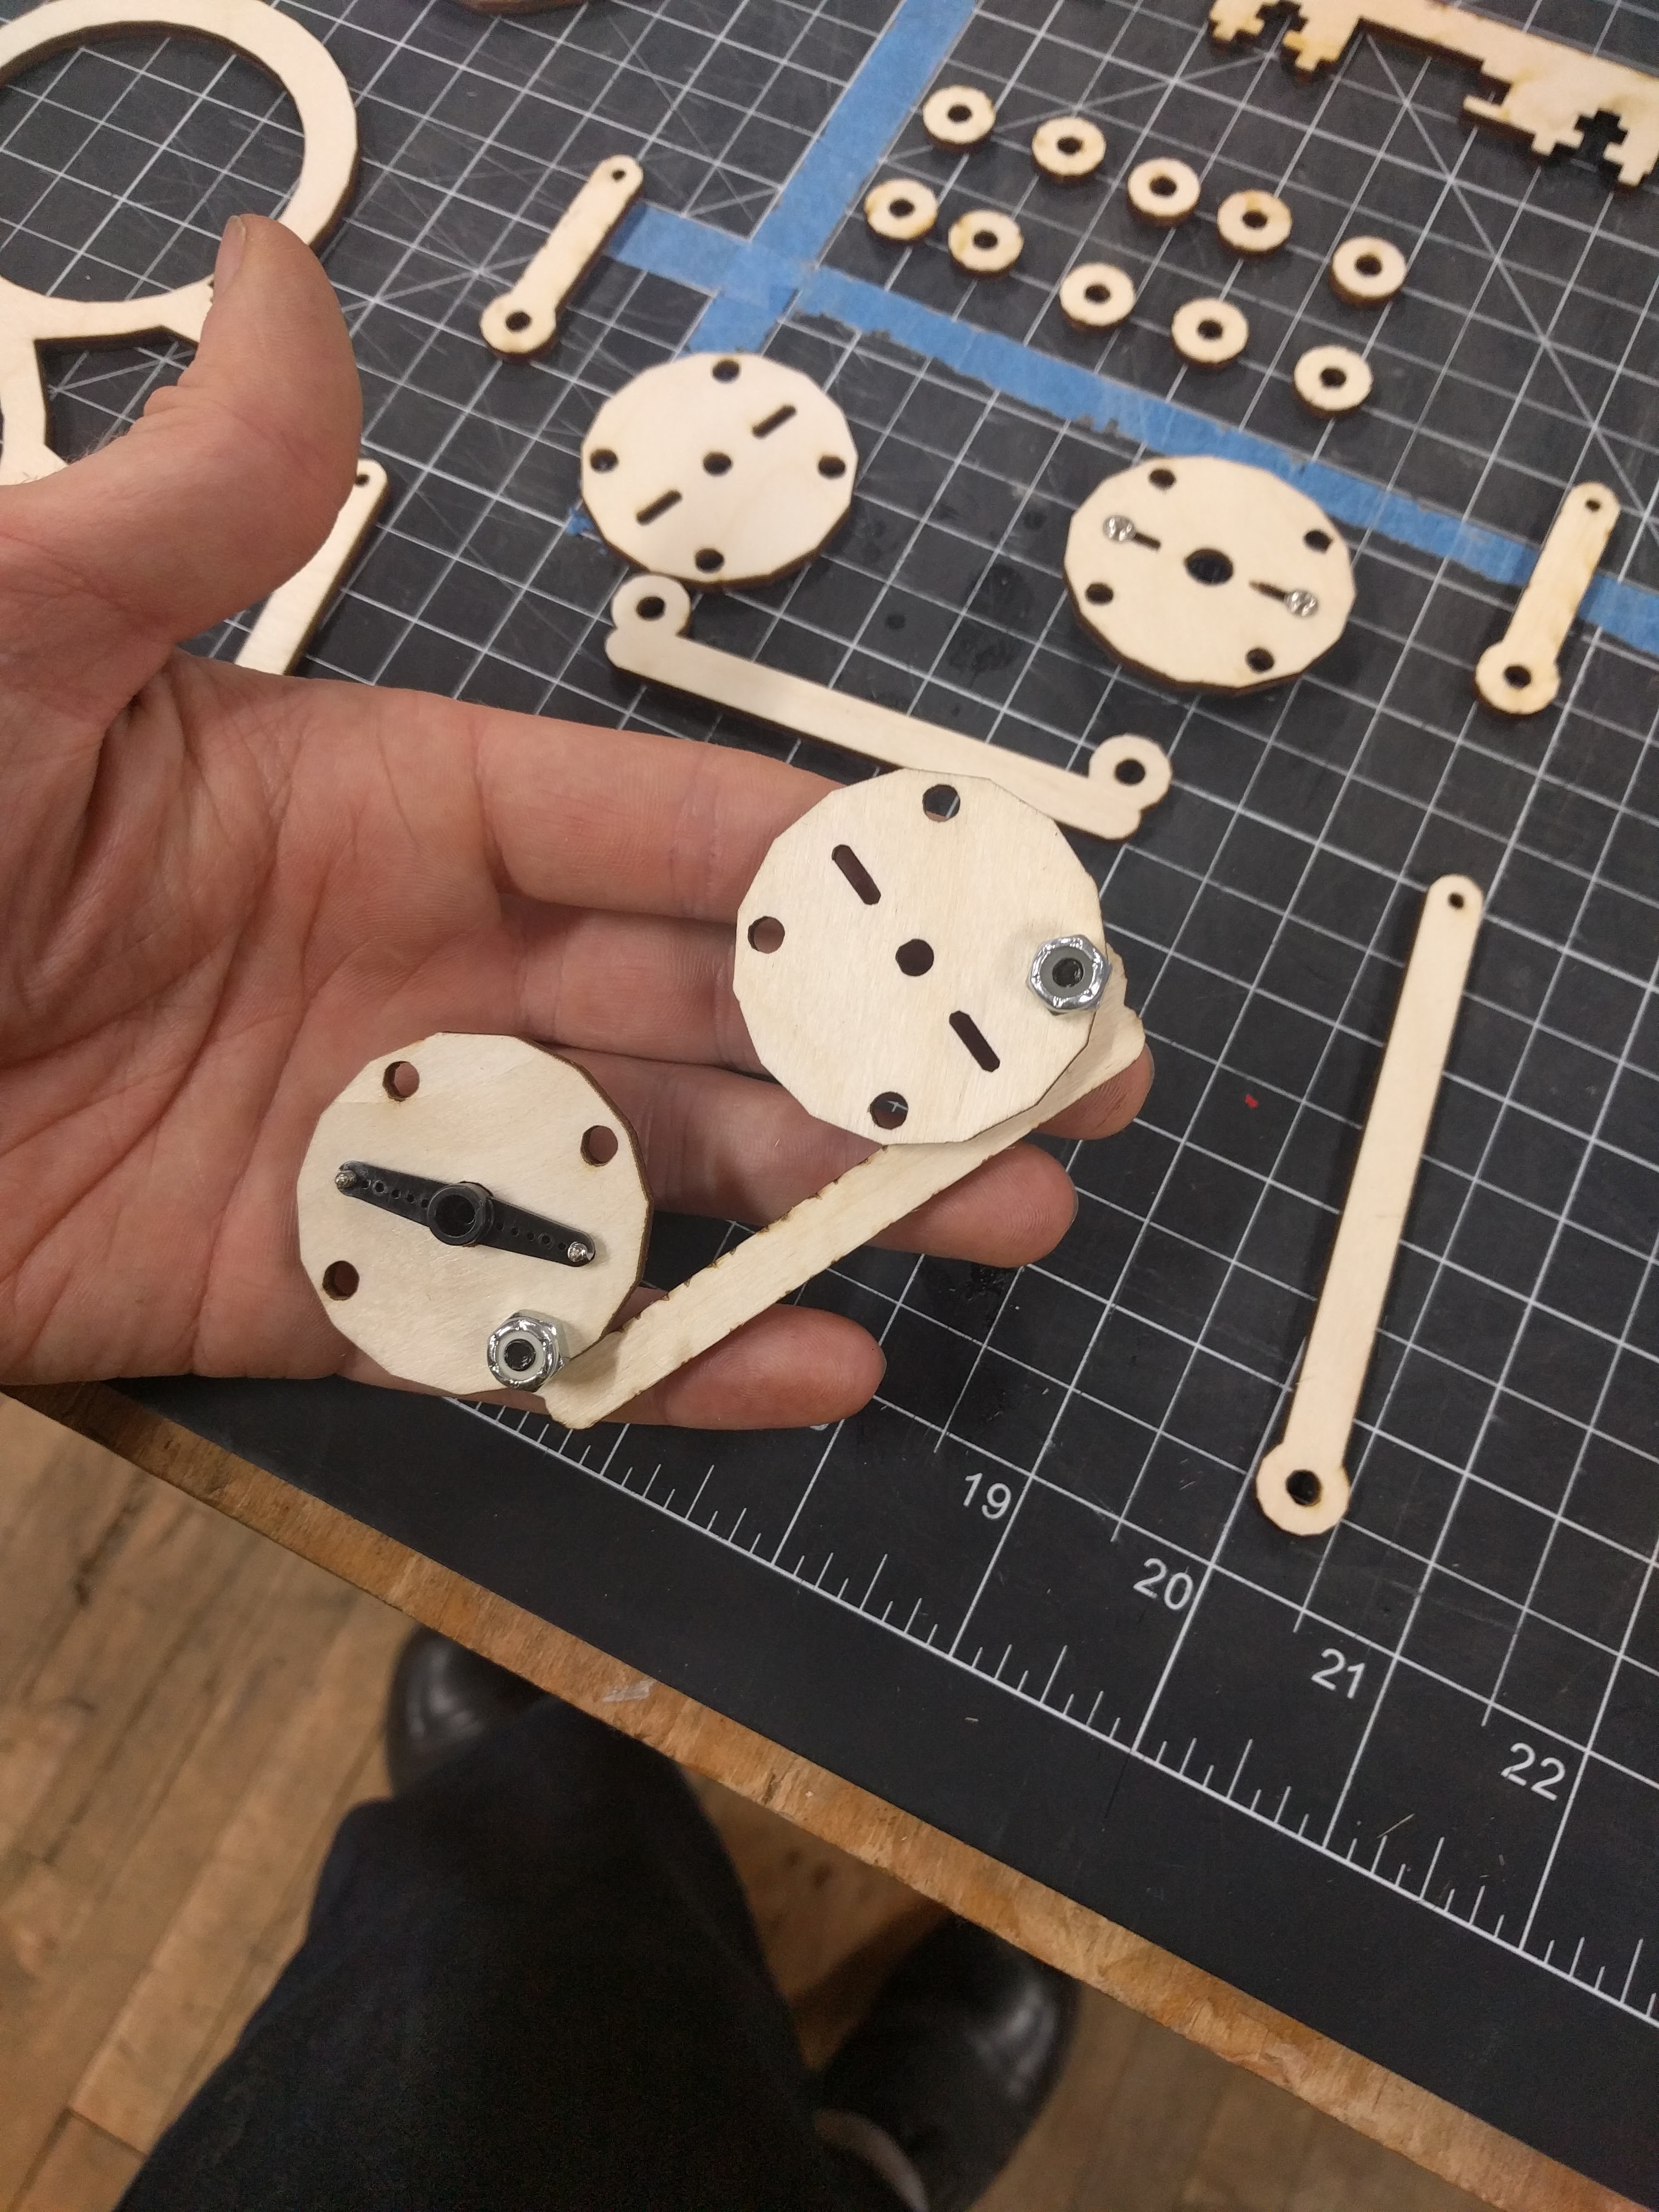
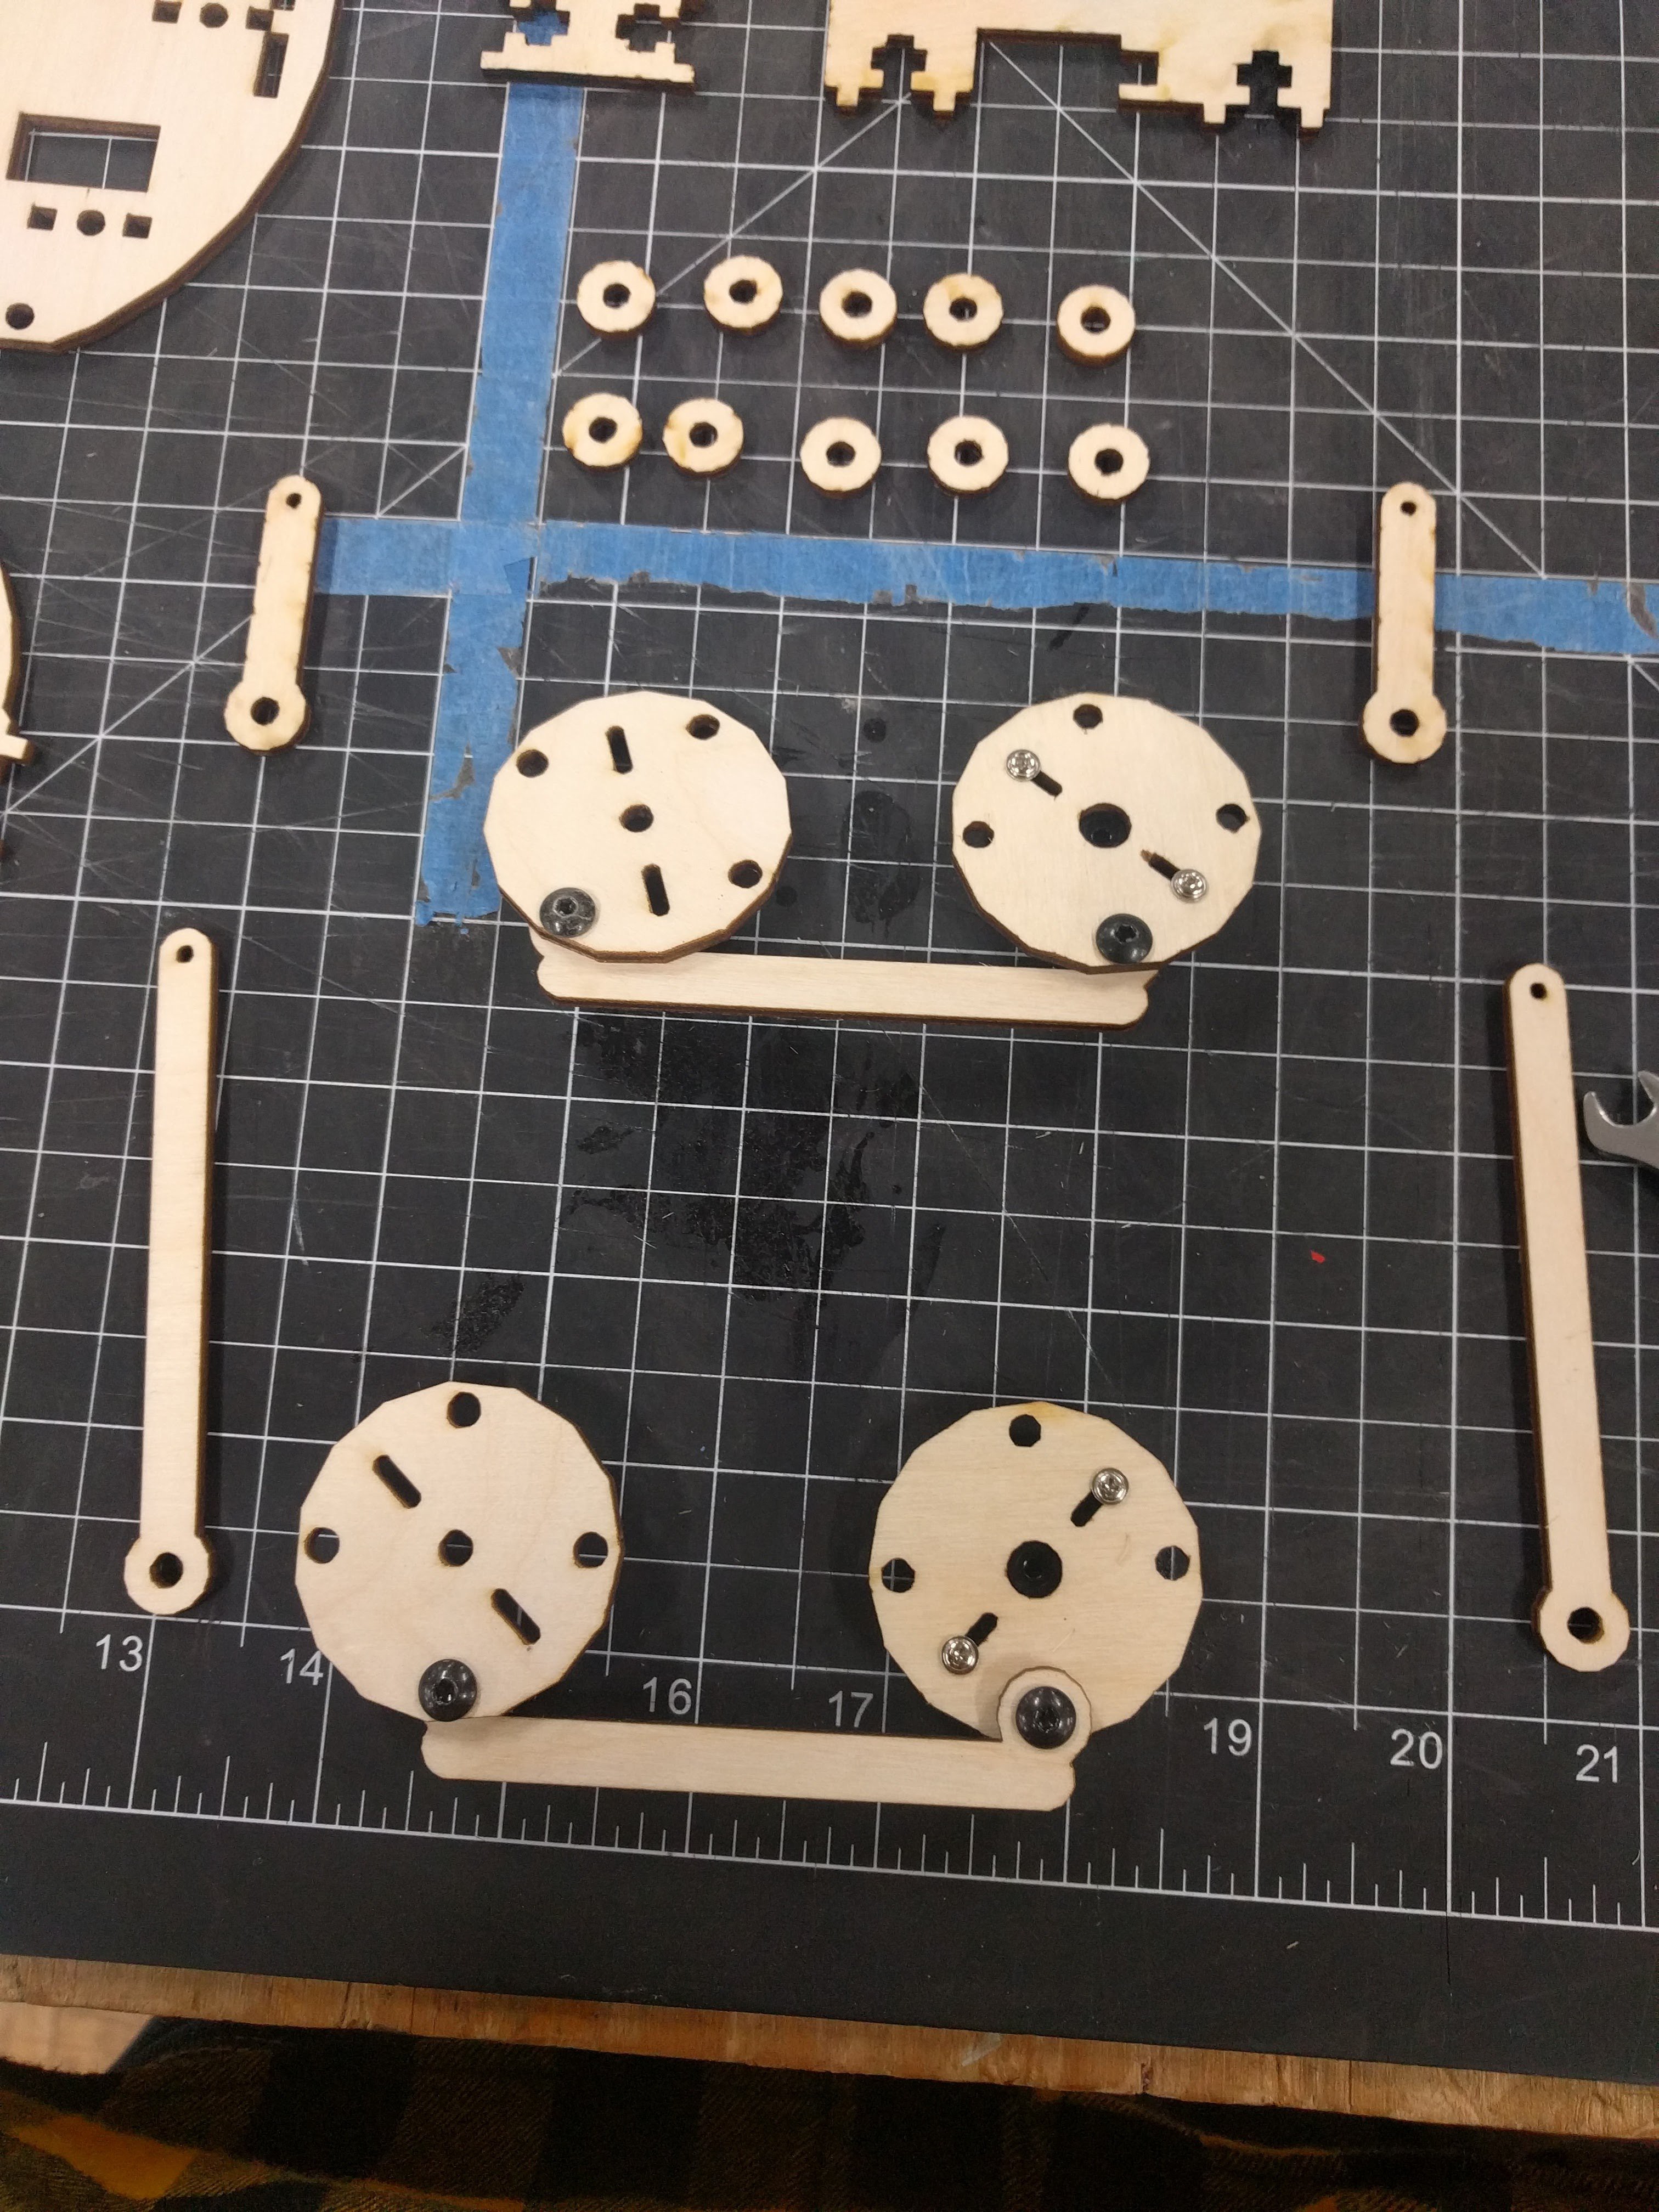
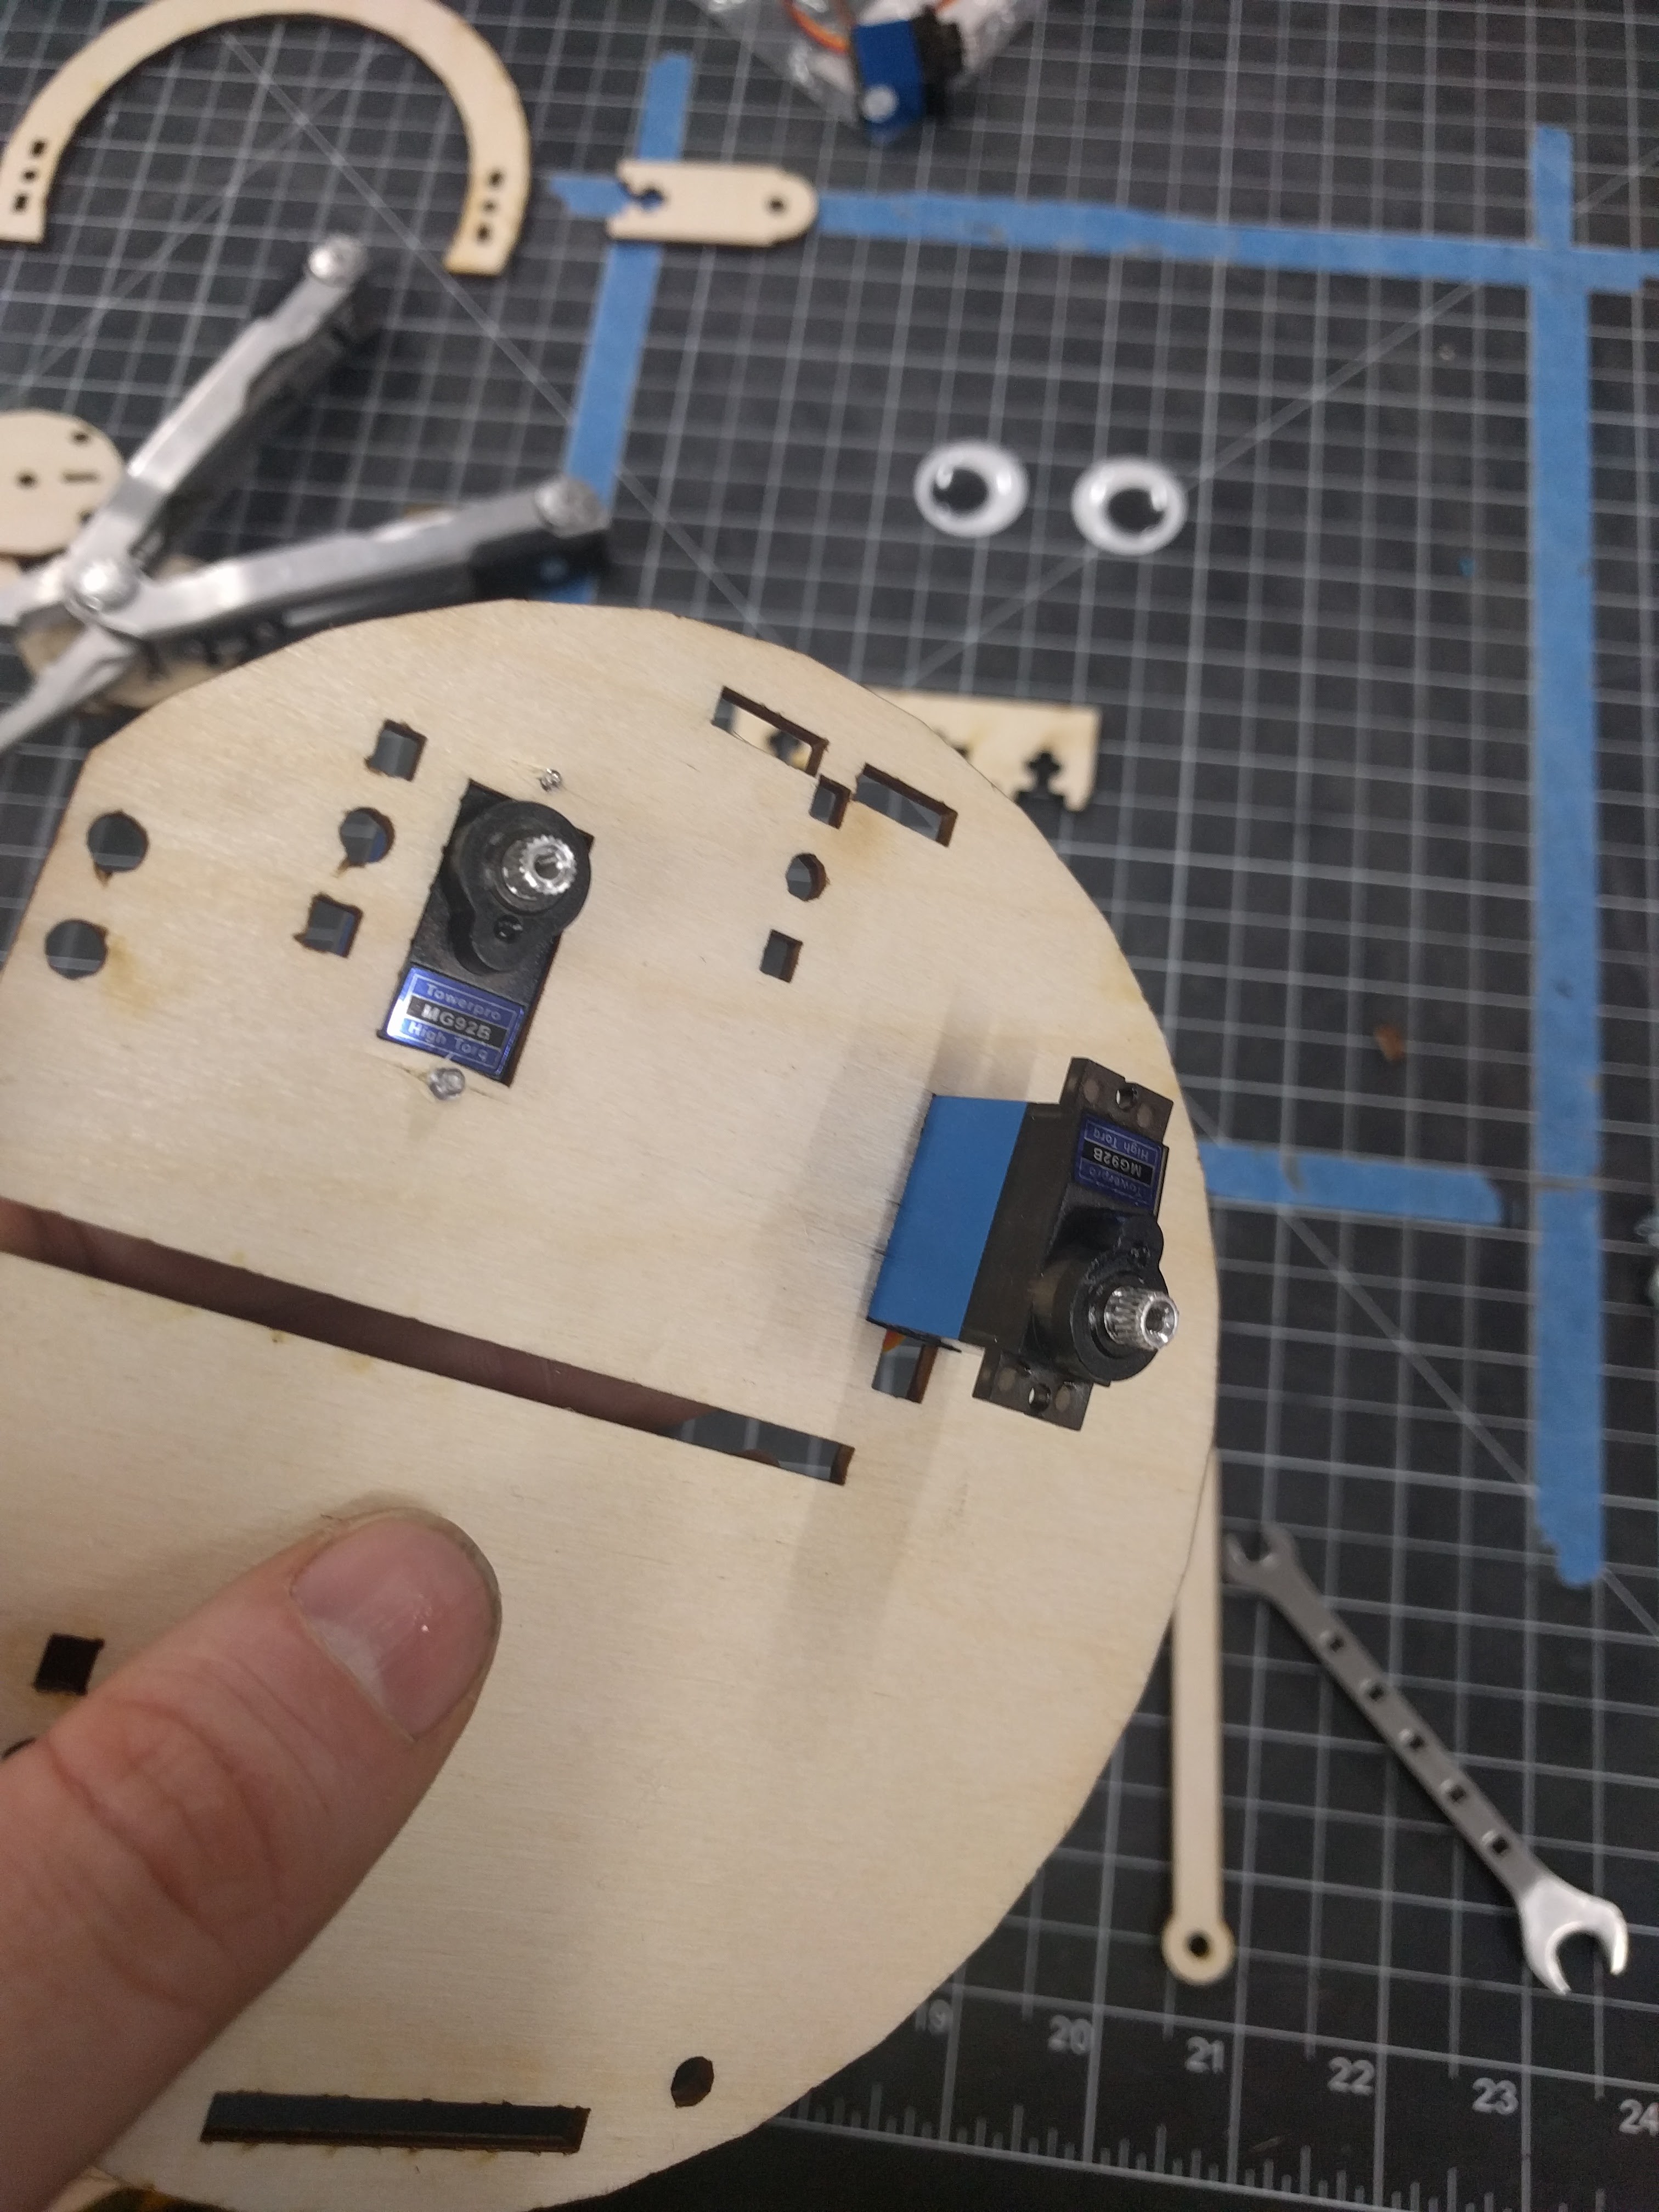
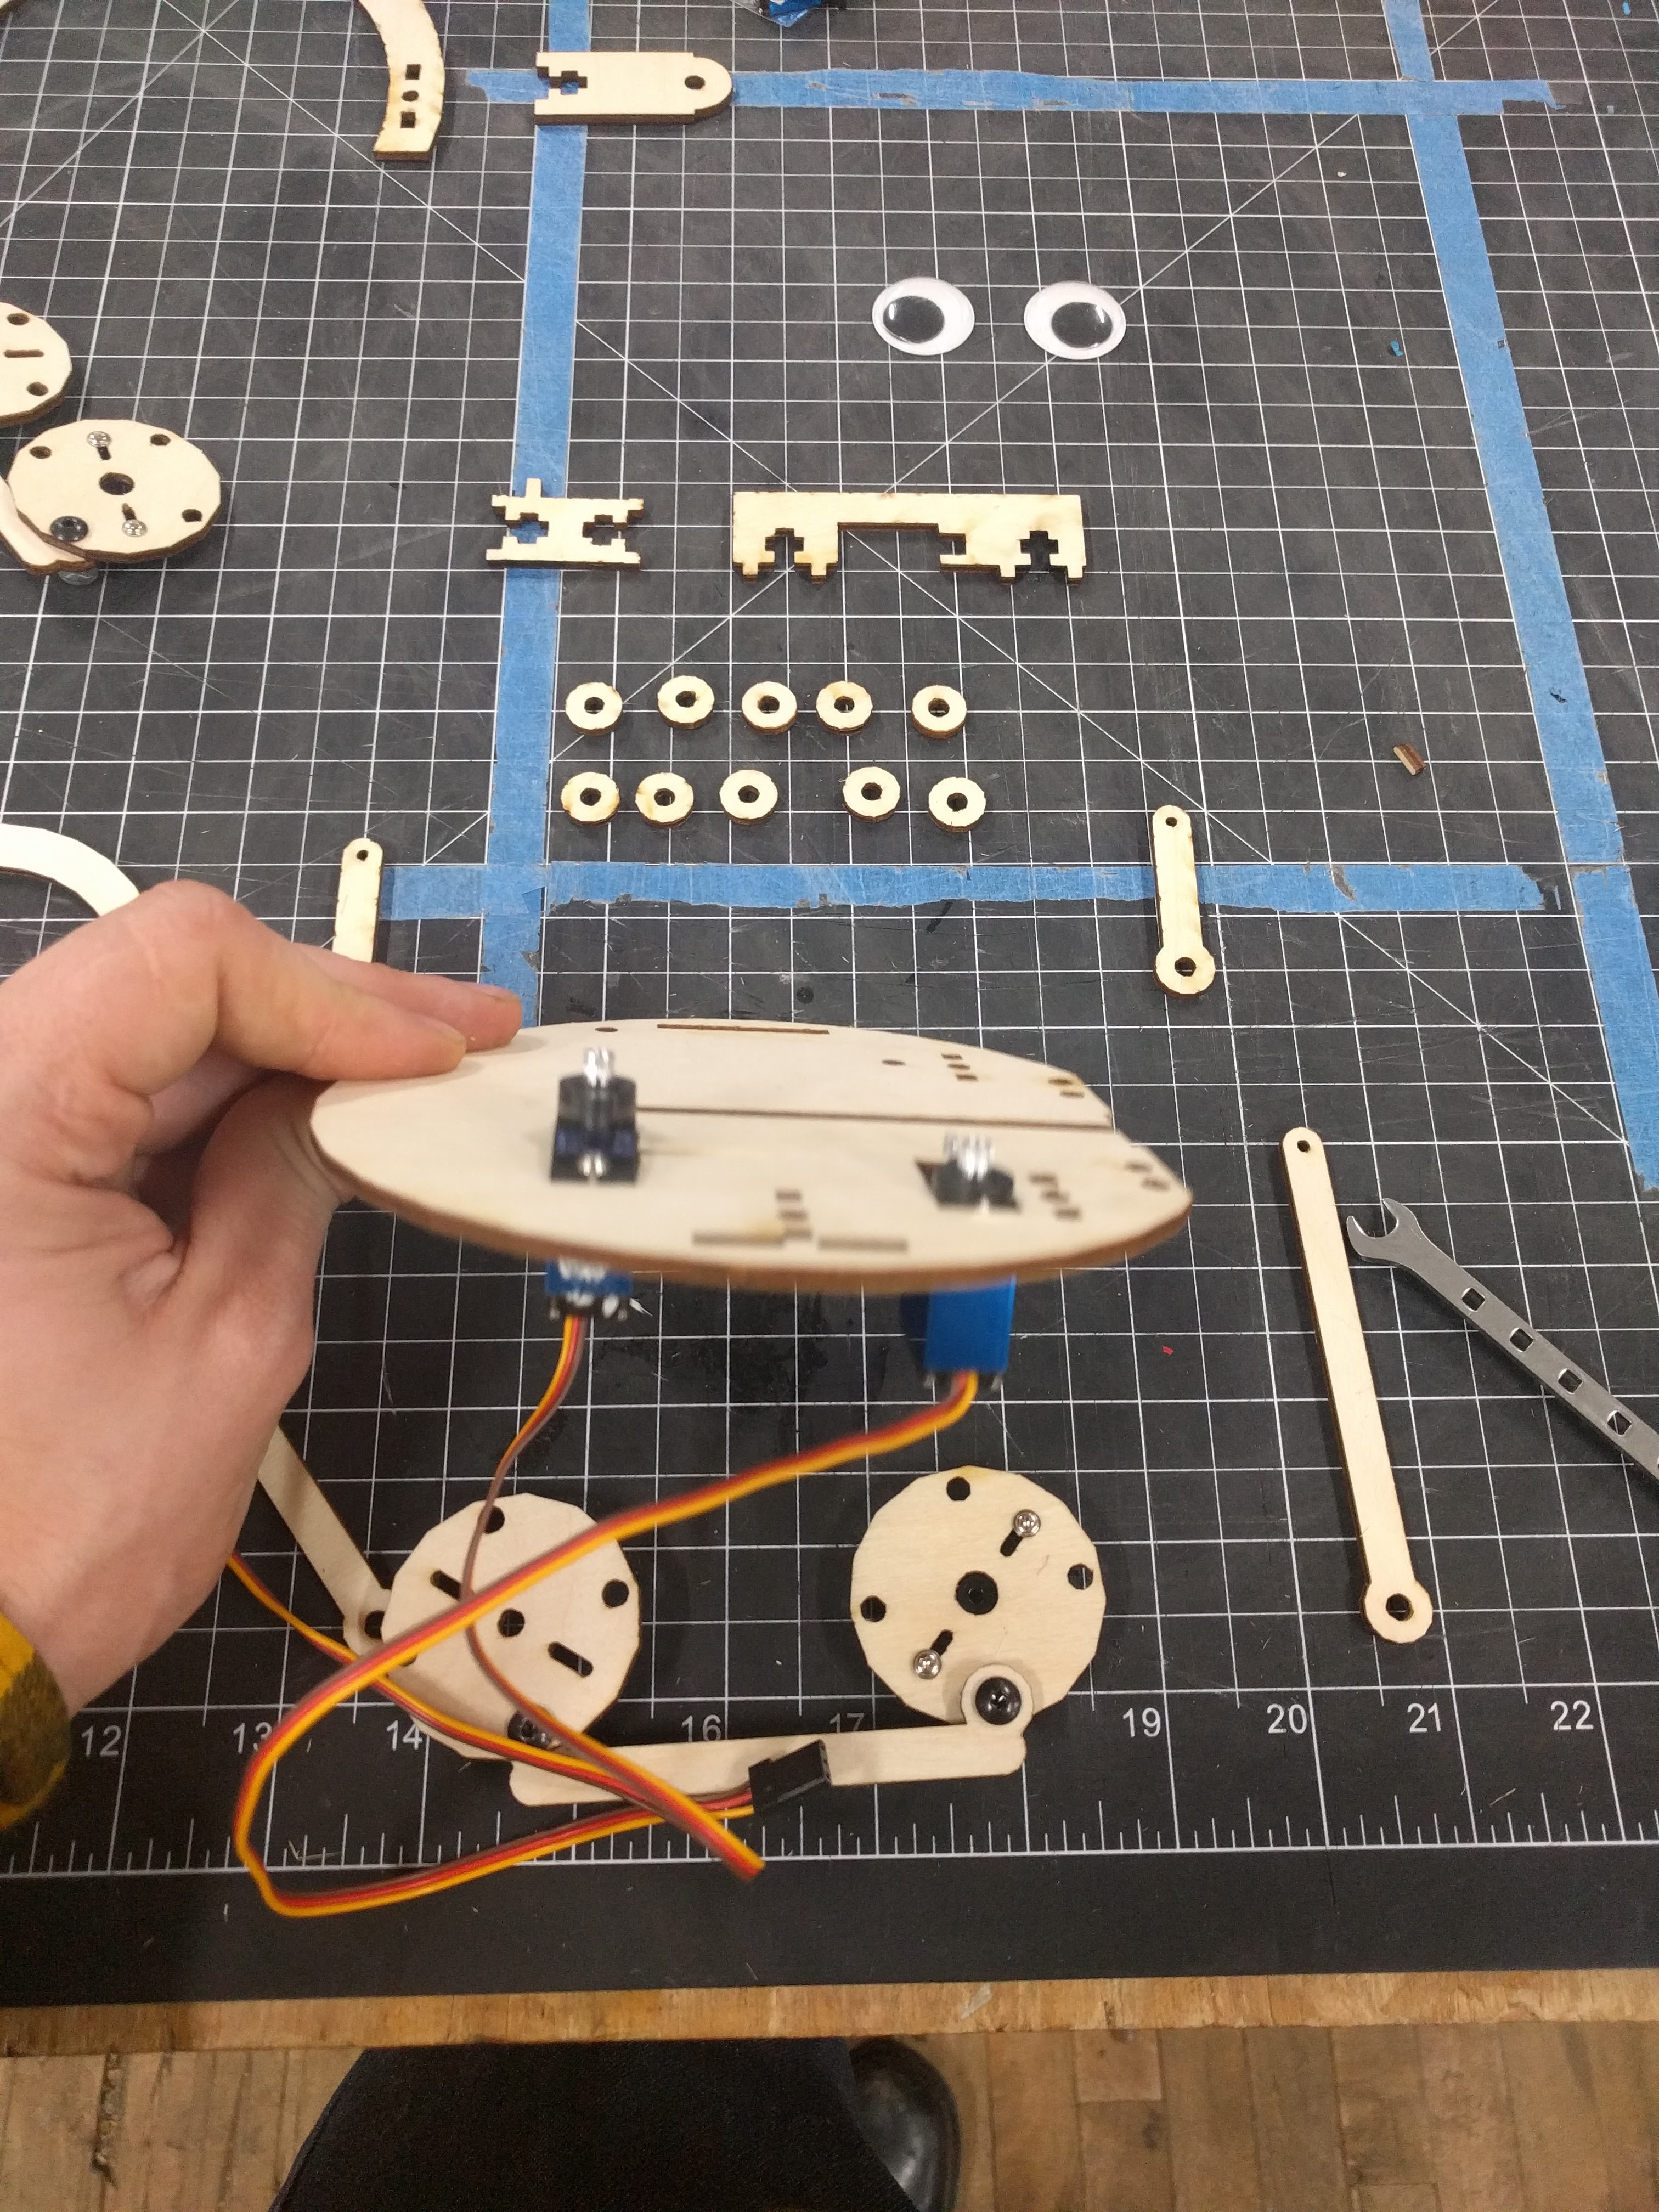
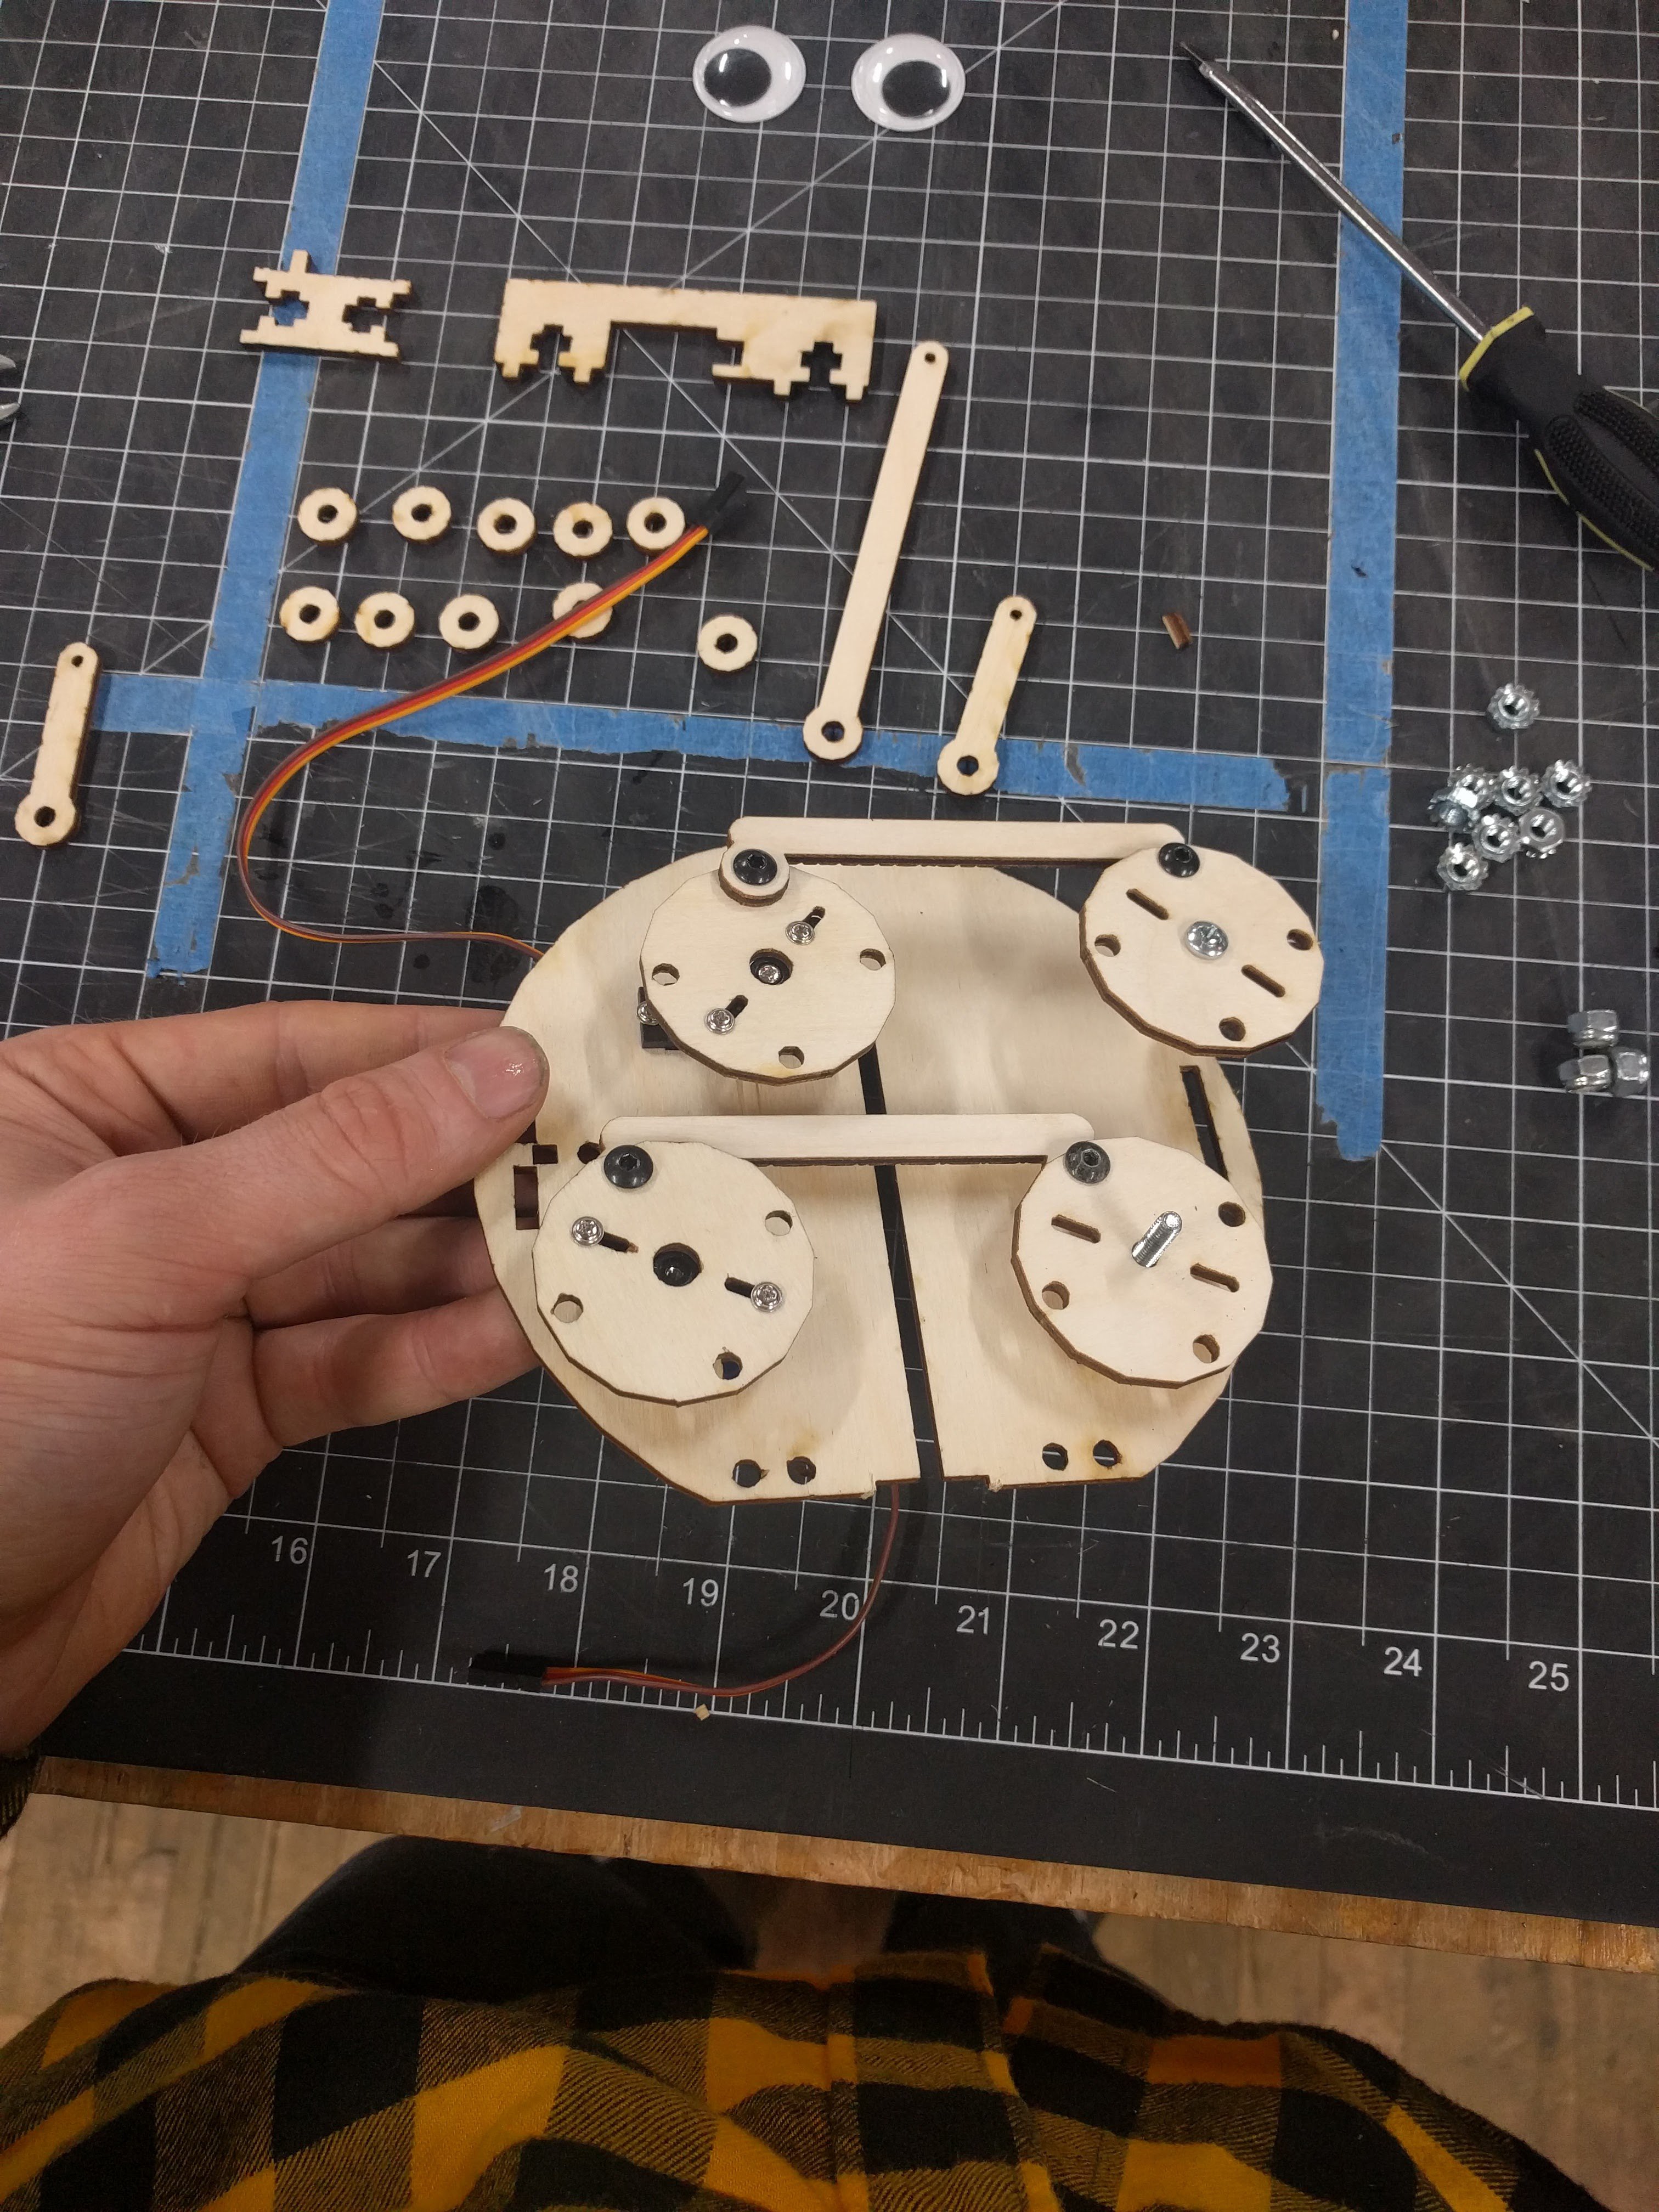
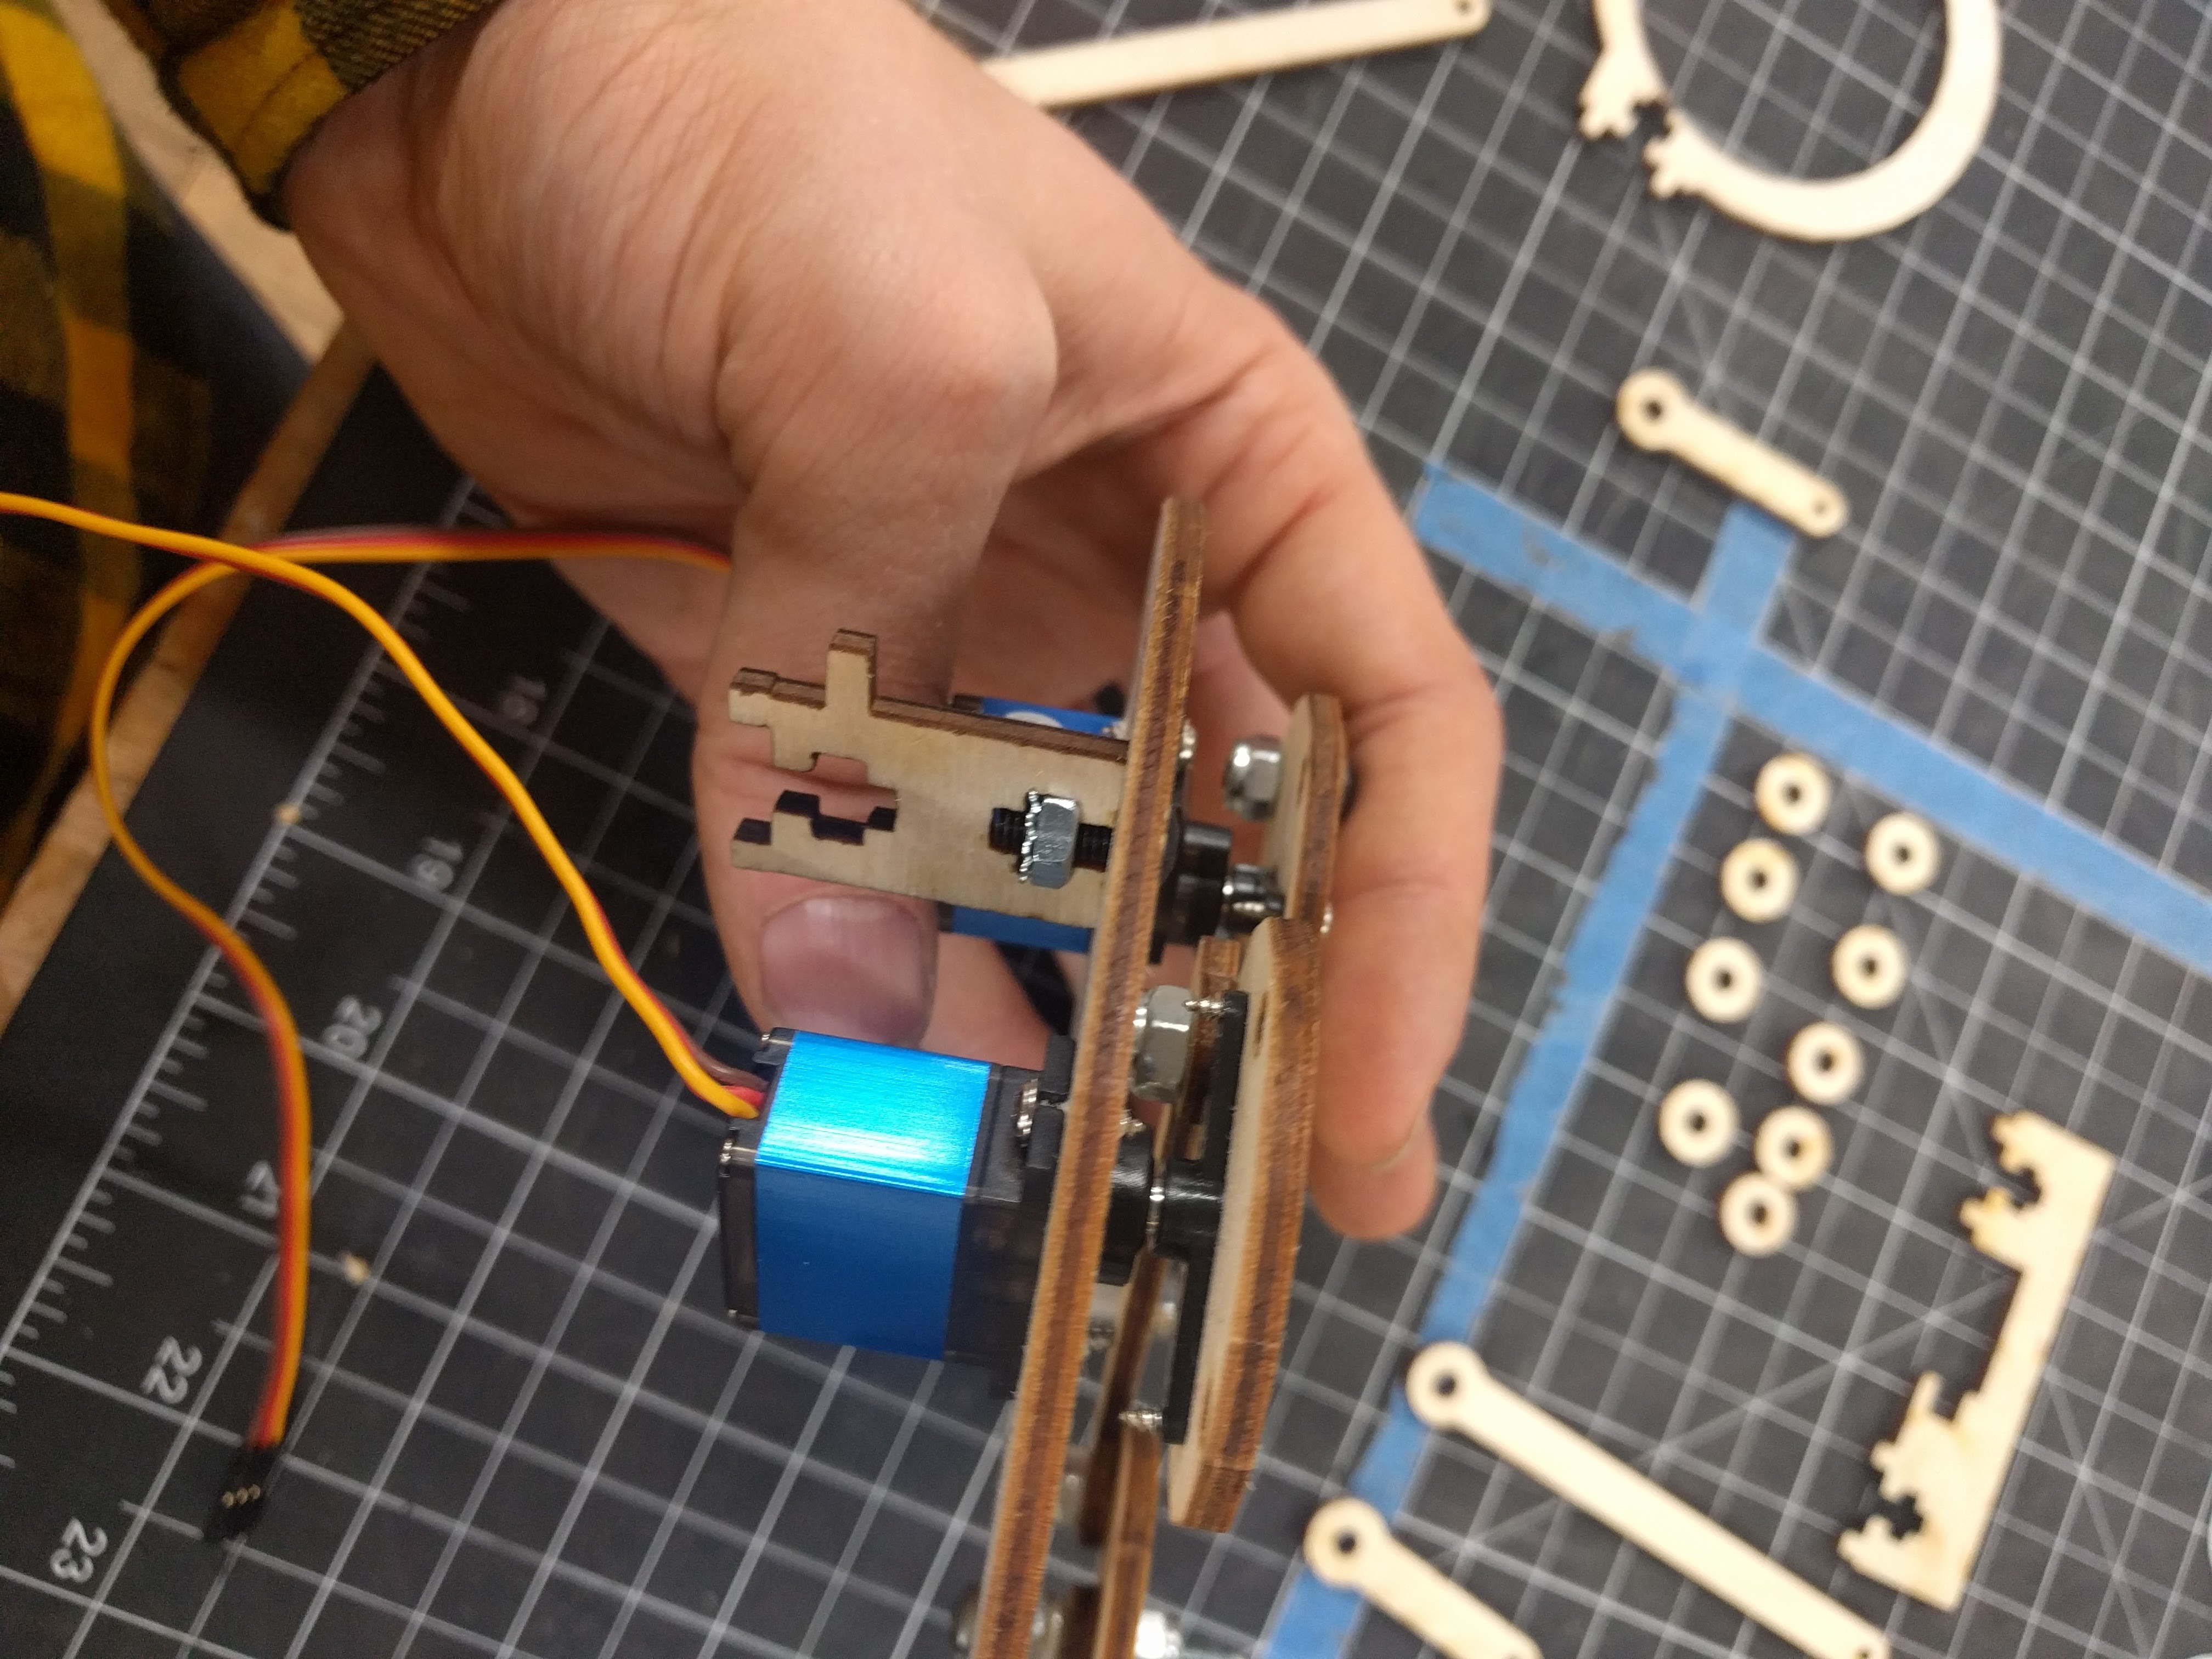
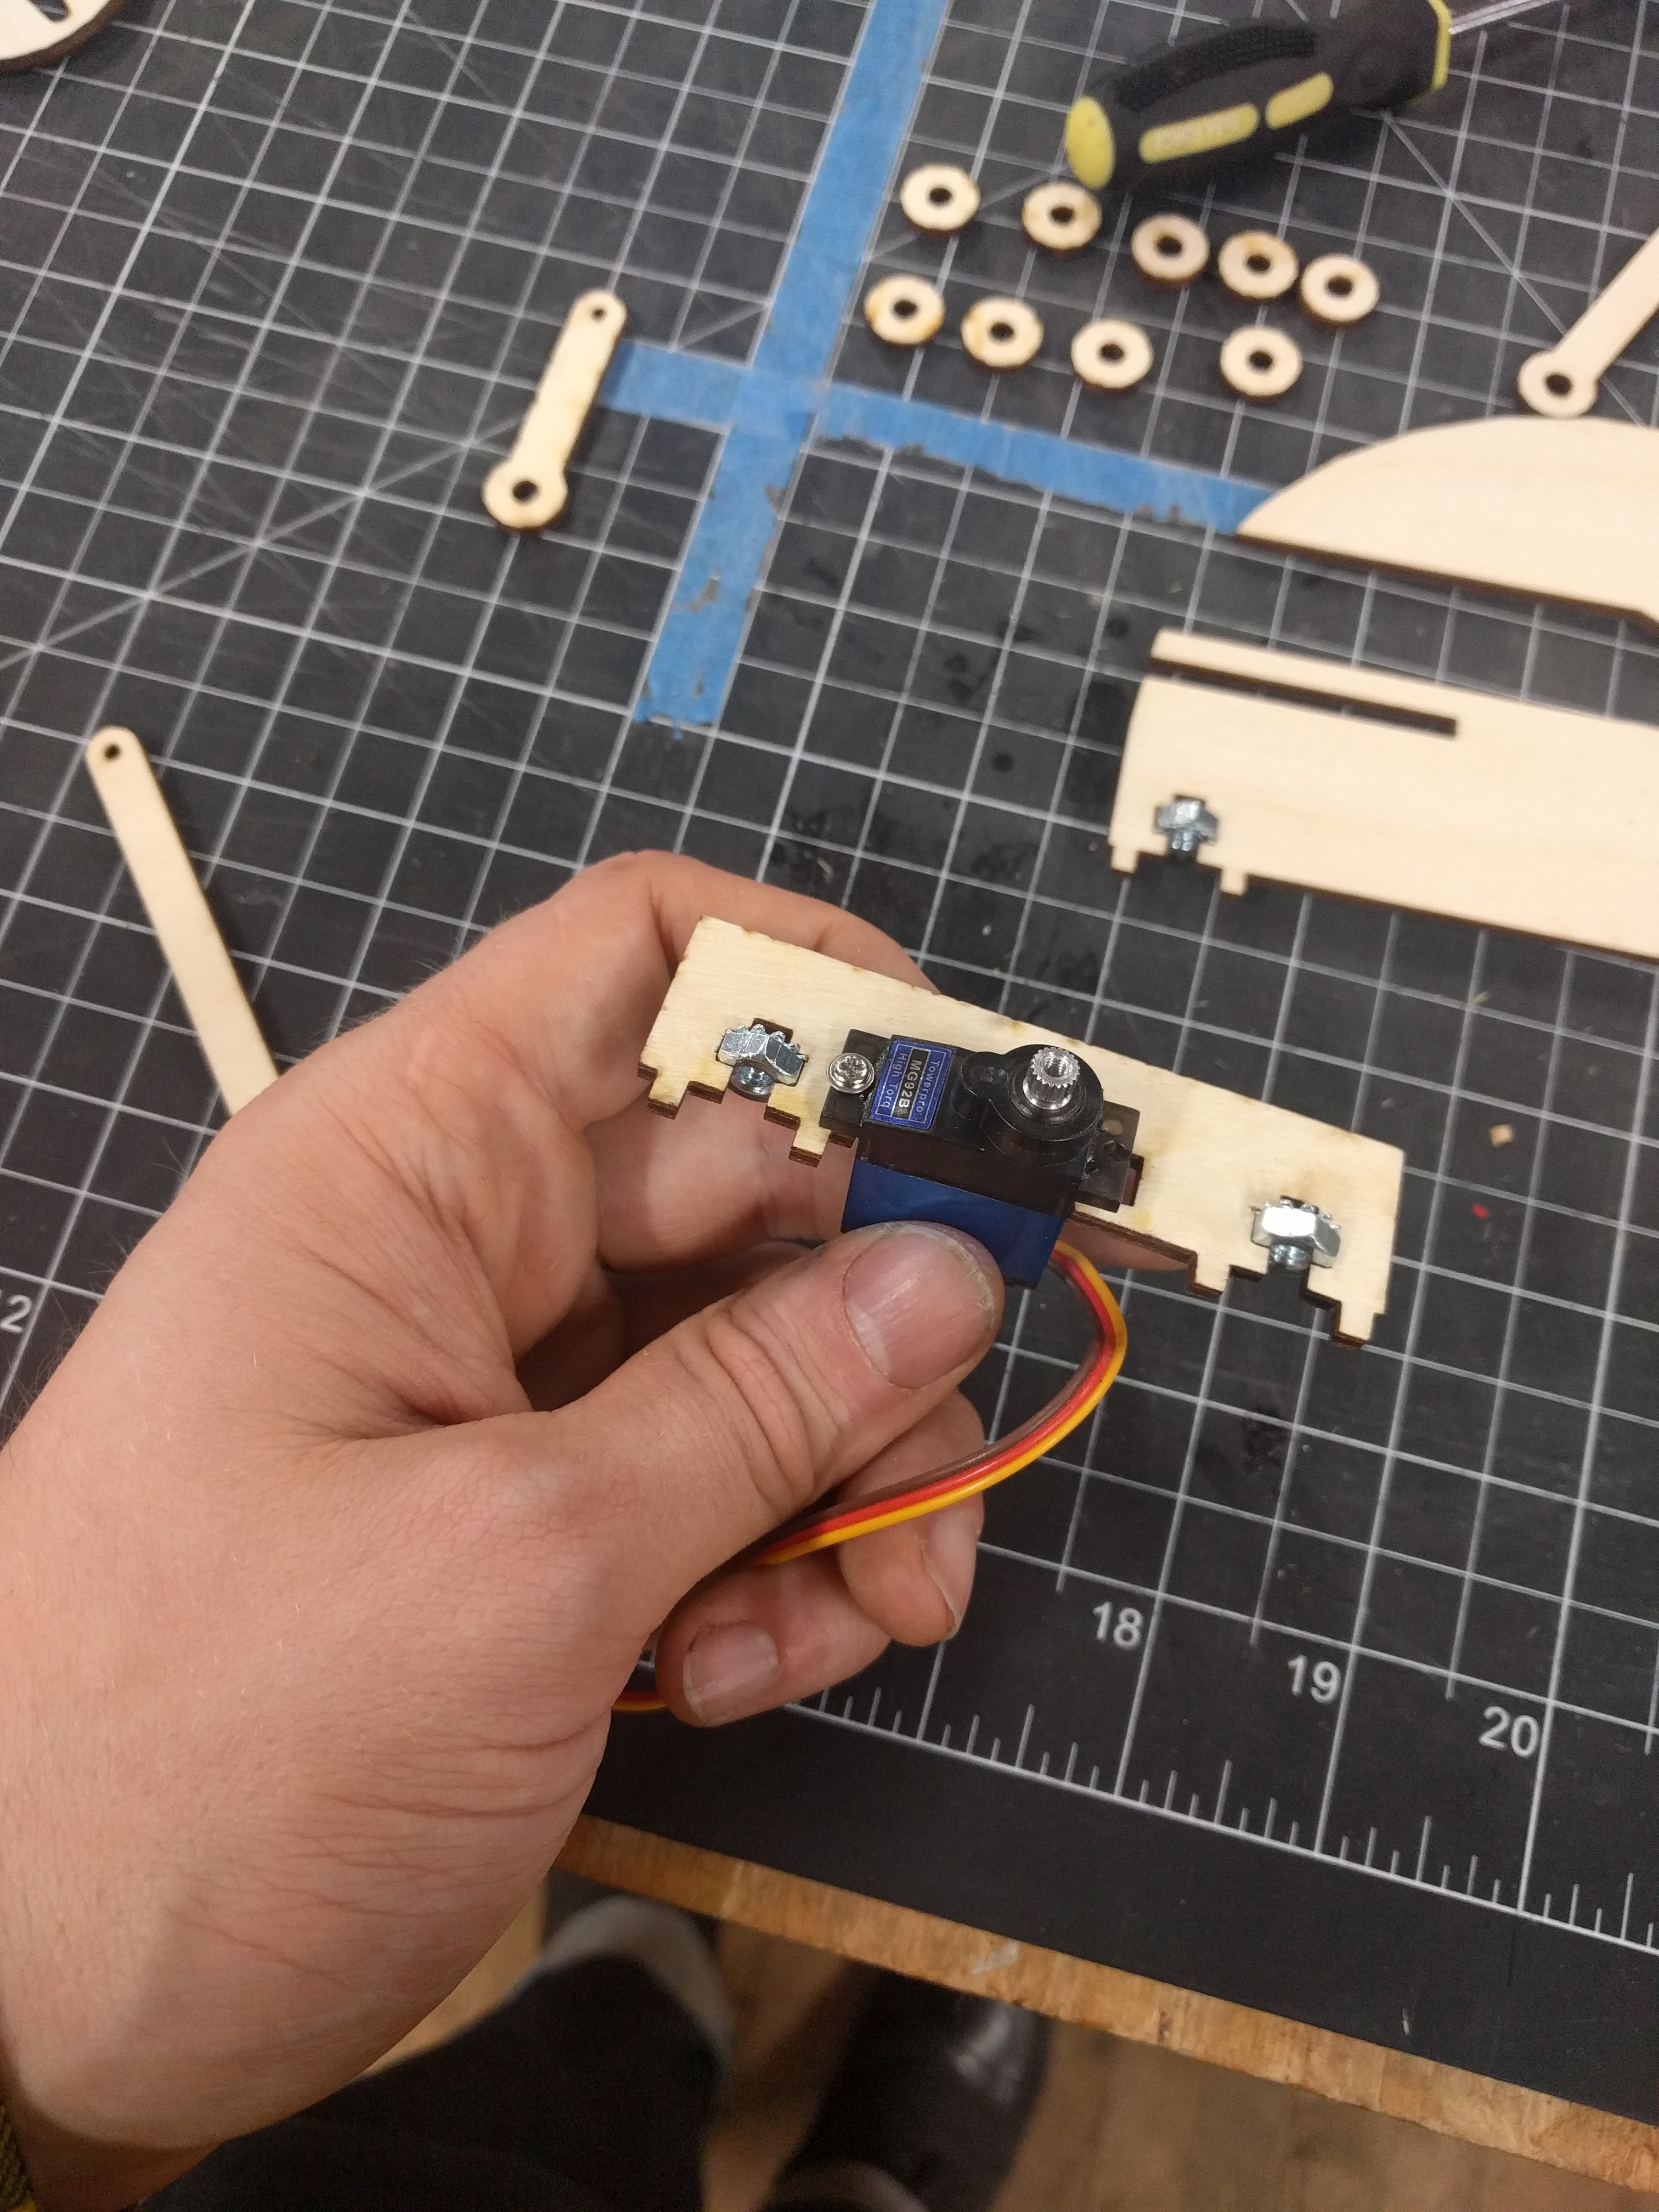
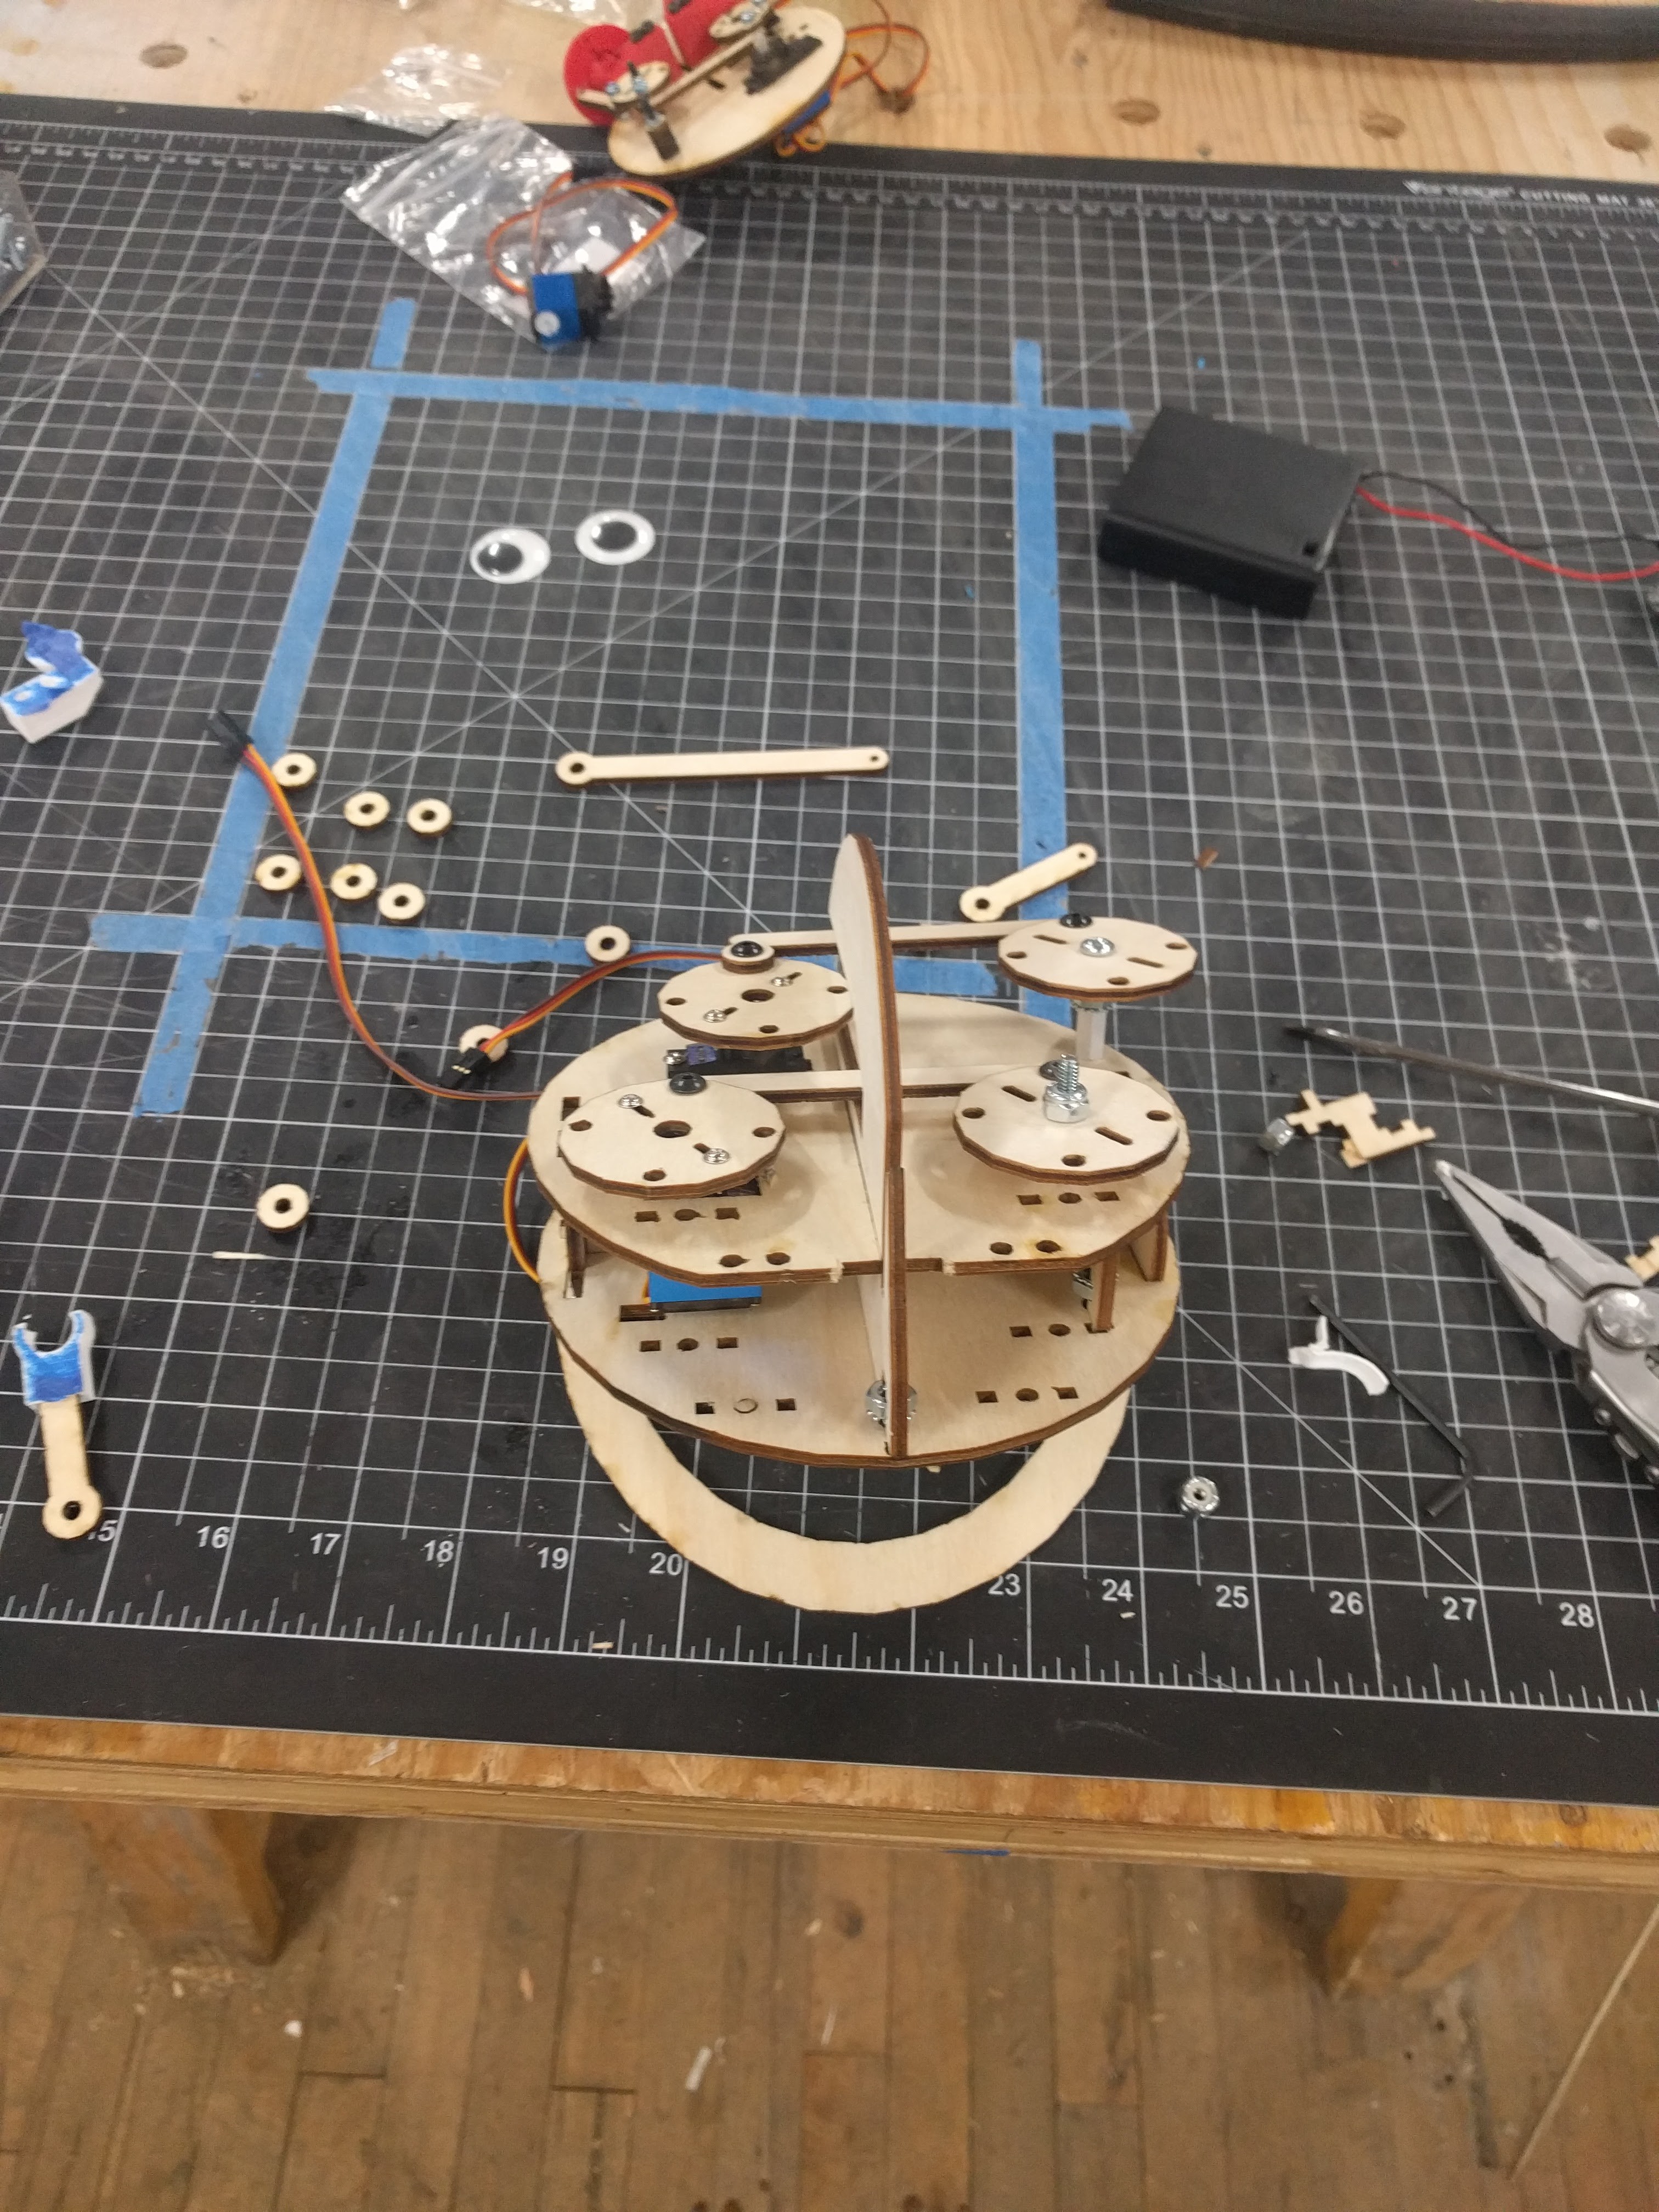
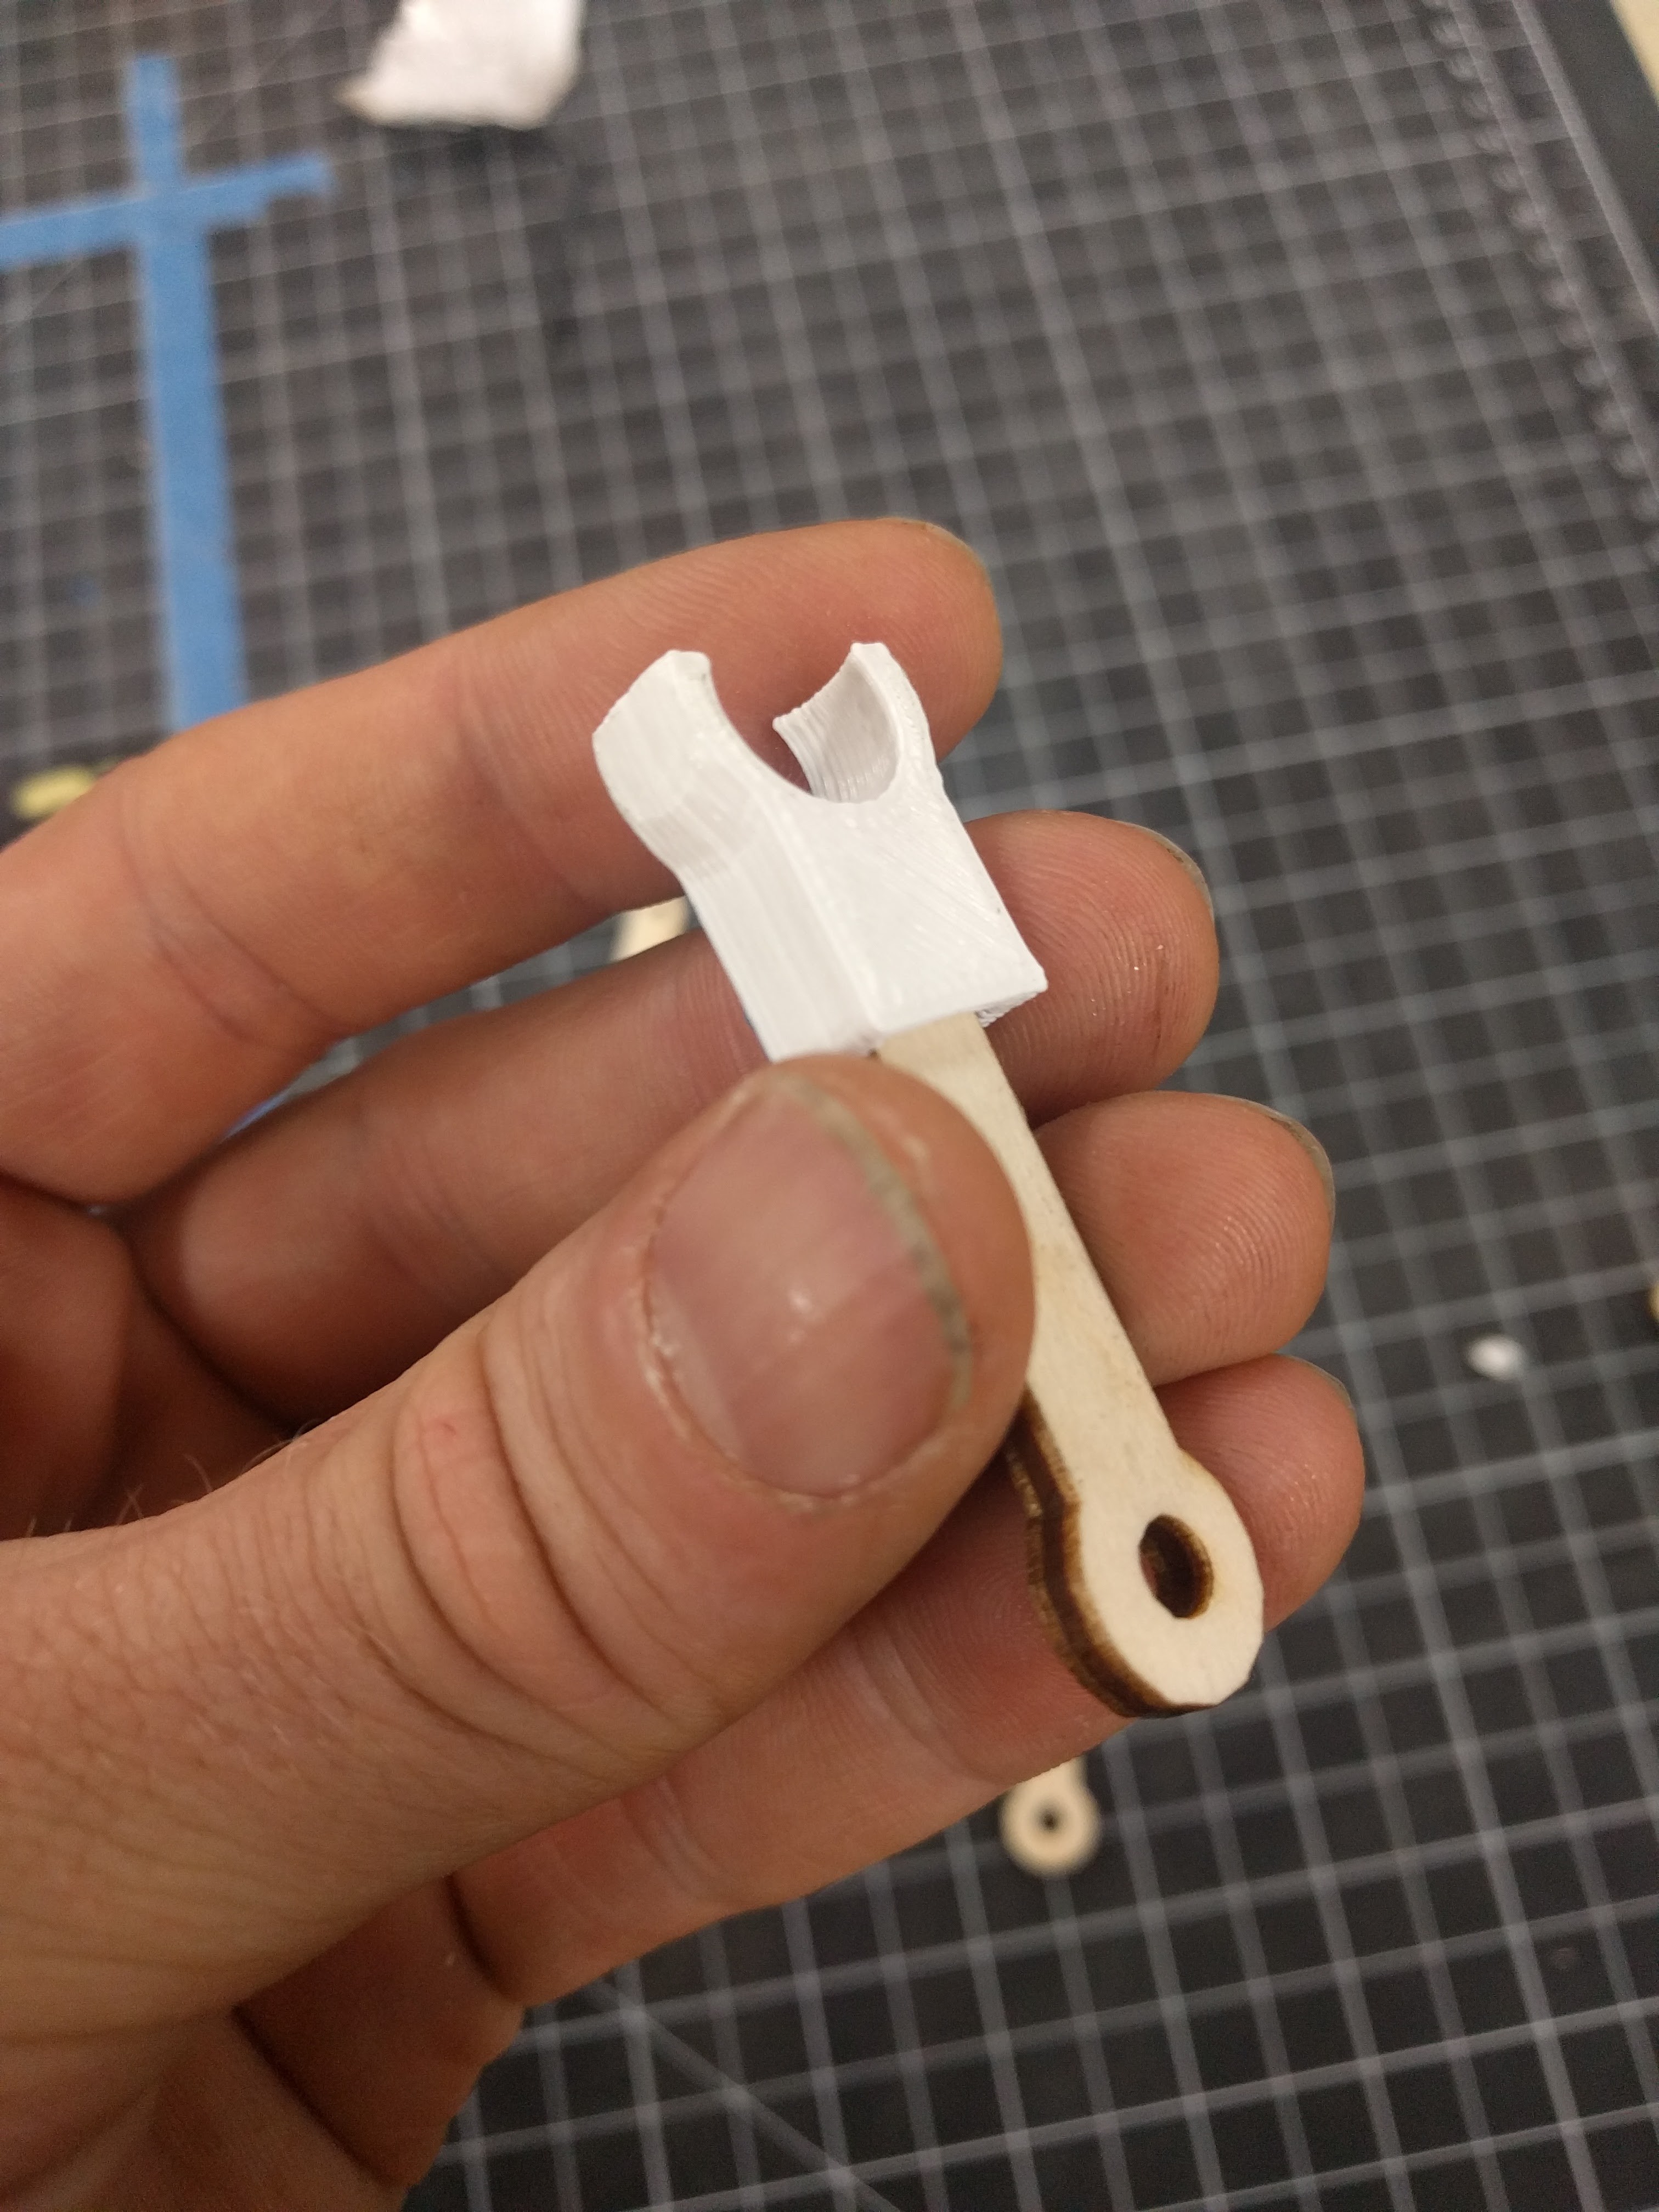
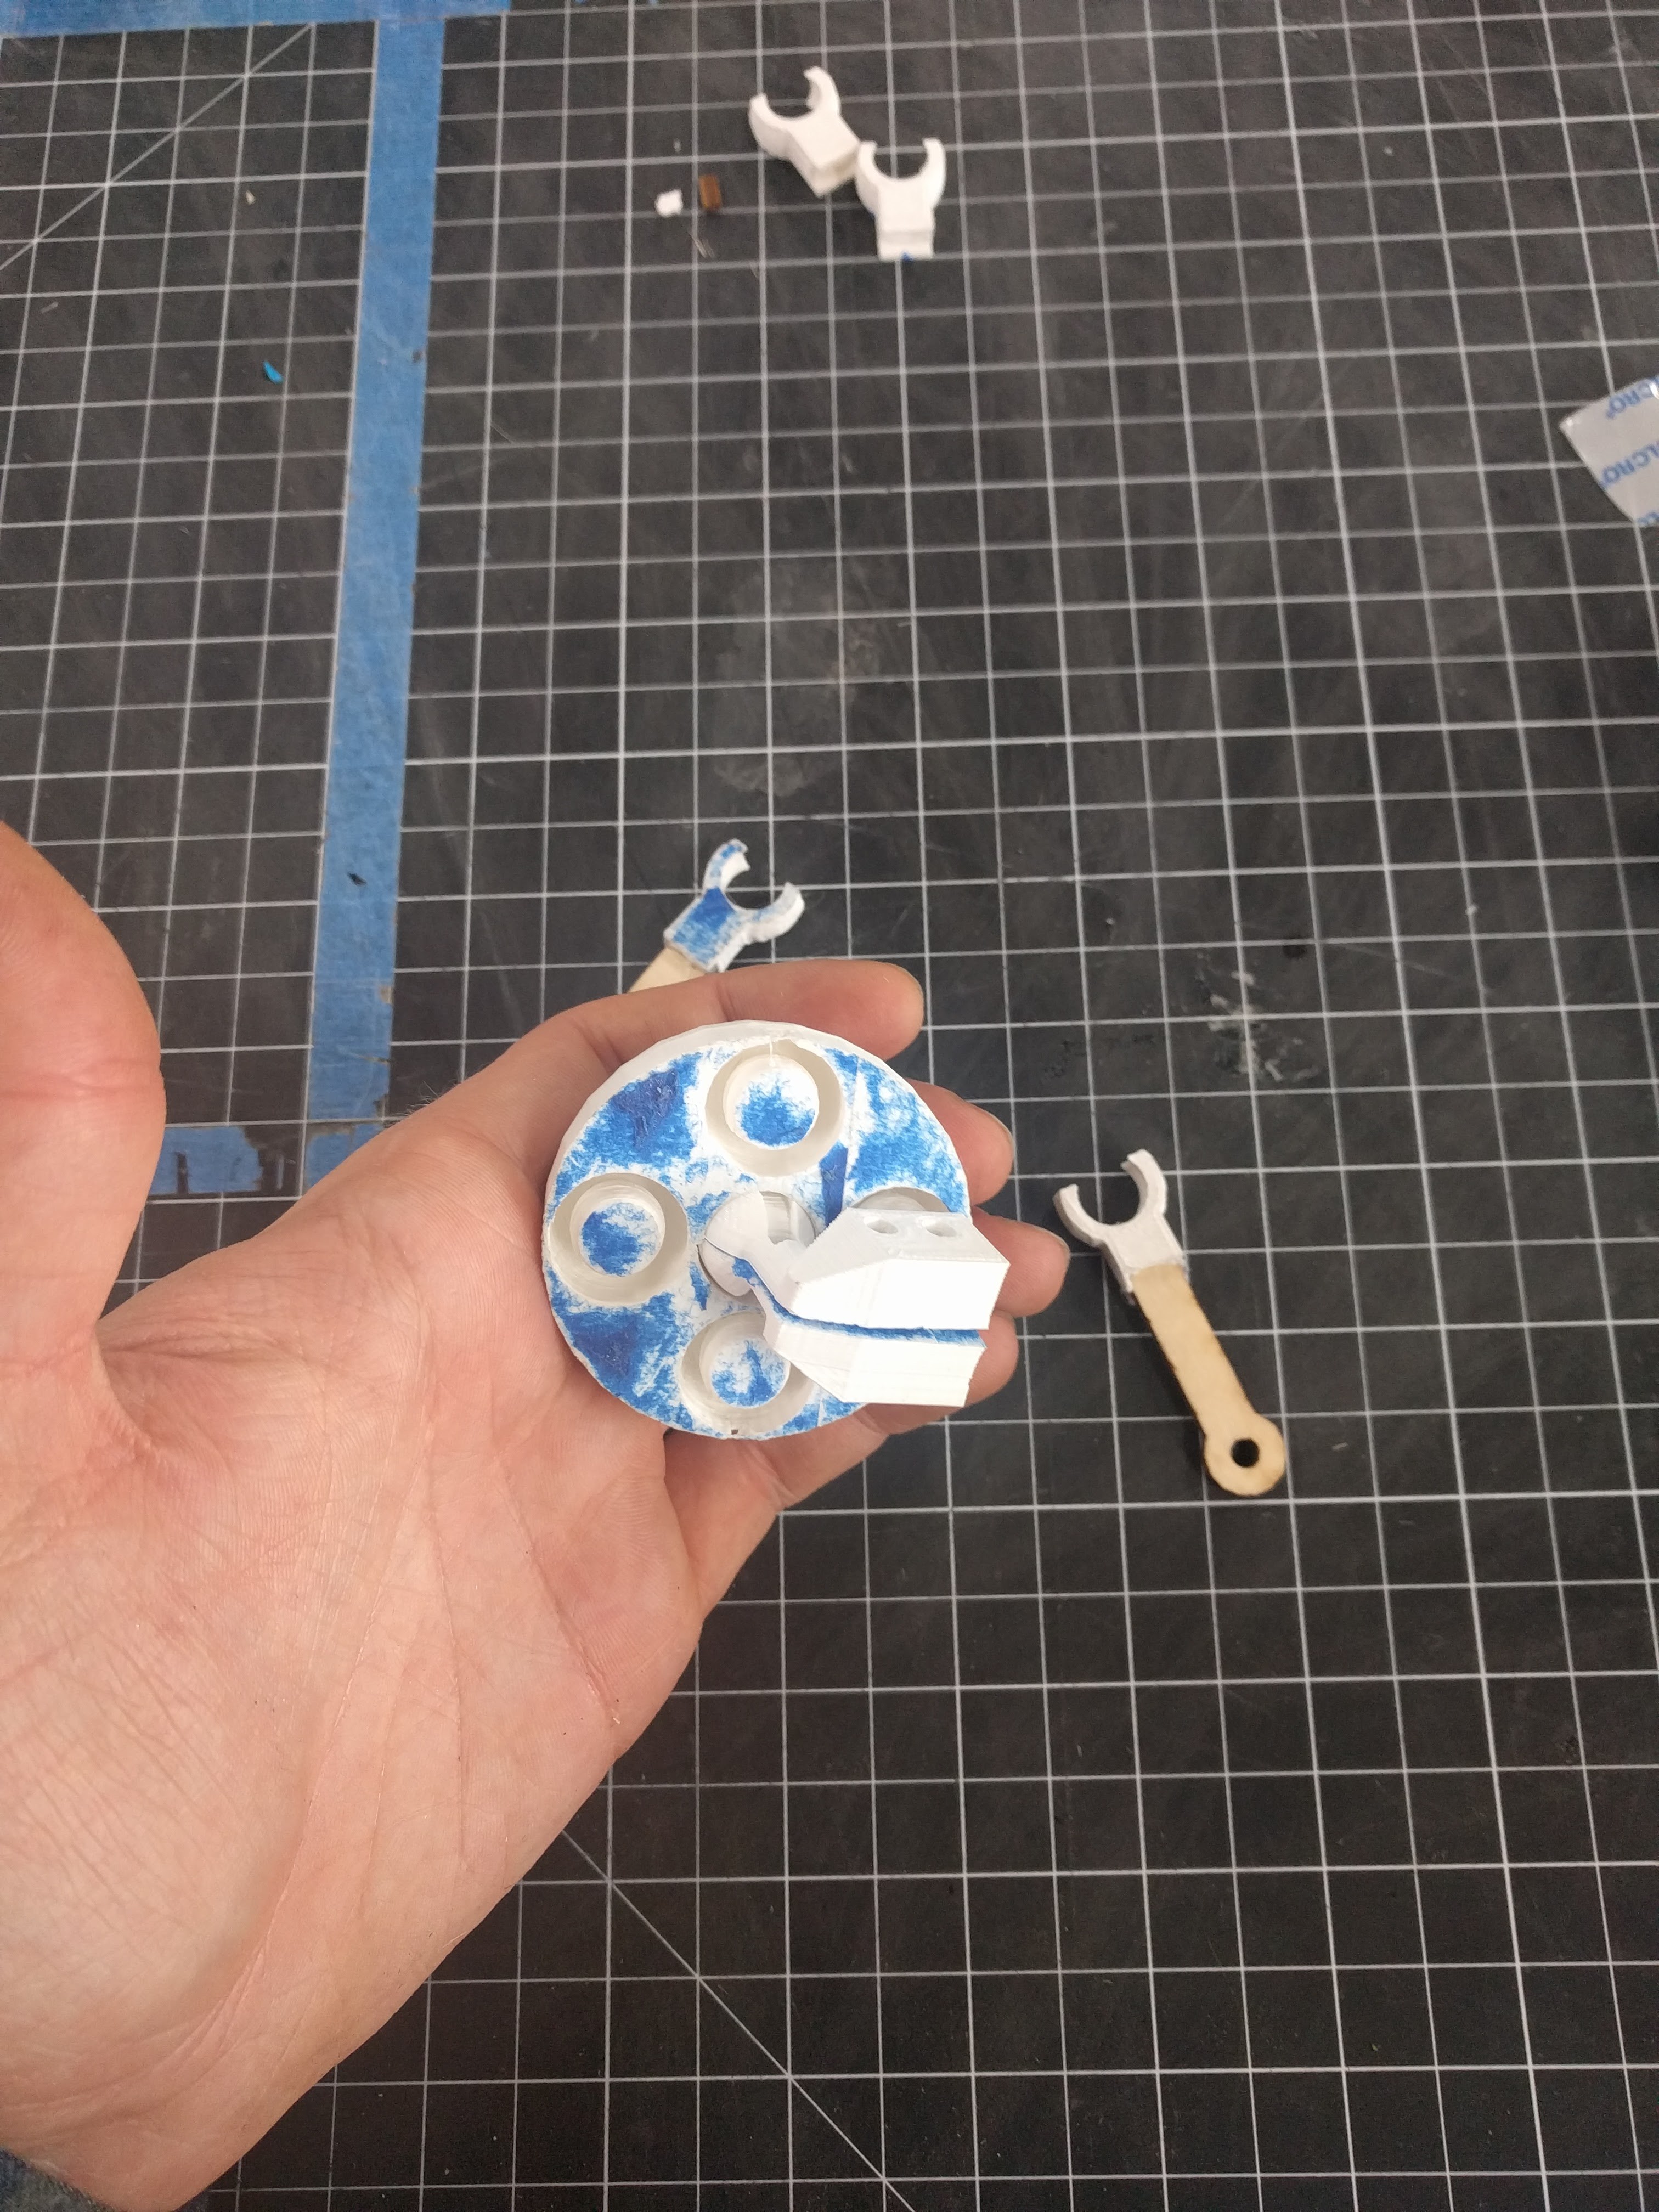
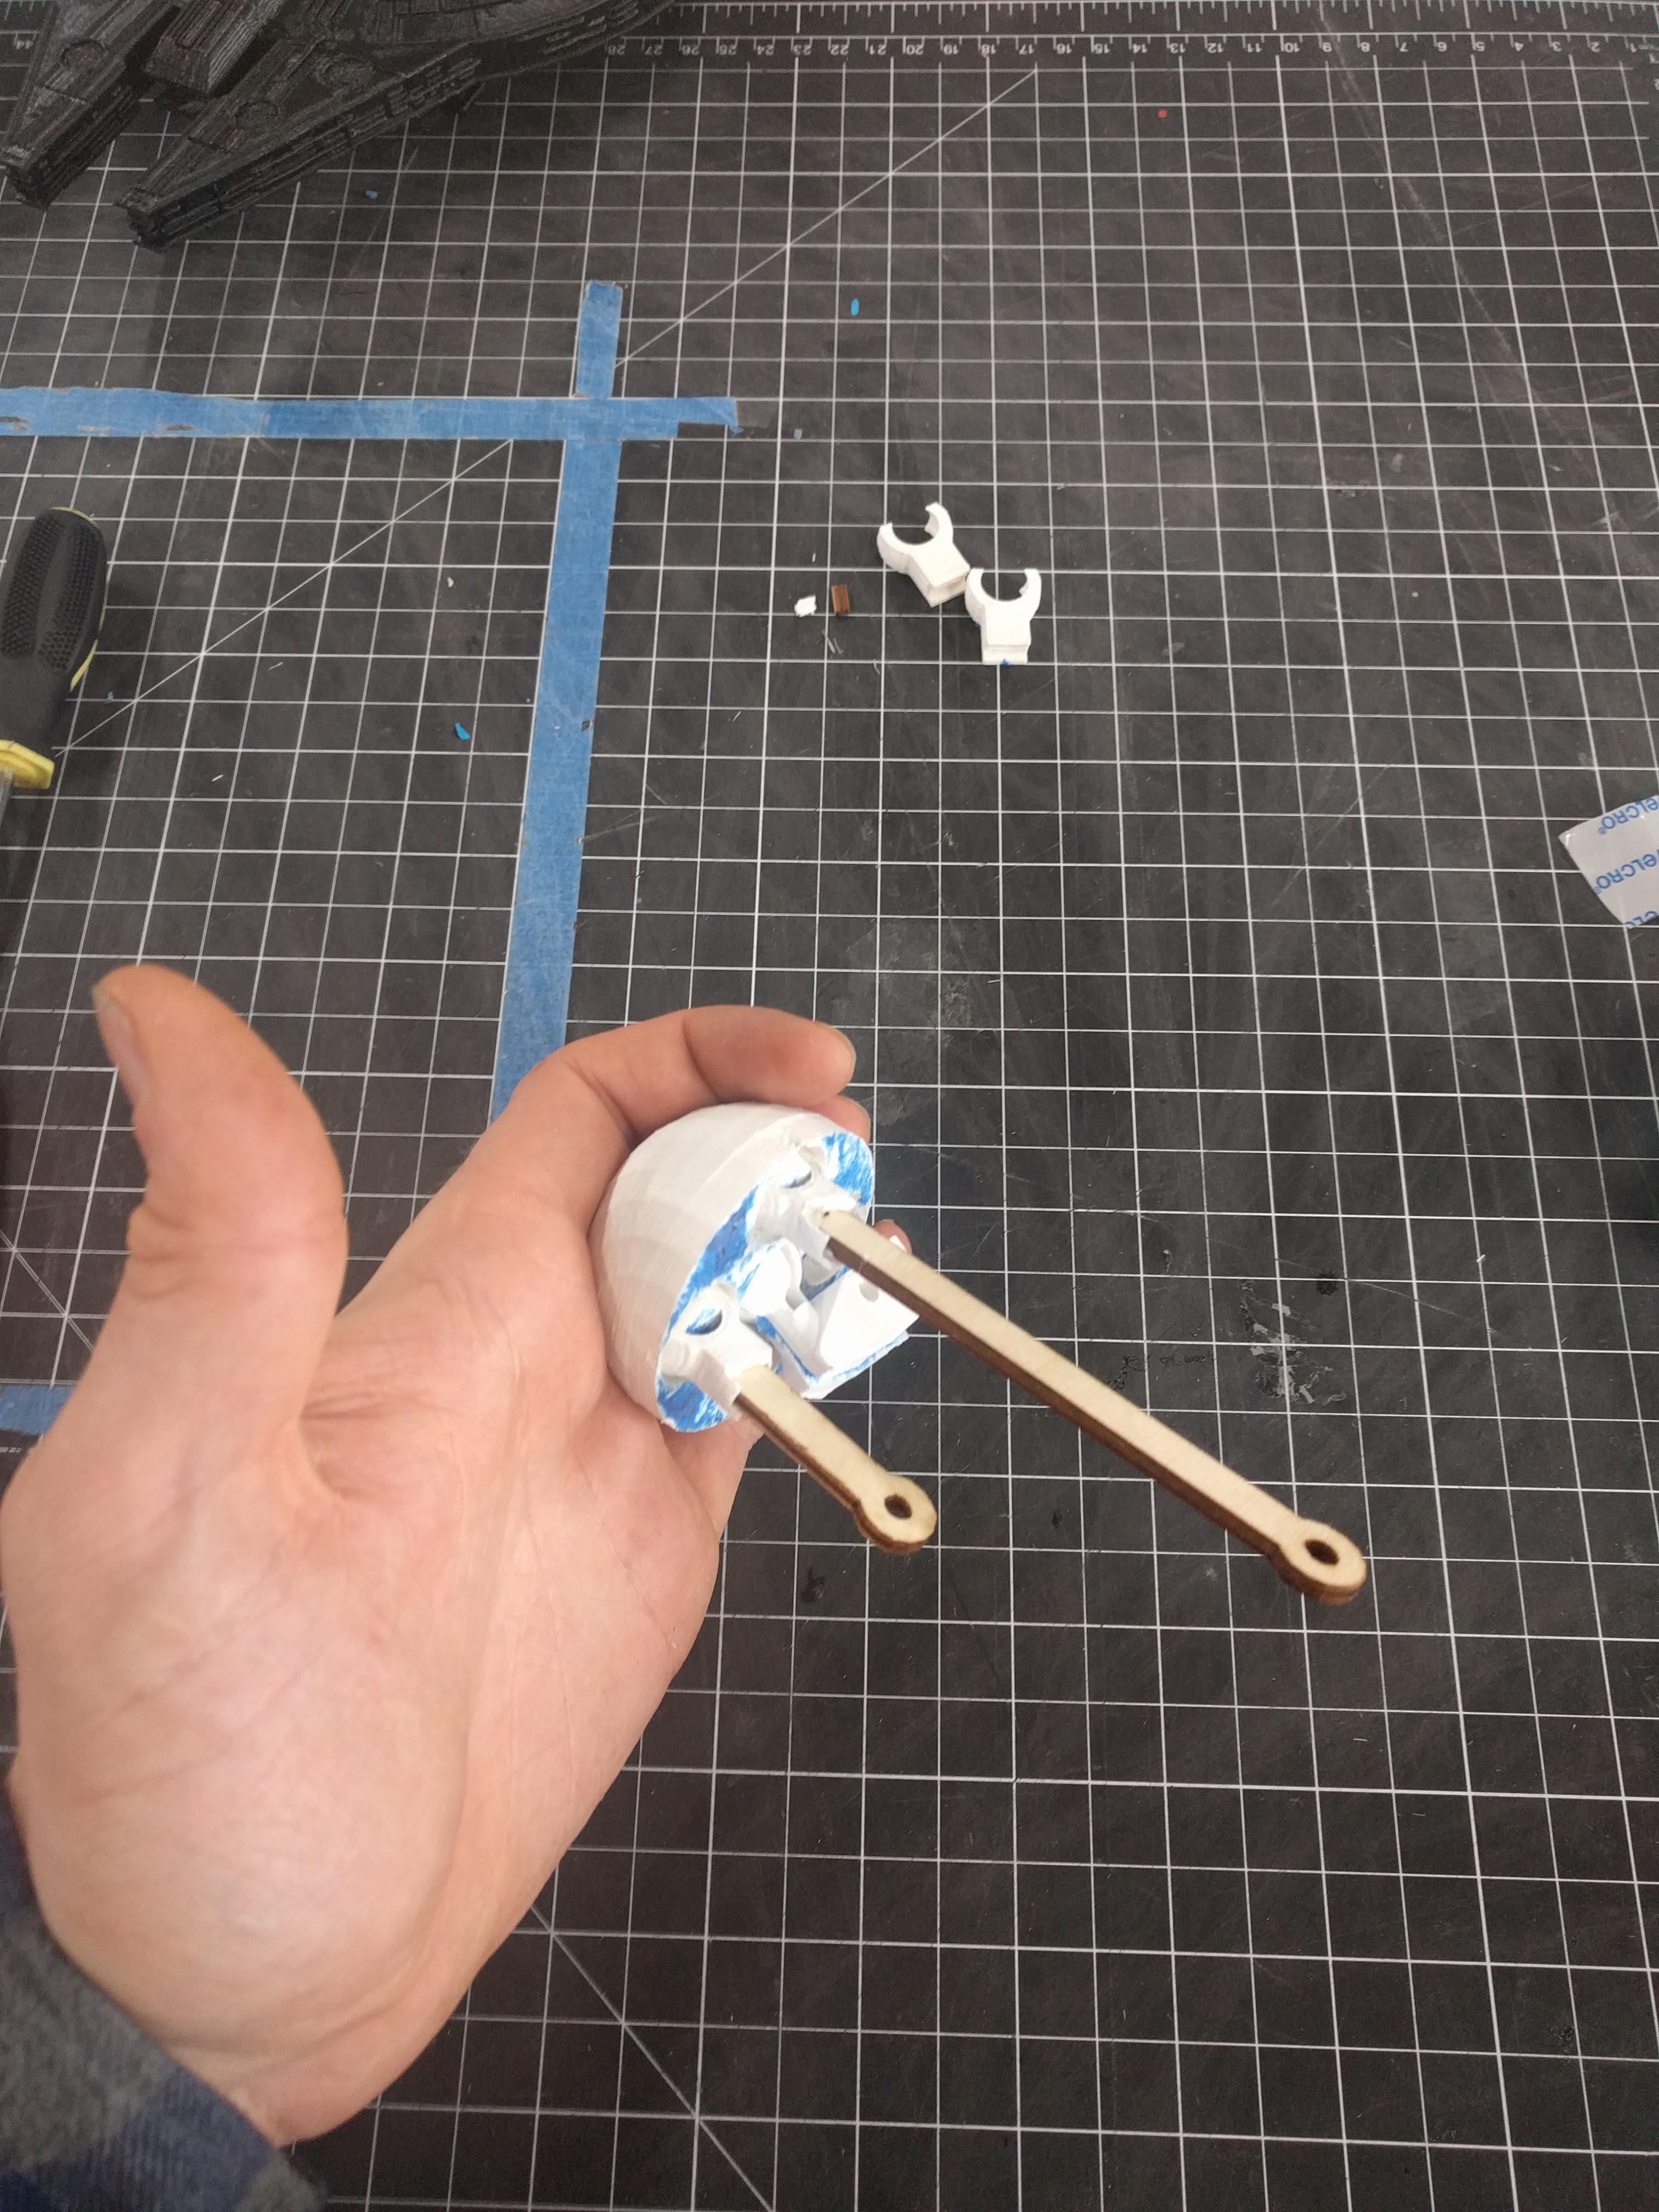
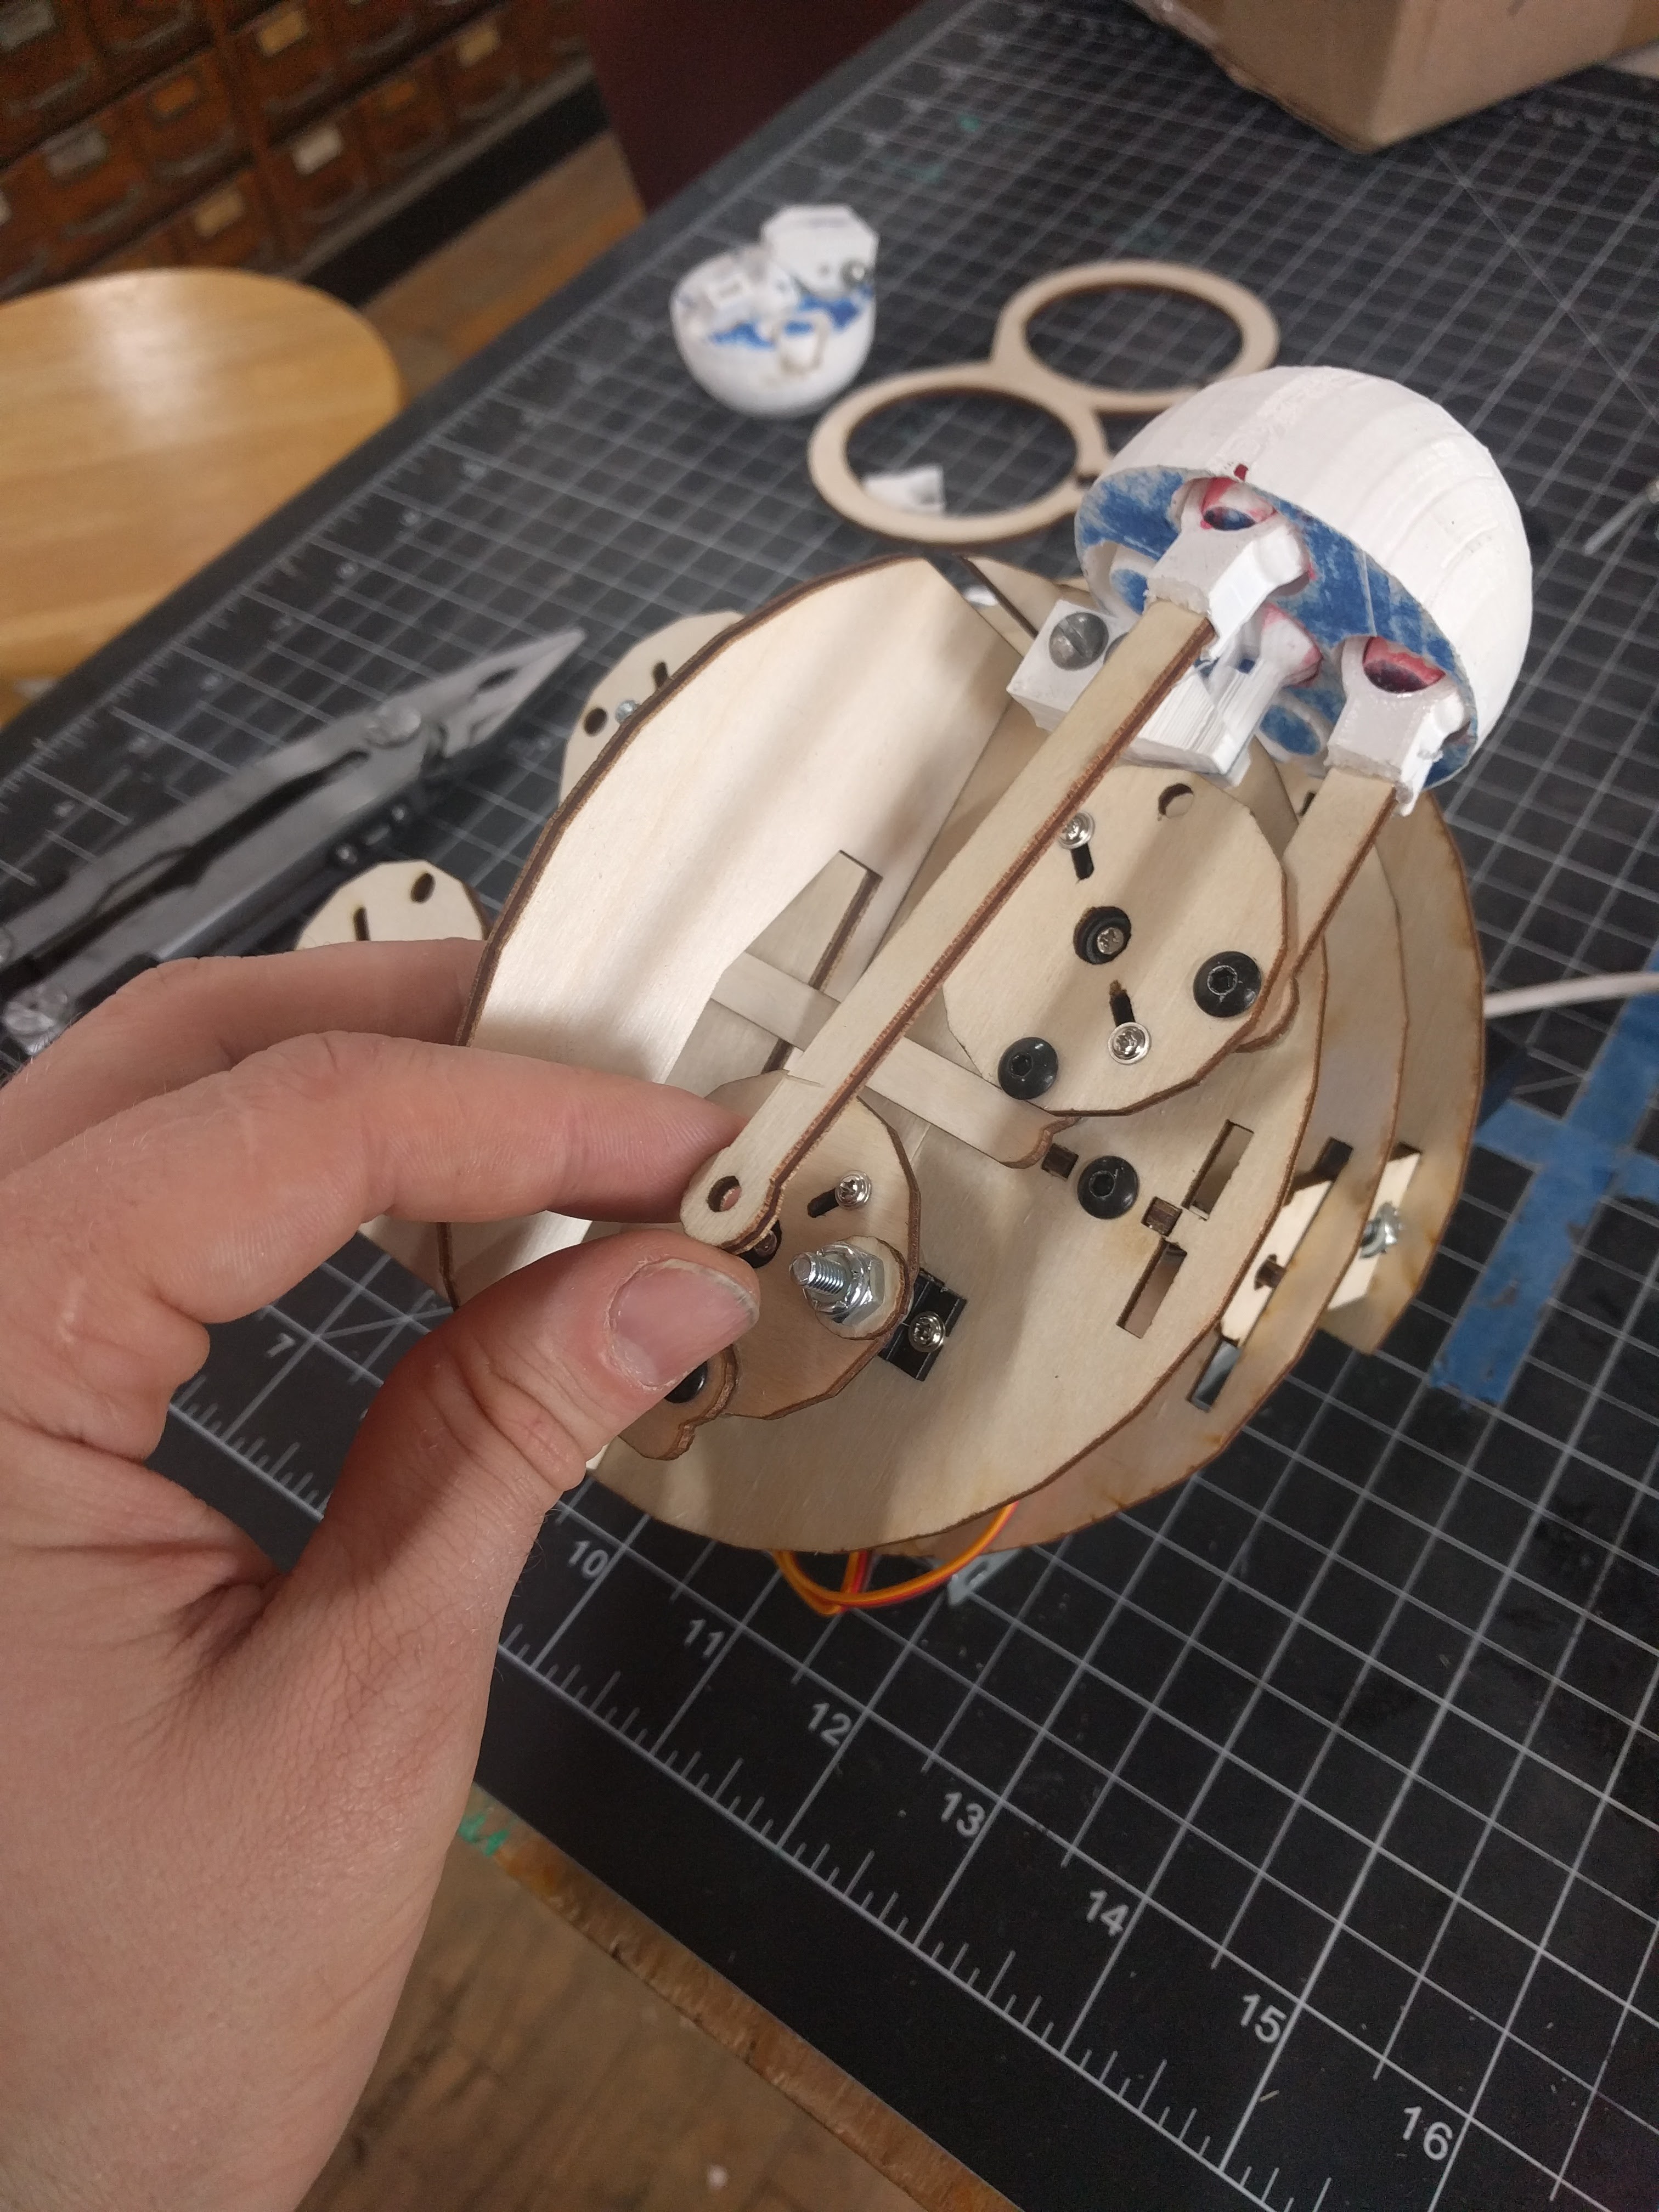
Here is a step-by step of the assembly of the animatronics part of the head. To get the printed pieces from bowler studio, right click on them and export to stl. NOTE! the two different color eye stocks are mirror images of each other and you need 2 of each! The connector cup however is universal and you need 4 of the same part. You need to print 10 pieces in total, and they all can be printed by a standard FDM printer during the period of time it takes to assemble the wooden sections. (which is why the printed pieces don't show up until the end ;)
You can also get a glimpse of the first production prototype of the animatronics backpack for the NodeMCU that powers the system. It has screw terminals for the battery and 2 dc signals connected each to an h-bridge. The wiimote connects with a simple PCB connector and does not need to be modified for use with this kit. The servos all have thier own connectors, one per IO pin on the NodeMCU, although some conflict with the h-bridge, so when using it, you get a limited number of servos. It is quite frankly the most useful hacking tool i have ever used... Awesome Job Alex Camilo for designing, manufacturing, and assembling the whole backpack!


Discussions
Become a Hackaday.io Member
Create an account to leave a comment. Already have an account? Log In.
I got this kit and its contents where black! And they aren't even the same pieces. Do I have the more modern version?
Are you sure? yes | no
Hi Nate, It sounds like I have the same issue. Did figure anything out?
Are you sure? yes | no