 Daren Schwenke
Still documenting it...
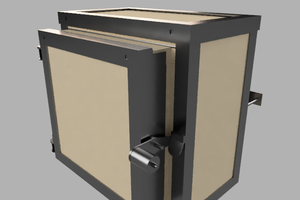
Basically creates a vortex by injecting moderate pressure air around the outer edge in a spiral.
Exhaust is at the center, through a spark arrestor. Ashes and smoke are trapped by the vortex and re-burn, producing a clean exhaust.
Once up to operating temperature, produces zero smoke and ash.
Provided you don't overload it (about 2/3rd full), it produces zero sparks. If you do overload it, it looks a lot like an afterburner.. :)


 Ronald Jaramillo
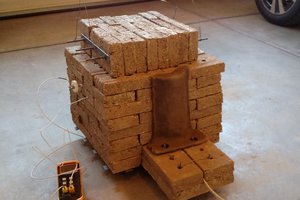
 Matt Moses
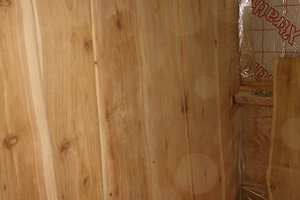
Forgive my sense of humour, but you never said which family member got incinerated... ;-)
Great build, I made a little helical forge using the same principle, gets *really* hot, enough for brass and copper at a pinch.
I need a better lid, your chimney is recessed and works really well. ;-)