 Zack Moss
Tools needed:
Phillips head screwdrivers (PH0 & PH2)
Security torx screwdriver (T20)
Flathead screwdriver
Sharp knife (to cut any cable ties)
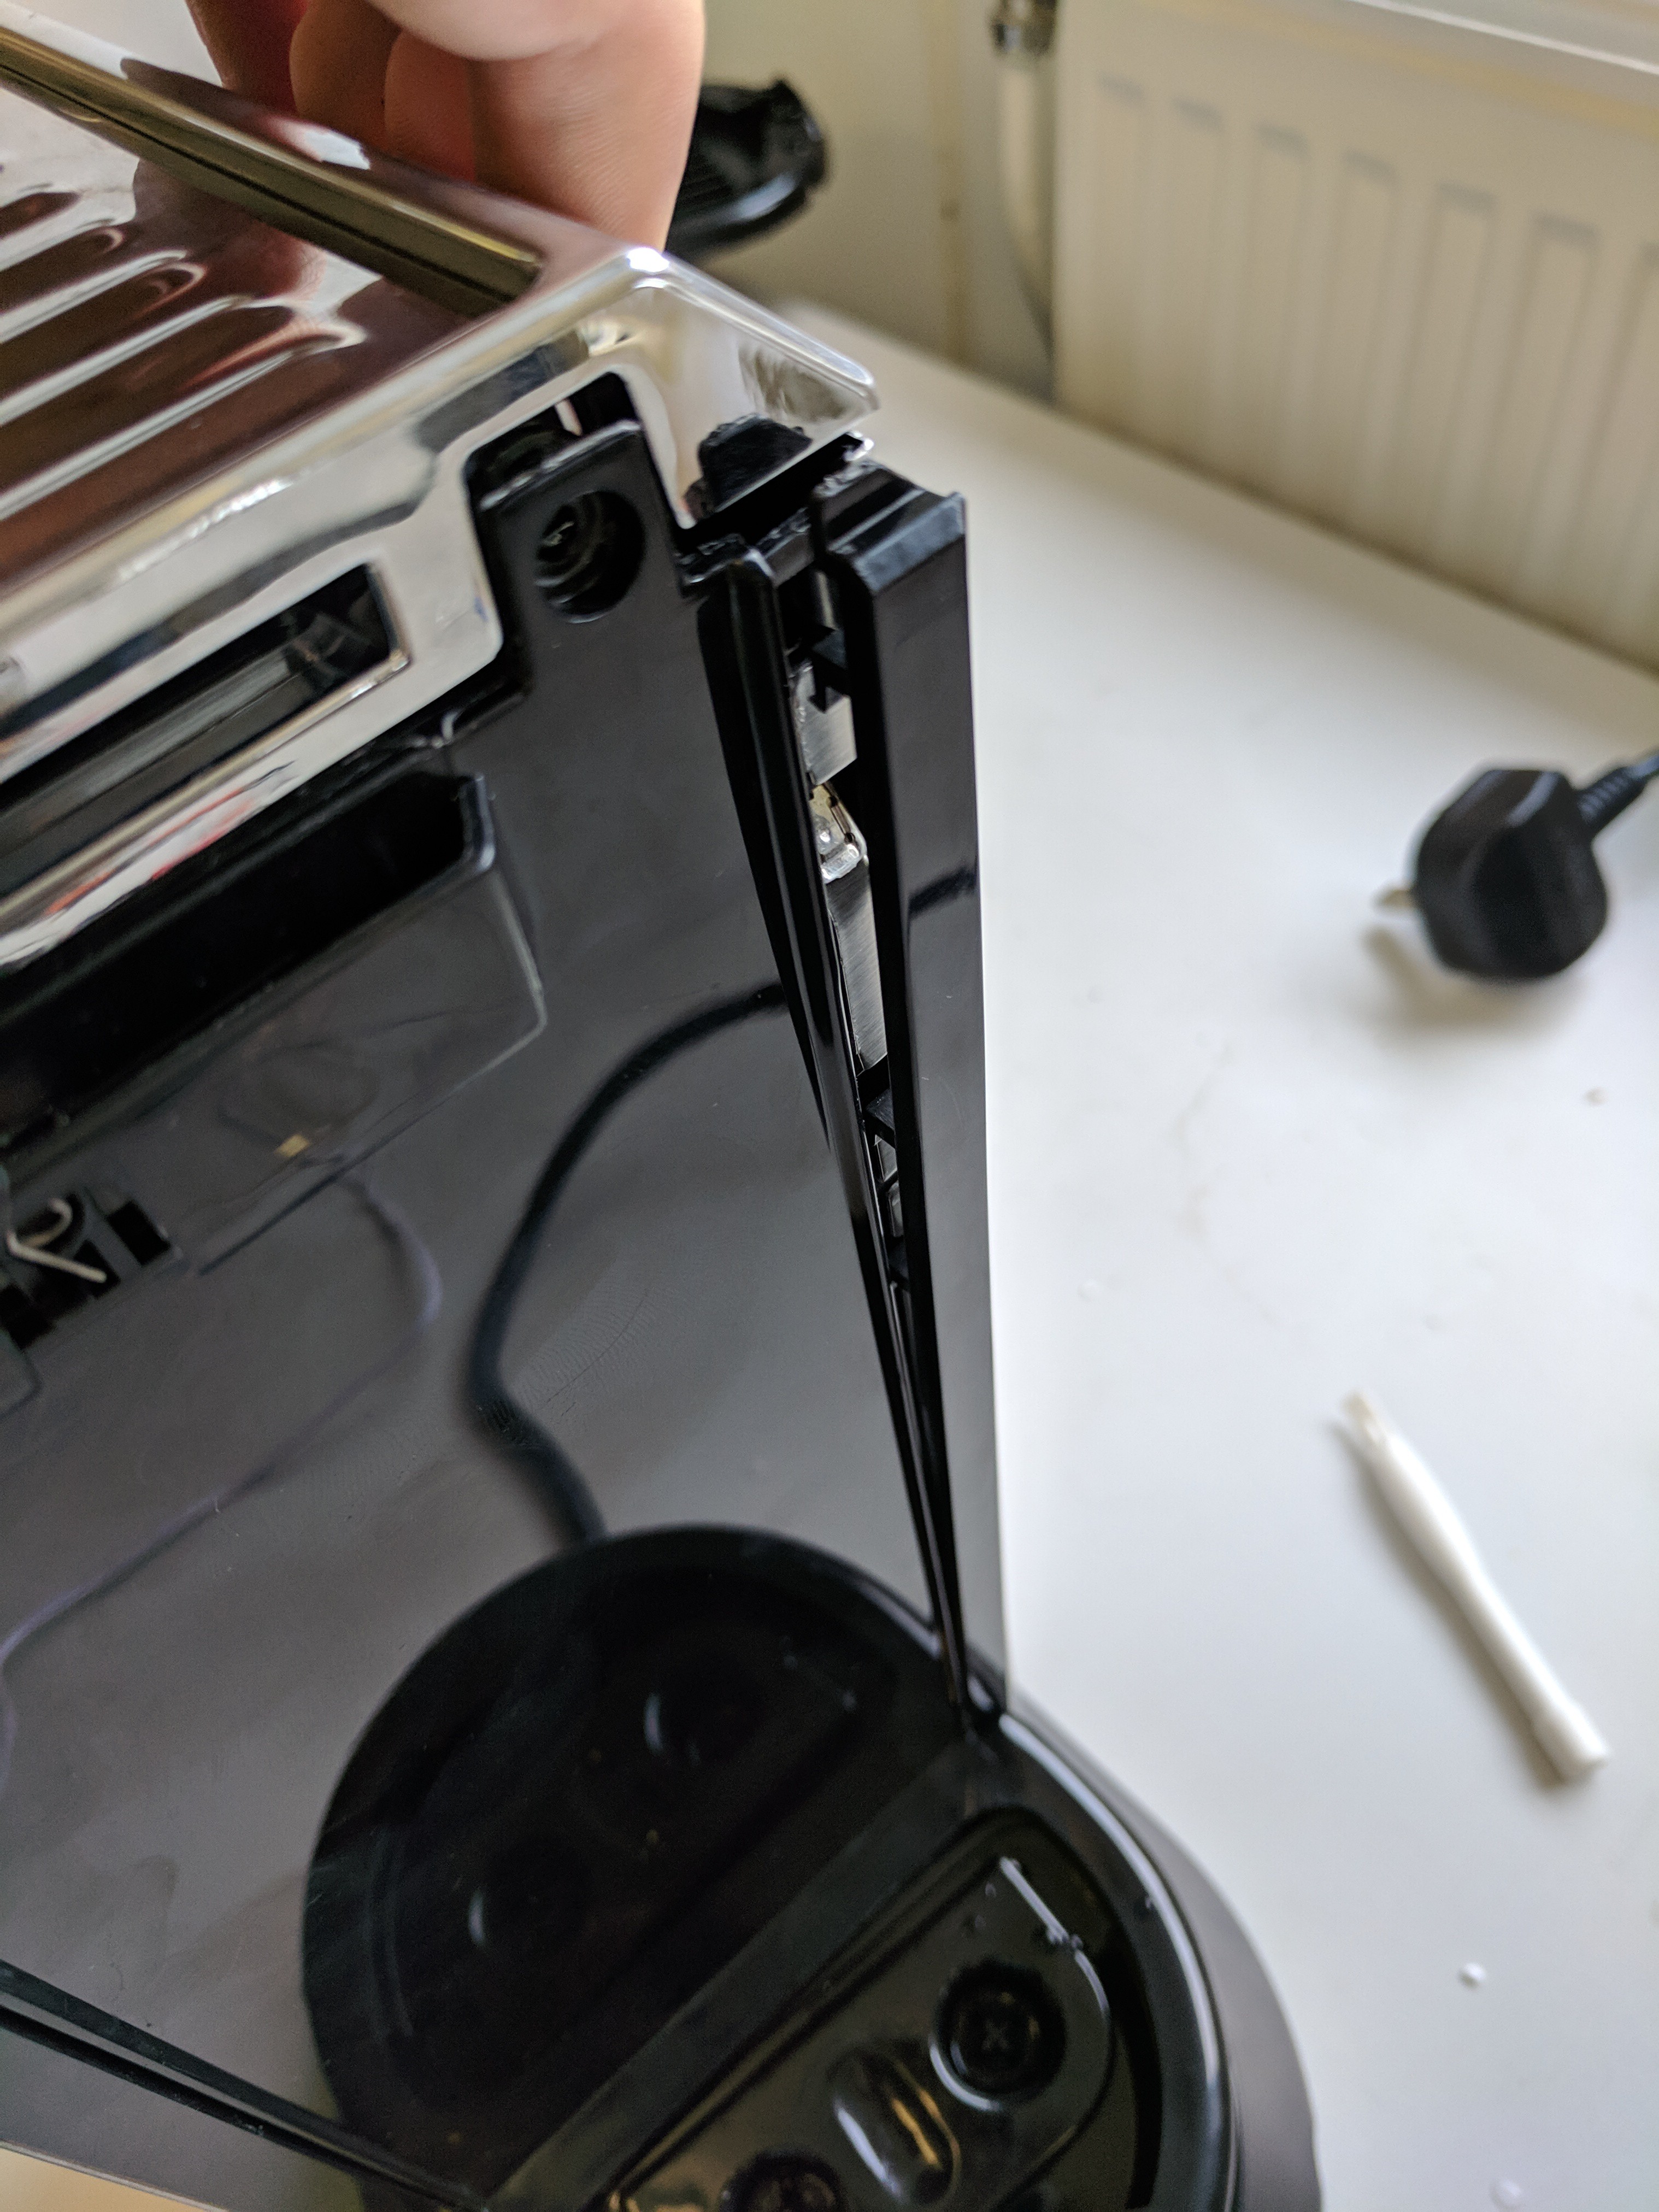
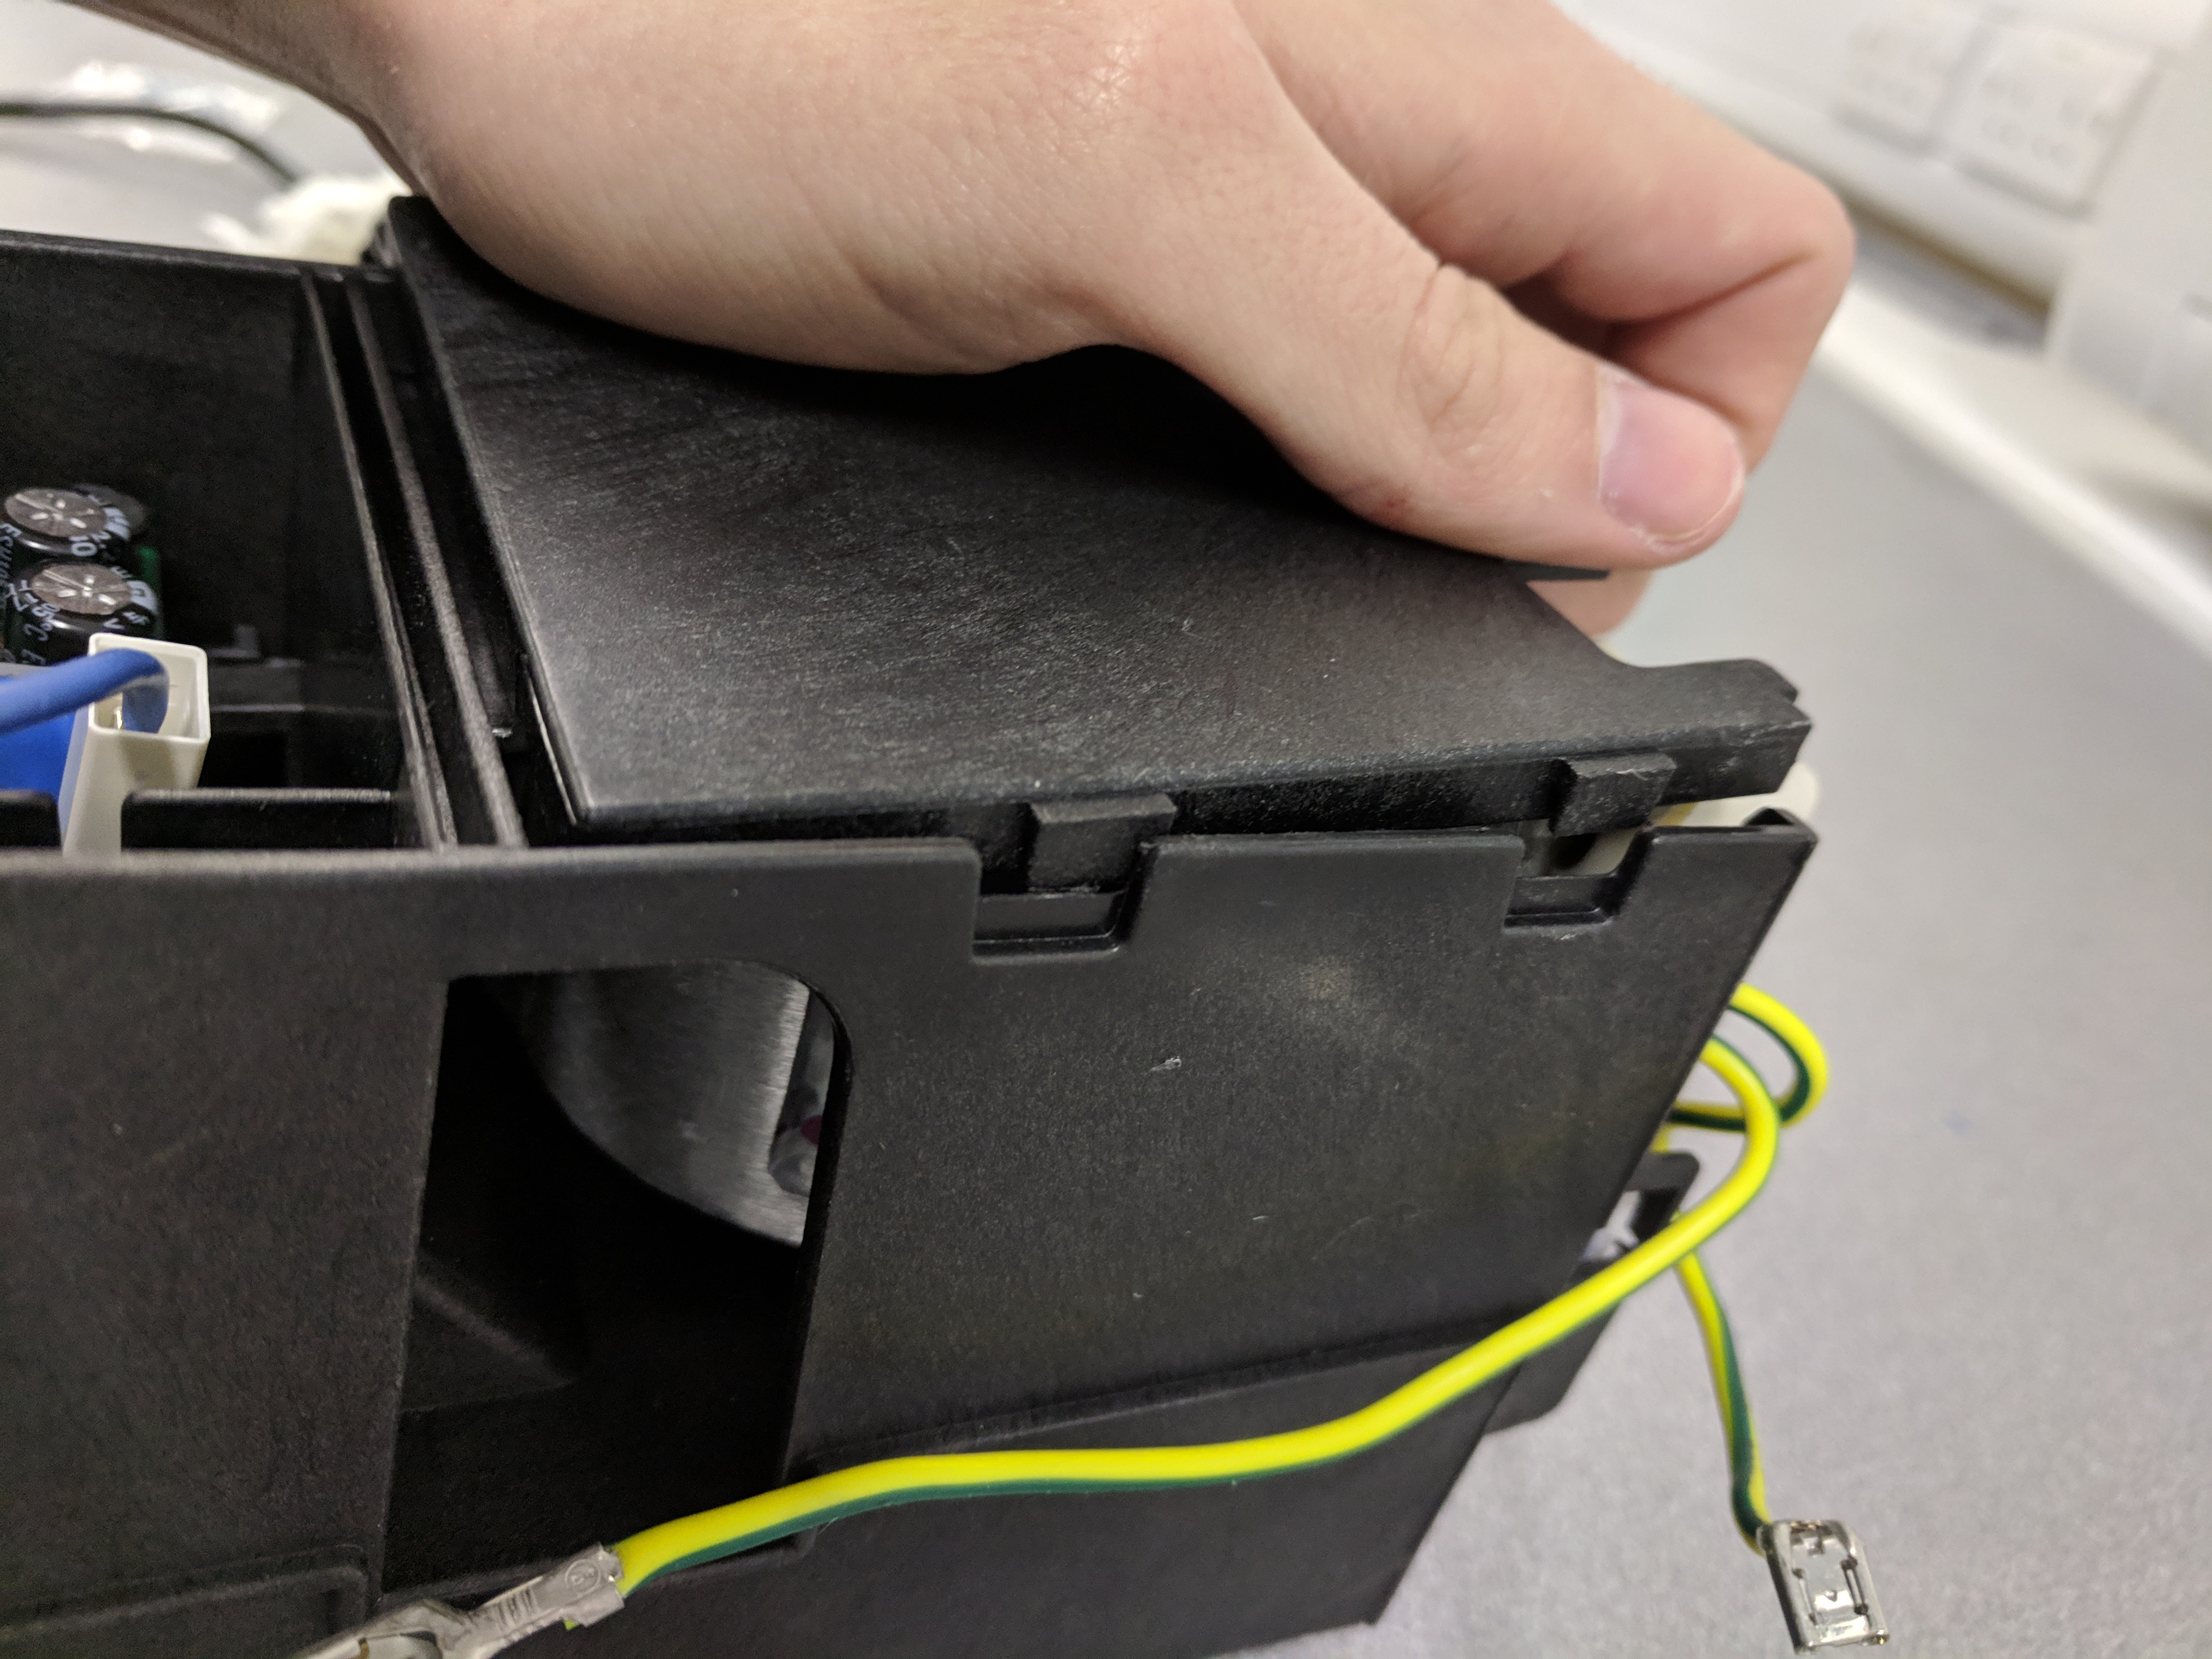
Firstly, remove the water tank from the machine. Then unscrew the screws on the back. There is 2 panel strips that need to be removed, with the help of the flathead screwdriver as leverage (see image below).
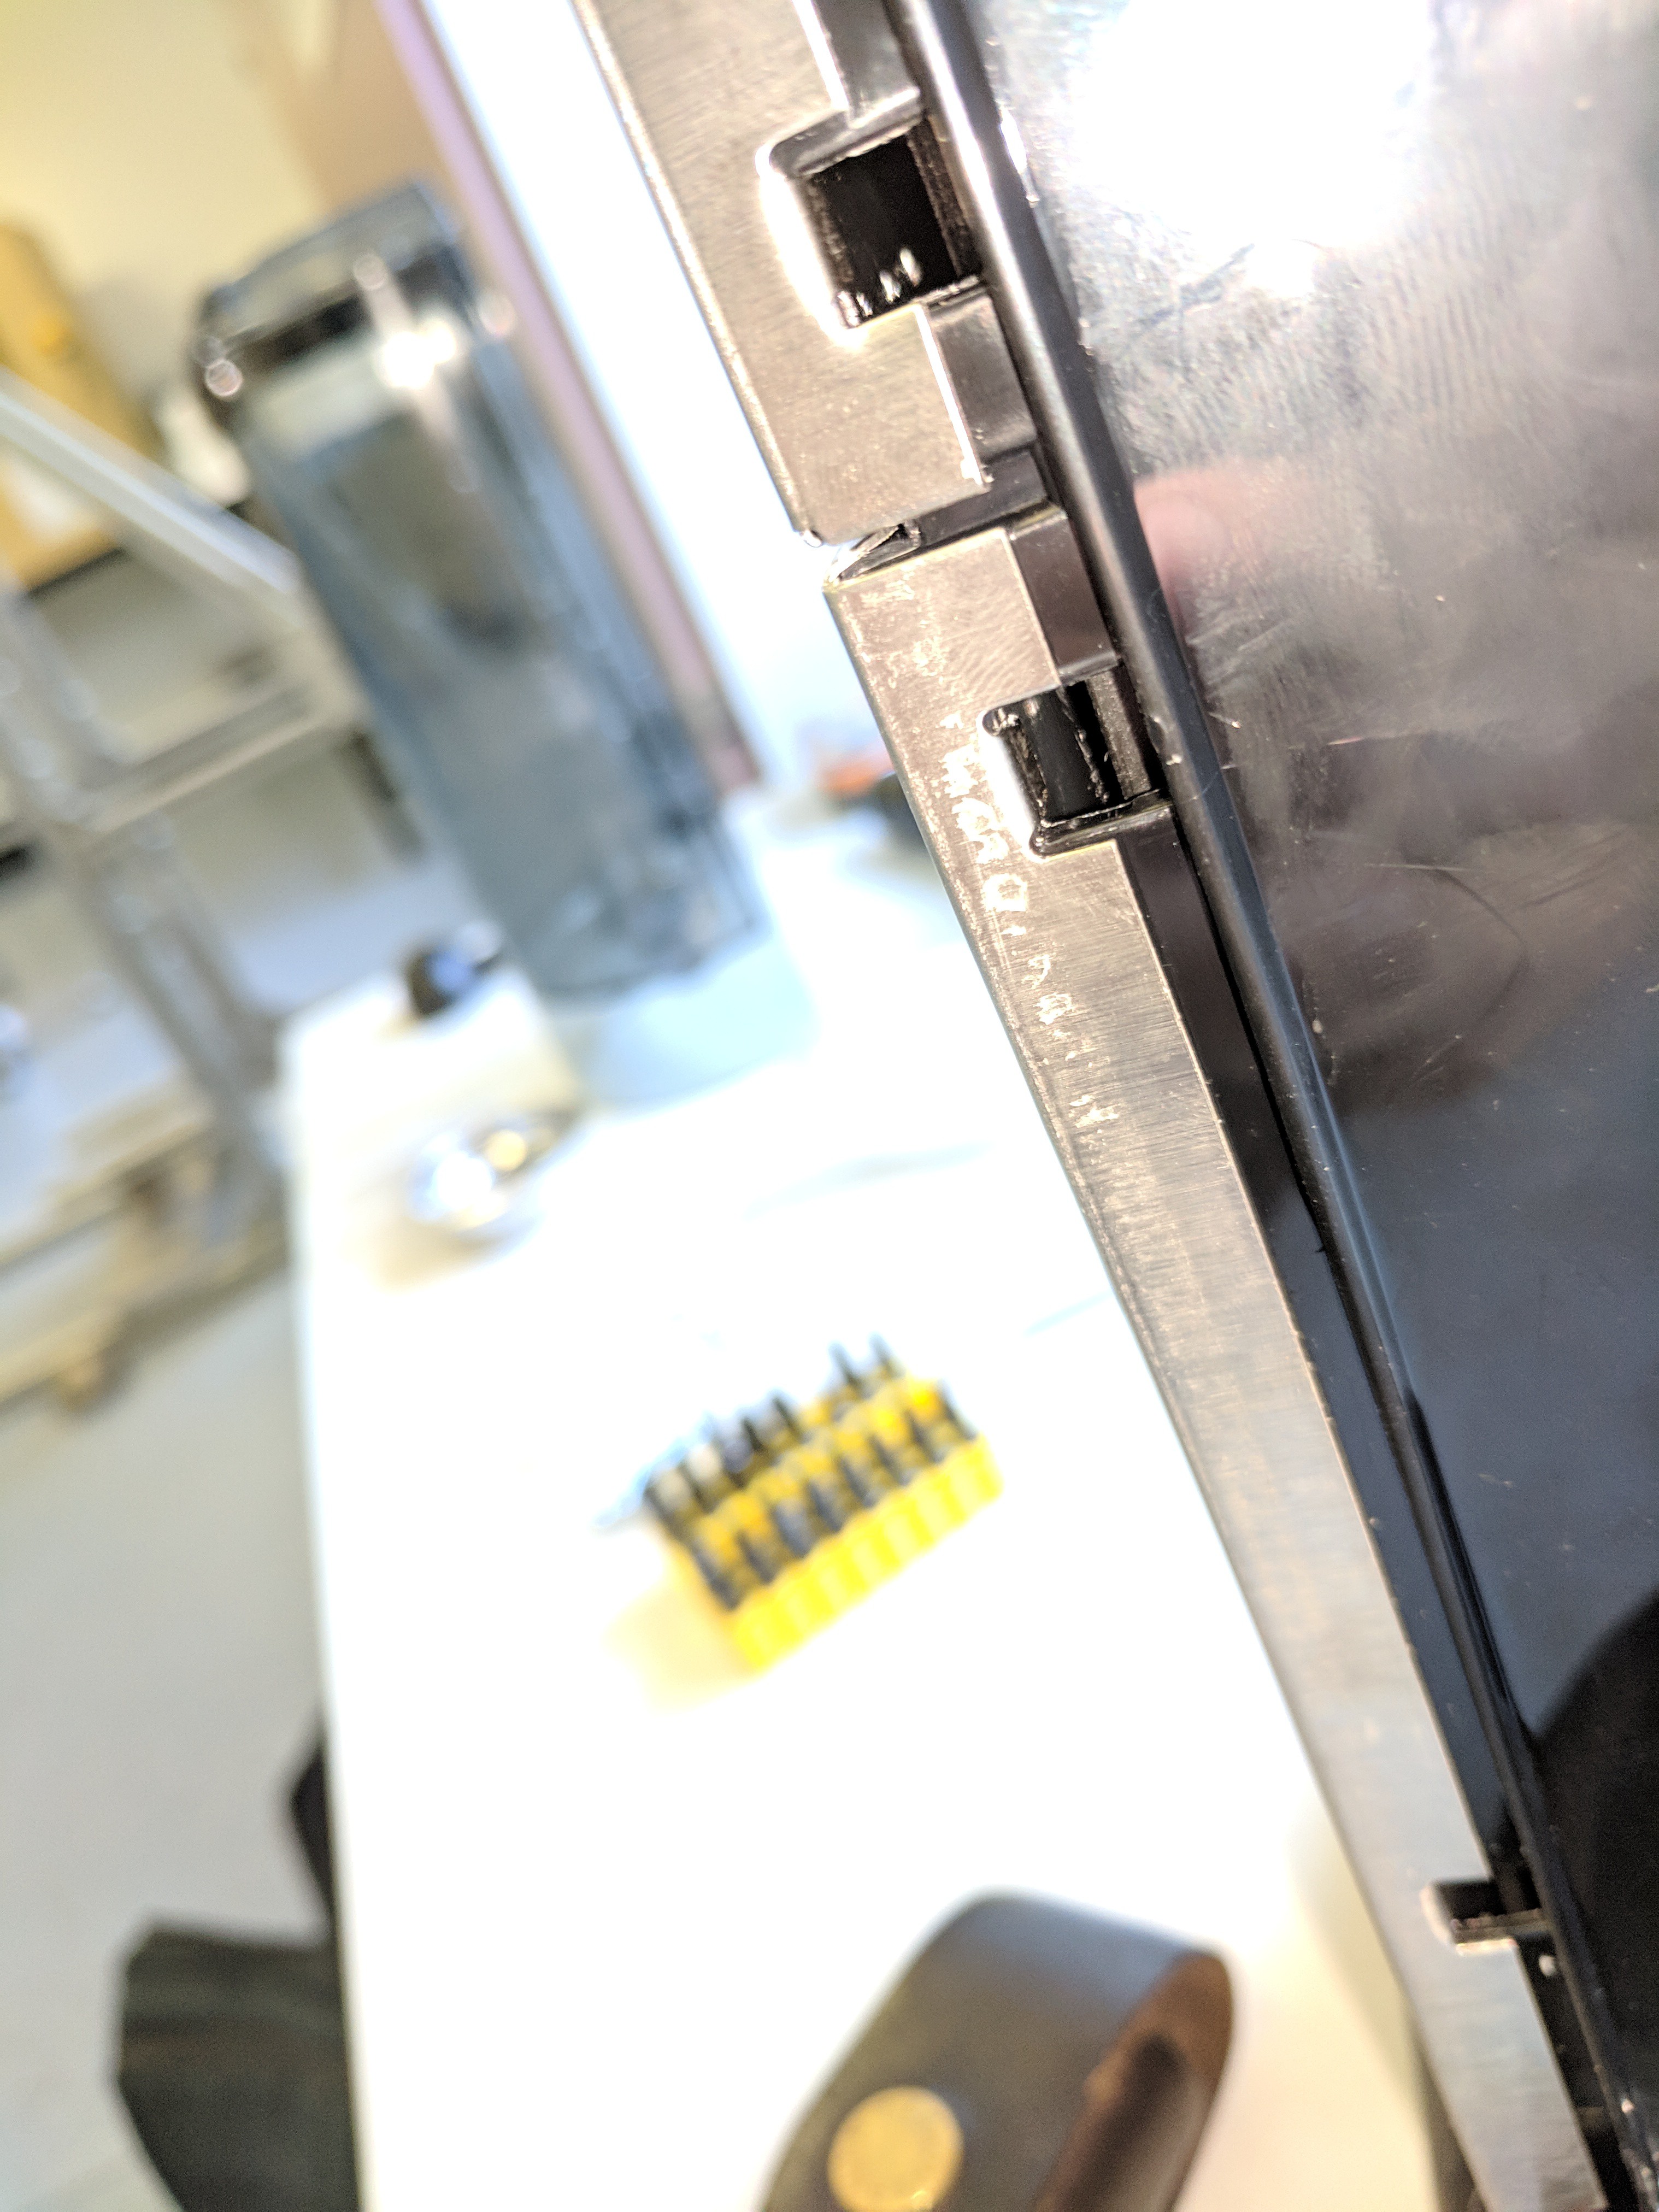
Next, the metal clips must be undone by using the flathead screwdriver to prise them open. The metal casing can then simply pulled off (This may require a reasonable amount of force).
The top of the machine has a sliding lock mechanism. To open it, first pull the top up, this may require some force the first time it is done. Then slide the top back, being careful as there are wires attached between the main body and the top.
At this point, the machine was then experimented on to measure water temperature throughout the cycle, details of that can be found here.
After experimentation, full dismantling was continued. The top was taken off again and the sensor equipment removed. Using the same Phillips screwdriver, all the visible screws on the top interior of the machine were removed, along with any components.
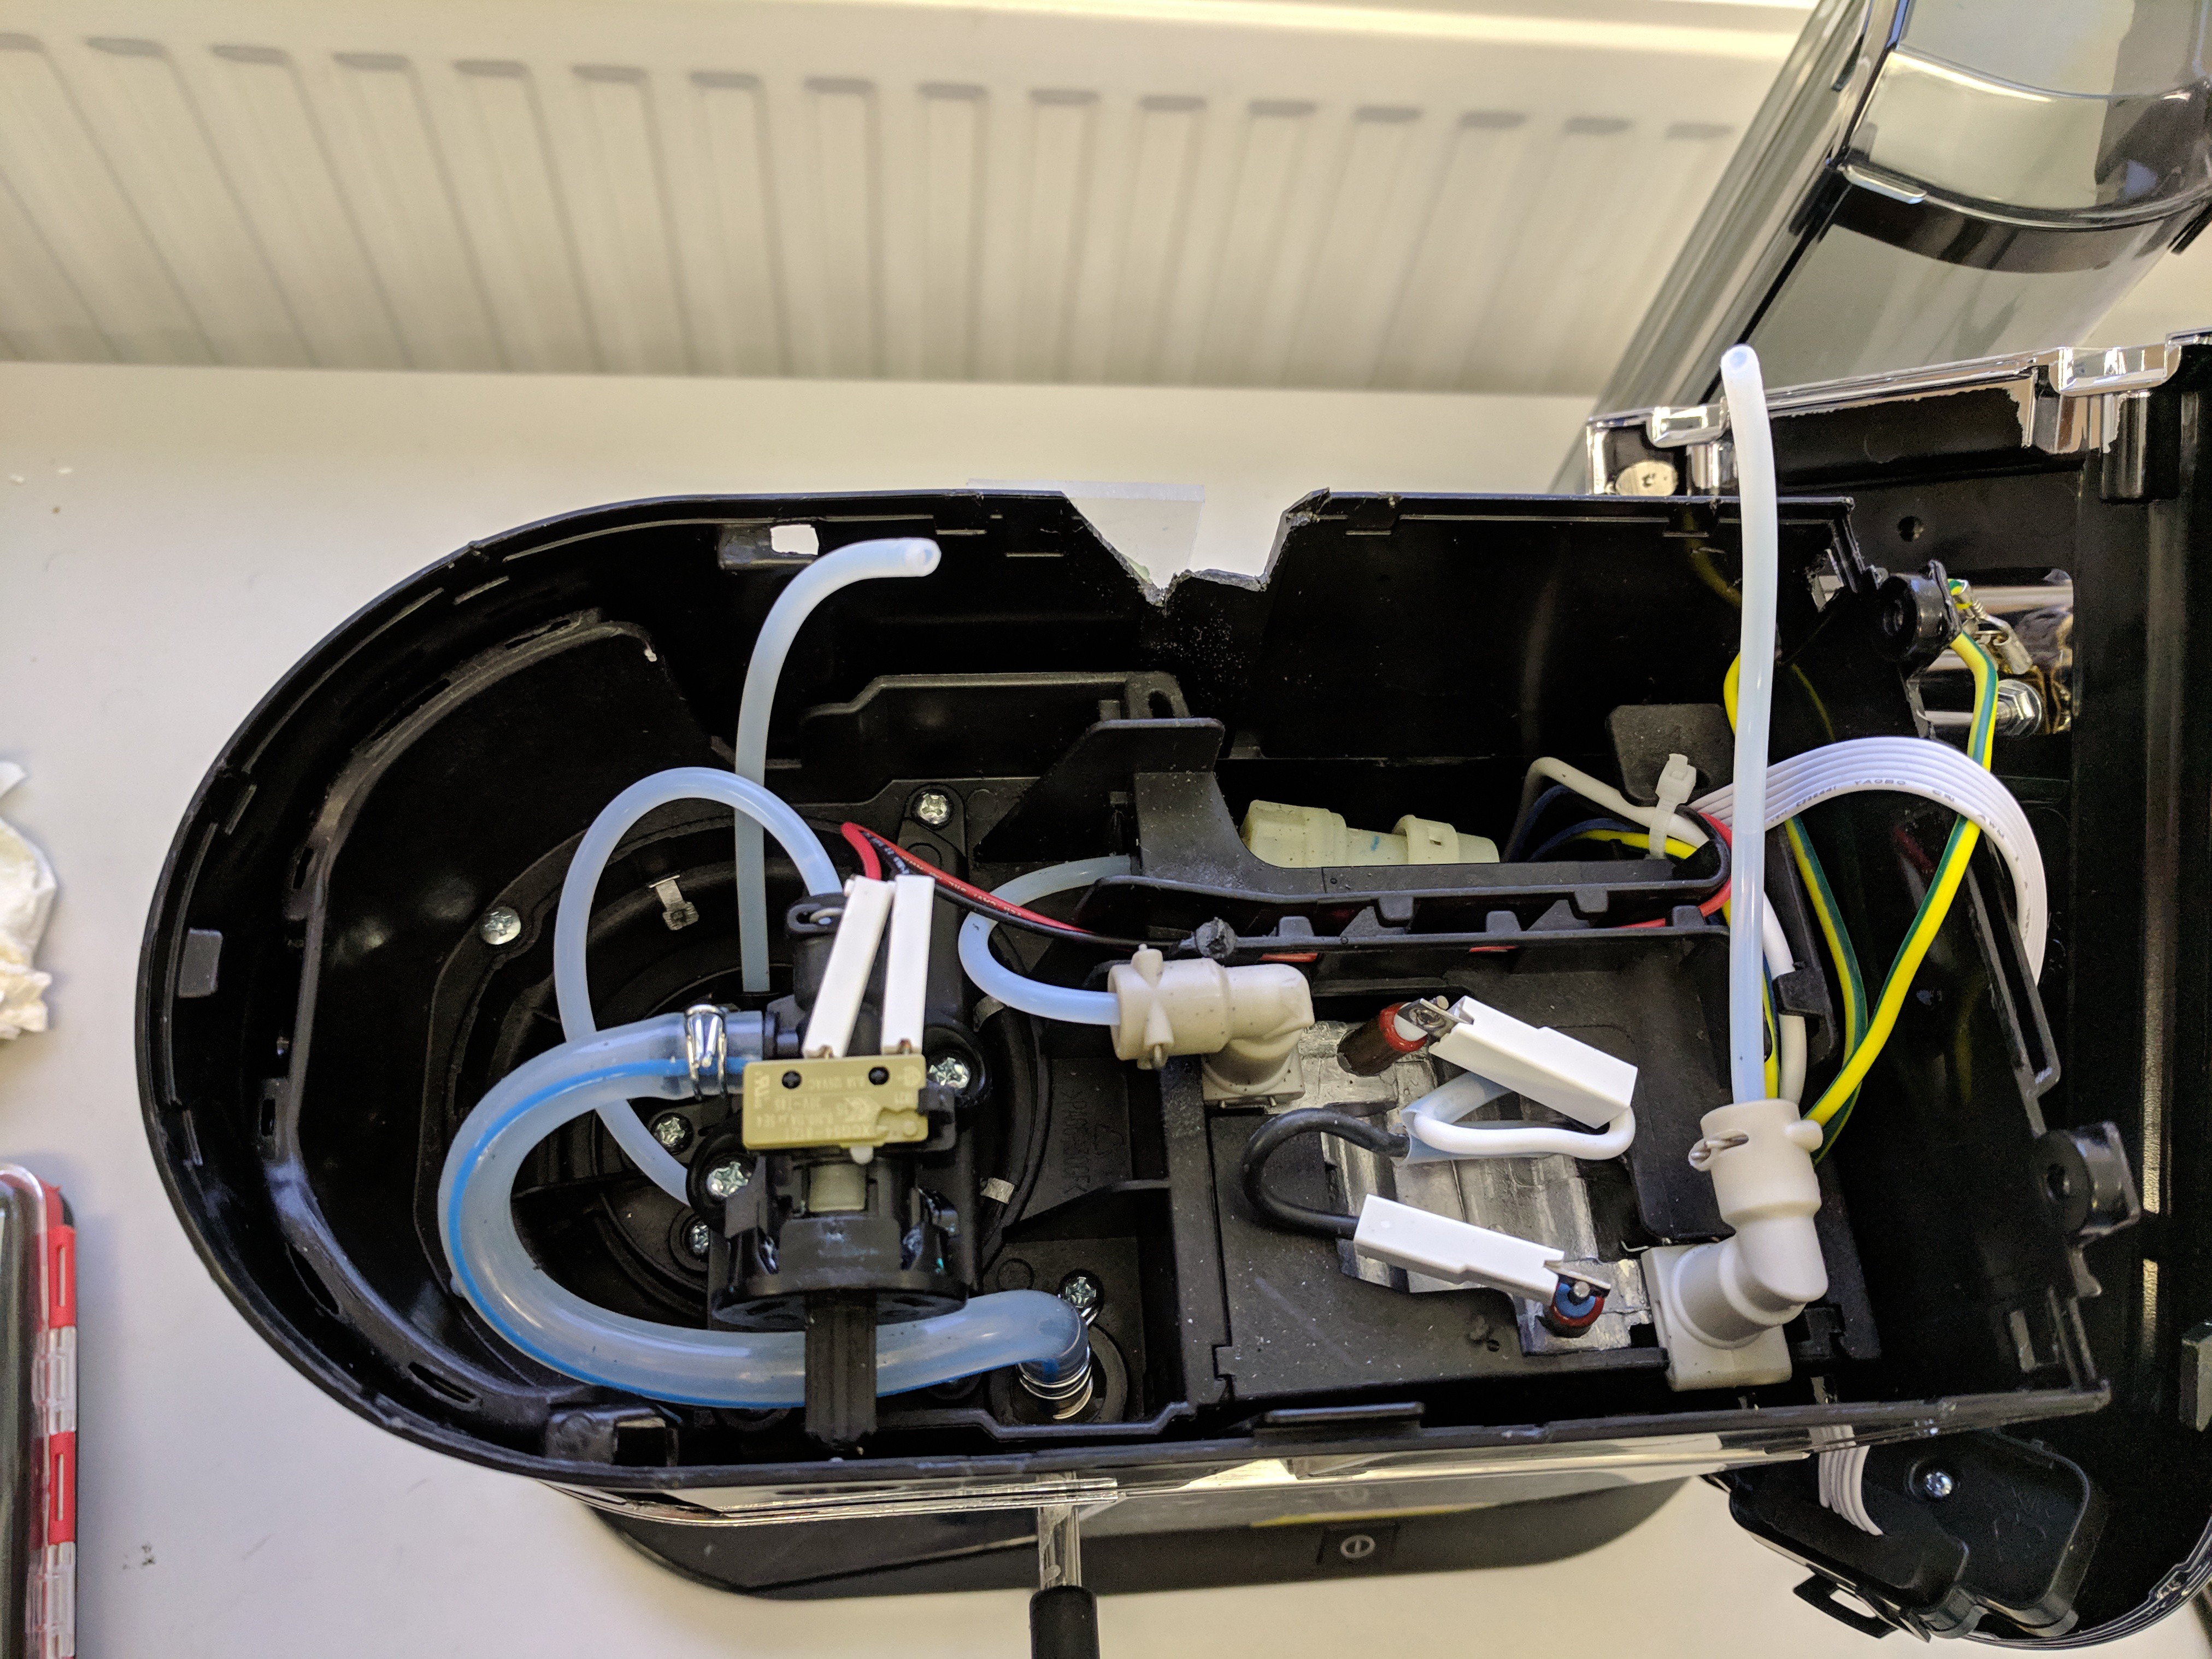
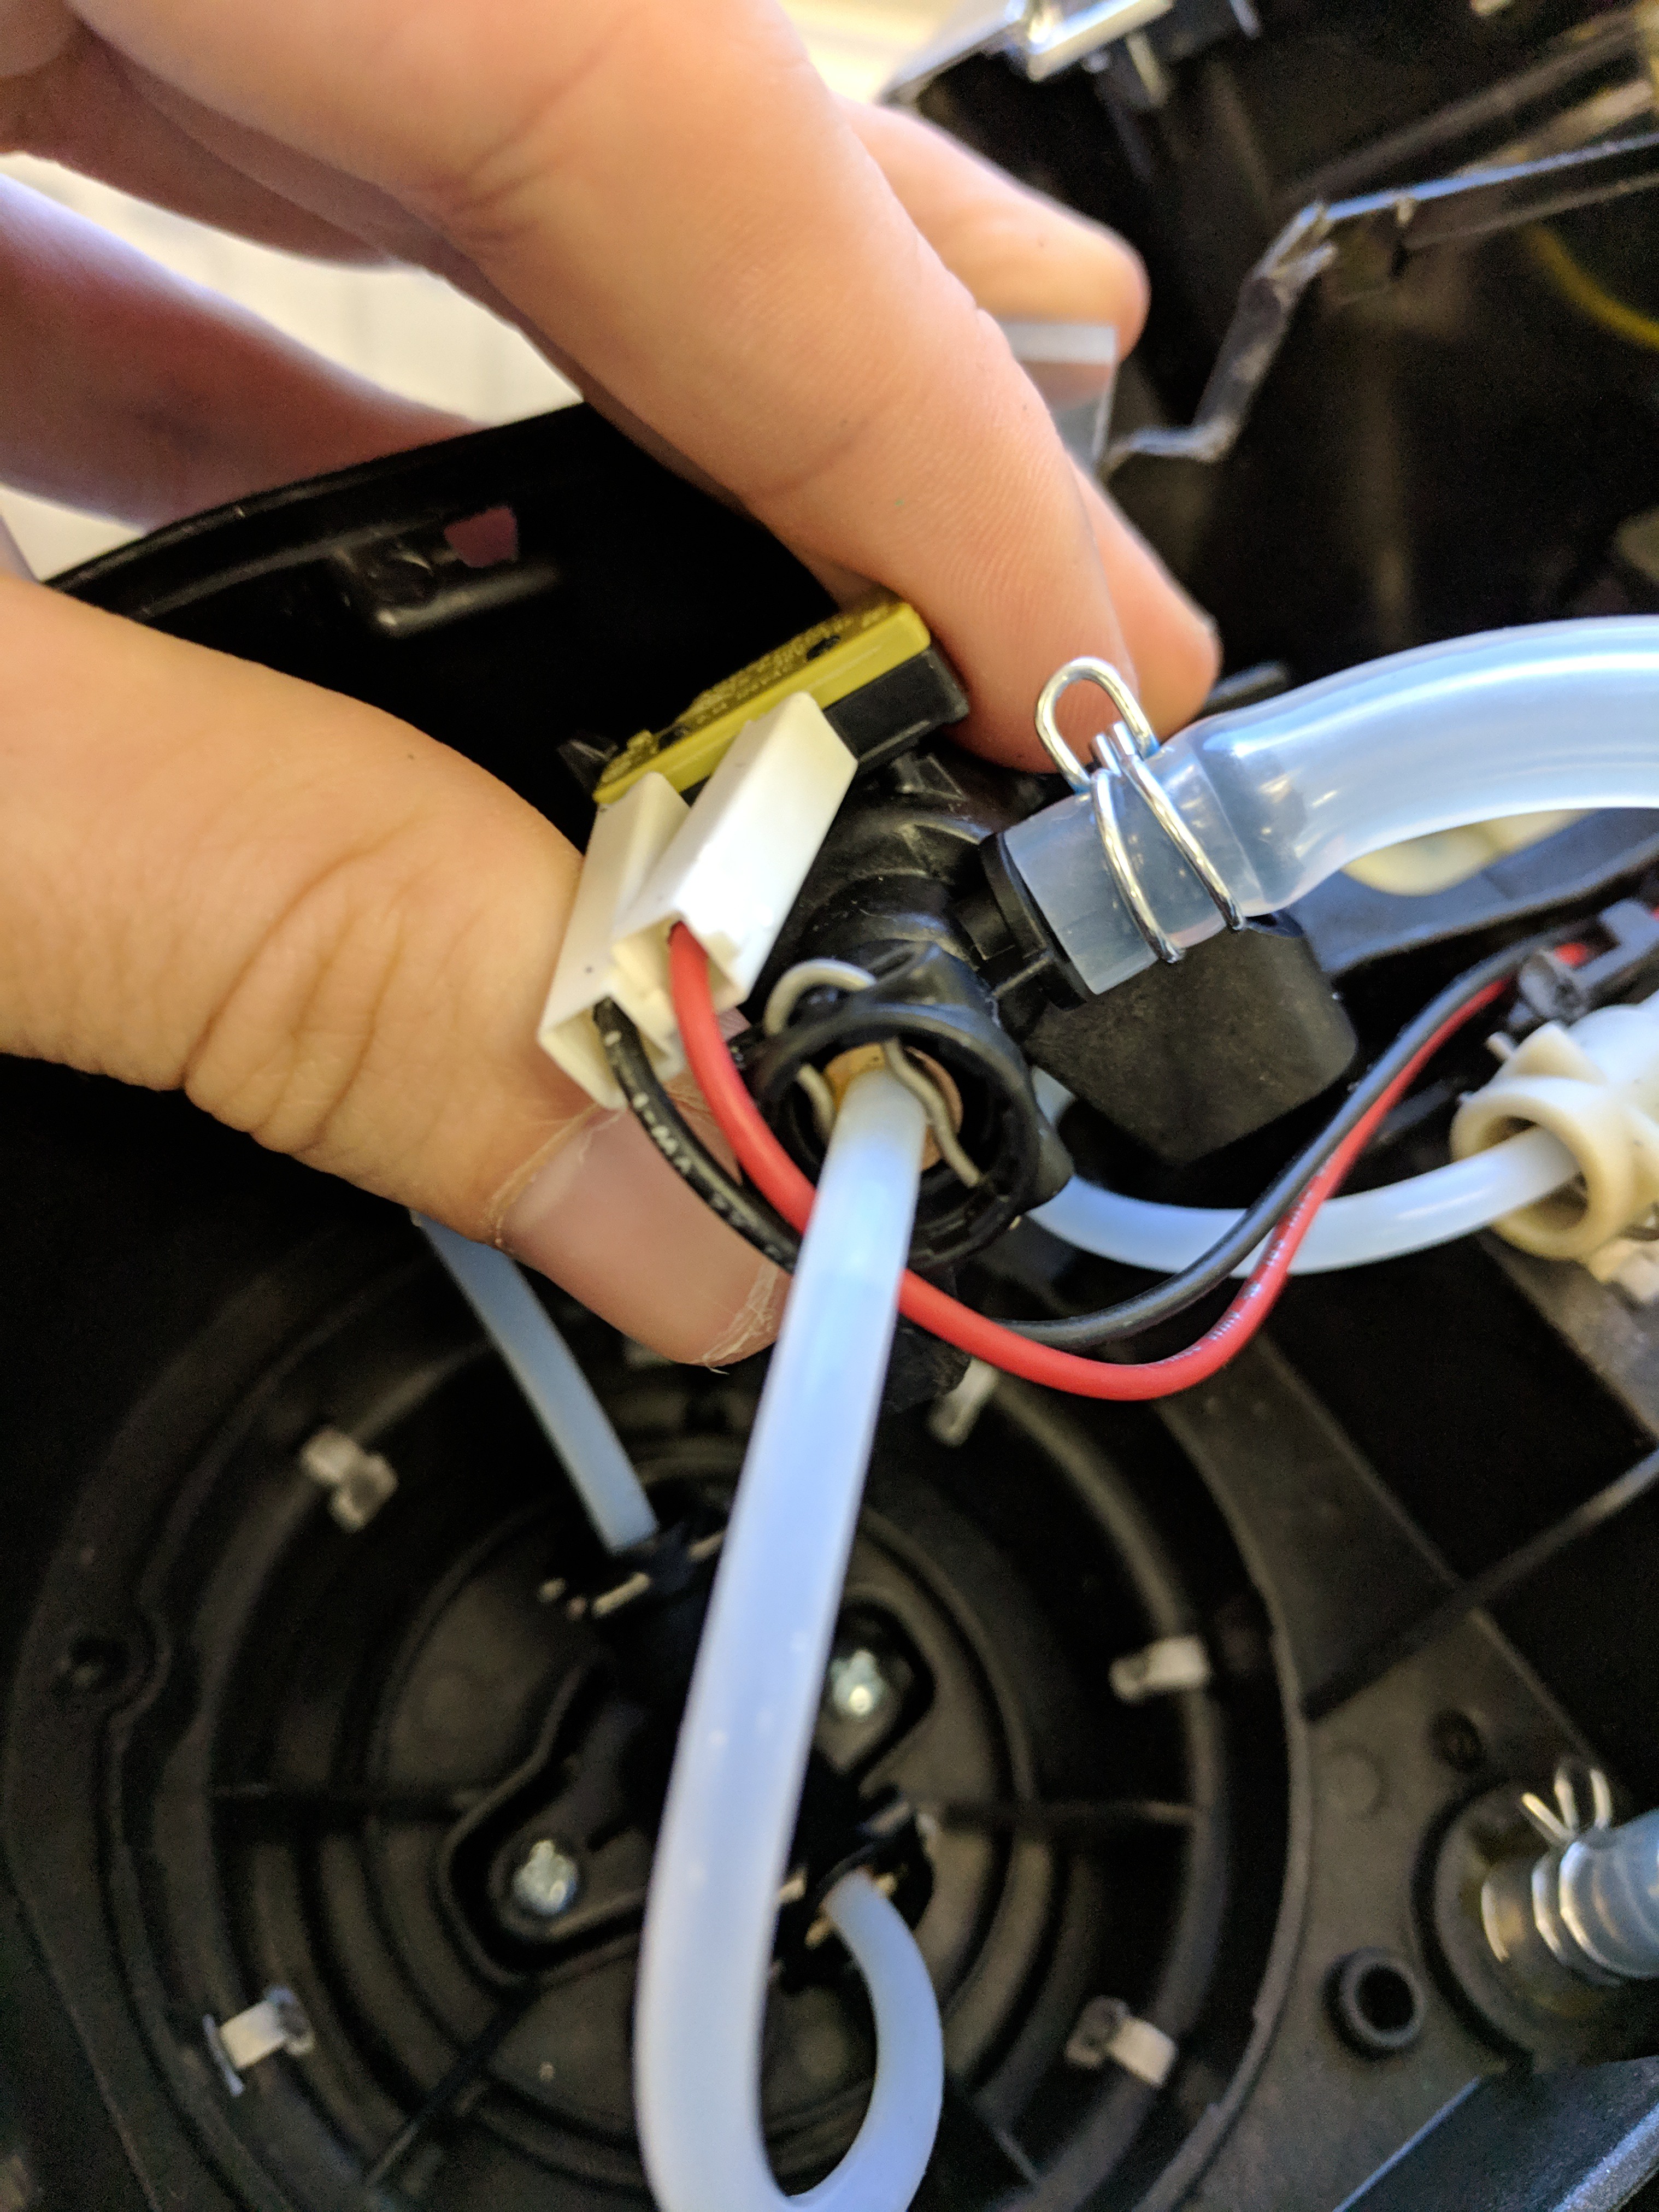
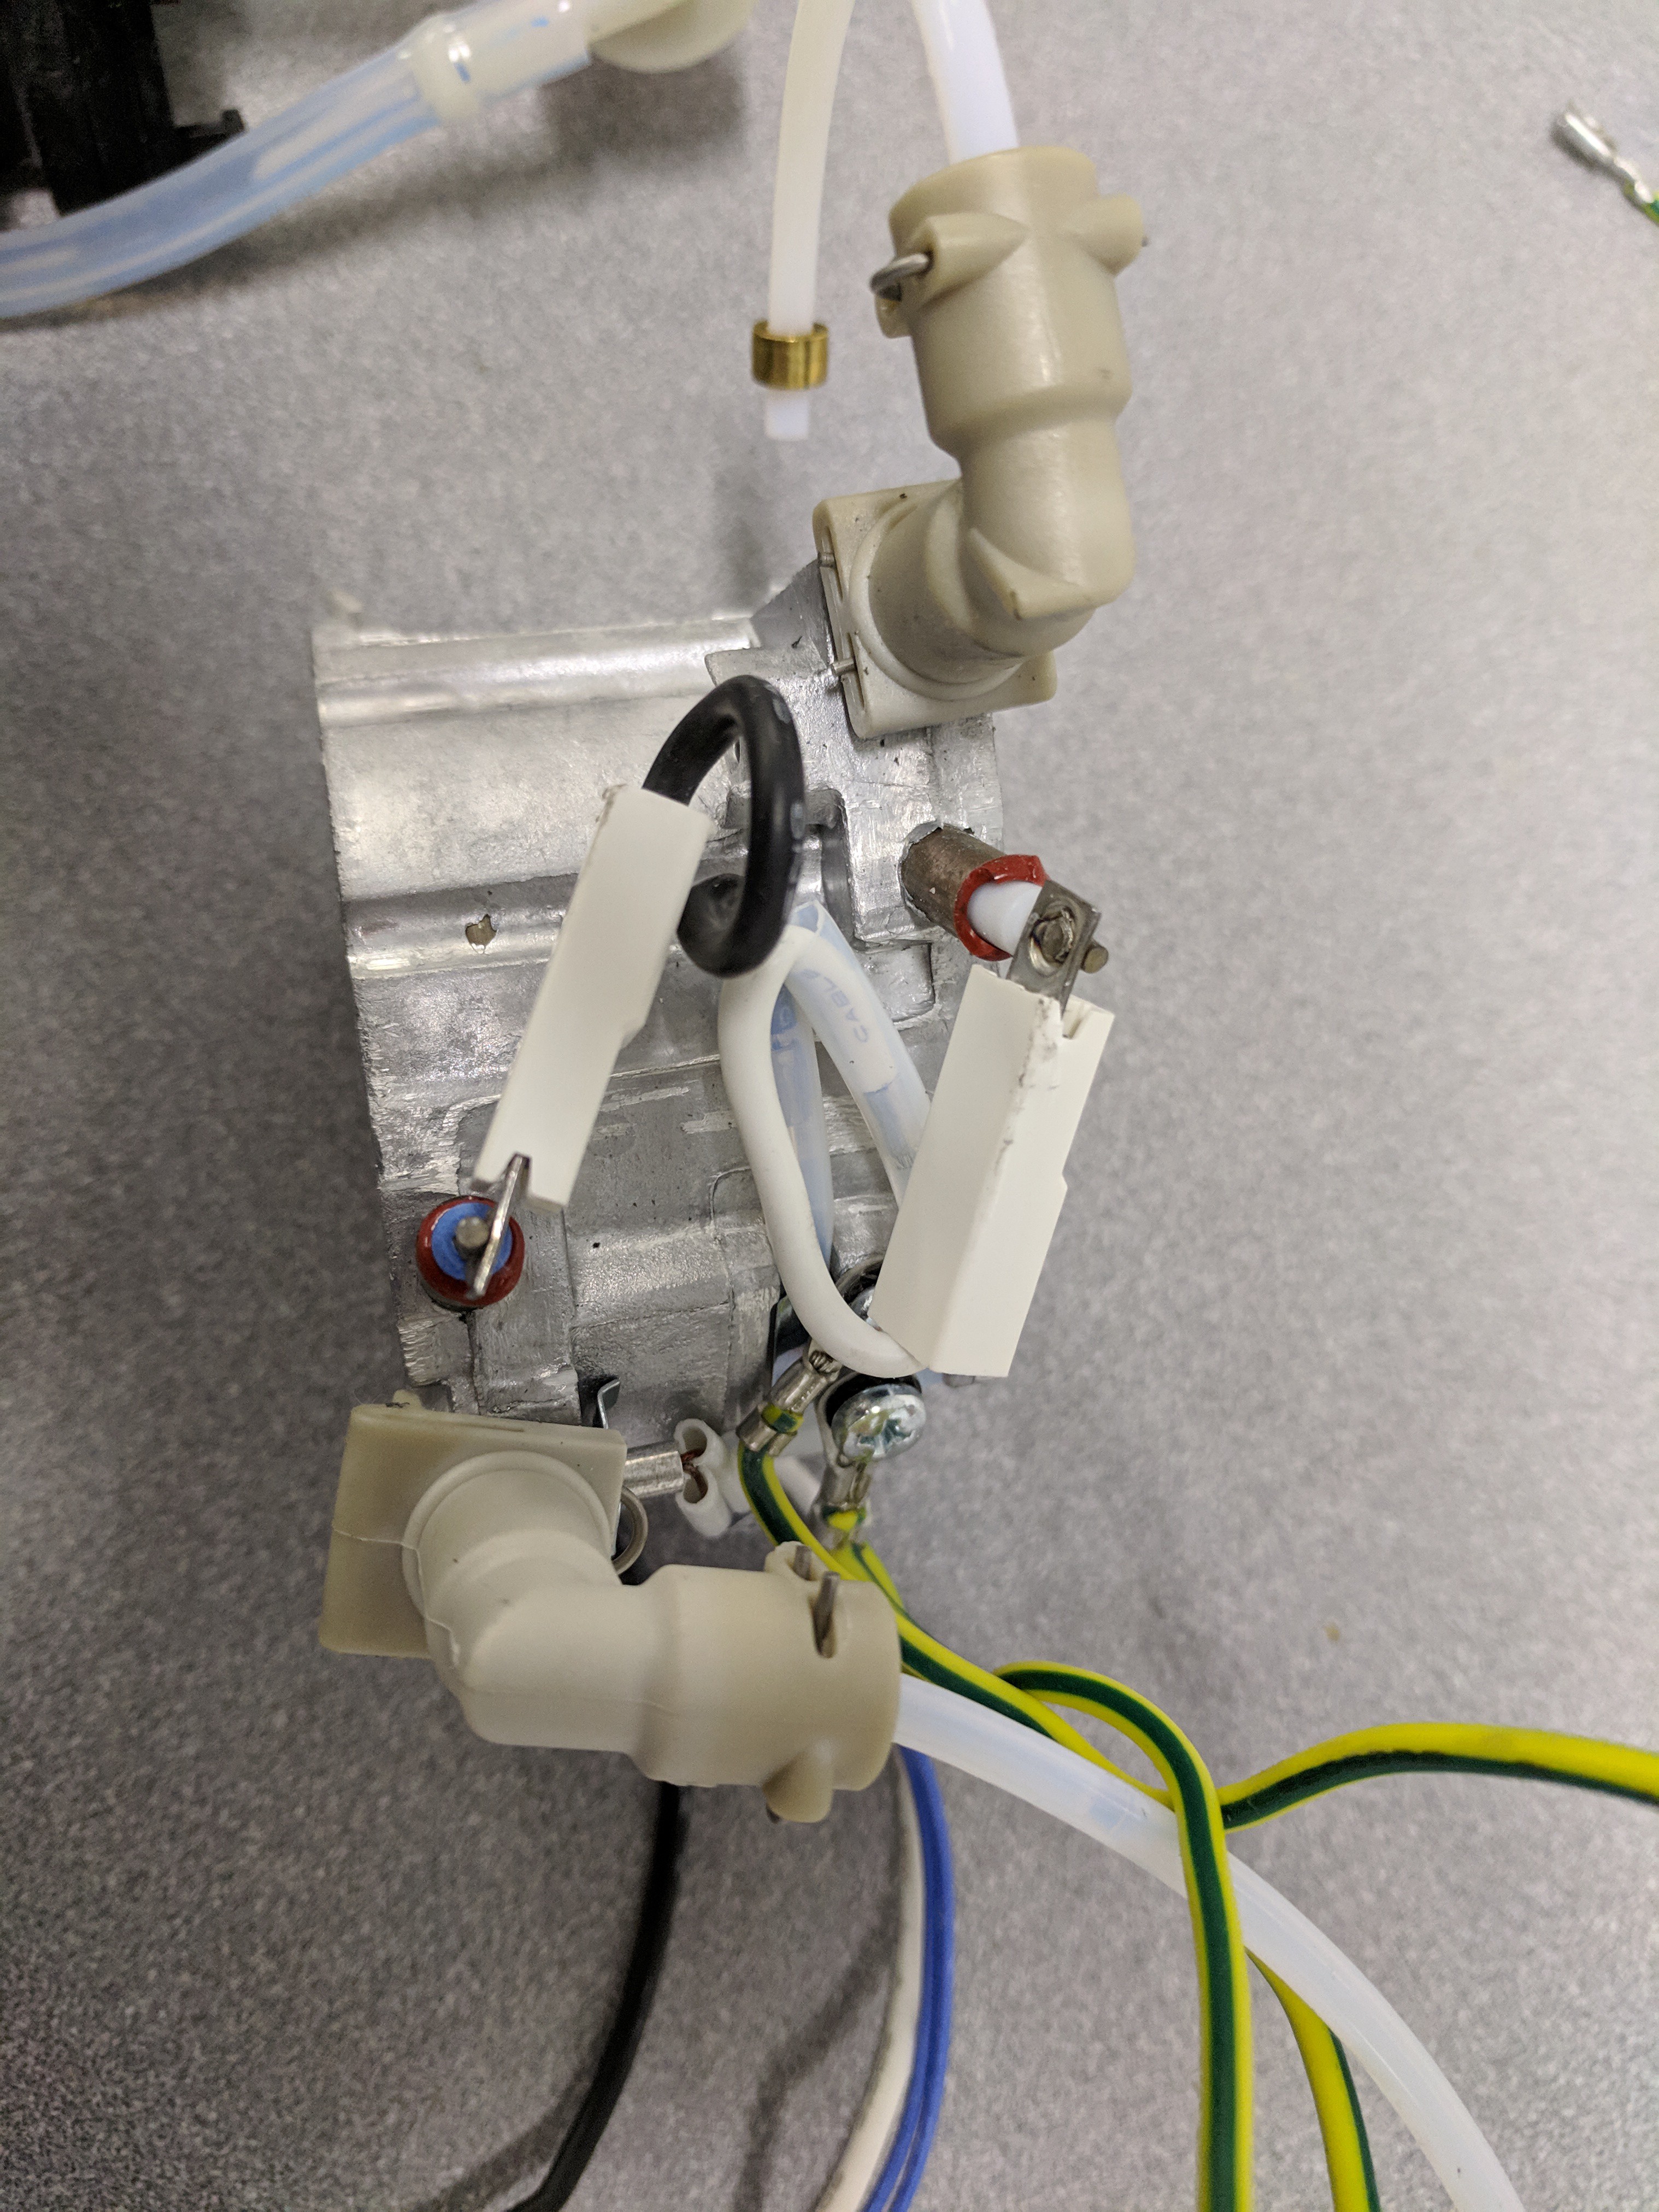
The water tubes had two types of fixture. The thinner tubes had a U-shaped clip which is simply pulled out (easier by using something like a small screwdriver to pull it out).
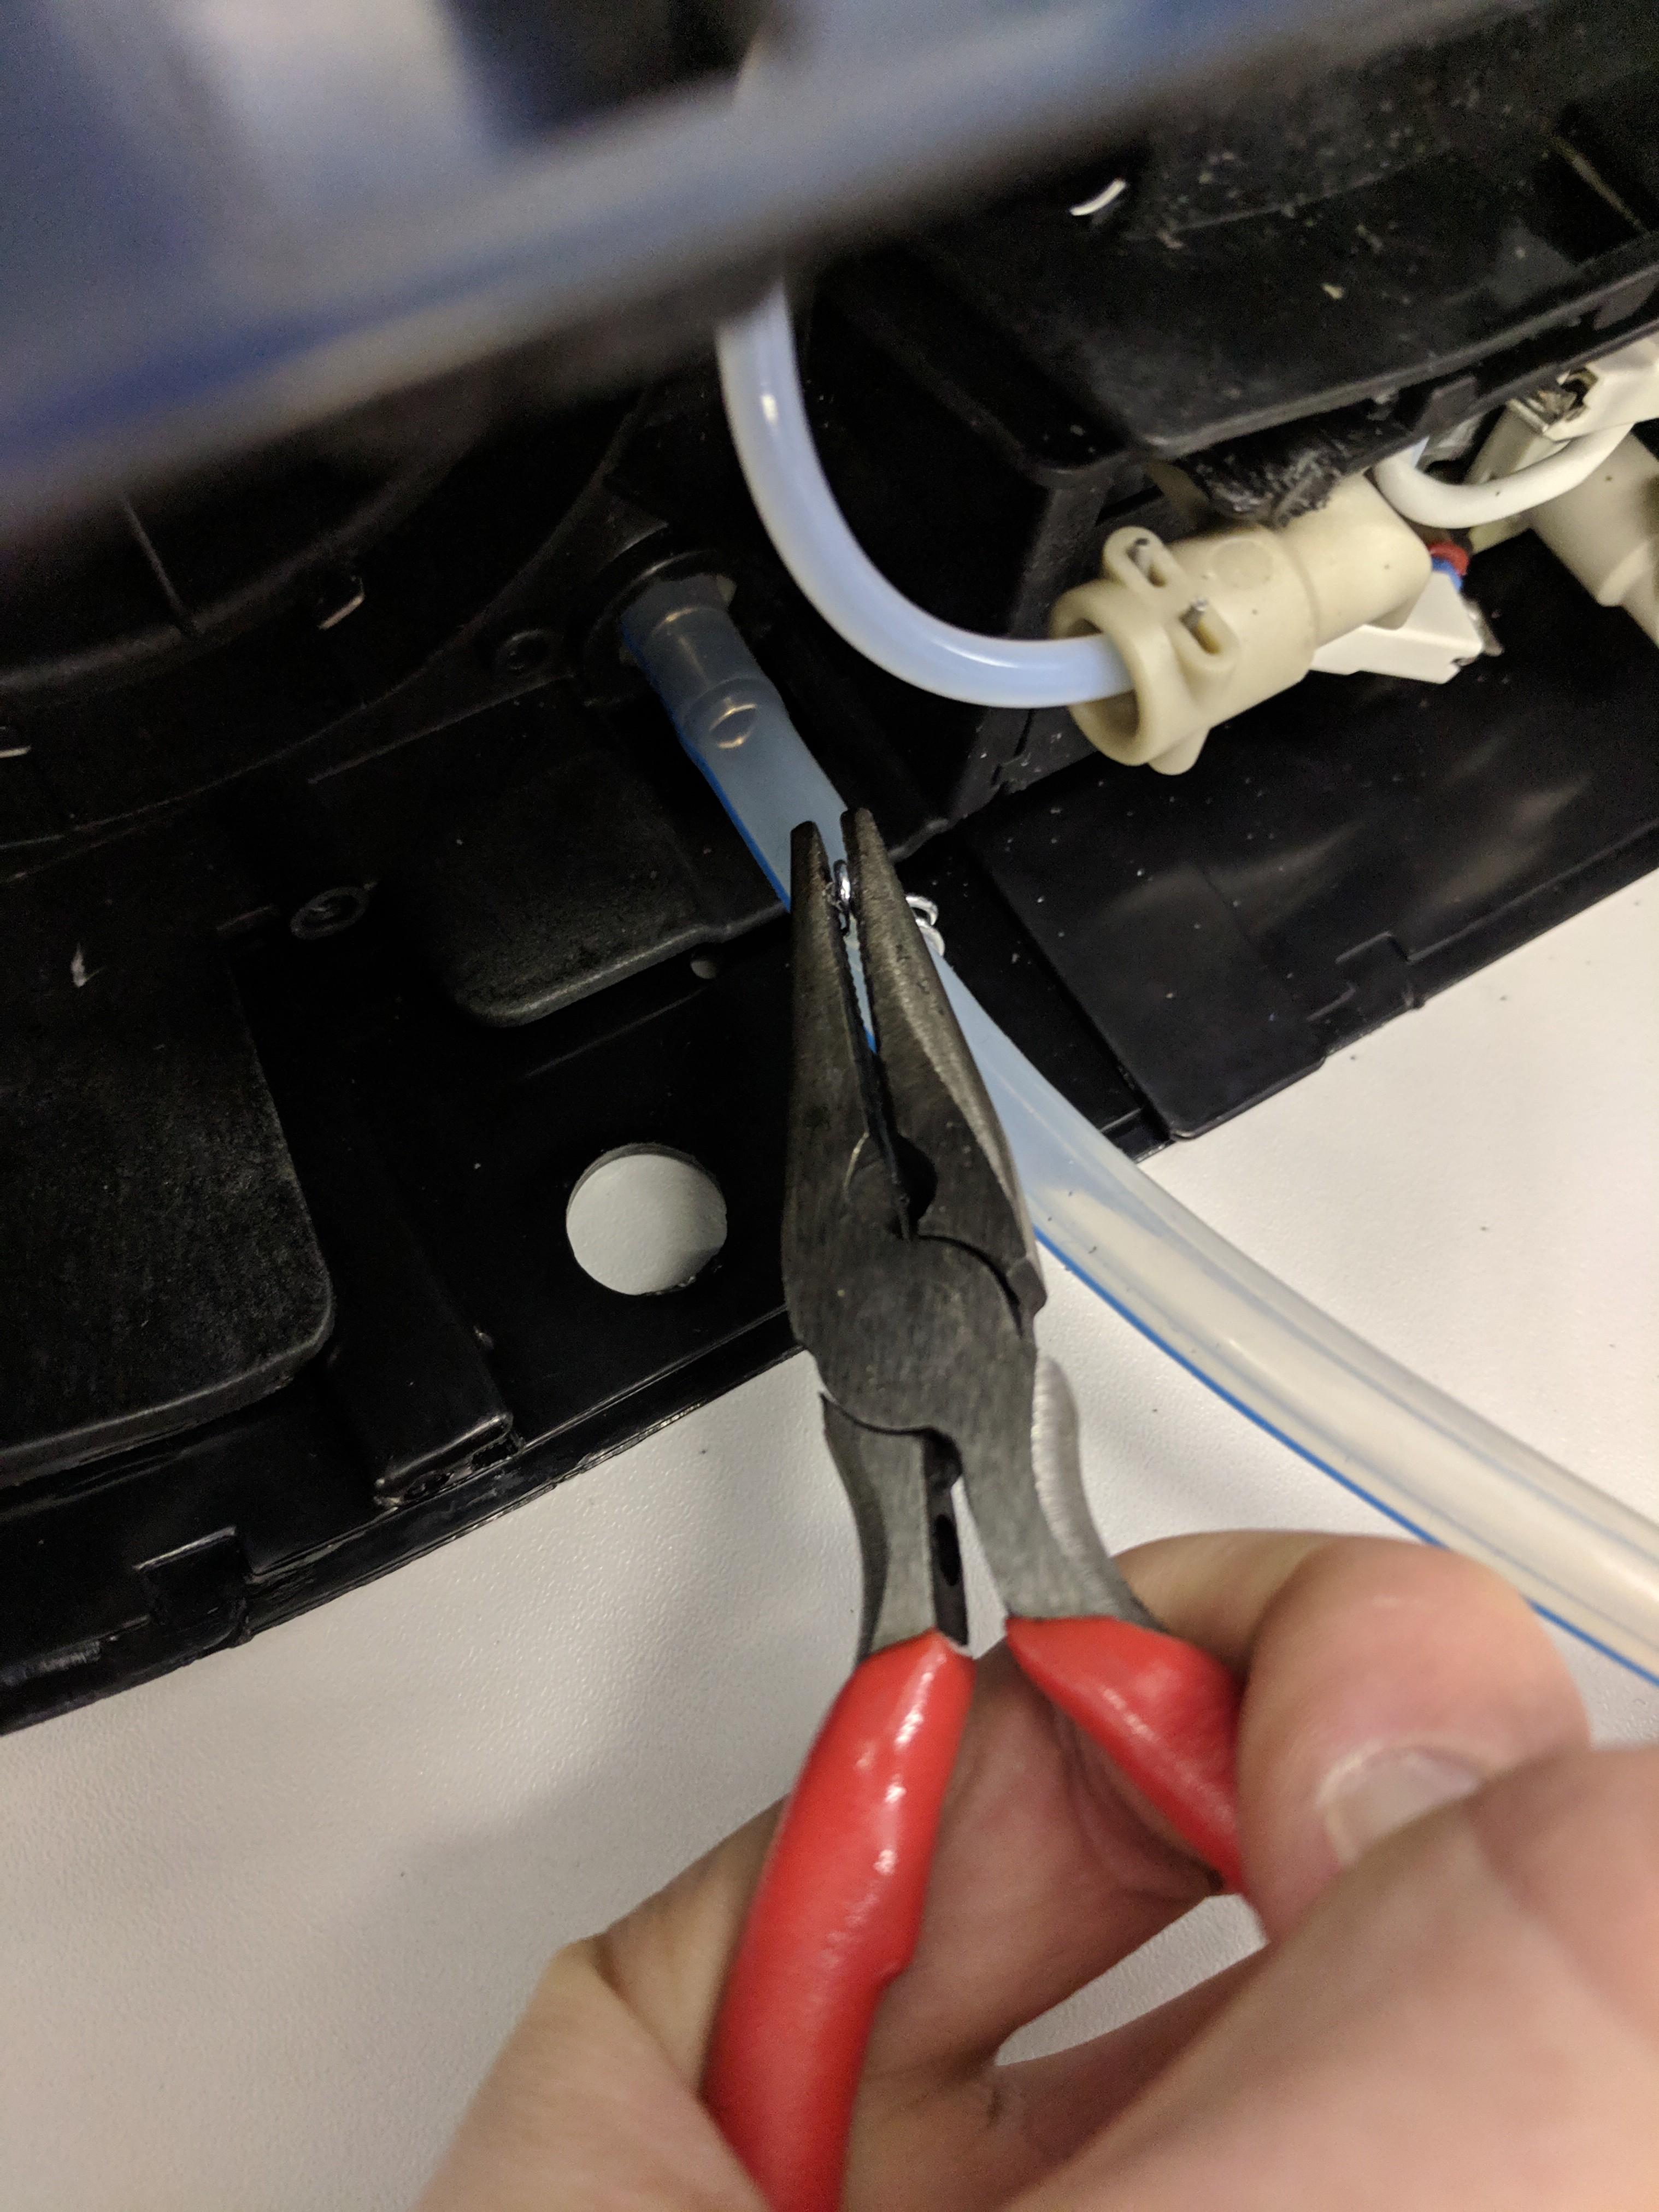
The larger tubes had a more rigid fixture, they are removed using pliers to clasp the two ends together, and then pulling the fixture along the tube away from the fixture point (see image below).
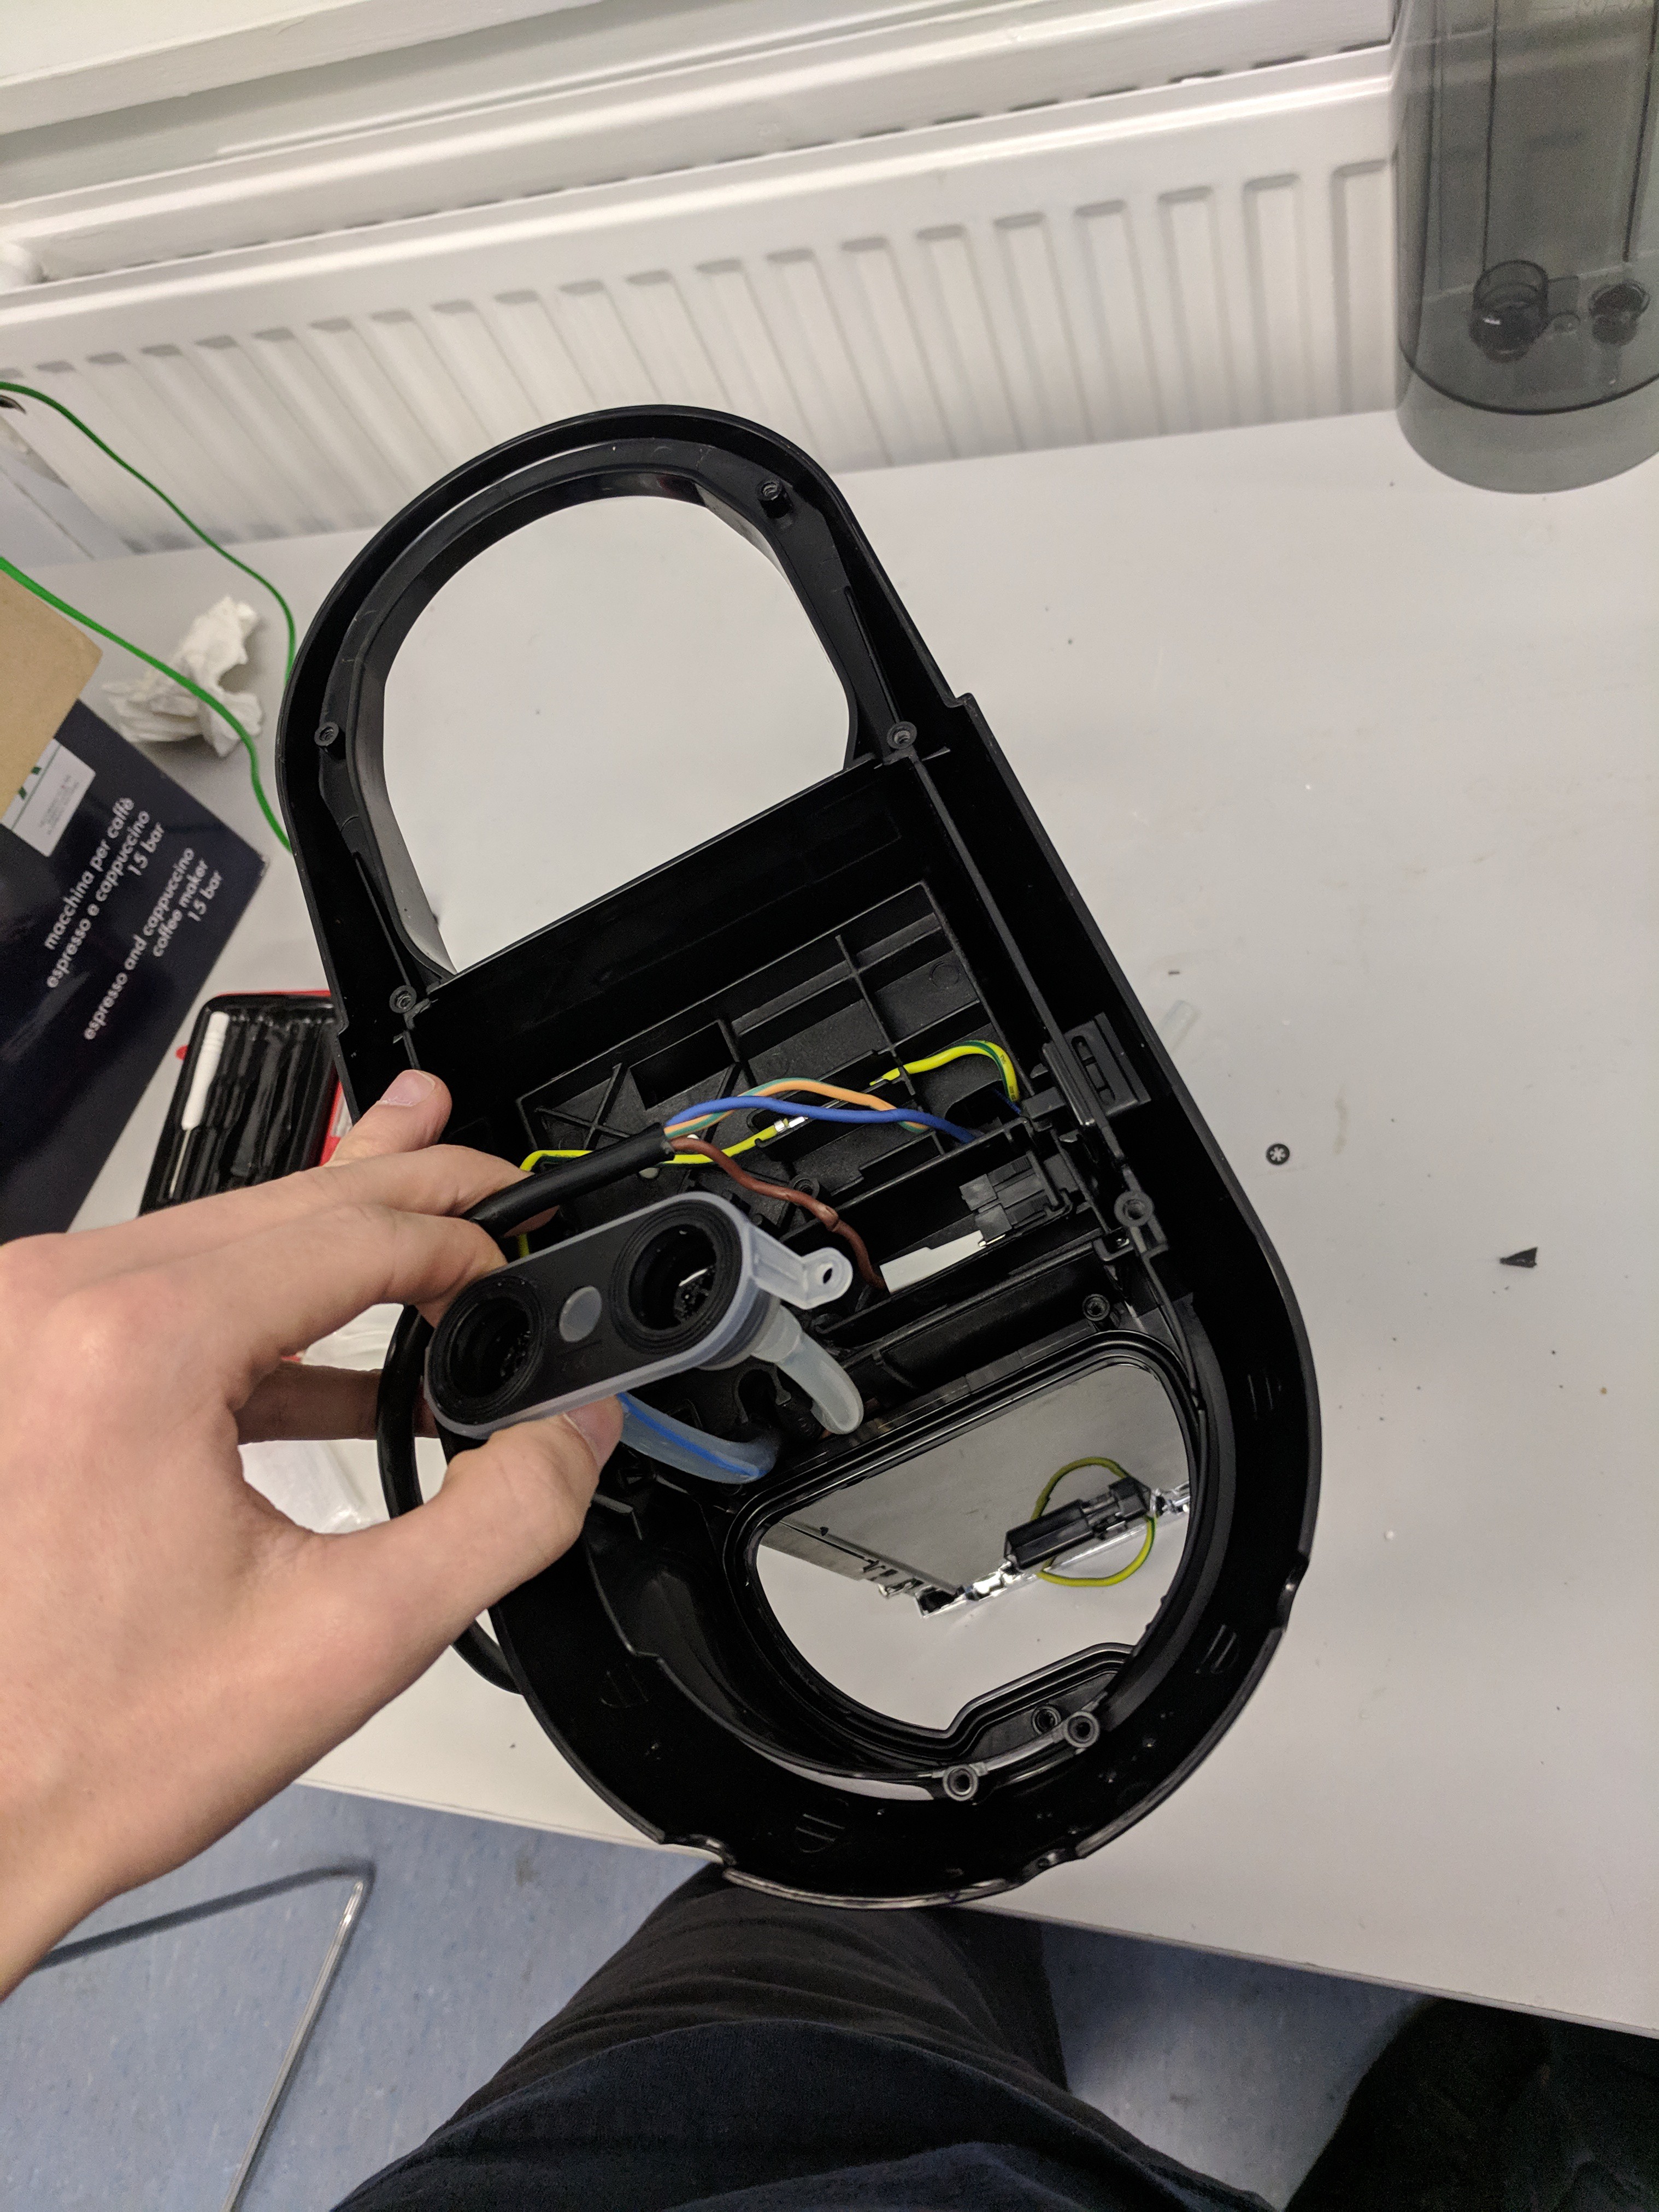
Once all these screws and fixtures have been removed, the following components can be taken out: grouphead; grouphead valve; steamer control switch; main button control panel. The main button control panel requires a PH0 screwdriver.
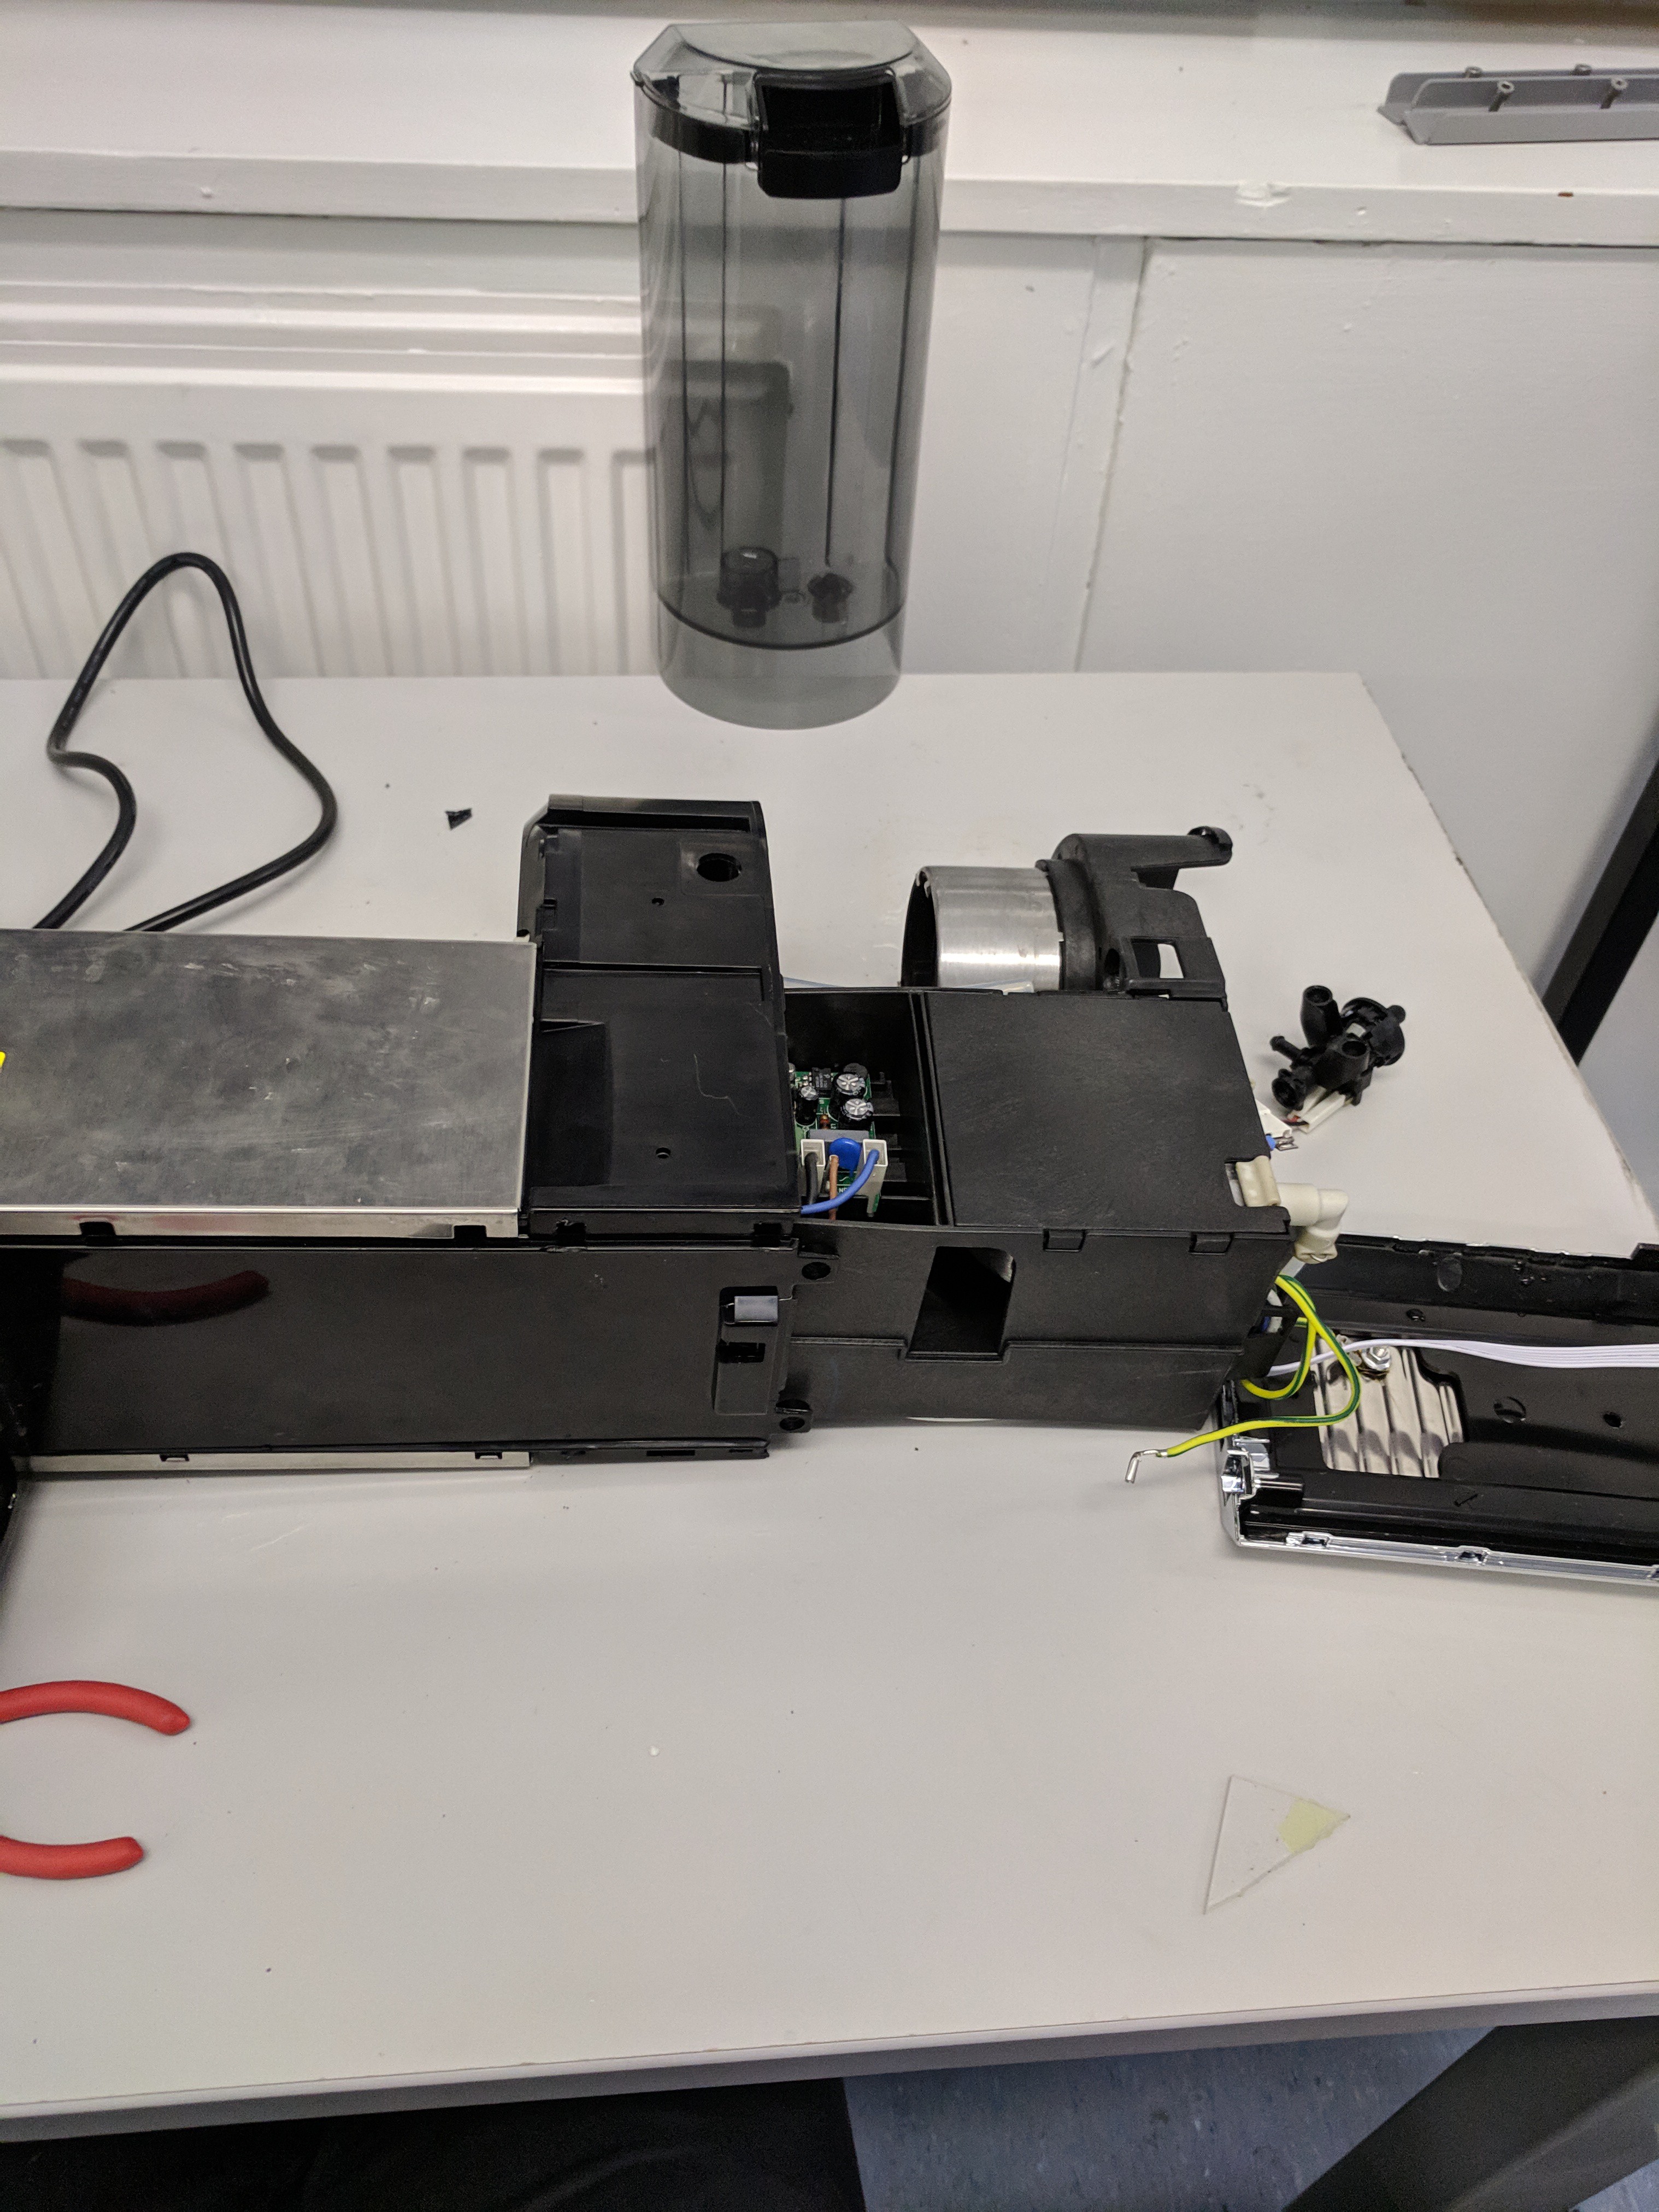
As can be seen inside the machine, there is an internal tower which contains the main components. To remove this tower, the bottom of the machine needs to be opened and all the screws removed, requiring the PH2 and a T20 security Torx screwdriver.
Ensuring any earth cables have been unclipped, the tower can be pulled out.
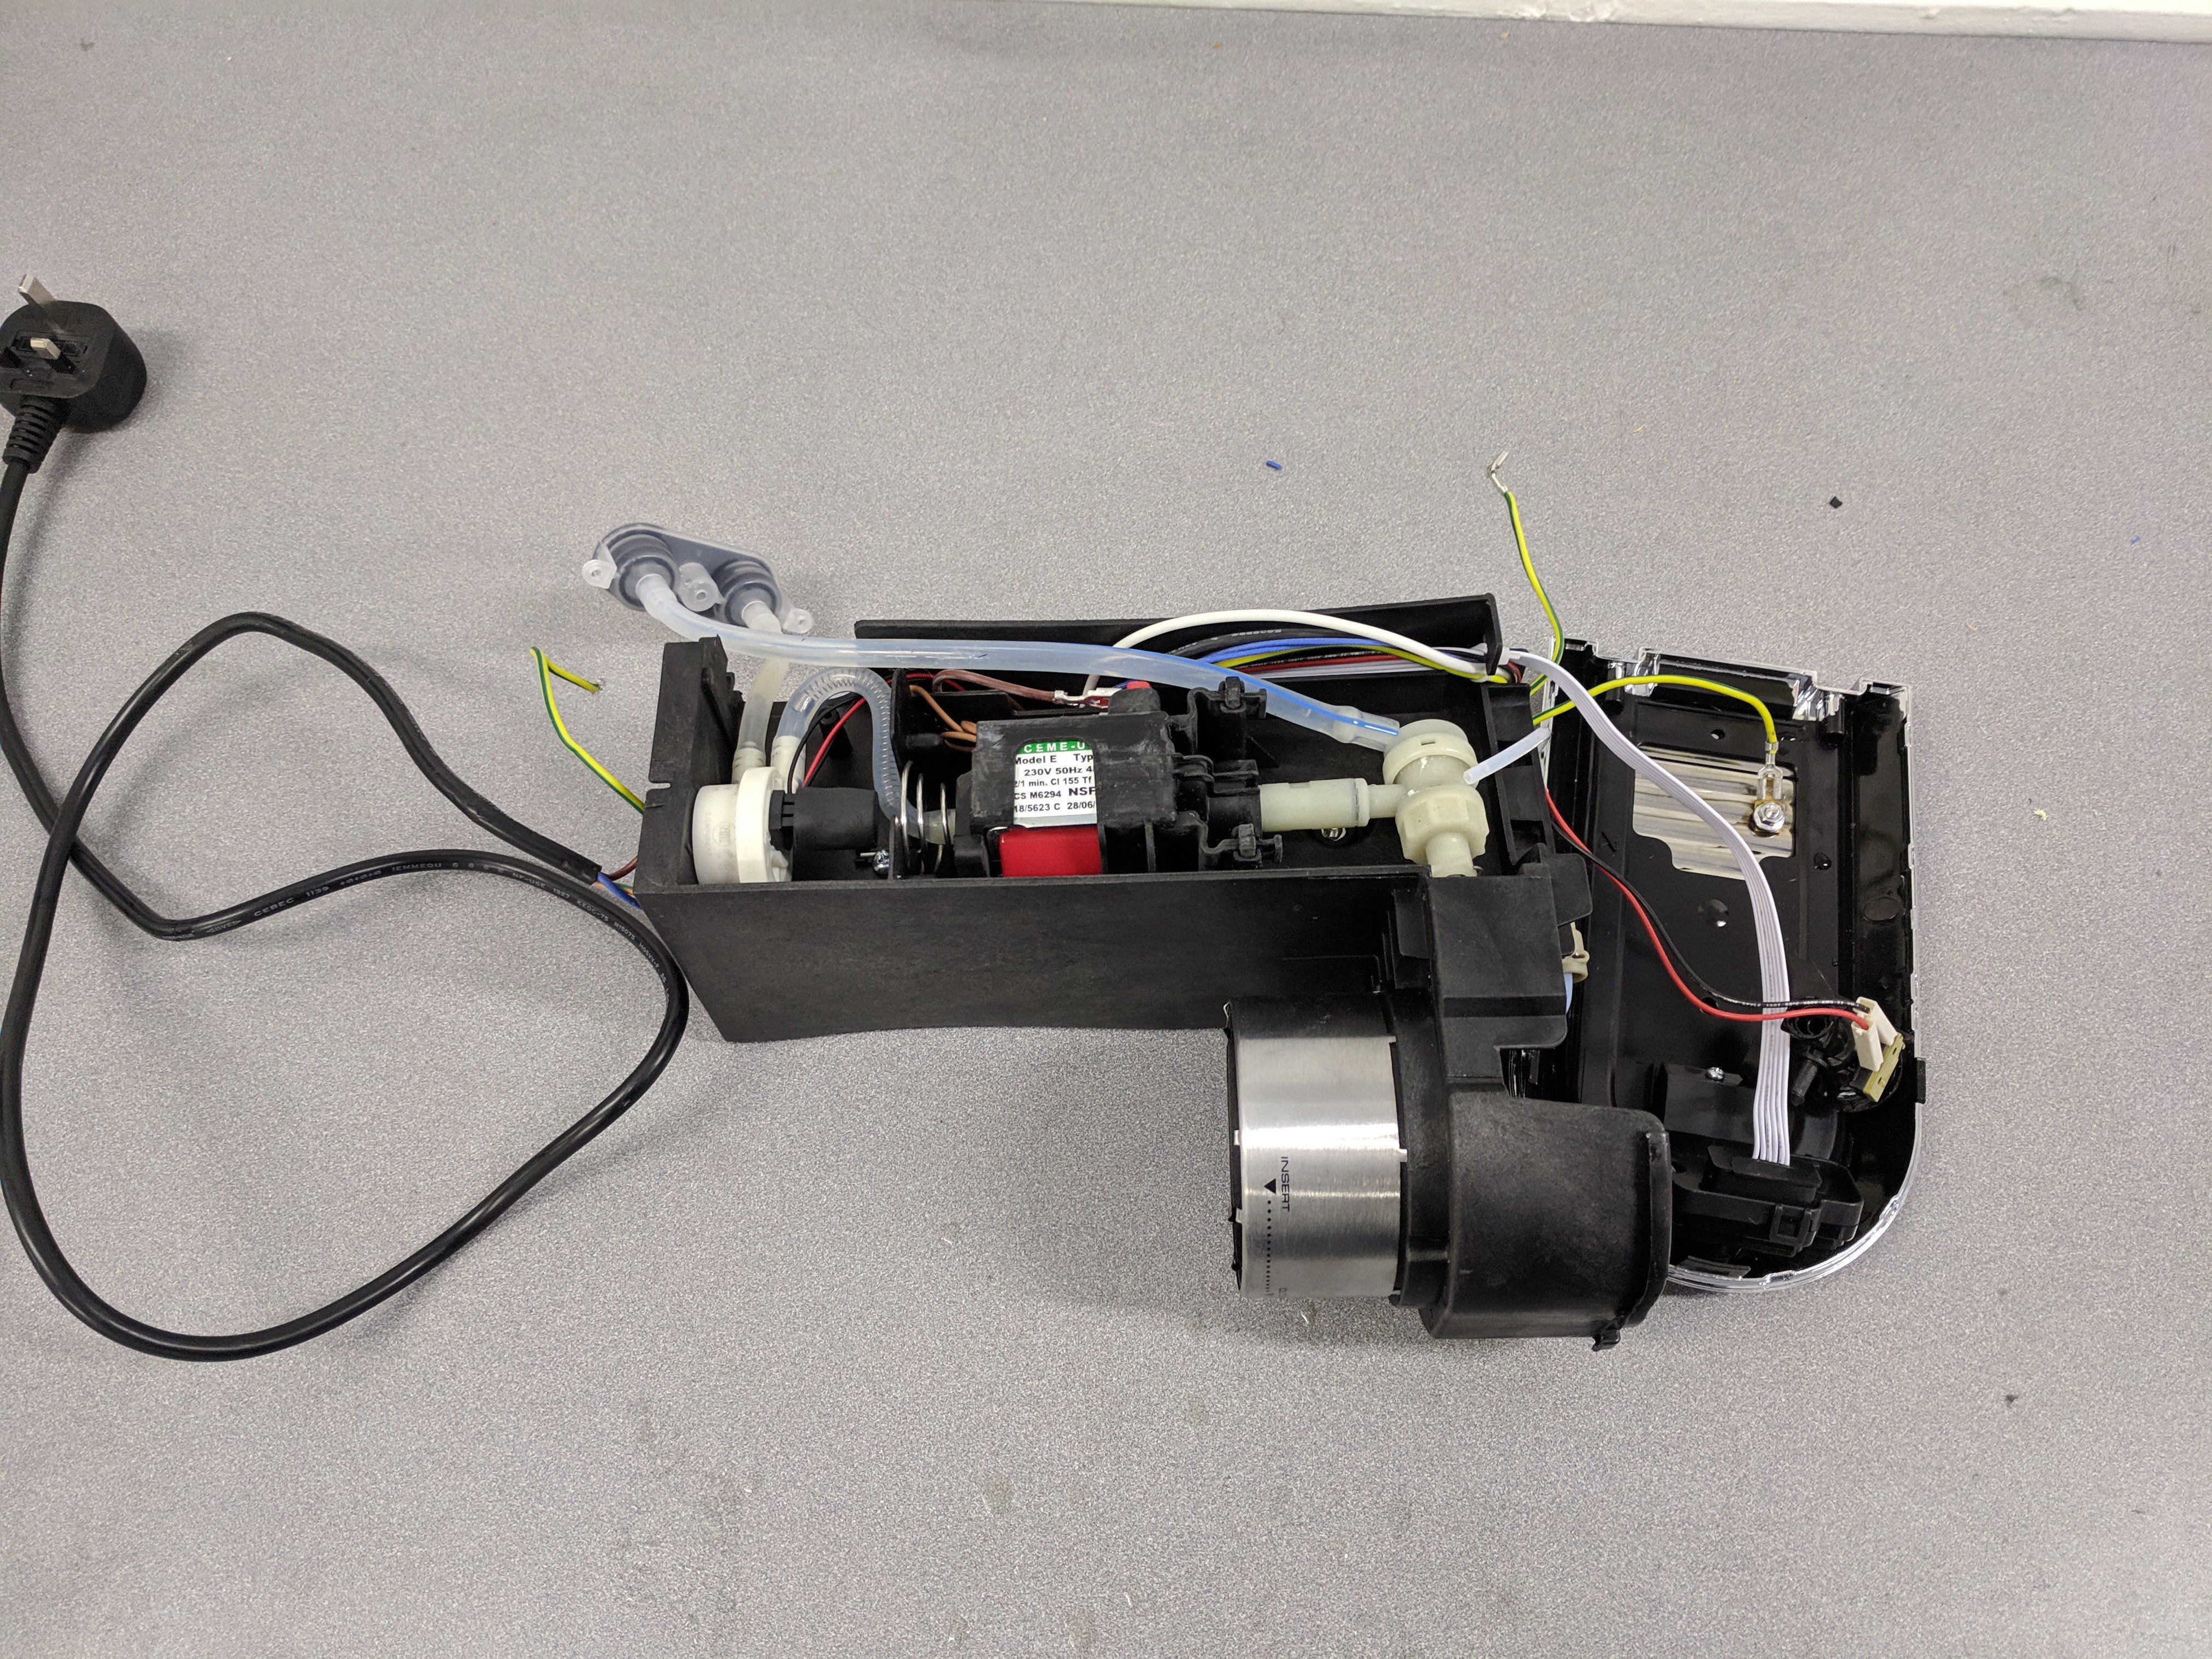
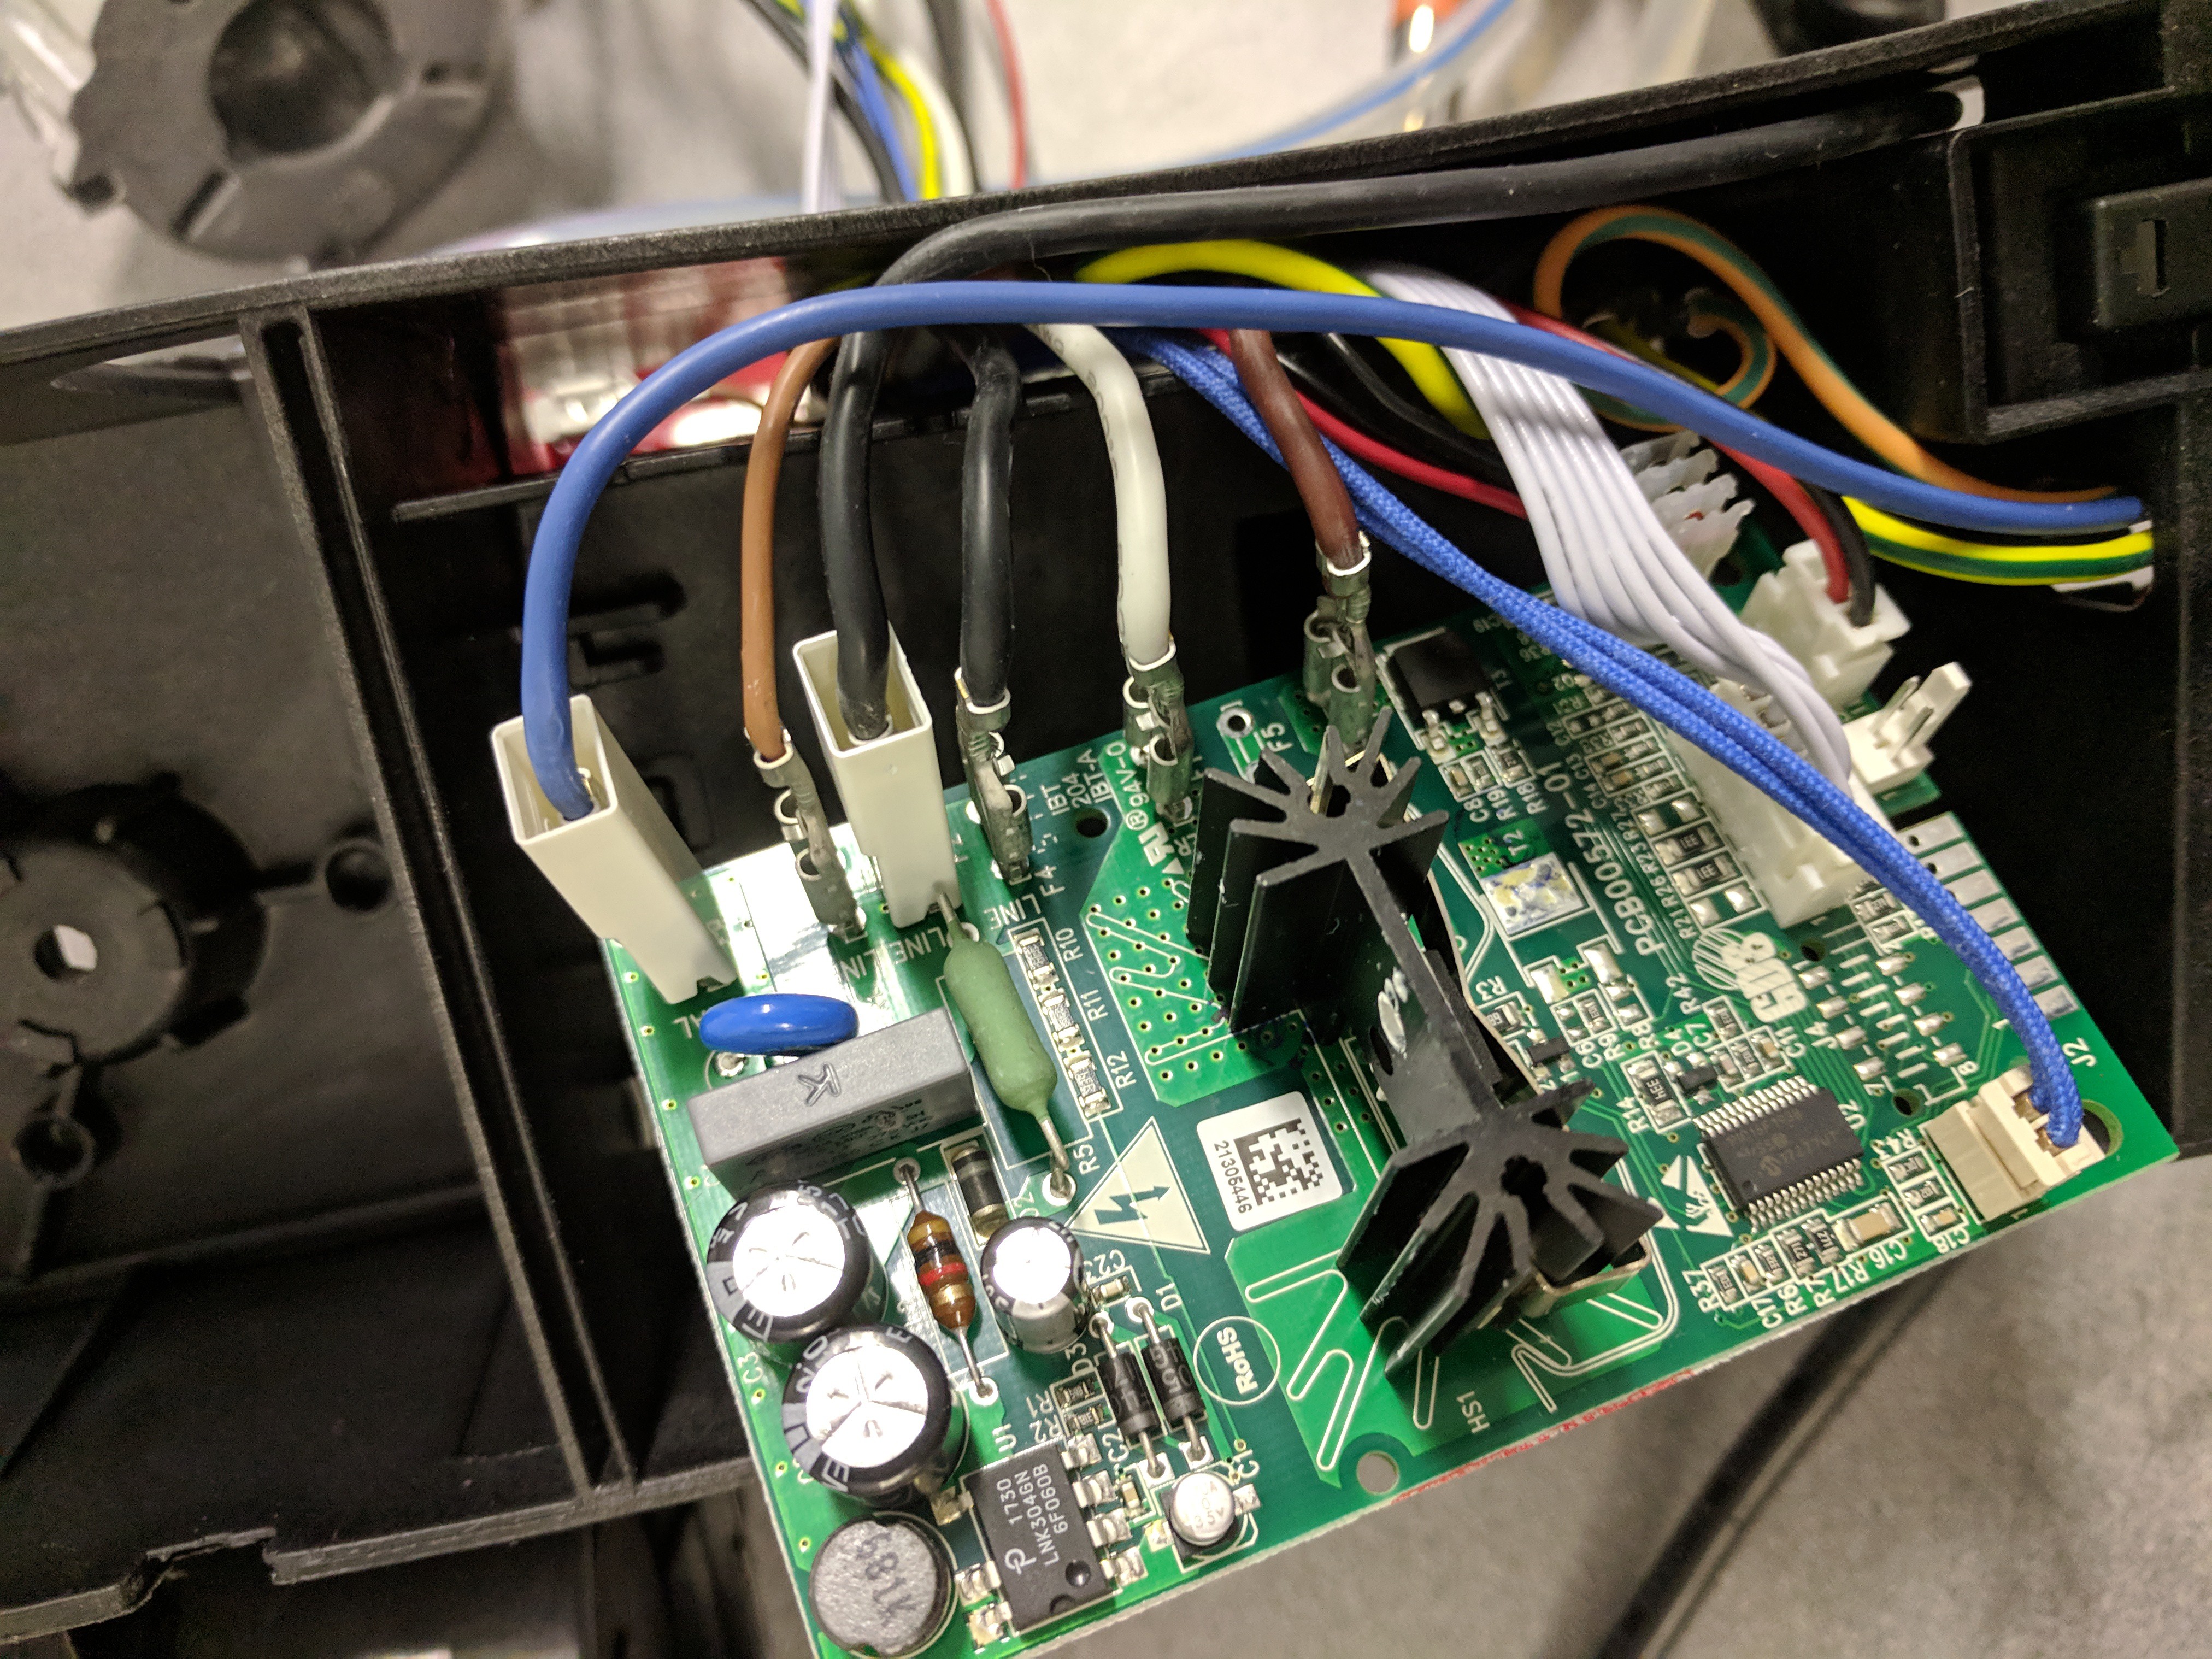
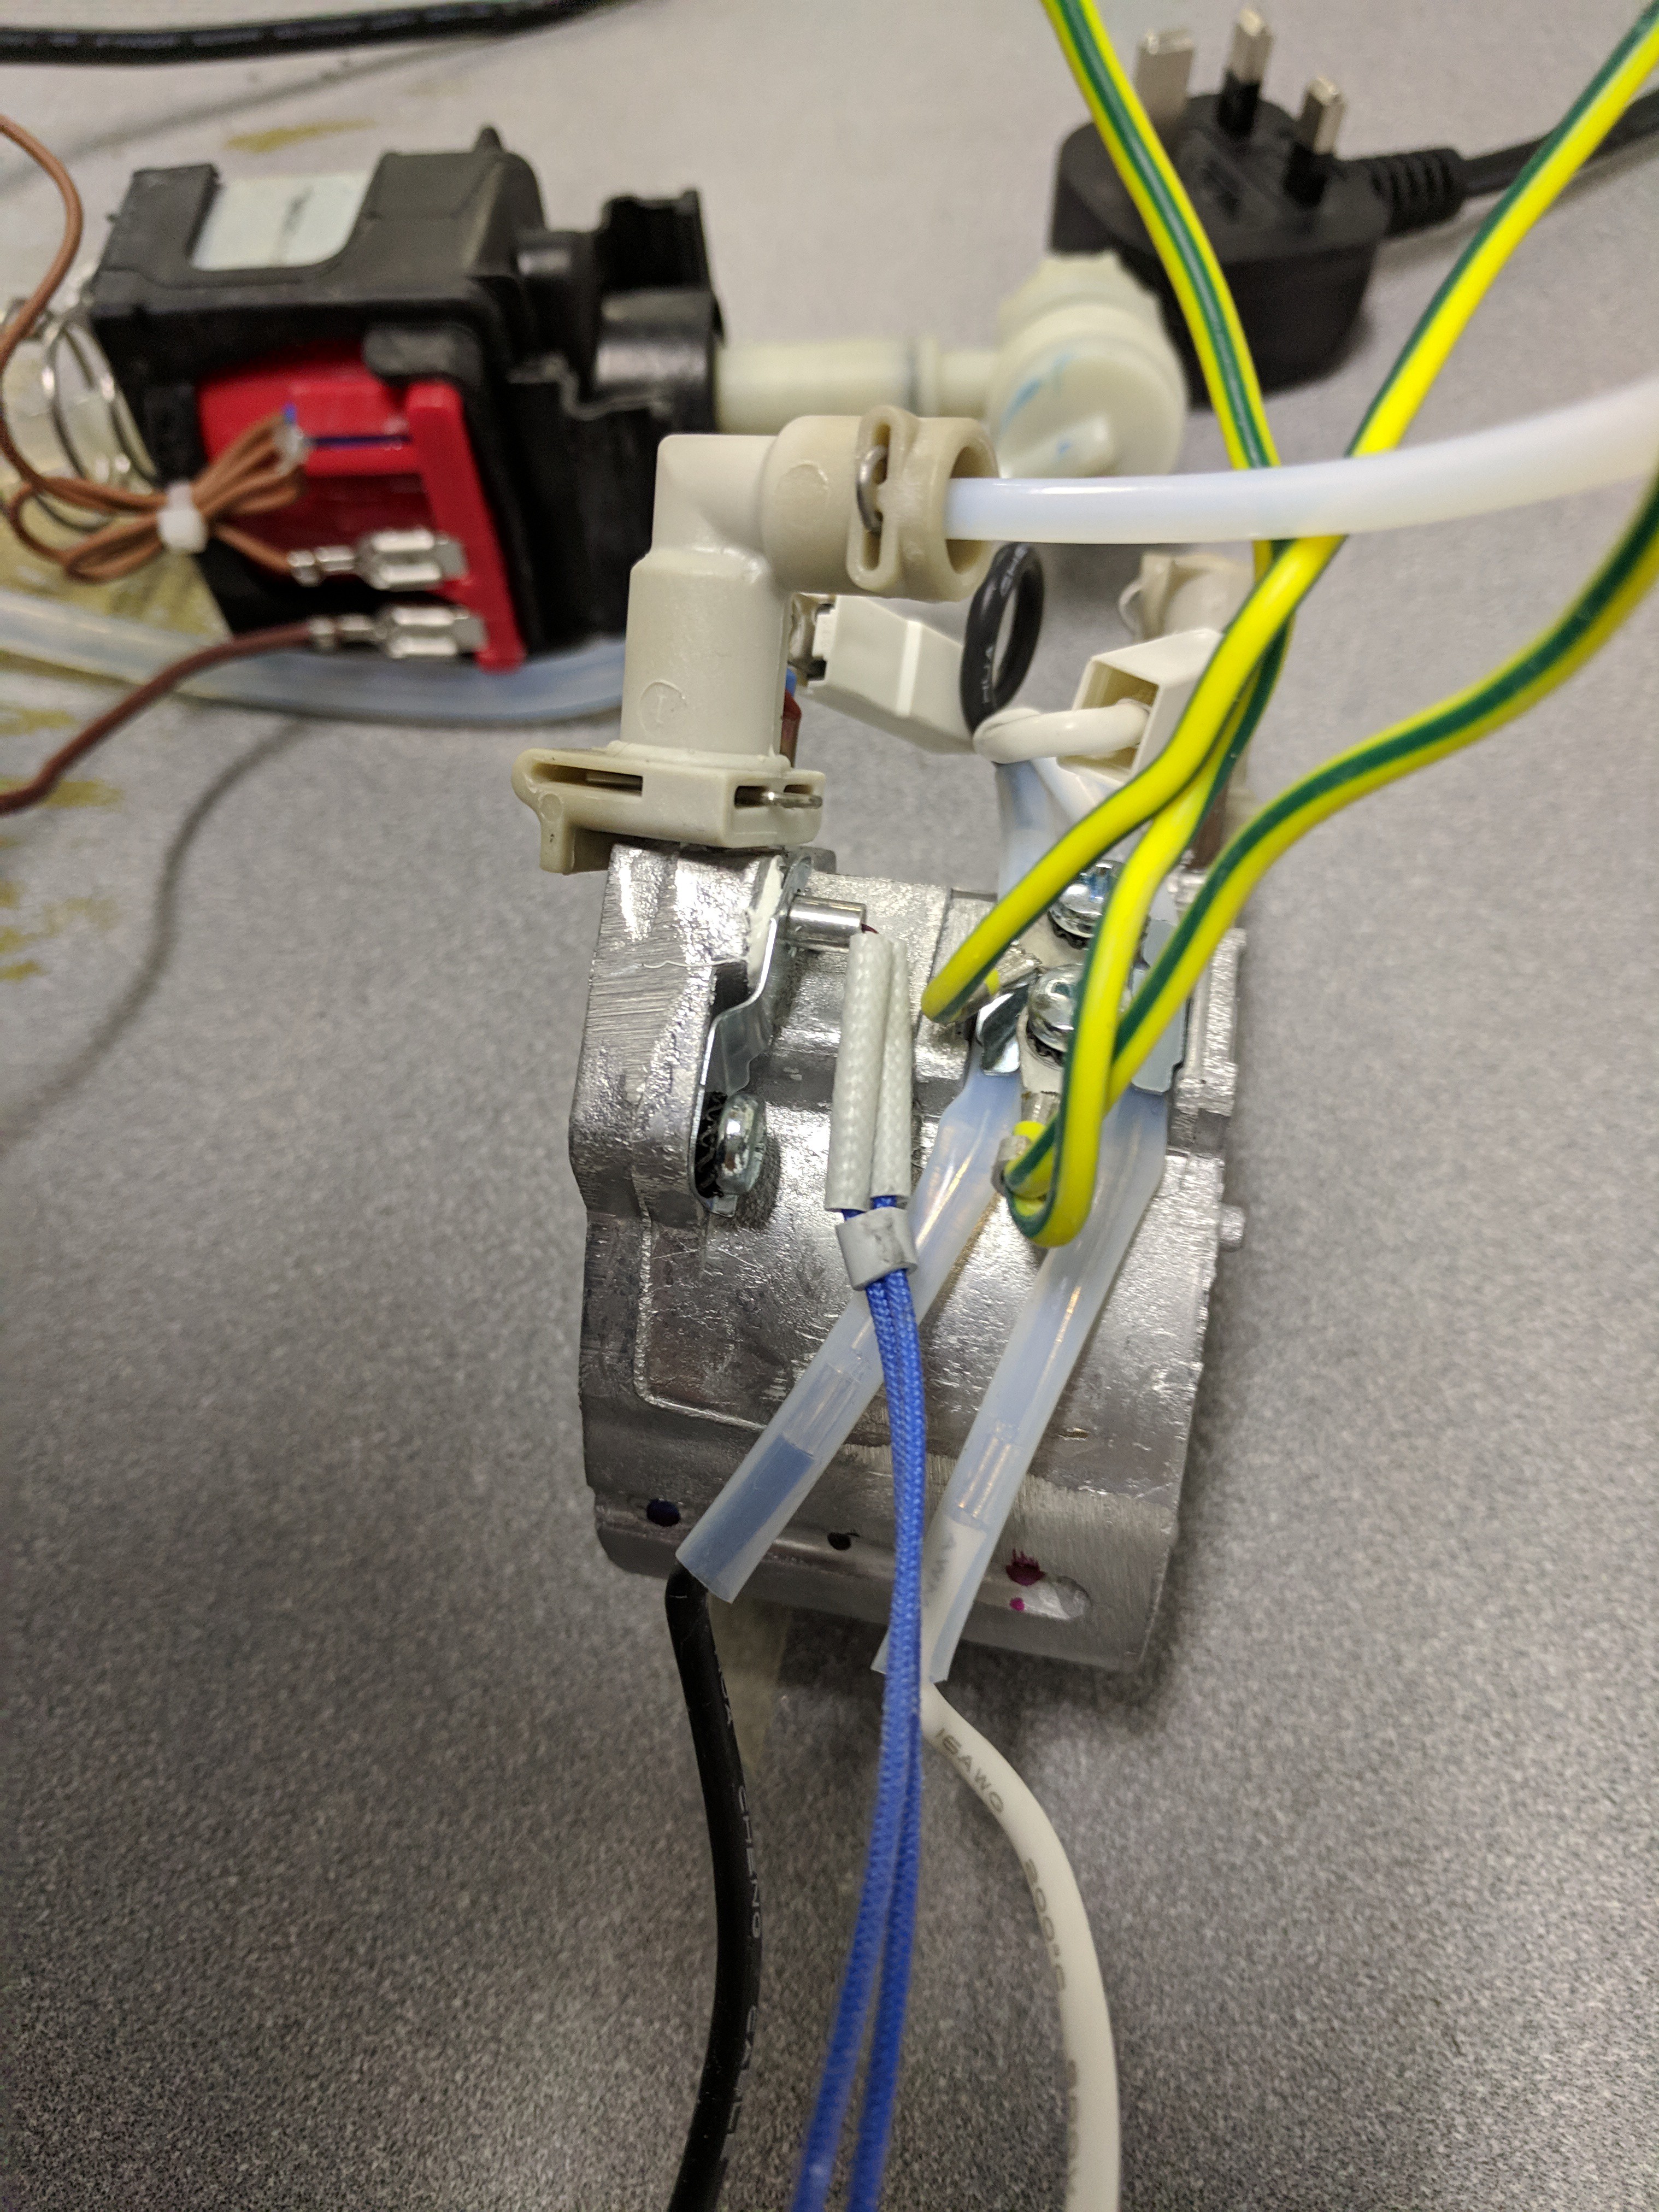
Next, make a note of cable positions on the control board, before unclipping them.
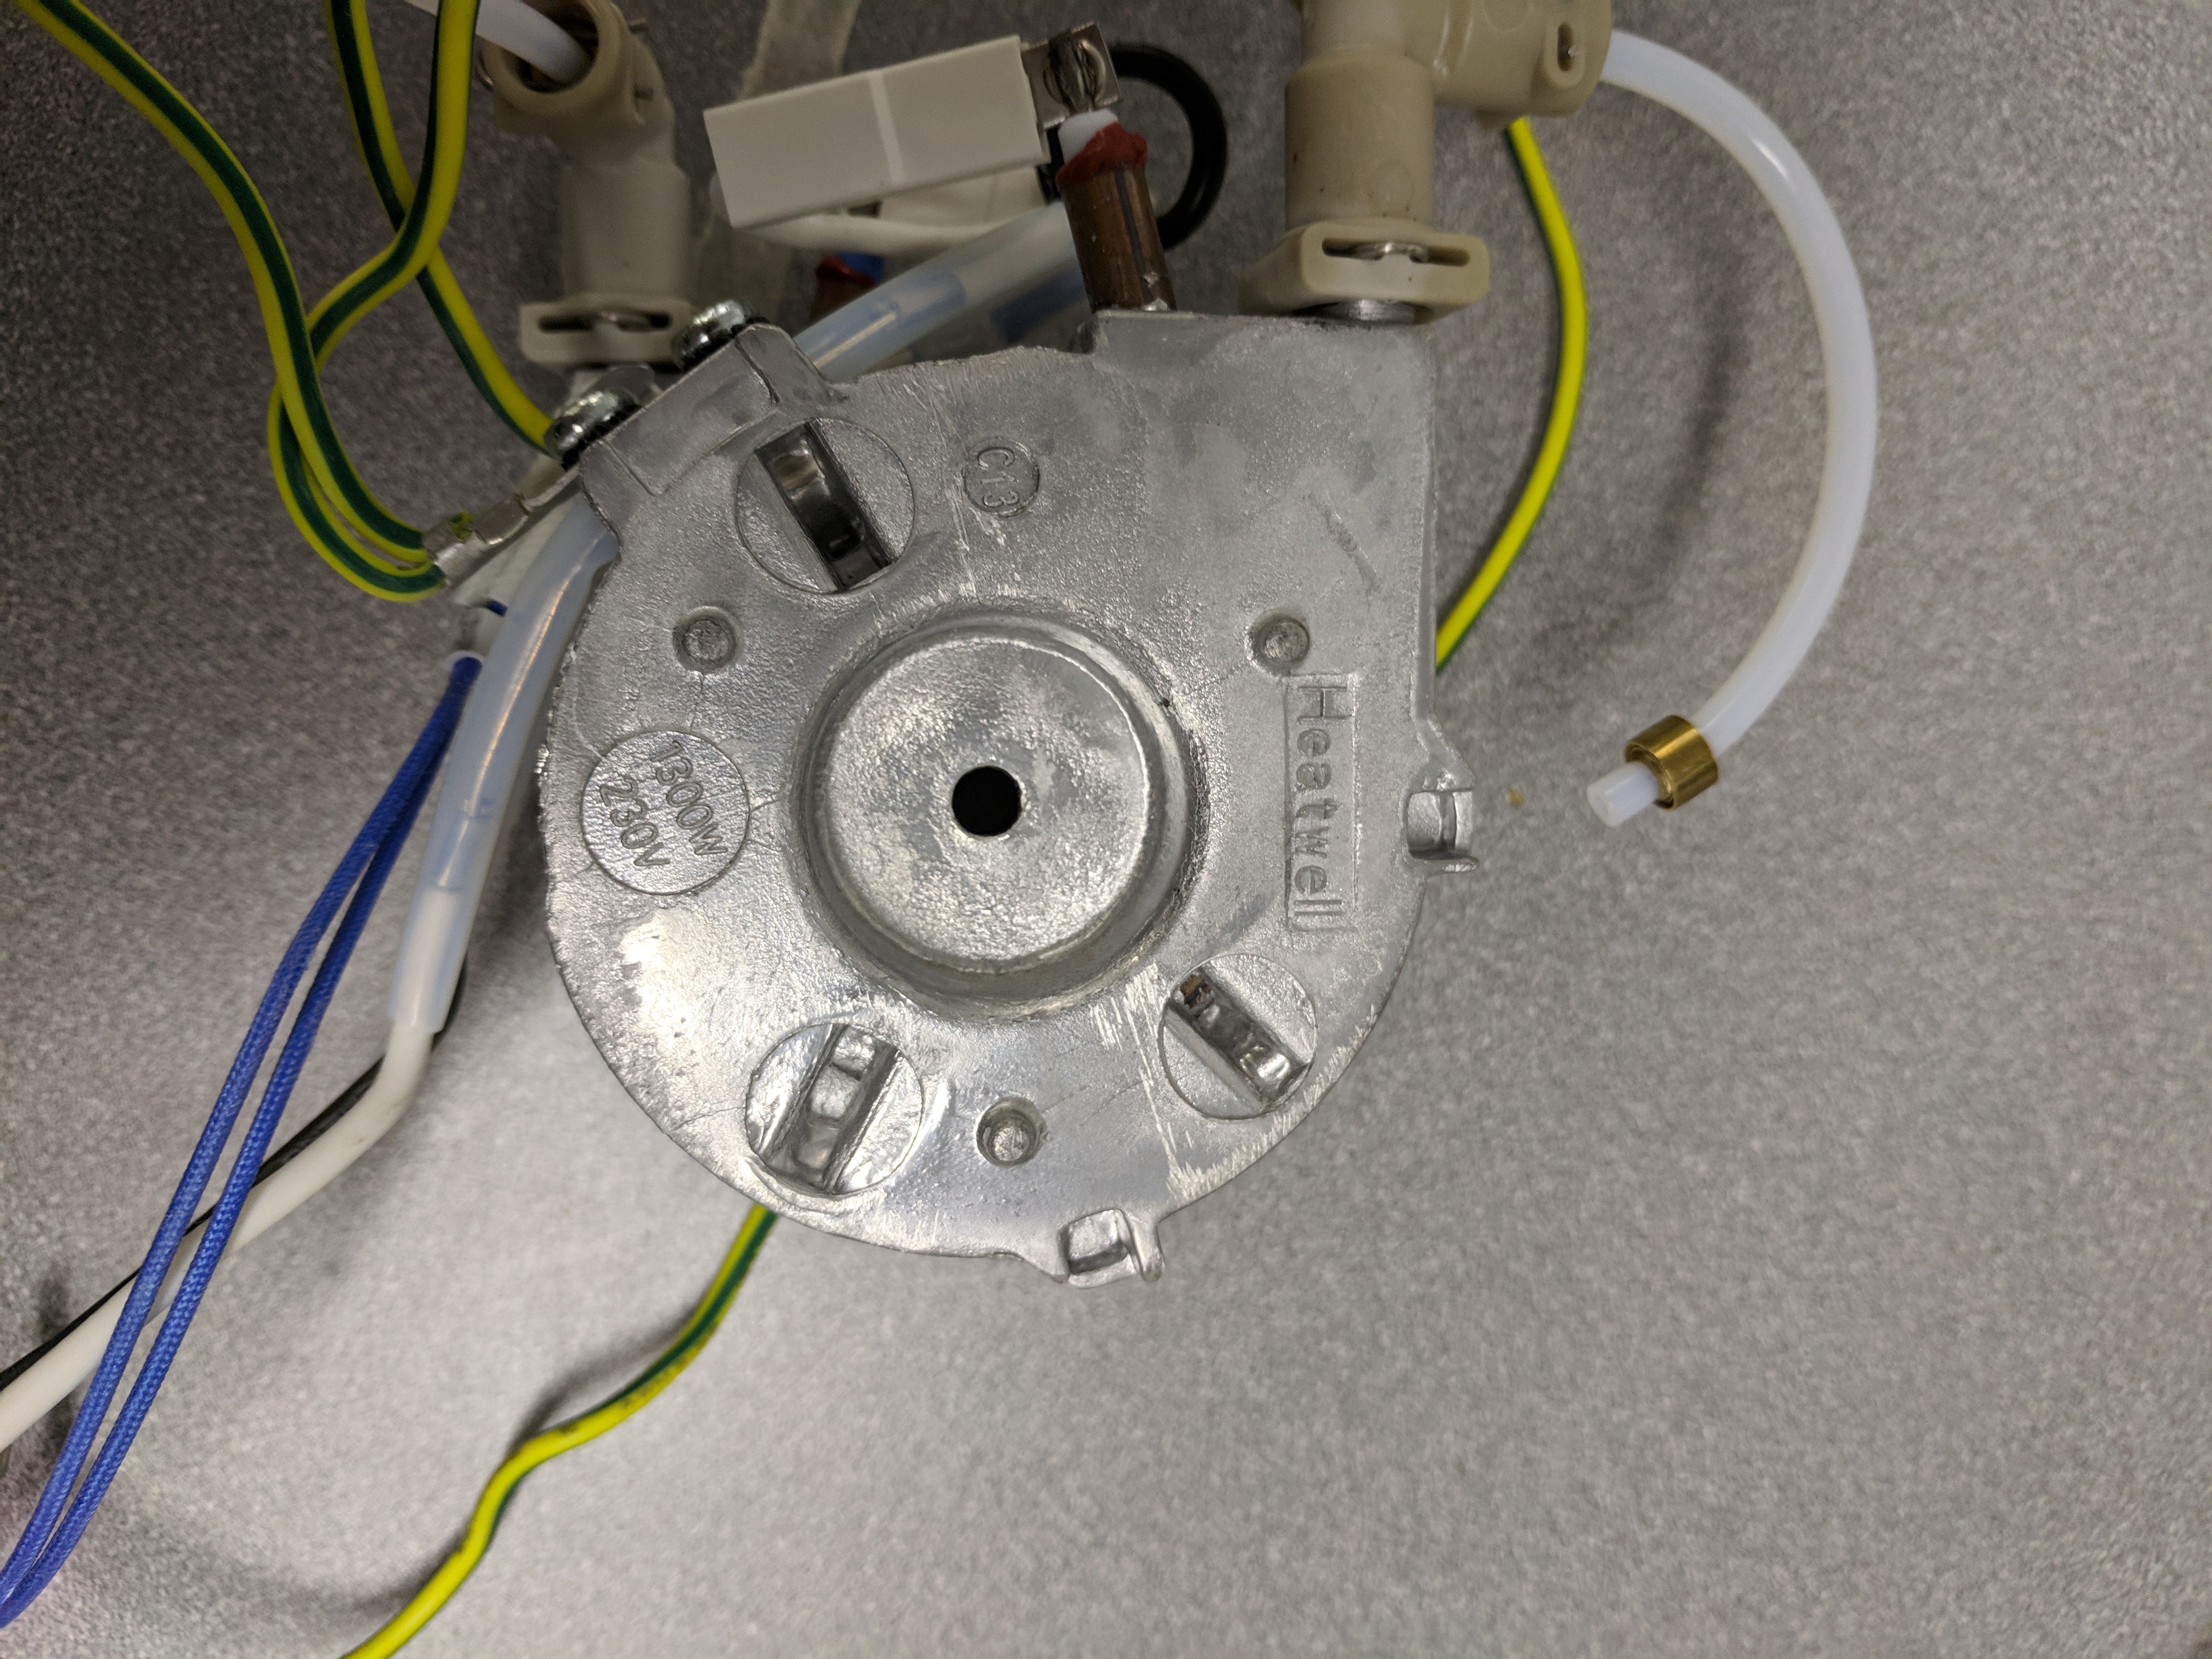
Removing the heating element is the most difficult step as it very tough to remove the outer panel (or I was doing it wrong). It consists of 4 plastic clips, however they didn’t seem to unclip easily at all. I ended up using pliers to pull it off, after a lot of effort (please comment if there is an easier way to remove this panel). Once the panel is removed simply unscrew the heater from the tower.
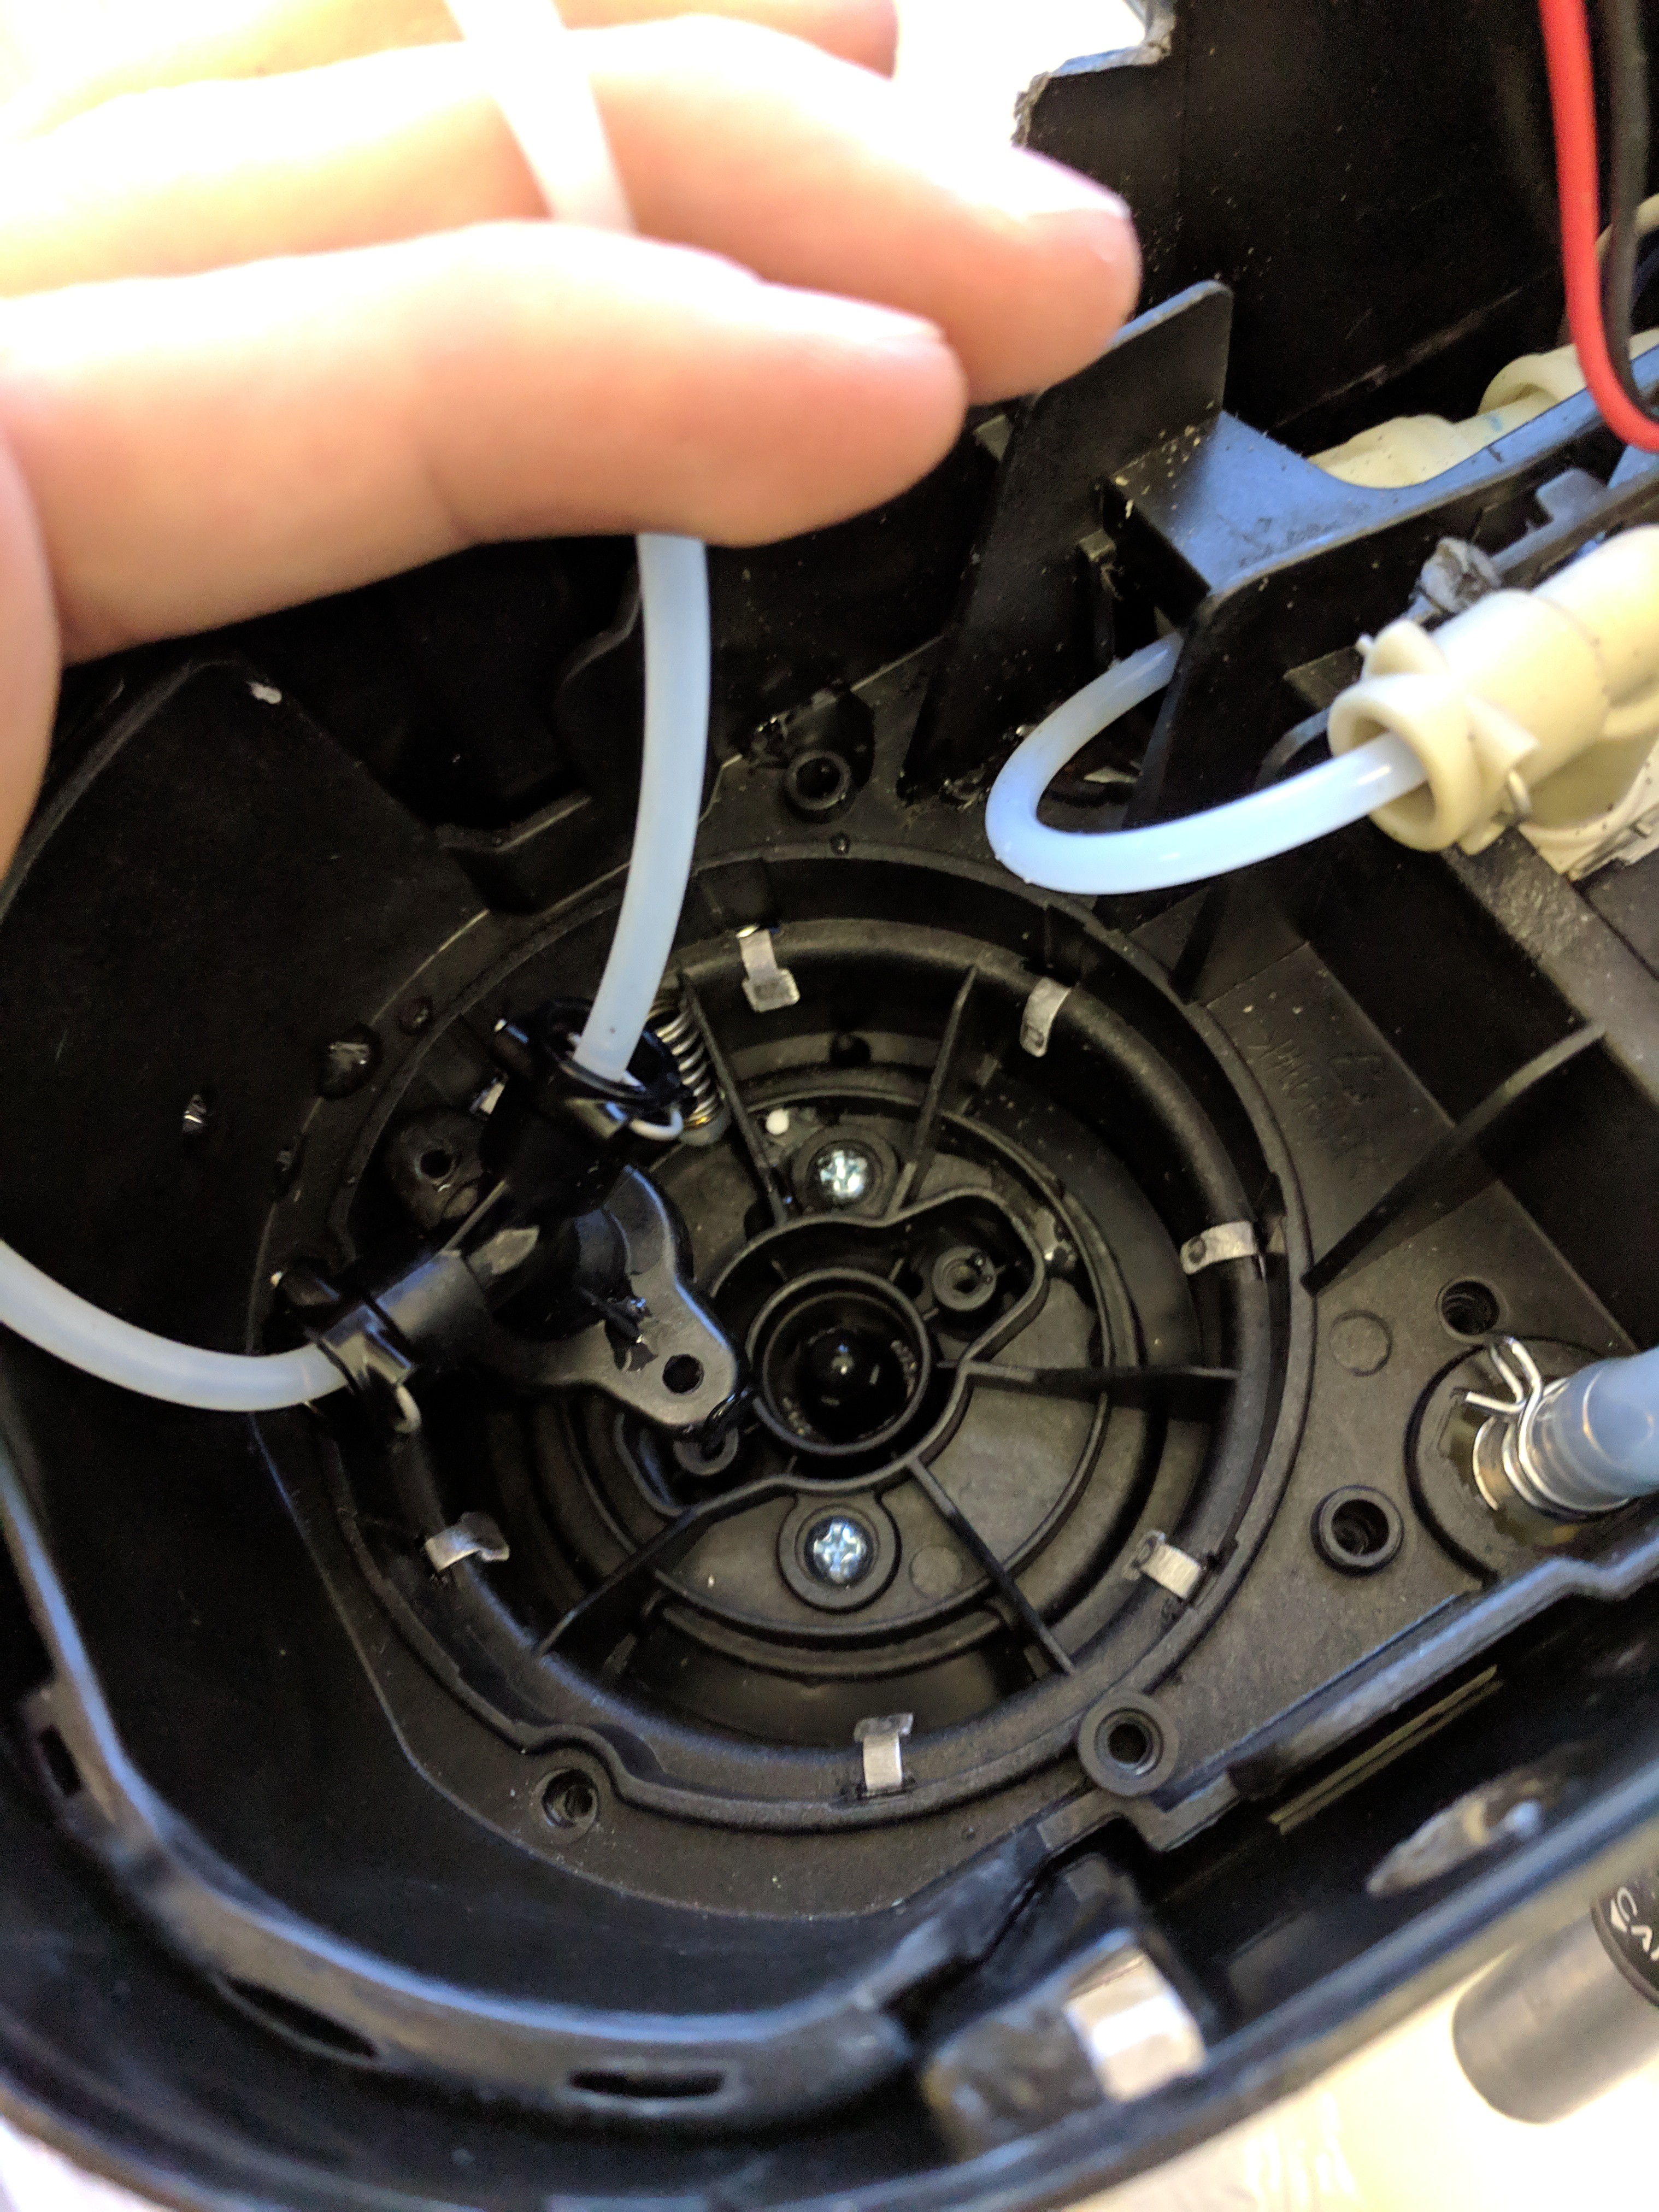
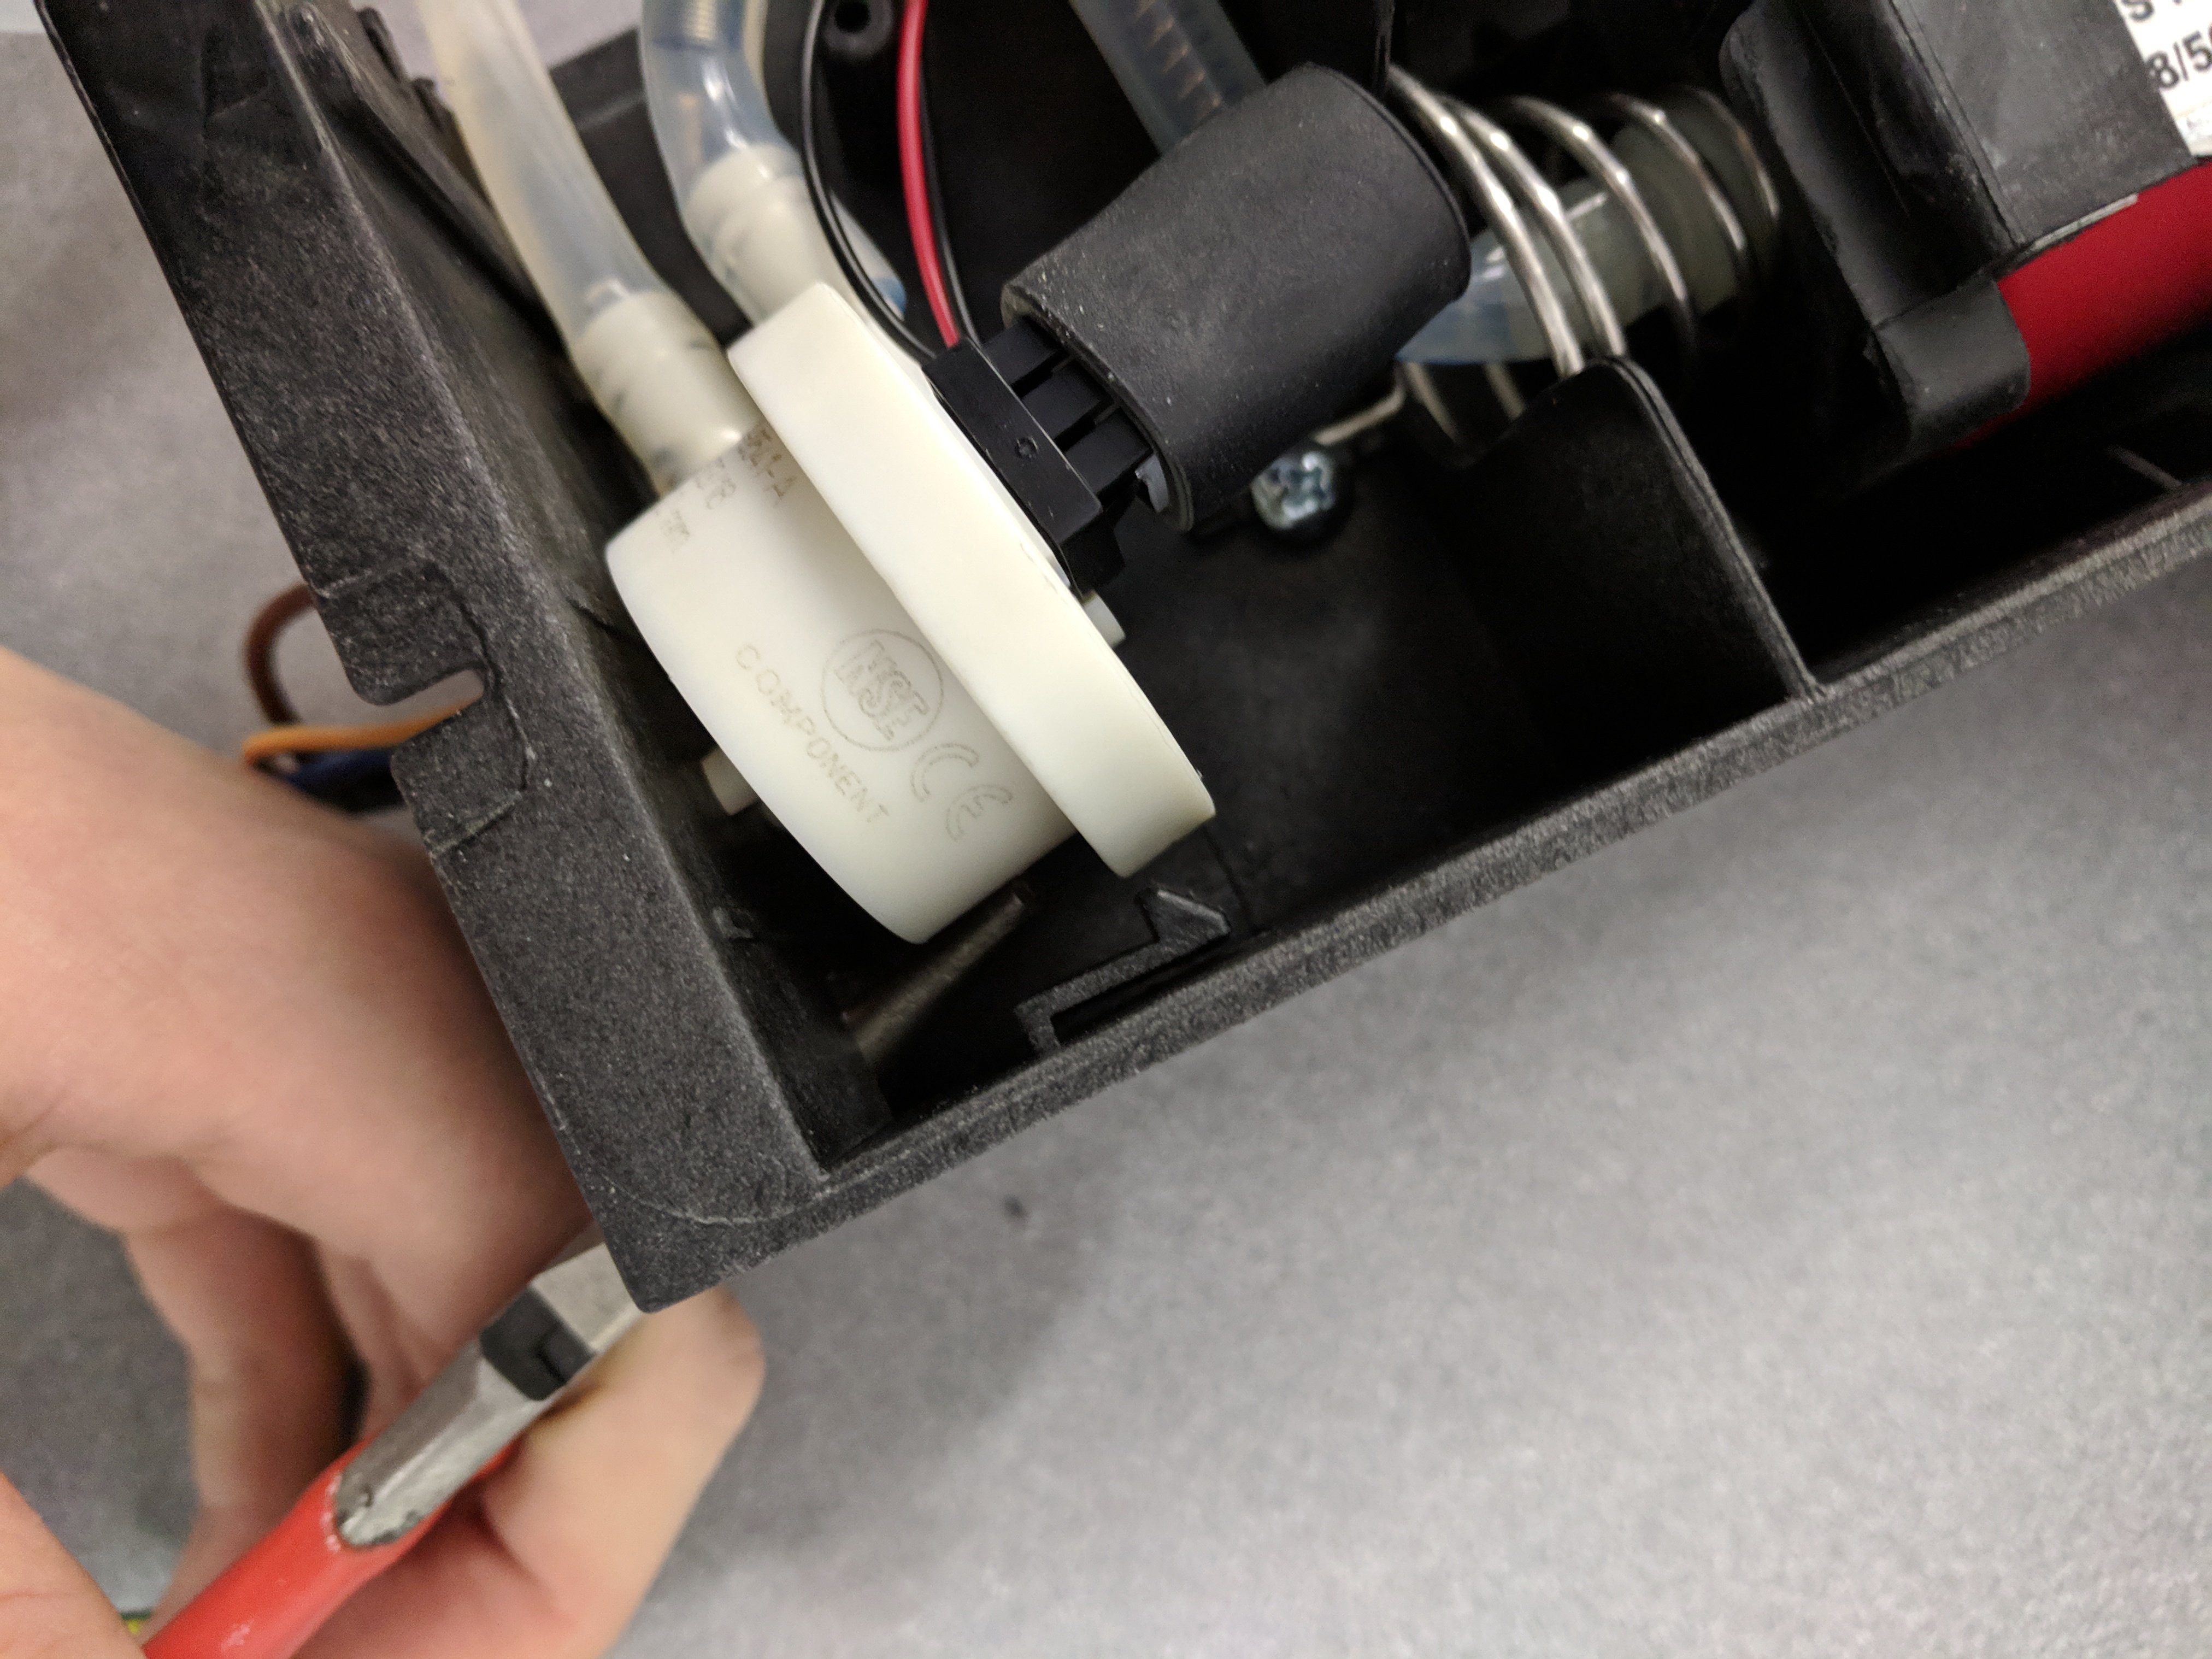
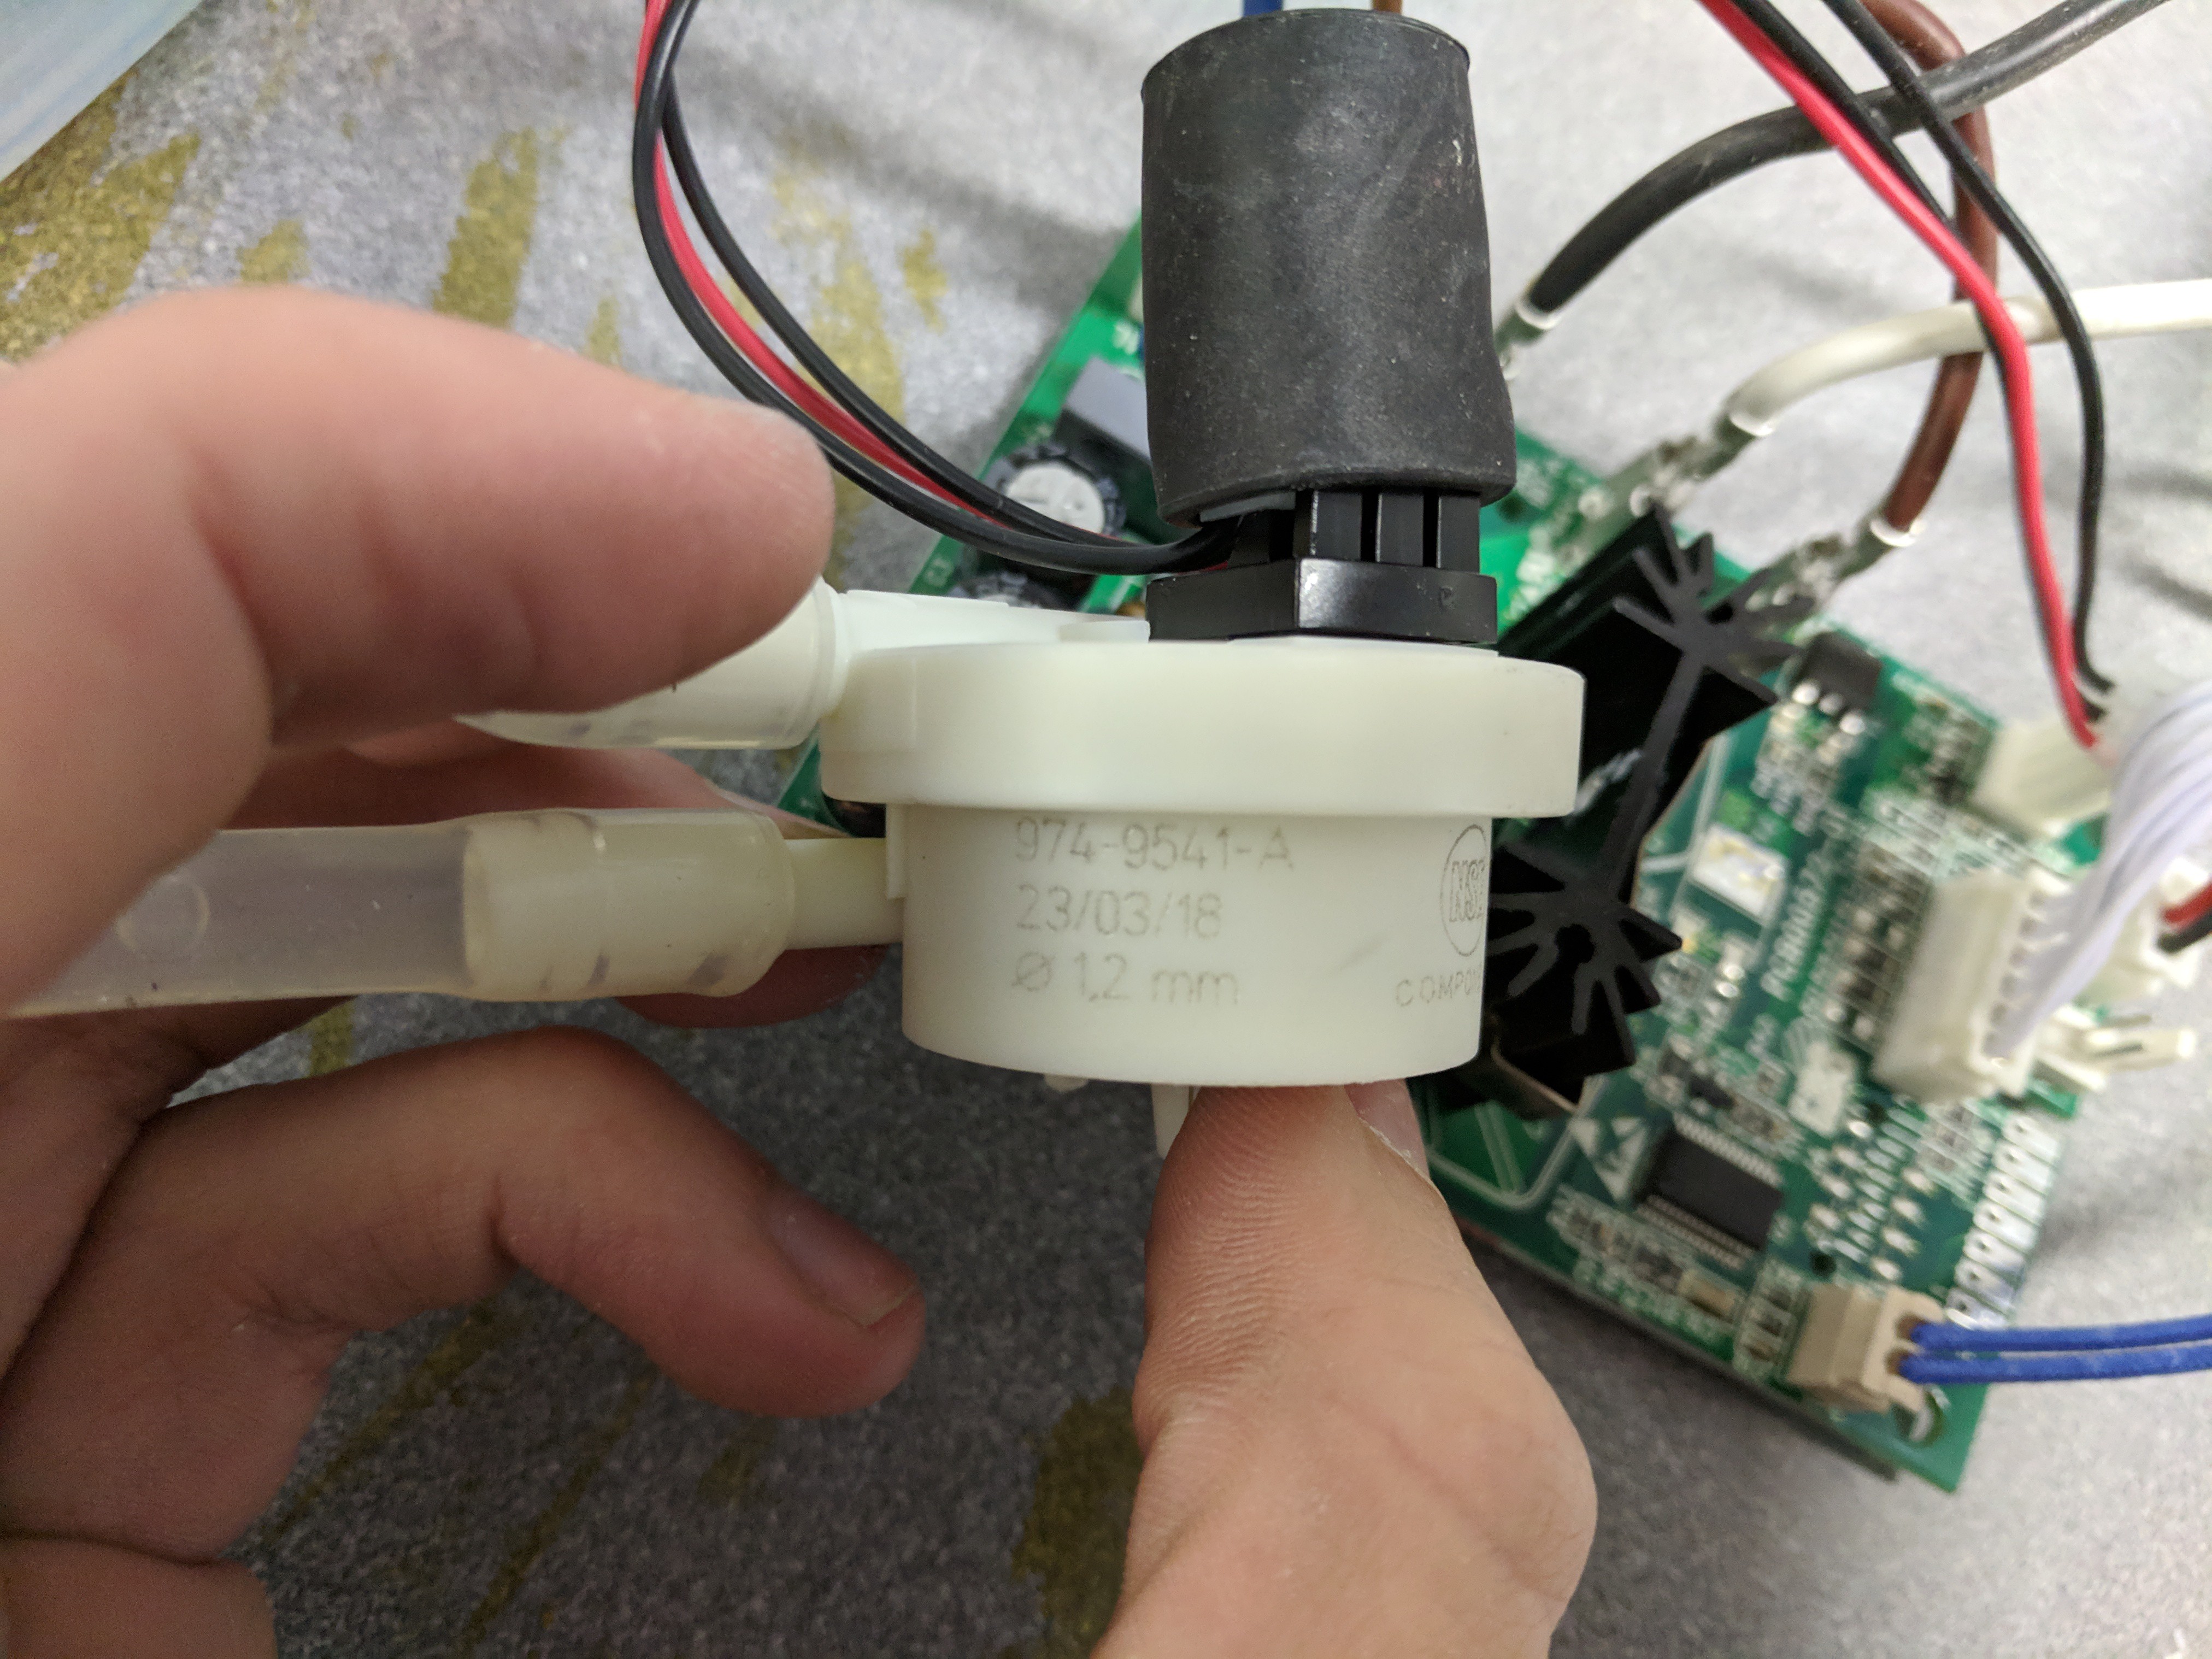
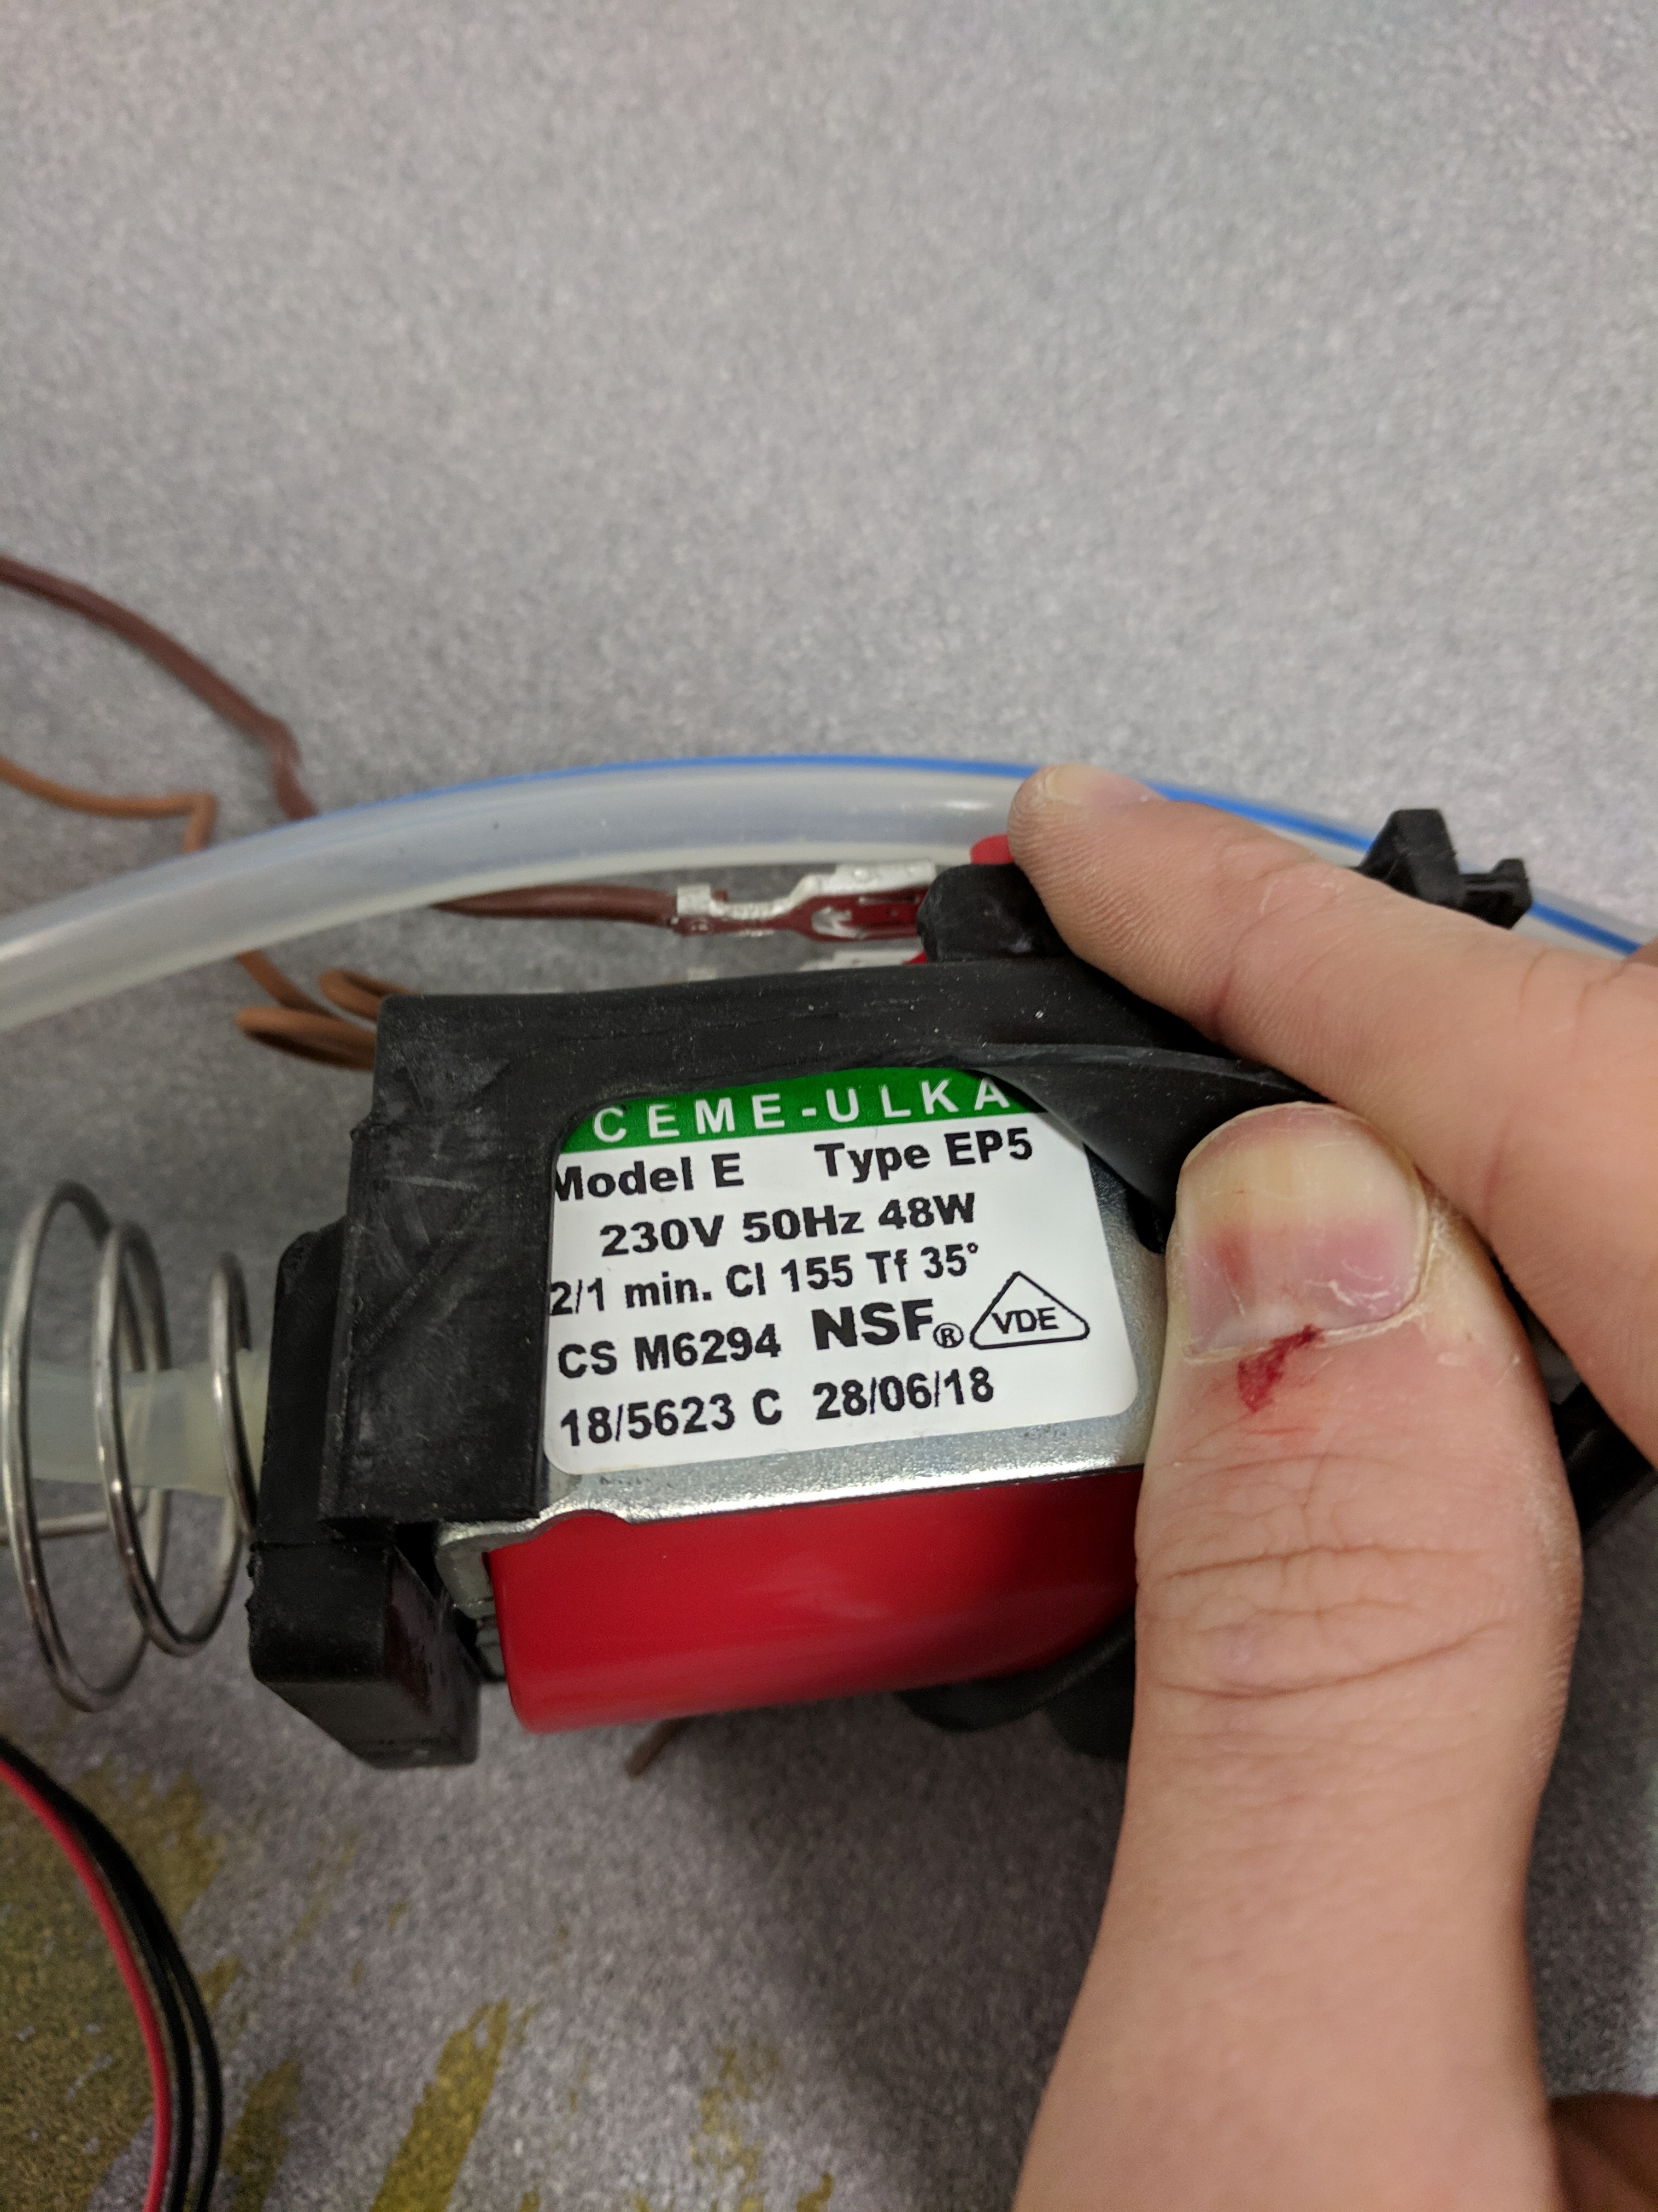
The pump is easiest removed by leveraging it out of the clip (as shown below). Then once all screws are removed it should pull out easily.
Everything can then be removed from the tower. Details of the components are shown below.

Discussions
Become a Hackaday.io Member
Create an account to leave a comment. Already have an account? Log In.
t25 screwdriver
Are you sure? yes | no