 Max2Play
Step 1: The Components and Their Purpose

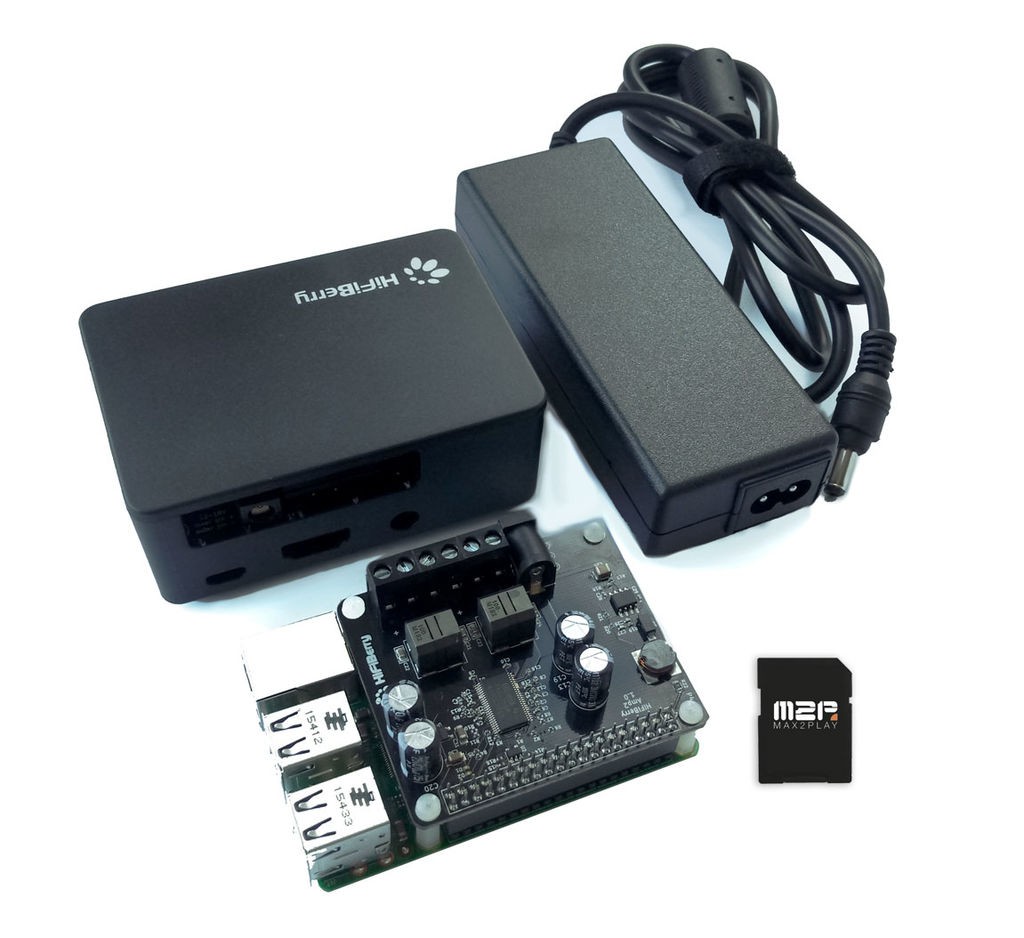
The essential parts required are:
- Raspberry Pi 3B
The heart of this media center is the affordable but powerful 3B, it can handle multiple audio and video players with its quad core processor and 1 GB RAM.
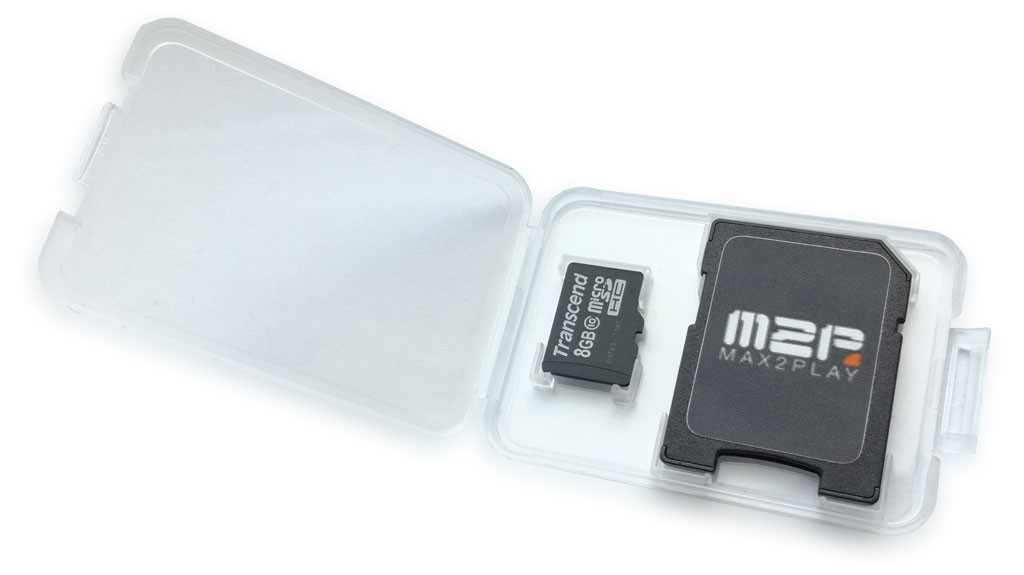
- MicroSD Card with Max2Play Image
The Linux-based Max2Play image includes the Kodi media center and various audio players and other extensions that can be managed from any web browser. Once burnt, the system works right away and does not require any further configuration.
- (Optional) A Sound Card for Better Audio Performance
The Max2Play image is perfect to optimize and configure sound cards for your Raspberry Pi with just one click. For your mobile media center we recommend using Amp HAT sound cards. Above you can see a picture of all the major Raspberry Pi Amplifiers on the market. With these cards stacked on top of the Pi, you can power Pi, sound card and two connected passive speakers with just one power supply. Here we used HiFiBerry's AMP2 with a 12V 6A PSU and an older Sony speaker we had lying around. You can purchase any of these amplifiers from our Max2Play Shop. We also got bundles which include everything else you need to get started except the speakers.
Step 2: Burn the Image on the MicroSD Card
The images for download on Max2Play are all packed in .rar or .zip files and can be burnt onto a card using a simple tool like the WinDiskImager for Windows. Just let it burn and once the process is done, put the card into the Raspberry Pi.
Optional: You can also order an already burnt and configured microSD card from Max2Play.
Step 3: Set Up the Access Point
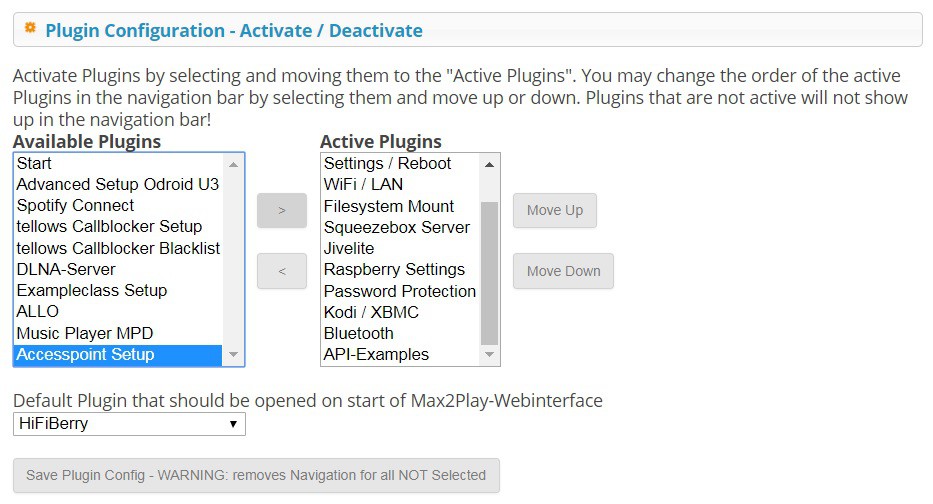
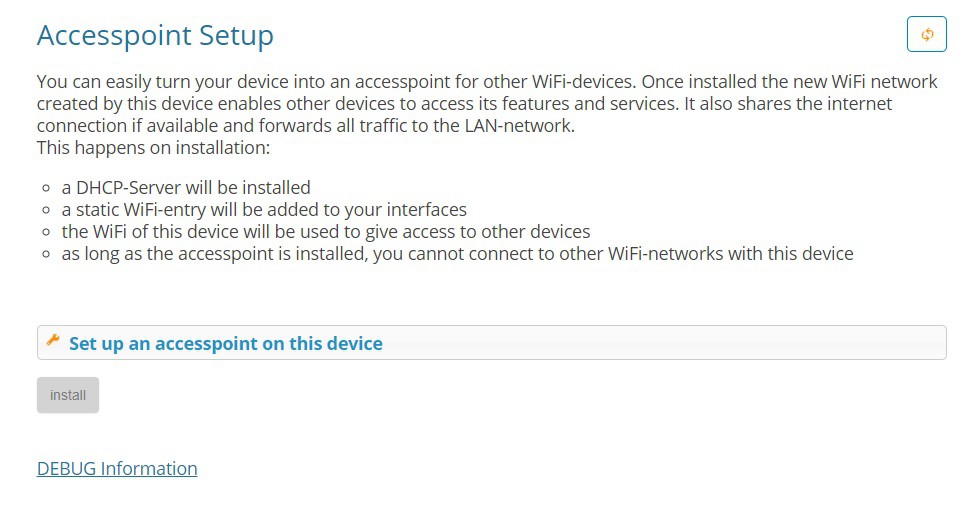
To be able to access our Raspberry Pi from anywhere on the go with our smartphones and tablets, we have to set up an access point. The Access Point Setup extension is a premium feature on Max2Play, so we need to have an activated account. Once this is the case, we can activate the extension. It is just a web page with a button saying "install". When we click it, the system automatically sets up an access point for any outside devices.
Step 4: Setting Up Kodi
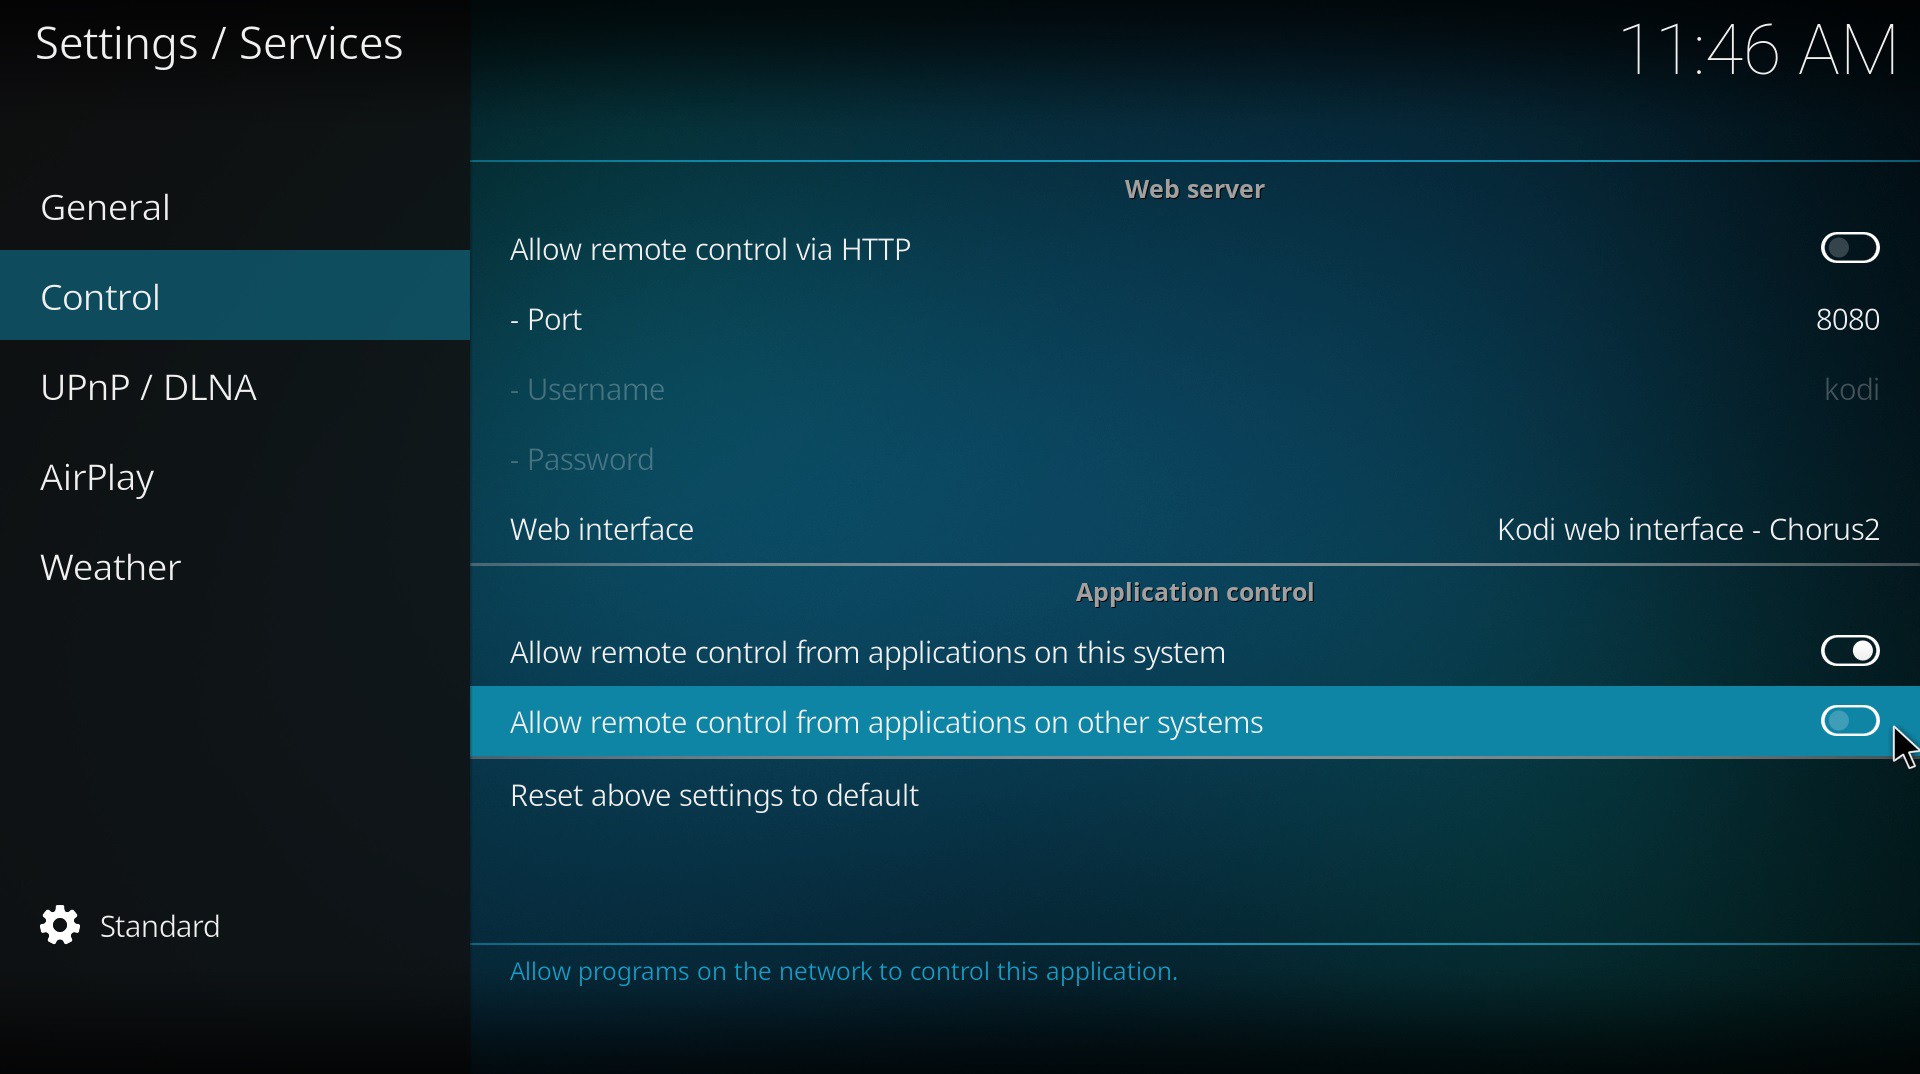
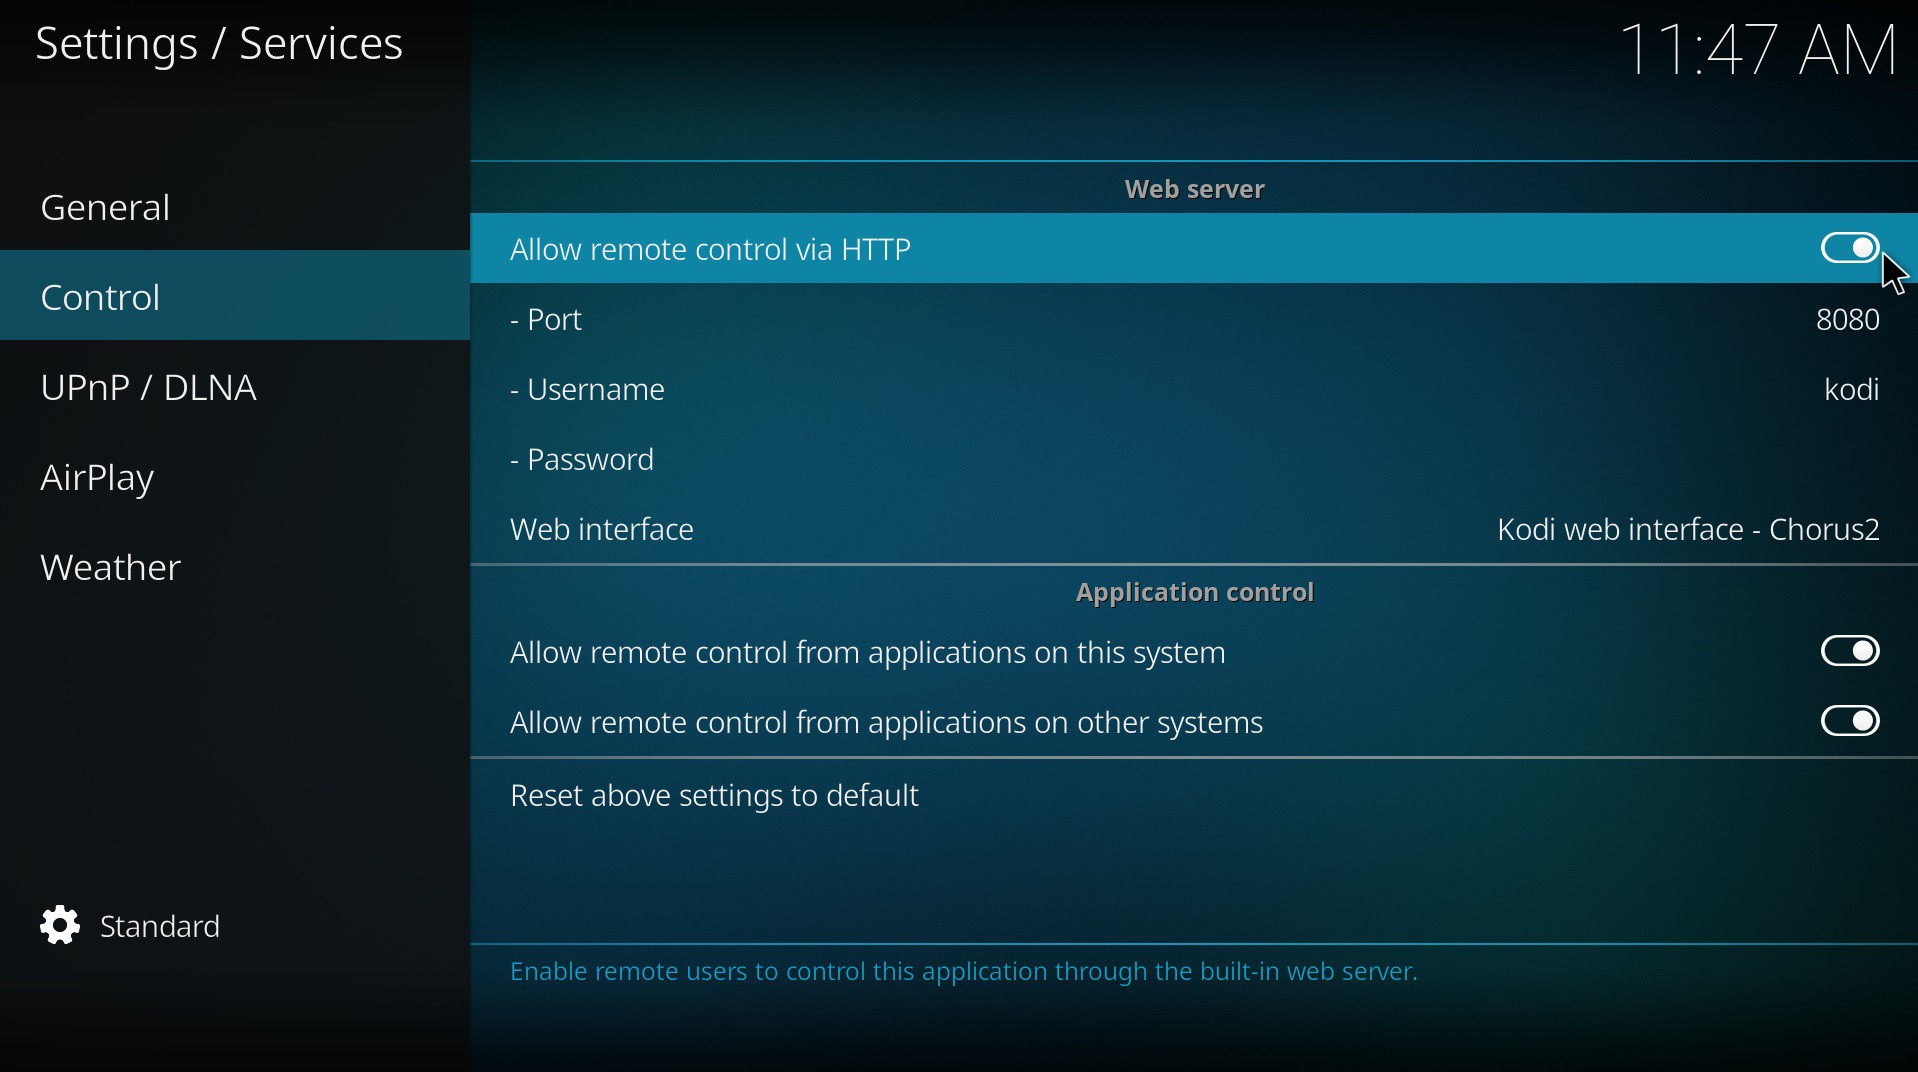
Since Kodi comes preinstalled freely on Max2Play, all we need to do is change a few configurations in its interface to control it from our smartphones. Connected to a screen, we can get the video output from the Pi's HDMI jack to display Kodi with just a click. There, we need to go to System -> Settings -> Services where we need to tick “Allow programs on other systems to control Kodi” and “Allow control of Kodi via HTTP”. We can also enable AirPlay functionality for our Apple products.
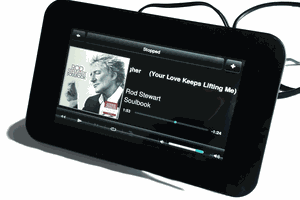
Step 5: Control the Media Center With Apps
We can now make all our commands to the media center with one of the many great Kodi Apps for Android (e.g. Kore or Yatse) and iOS (Sybu or the official Kodi App). We can also still access our web interface from any device with WiFi and a web browser to change our Max2Play plugins.
Max2Play is a new plug-and-play image for Raspberry Pi that is still evolving. If you have any questions or ideas regarding Max2Play, please visit our forums or contact us directly at Max2Play.com
 Dmitry
 Jayraj Desai