 Paul Freeman-Powell
To build this project for yourself, you will need…
- A Raspberry Pi. I’m using a Raspberry Pi 3 with built in WiFi and a case which helps with protection and mounting in the wall
- A USB RFID reader. This one simply plugs in via USB and acts like a keyboard inputting the code from the RFID fobs and cards
- A touchscreen LCD for the Raspberry Pi.
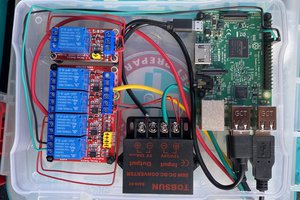
- A GPIO expansion board
- A ribbon cable to attach the expansion board
- A female to male ribbon cable for attaching the touchscreen
- A 5V single channel relay switch
- An electronic door strike
- A computer power supply and power lead (to power both the Raspberry Pi and the Electronic Door Strike)
- Some dupont cables for attaching the relay switch
You’ll also need a few tools, so make sure you’ve got all of the following before you get started:
- A multimeter, for checking voltages
- Various sizes of screwdrivers
- Some wire strippers and wire cutters
- A soldering iron
- Some choc blocks, for connecting wires together
- A glue gun
- A cordless drill/screwdriver
- A jigsaw
 blinkingthing
 Tobias W.
 tomcircuit
 Craig Hissett