 Martin Fasani
Todo's first things first:
- Make consumption lower. Camera and any display should go to deep sleep after A data from Arducam fifo is read and B after any display shows fore some seconds the thumbnail or the message that the upload is done. UPDATE: Some steps on this direction taken. New versions will use the camera only for the moment to take the picture and then it will be disconnected (VCC off, connected to 3.3v through a P-channel mosfet) I tried to use VEXT on Heltec ESP32 but it does not support 200mA and voltage goes lower than 3v.
On FS32 esp-32 version of the repository this is already implemented, just set gpioCameraVcc to the gate to your mosfet. - Finish the ESP32 case design and find a good to way to connect power. I'm not satisfied with current Heltec ESP32 Wifi board in terms of battery charging since it drops voltage to a point that after some minutes the Espressif chip resets in a loop.
UPDATE: Got feedback from the nice people from Heltec automation, the version V2 has this improved, now it's not optimal but it charges battery. Anyways without point 1 is pointless, since there is no battery that can resist 200+ mA of continuous power.
EXTRA: Make a chunk-uploader to reduce the amount of failed uploads. Not sure if this idea will maturate but sounds challenging and doable. More about this idea here. Working on this next weekend.
LoRa: There is a design with a Lora Antenna holder in the front. I though that it can be an interesting idea to make a "spy" camera that you can place somewhere as a security measure and will detect movement, take pictures and send a LoRa message. It can be placed remotely and if has no WiFi, can save the images on SPIFFs. Anyone interested ?
A new update is coming in the first weeks of 2020. I want to update the project and it’s dependences so it can be compiled easier in PlatformIO. If you like Espressif projects I recommend also taking a look in Remora addressable LEDs controller.
History
This project started somewhere around middle Sept, 2018. I was fiddling around with the Wemos D1 and I found out that I could create something to push pictures to the cloud without effort trying a SPI camera. So I just remixed an 3D design I found on Thingiverse and created a very simple WiFI camera. This first version was very raw, it had HTML mixed between C++ lines of code and it did little more than being a point and shoot camera with a one button web UX. This is how it looked after a few design iterations and about 300 grams of PLA wasted:

But it kick started the feeling that it could be much more.
The pictures where raw like a digital Polaroid, no camera software deciding that I need more light or focus here and multiple shoots. No. Just a raw JPEG delivered as a "best try" to your preferred upload endpoint. That was the beauty I've seen. Simplicity.
But of course not all where Roses and Guns, one of each 10 or 20 pictures, come out like this pictures you can see in the Album broken-uploads.
Then my father, that is an electronic self taught engineer since 20, told me that he wants to take time-lapse pictures of the puzzles he is making. So I started programming this as the first feature that you can preview in this simple gallery pressing the bottom-right Slideshow button. He later helped me out to try it and kill some bugs.
As an introduction to programming I must say that I'm not a good C++ programmer since I come from a different world professionally, doing mobile API endpoints and Admin-panels for clients here in Germany mostly using PHP and frameworks like Symfony. So I had to first pick a book and digest how this new variable types and strict chars are supposed to work together. It was painful but I got to like it and this project is really my first step on this world of IoT. So please excuse me if you see some horrible coding style there. Just make your own fork and beautify it.
The features that this FS2 camera currently offers are:
- WiFi Manager: Turn it up anywhere and setup a new WiFi connection. Thanks to amazing @Shawn A library. When it's connected you can access directly http://cam.local if you have a device with Bonjour discovery service (or Linux / Apple devices)
- Using this same library param option we offer the possibility to add a minimal camera setup consisting on this settings that are saved into config.json in the File System. It's also possible to upload an OTA update in case you need to update remote clients.
Time-lapse in secs INT number of seconds to take next picture in this mode
Slave cam ip/ping IP address or host. Makes a ping to this IP/capture in case you want to have another slave camera (Experimental feature)
API host for upload The host you use to upload the photo
Path to API endpoint The path to the script that receives this uploaded image
JPG Size Resolution 640x480 1024x768 1280x1024 1600x1200 (2 & 5mp) / 2048x1536 2592x1944 (only 5mp) - Stream option 99% copied from Arducam example (Thx Mr. Lee). It's just though to deliver some seconds of video so you can calibrate the focus manually.
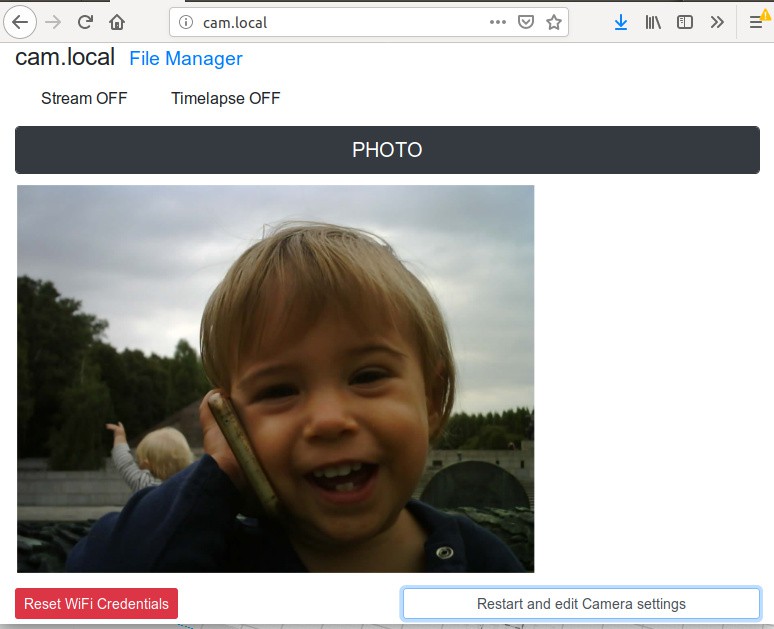
- And that's all. Then you have an additional button to Reset WiFi you don't have to run out of coverage just to set up a new connection. And Edit Camera settings that restarts but without resetting your WiFi credentials so you can update the configuration.
- In the ESP32-oled boards, or in any 8266 with an oled if you adapt the code, is possible to render a XBM thumbnail delivered in a JSON array as a response after uploading (Thanks to fantastic U8g2 lib for that one)
- Image saved on the SPI Flash System (SPIFFs) this is possible so far in the ESP8266. On ESP32 I find it very slow, so I just deactivated it. But having it on is a nice feature, since when the image arrives broken is usually 90% that the WiFi upload is guilty.
- File manage: Browse and download any file saved on the SPIFFS including the own camera configuration
- Templates separated from Code: The HTML files are totally separated from the C++ code, so you can customize this as you want without breaking the sketch. You can put your logo, or print it out and smoke it, is your thing after you download it.
Well that's mostly it. It's fun to build and I had a lot of funny moments taking pictures. I gave out already about 8 cameras and 7 of them did work without any problems and they are still sending JPEGs over WiFi ;)
I hope someone else with a lot more knowledge can jump in and make it better. So far we are thinking to implement:
- MD5 hashing, to compare Arducam raw JPG with the one that comes from the server. If they don't match, then means some byte arrived differently and picture upload needs to be retried. I dunno if it's possible to do it right now with my code (I will need help for this one) The not so nice issue of JPEG compression is that a few bytes different will make your photo look like a psychedelic "Mondrian"
- Control exposure and auto-focus for the OV5642
- Maybe support new Camera models ?
- Case redesign to support more features (Antenna, etc)
- Add some more fun, like effects (Arducam already supports this, ex. B&W effect, reddish) DONE also exposure in OV5642
- Make a version with a small display DONE (And in Files)
NOTE: Sadly there is no competition to Arducam in the SPI cameras market or at least not above 5MP resolution. Would like to make one real camera one day with some more features but until some company decides to make an open source SPI camera with proper libraries and datasheets it's pointless. So please be aware that is by far not your digital camera replacement but more an exercise in how to build your own firmware for a device.
Have fun with it!
Leaving you with my best image of my 16 months daughter with her favorite device.
Credits:
ArduCam to Espressif original demo: Lee, ArduCam (Nanjing, China)
Shawn for his awesome WiFI Manager that is a core part of FS2.
The team at Heltec automation for answering my boring Emails.
My father Carlos for his help doing electronics right.