 lion mclionhead
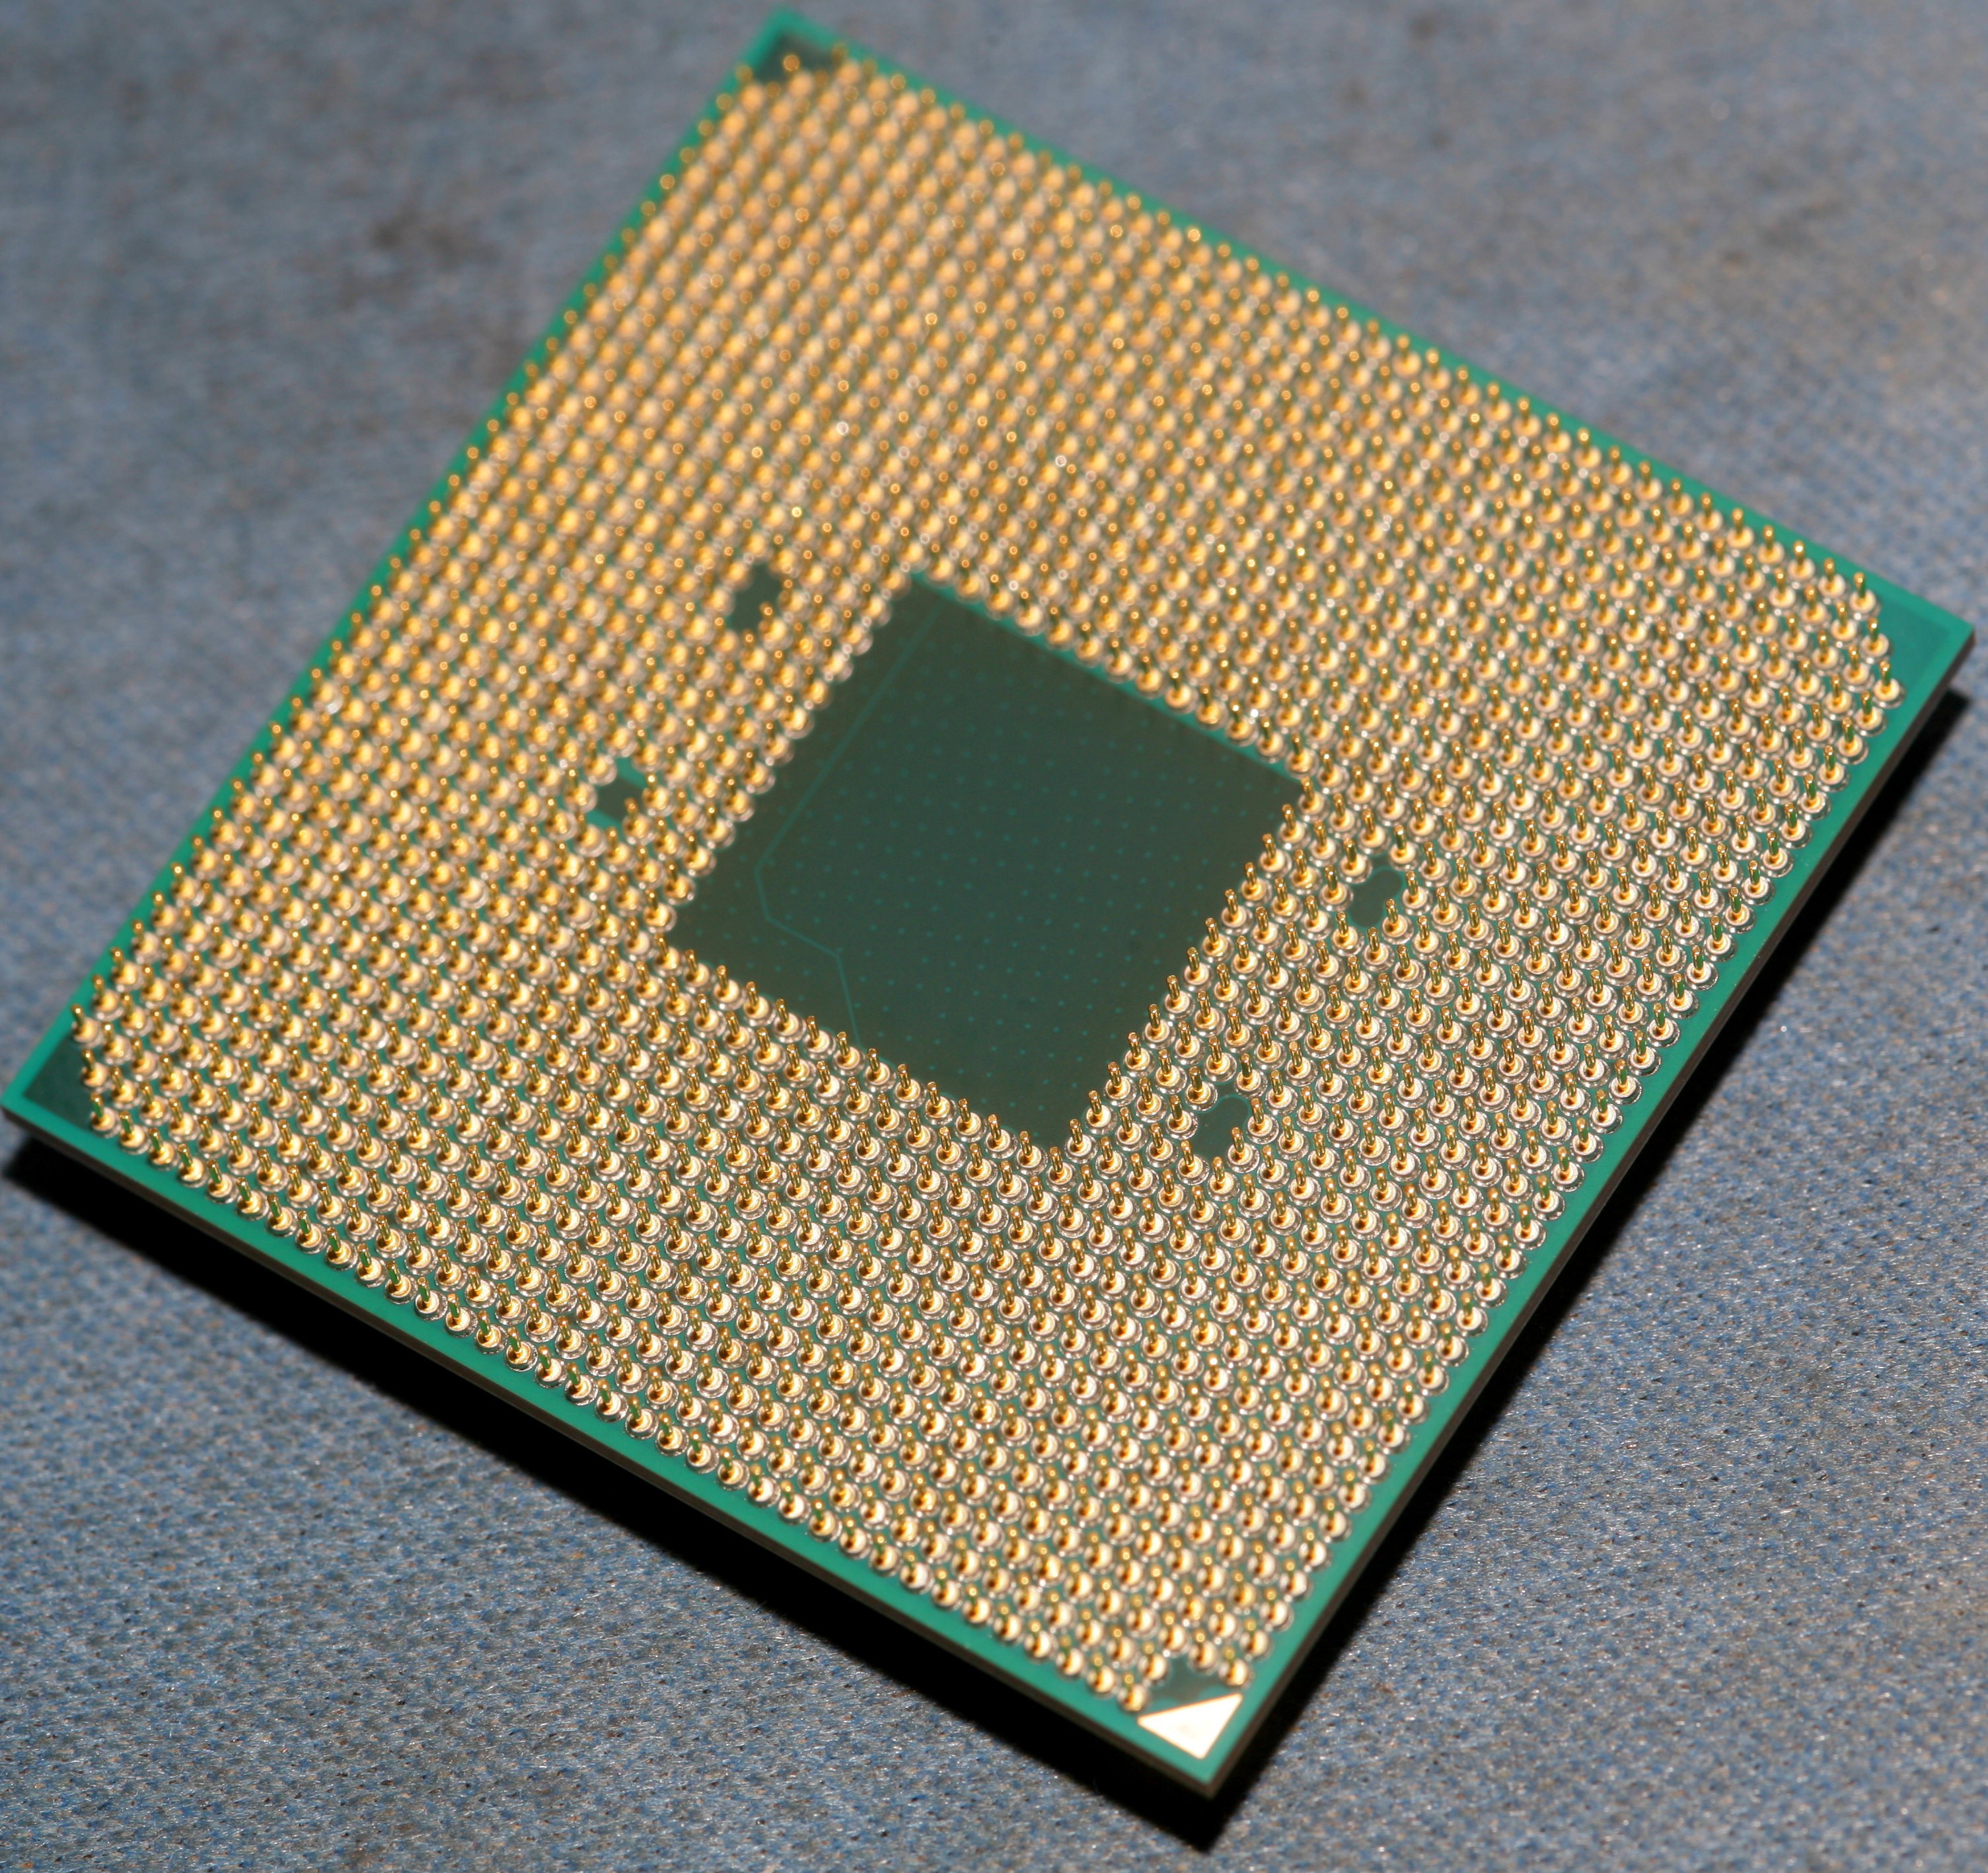
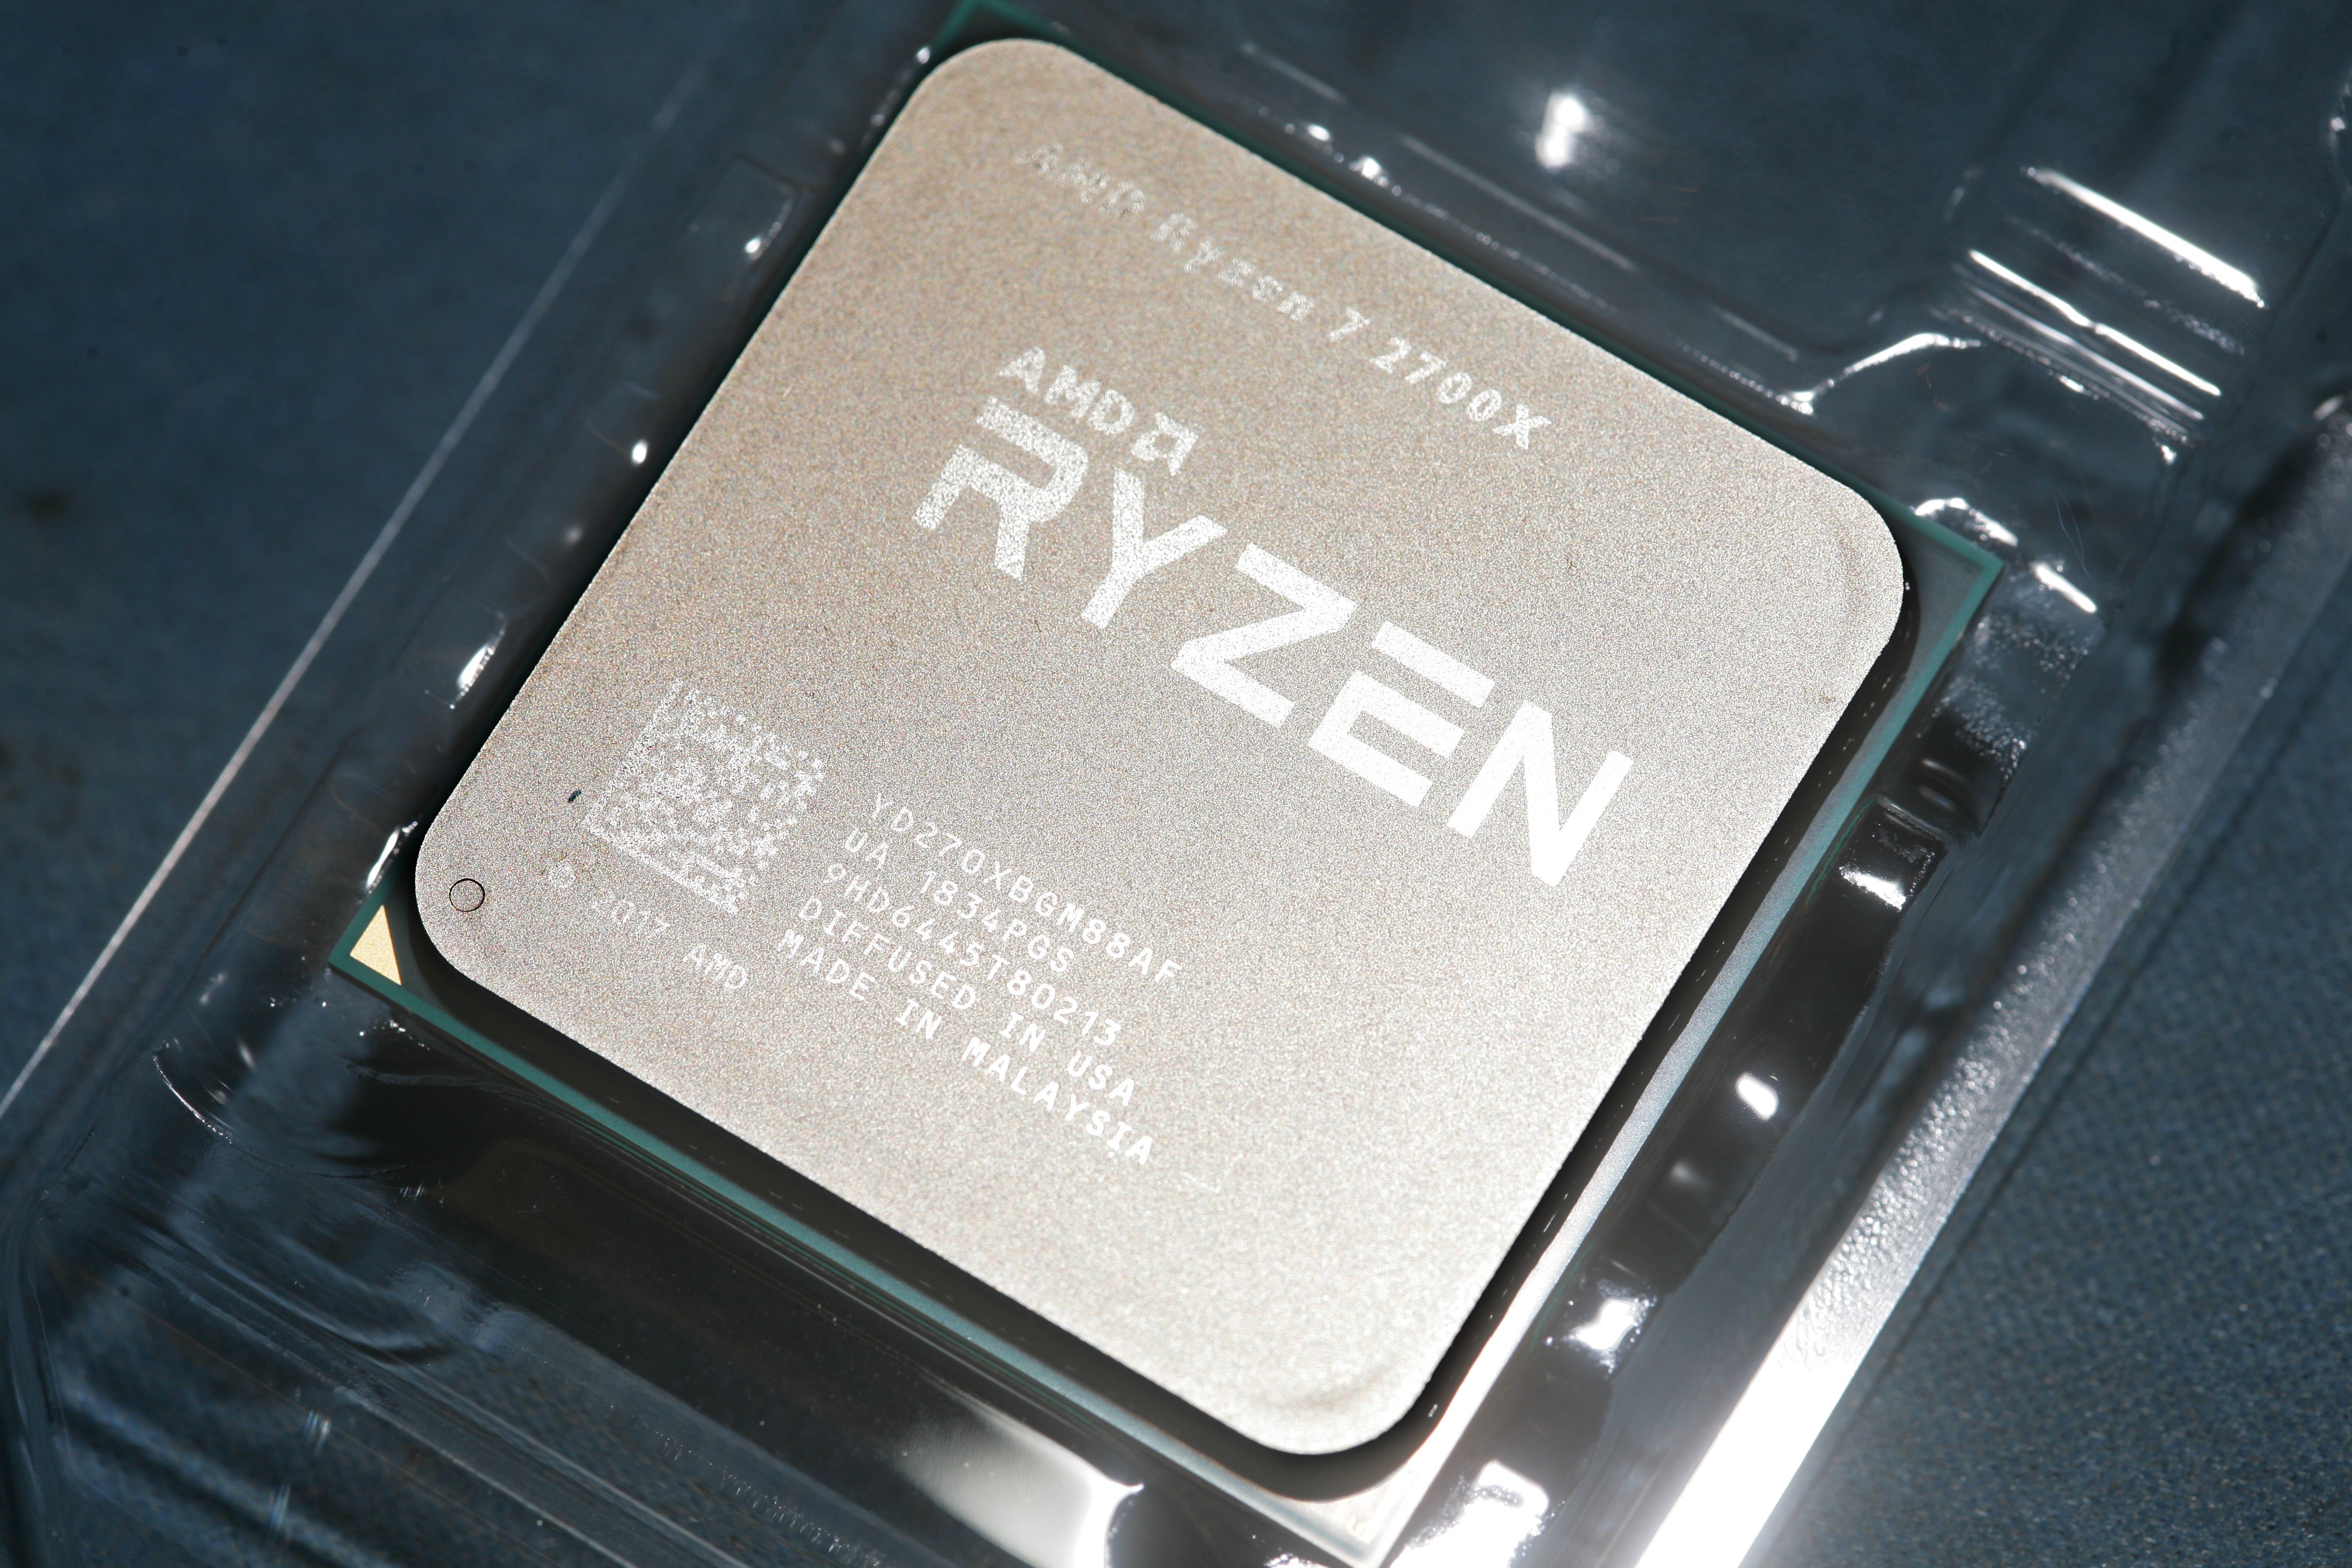
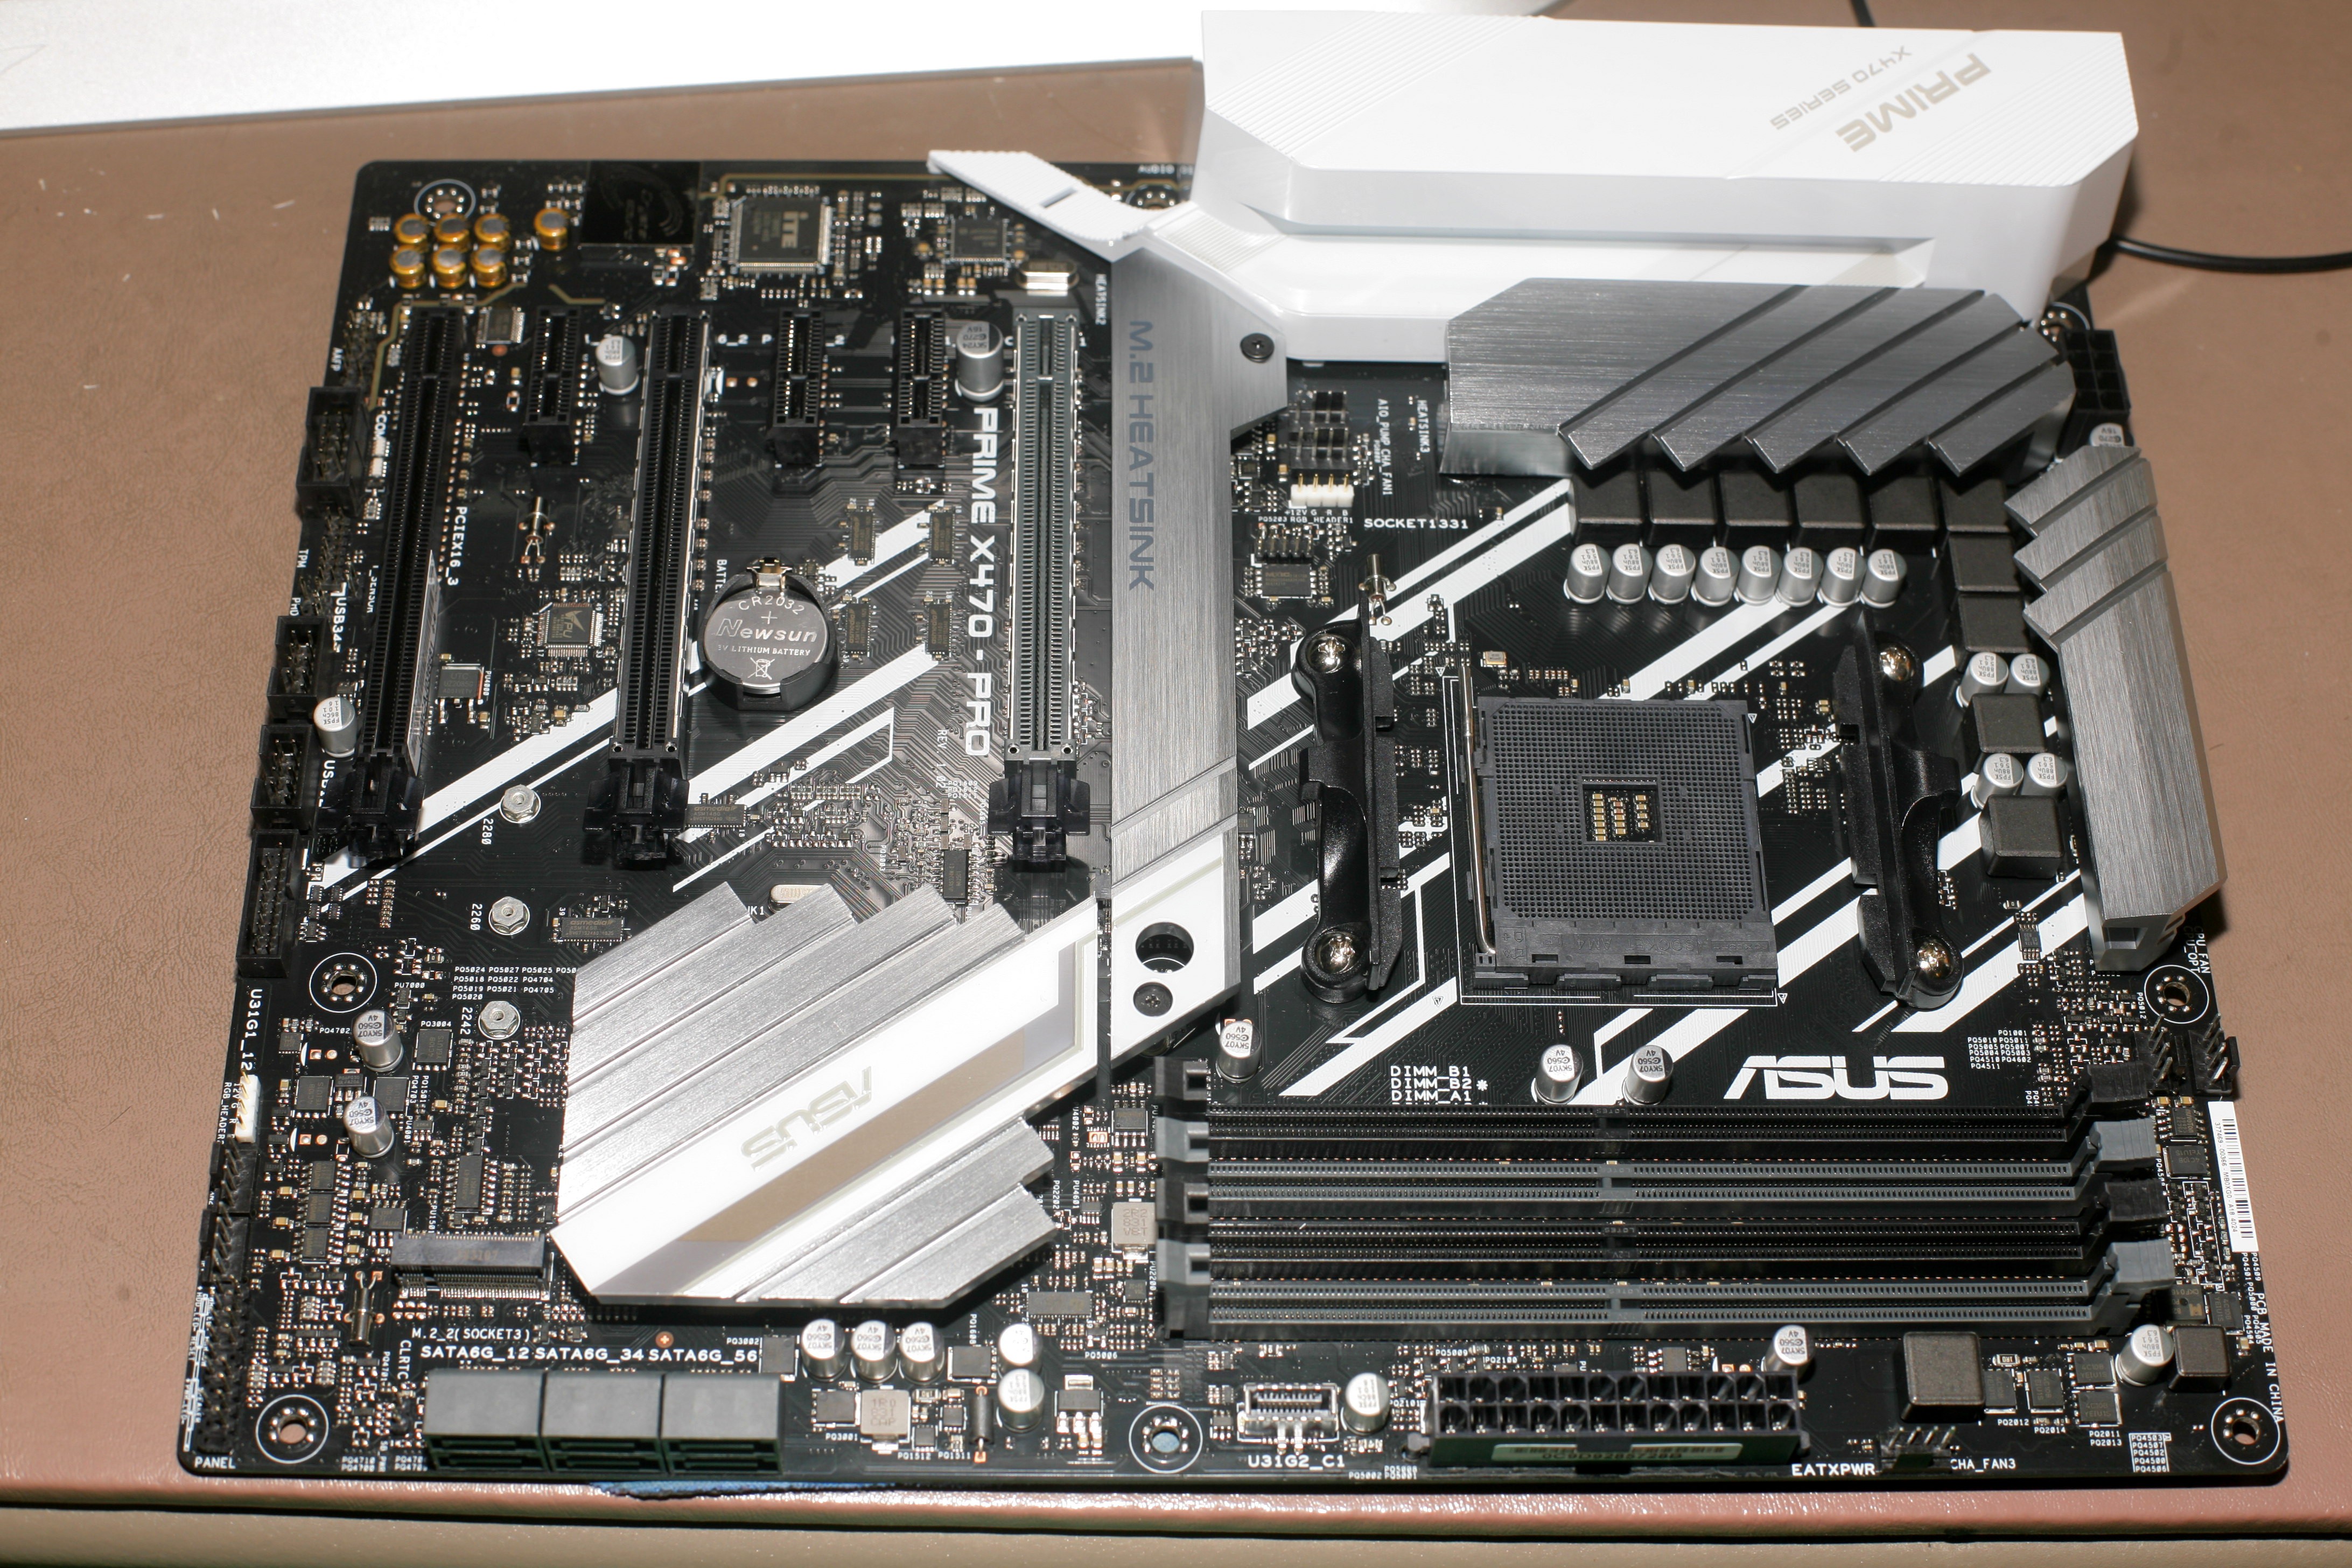
That was the most expensive CPU, motherboard, memory setup the lion kingdom ever got. Getting a speed boost over what was $400 in 2010 took a lot more money than it did, but hopefully will last another 8 years.
The #1 trap for young players: The BIOS uses the mouse to navigate, except when adjusting the CPU core ratio. That greyed out box needs to be adjusted with the +/- keys.
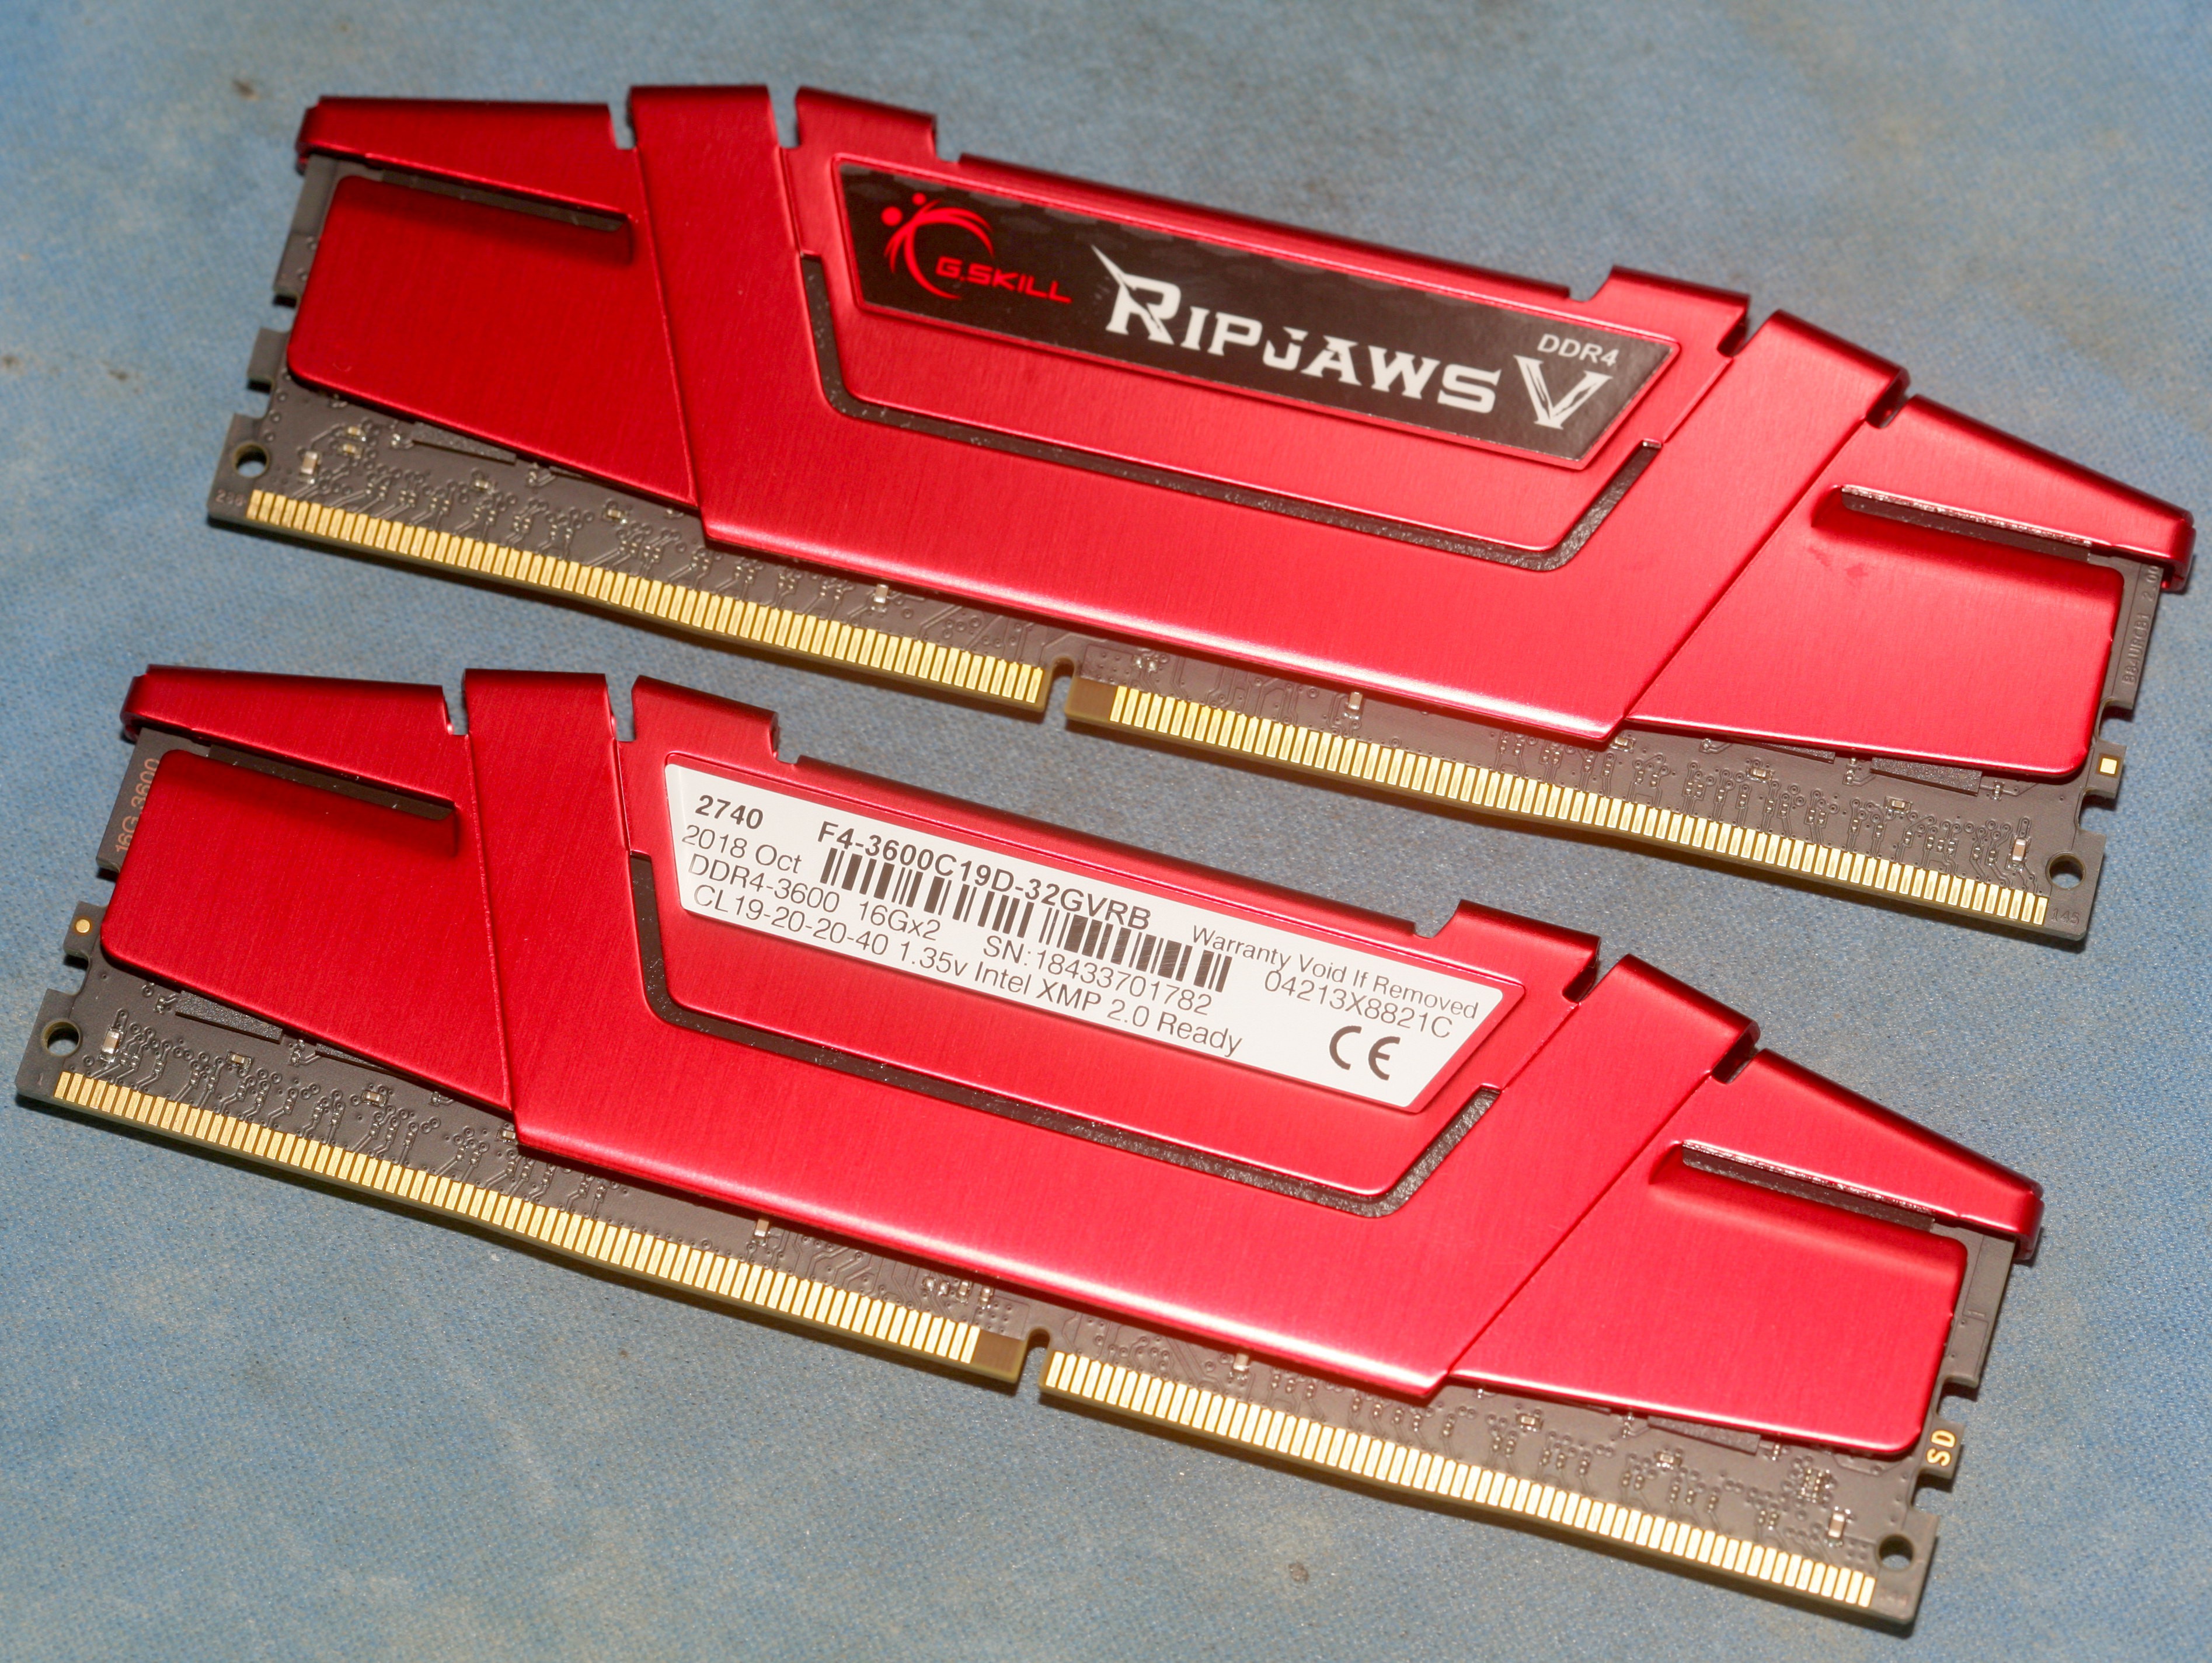
Accessing higher memory frequencies requires stepping up the CPU clockspeed. For a Ryzen 2700x, got 2 x G.SKIL 3600Mhz 16GB to really hit 3600Mhz only after increasing the CPU clockspeed to 4.2Ghz. At 3.7Ghz, the RAM would die beyond 3333Mhz.
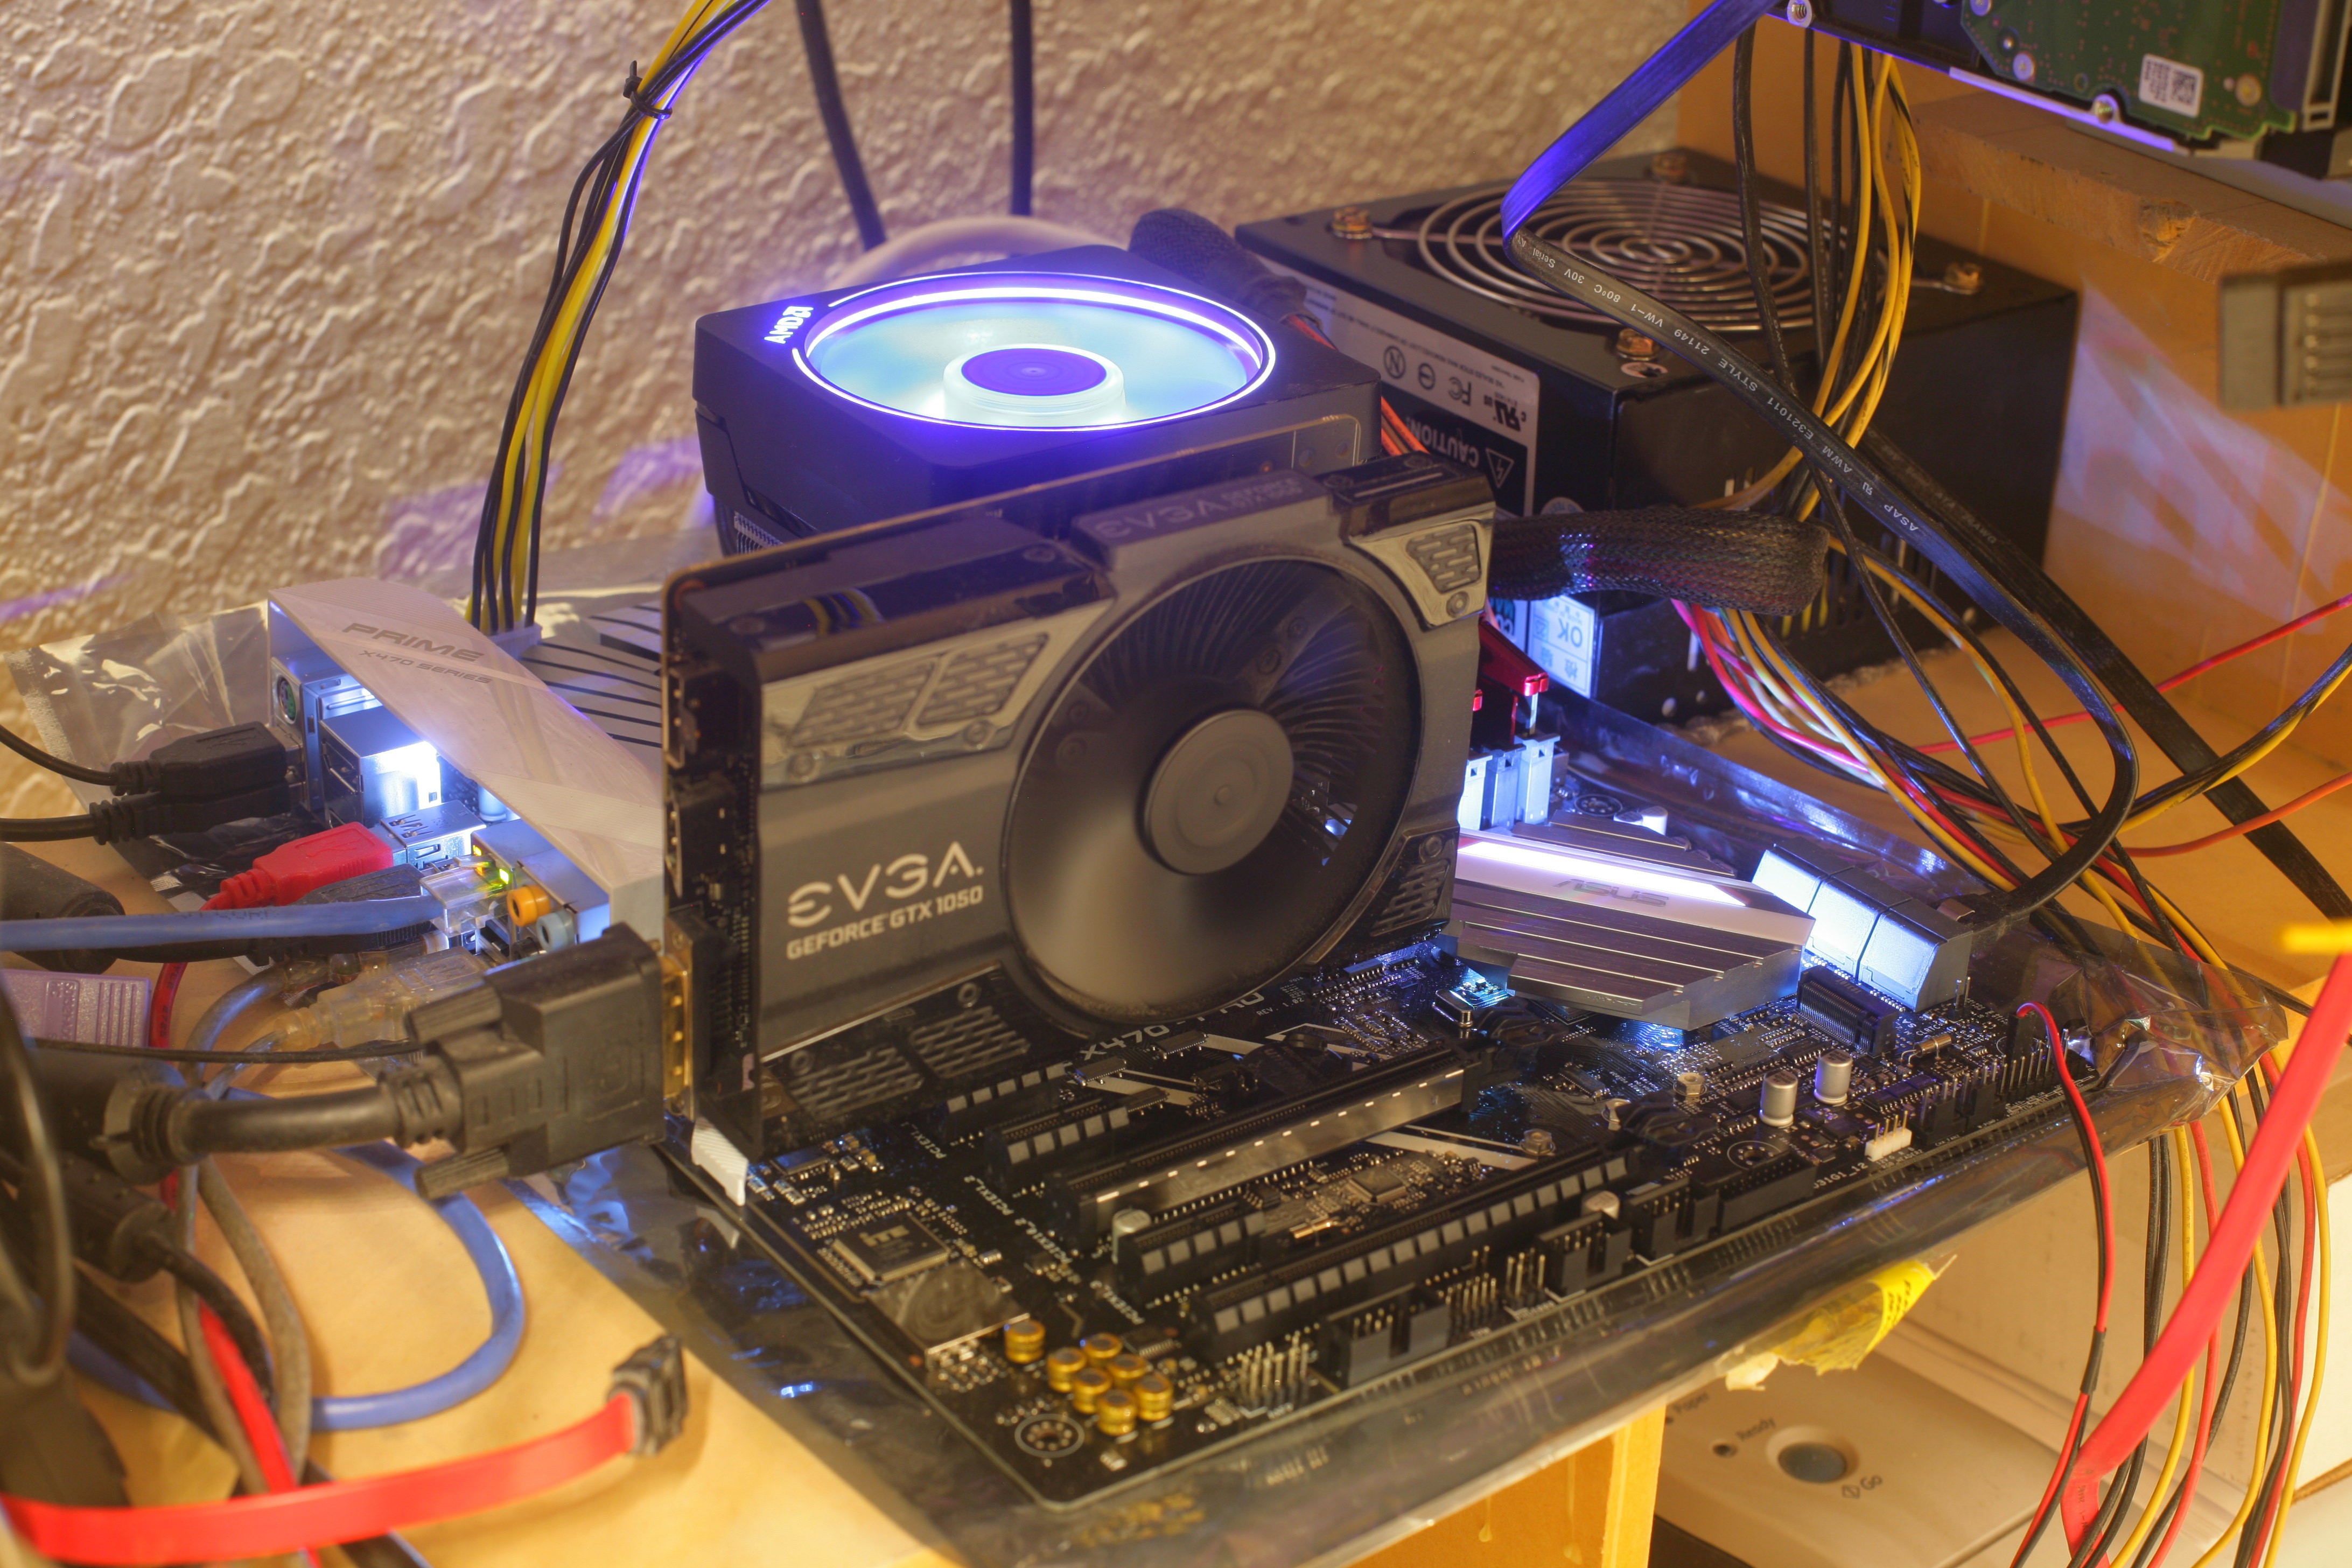
The side firing SATA header is a pain.
The ugly plastic thing covering the ports doesn't come off without 1st removing the heatsink over the MOSFETS. Maybe you can spray paint it.
At 4.2Ghz, it plays an H.265 8192x4096 138megabit video in a 2048x1024 window at a studdering 24fps. It definitely can't play 8k video on an 8k monitor but might do 4k on a 4k monitor.
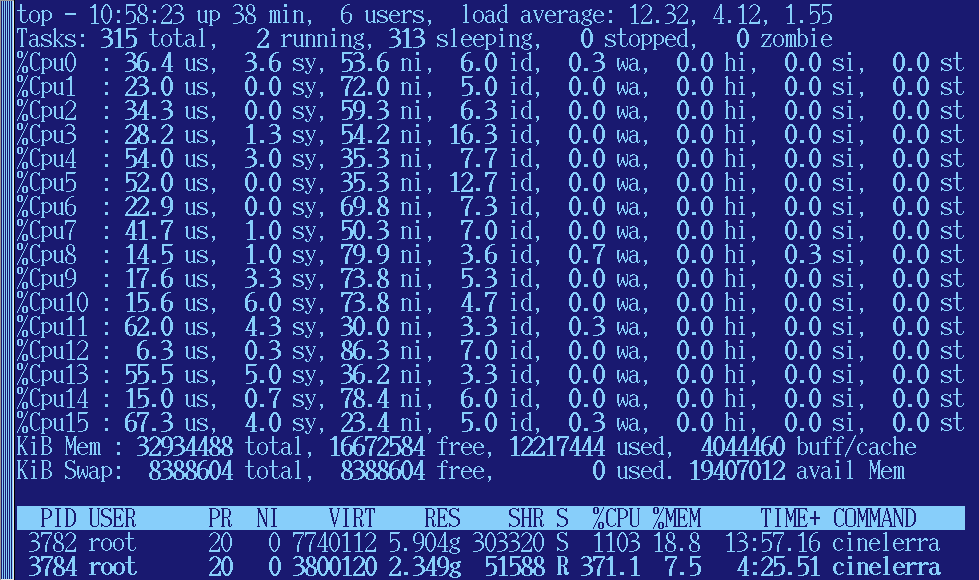
Transcoding 8k video to a faster codec, it maxes out all 16 hyperthreads at 4.2Ghz & uses 8 of 32gig of RAM. Not out of memory or taking all day, as it would have been a week ago. Rendering speed of the NASA video was 1/3 realtime.
The faster codec reduced NASA's 139megabits to gootube quality & played back at roughly 70fps. Still constrained to a 2k window.
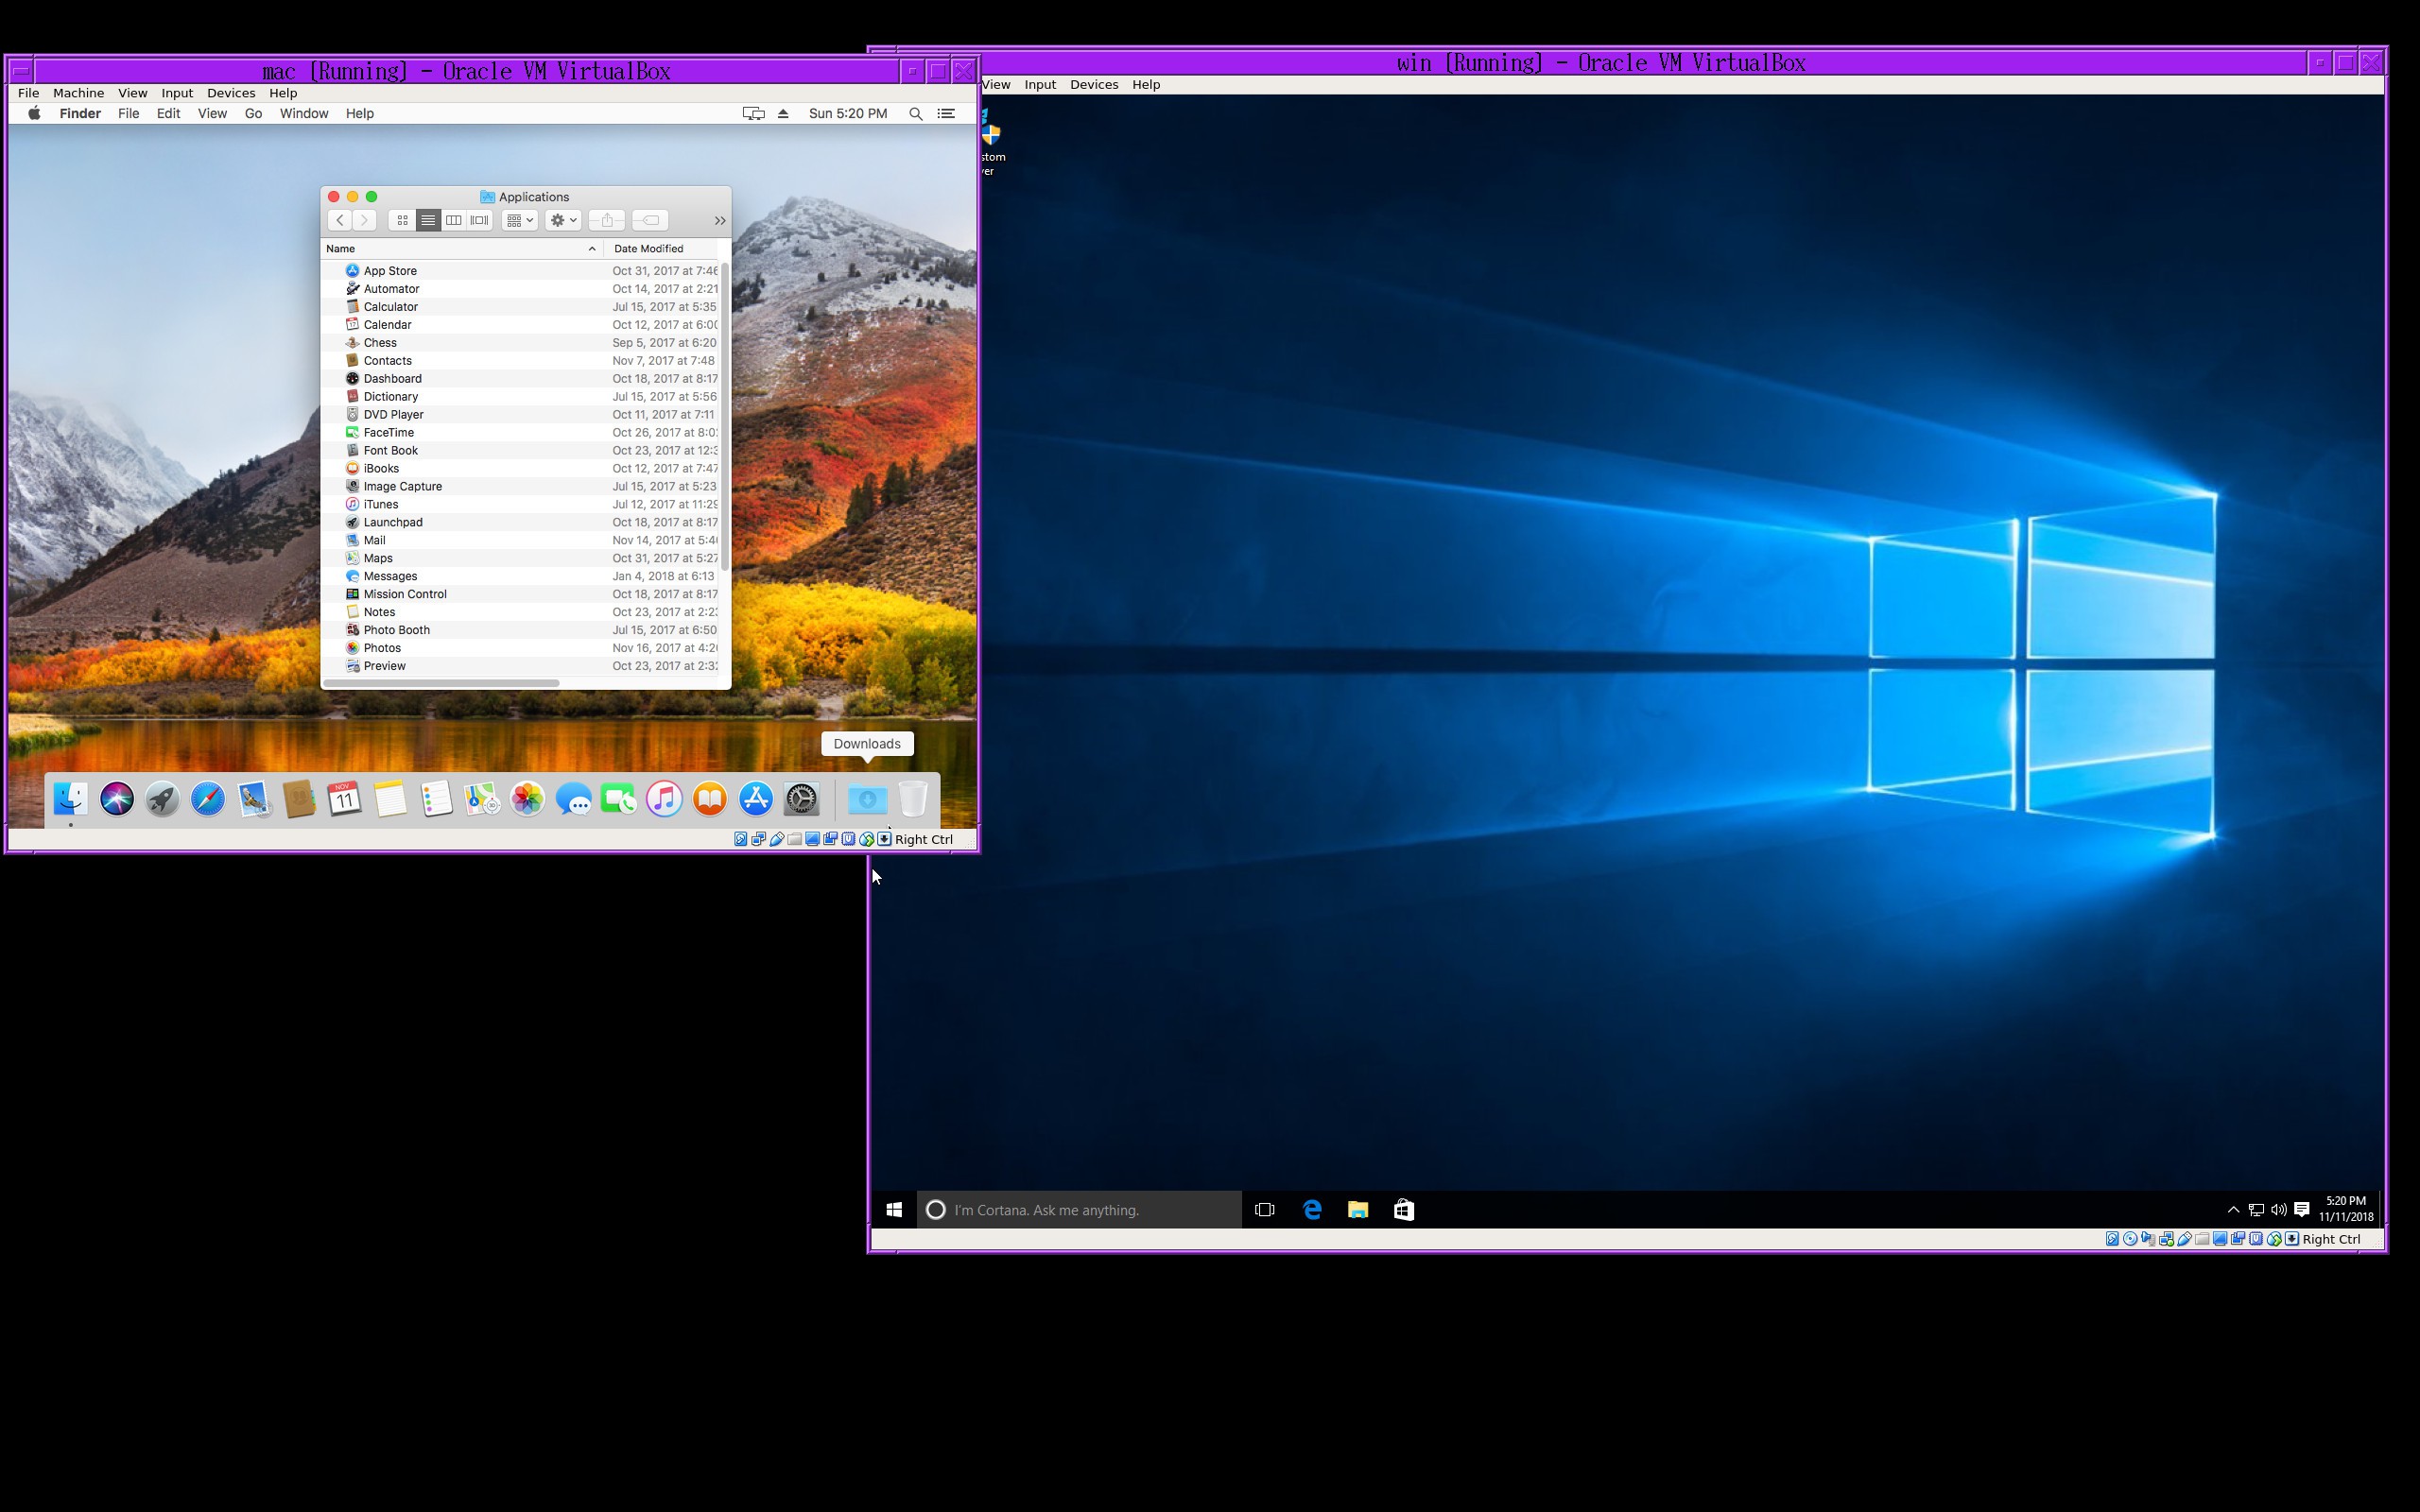
WINDOWS in Virtualbox
Windows is fairly straightforward to install in Virtualbox. The mane struggle is getting Windows to mount a samba filesystem. The key trap for young players is samba uses a different password file than the operating system.
https://tutorials.ubuntu.com/tutorial/install-and-configure-samba#2
Macos in Virtualbox
Simply booting a macos .iso or .vmdk file from the internet results in the famous "critical error" crash. You need a version of macos hacked to run on Ryzen. Most of your problems will arise because Macos doesn't run on Ryzen. Another few thou would have bought an Intel CPU which would run MacOS flawlessly. We didn't have CPU incompatibilities like this, 20 years ago.
Current guide for hacking Macos to run on Ryzen:
https://hackintosher.com/guides/amd-ryzen-hackintosh-guide-installing-macos-high-sierra-10-13/
It requires a real mac to create the installation media.
For the virtual machine, you need to mount the installation media as the 1st physical disk & boot it. This requires jockeying the port numbers, not dragging the disk icons.
https://www.howtogeek.com/187721/how-to-boot-from-a-usb-drive-in-virtualbox/
Once installation finishes, Virtualbox doesn't enter the clover boot manager as described but restarts the installer from the USB drive. It's now very important to do
Step 6. AMD PreInstall Kernel Execution
Then unmount the target, reboot into the target virtual disk by removing the installation media in Virtualbox.
It should boot the target successfully without Clover, finish installation, & reboot again to a blank screen. You have to attach the installation media in Virtualbox again & reboot into it.
Then, do
Step 8. AMD Post Install Kernel Execution
That replaced a few more bits with Ryzen binaries. You have to unmount the target again & reboot without the installation media.
Here, the story ended with IOConsoleUsers looping. It was quite obvious that with enough hacking & kernel swapping, it could boot for a screenshot & might support networking, but it isn't practical for writing IOS apps. Cupertino is just going to force updates every year, preventing any hacks from gaining ground.
Troubleshooting
Linux can mount the target virtual disk directly.
modprobe nbd max_part=31
qemu-nbd -c /dev/nbd0 /opt/virtualbox/mac/mac3.vdi
mount -o rw -o force /dev/nbd0p2 /mnt
cp Prelinkedkernel/prelinkedkernel /mnt/macOS\ Install\ Data/Locked\ Files/Boot\ Files/
sed -i 's/auth-//g' /mnt/macOS\ Install\ Data/Locked\ Files/Boot\ Files/com.apple.Boot.plist
This often leads to a corrupted filesystem. You have to boot the installation media & recover the target filesystem there. Never run fsck.hfsplus on it, because it doesn't work on a journaled filesystem. Something that might work is trying to unmount it before closing the virtual machine.
Linux can also mount the target EFI partition directly & install clover on it. This partition isn't corrupted as easily.
modprobe nbd max_part=31
qemu-nbd -c /dev/nbd0 /opt/virtualbox/mac/mac3.vdi
mount /dev/nbd0p1 /mnt
Then copy the EFI directory described in step 10 to /mnt
cp -a EFI /mnt
umount /mnt
There's also the dreaded "does printf work??" error.
The internet has many rumors about this error. The error is actually printed by macOS\ Install\ Data/Locked\ Files/Boot\ Files/boot.efi & it's printed because the kernel won't start. What worked for the lion kingdom was editing
macOS\ Install\ Data/Locked\ Files/Boot\ Files/com.apple.Boot.plist
The -rootdmg-ramdisk argument needed to be deleted. Then, it started the kernel & resumed installation. The clue was how it booted the installation media properly, using the same prelinkedkernel described in the guide as what it failed to boot from the target virtual disk. It booted this kernel from .IABootFiles using the com.apple.Boot.plist file in that directory.
The screen can also go blank during startup & never return. This is caused by trying to run an Intel kernel instead of a Ryzen kernel. You have to replace the prelinkedkernel in the target filesystem with the prelinkedkernel in Ryzen_Kernel_10.13.1.zip
You can also end up in the dreaded EFI shell.
Type fs1: to change to the target virtual disk. Then cd your way to macOS\ Install\ Data/Locked\ Files/Boot\ Files/
Then type boot.efi to boot it.