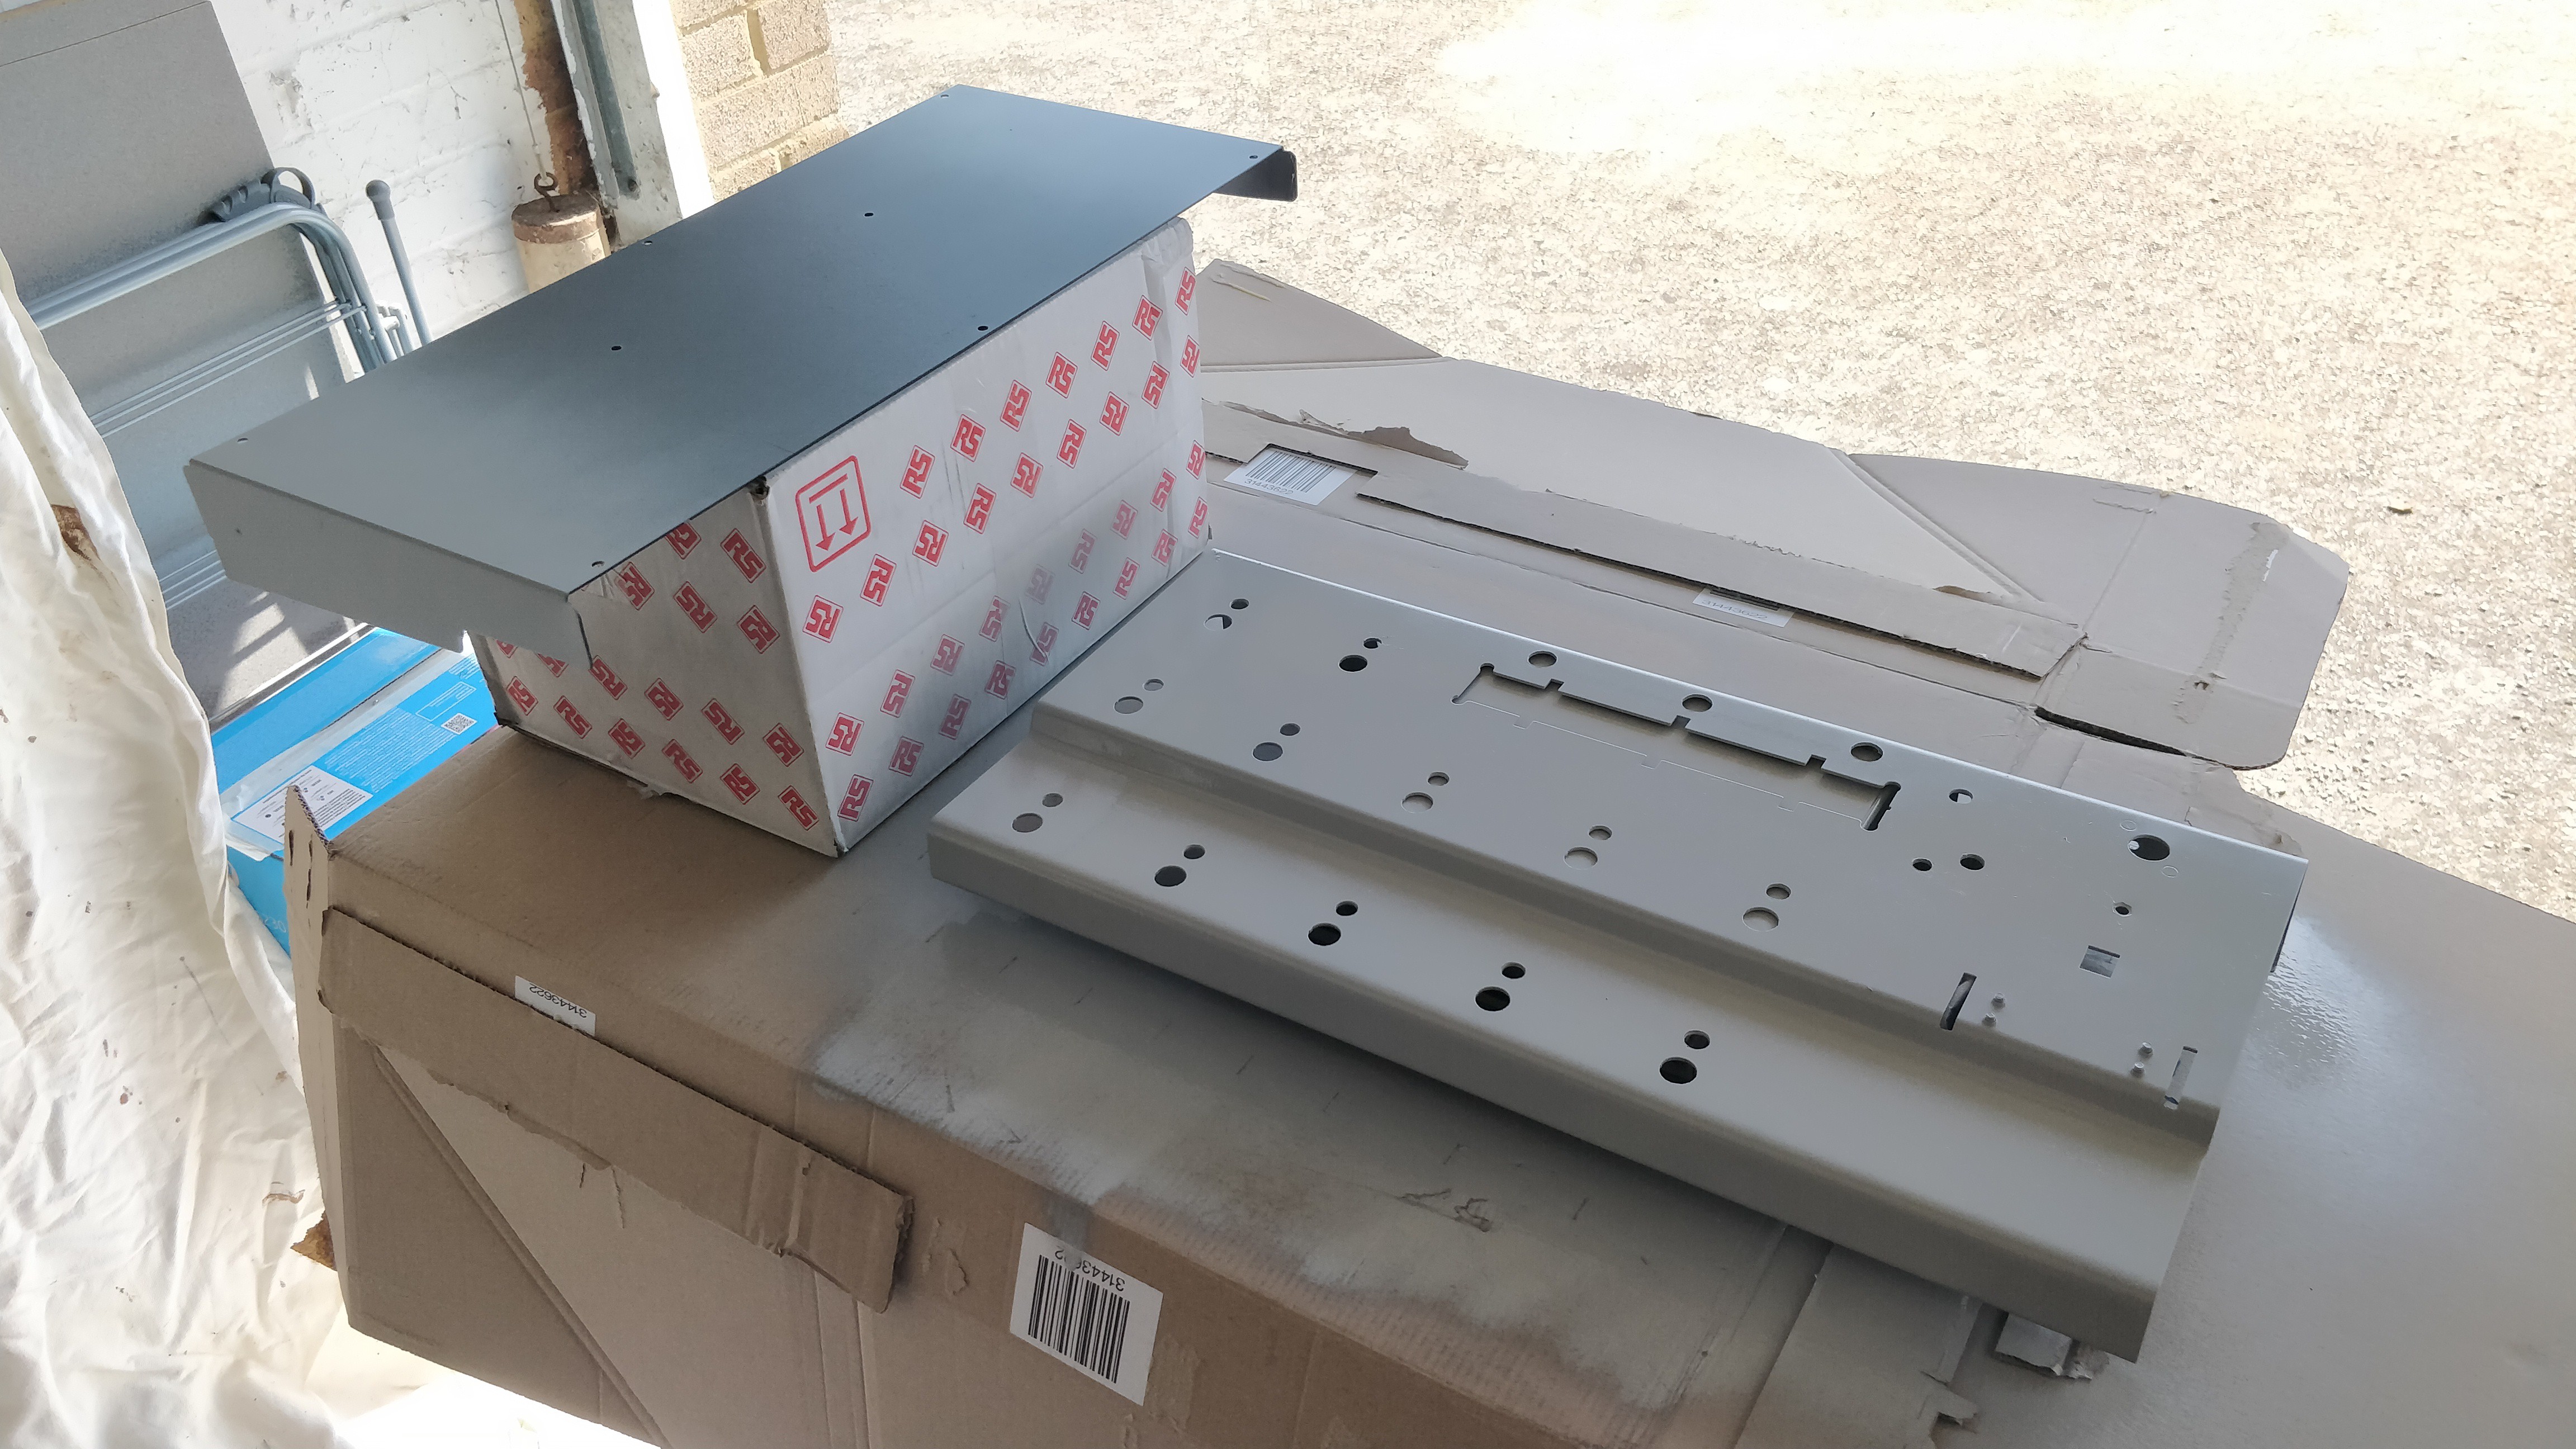
Once the chassis modifications were complete, it was time to re-finish the chassis and apply some graphics to turn the old Line 6 controller in to Stjorn!
The chassis itself had no rust or other superficial issues and so preparation for re-finishing was pretty straight forward. An overall light sand with some 180 grit to provide a key for the undercoat and then cleaning with some white spirit to get rid of any grease or grime it had accumulated and it was ready for painting.
The paint I used was in rattle-can form and all sourced from Riolett Custom Aerosols in the UK (https://www.riolettcustomaerosols.co.uk/). The paints I used were:
- 1K Grey Primer
- 1K Acrylic Full Gloss top coat in BS 381C RAF Blue/Grey 633
- Fun fact: this is the blue/grey colour Neve use for their consoles - and is why I chose it!
- 1k Clear Lacquer
The '1K' refers to the hardness of the paint once dry - 1K and 2K are available but 2K is a bit overkill for this sort of project so I went with the 'standard' 1K.
The primer went on beautifully, producing a very smooth coat.
(at first for some strange reason I wasn't going to paint the whole of the bottom..... I went back and resprayed that part though!)
The first layer was allowed to dry fully for 24hours, lightly sanded with some 600grit sandpaper, and then a second coat applied. With the second coat dry and lightly sanded again it was time for the top coat.
Again this went on very easily and once it was dry it actually didn't need a second coat at all as the coverage was very good.
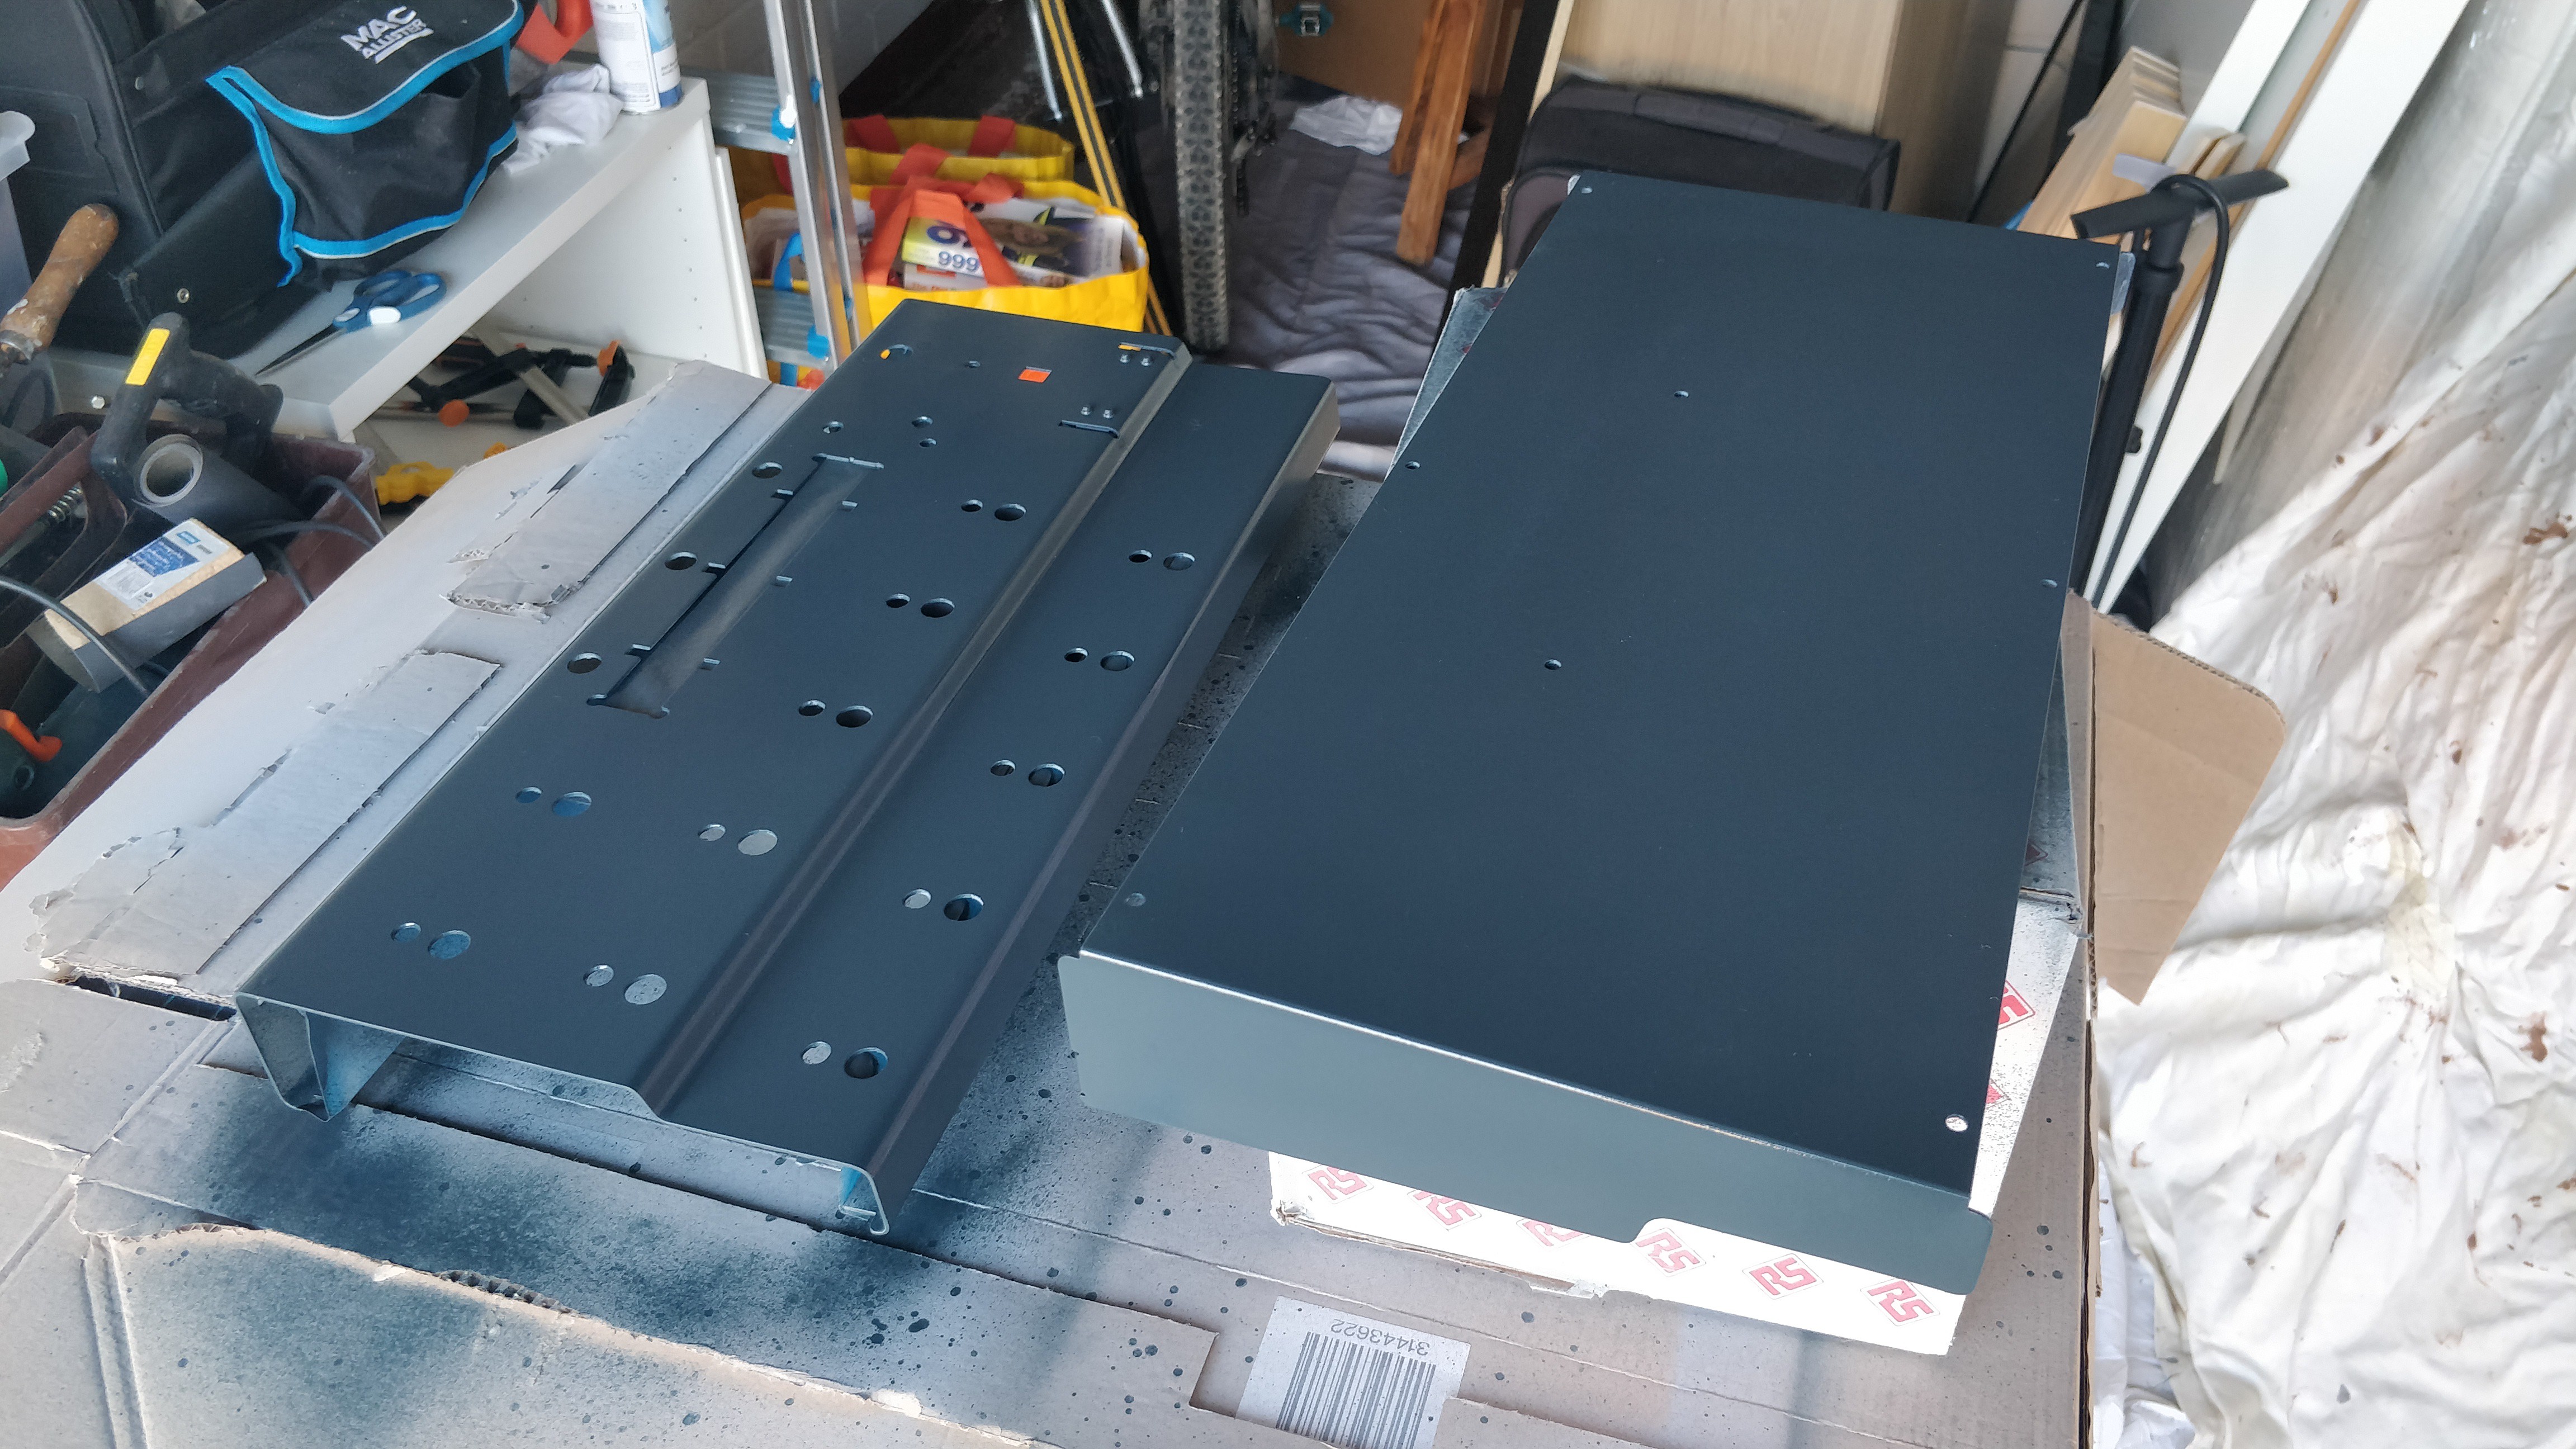
Looking good in it's Neve grey/blue it was time to think about graphics...
I wanted the unit to have some good, high quality graphics on it and not just use some PVC tape and marker pen or some dodgy paper stickers - essentially I wanted it to look as much like a production device as possible.
I fired up Affinity Designer and set to work trying to come up with a design. I'm not a graphic designer by any stretch but generally have a reasonably good idea for 'clean' design and - after taking cues from other controllers out there like the Line 6 Helix, Kemper, etc - think I have come up with graphics that are useful enough to show what everything does without cluttering the controller.
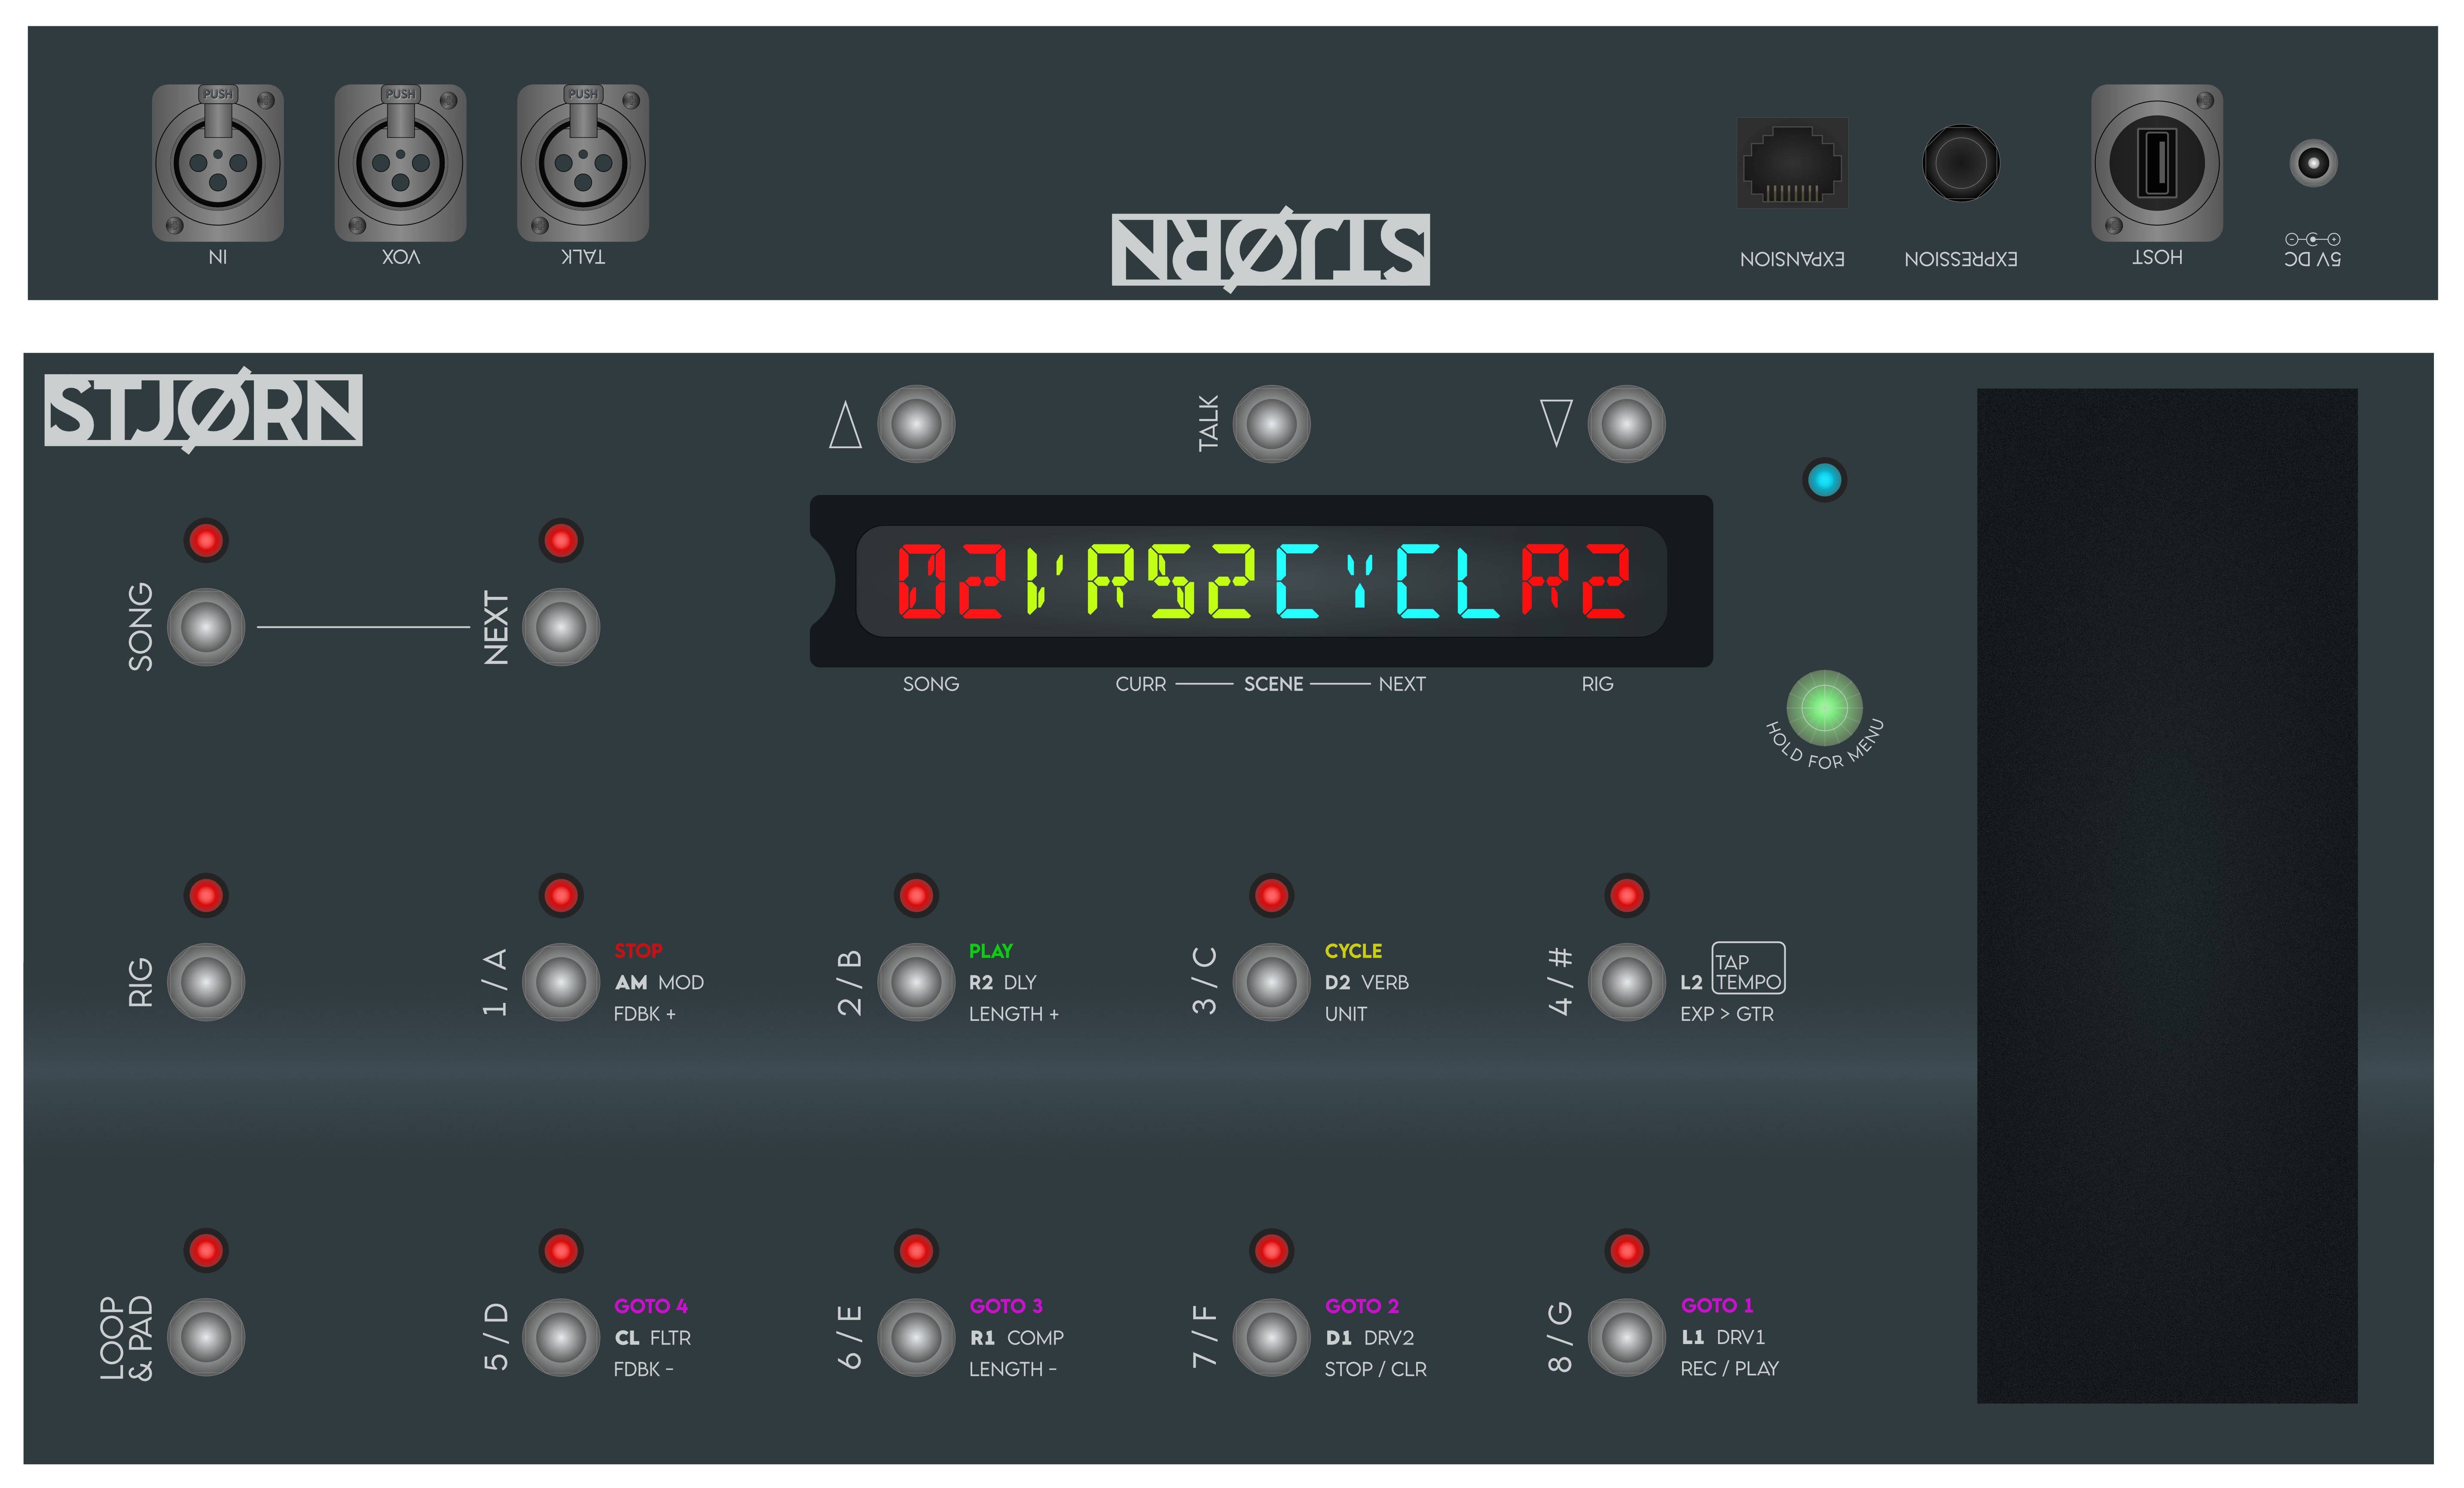
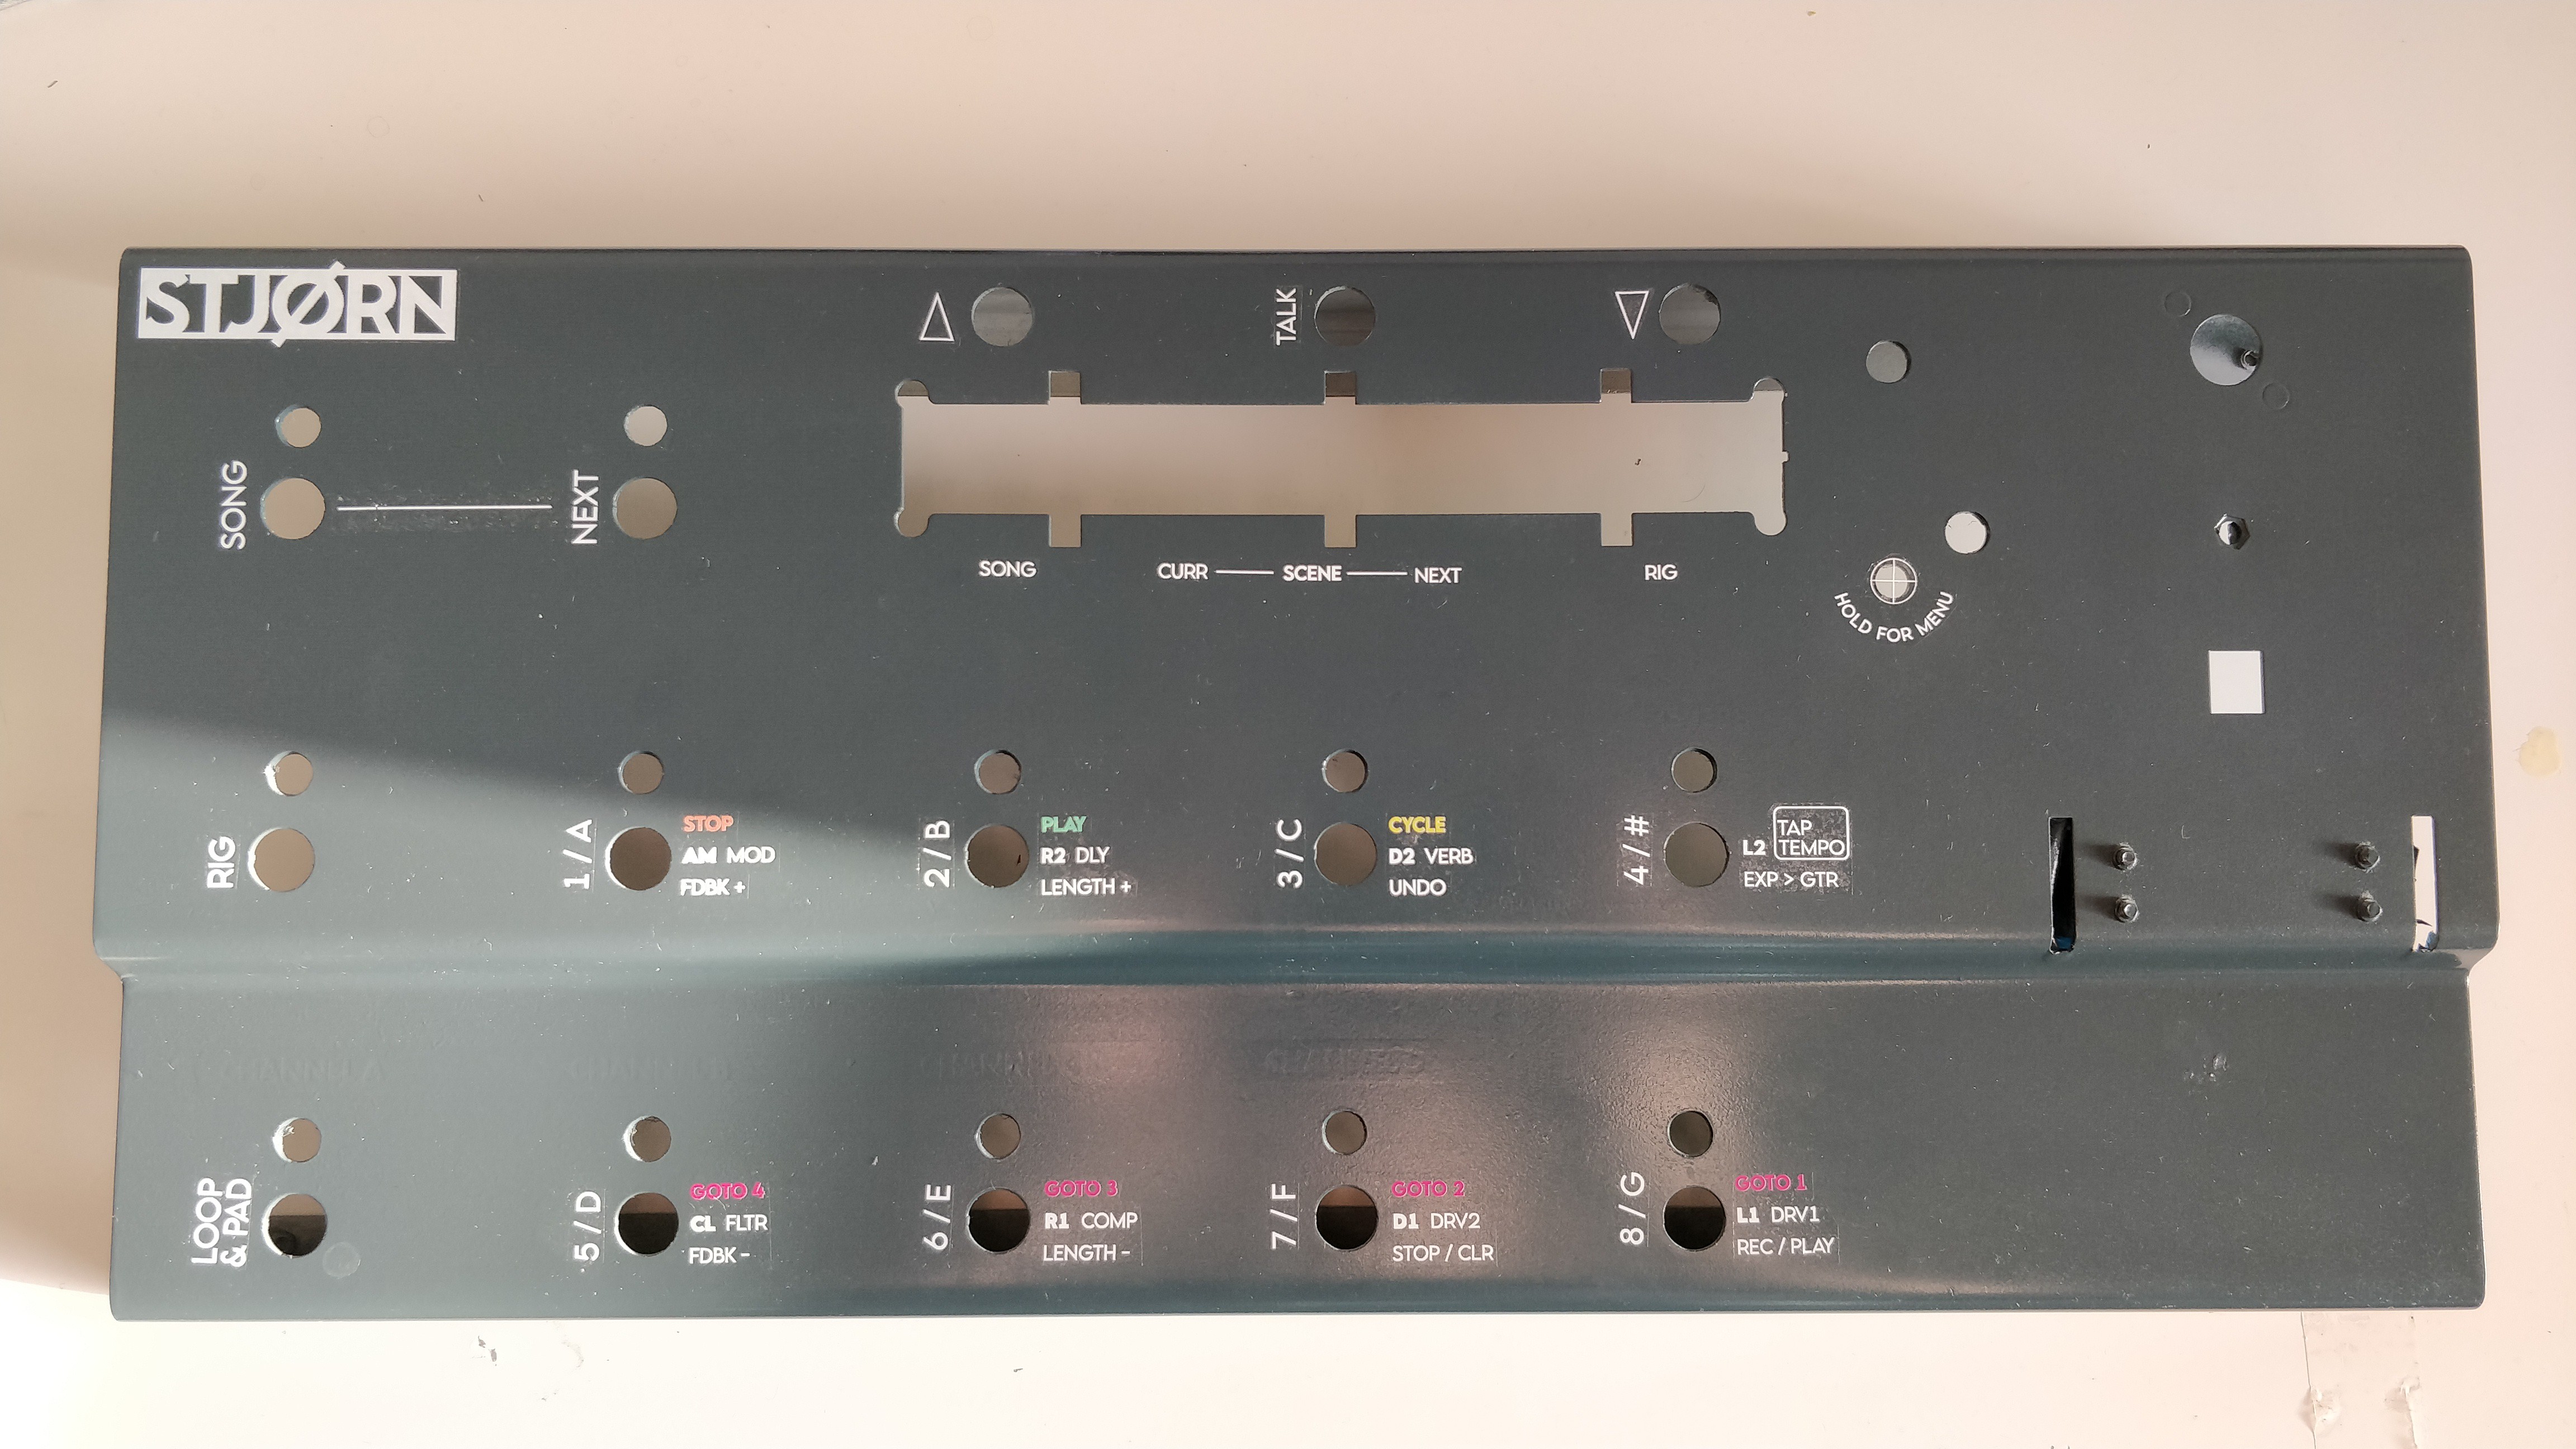
For each of the 8 main buttons, the text on each 'row' is applicable to the 3 modes - SONG, RIG, and LOOP & PAD - that are selected using the 3 buttons on the left. On the second row of text the text in bold - e.g. AM, R2, D2, etc - determines the patch that is selected in one of the RIG modes, and then the other text next to it is the FX selected in the other RIG mode. In another post I will go in to more details on the control scheme.
I like the primary use of White for most of the labels with just a small amount of colour used for the SONG transport controls.
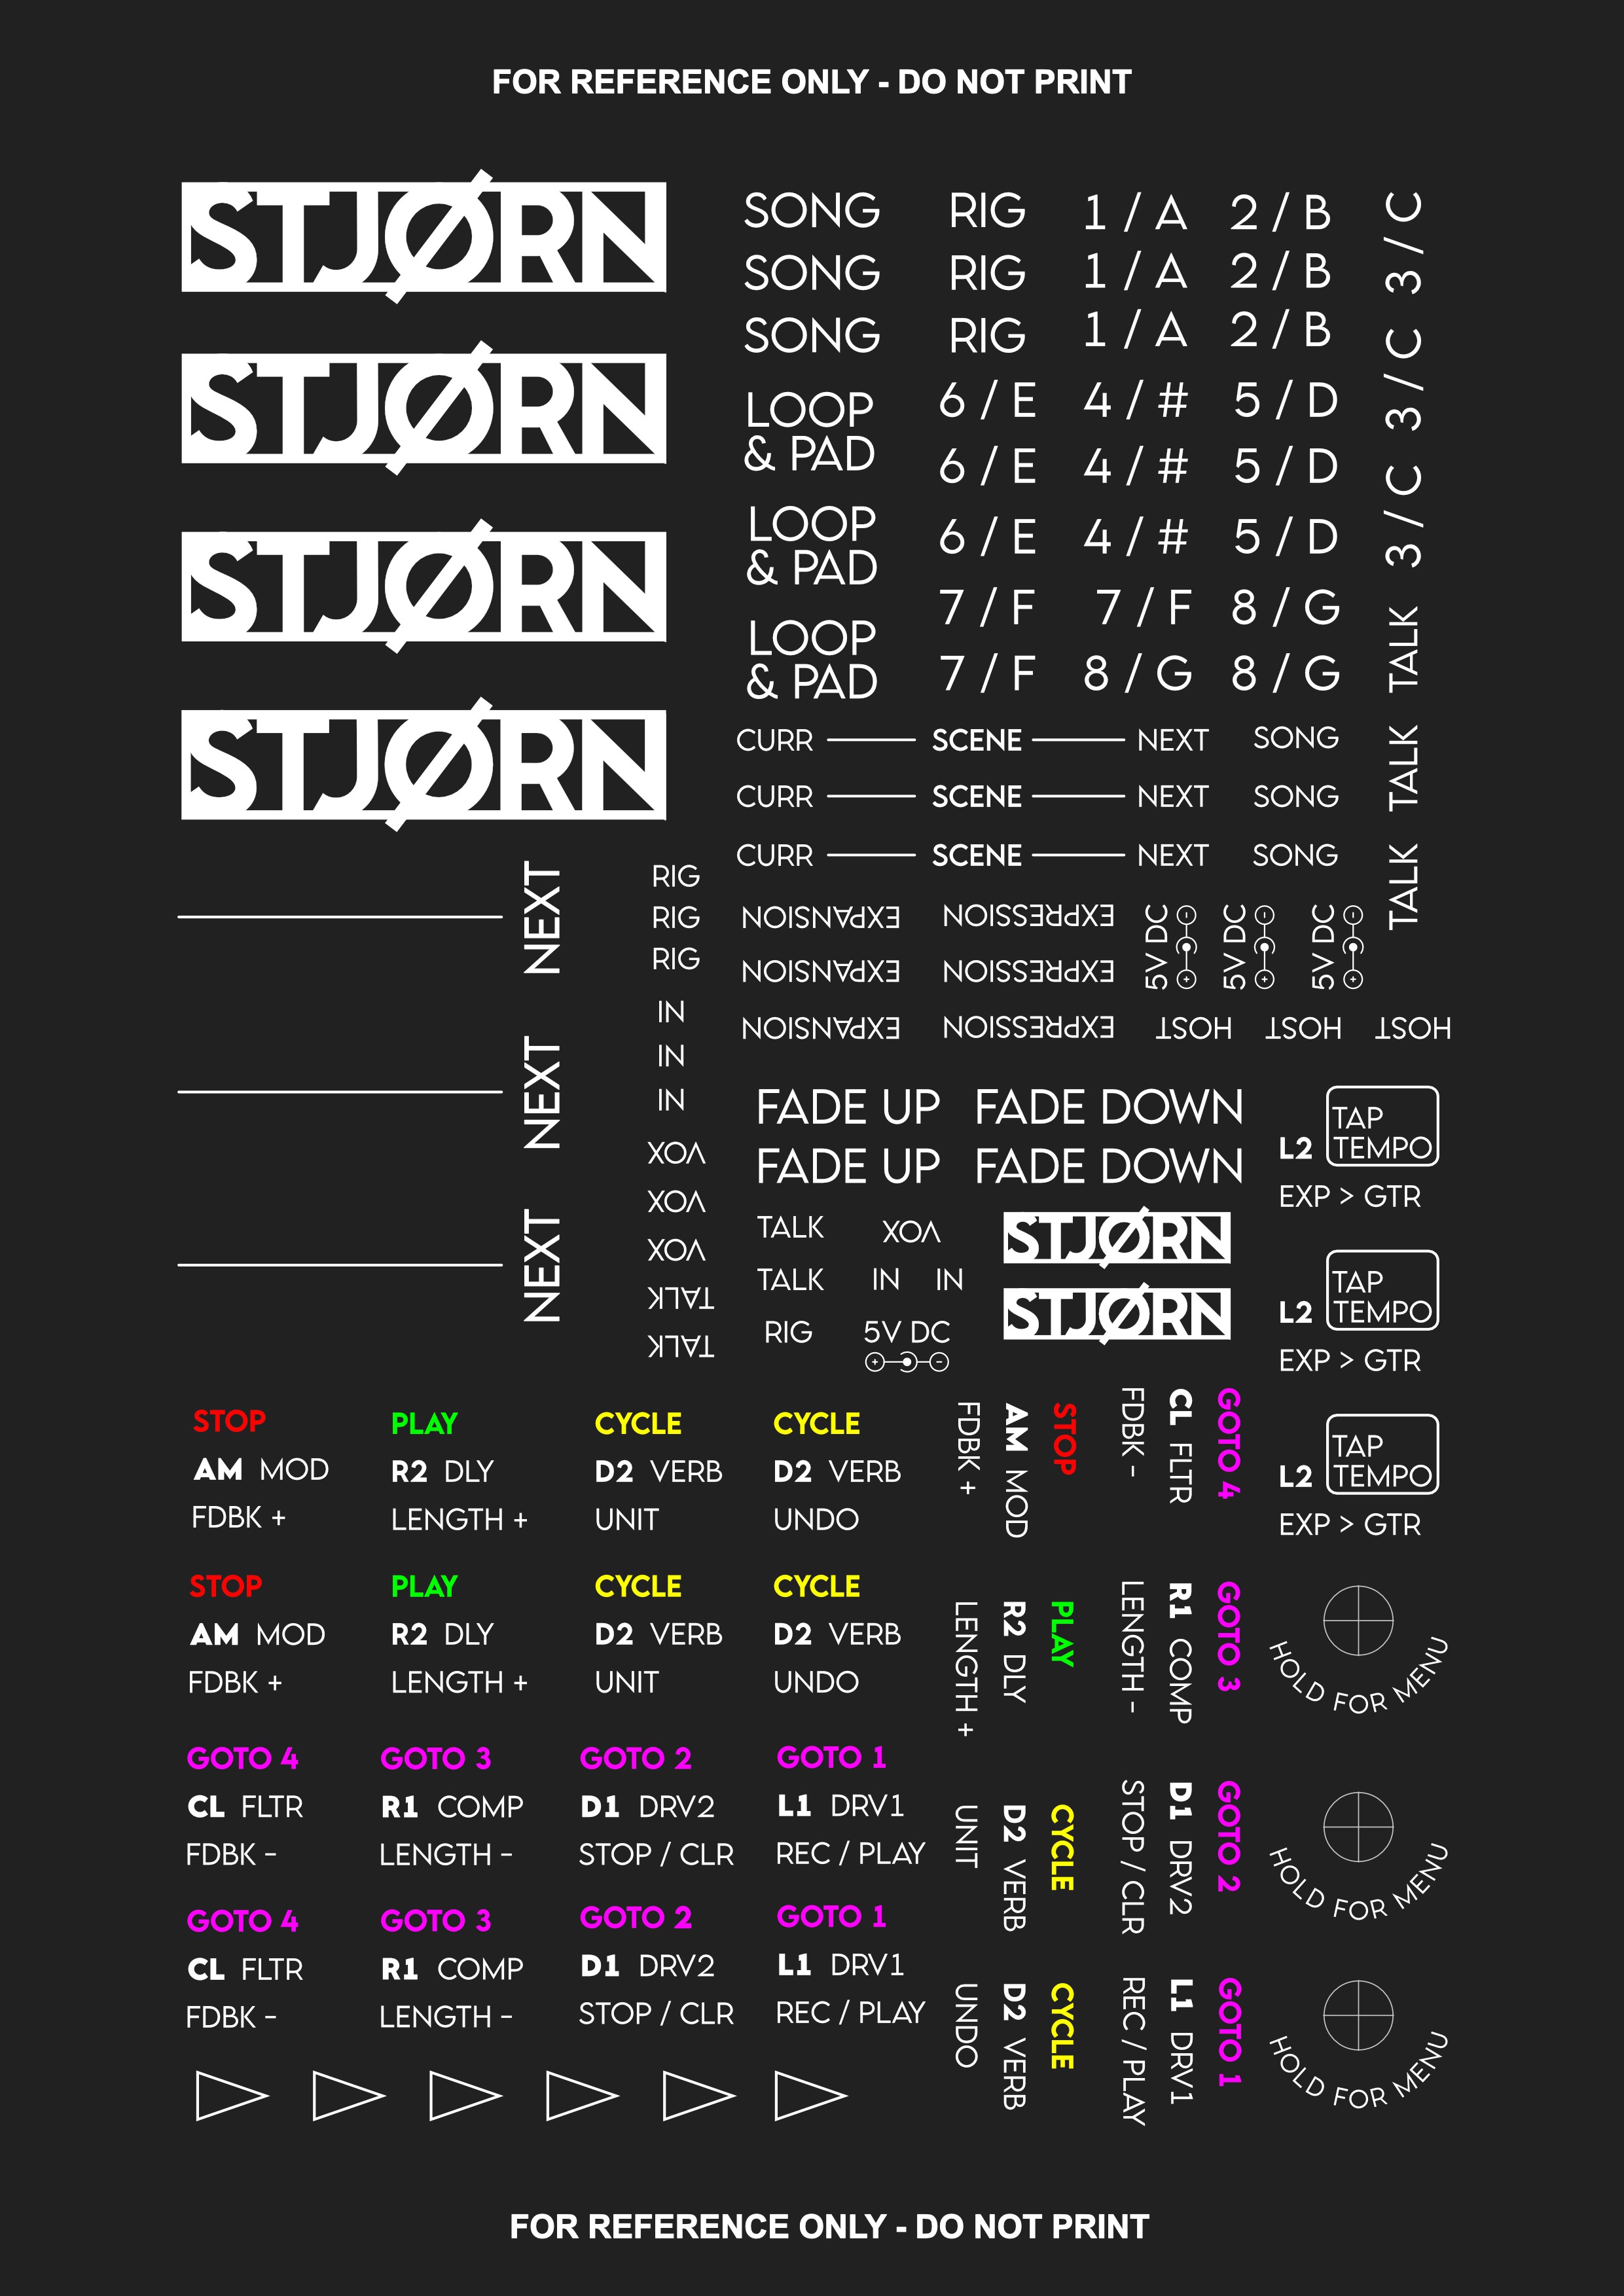
As the text is mostly white with no background, I needed to find a way to replicate that in a medium I could apply myself to the unit.
The answer came from a company who mostly make waterslide decals for minature railway modellers - Precision Decals. They are able to print completely custom decals and, most importantly, have the ability to print in white; something that is not possible using a home inkjet printer and transfer paper.
The graphics were prepared according to the instructions they provide and sent off. I included multiple repeats of each graphic so that when I inevitably screwed up placing one I had a few attempts!
When the graphics came back they already looked superb on the paper and I couldn't wait to apply them to the unit.
For those who haven't used waterslide transfers before they are applied by soaking the graphic in water for a minute or so and then sliding the decal from the backing paper in to position. Generally normal tap water can be used but I also purchased some Microscale Microset to help. This solution is applied to the surface the decal will be laid on and then also brushed over the decal once it is in position, and it helps to soften the decal to conform to any irregularities in the surface and also provide better adhesion to the surface. The whole process is a bit of a faff, but a Sunday afternoon later it was done!
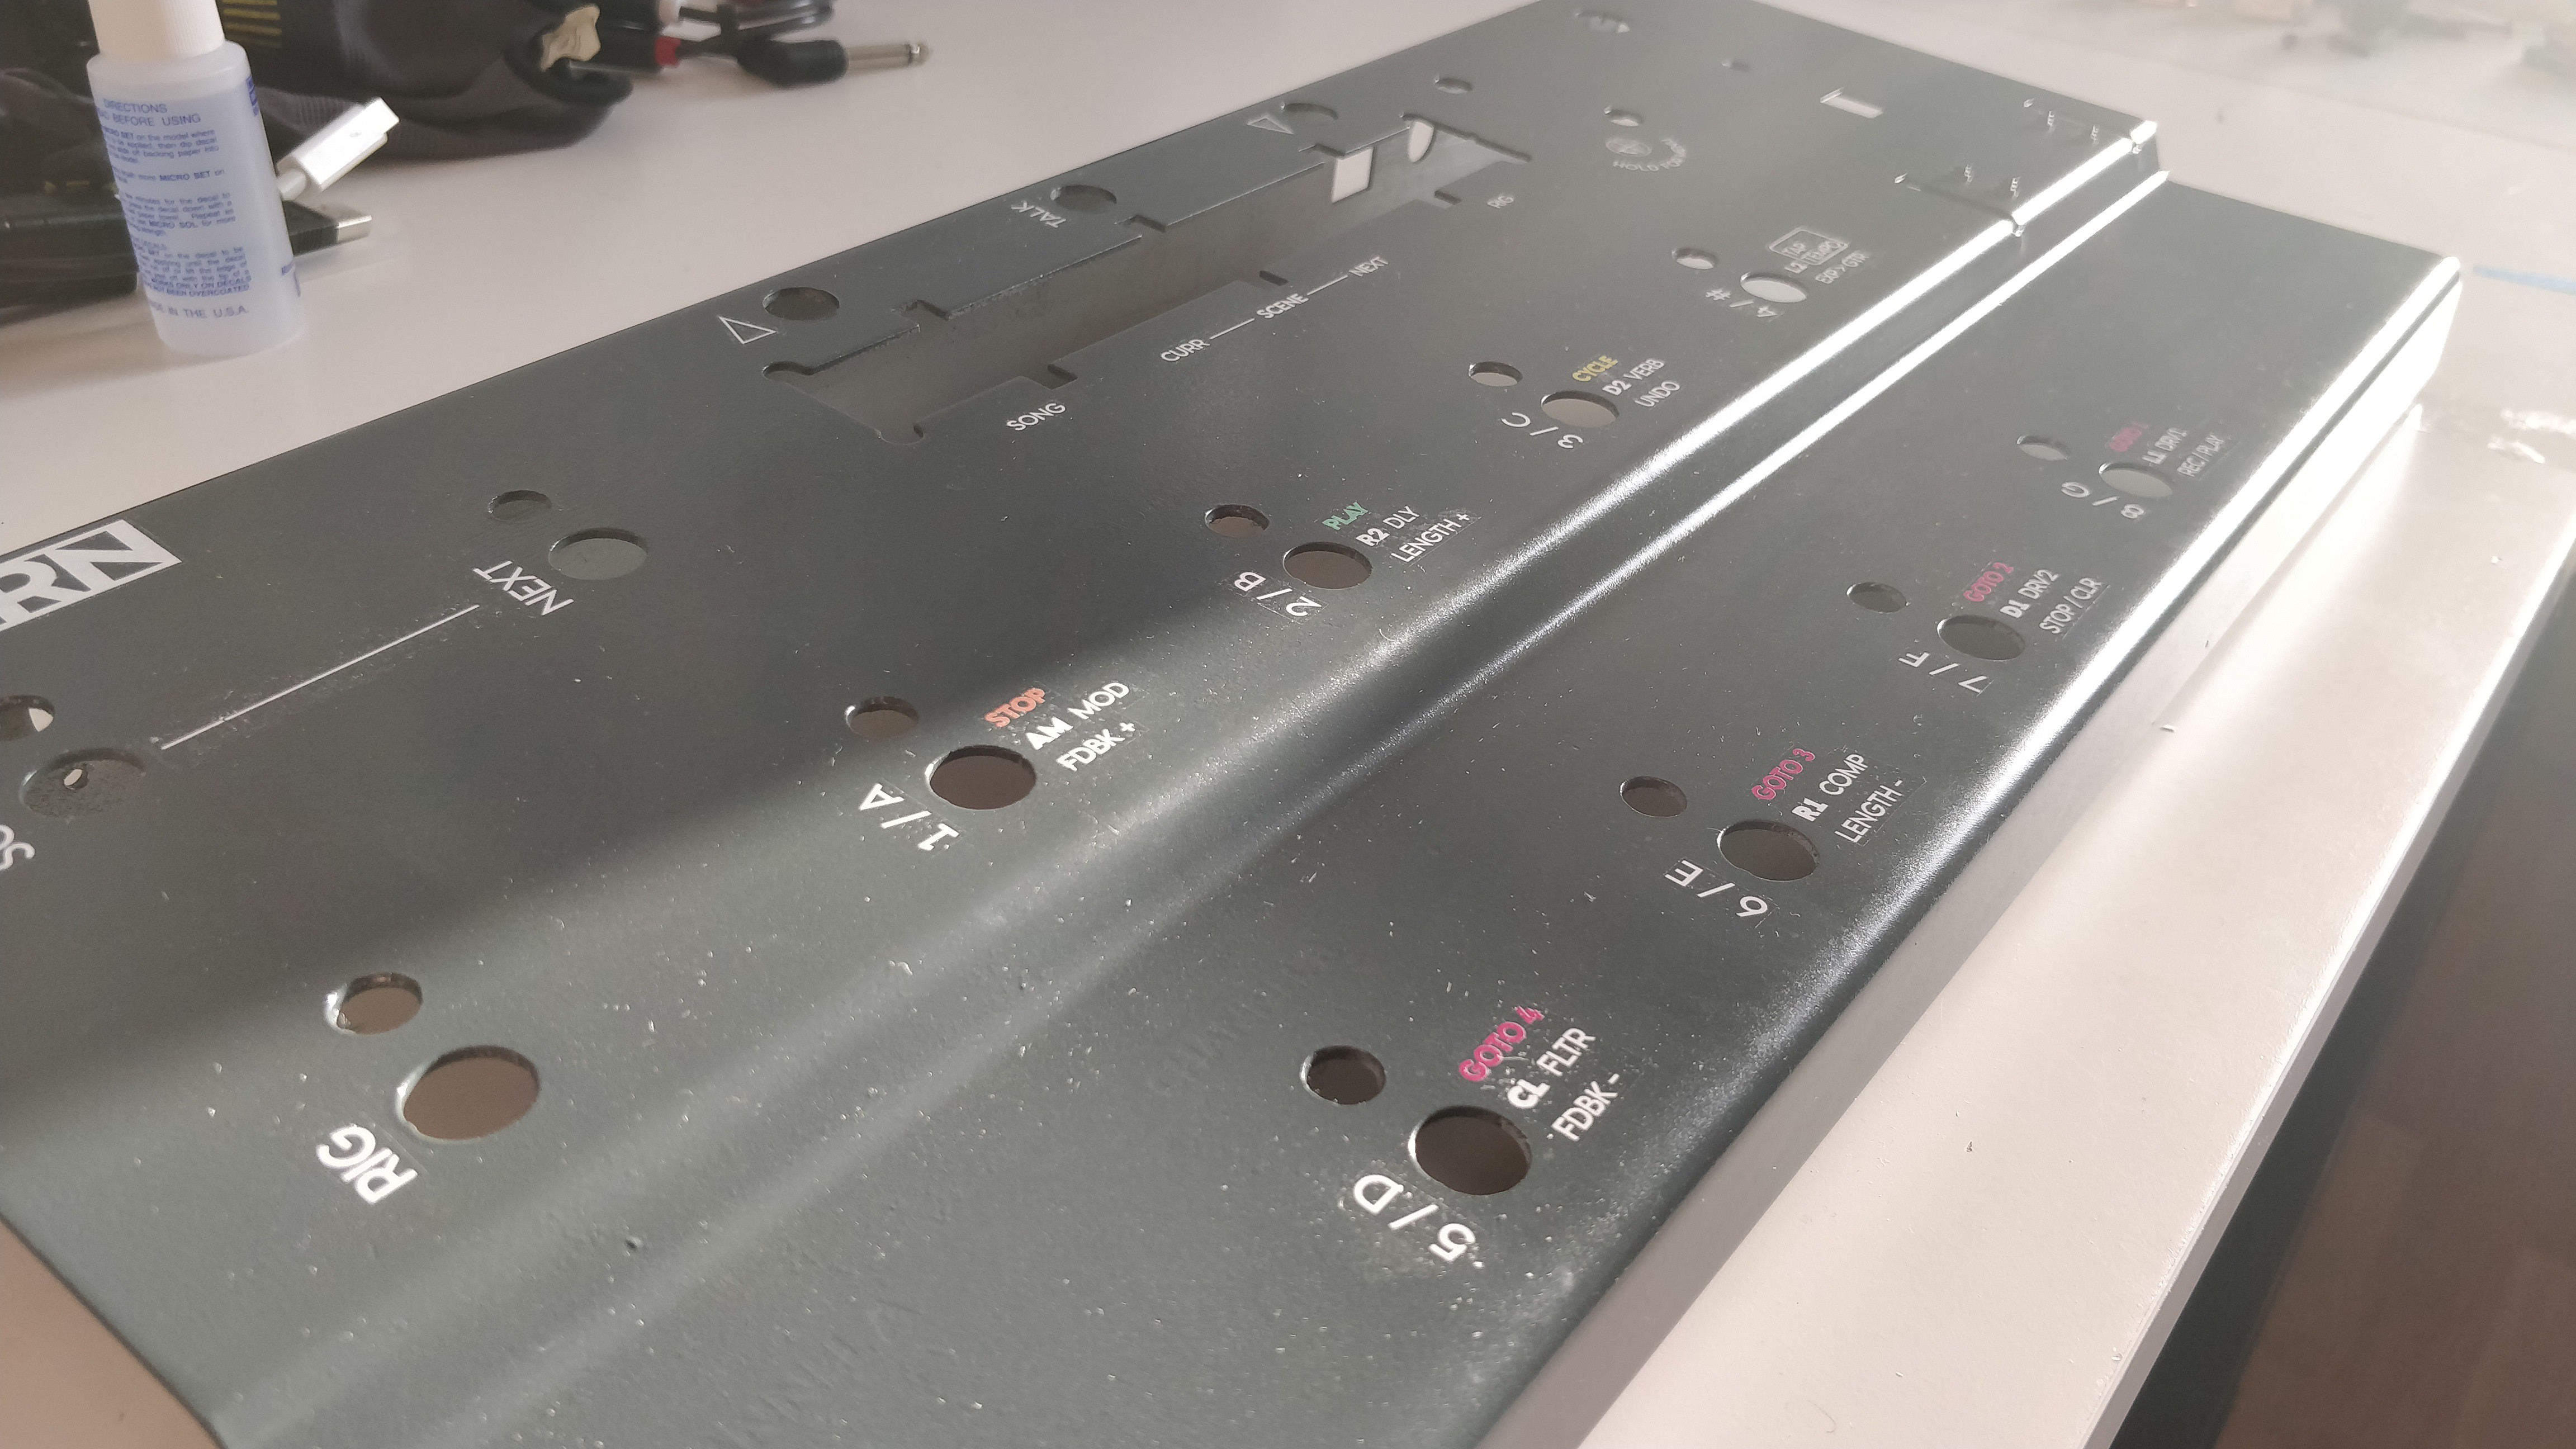
In the photos above, you can see some 'silvering' of the decals - this is where tiny air bubbles are trapped behind the clear part of the decal. The Microset helps get rid of this, but clearly the surface wasn't as smooth as it could be and so trapped some air bubbles. It is most noticeable on the line between SONG and NEXT on the top left - this took three attempts to lay the decal and required a large width of clear backing to be left so that the decal didn't break. I used some Microset and a craft knife to try and scrape away as much as possible, but there was still some left annoyingly.
Final step was to let the decals set properly for 24 hours and then apply the clear lacquer. This was applied in two thin coats with 24 hours in between for each coat to dry. When I went down to the garage after the second coat had dried I was very very pleased to see that the lacquer appeared to have dissolved pretty much all of the clear parts of the decals, just leaving the text behind! This was most noticeable on the HOLD FOR MENU graphic - the circle with cross you can see above that was used to position the decal over the hole had all the backing dissolved away just leaving a very thin cross covering the hole. The main upshot of this though was that all the silvering - especially on the line mentioned above - had gone!
The end result, I think, looks superb and I am really REALLY happy with it!
Here it is with pretty much all the hardware in place and looking great!
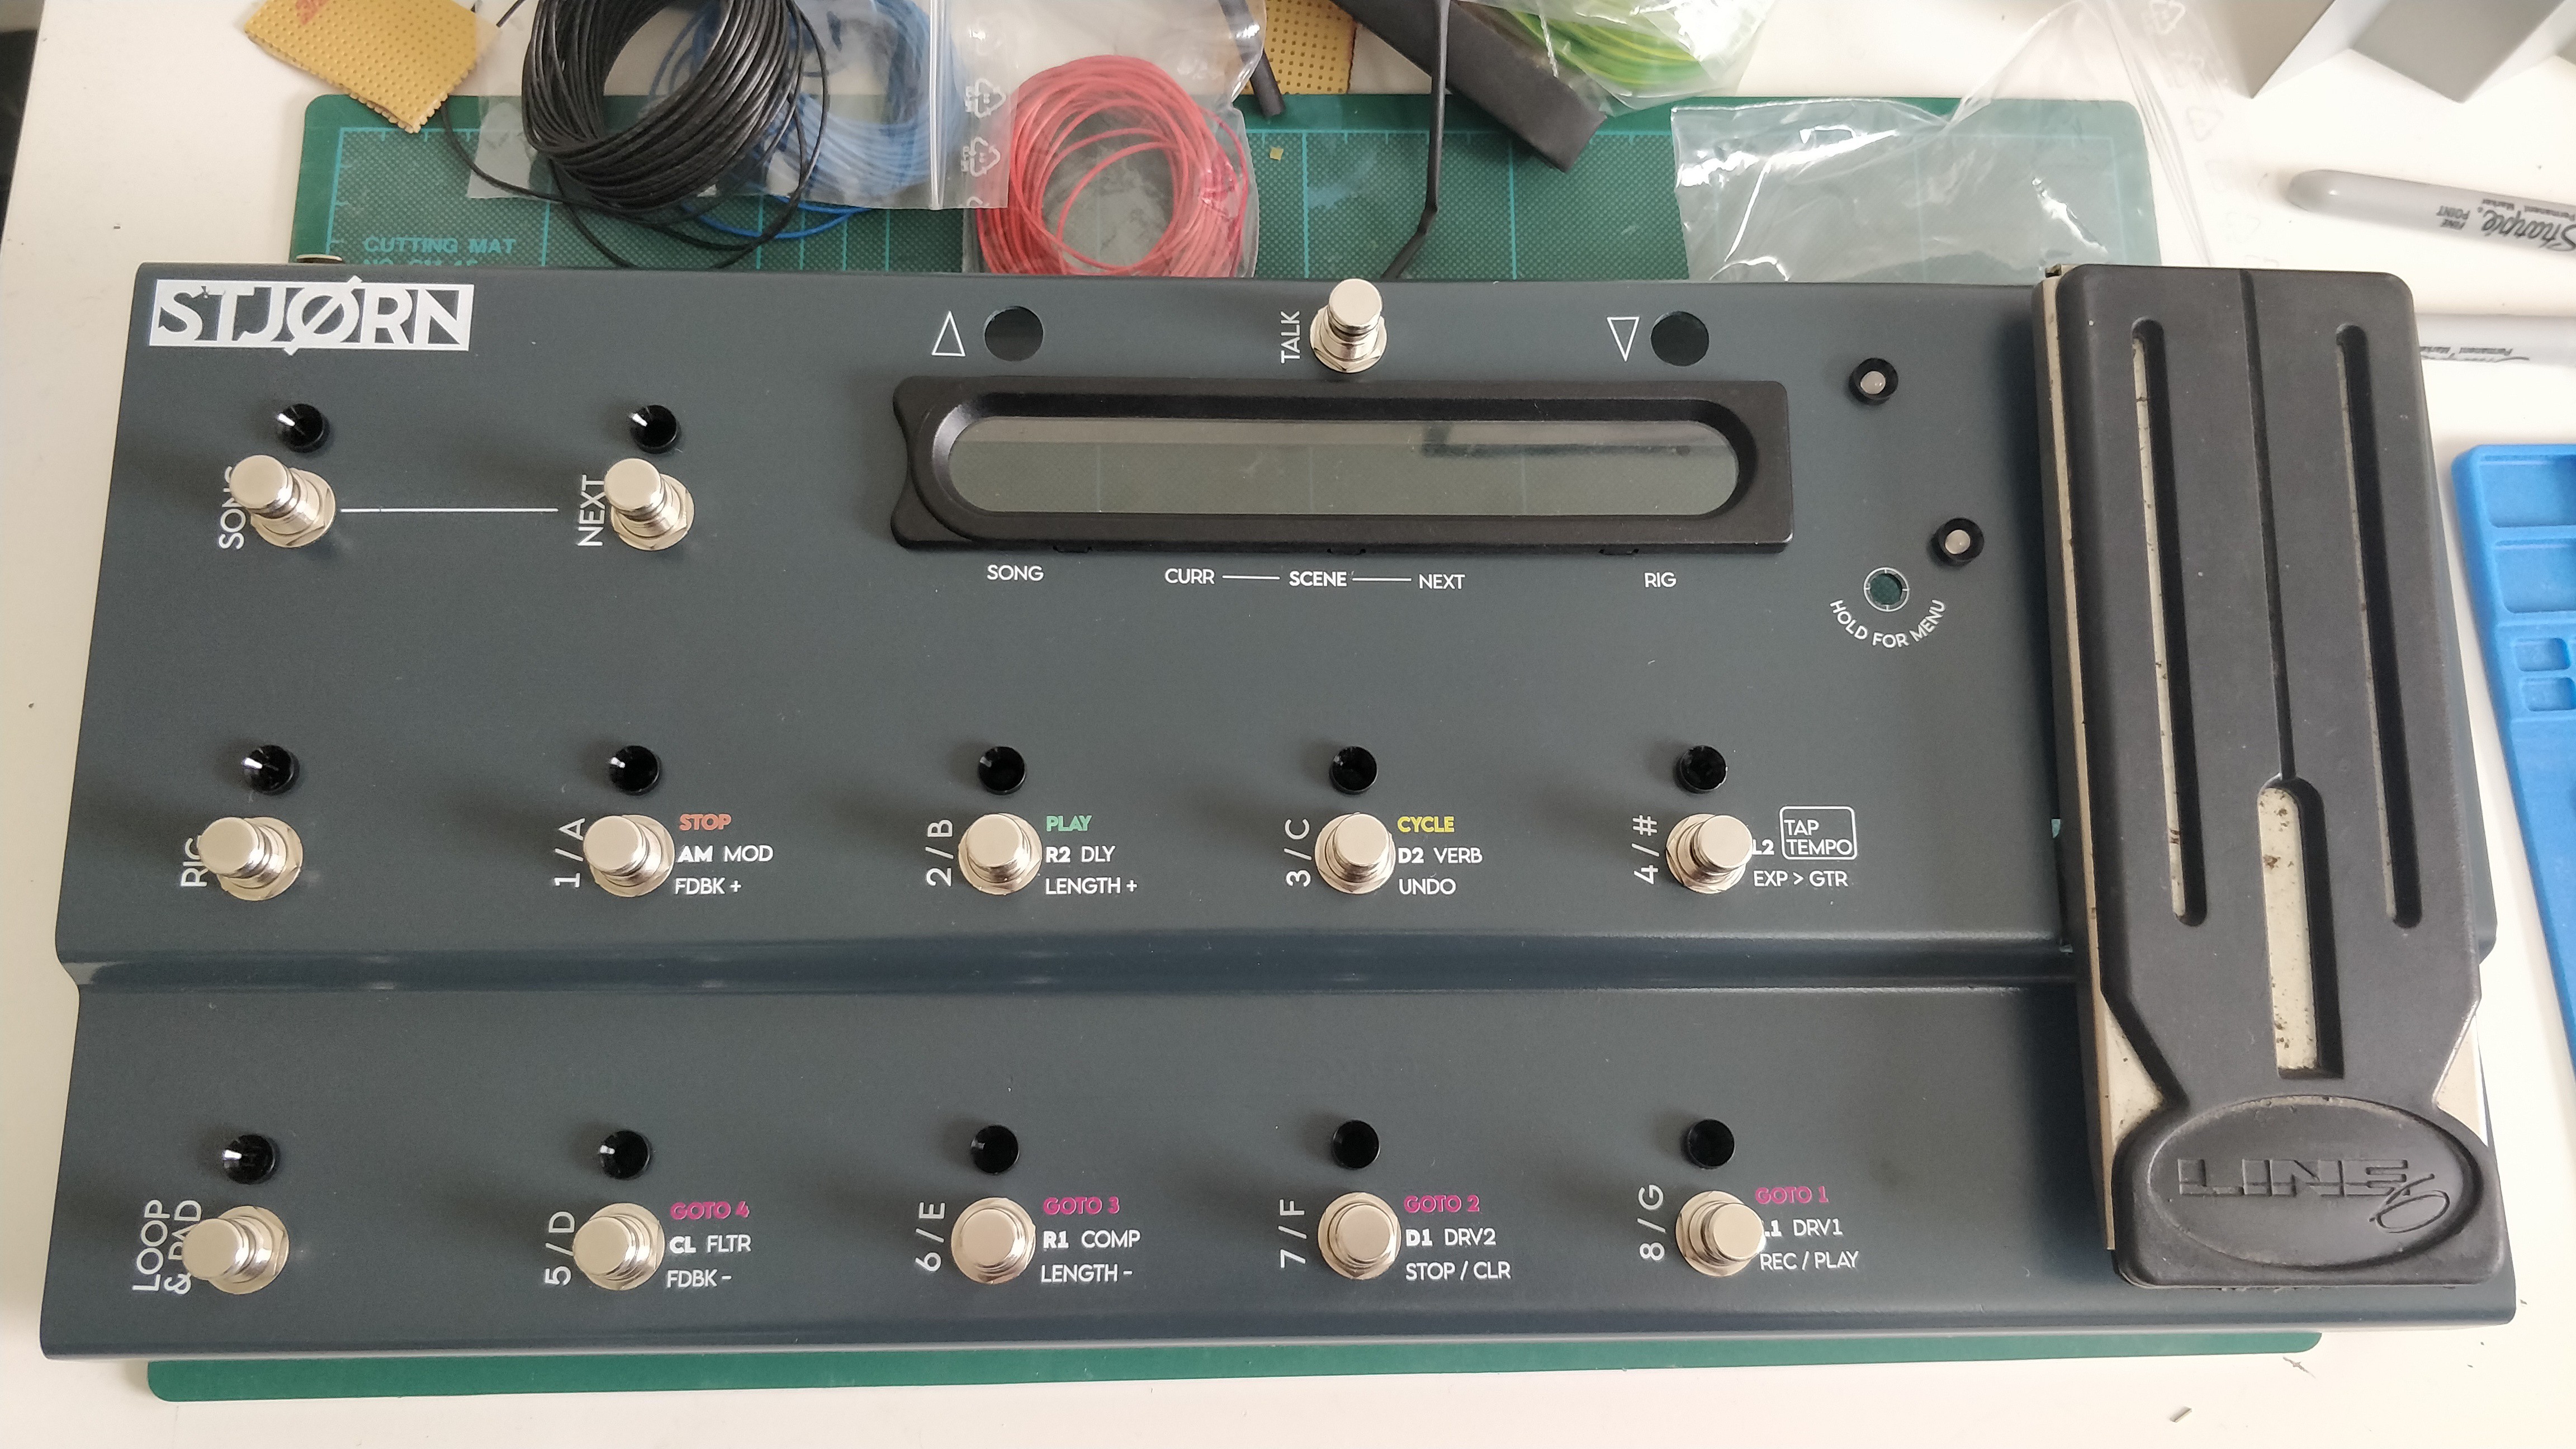
(The Line 6 on the expression treadle will be changing by the way!)
Discussions
Become a Hackaday.io Member
Create an account to leave a comment. Already have an account? Log In.