Close
0%
0%

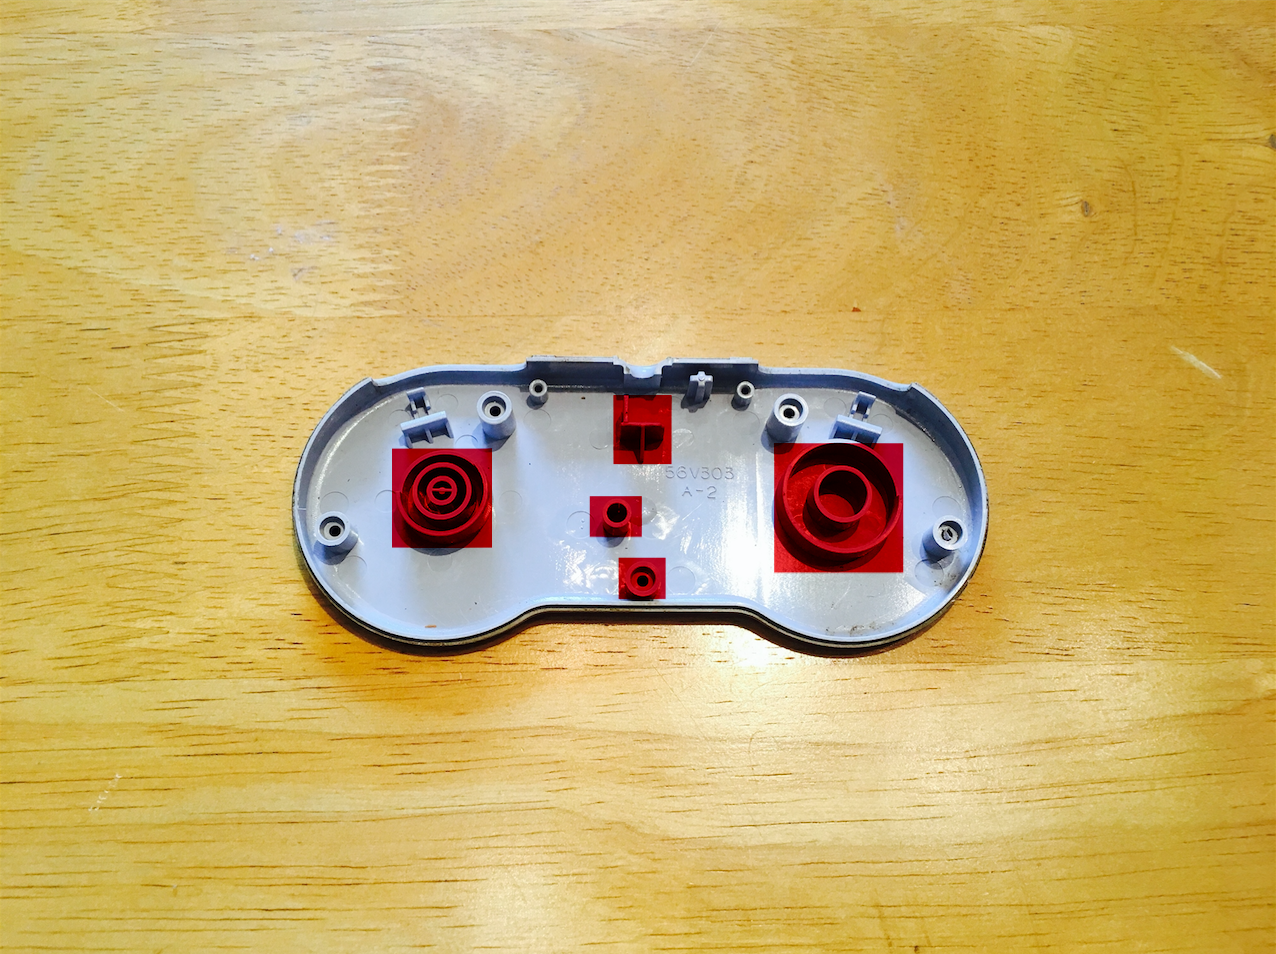
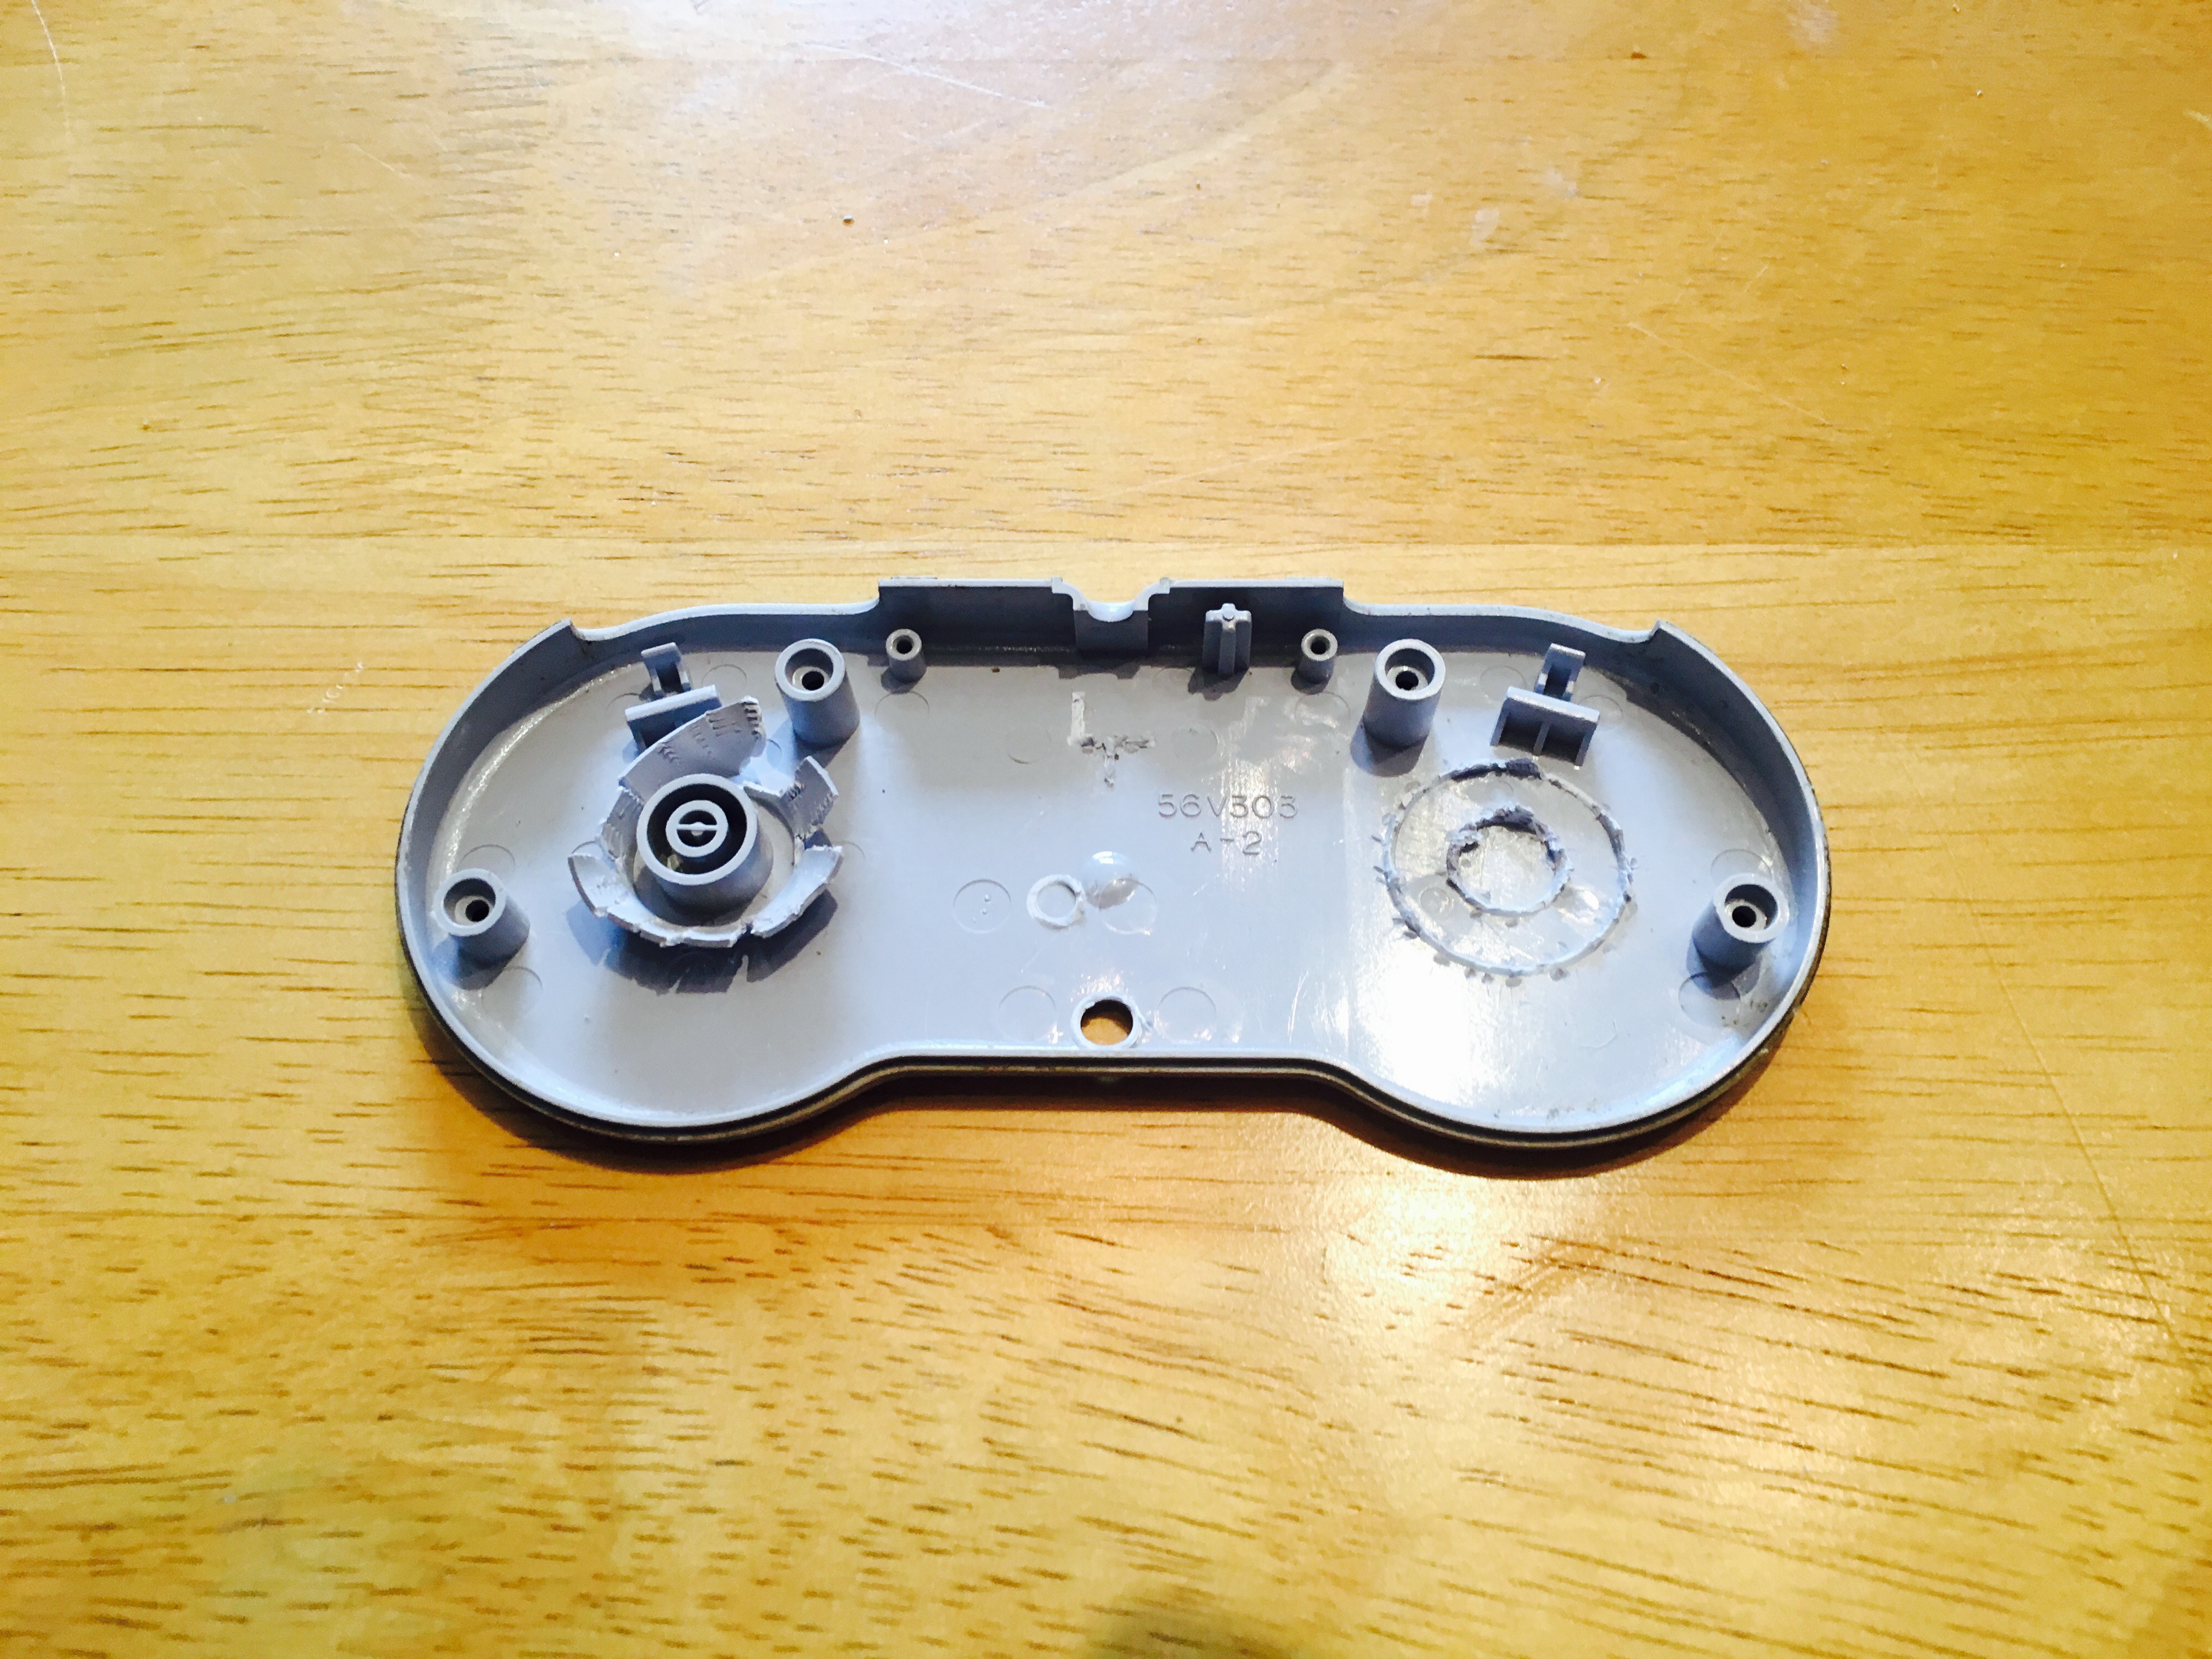
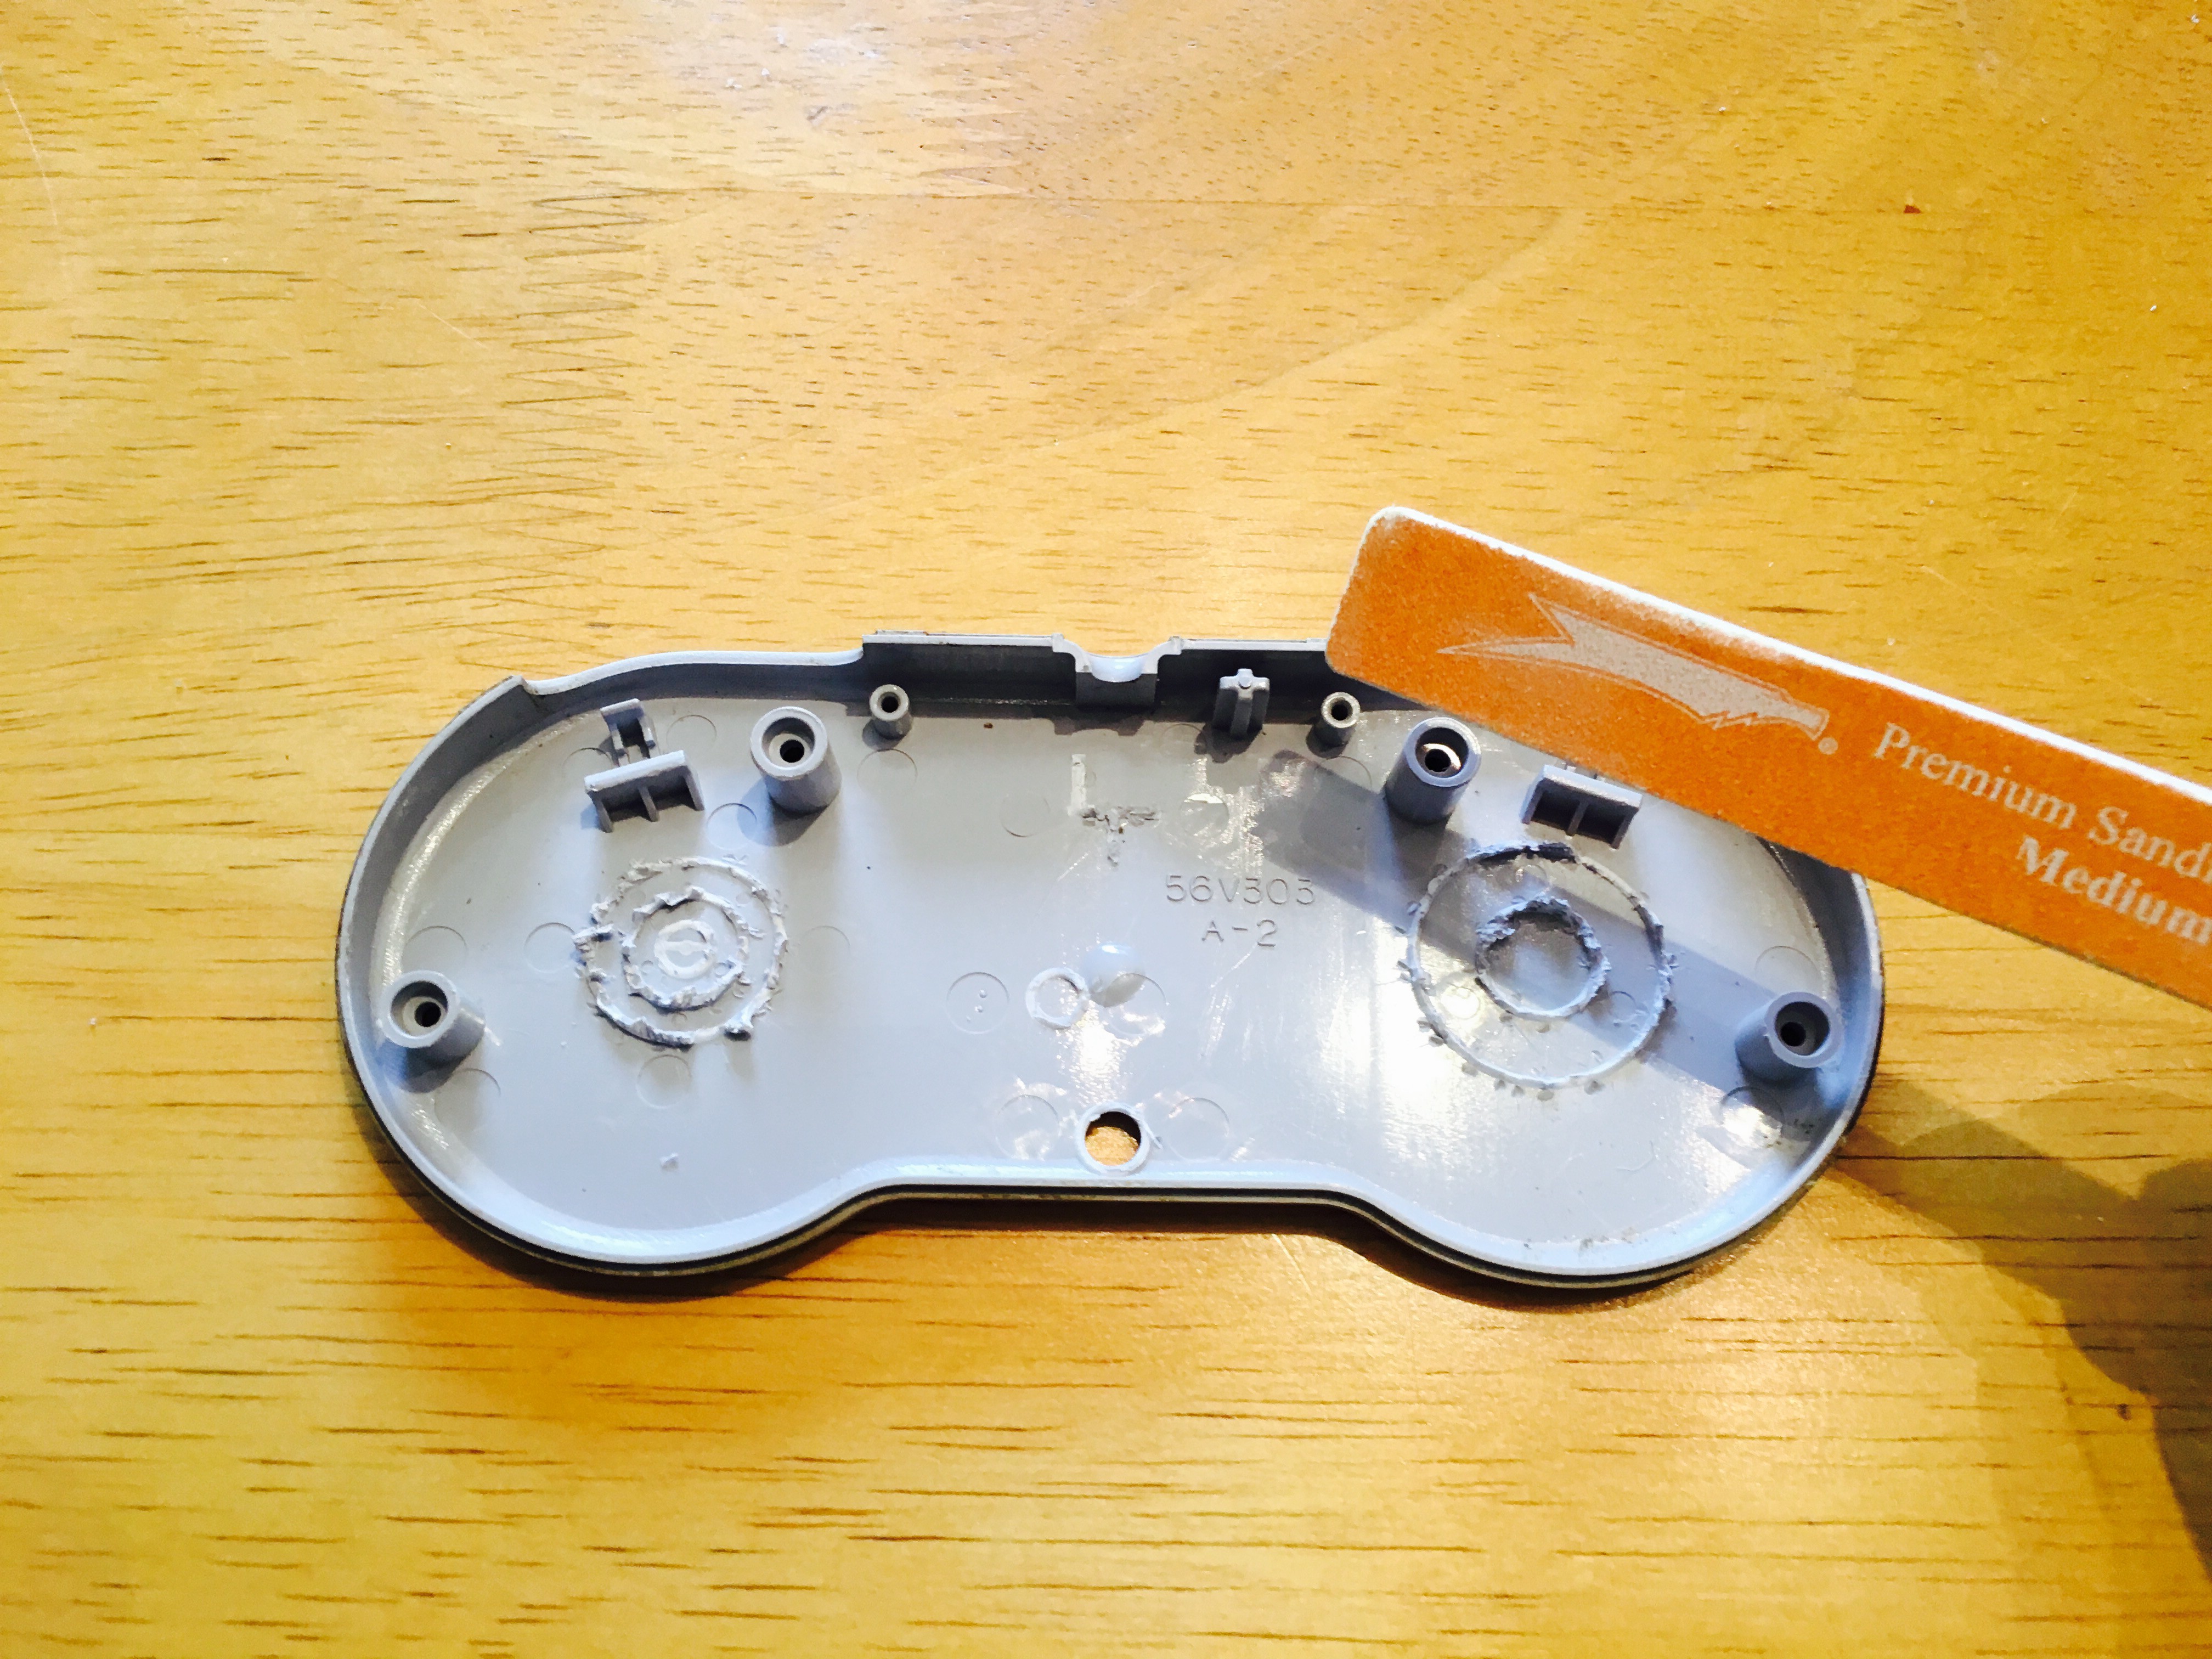
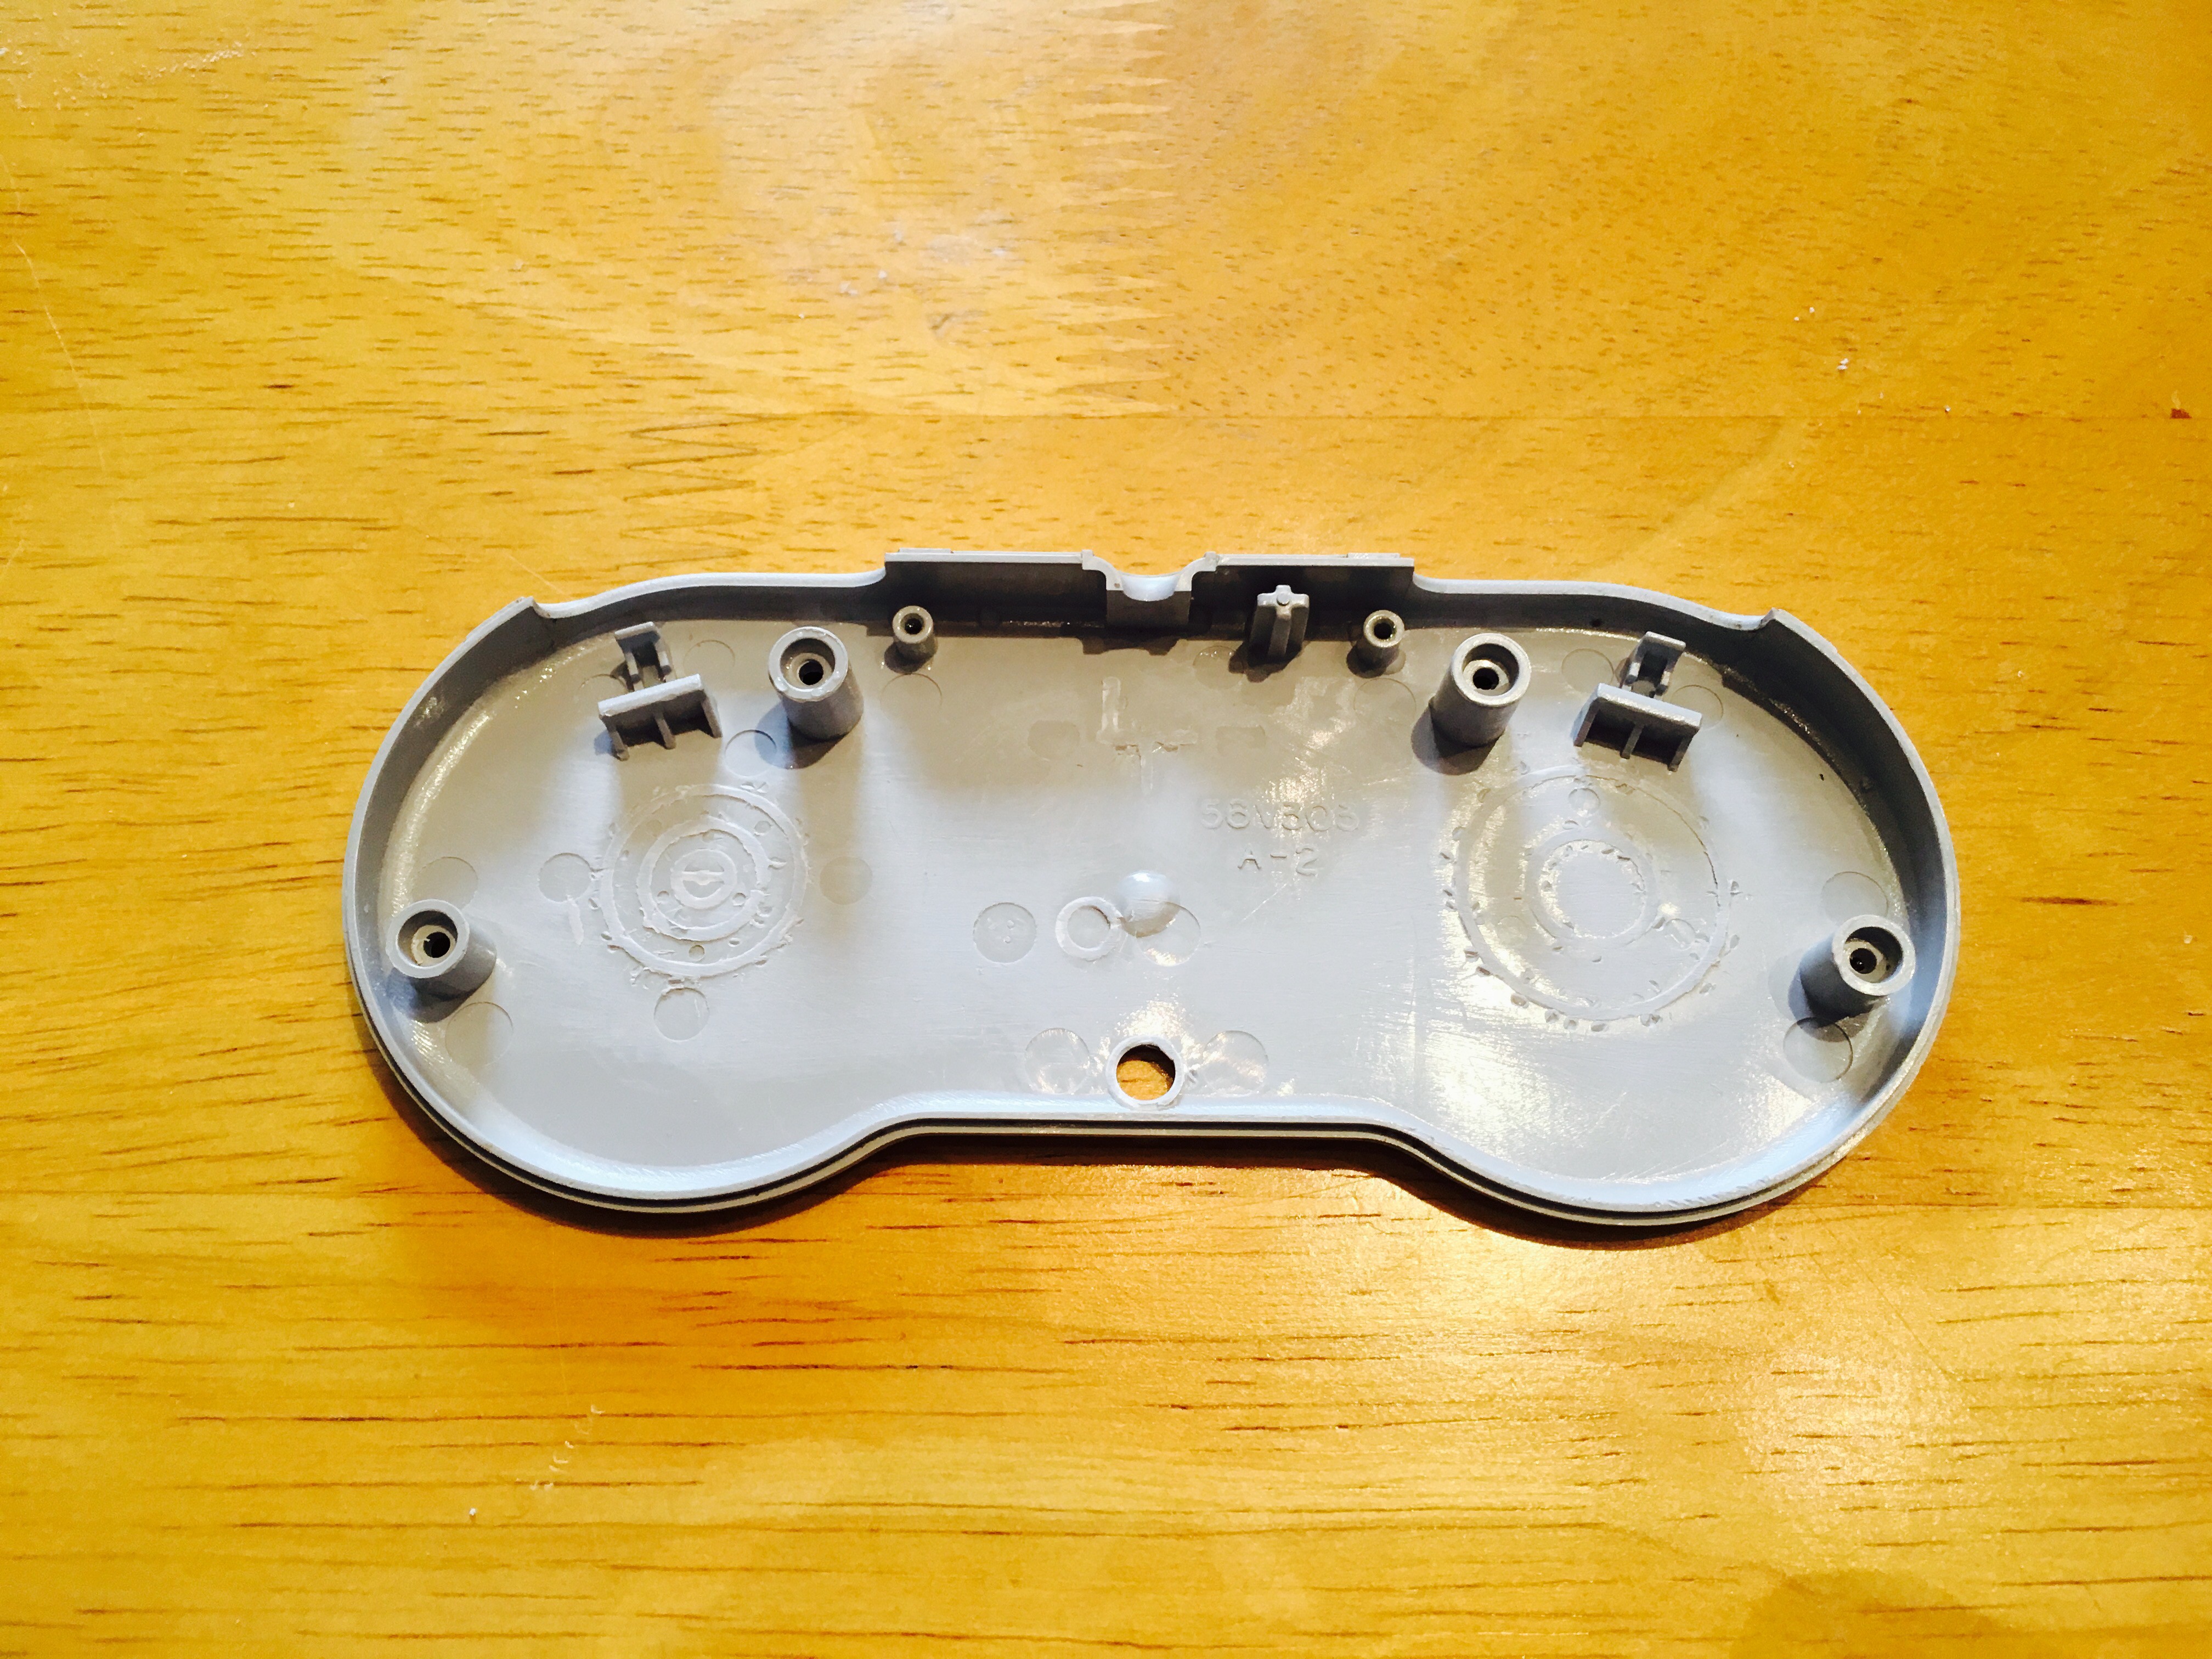
Raspberry Pi Zero inside an SNES Controller

Turn a Super Nintendo Controller into a self-contained TV Plug-n-Play console

Similar projects worth following
I bought a raspberry pi zero and thought it would be a fun project to fit it inside an official SNES controller; turning it into self-contained plug-n-play console.

I was inspired by these projects:
- http://jamespoole.me/2016/02/29/pi-zero-controller-console/
- https://twitter.com/another_russell/status/677212612170555393

The main changes I was looking to try being:
- Use an original SNES controller
- Have HDMI out and power switch coming out the top
- Run it on an internal battery (with charging port on the bottom)

It runs for about 2 hours give or take, hooks up to any TV with just an HDMI cable and it was a great way to learn/practice soldering and electronics

Overview video:

sns-005z wiring.png

Wiring Diagram

Portable Network Graphics (PNG) - 1.01 MB - 10/12/2016 at 14:14

Preview
Download

View all 8 components

  • 1
    Step 1

    Parts

    You'll need the following components to make this project.

    Tools & Materials

  • 2
    Step 2

    SNES Controller Circuit Board Modifications

    Since we are using an official SNES controller as a base we get to reuse the controller circuit board directly for 2 reasons...

    1. It makes the wiring simple (there is a driver written for this - see the software step for more details)
    2. It gives us a nice base to layout our other parts

    To prep for this we only need to make one change - remove the existing wiring harness + cable

    First remove the cable from the harness

    Then desolder these 5 pins from the front of the circuit board

    Once done you should be able remove the white harness with a set of pliers so the board ends up looking like this...

    Next we are going to make some modifications to the bottom and top of the case so we can start laying out the components and testing placement+fit

  • 3
    Step 3

    Case Modifications (bottom)

    The bottom of the controller case has a few posts that need to be removed to allow the Raspberry Pi Zero, Powerboost and Battery to fit

    Remove these highlighted posts...

    Posts to remove

    A set of pliers should do the trick

    Once all are removed you can smooth down the excess with sandpaper

    After sanding things down the bottom of the controller should look something like this...

    Next we'll make cuts in the case for the HDMI cable, power switch and usb charing port

View all 6 instructions

Enjoy this project?

Share

Discussions

madface31 wrote 04/19/2017 at 18:21 point

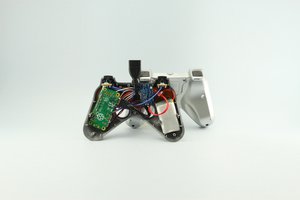
can you help me figure out the whole programing. i think i have everthing right but not sure how to get the pi the read the control.

  Are you sure? yes | no

Michael Zechmeister wrote 04/06/2017 at 12:41 point

Does  it  only  work  with  the  SNS-005?

  Are you sure? yes | no

beano99 wrote 01/15/2017 at 21:32 point

Did you have to programme the zero to use headers like a USB 

  Are you sure? yes | no

Similar Projects

Does this project spark your interest?

Become a member to follow this project and never miss any updates