 artbyphysicistkitty
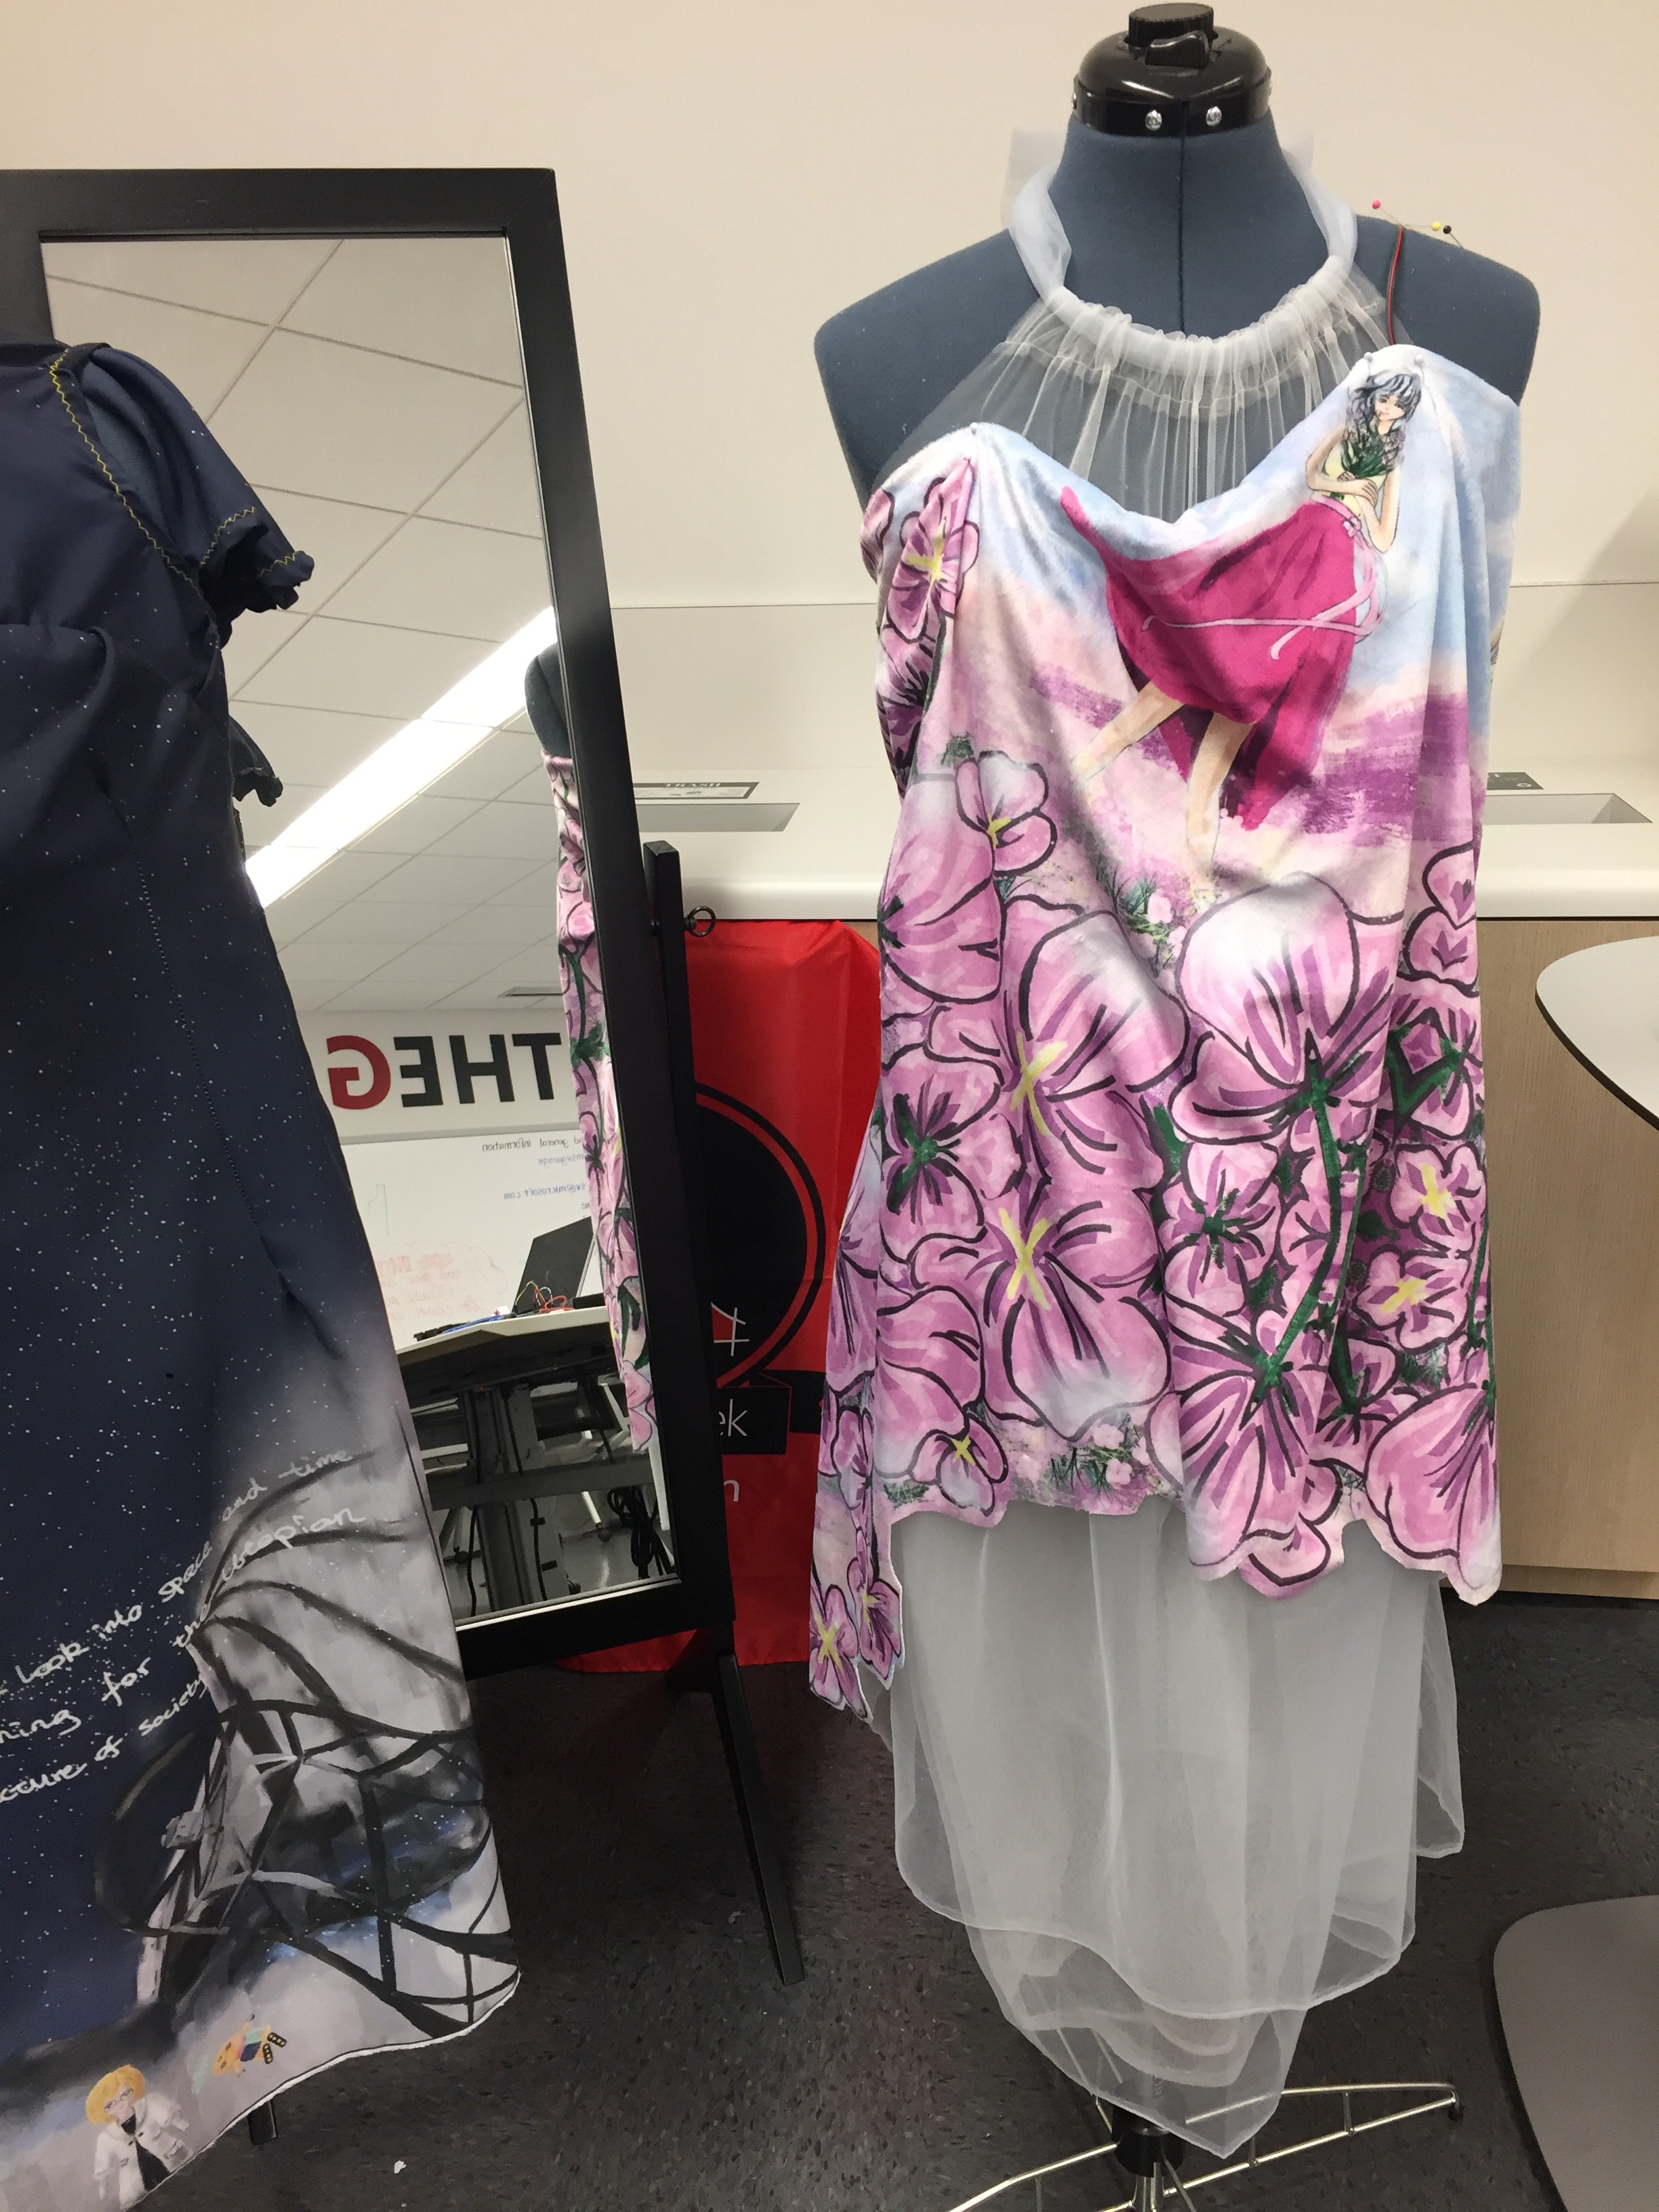
A fun fact: in the middle of the project, Make: came to The Garage, Microsoft to do a Wearables Tech 101 workshop. I was the instructor and used this dress as an example of how to scale the skills we learn in the workshop to a real garment.
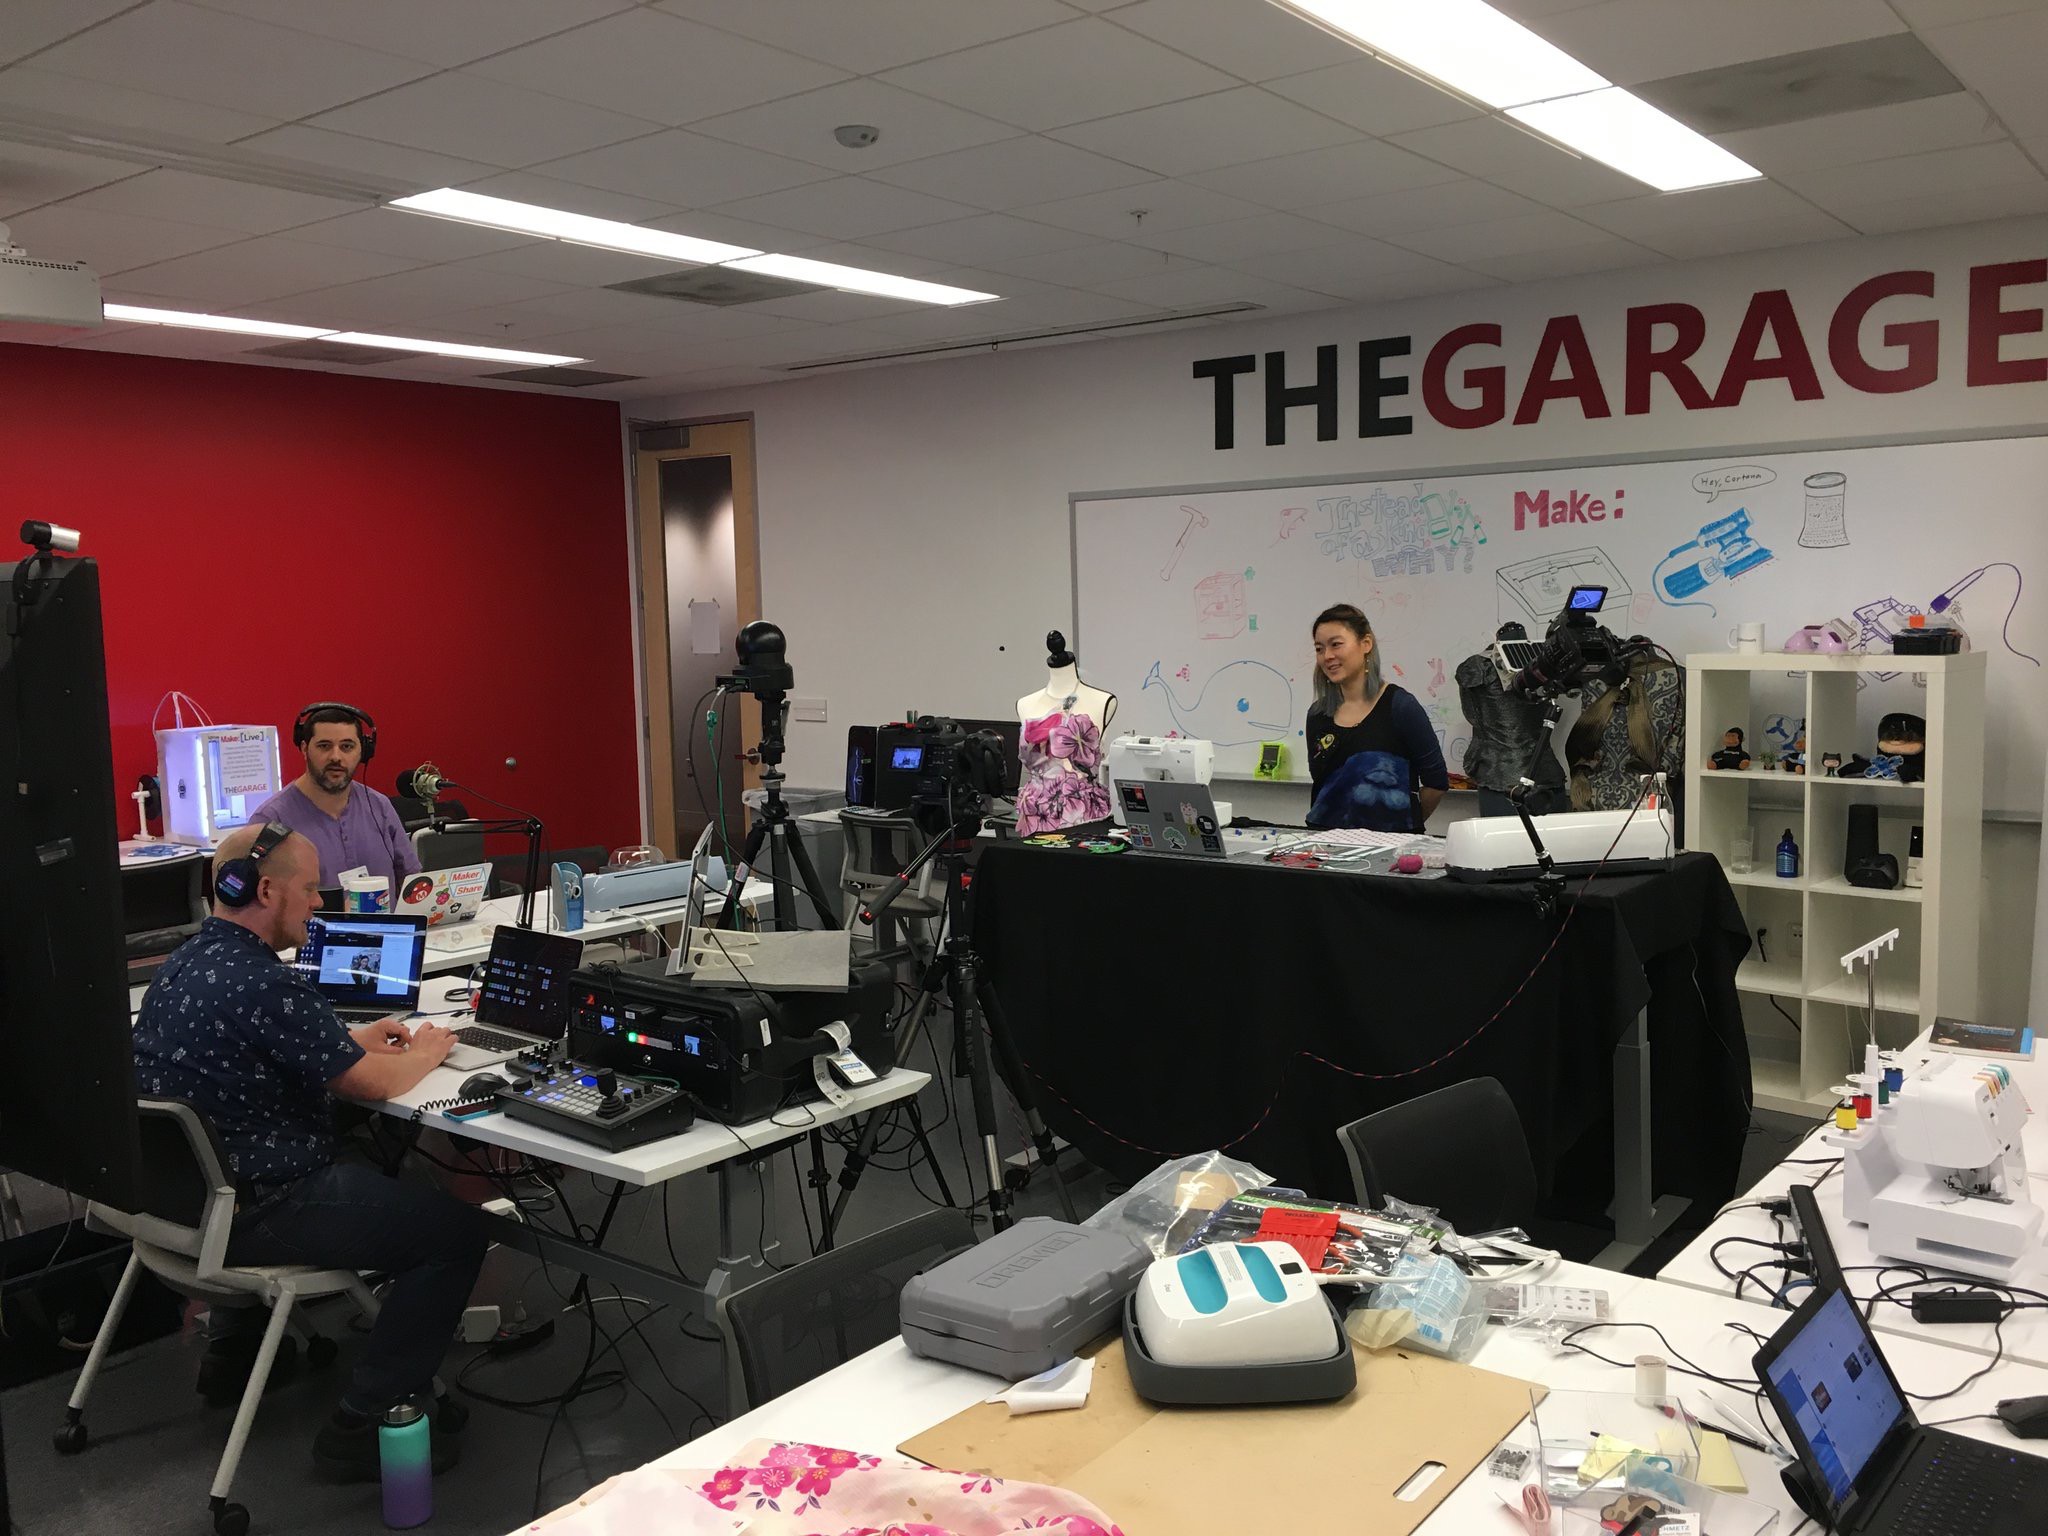
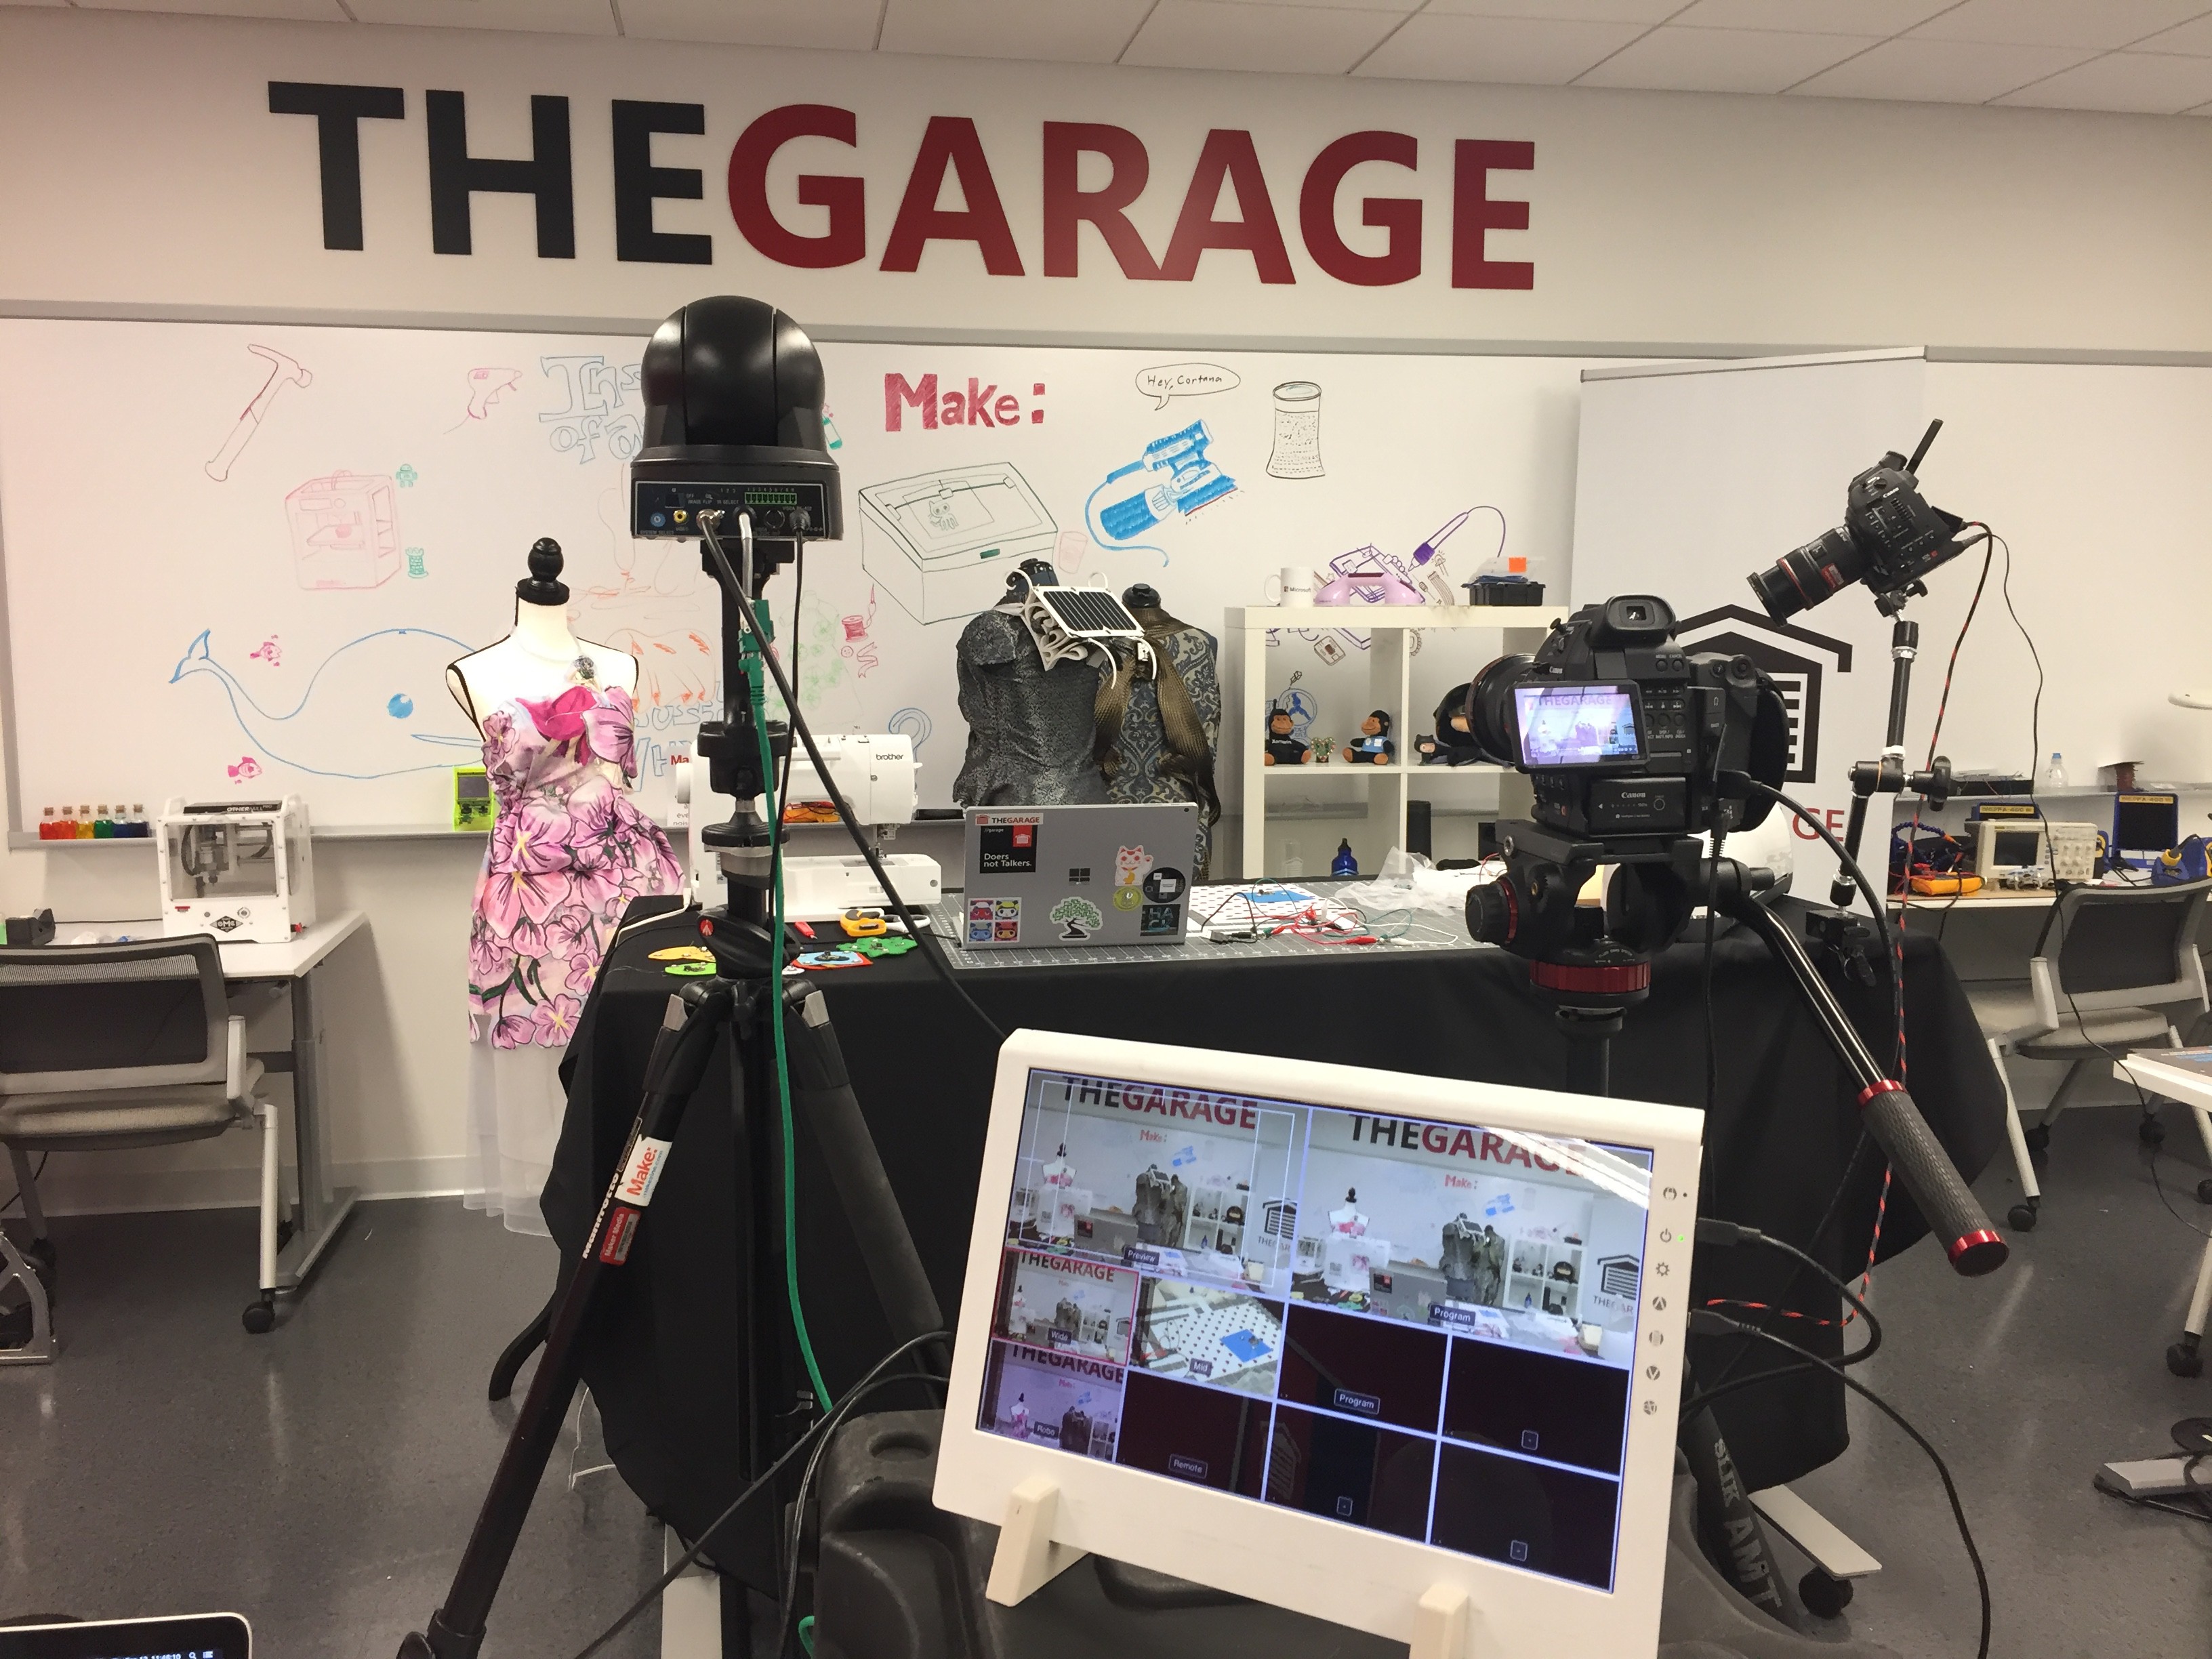
A few days after, Matrix Labs interviewed me in The Garage, where I briefly demonstrated the dress as well.
As well as during maker's Sunnyvale tour posted by Alex from Hackster.io


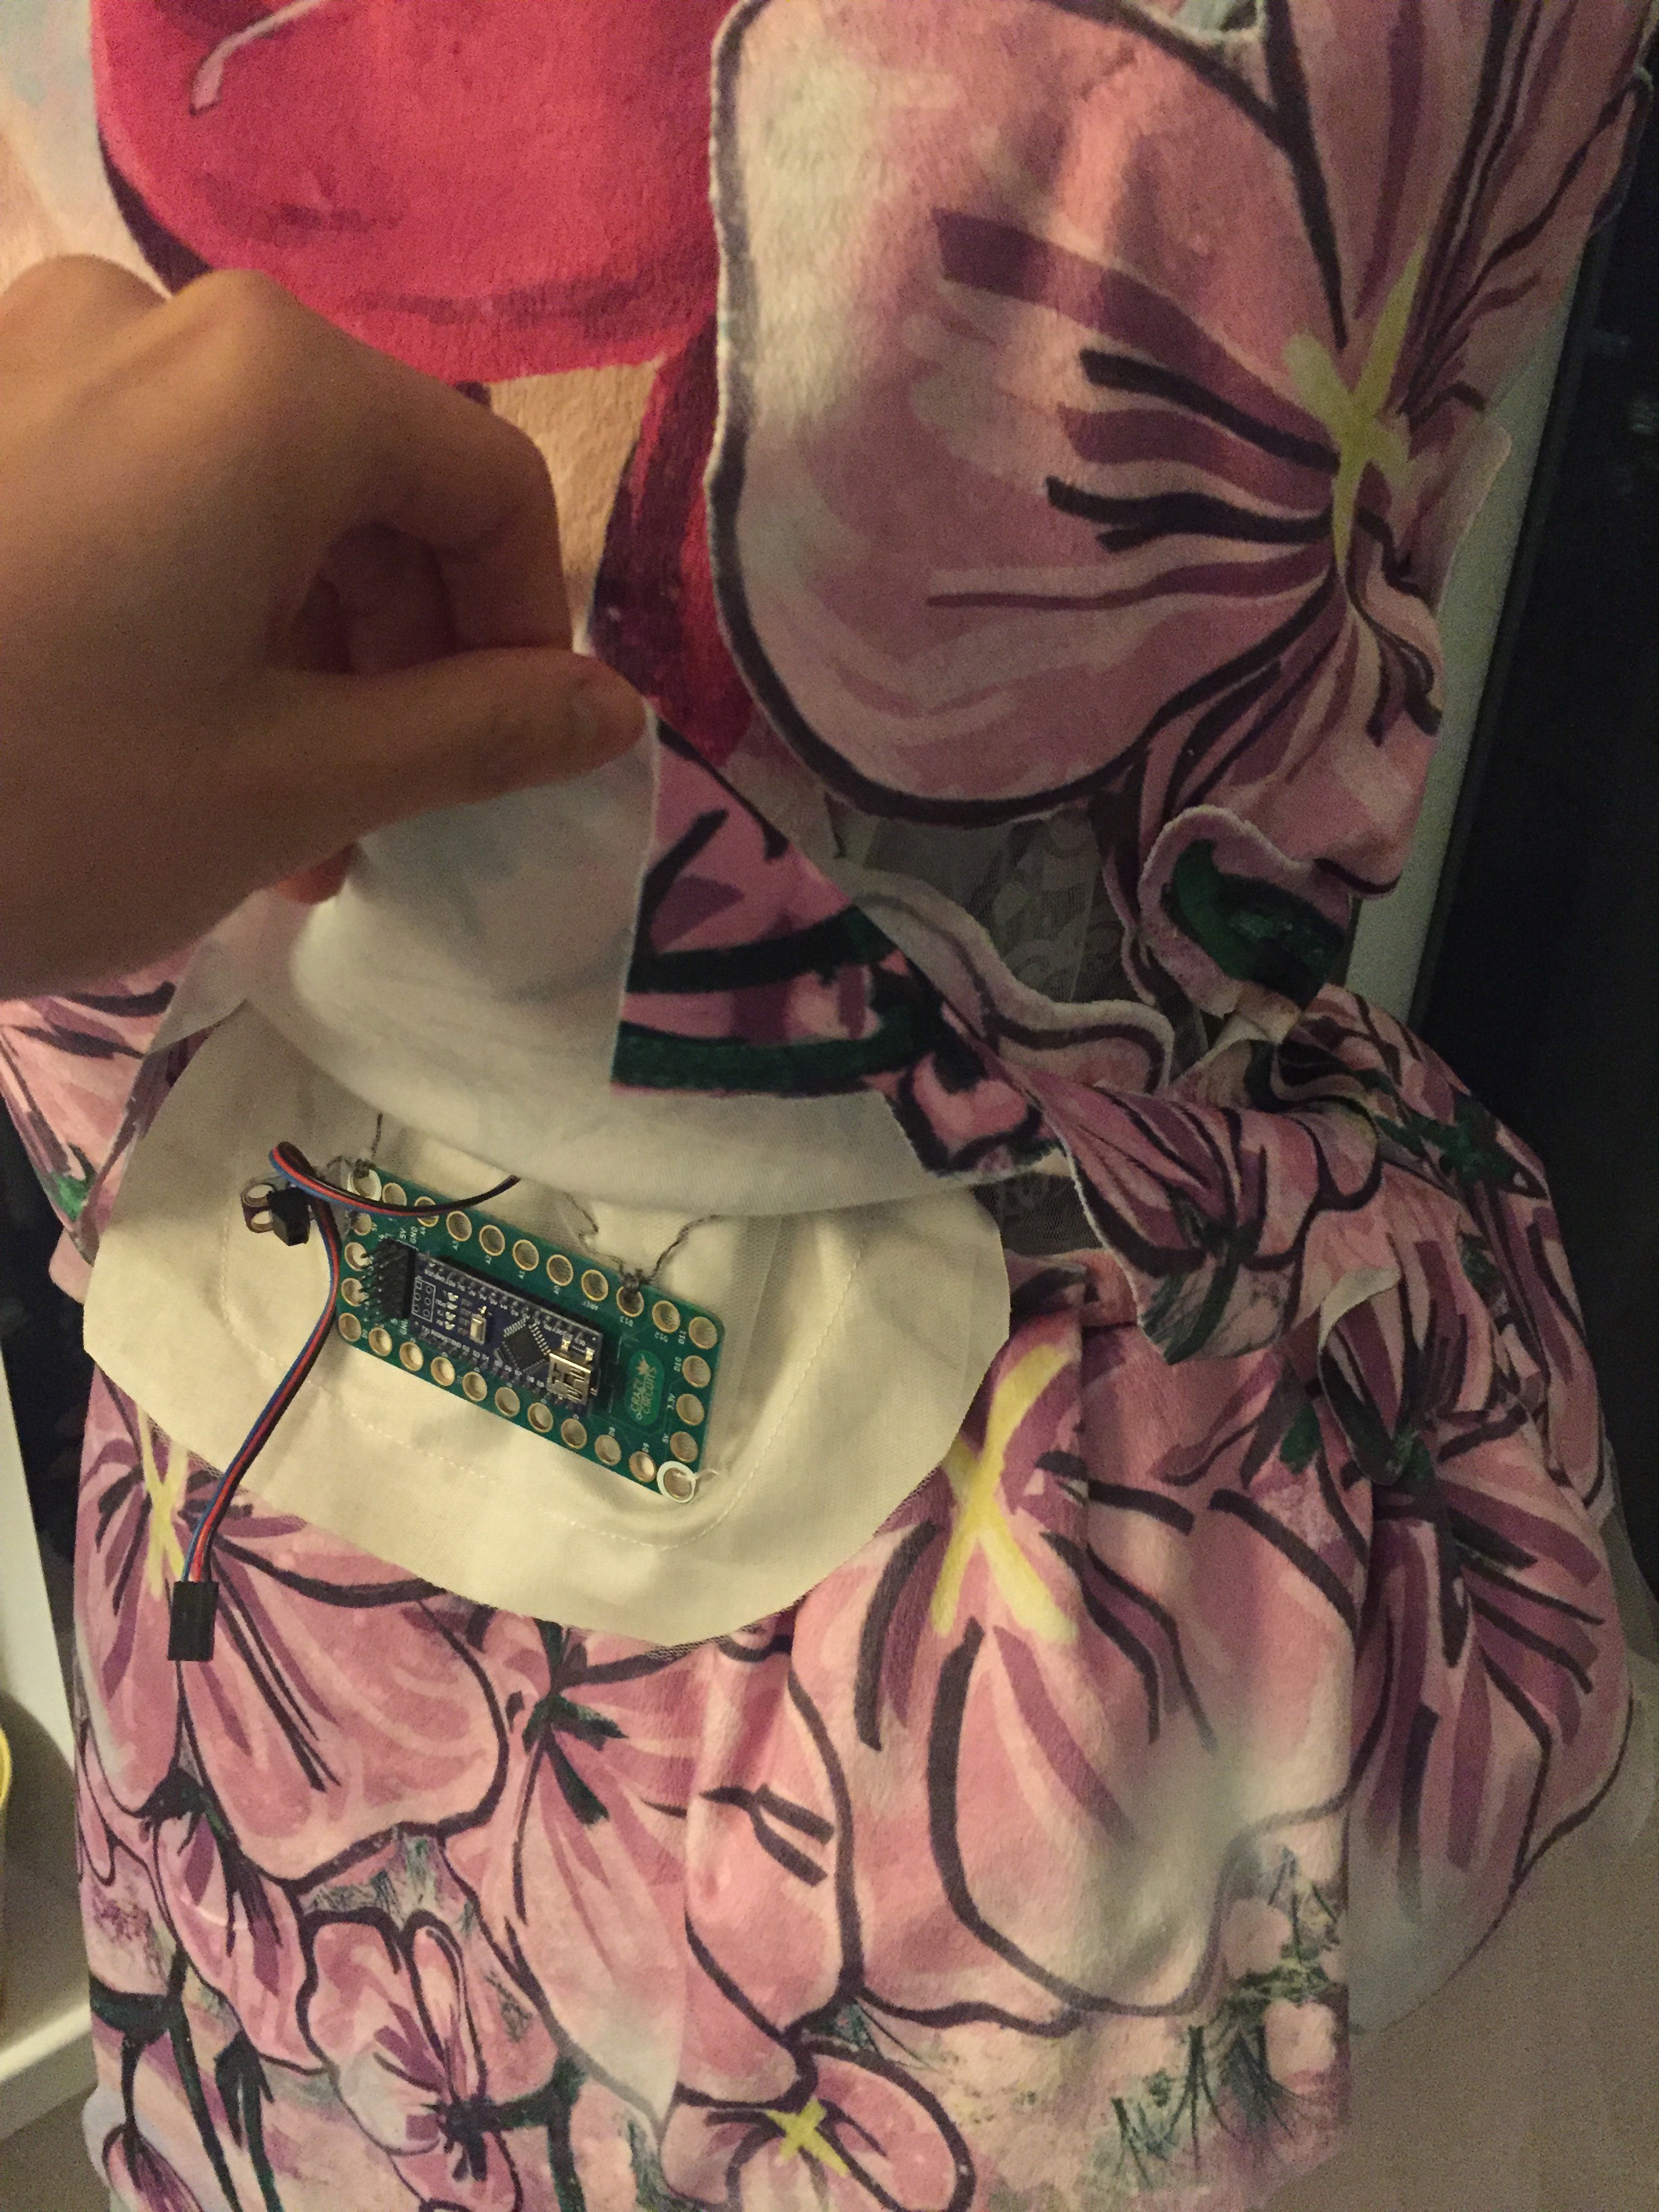
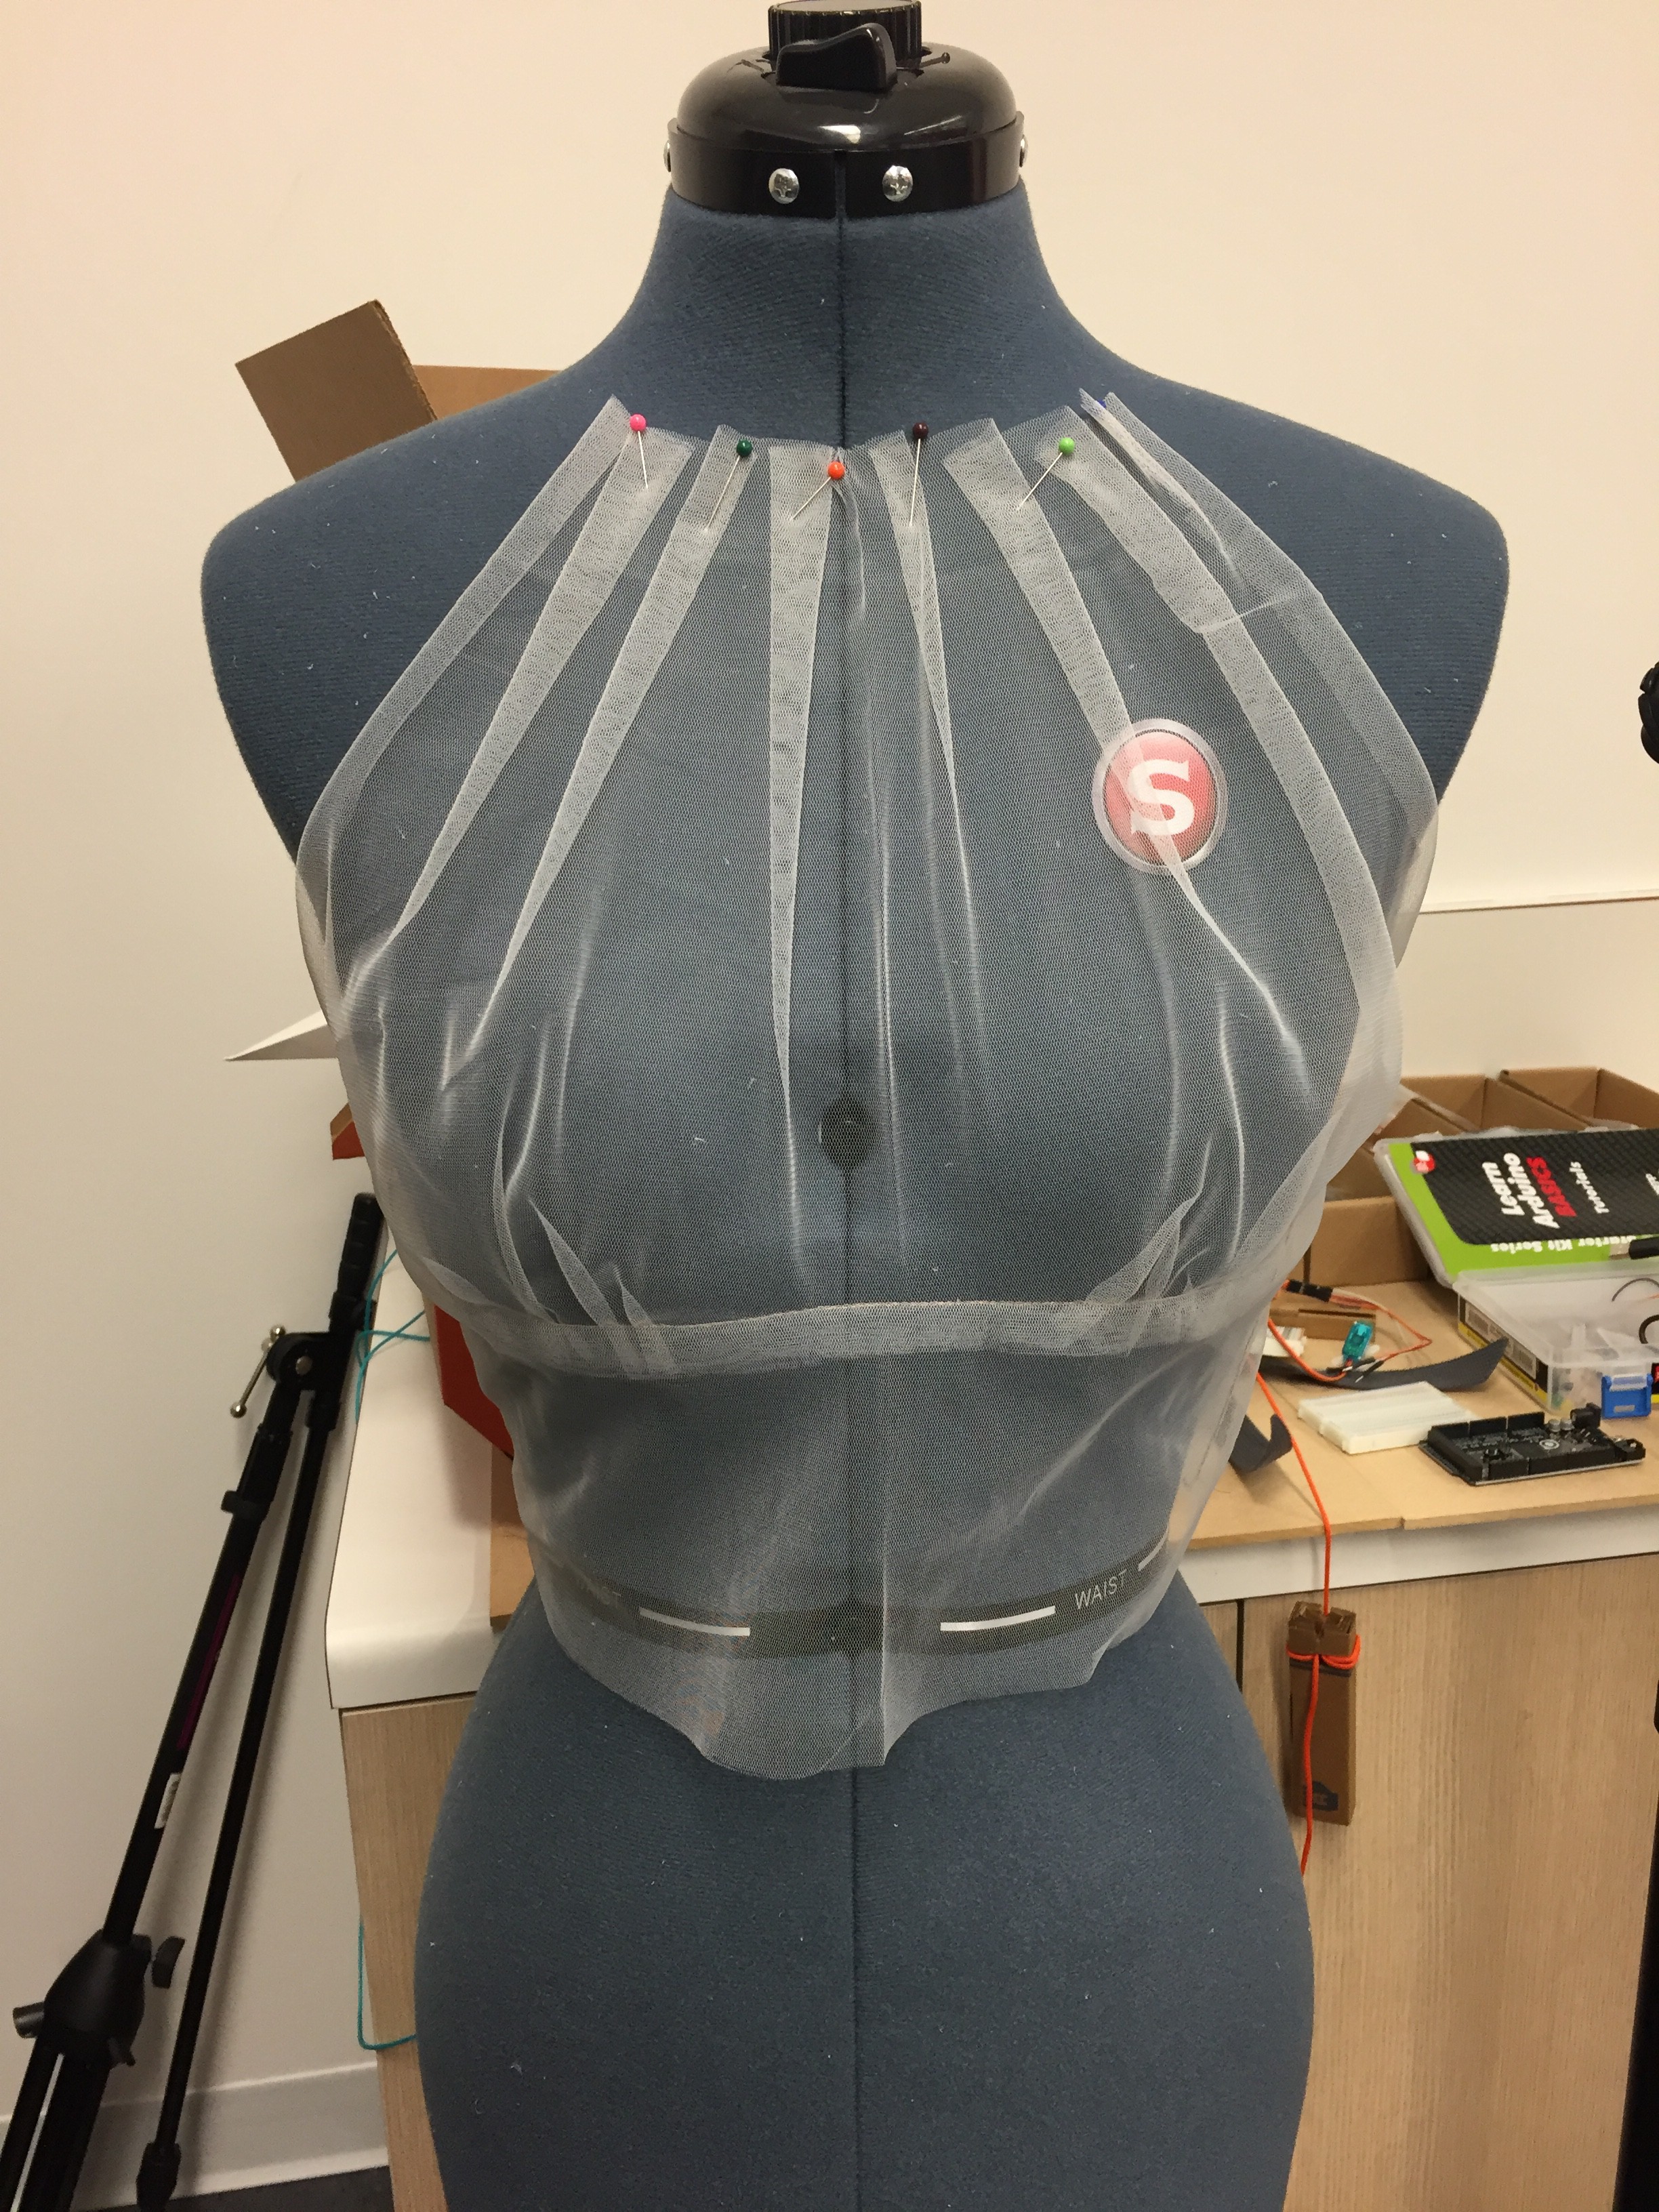
 The battery holder is a little big and heavy. It needed a pocket to be attached to the dress.
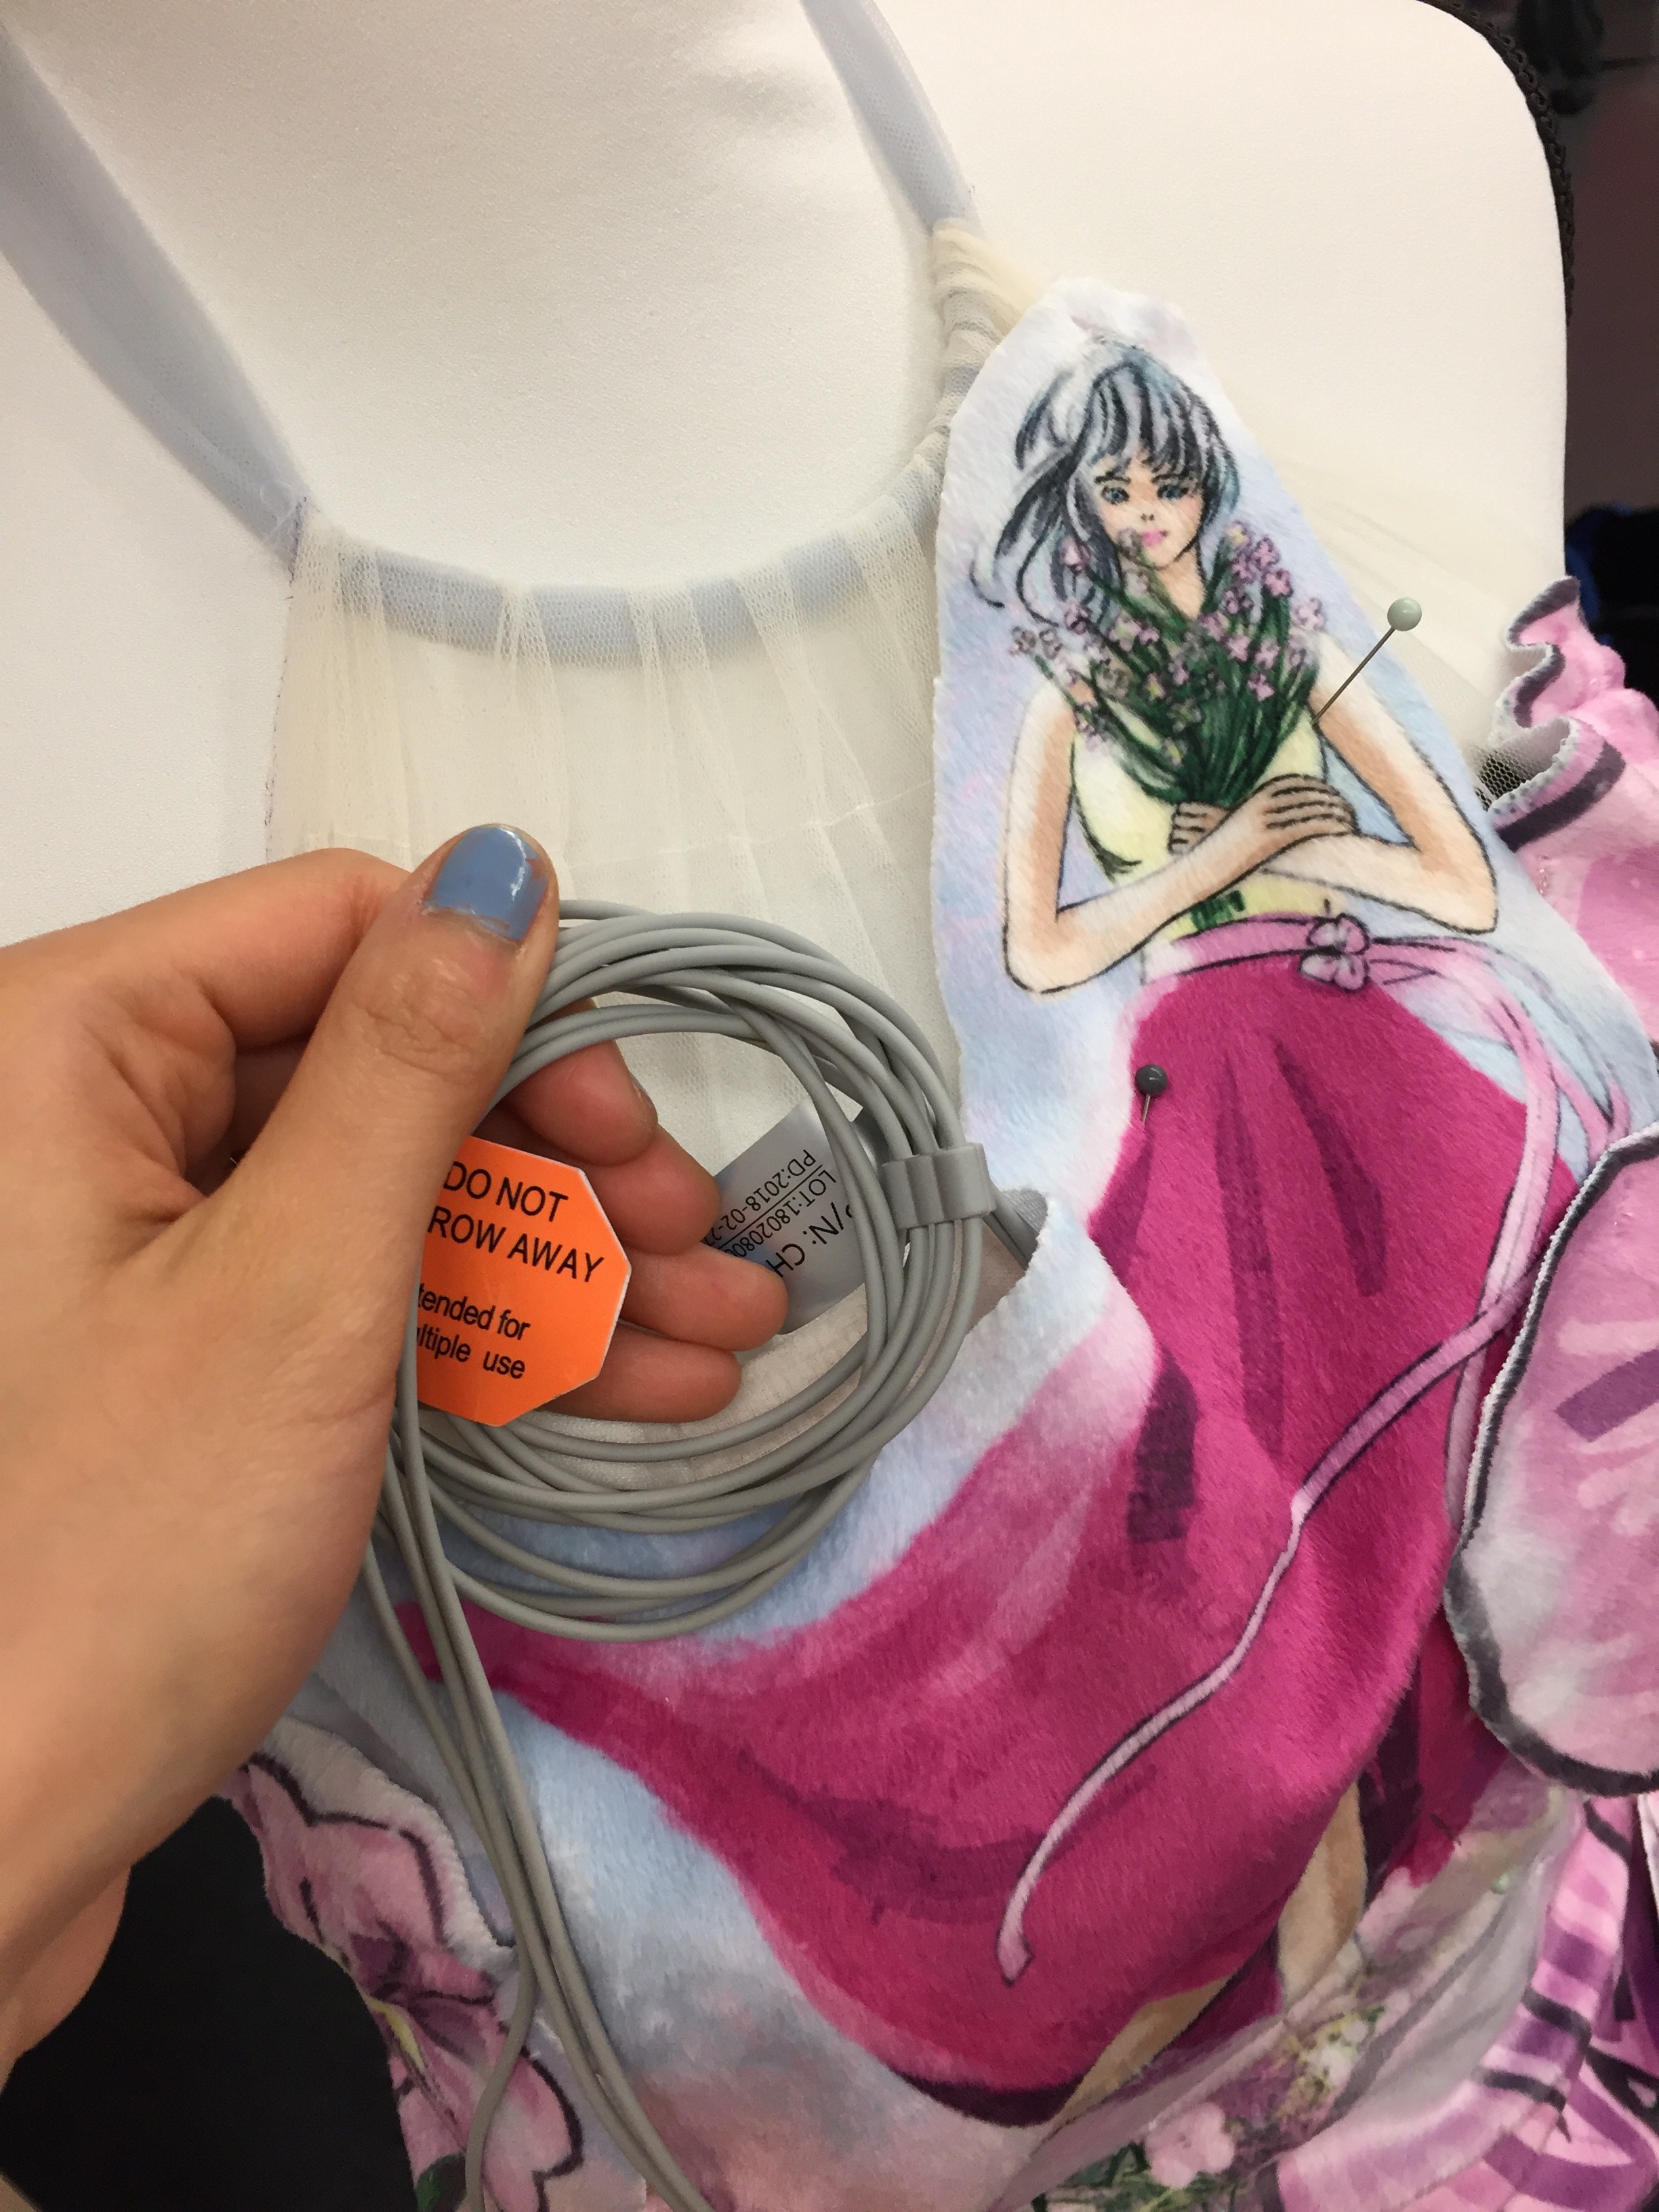
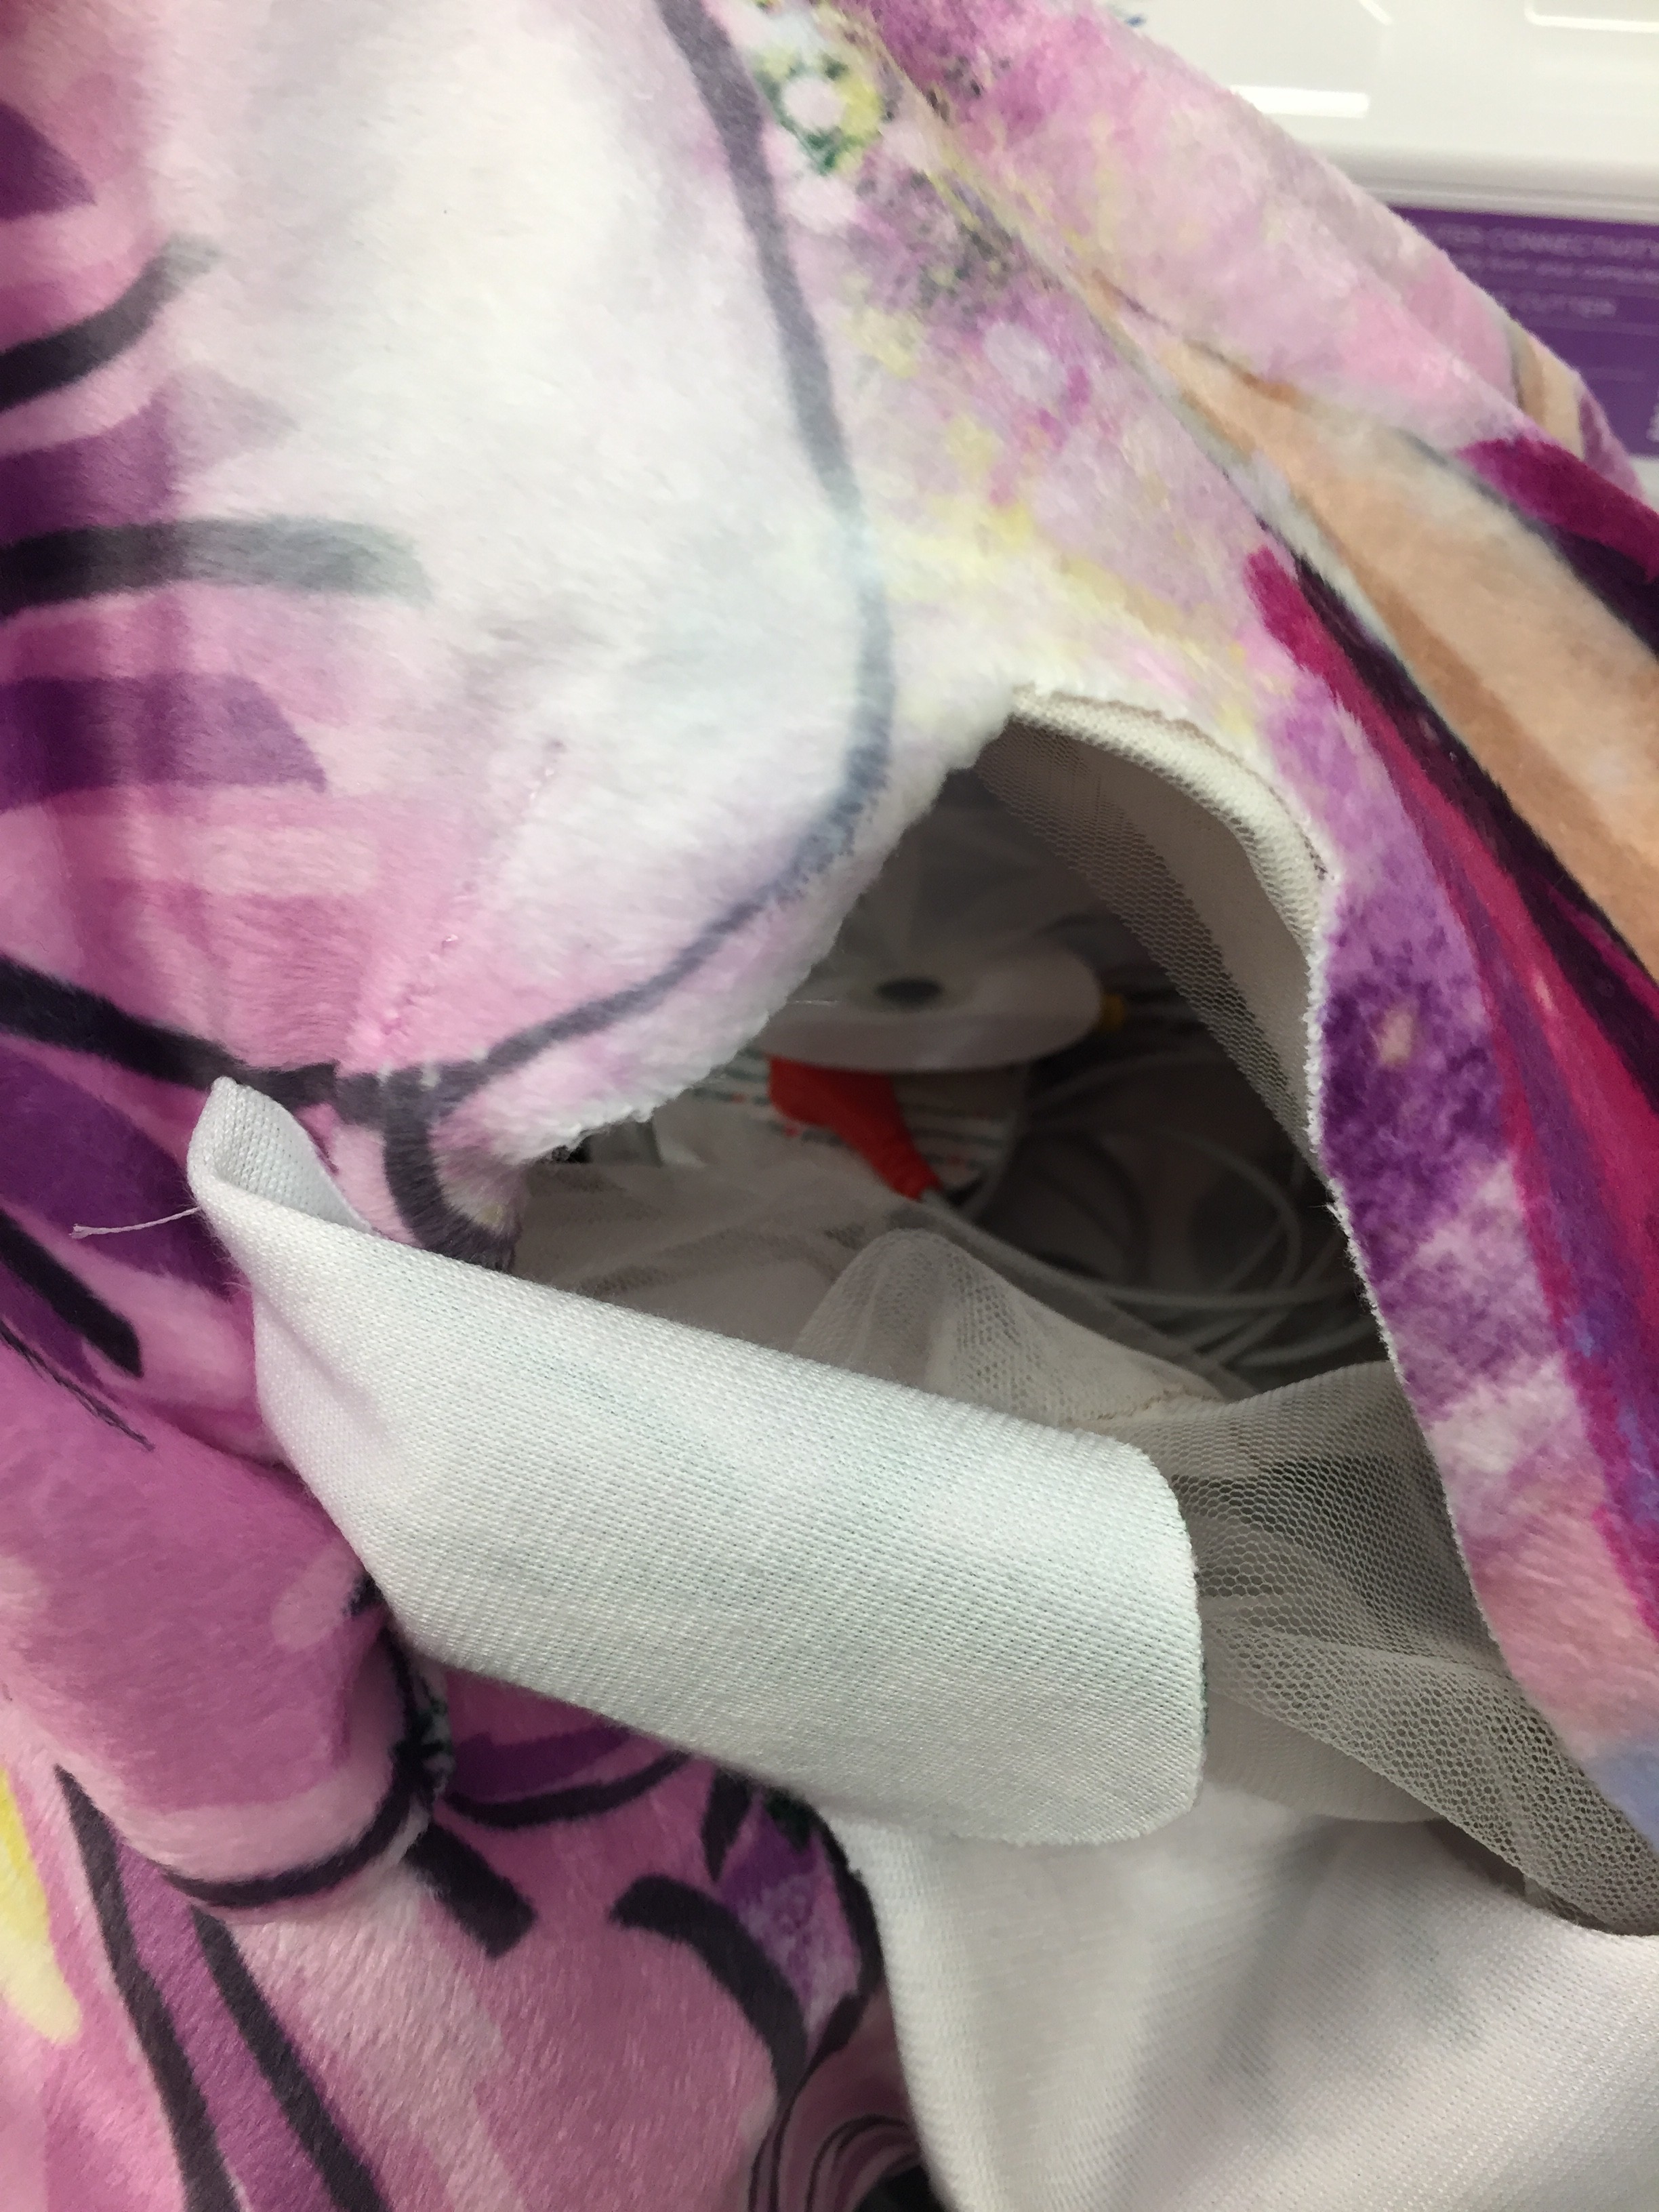
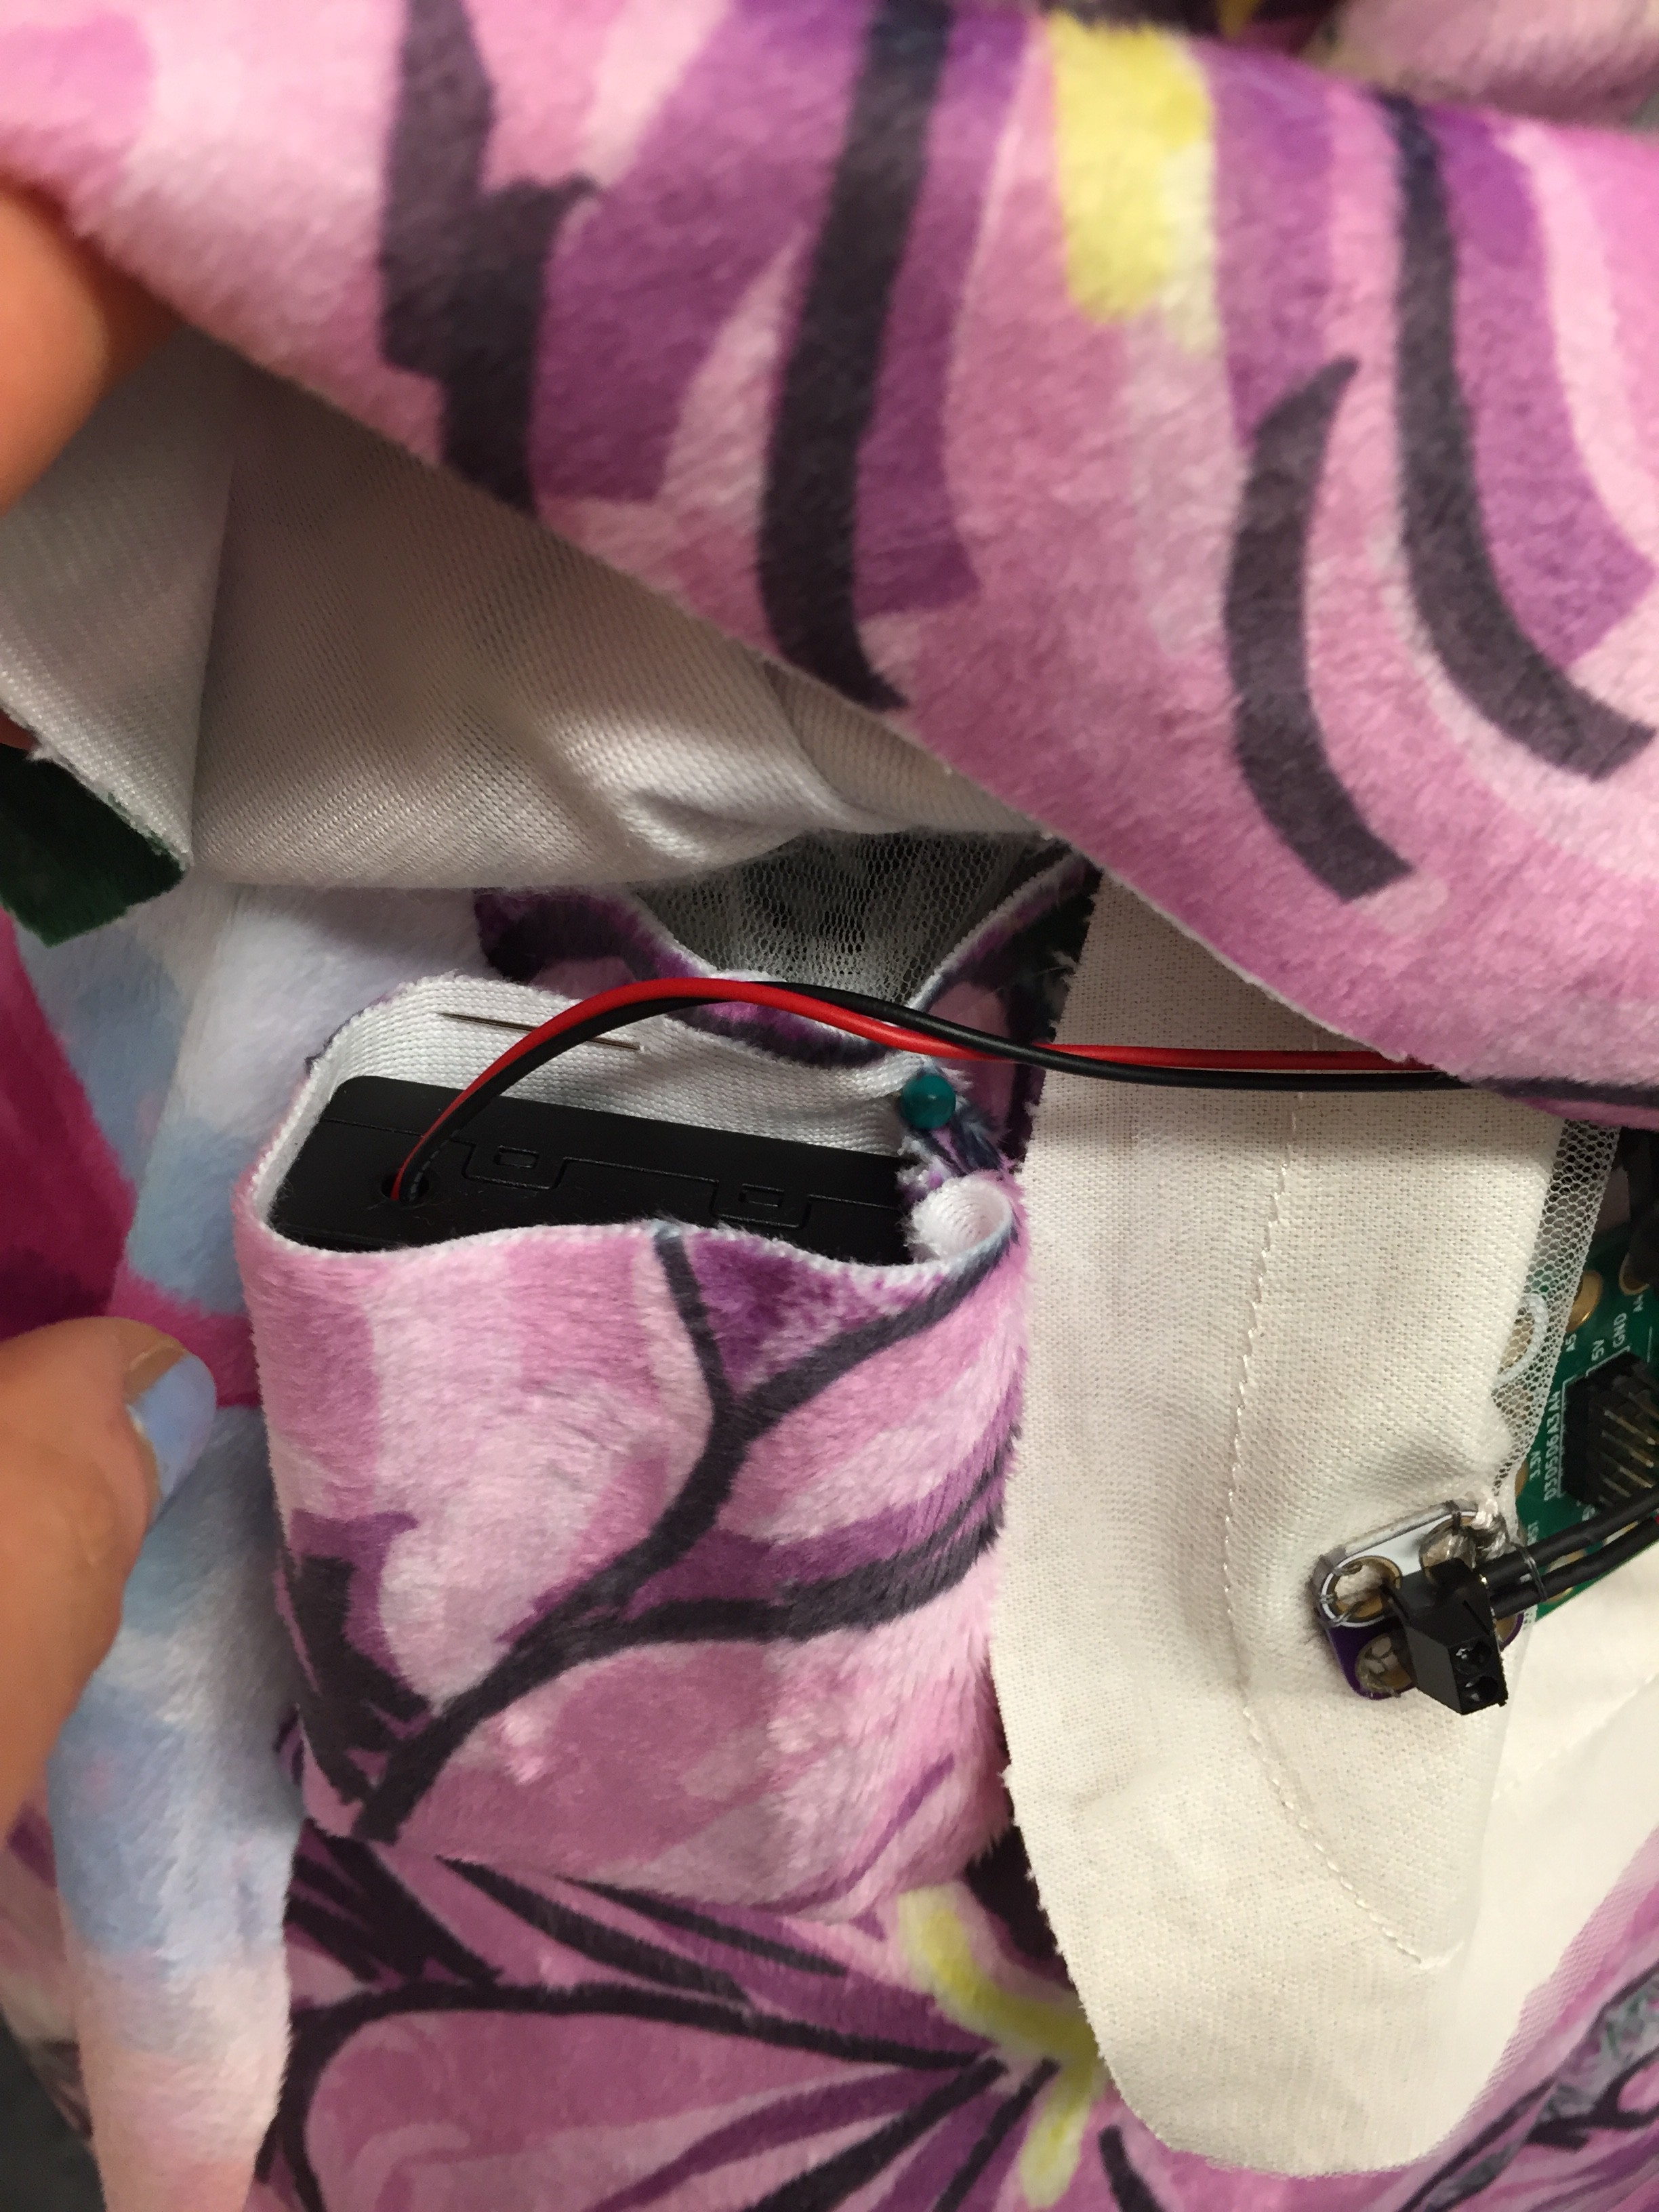 I've left gaps between the painting and base layers so that electronic components and wires can all be inserted and hidden under the painting layer.
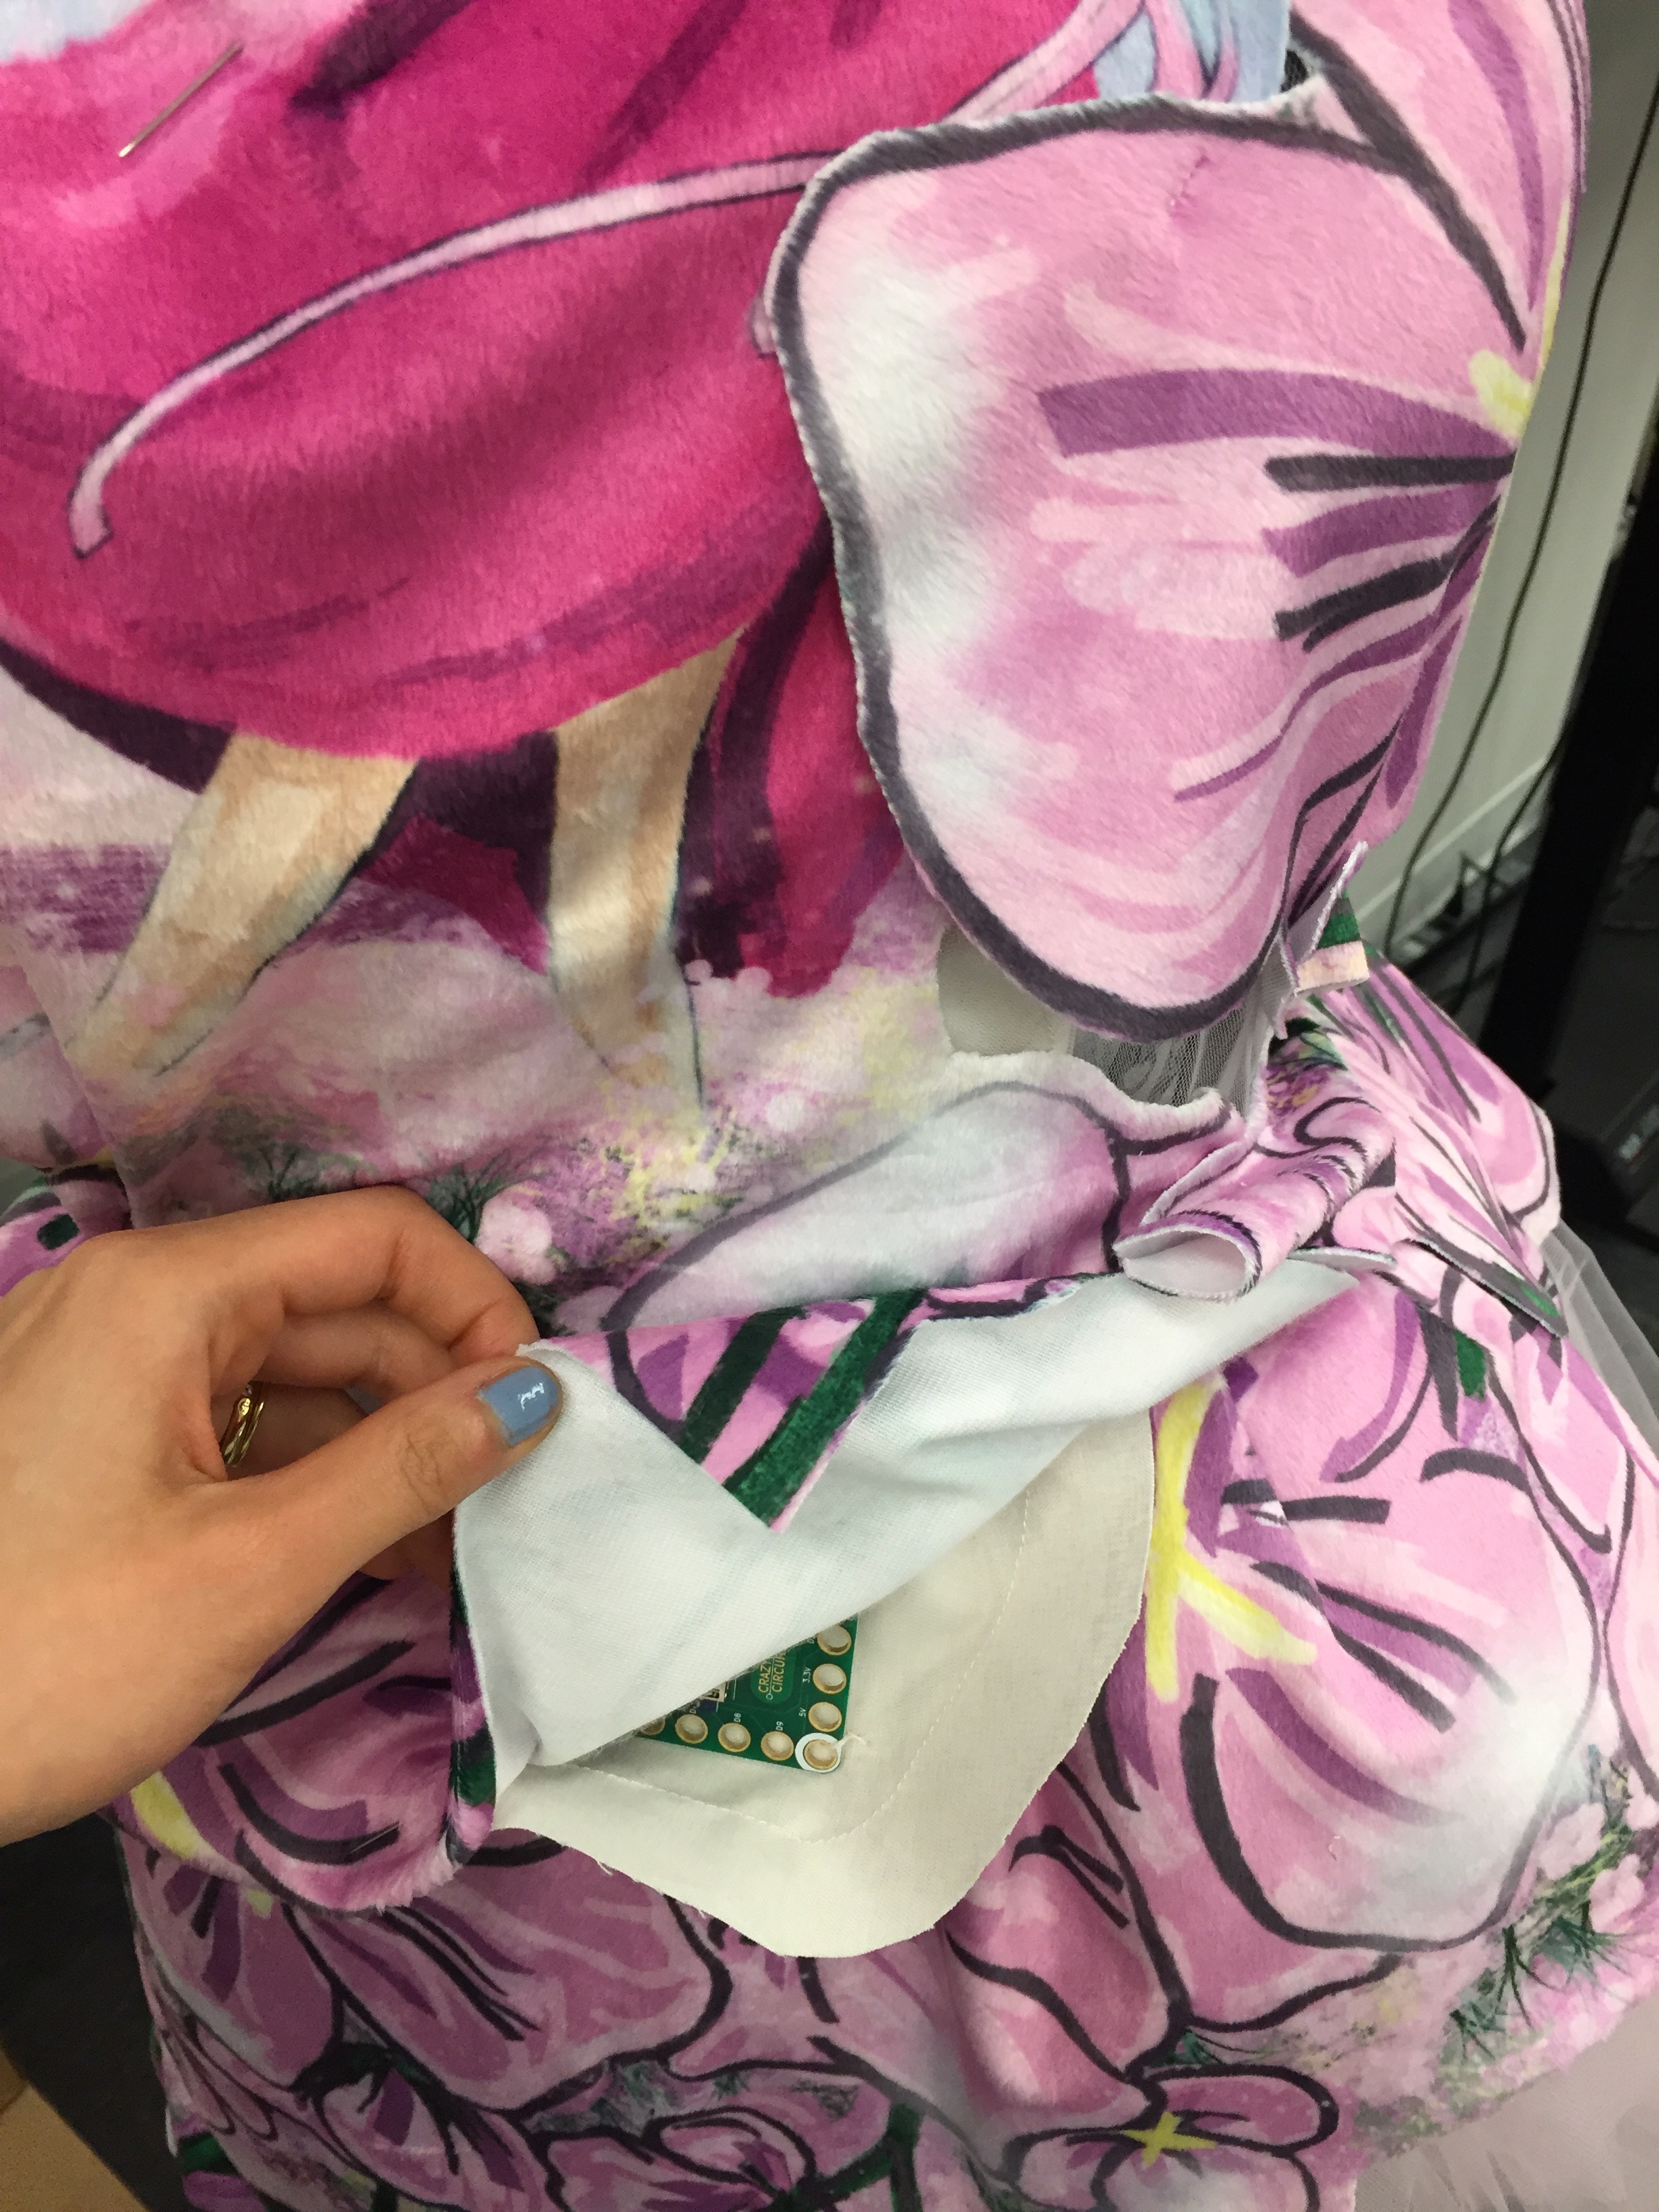

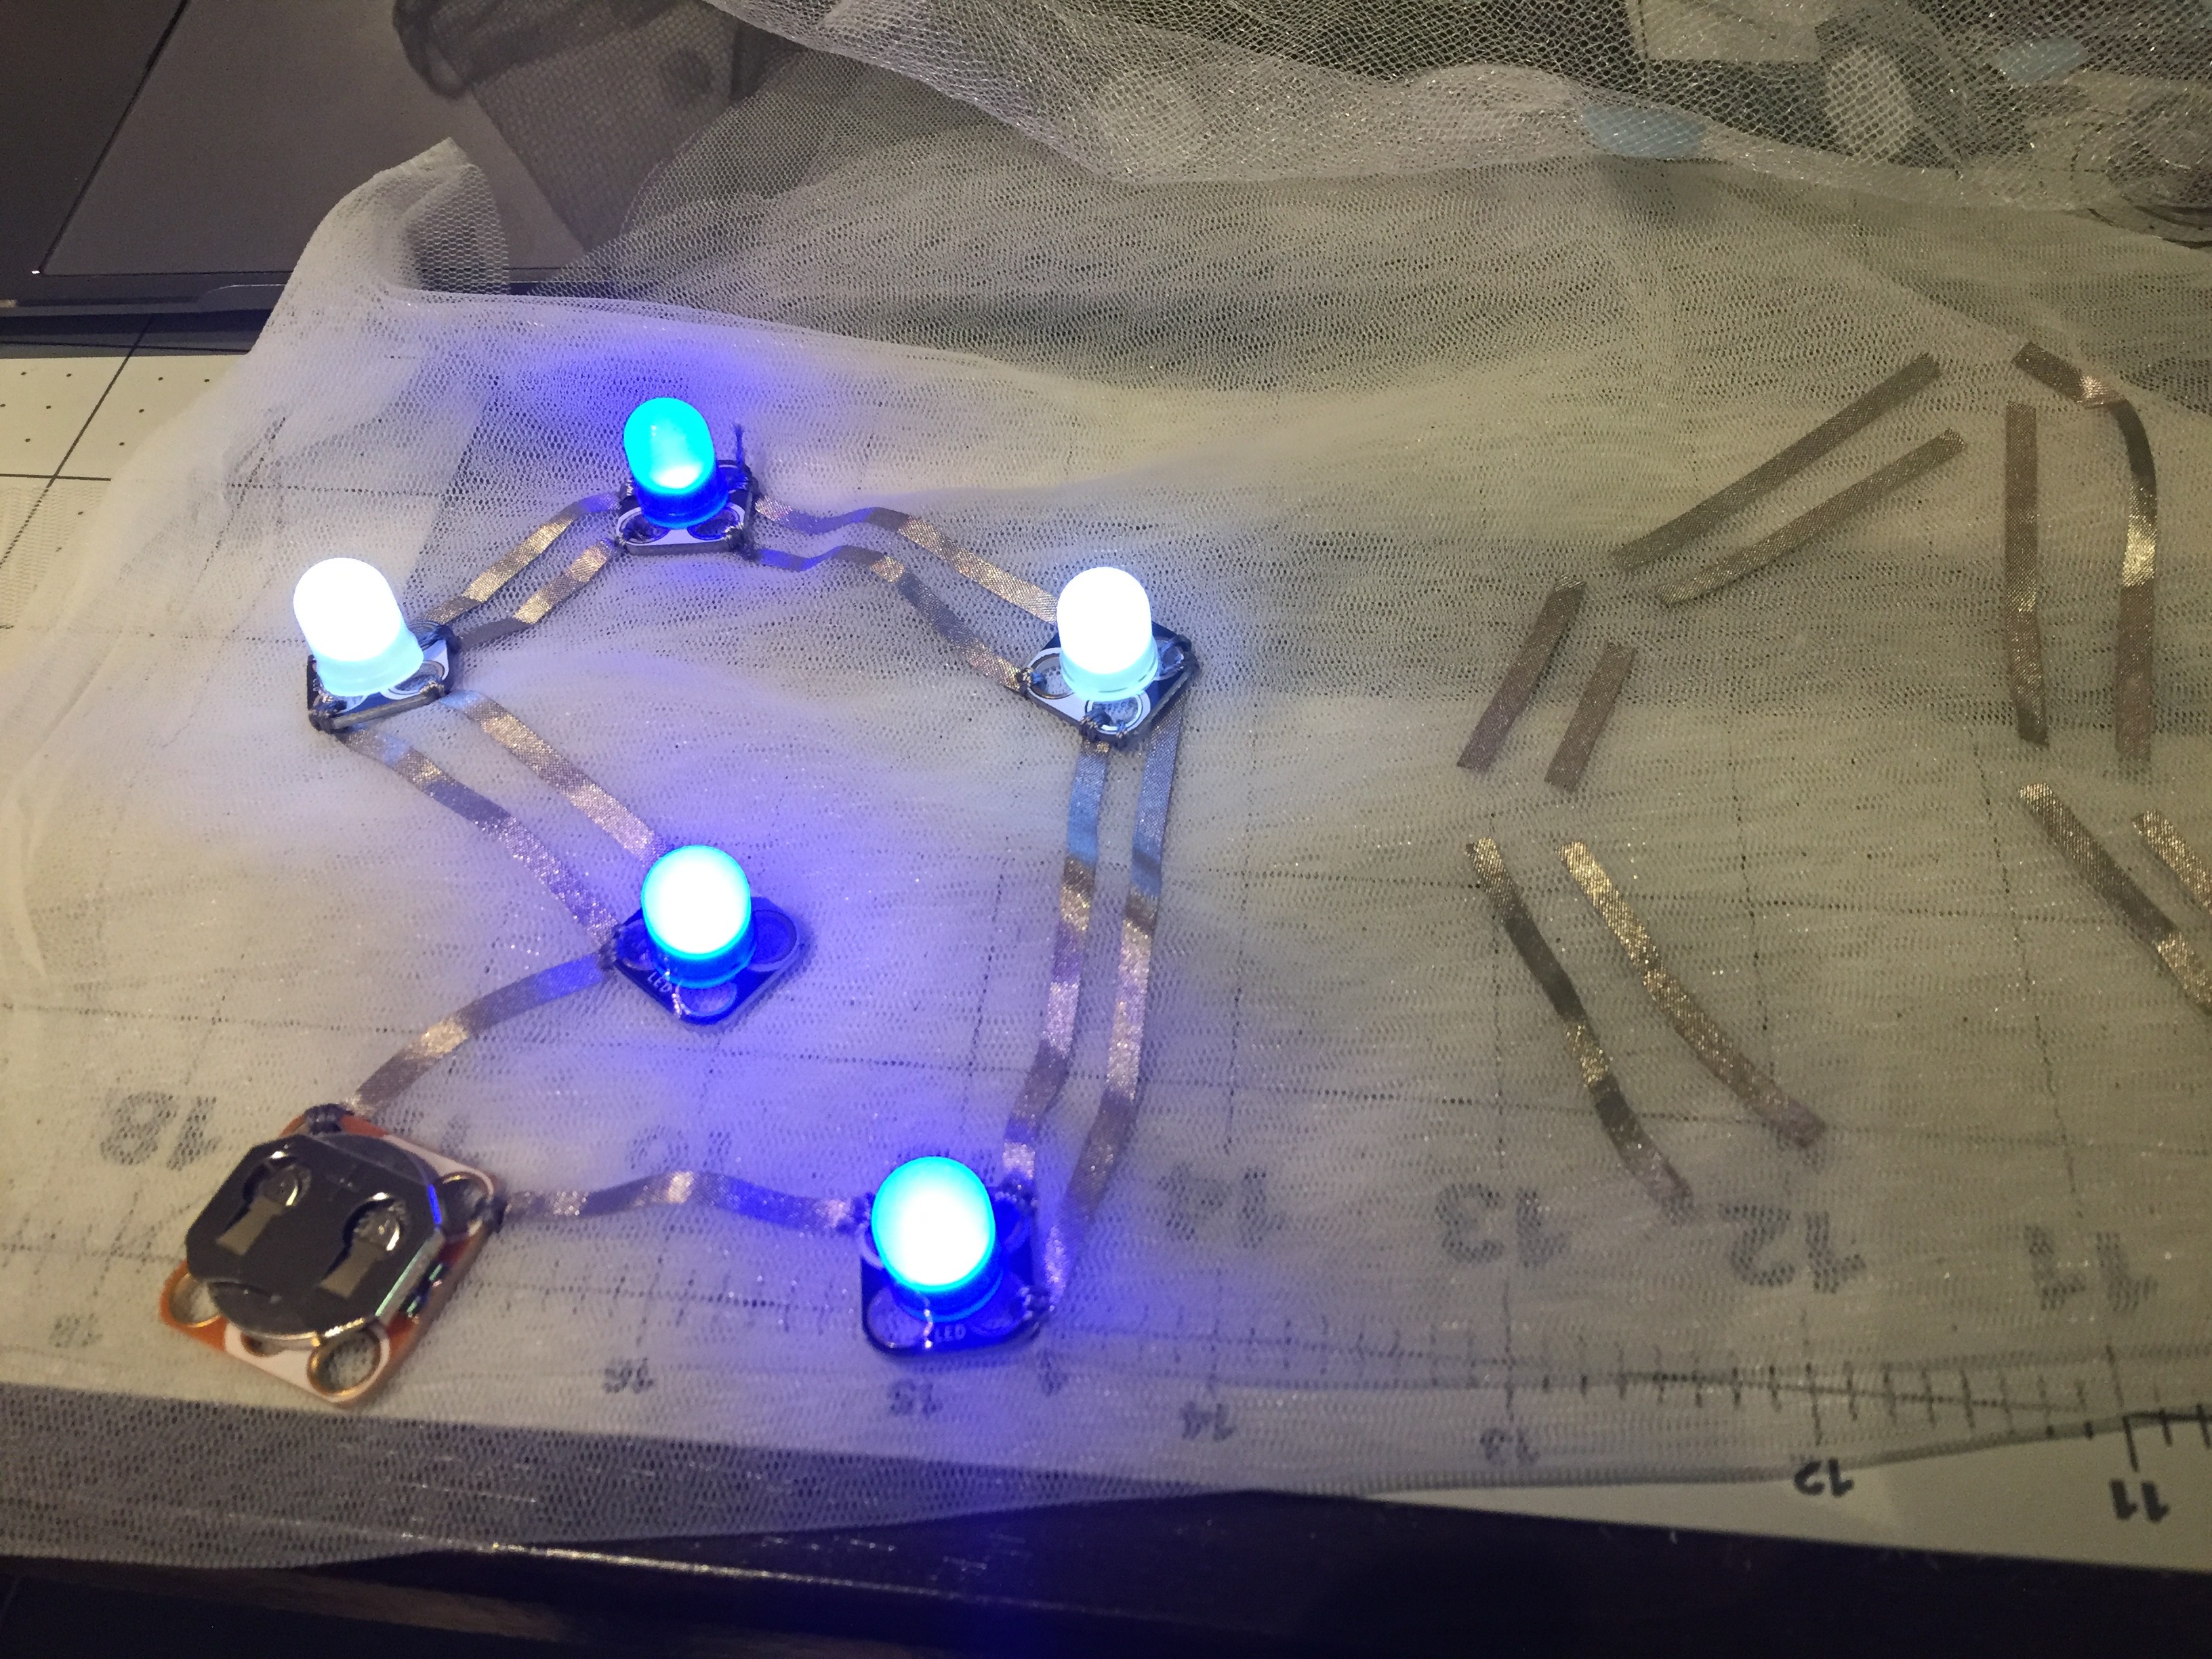
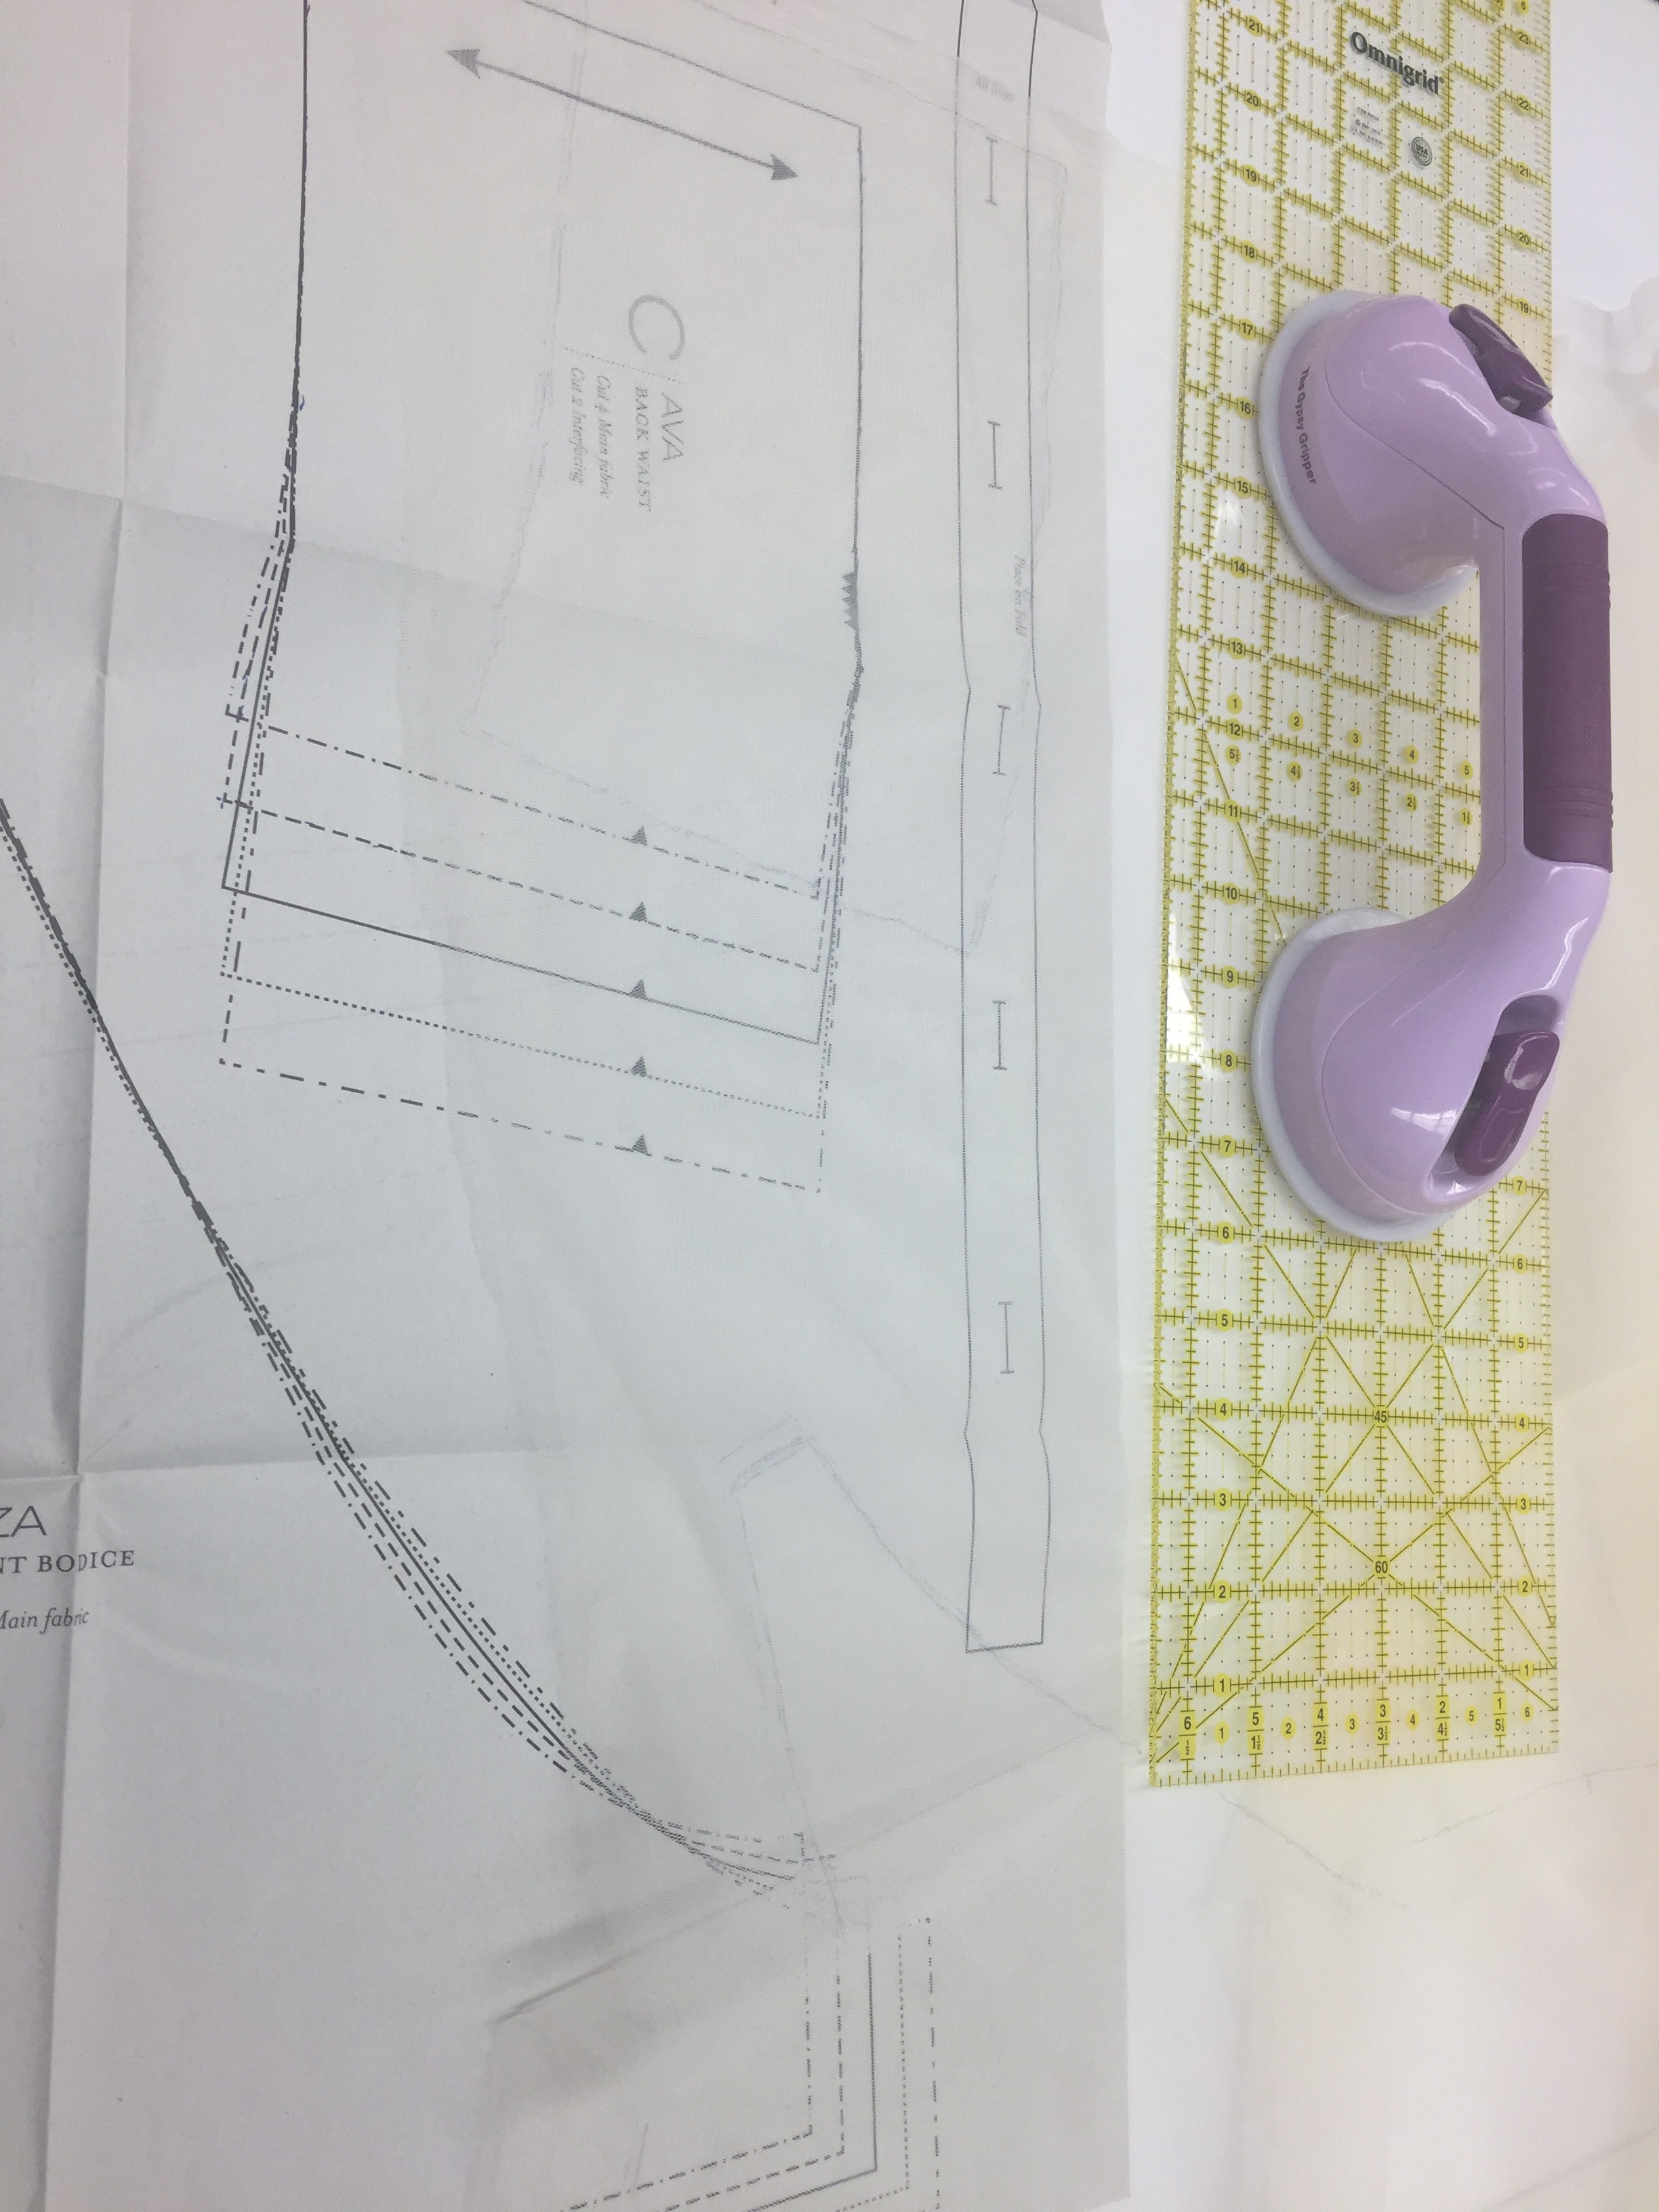
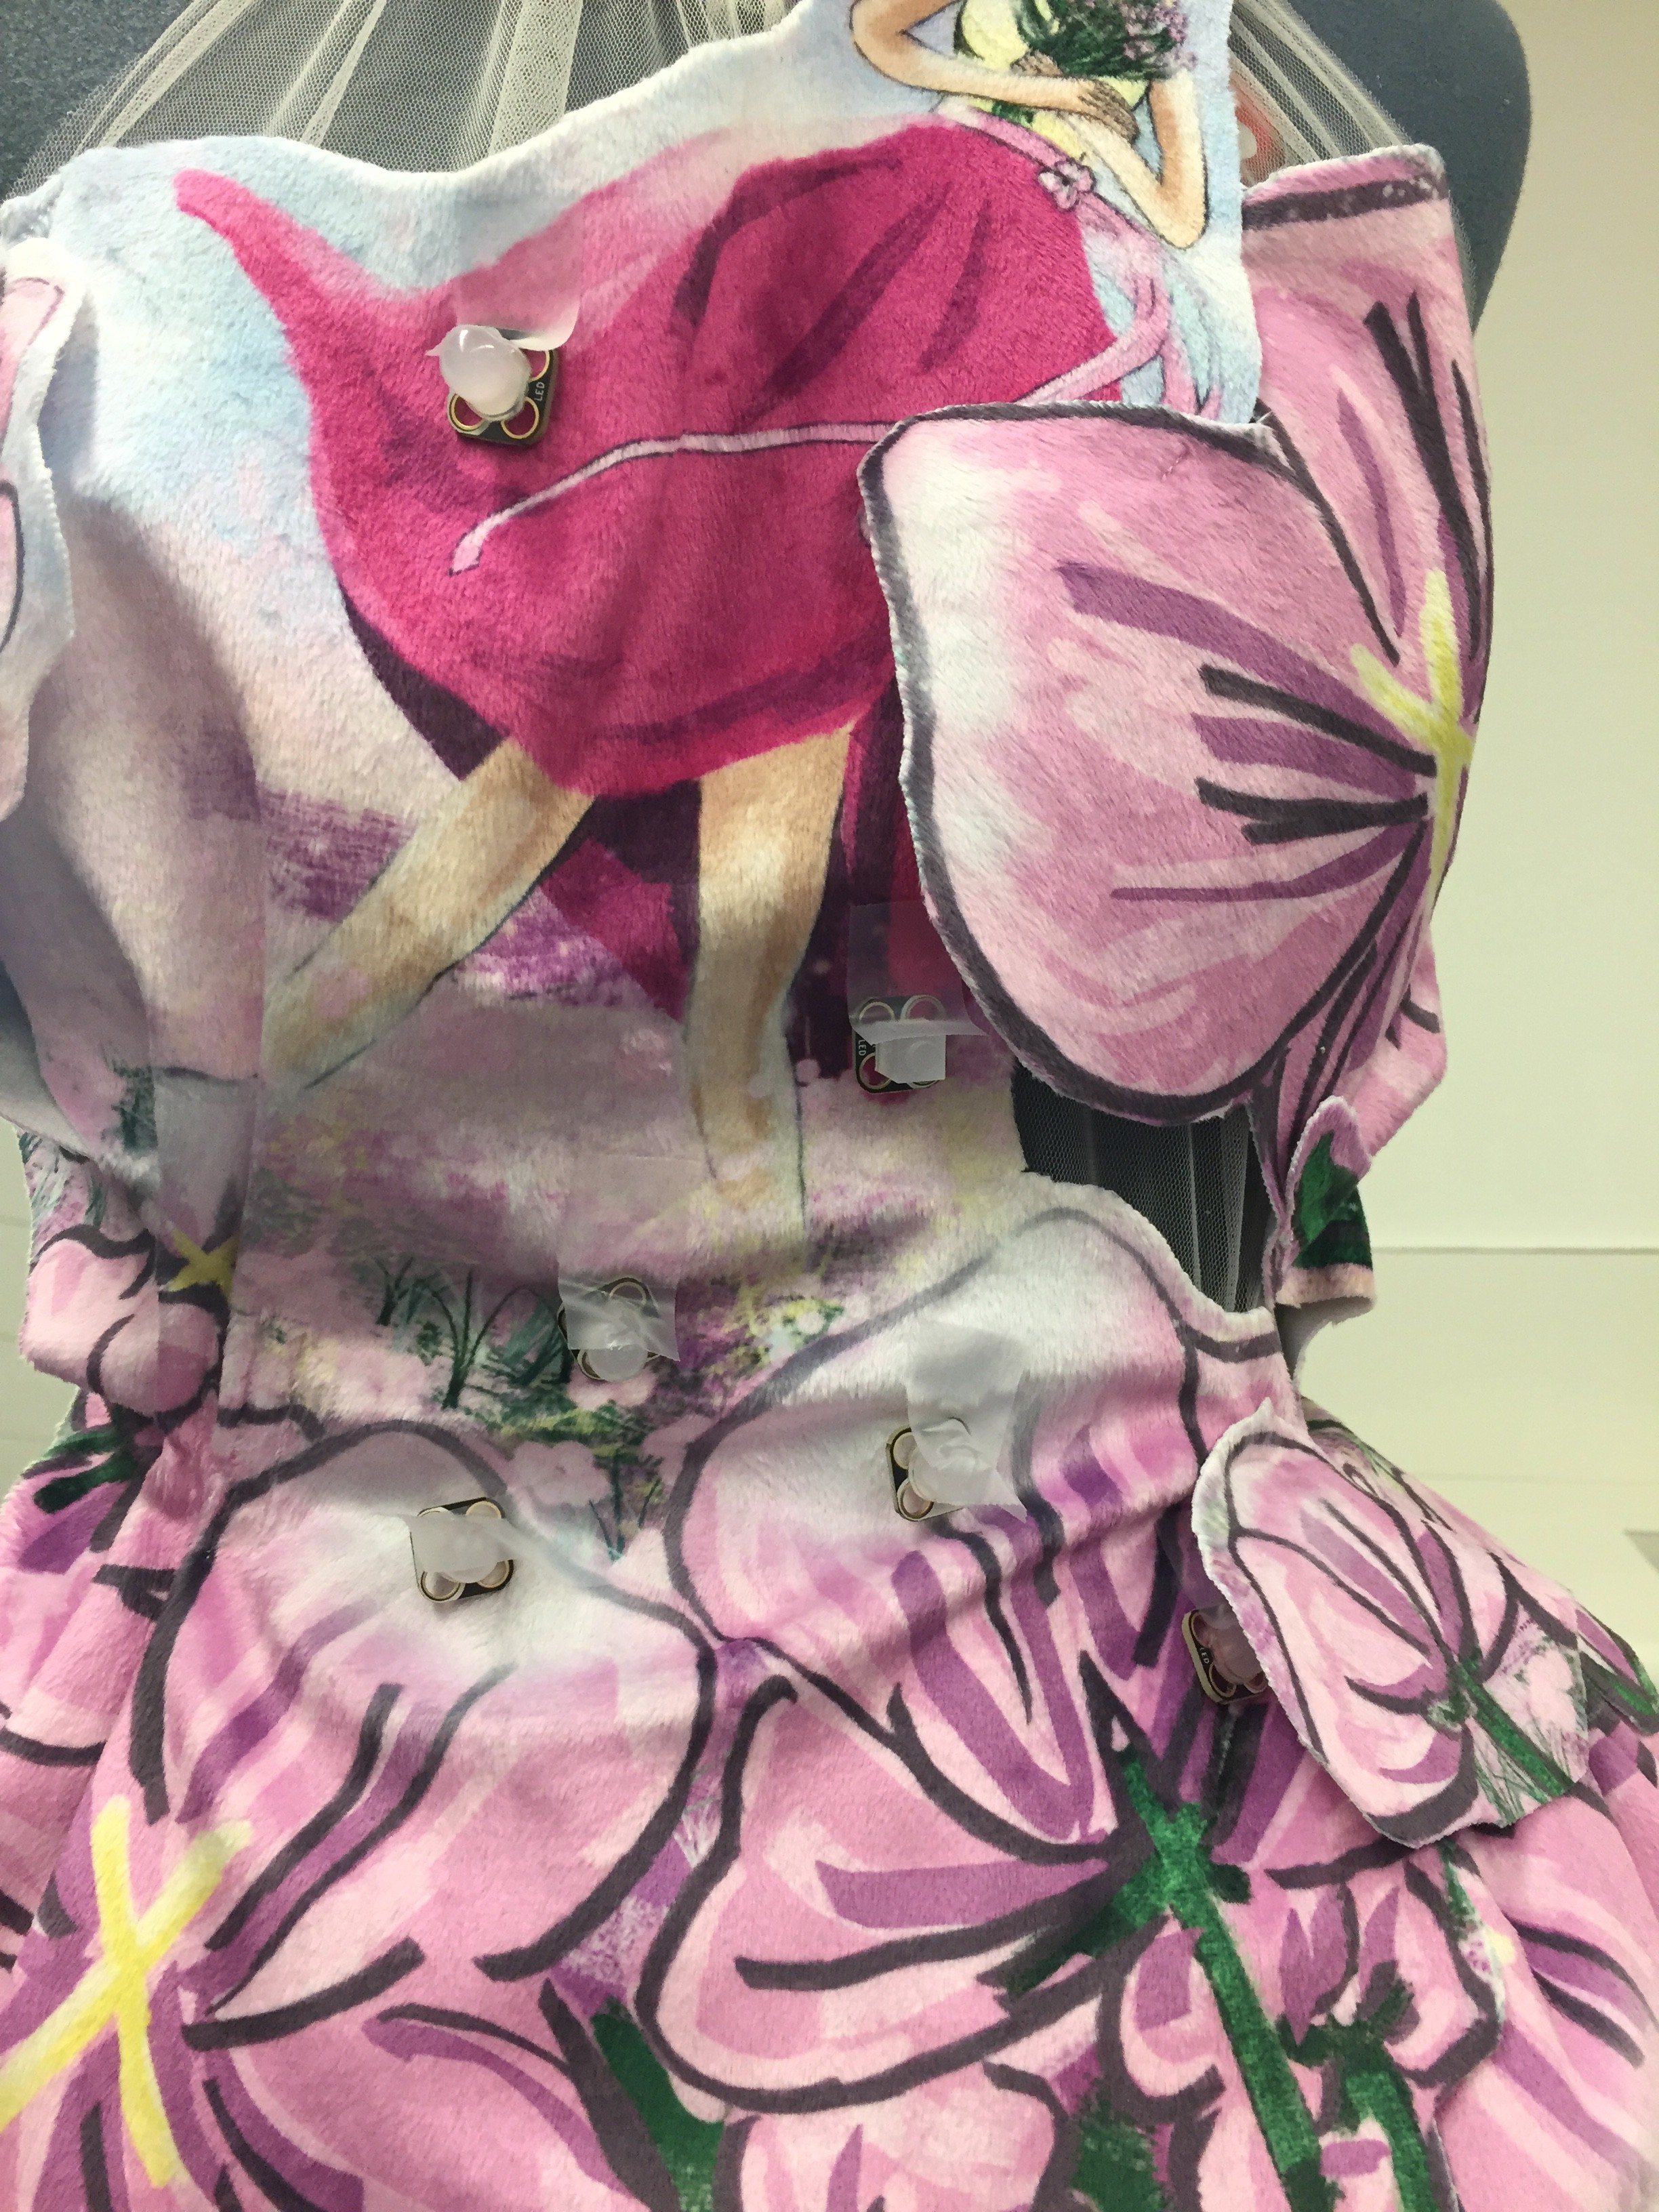 I taped the LEDs onto where I want them to be on based on the graphics. Then I mark the locations on a piece of paper.
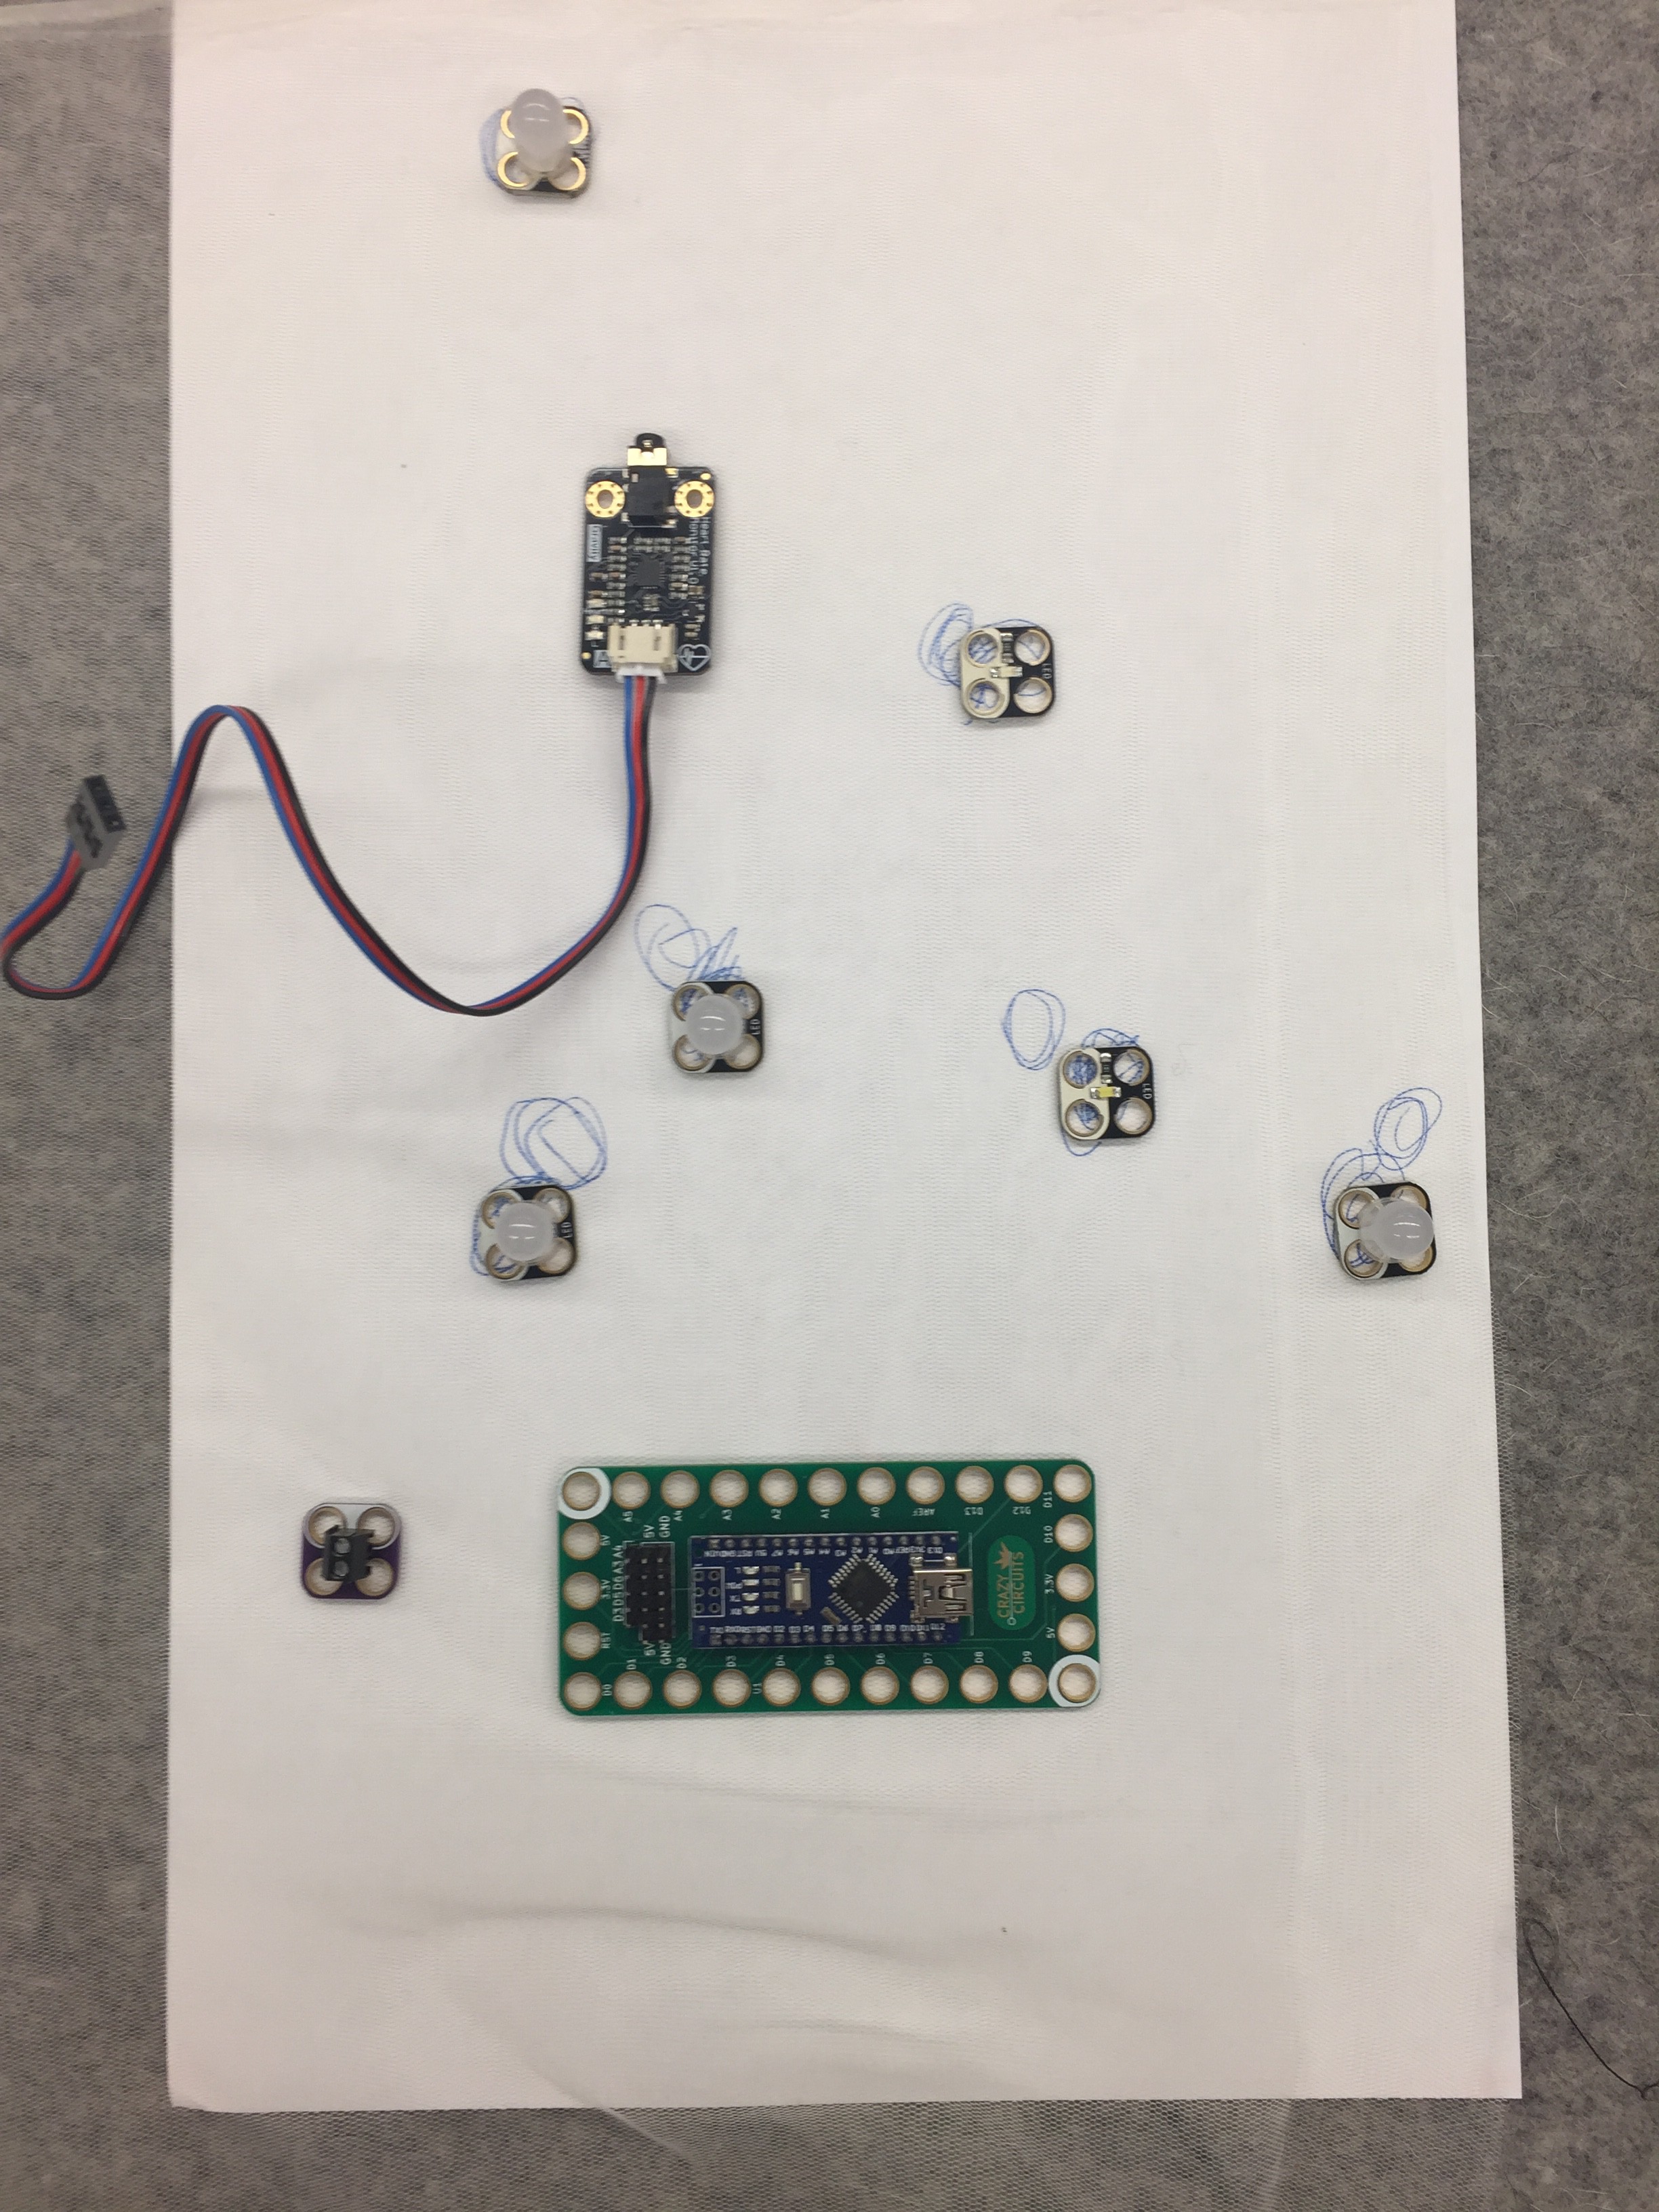

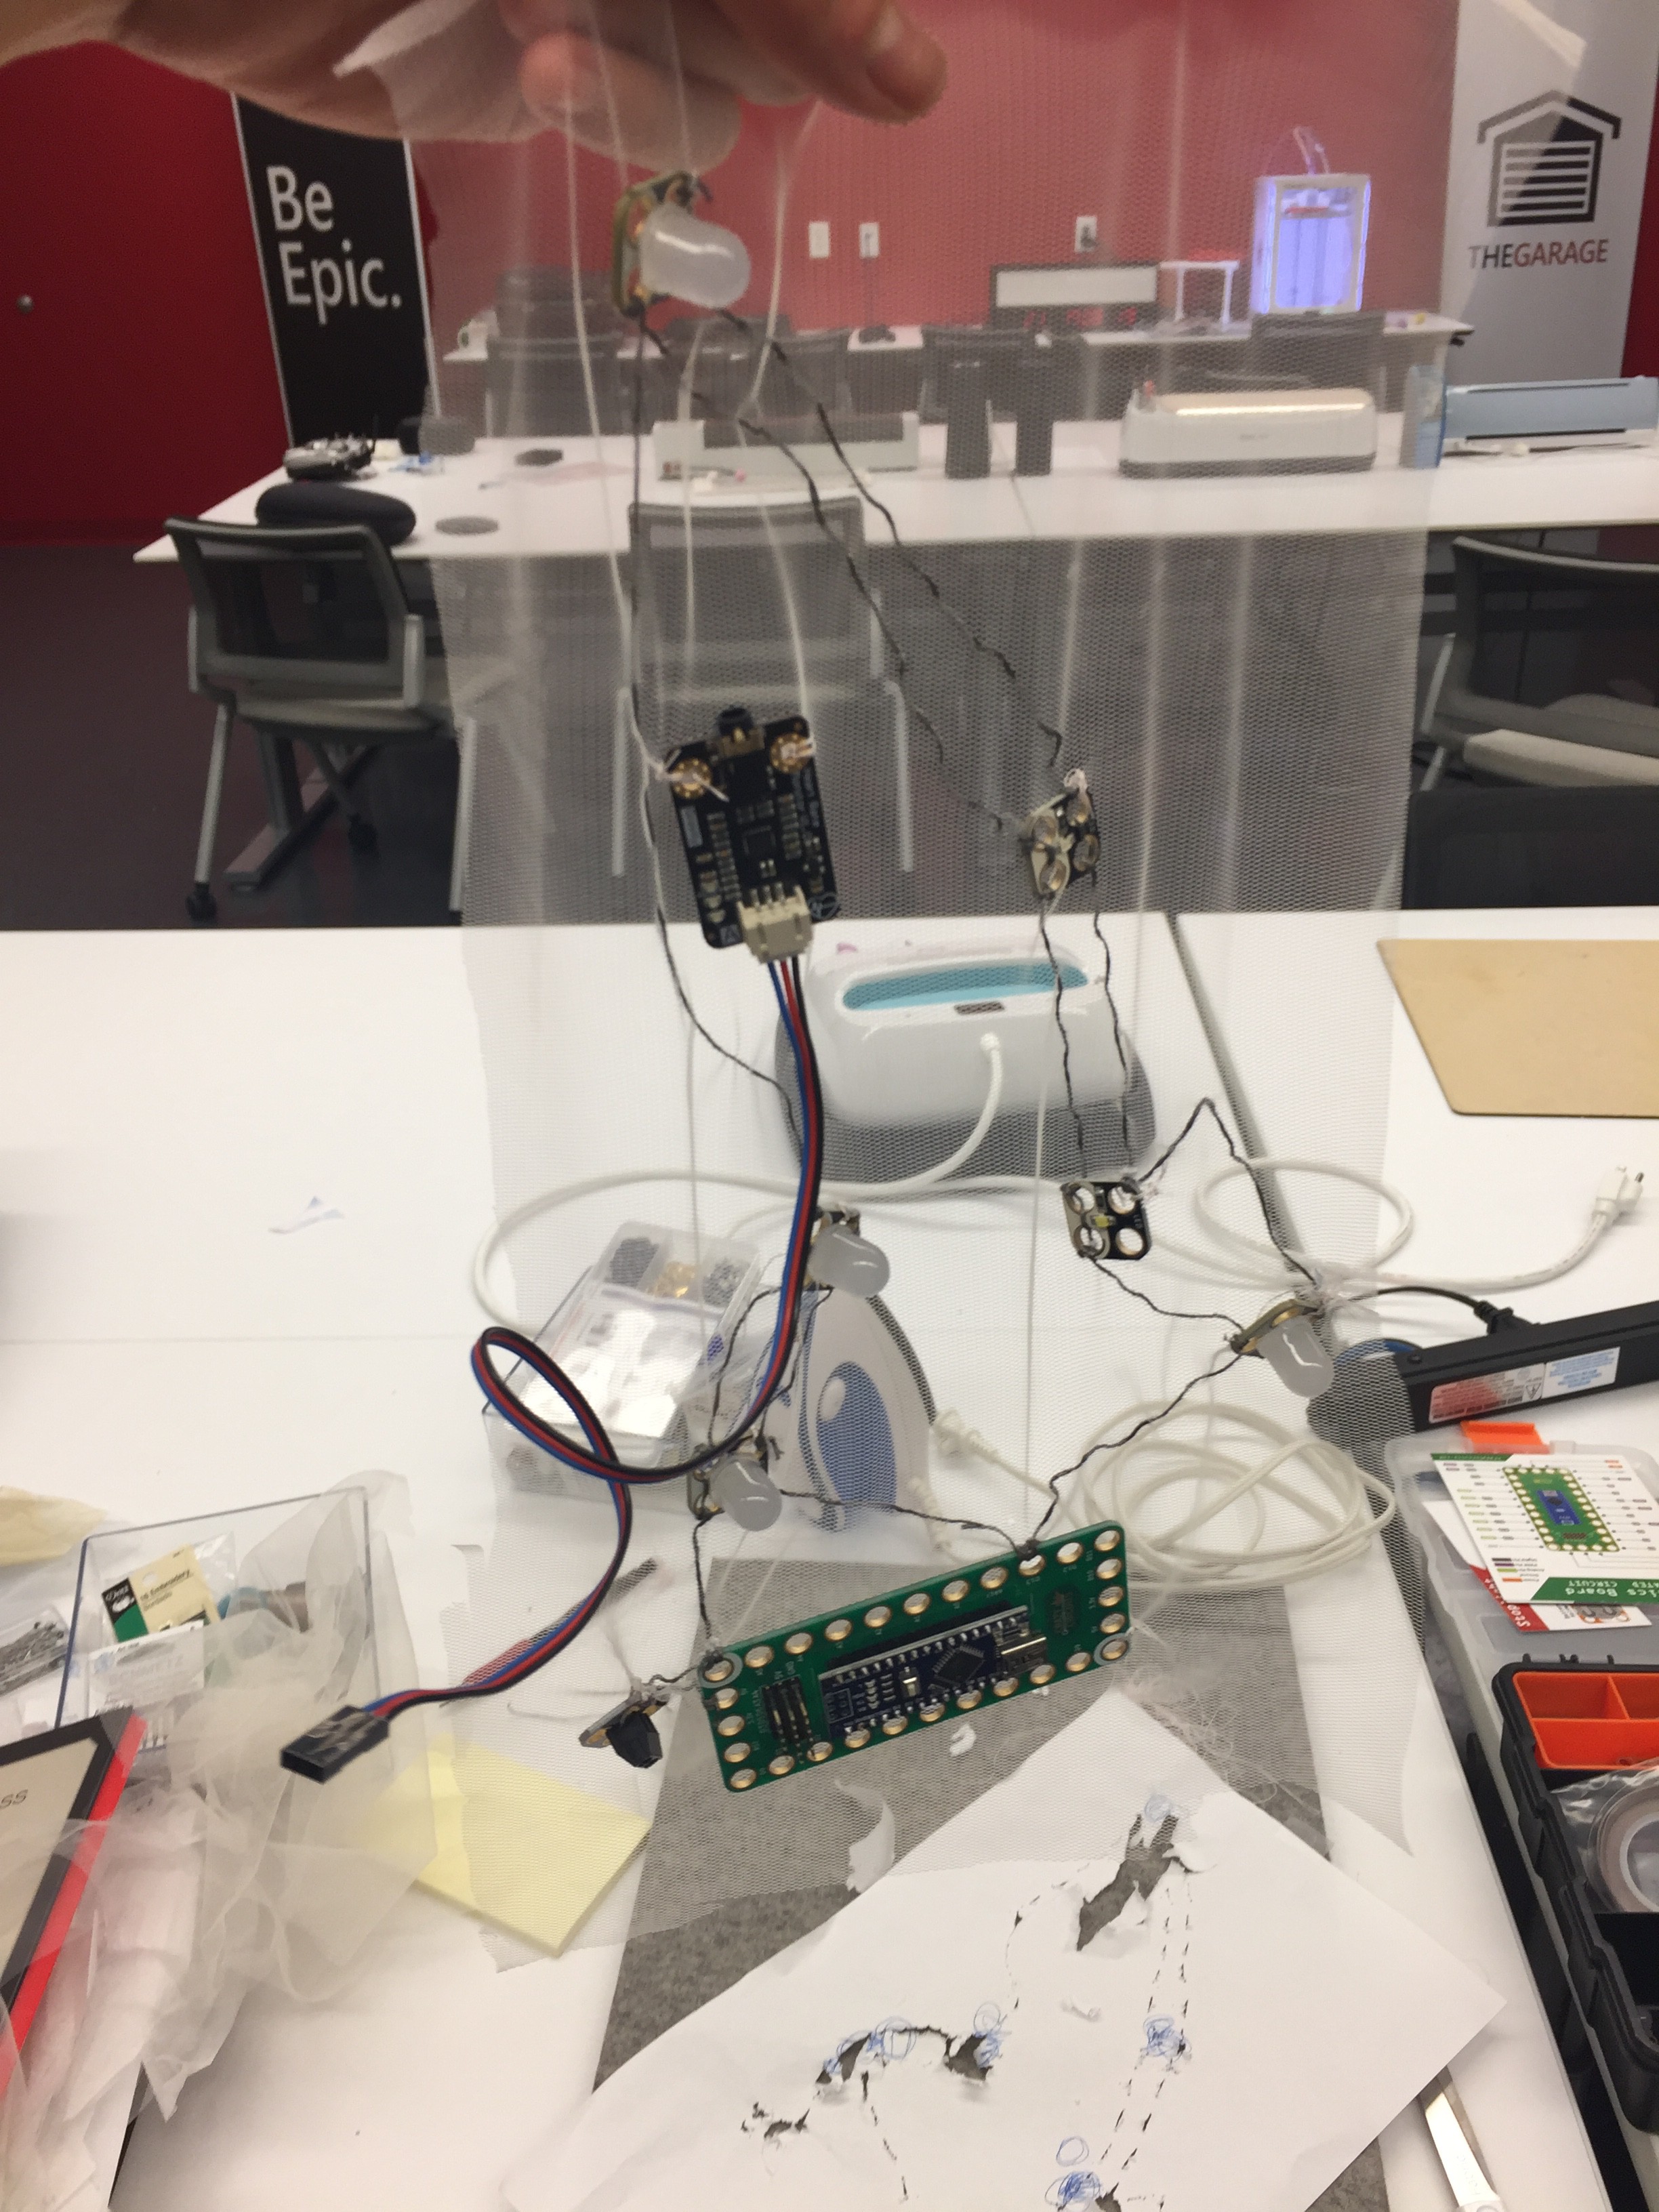

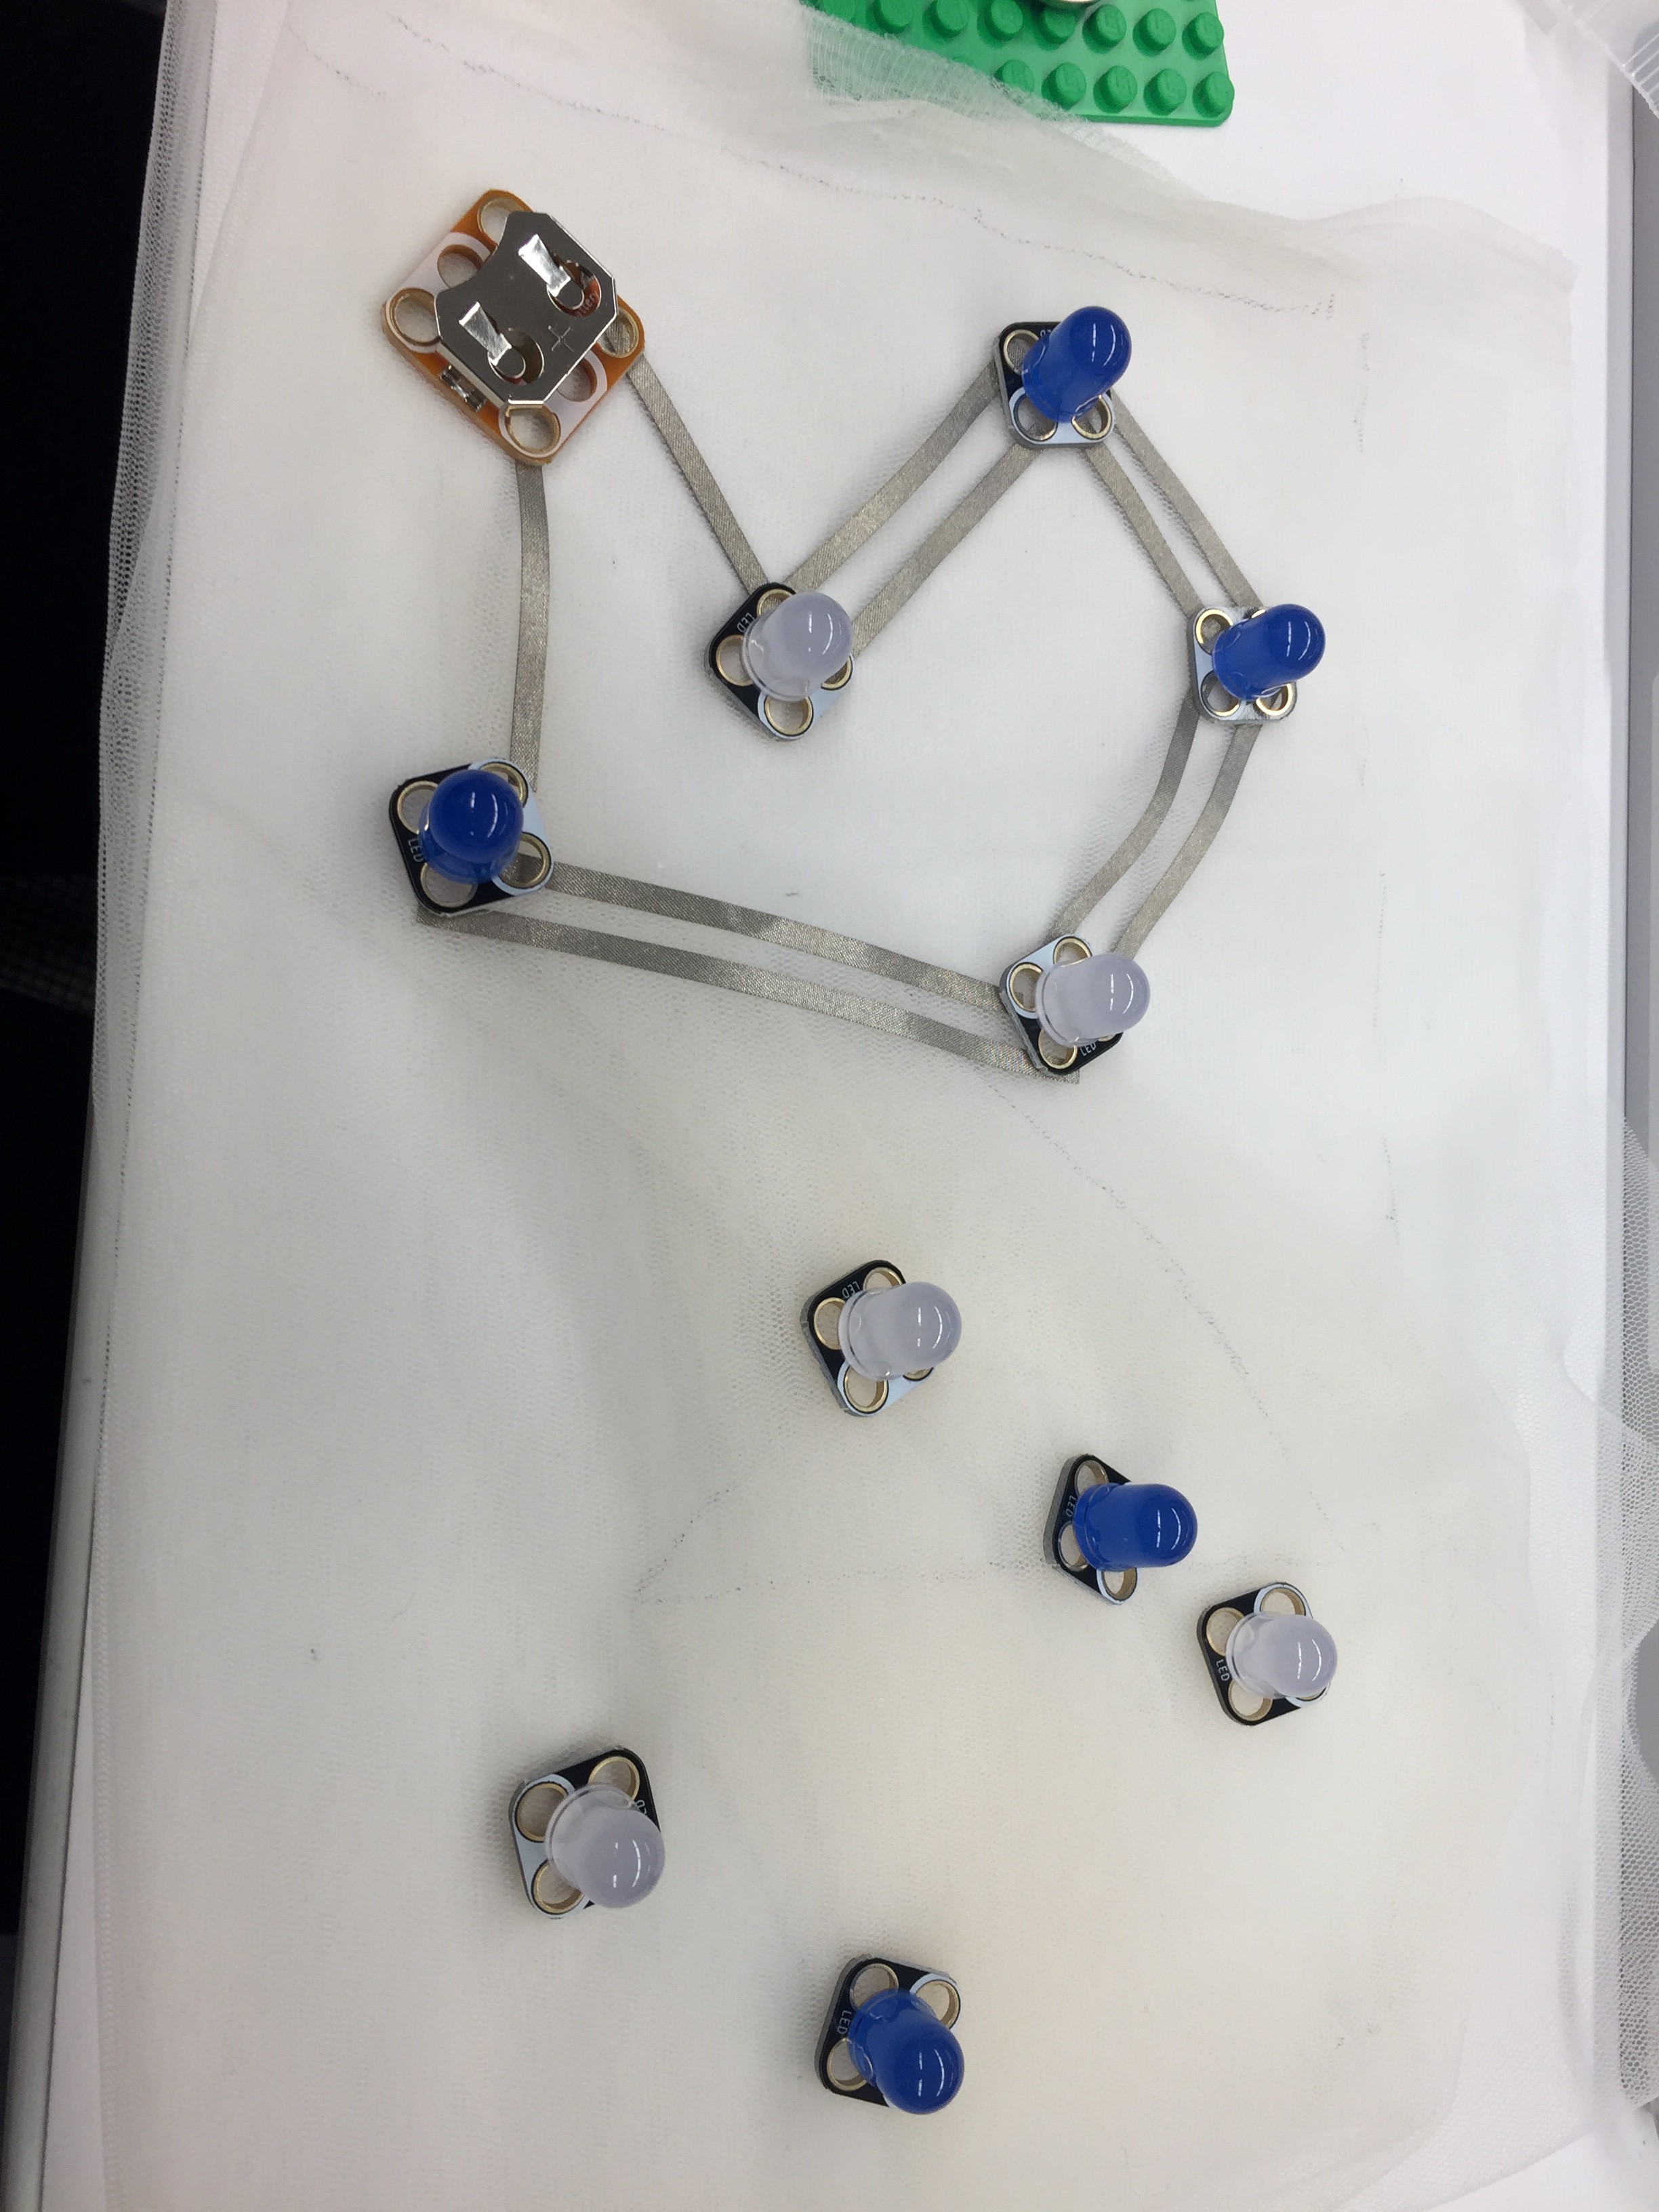
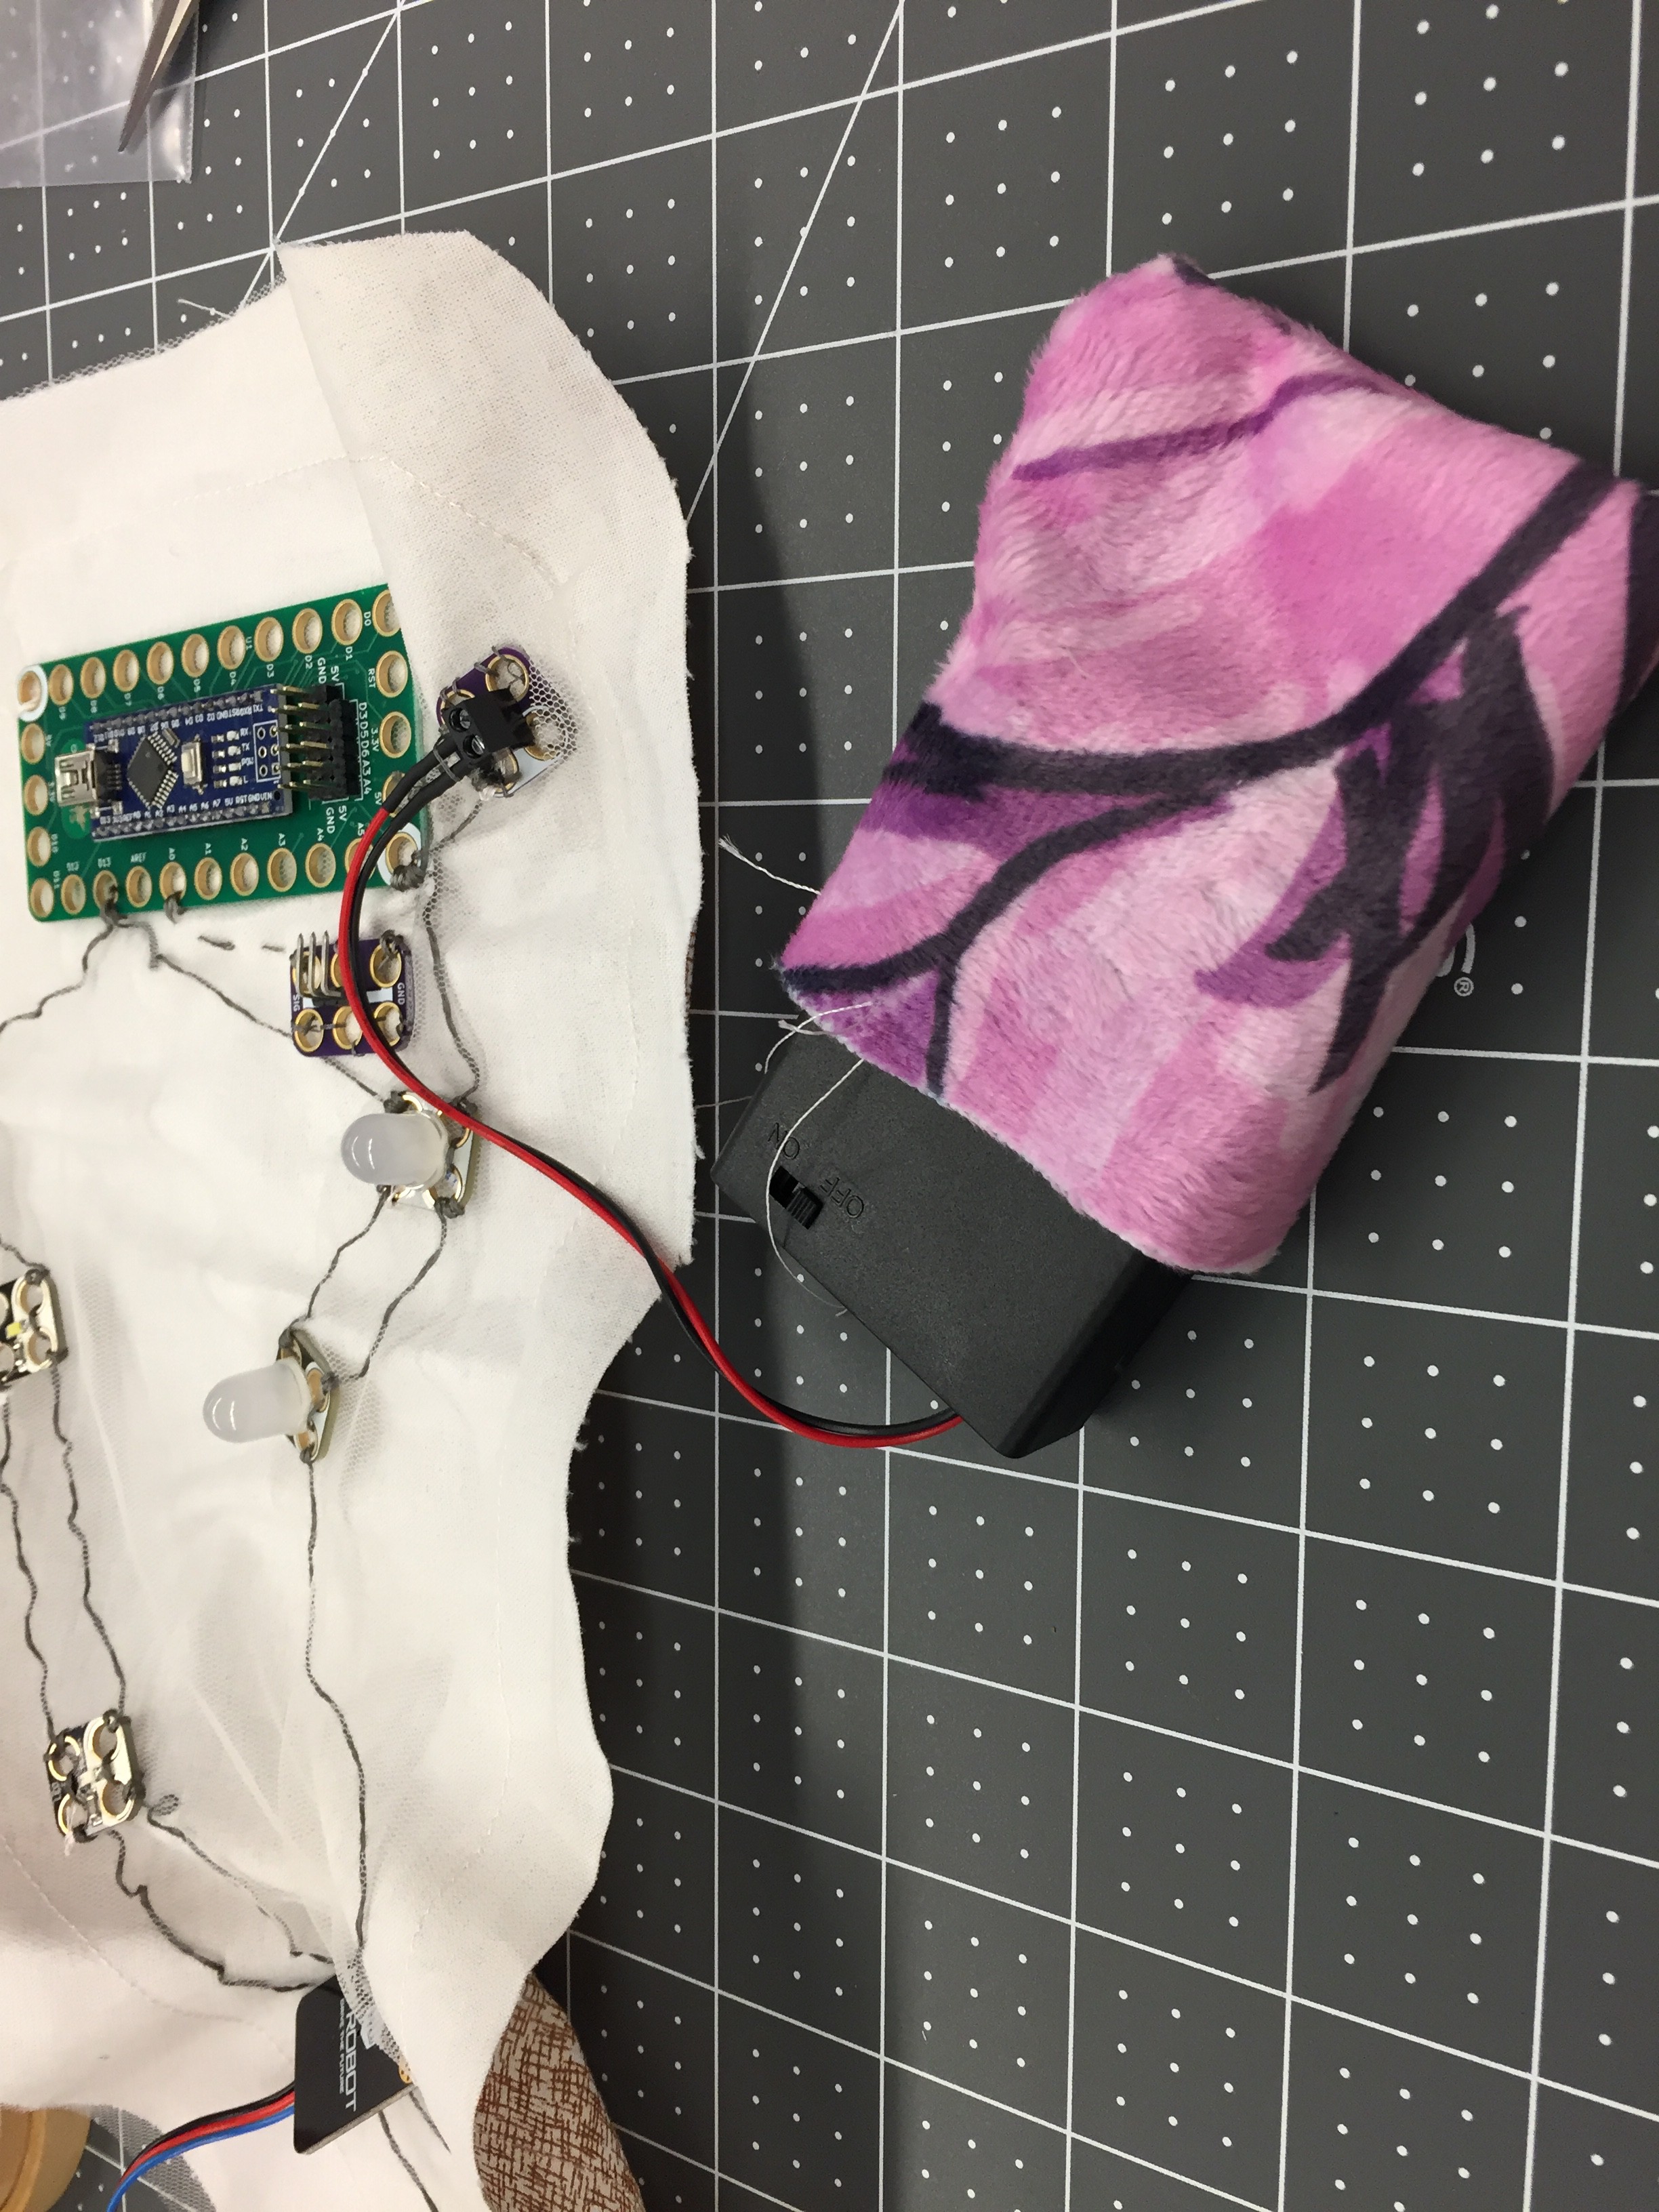
 I got some components from CrazyCircuits, including these large LEDs and coin ceil holders with large holes for sewing. They also have conductive tapes and a testing board, making the circuit test very easy.
 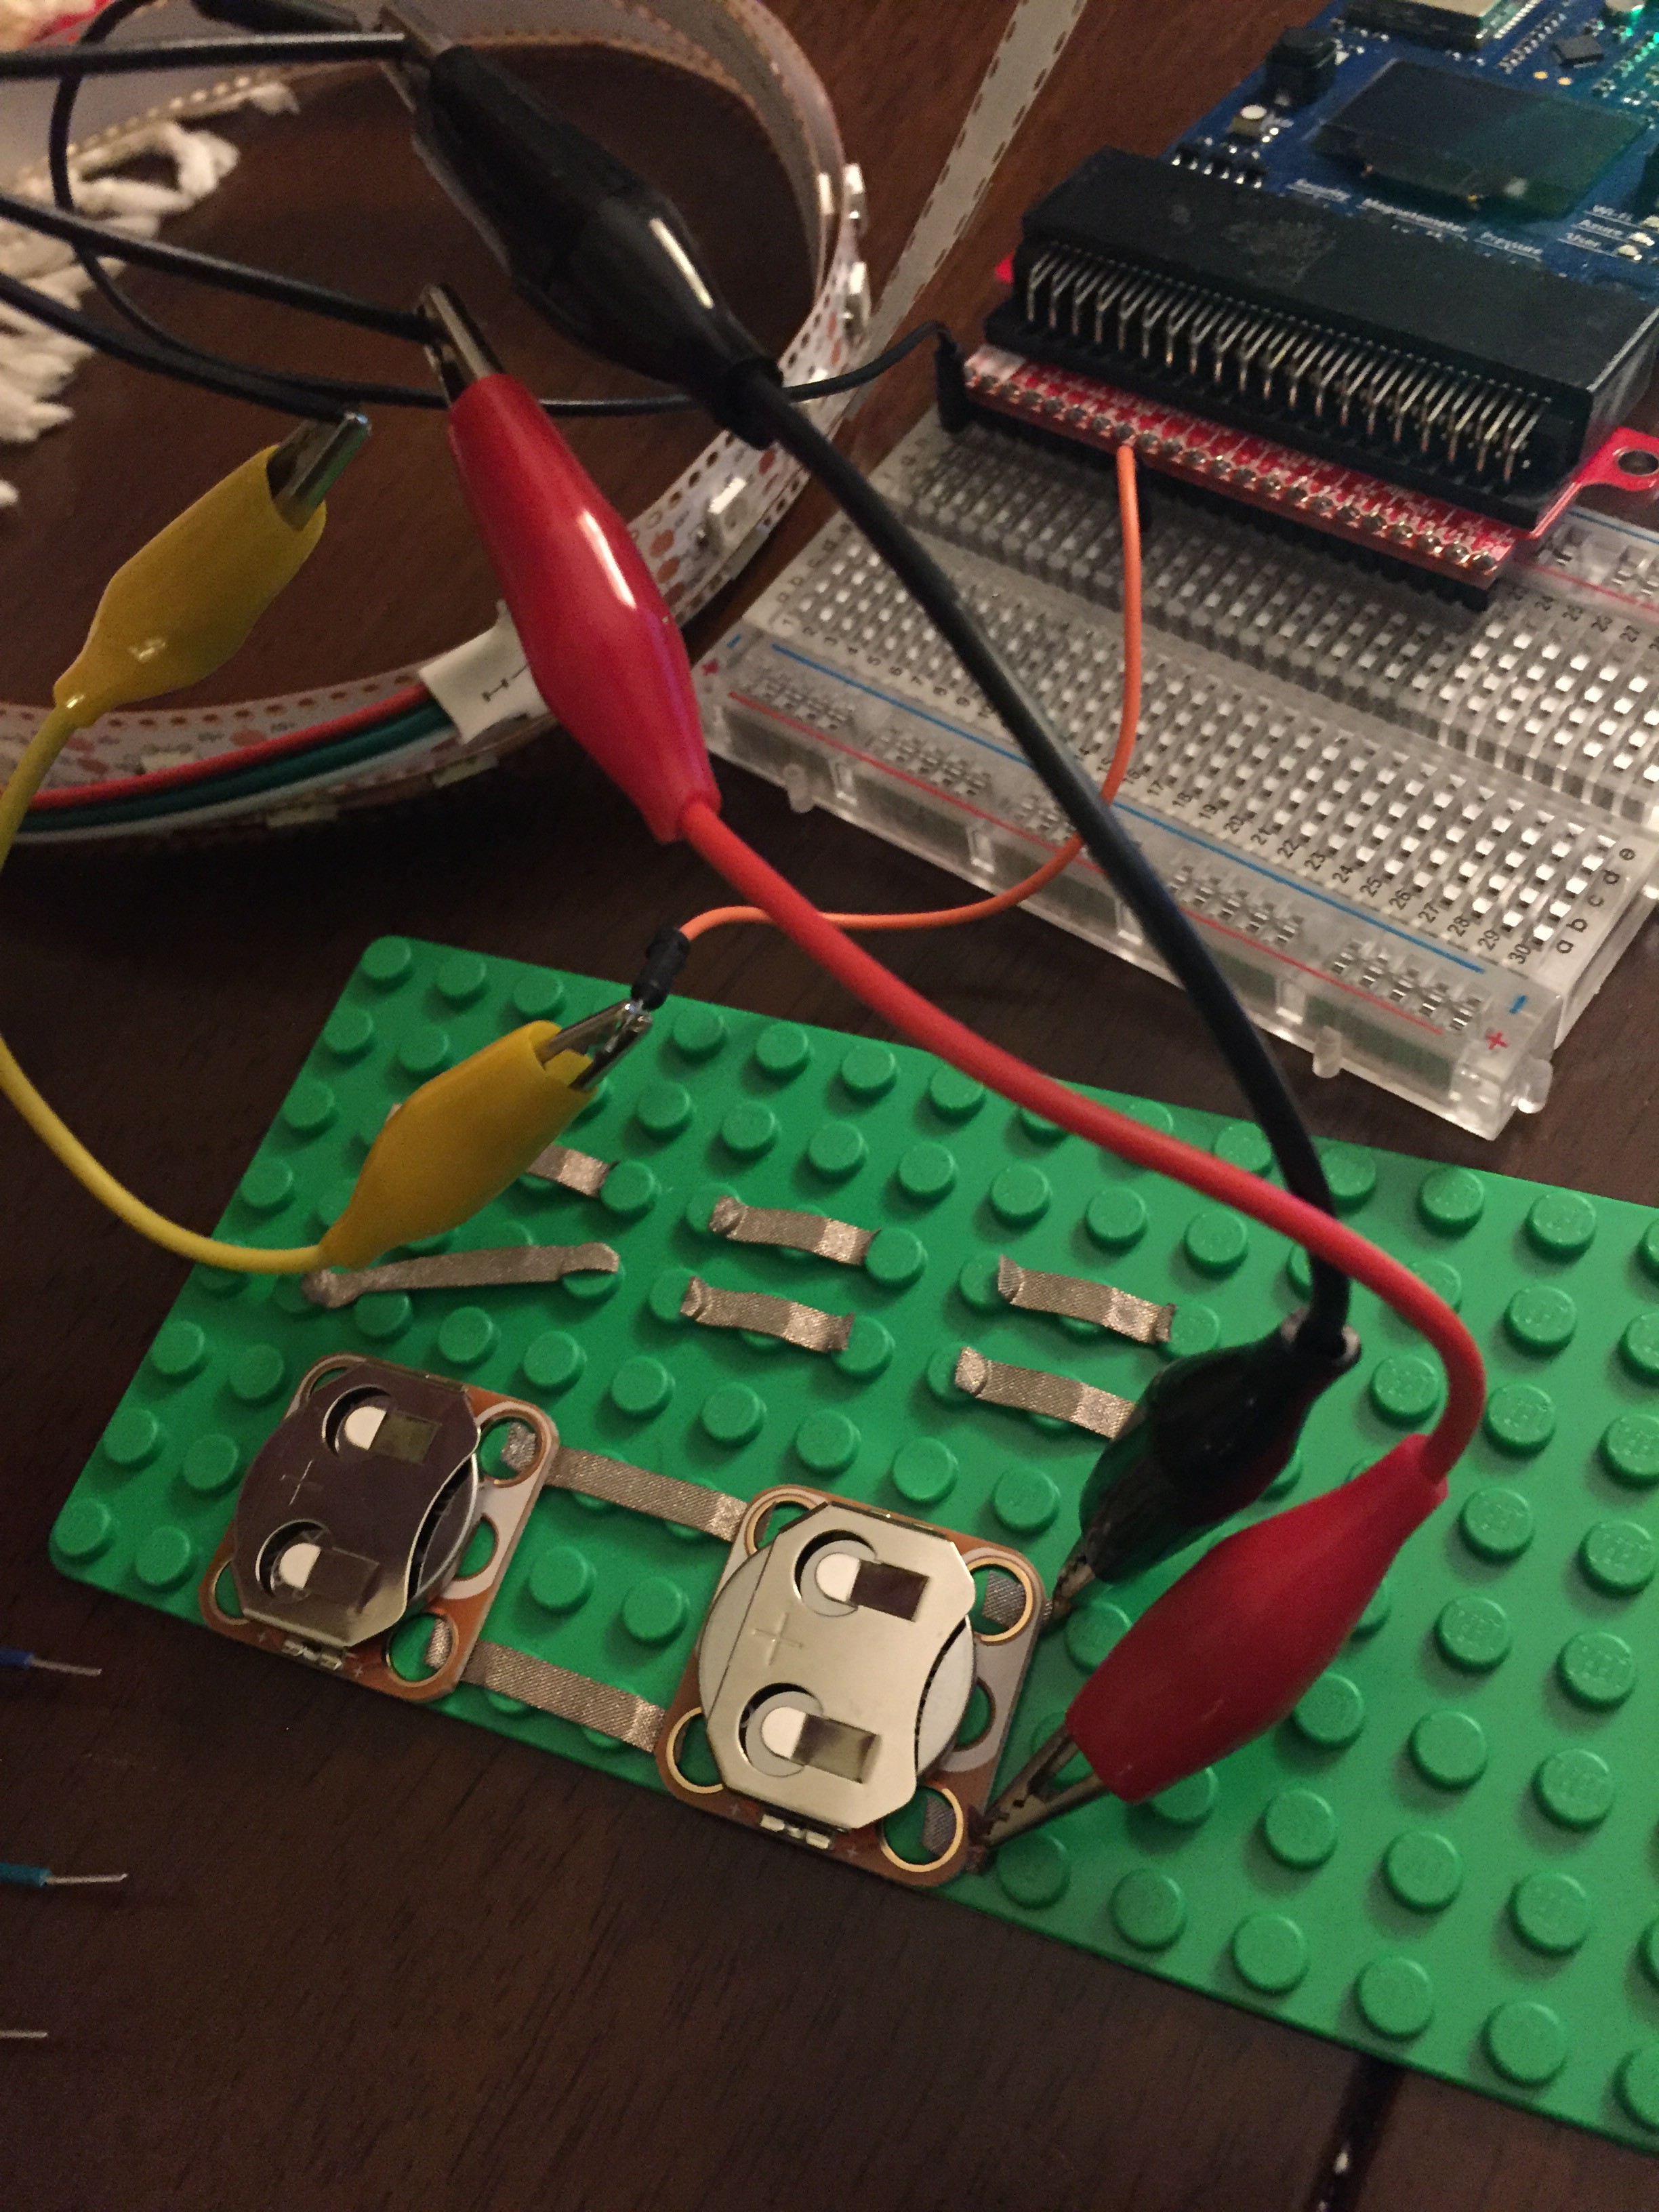 I even used them to test a different project I'm working on that needed an external power supply.
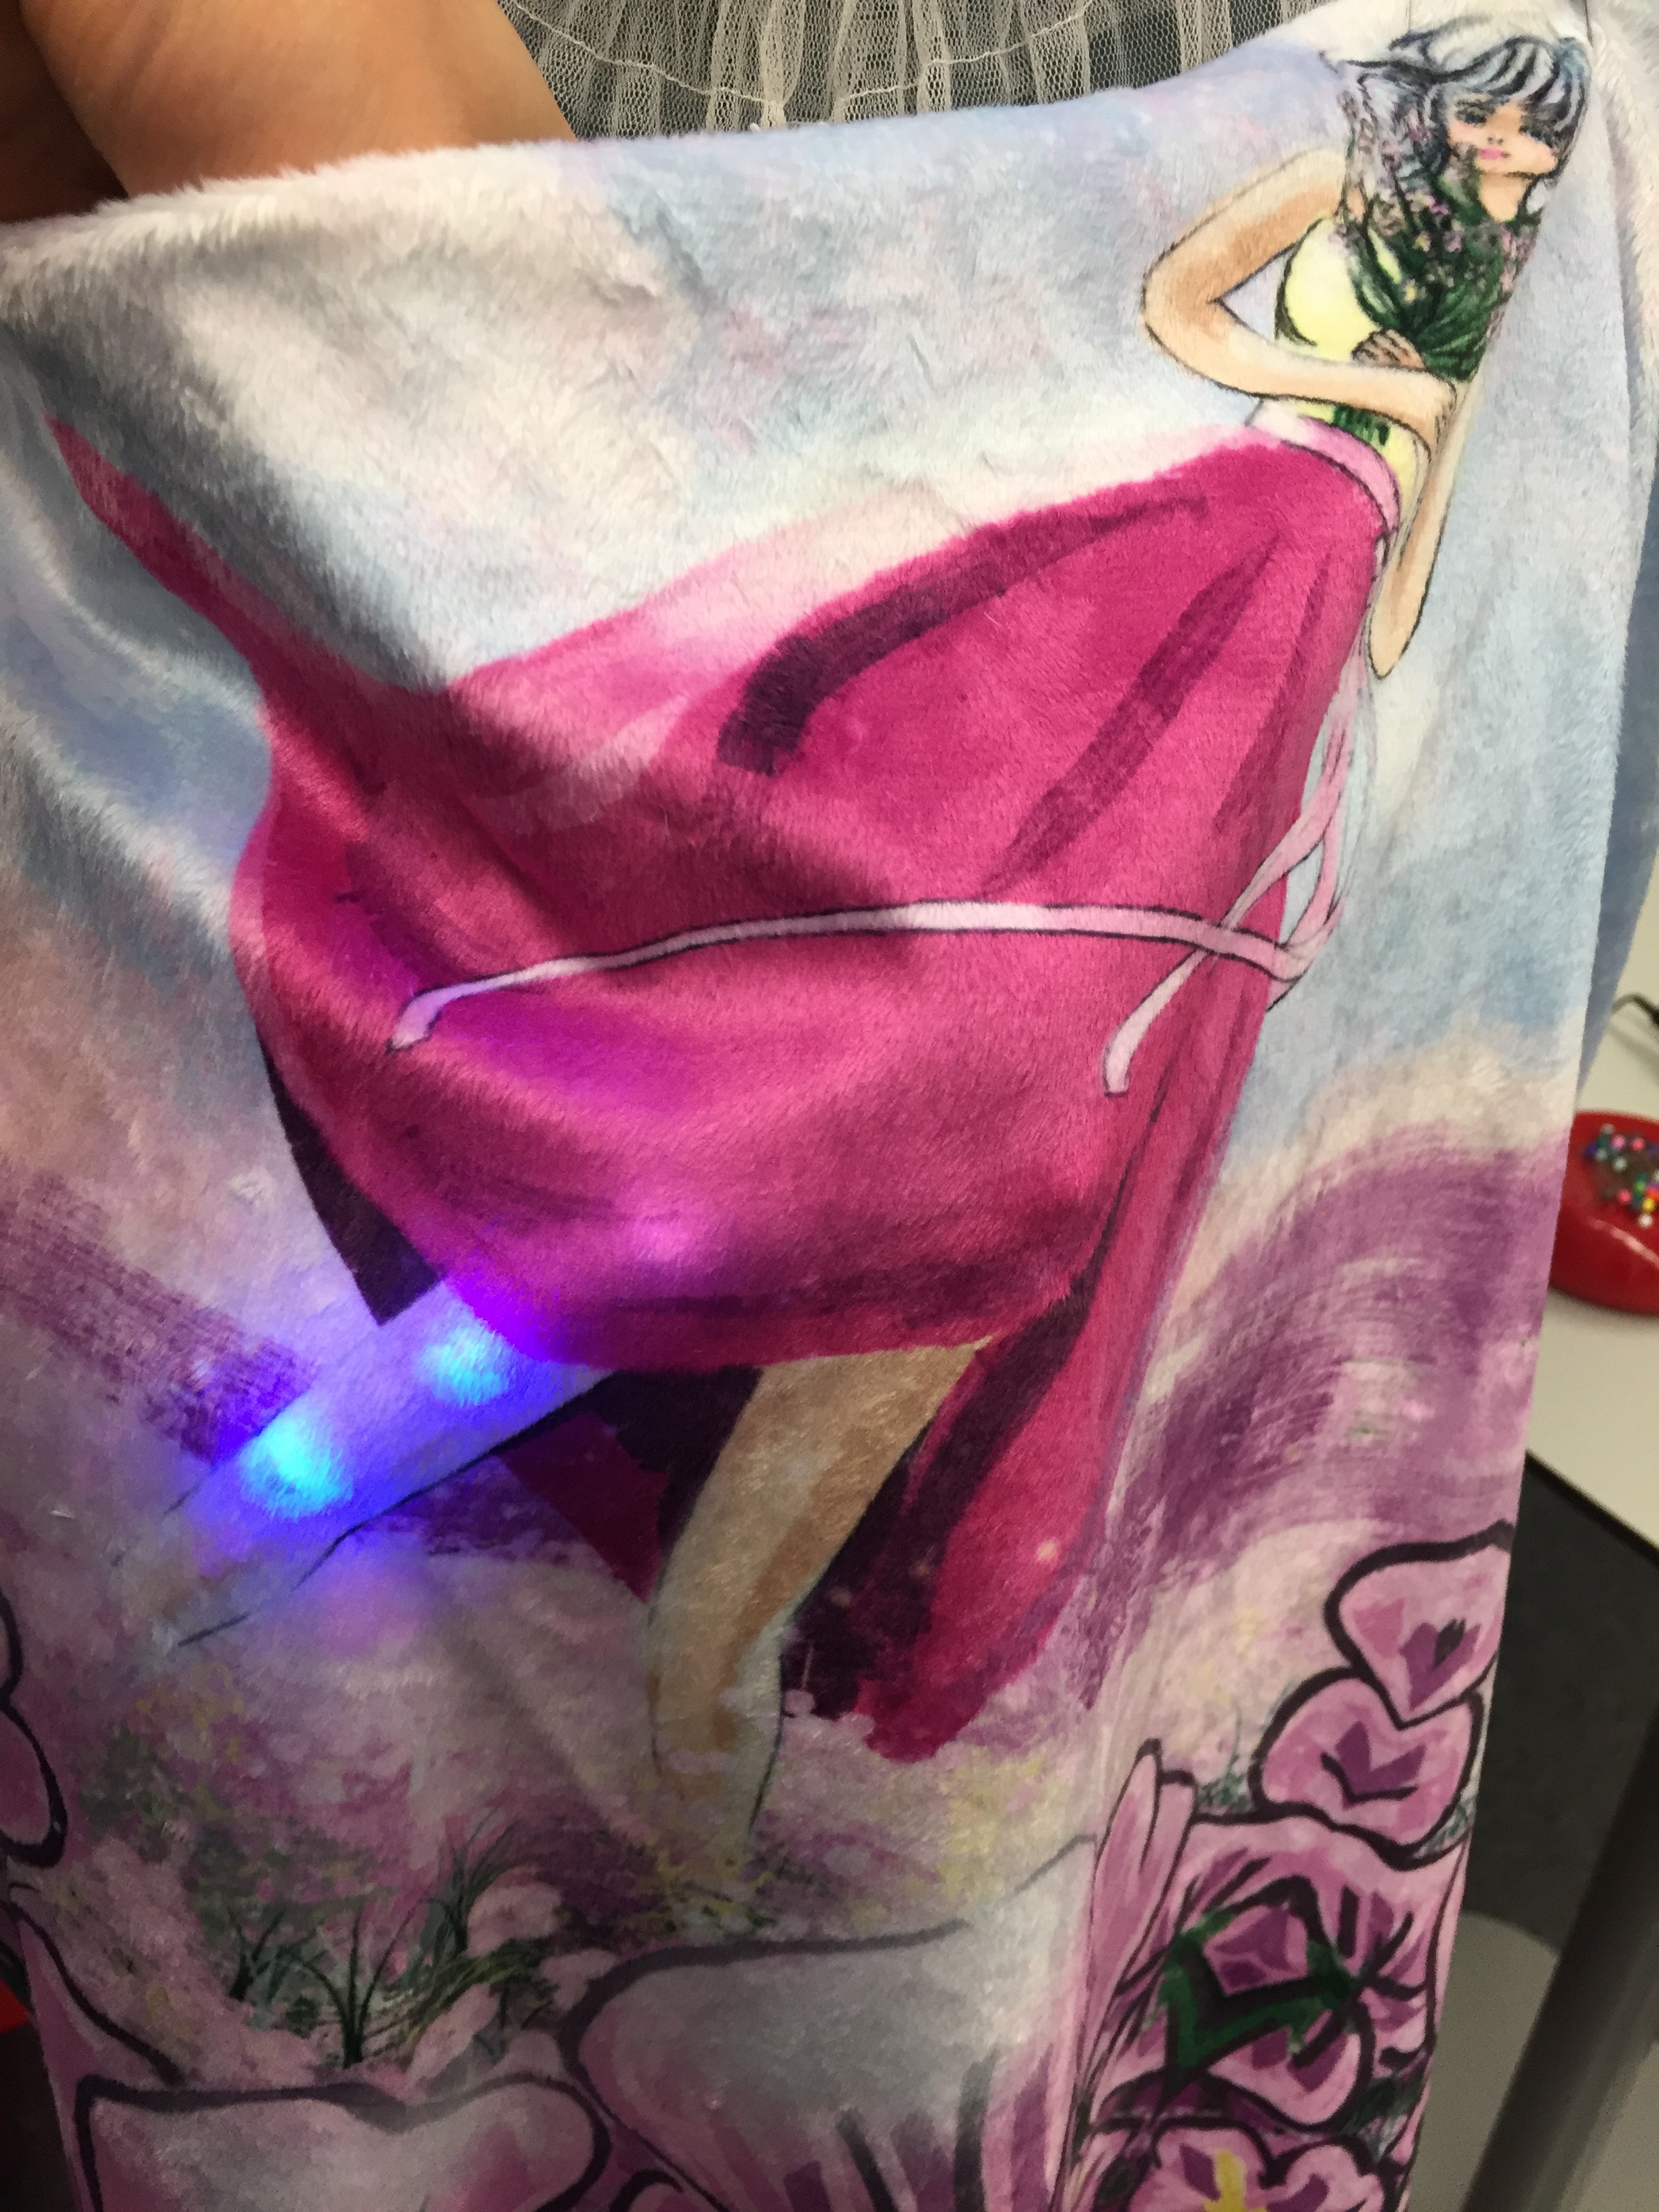
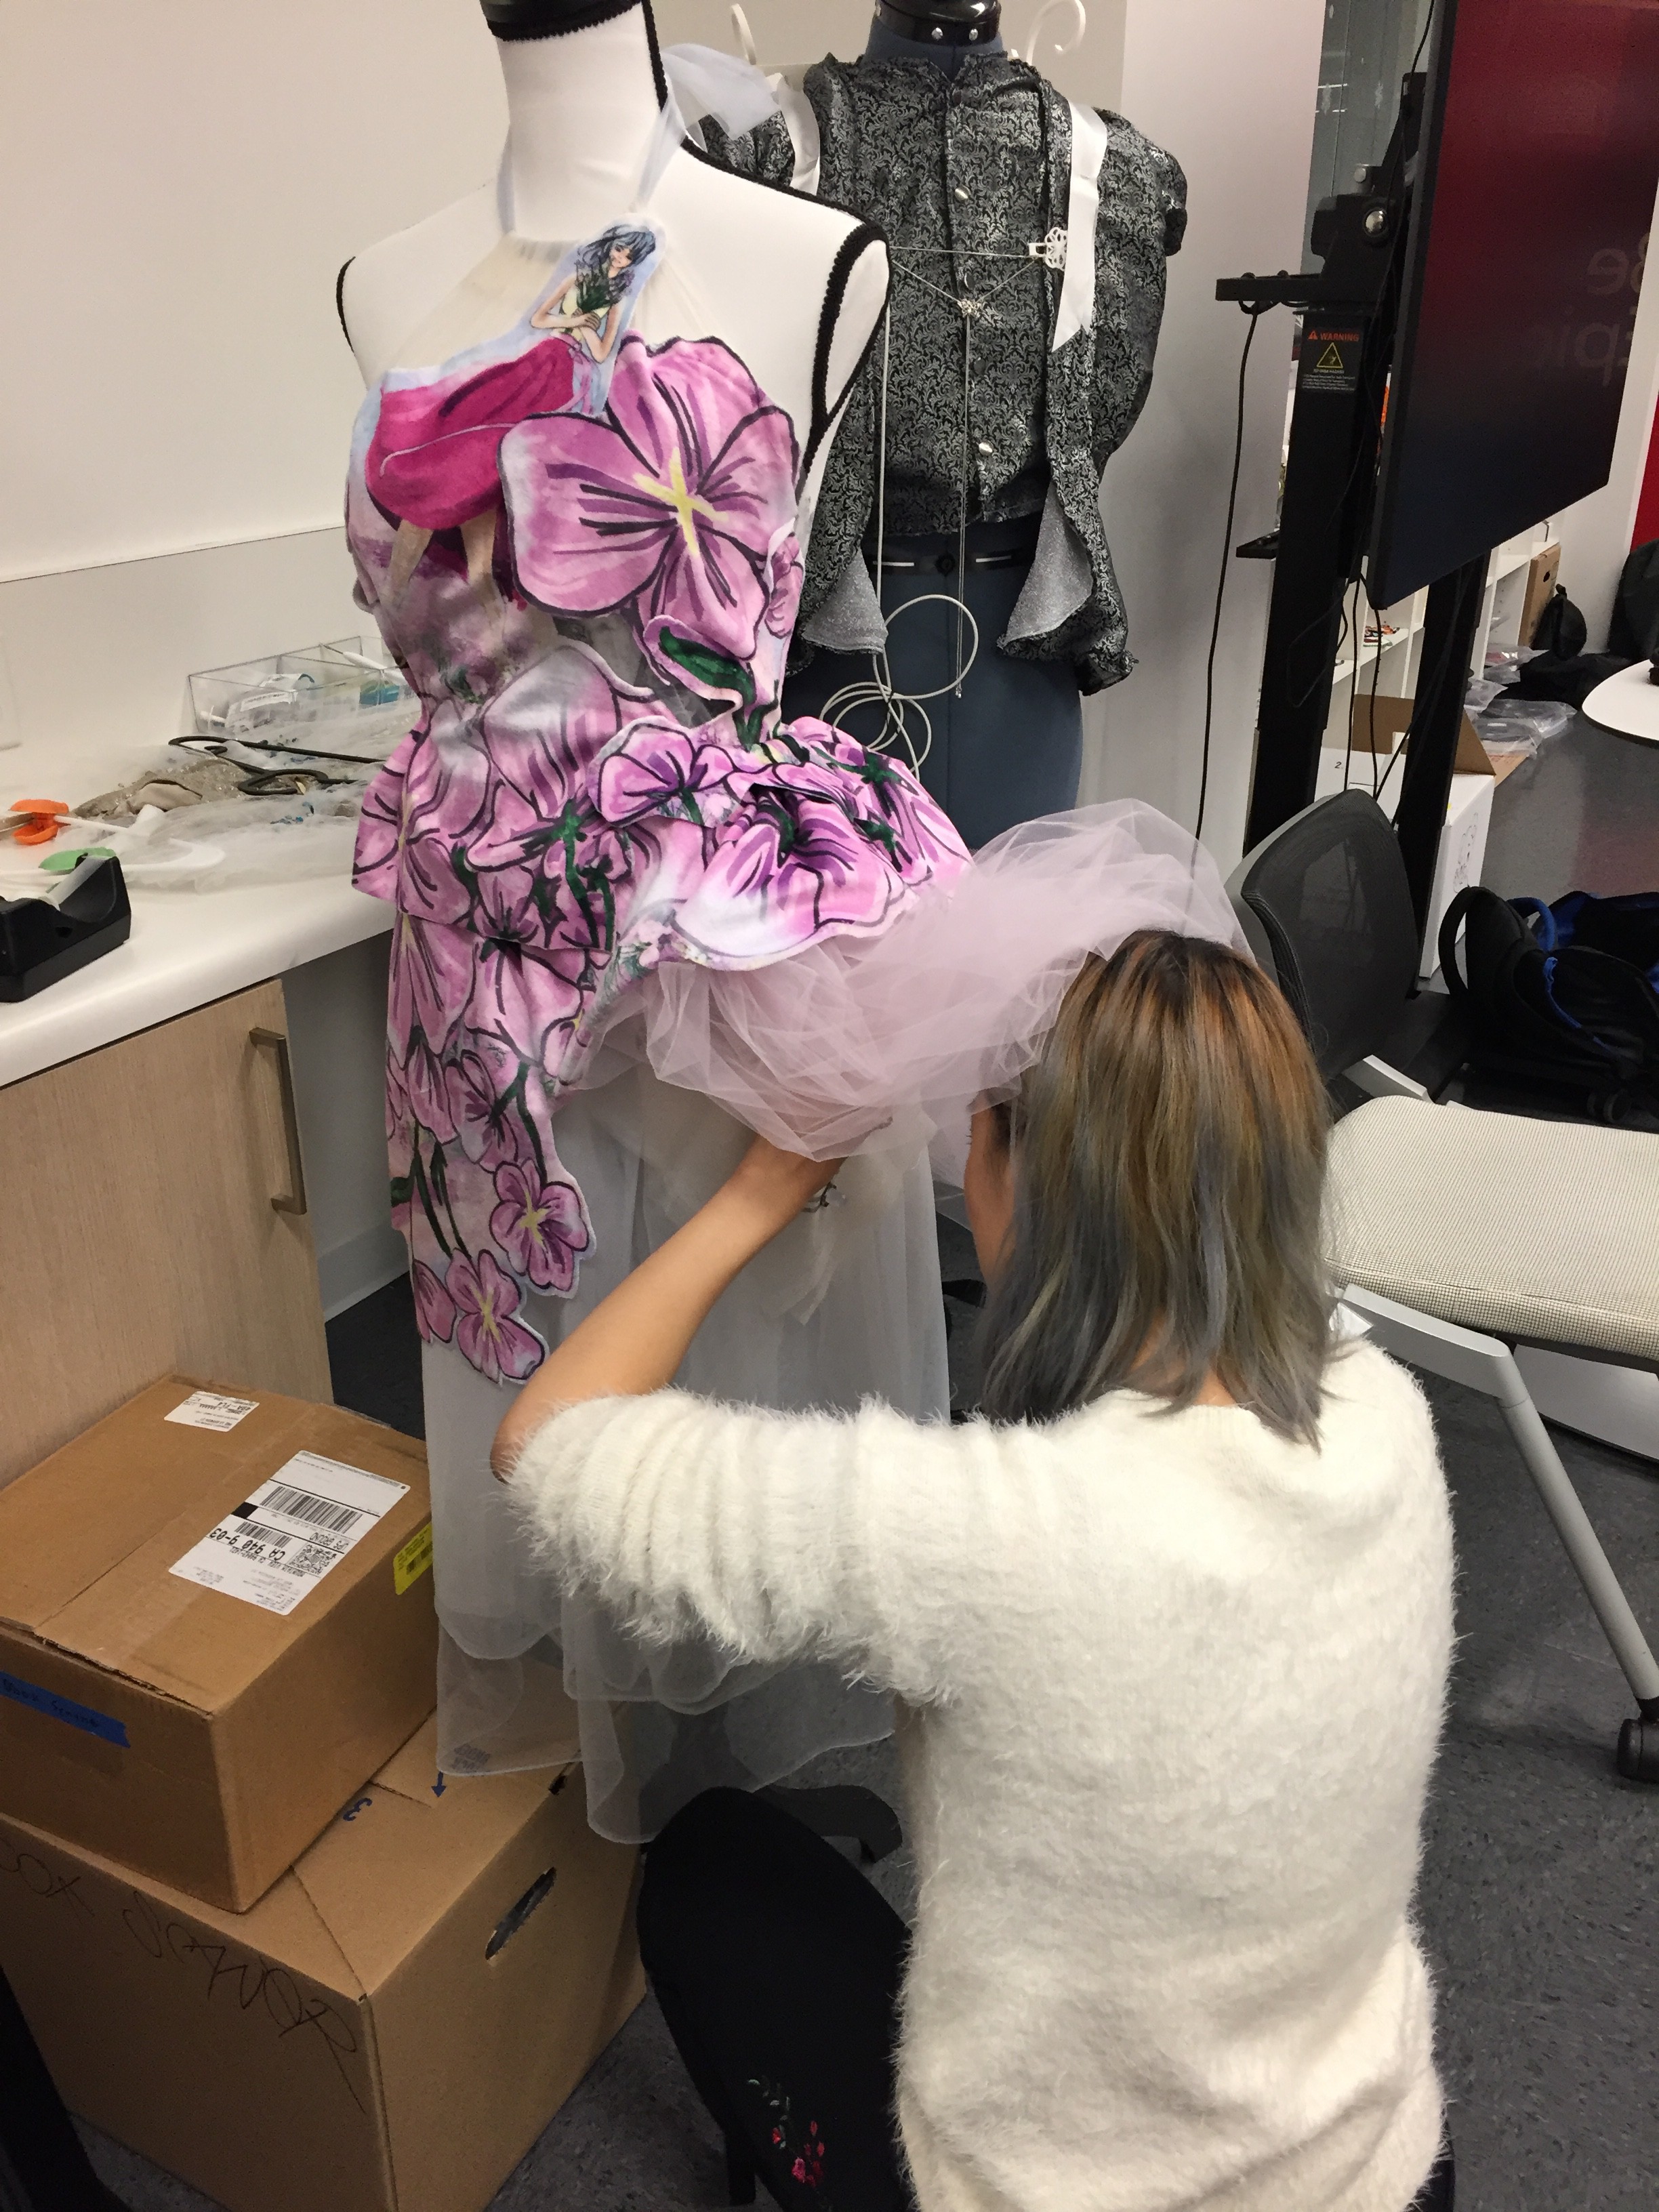
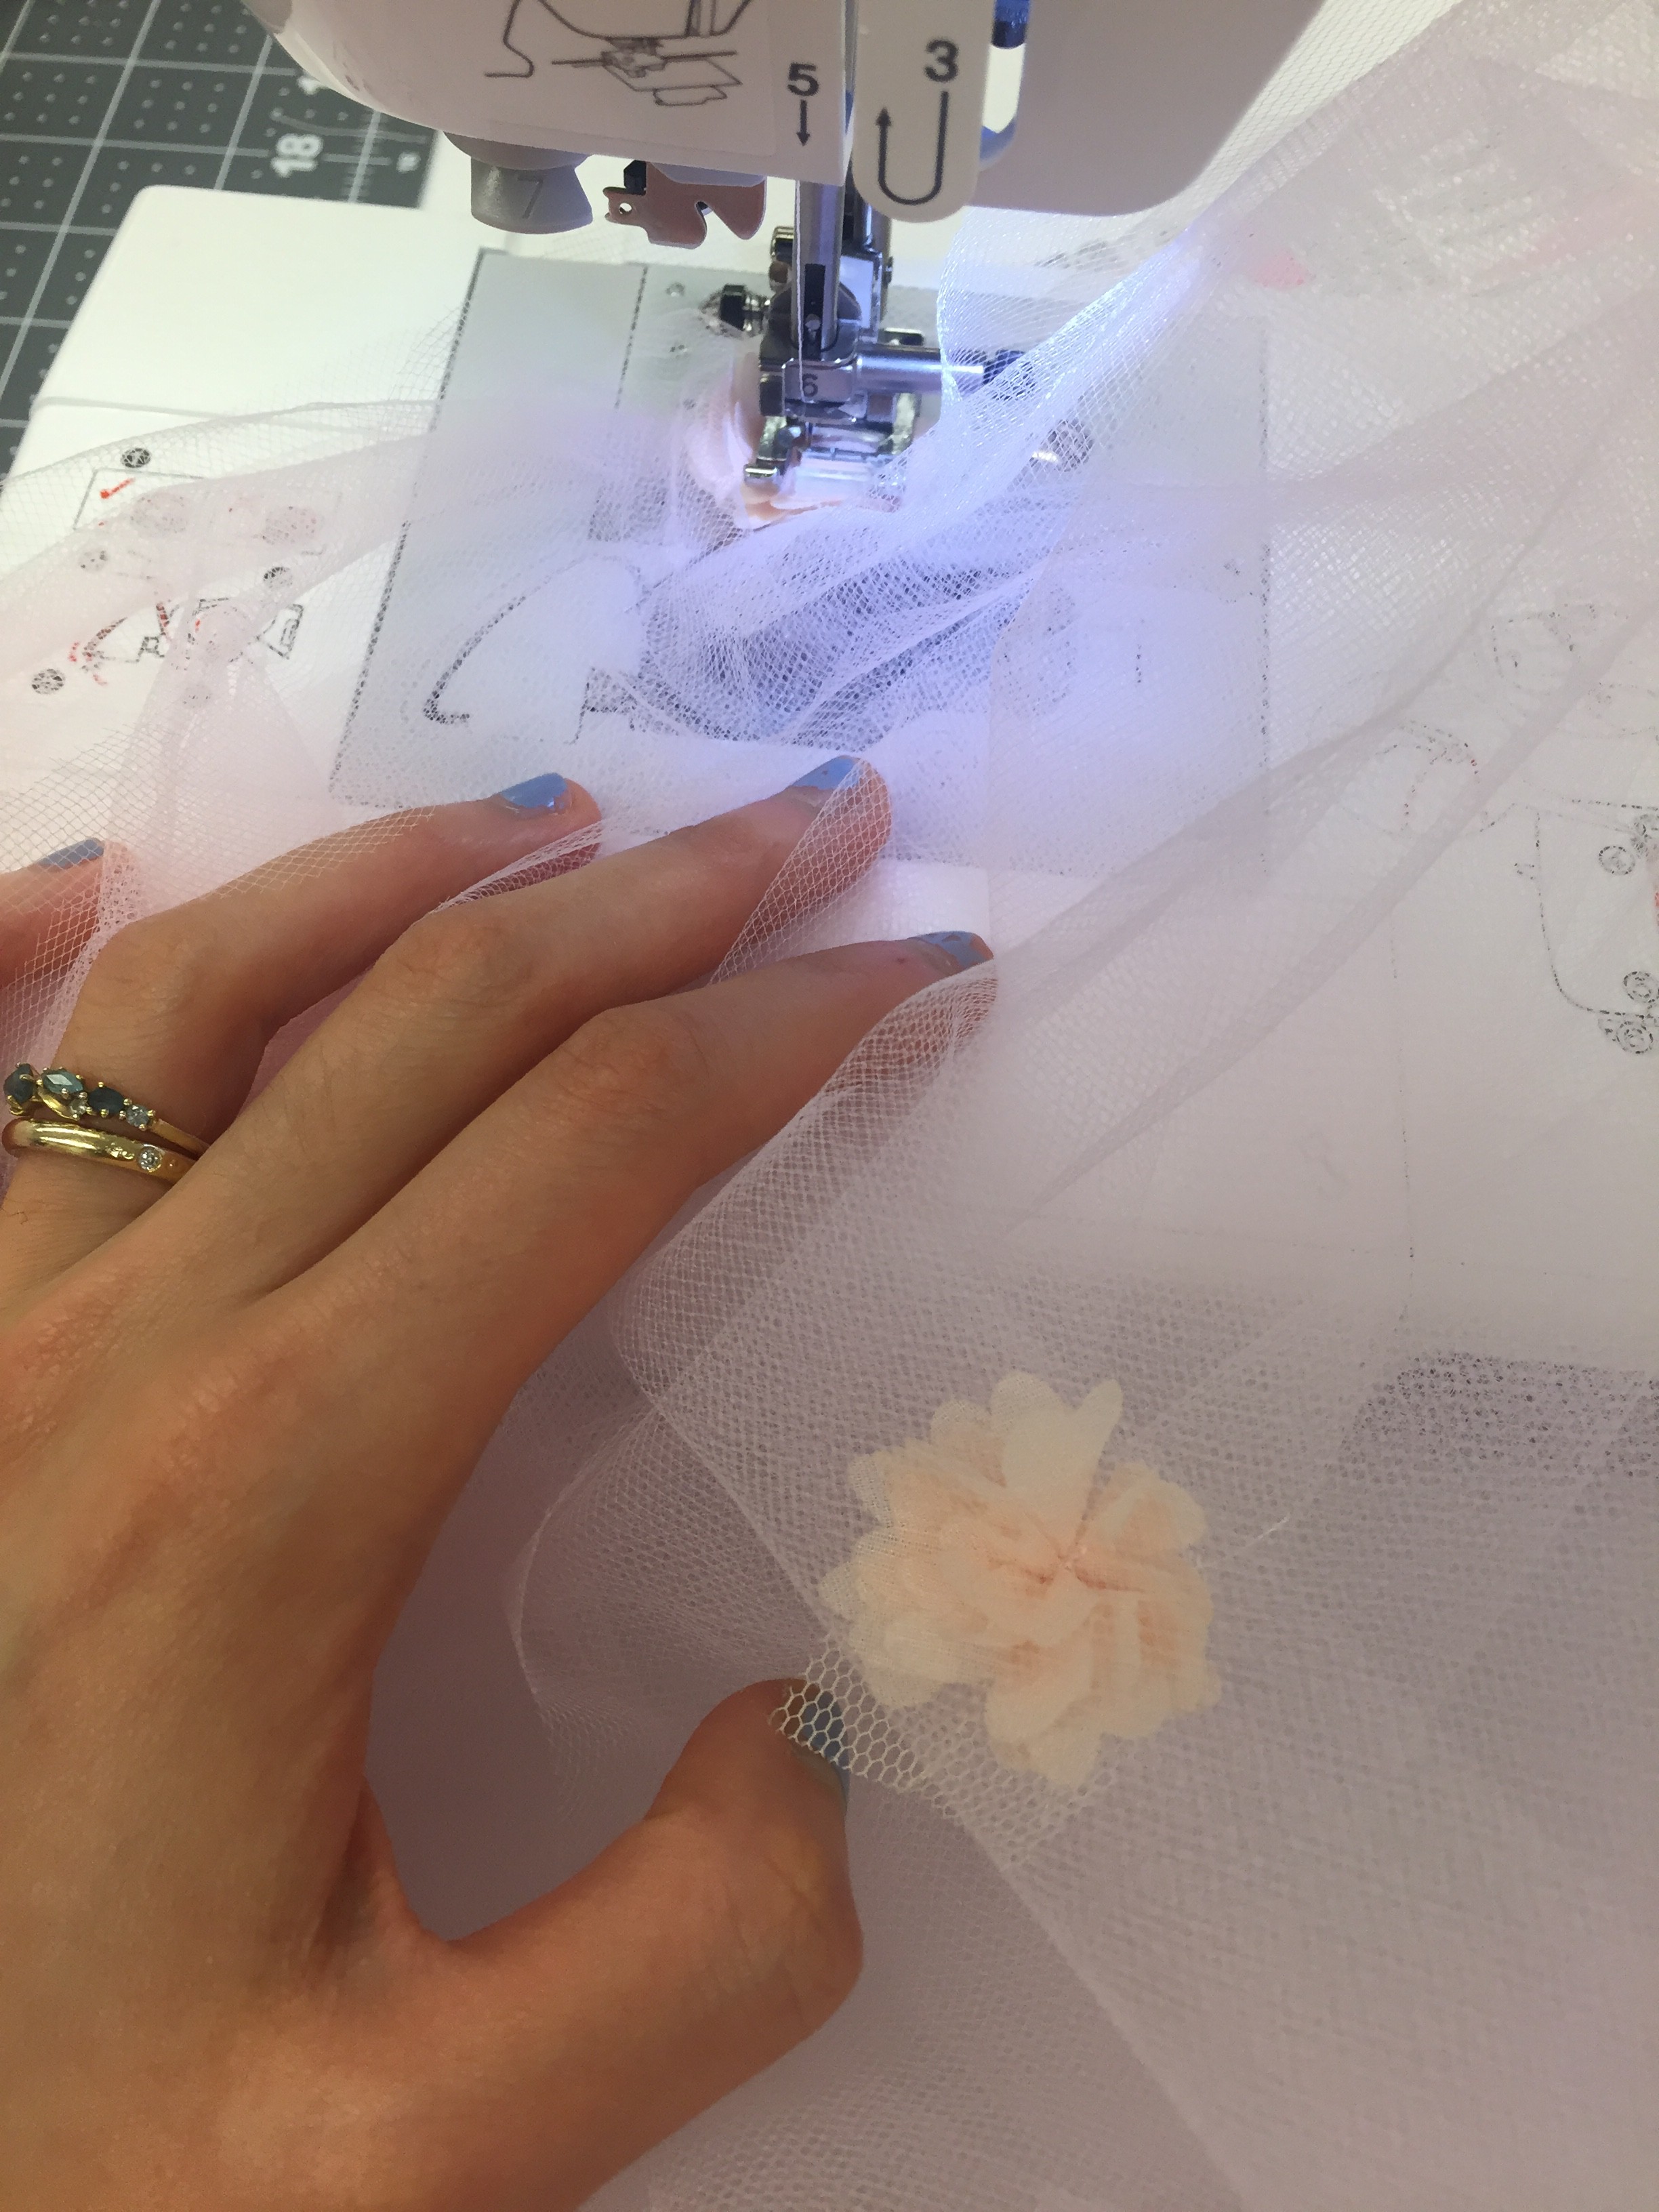
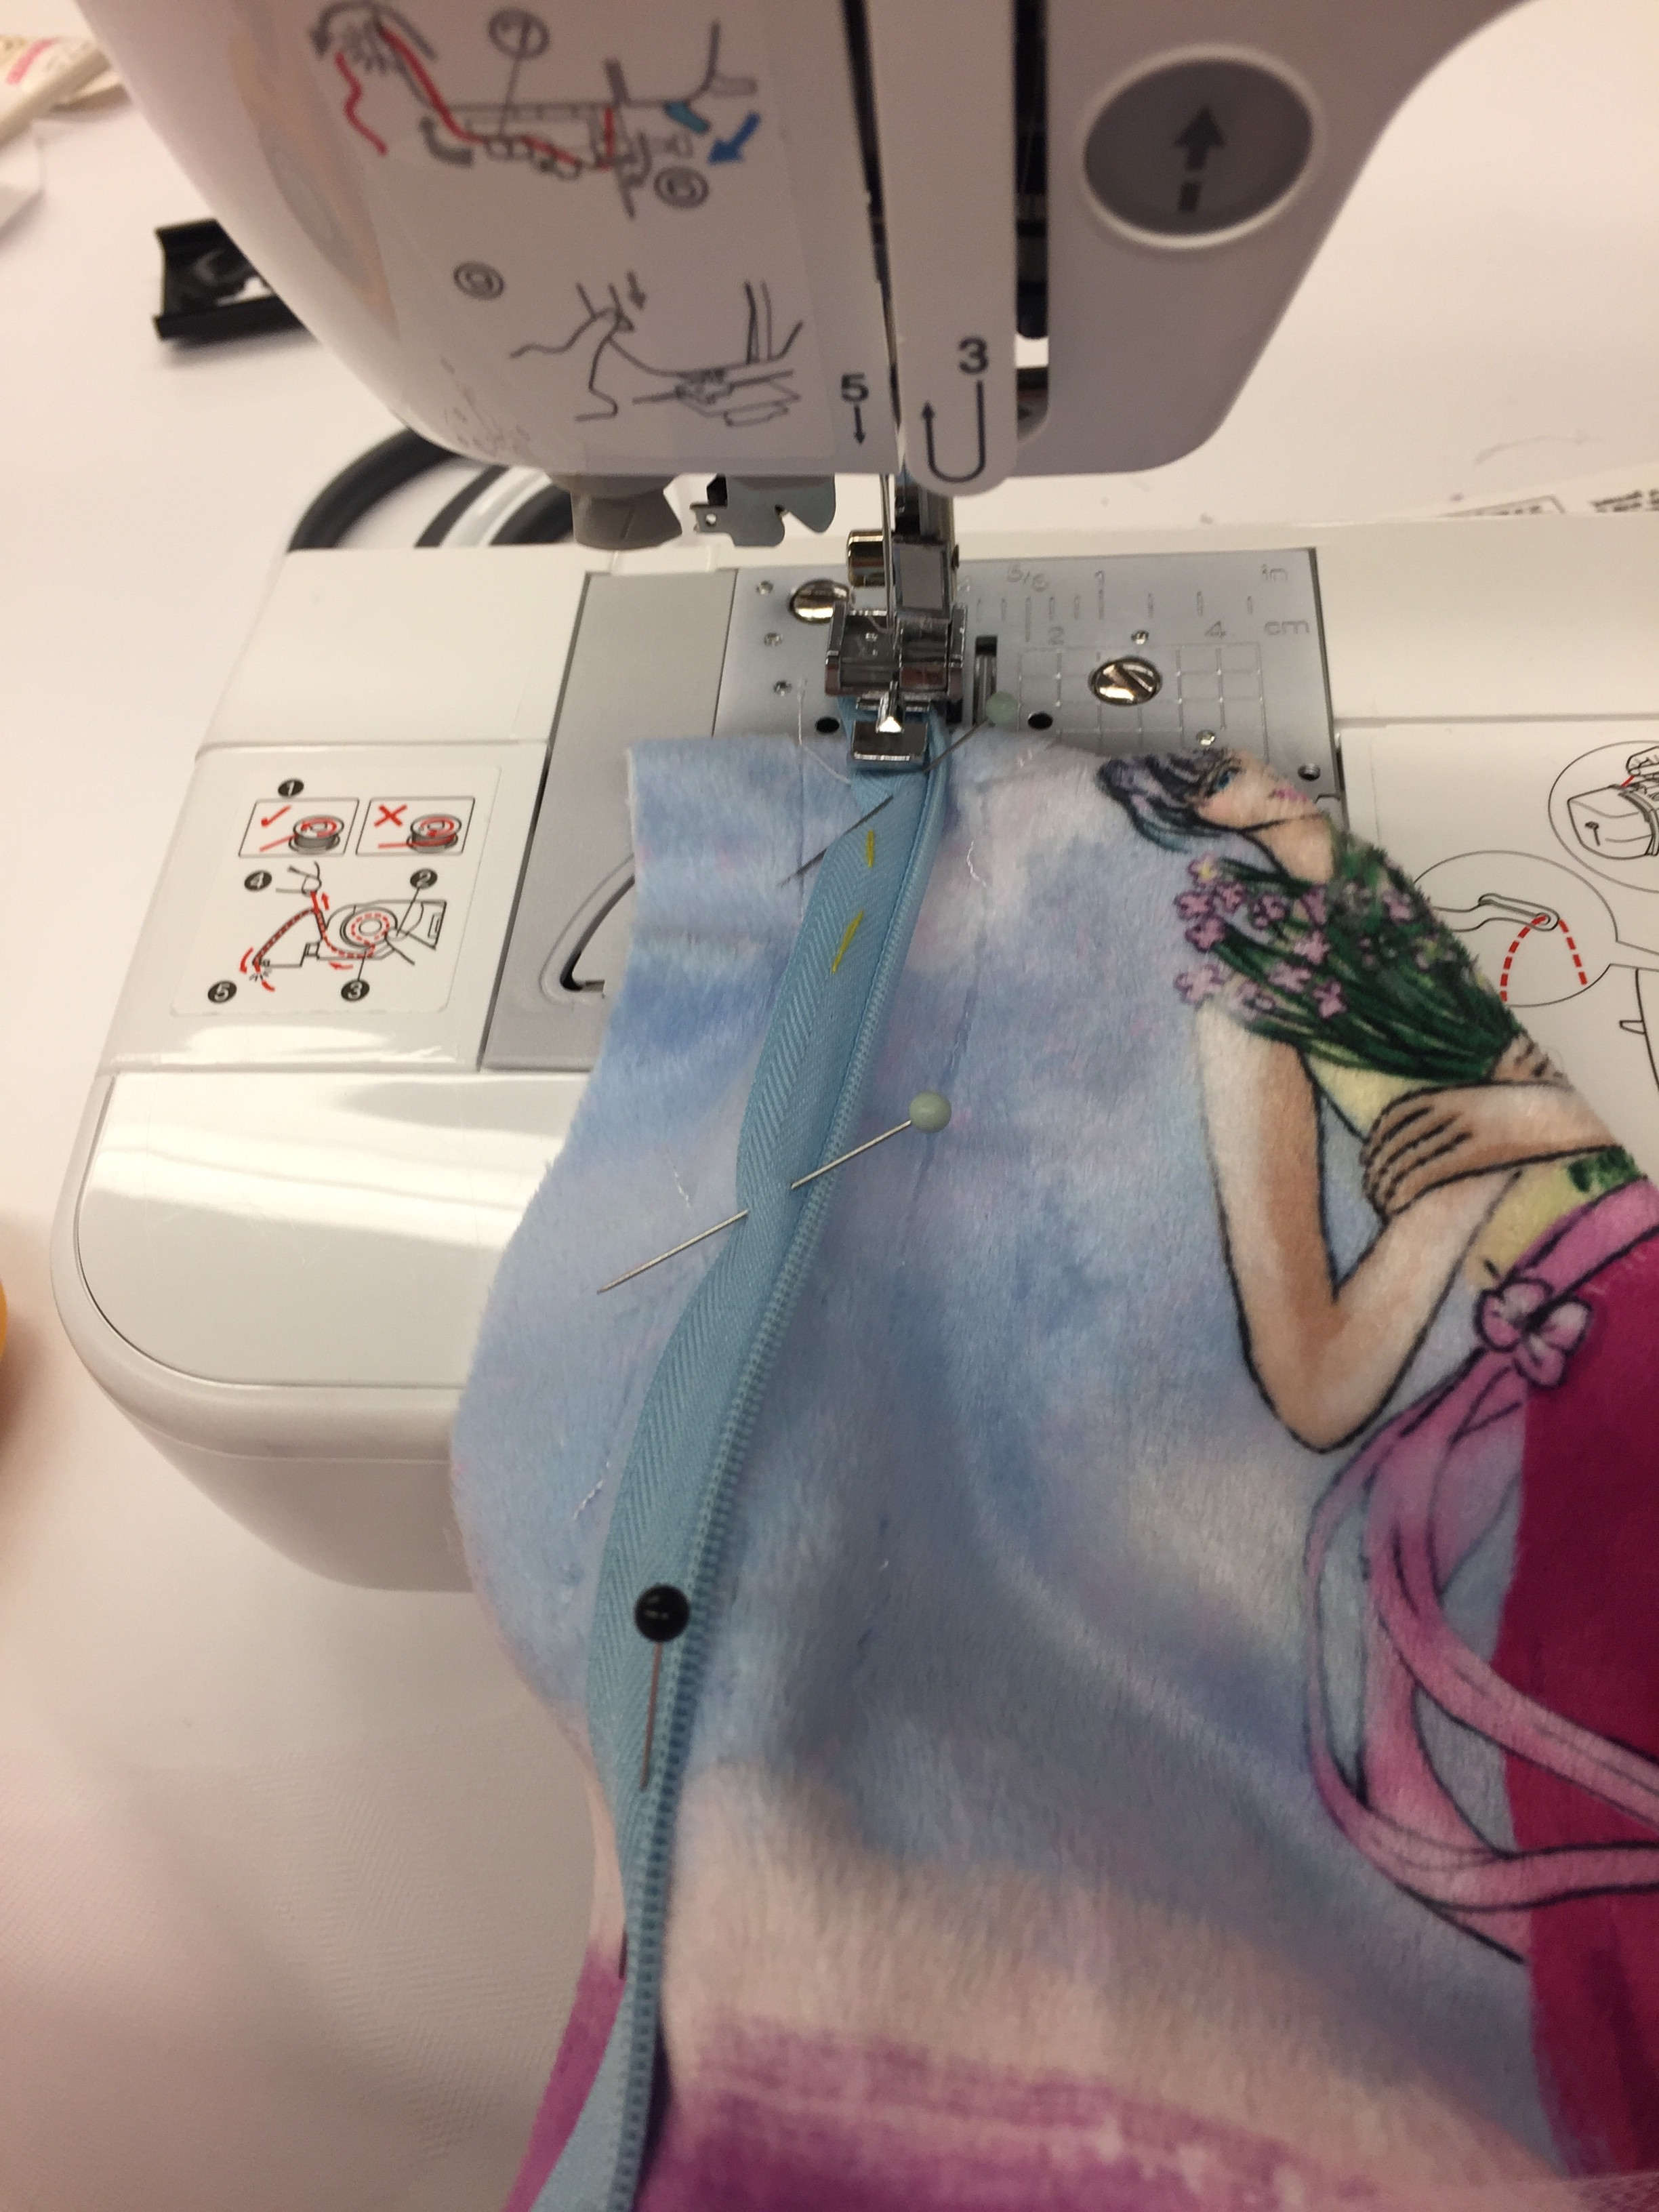
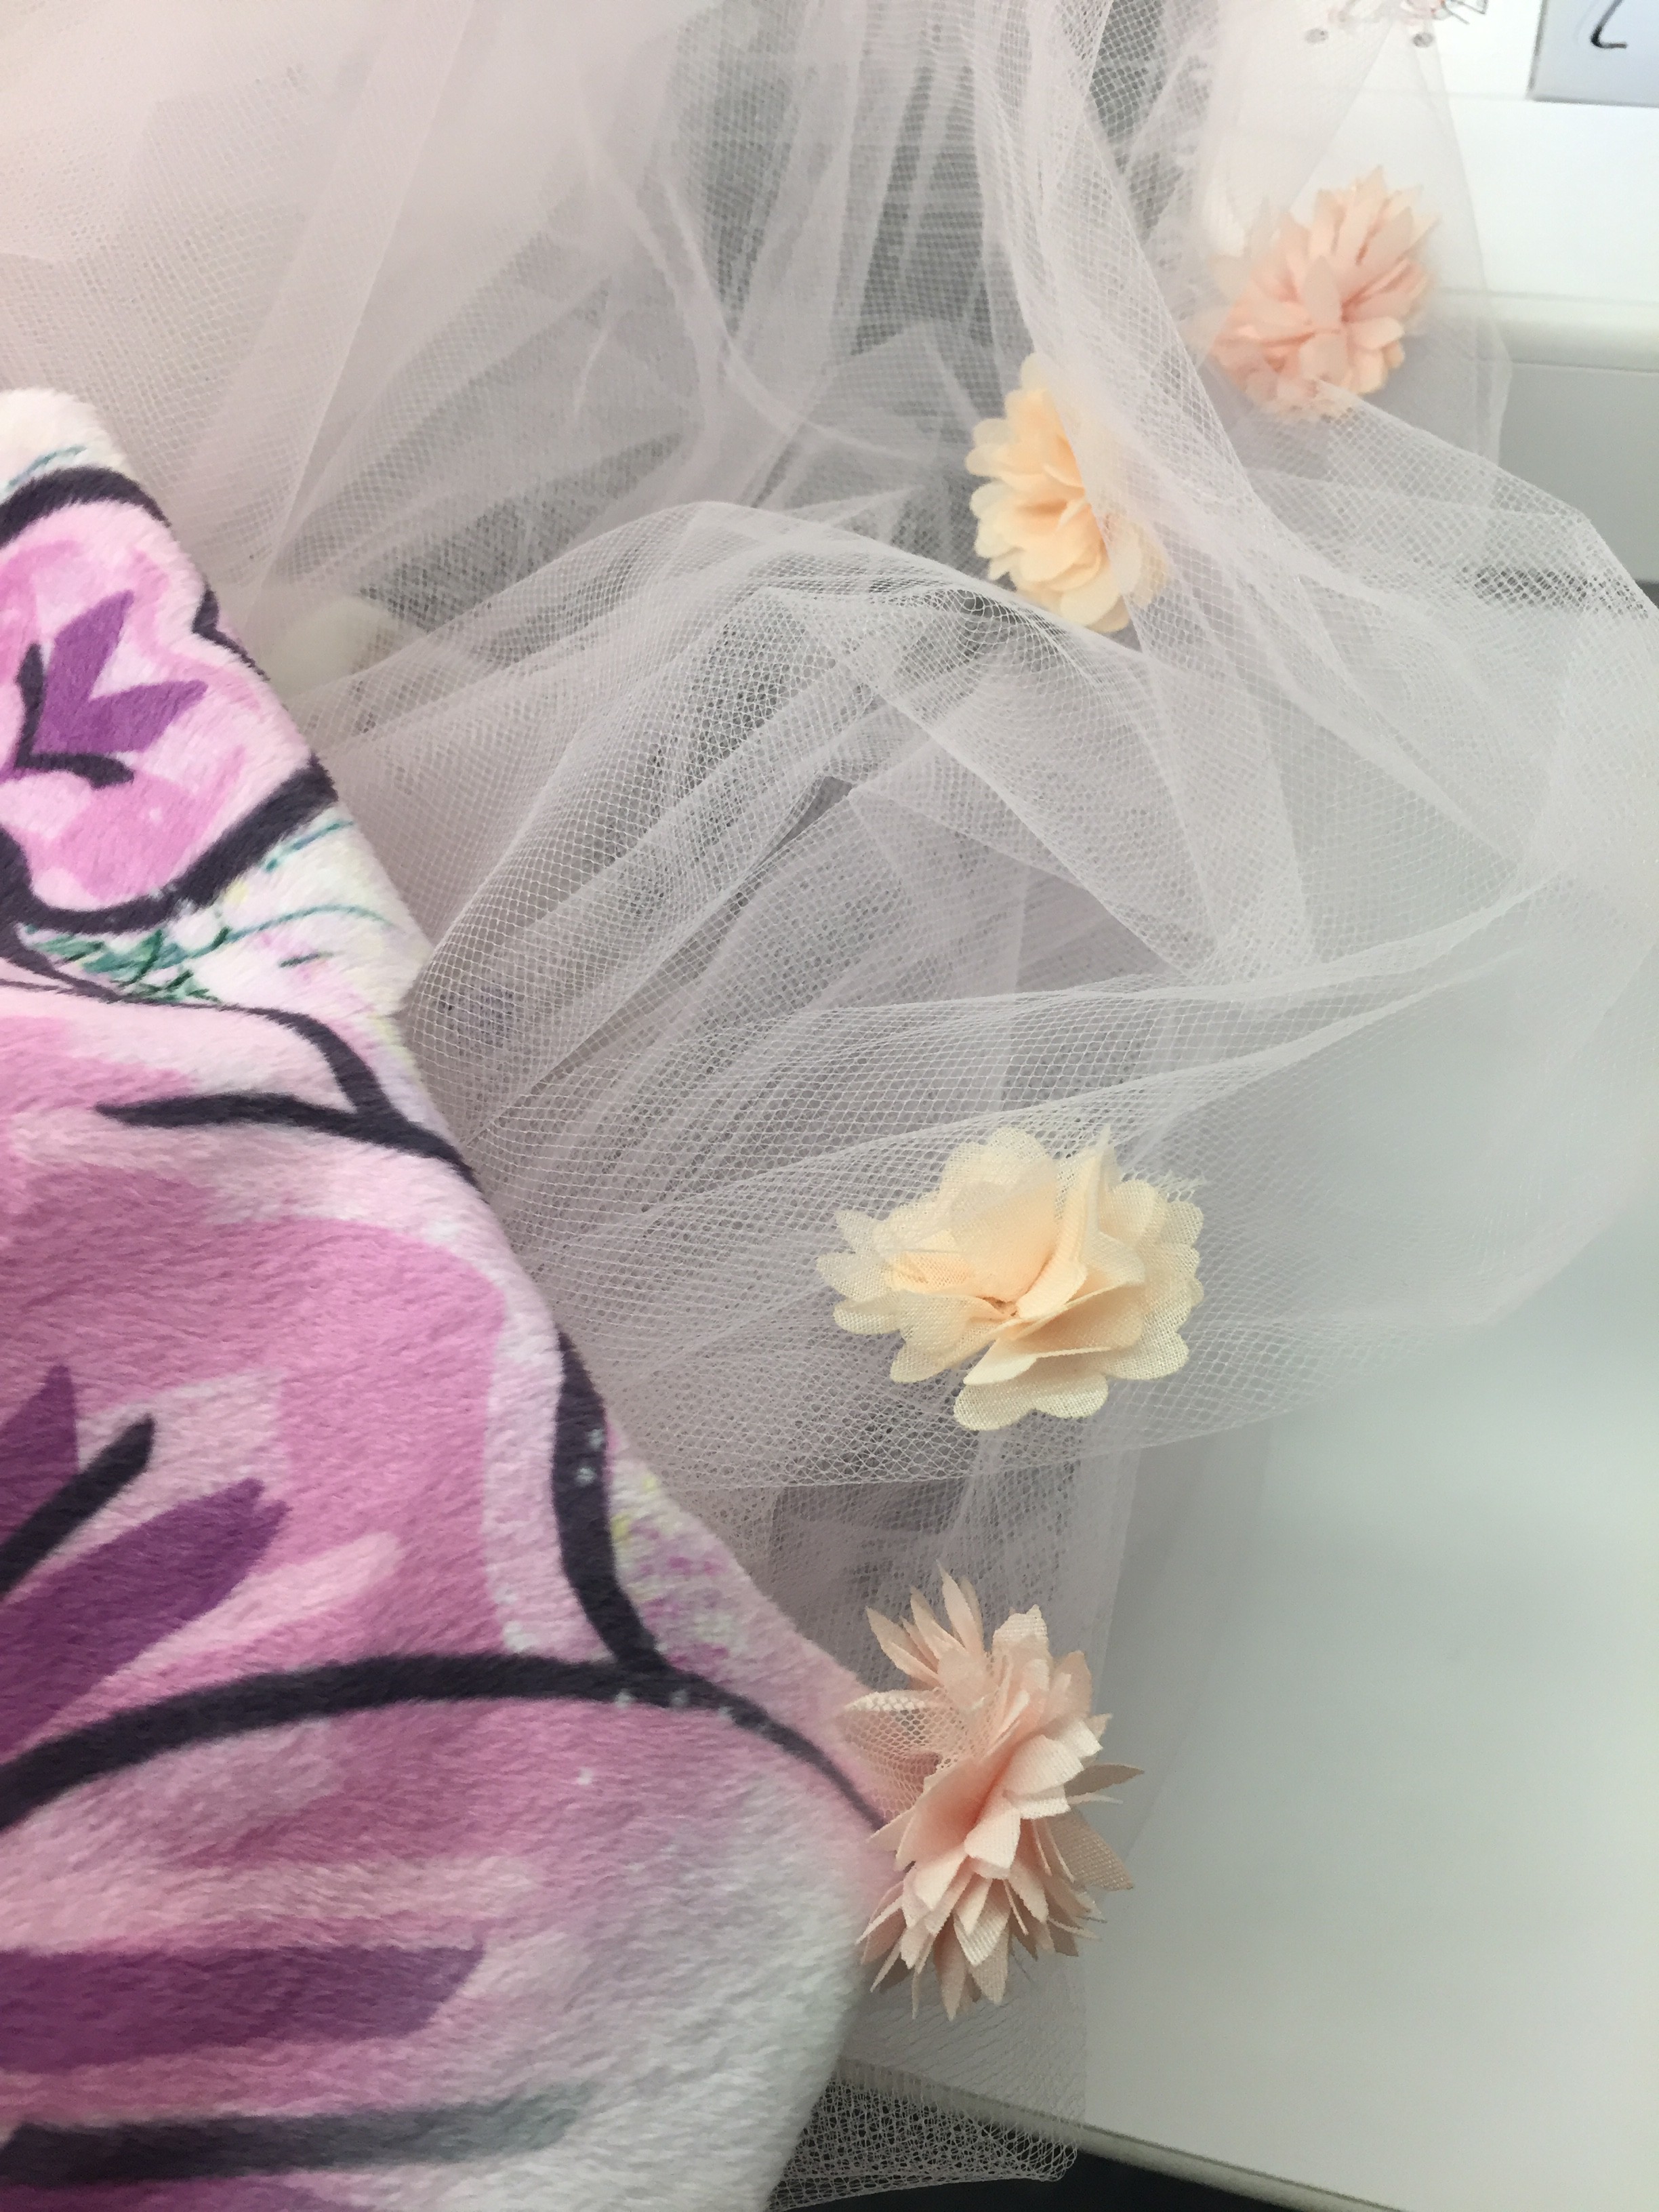
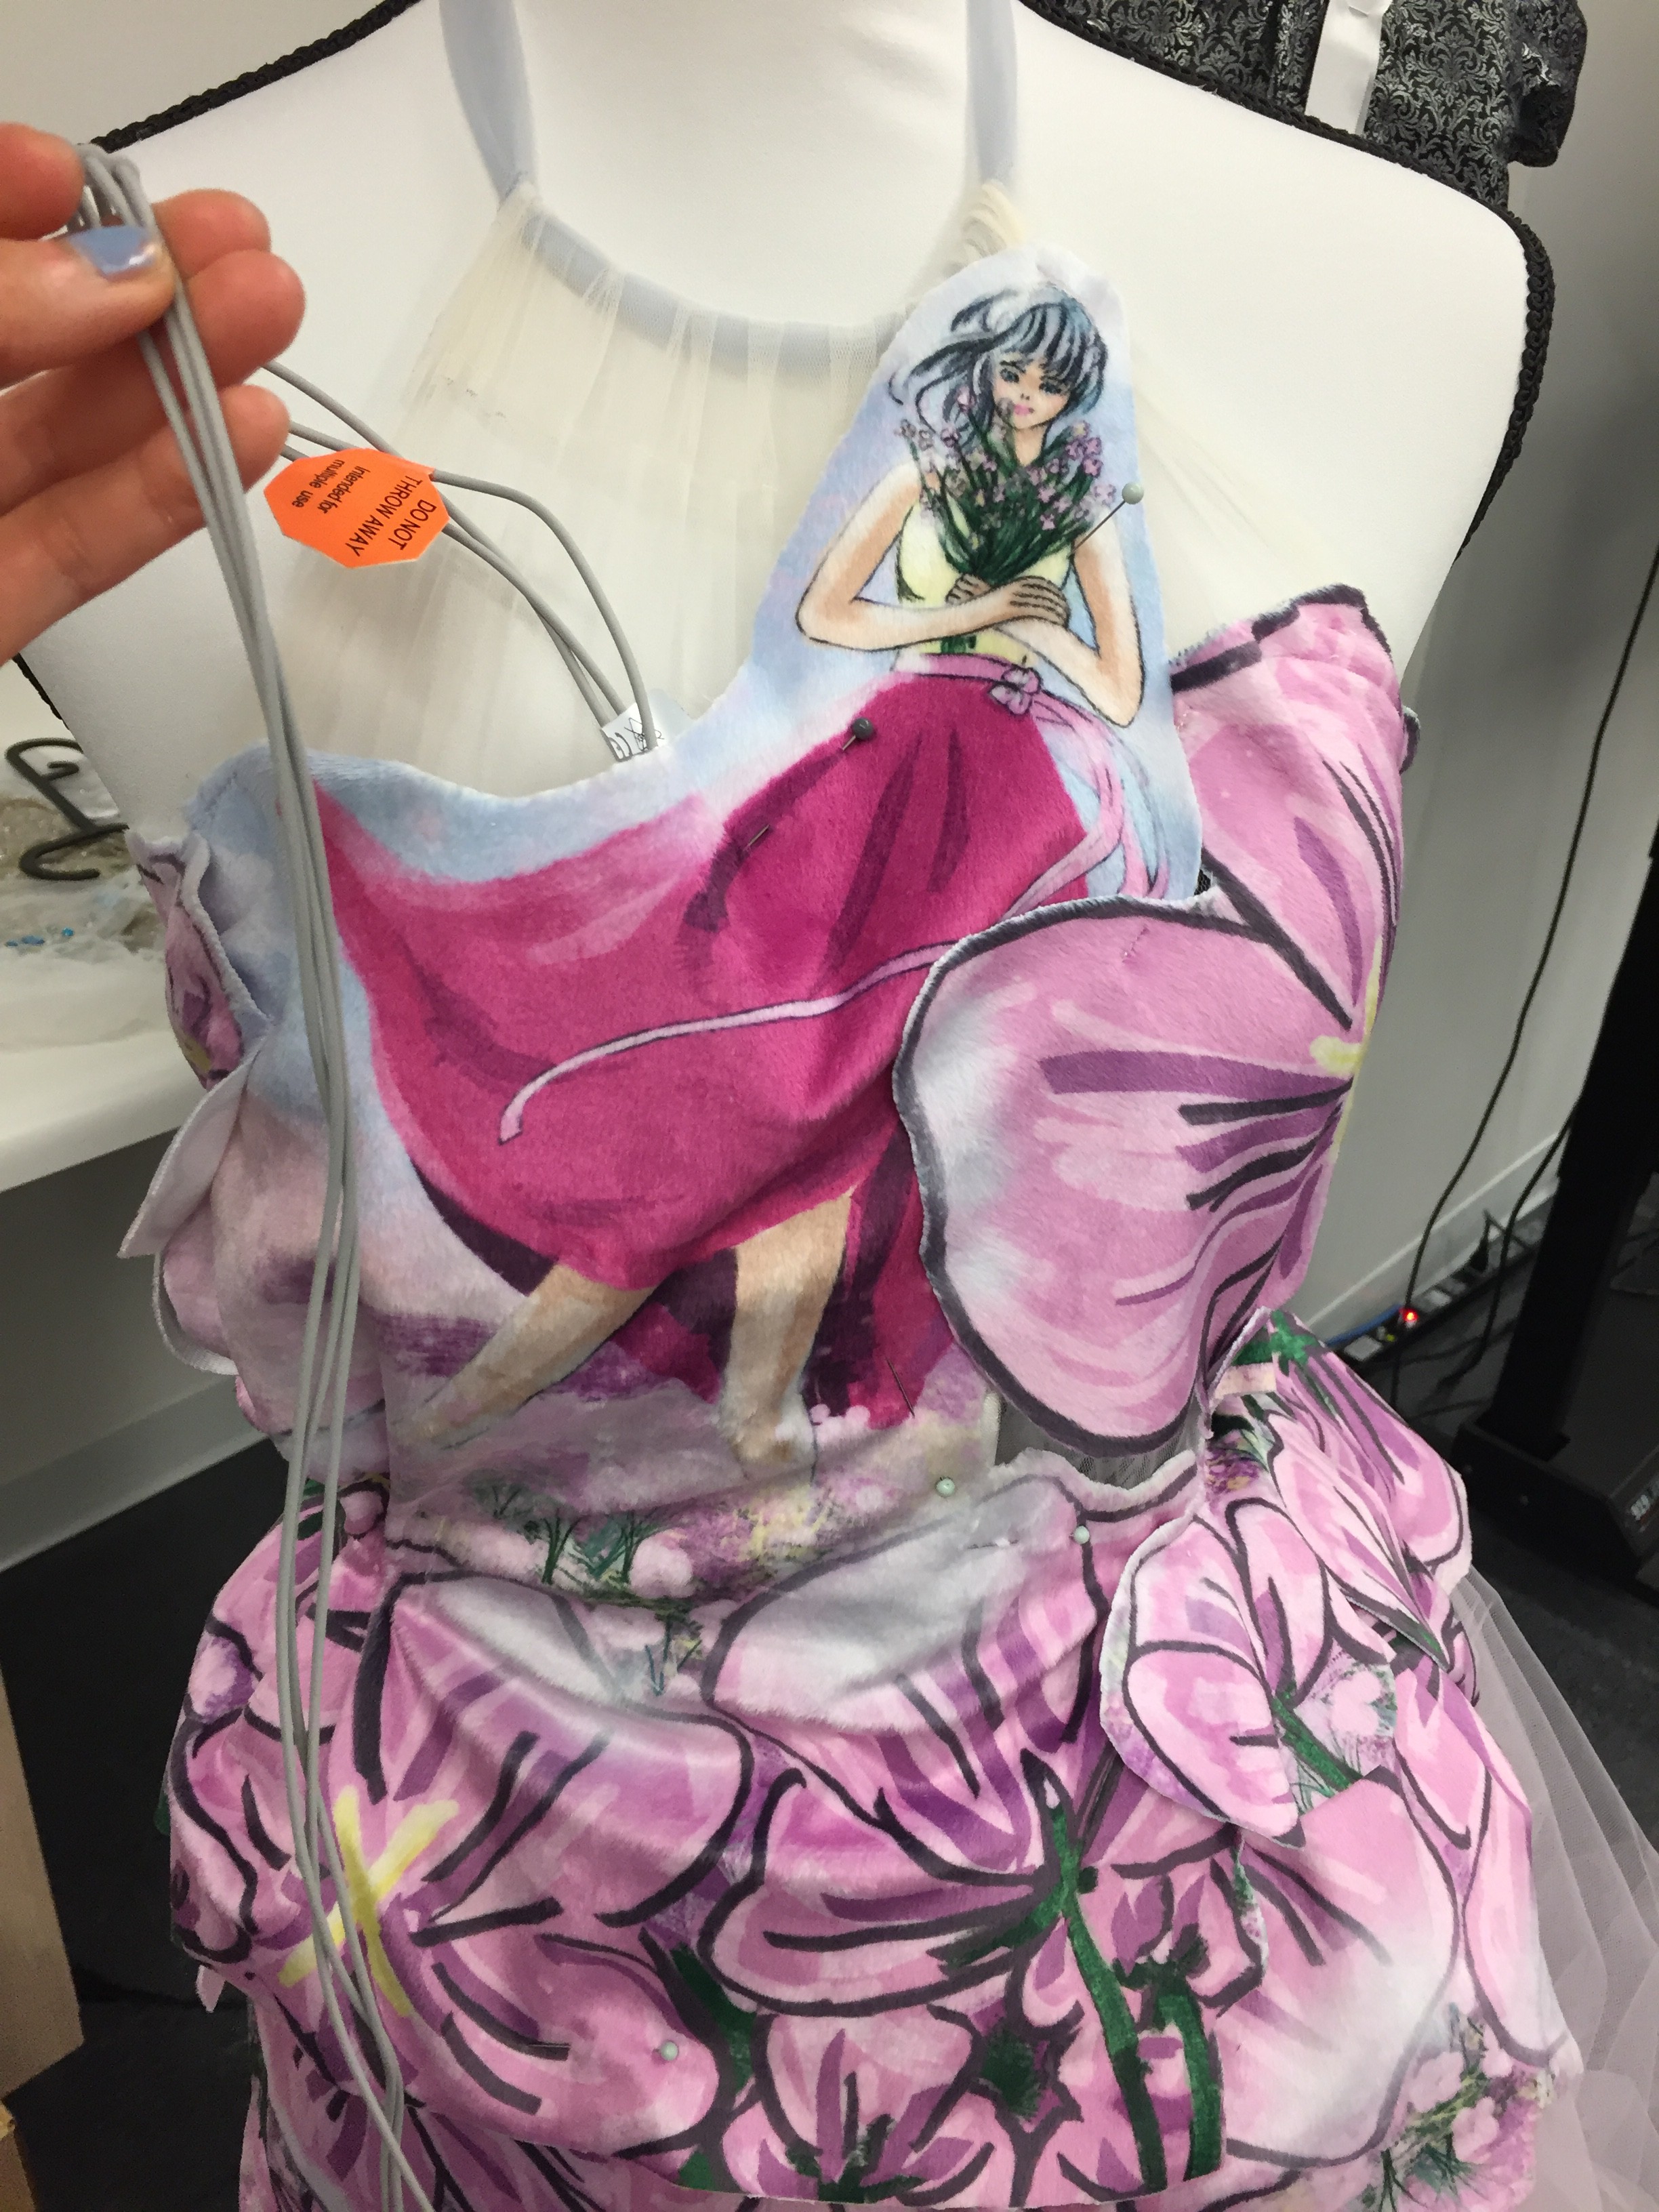
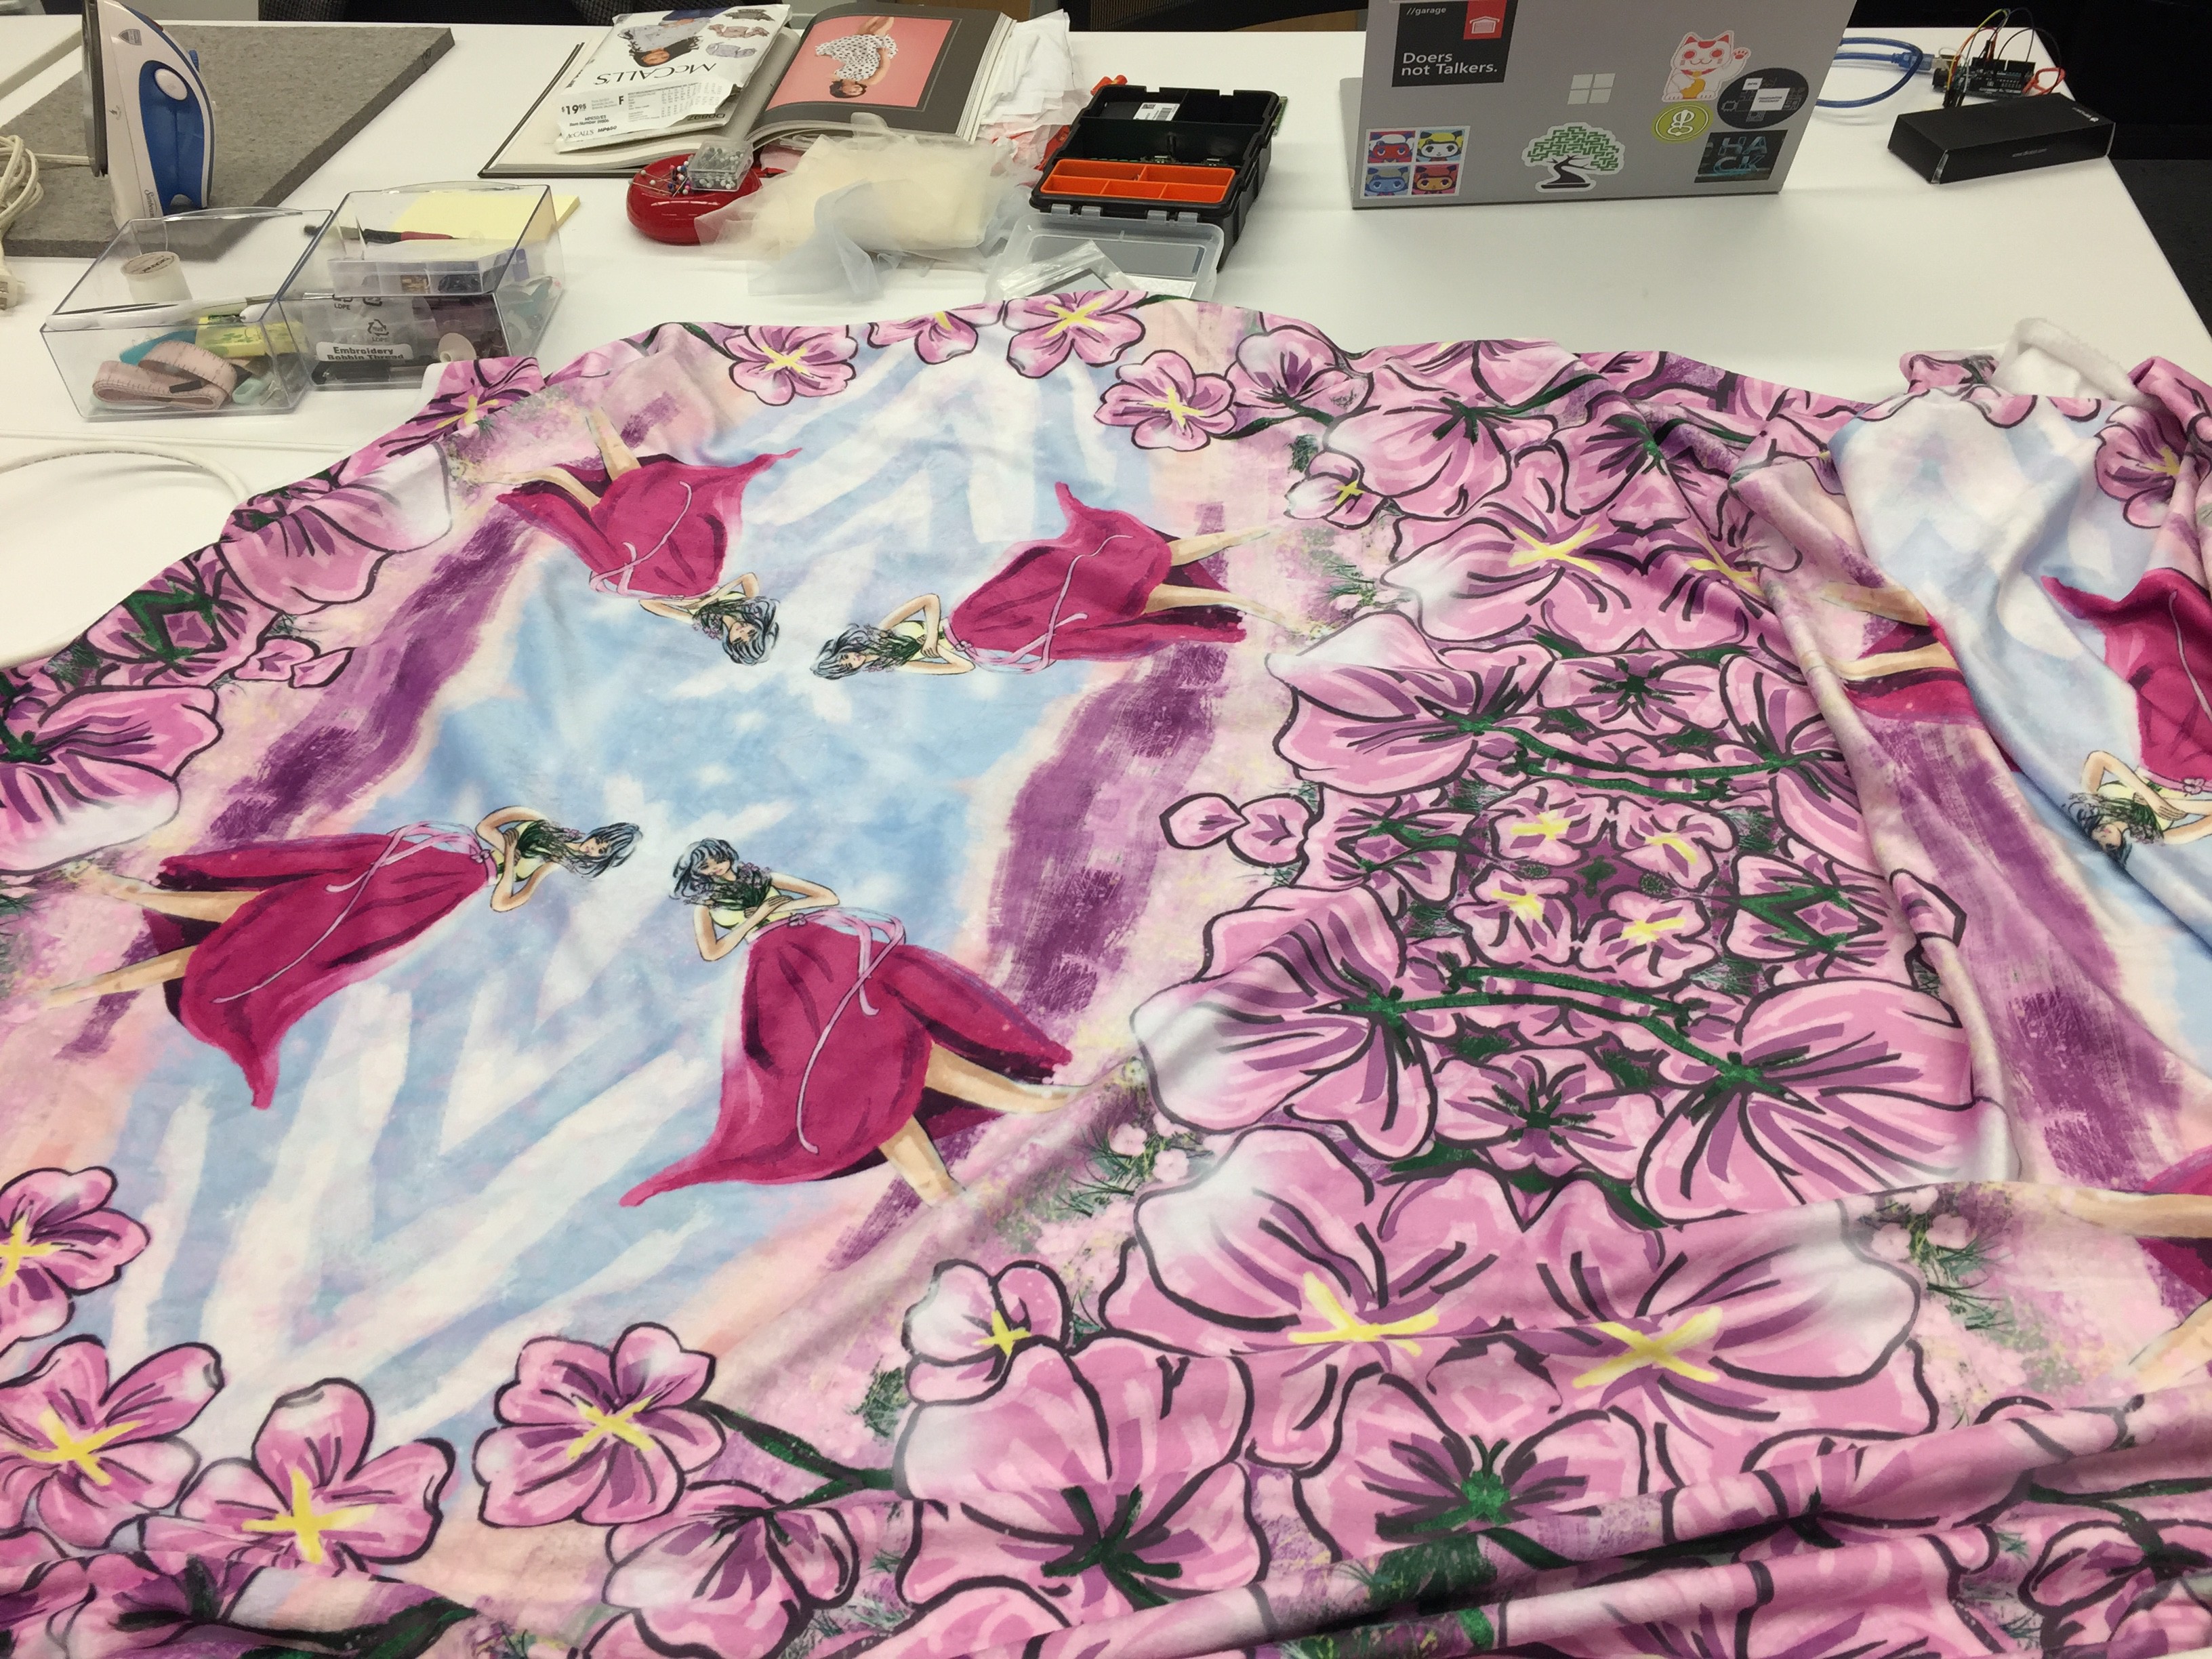
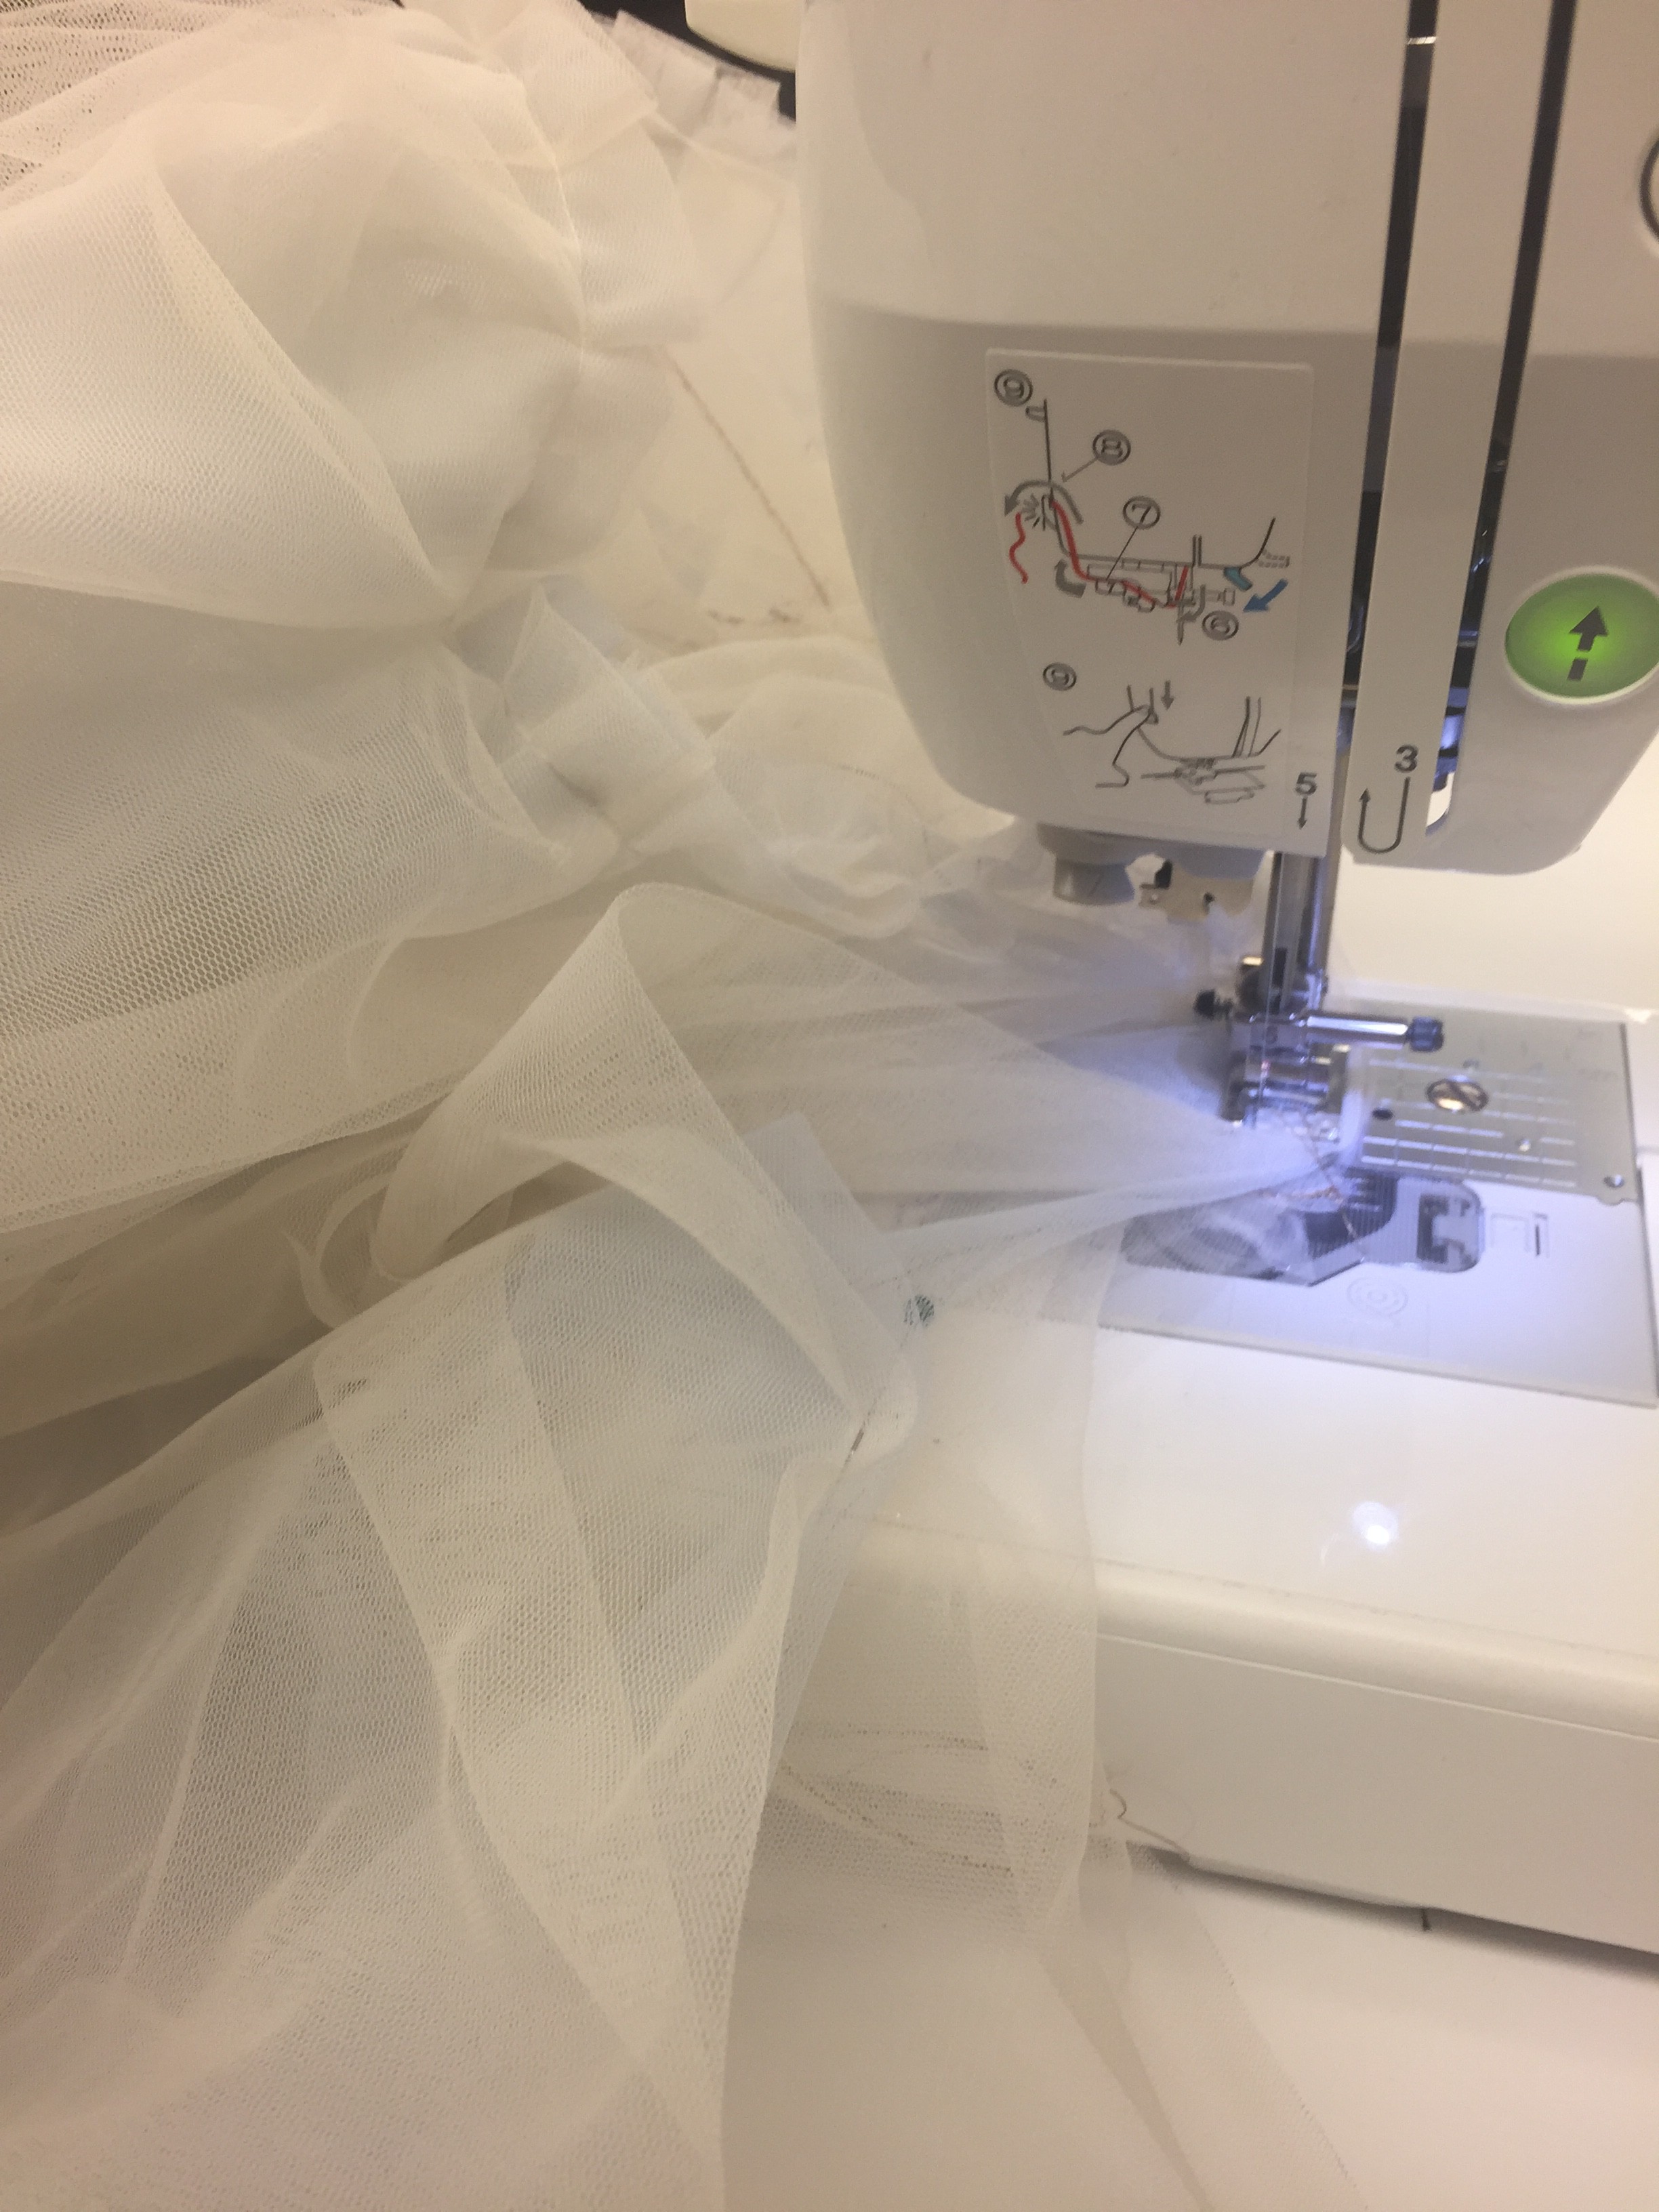
 Now I need to design the placement of the graphics. I decided to cut the flowers and human figure out according to their shapes. Then stitch the parts together onto the tulle layer piece by piece.
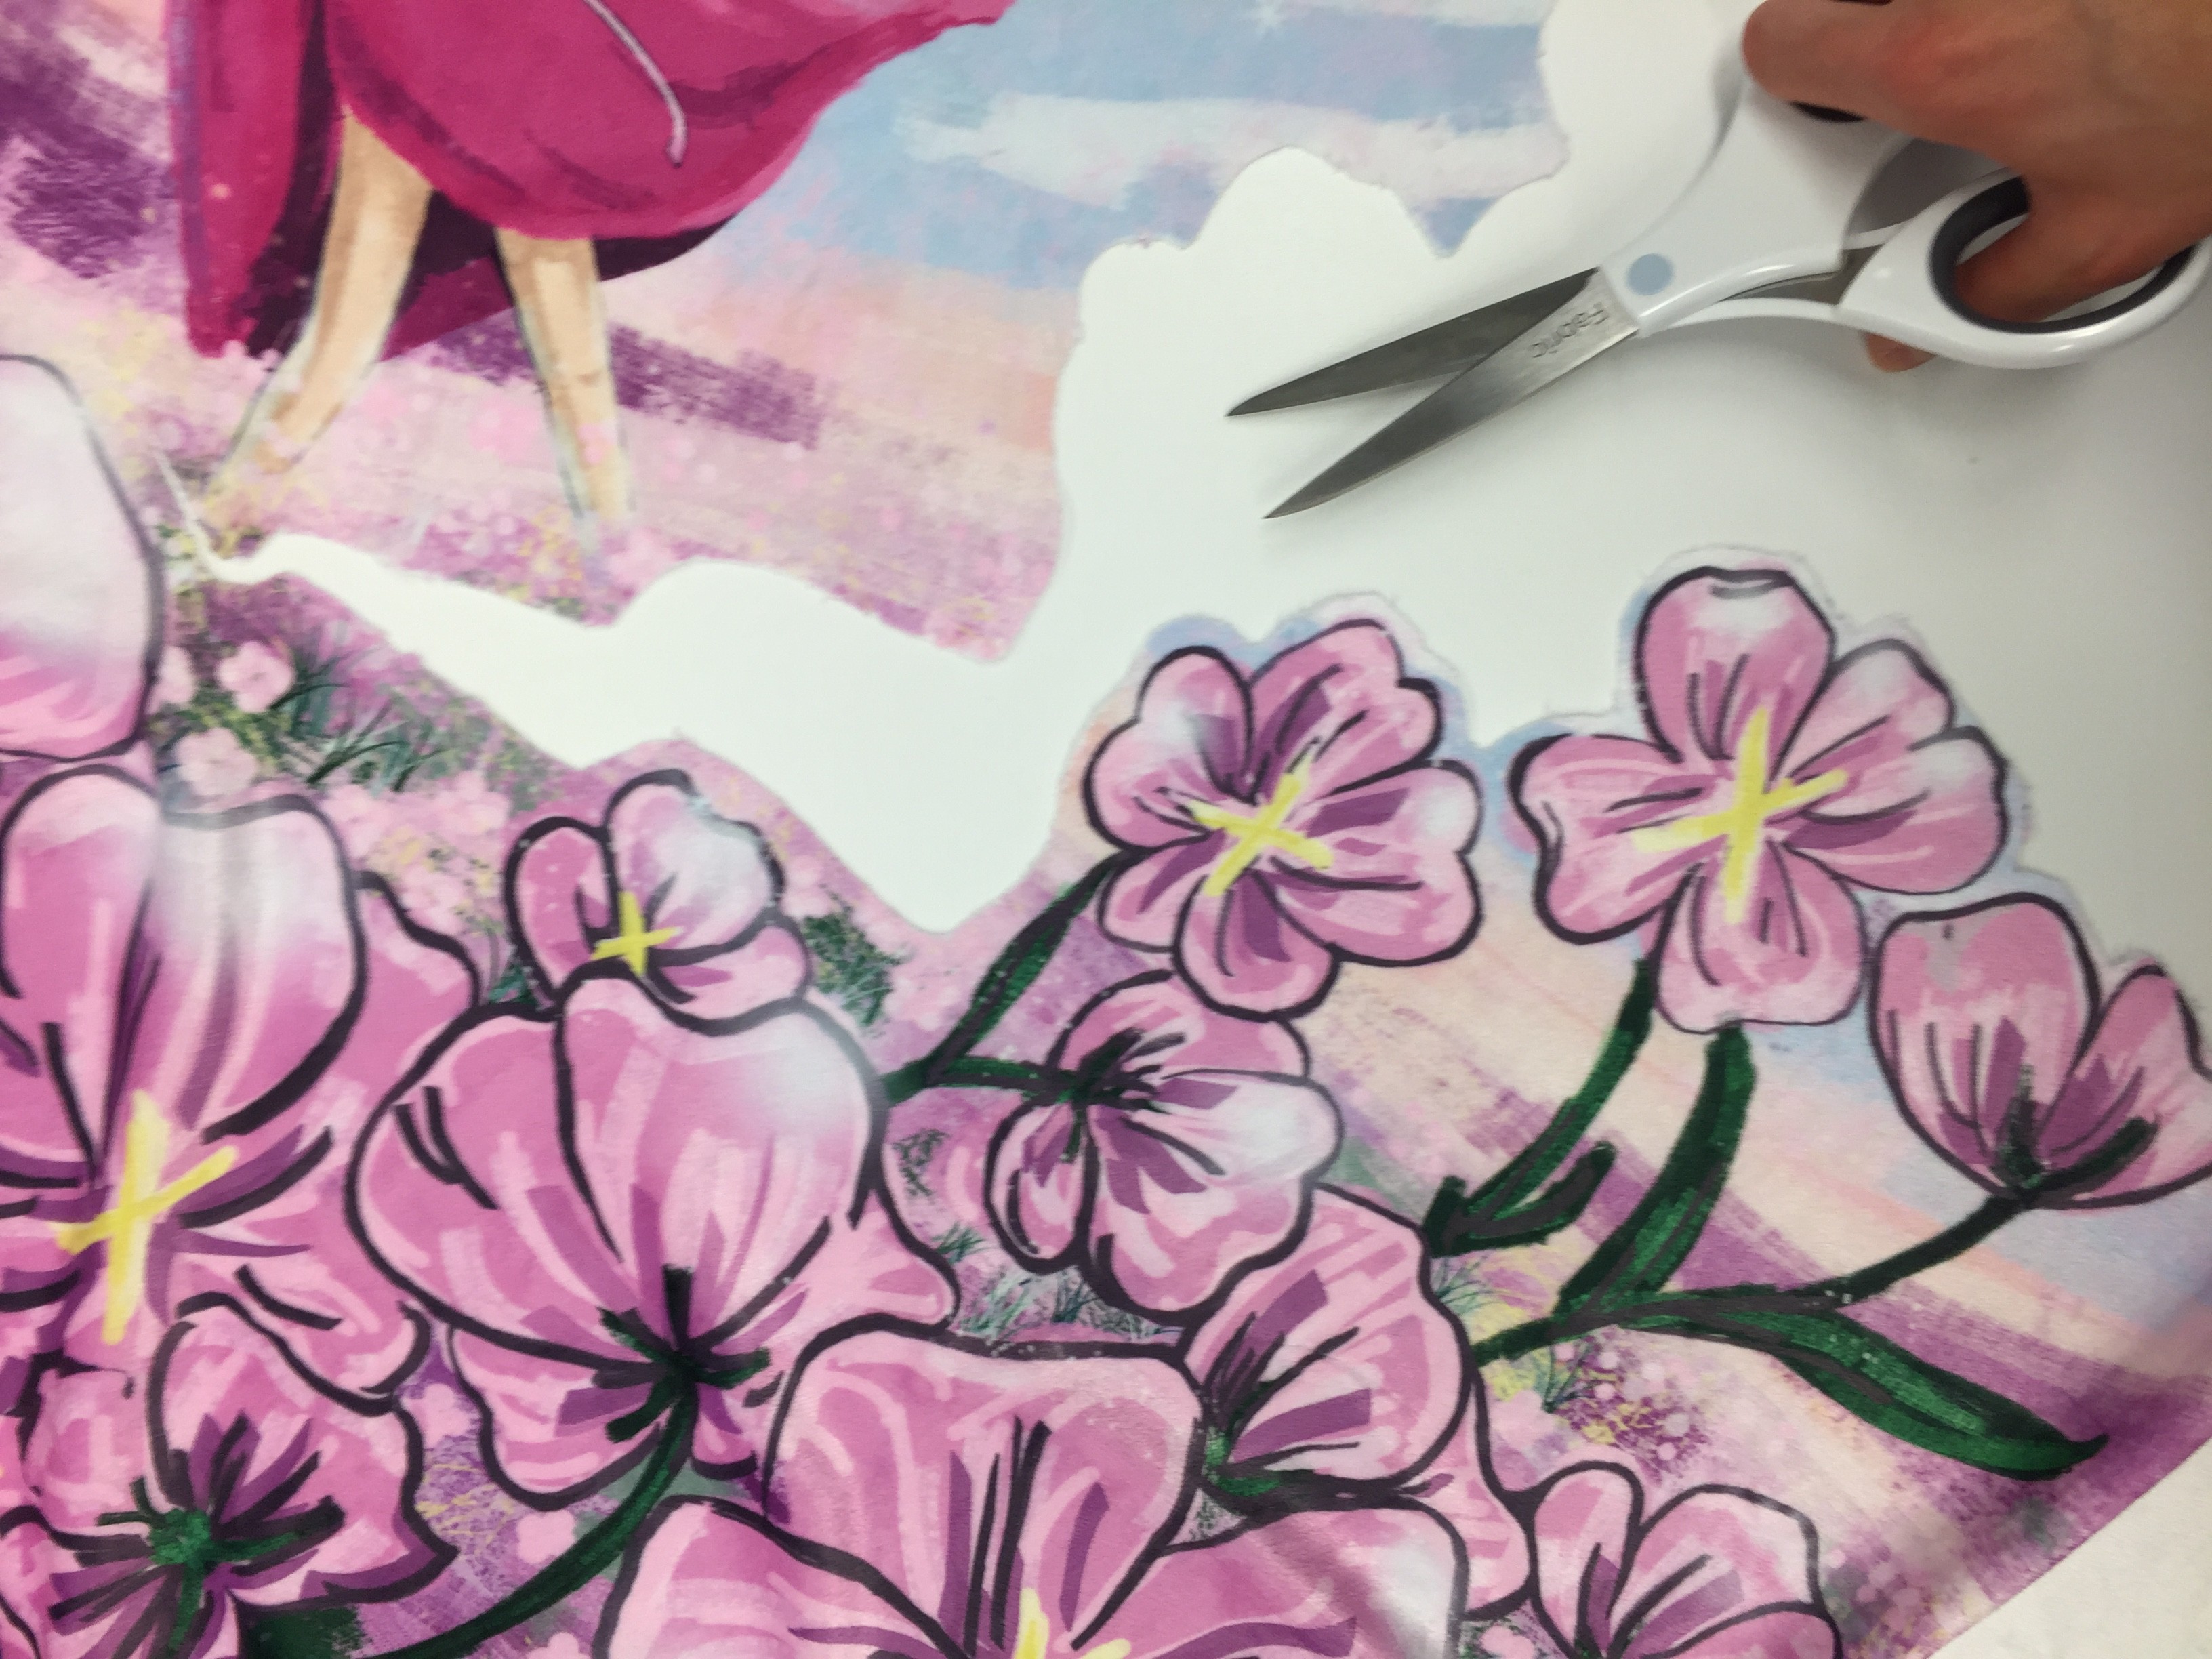
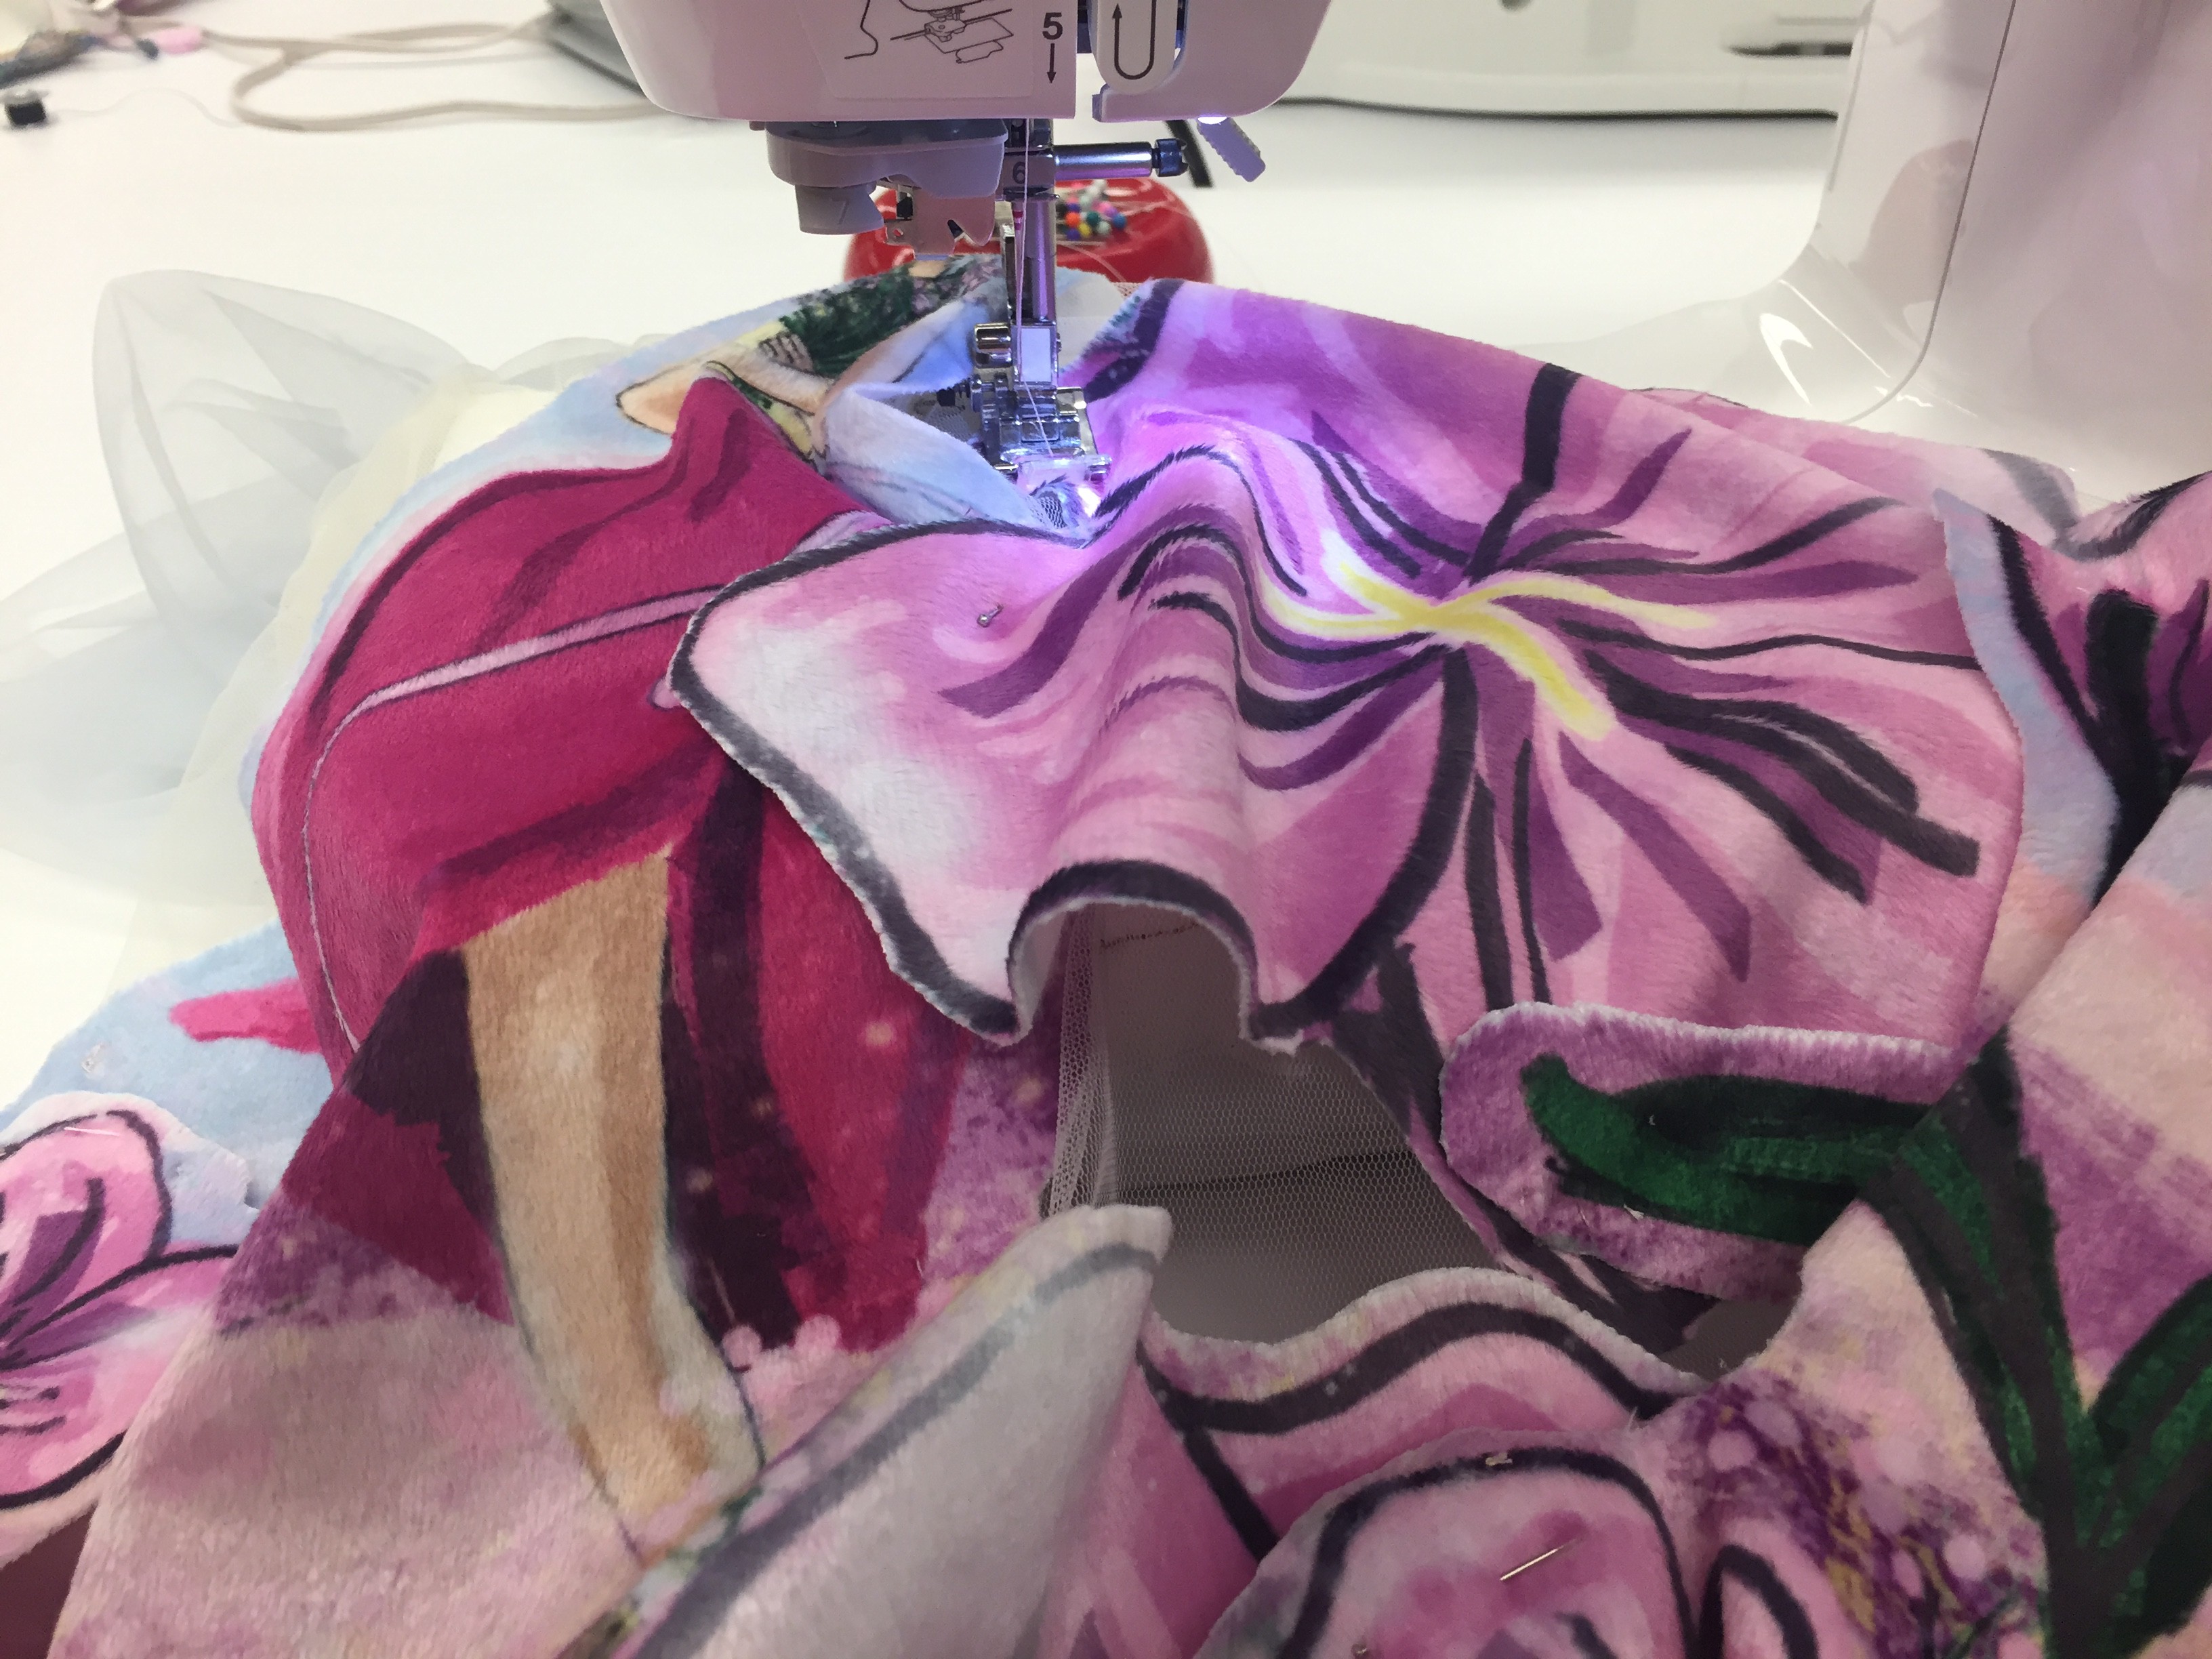 There's a lot of manual work.


 Coders Cafe
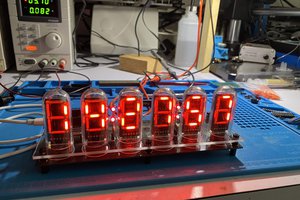
 Jay Hamlin
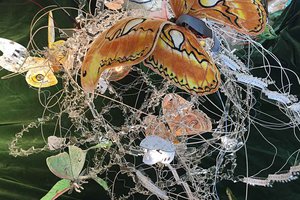
 Kelly Heaton
 rrace001
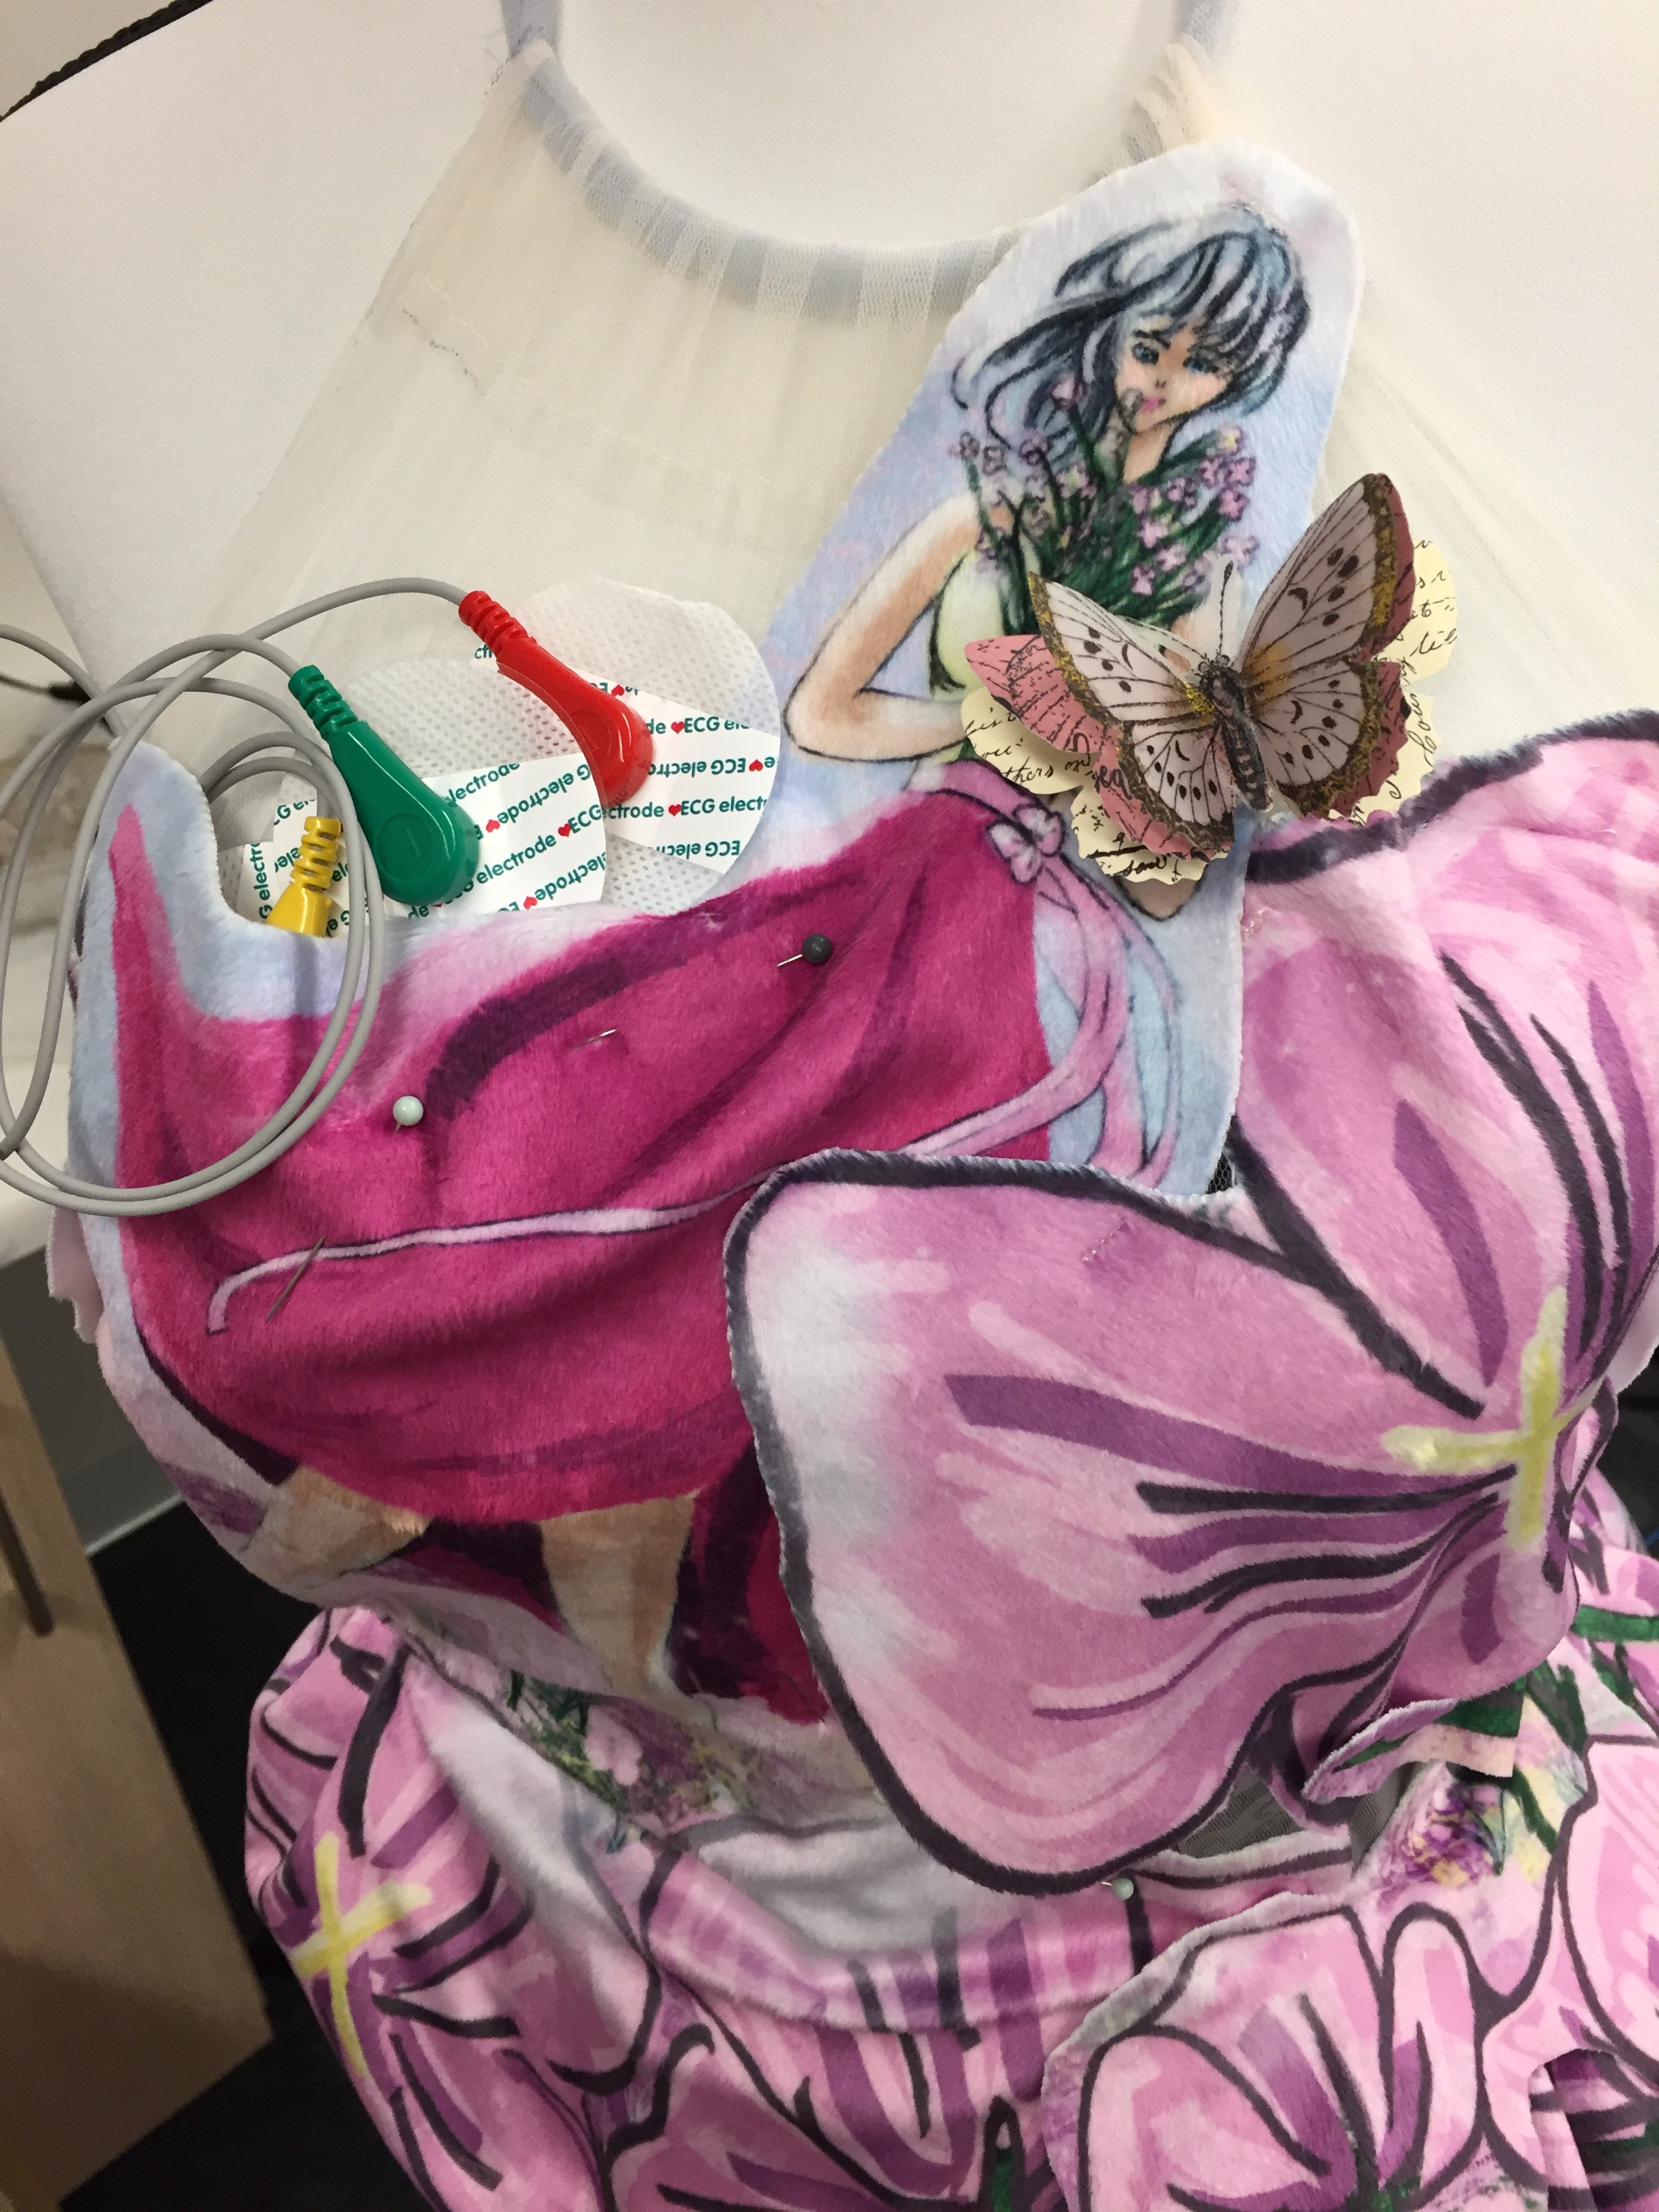
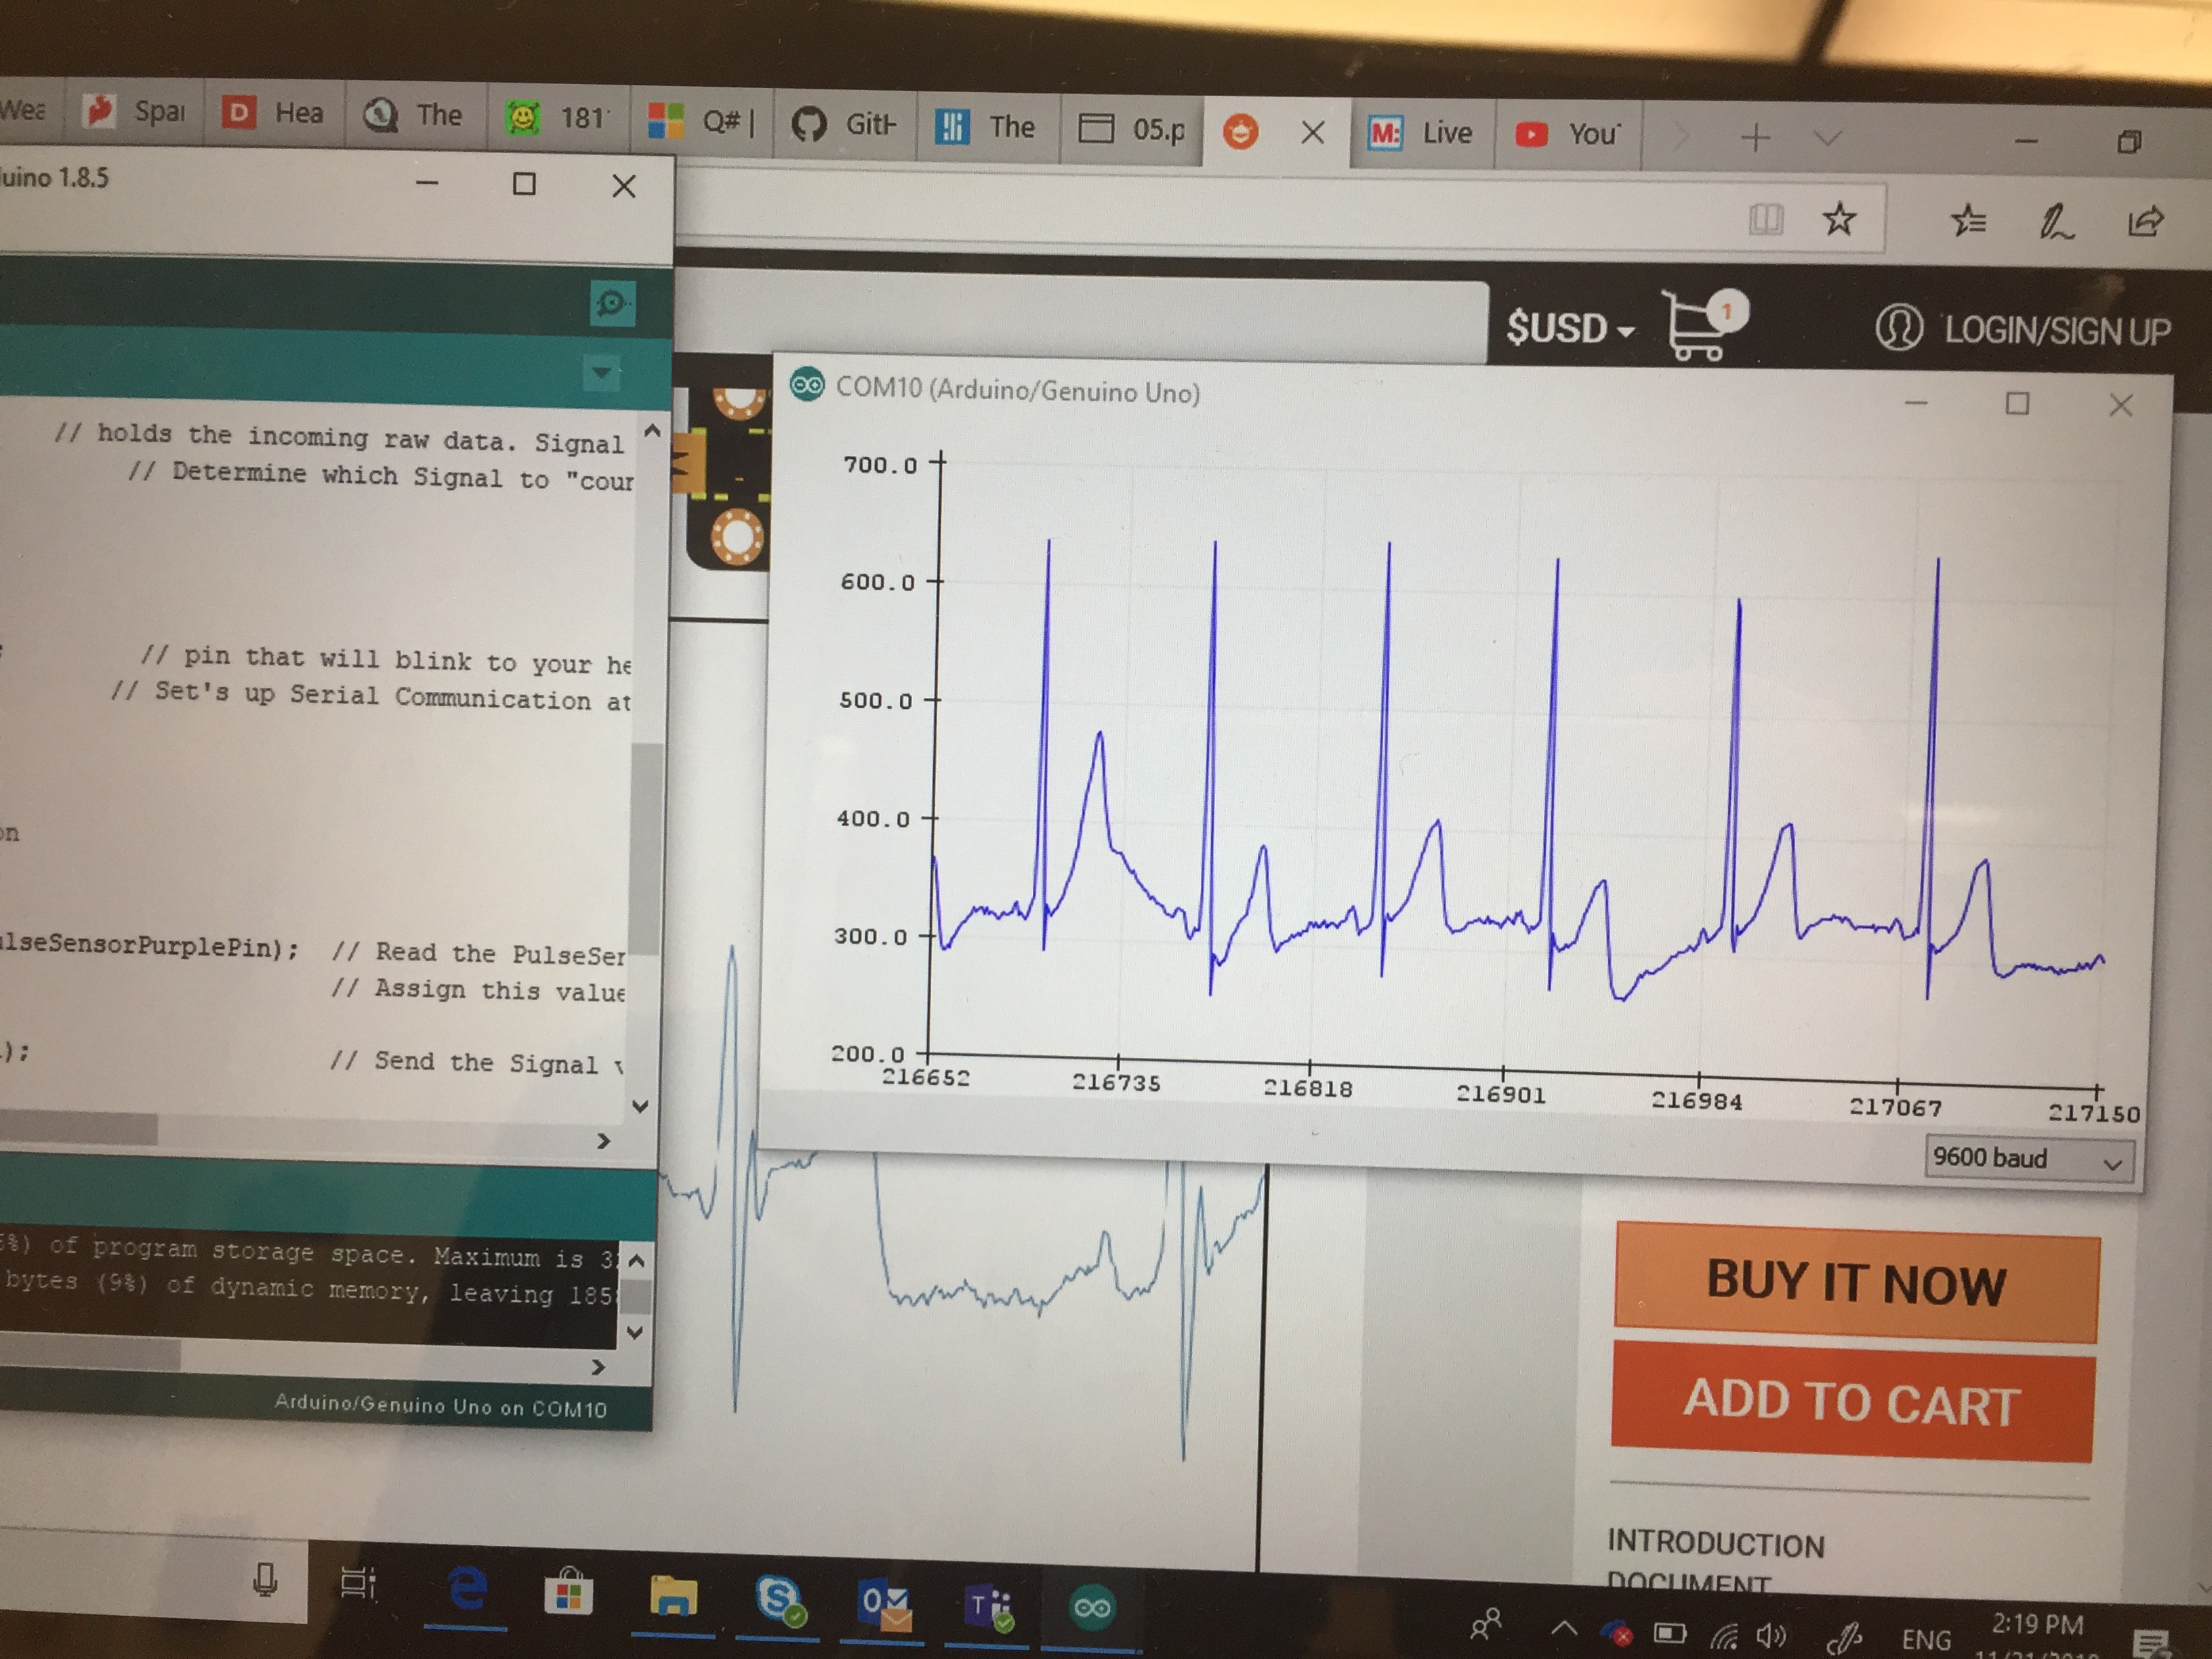
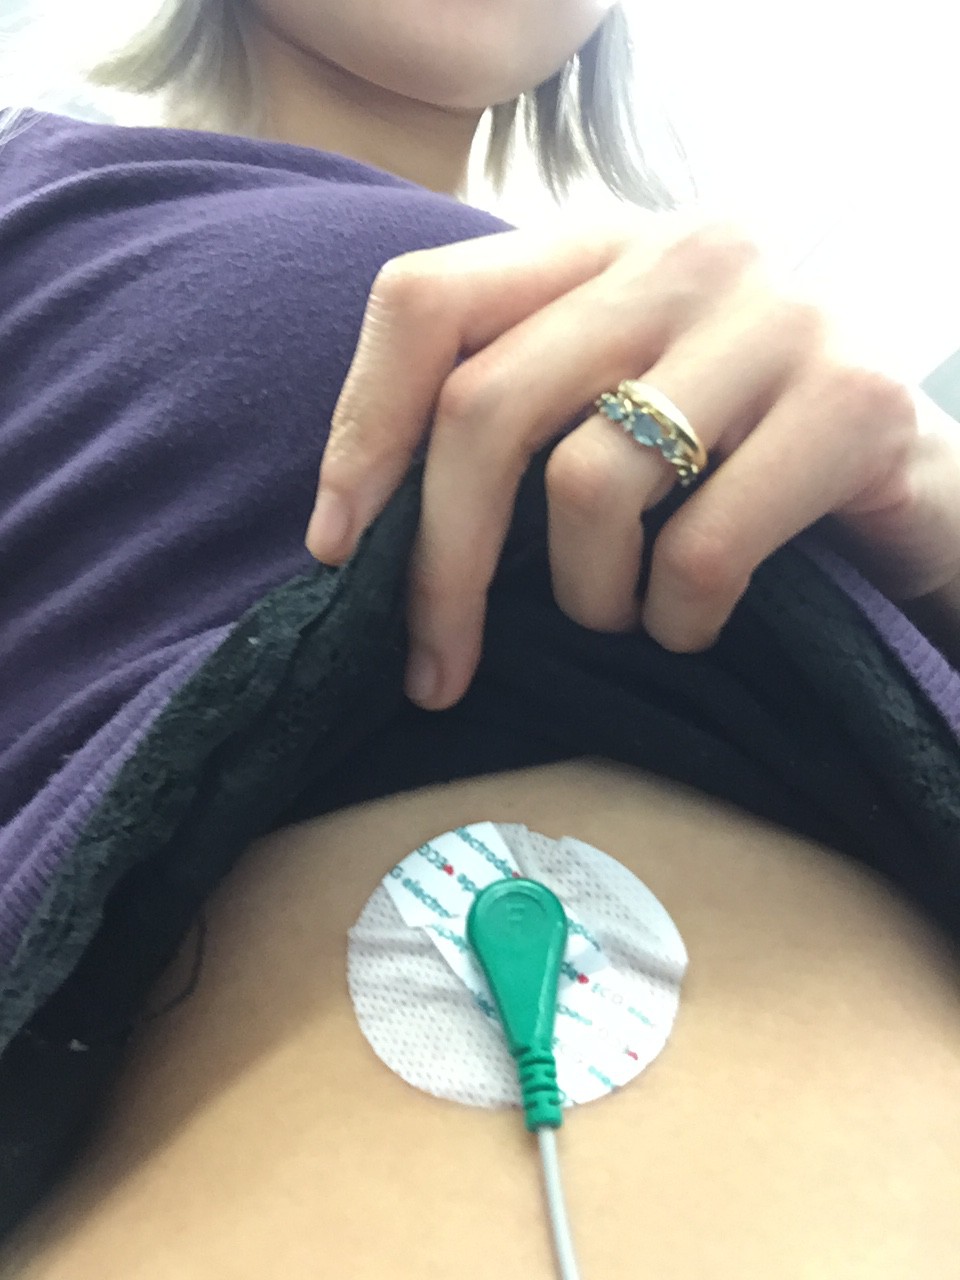
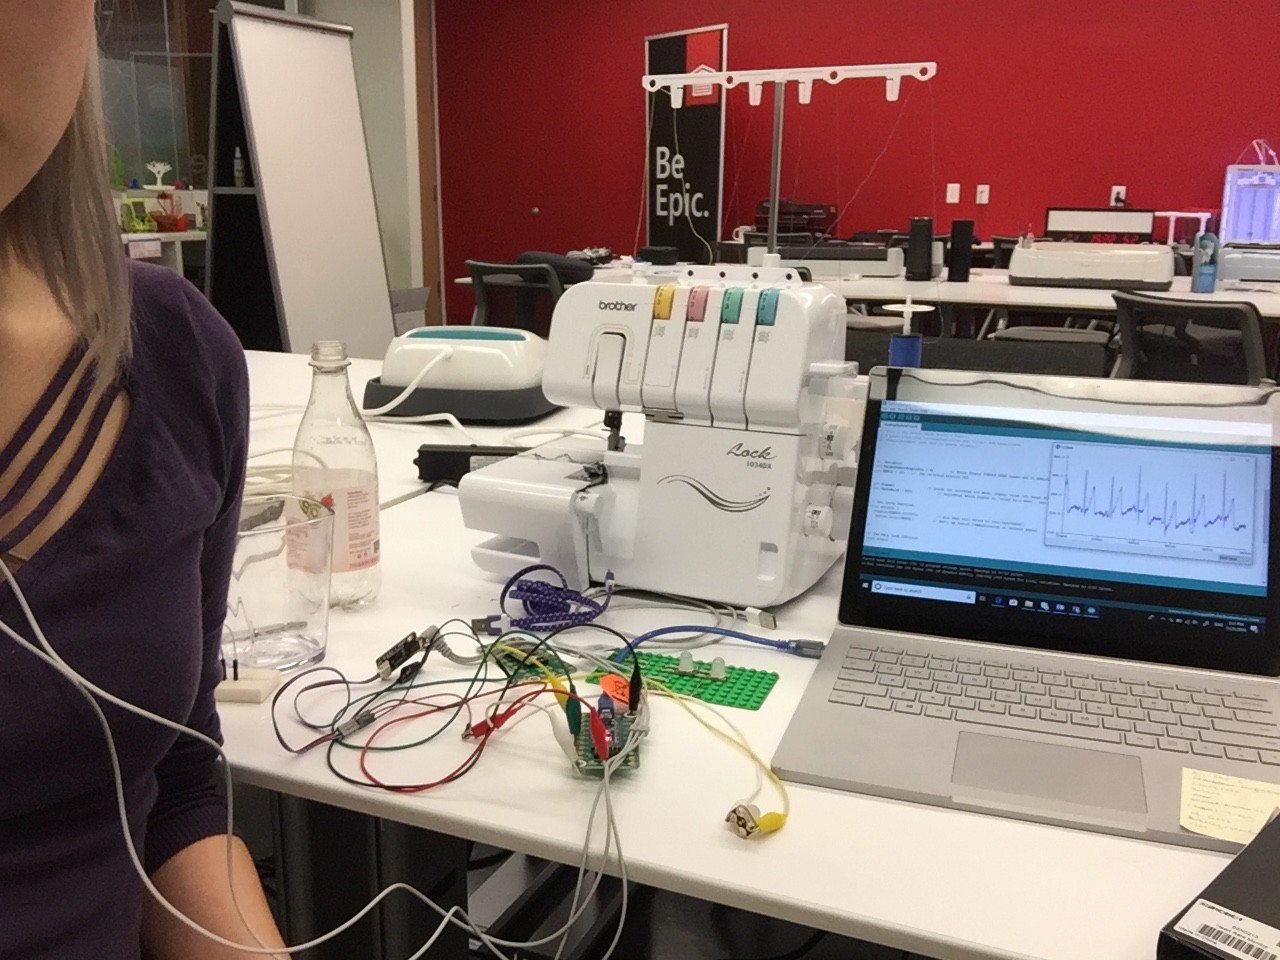
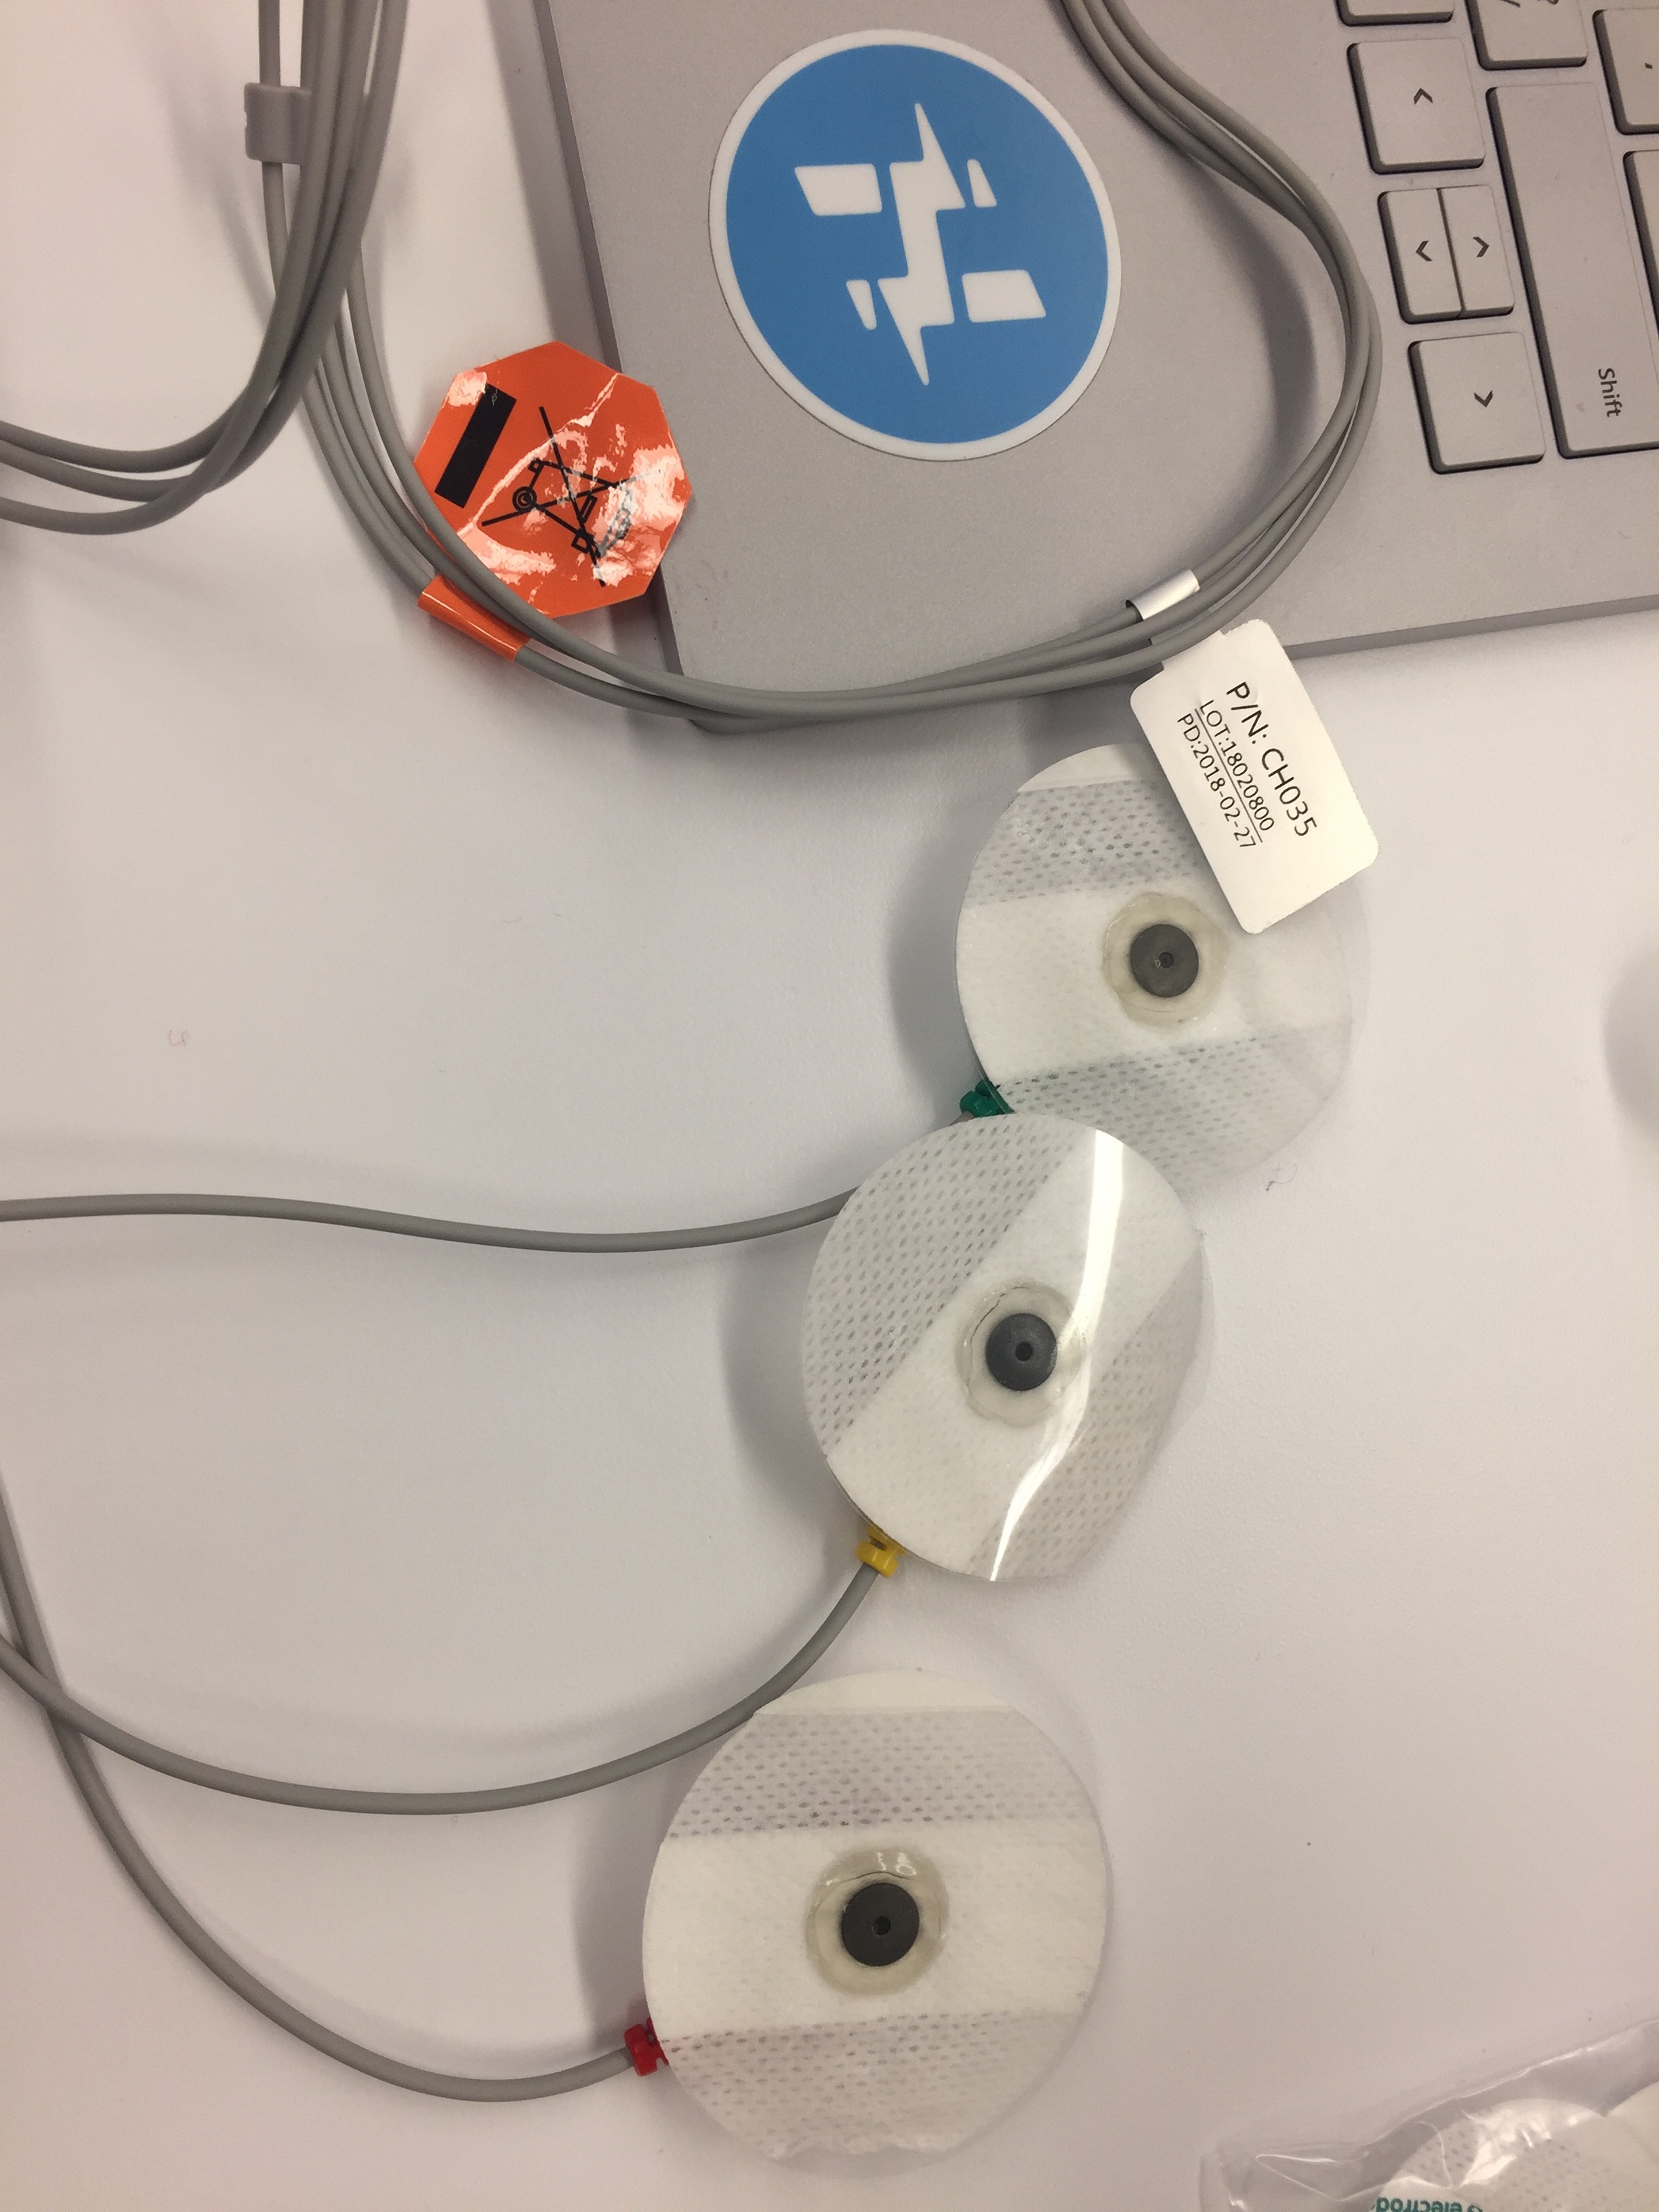
Are you using ECG leads to make connections? That's a really cool trick!