 Miroslav Zuzelka
I gathered all parts, assembled PCB and I did buy new connectors for heater elements so I can start with final assembly.
Because oven should be mobile and independent, I designed power connector on PCB so I need something which will convert main power to 5V which I need for controller. After some thinking about what I can use and how can I attach it to main body, I decided that I will sacrifice one of my USB chargers for my phone. I cut it in half and soldered 2 wires on each side (main power & 5V). I attached PCB to printed front panel with M3x5 screws and SSR with M5x10 screws.
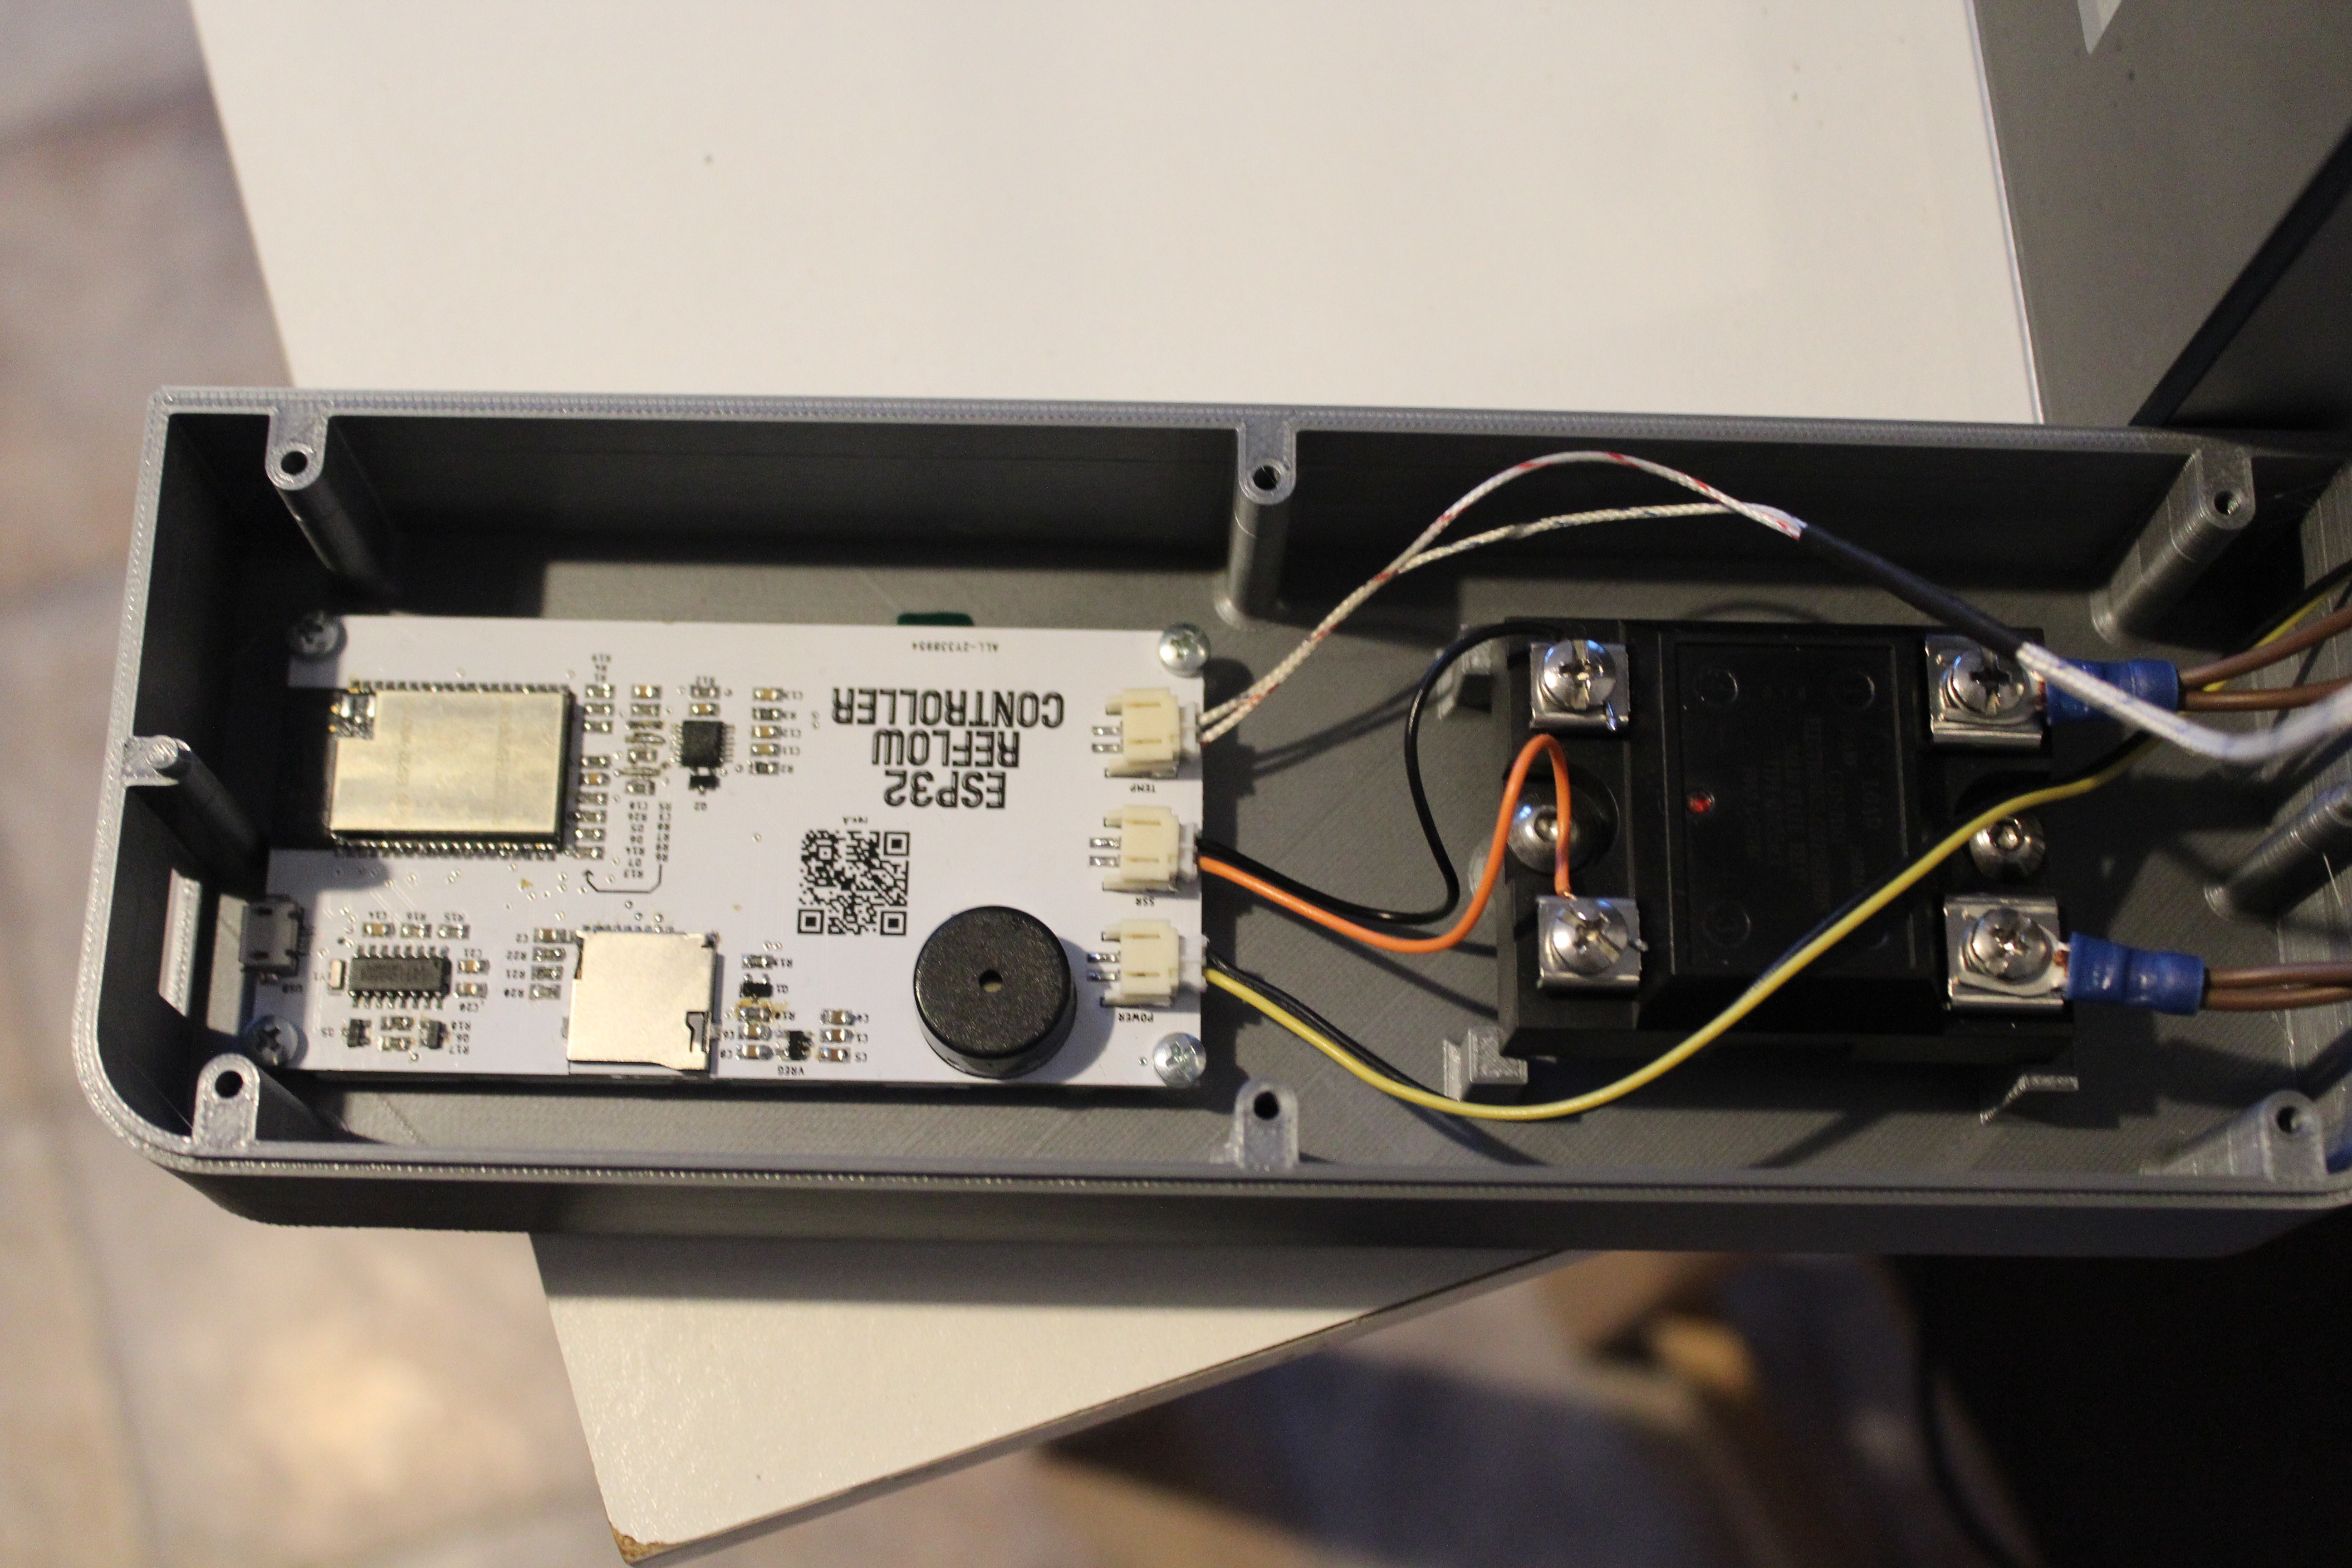
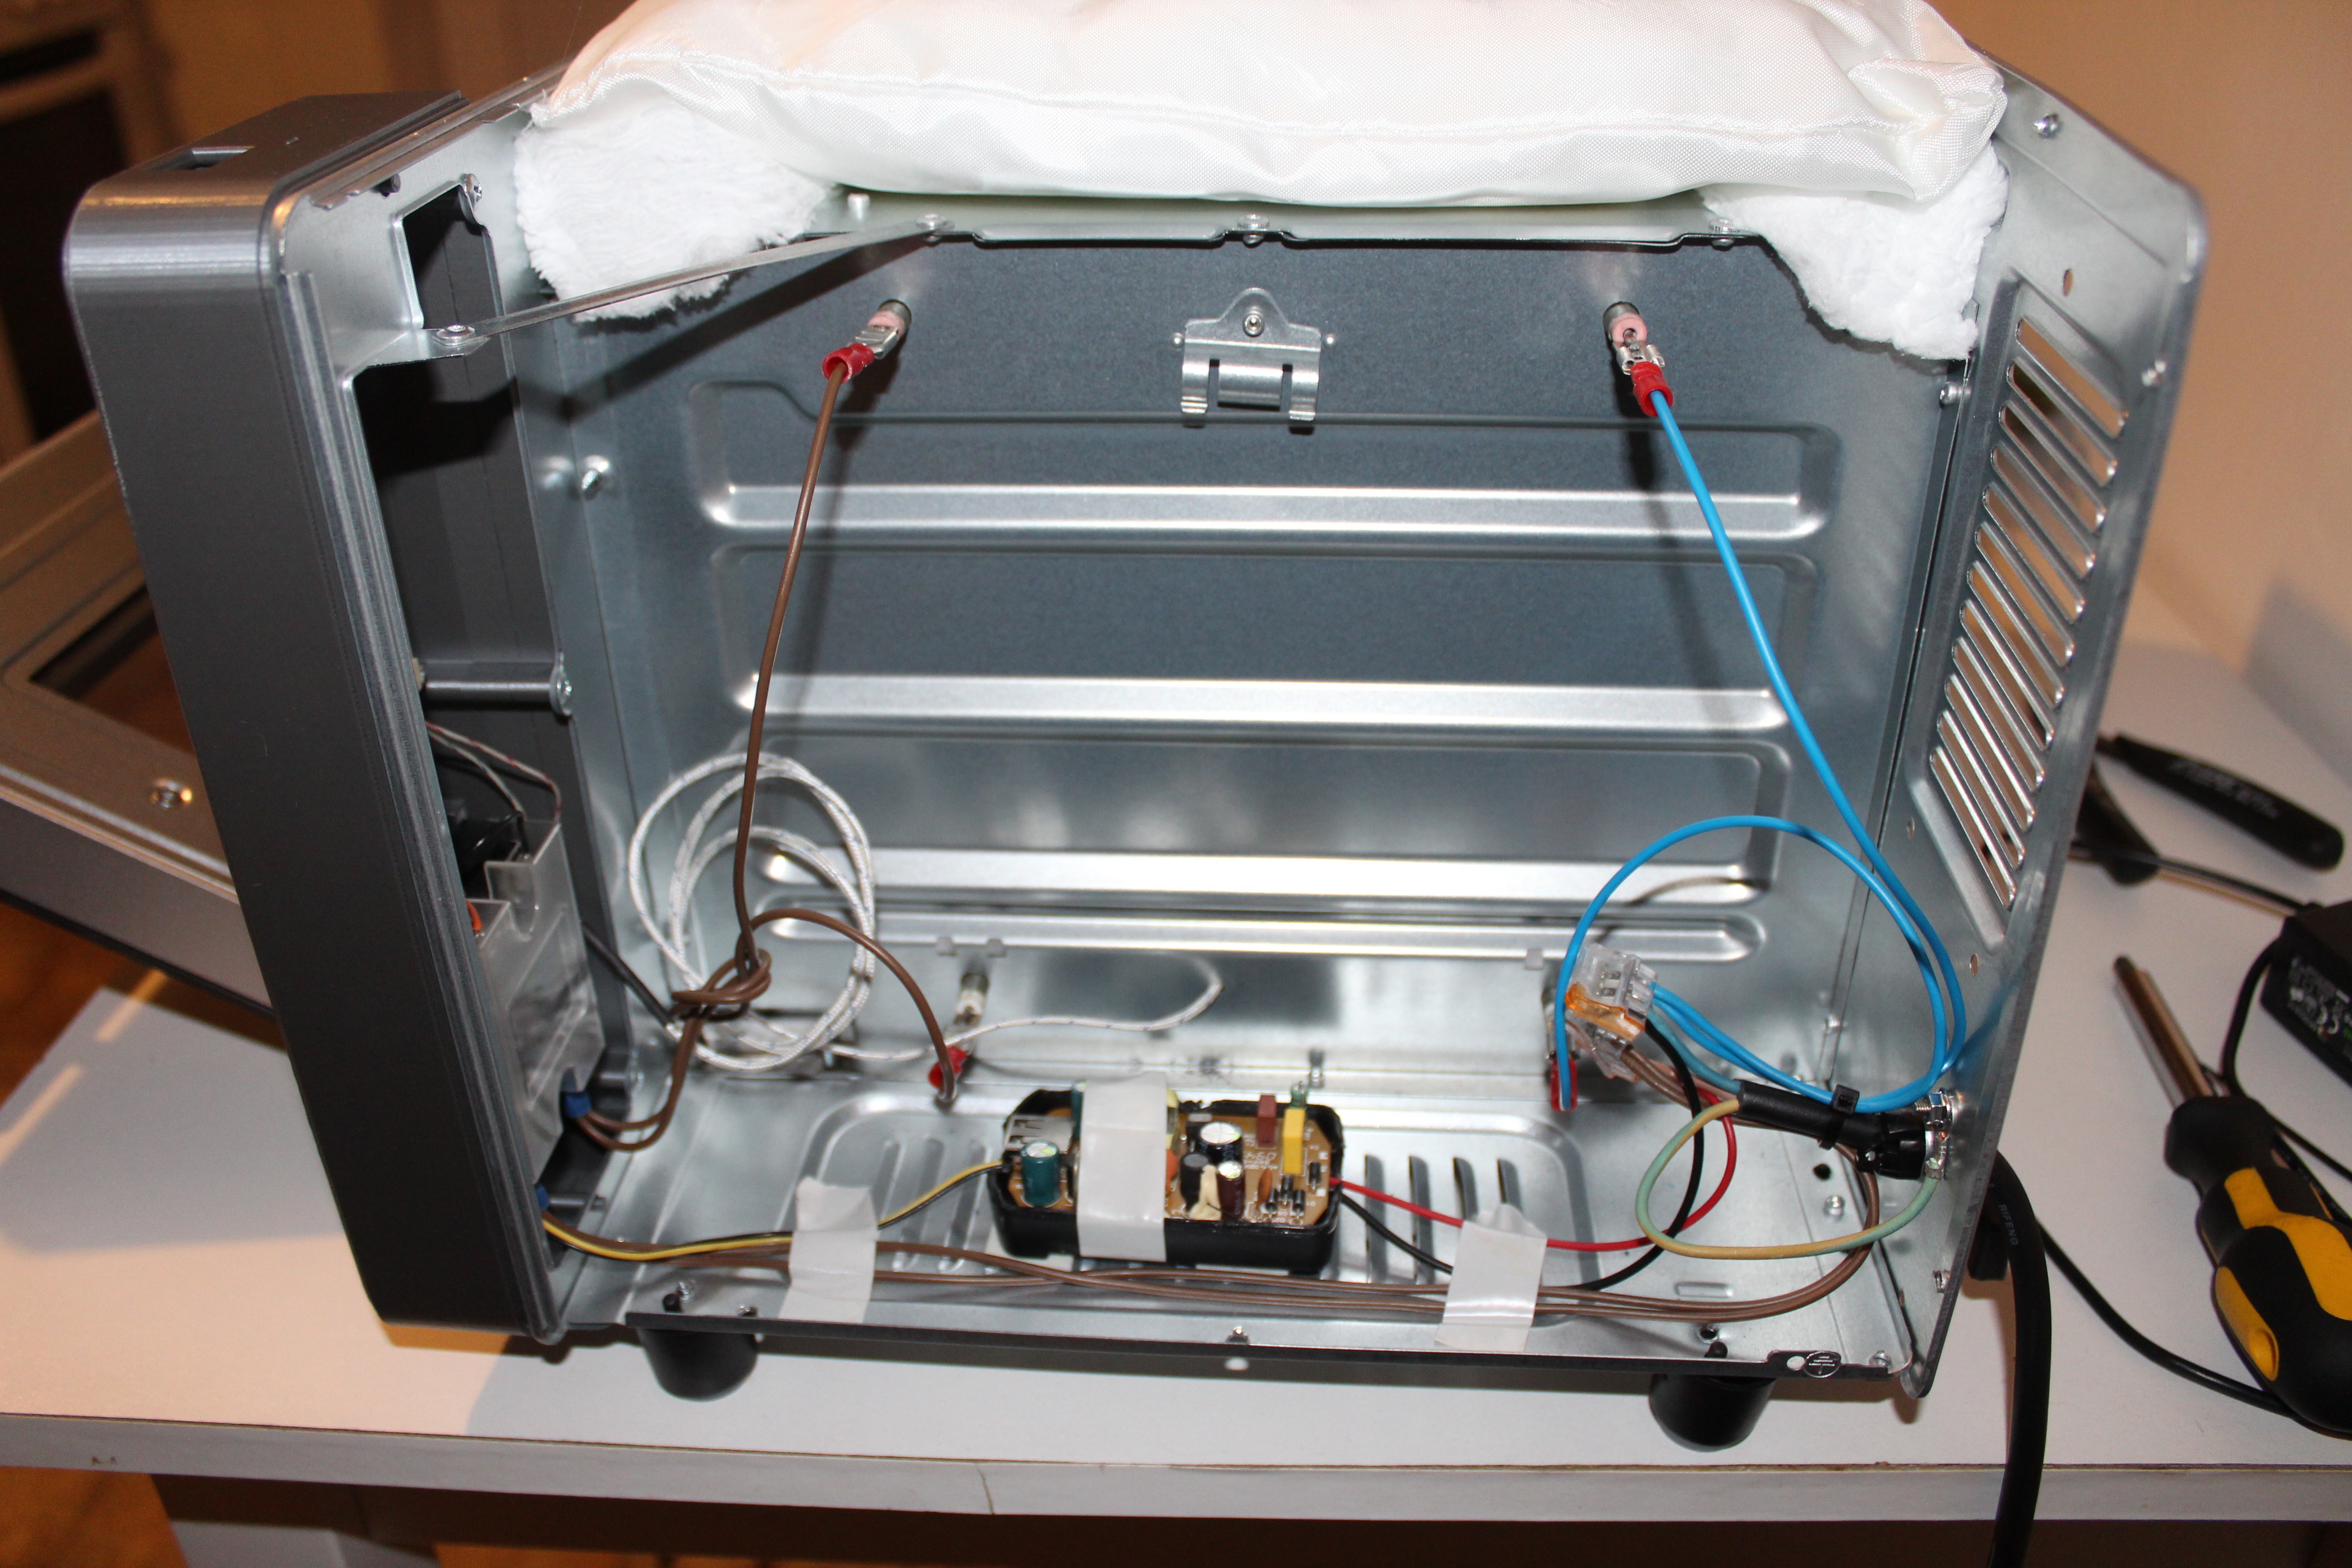
Connected power from USB charger, connected SSR to PCB and connected main power to one side of SSR and other side of the SSR which transfer power to heat elements when SSR is in ON state. Screwed front panel to main body with 6 screwes, attached USB charger to main body with double sided tape and drilled hole in wall of heating chamber for thermocoupler.
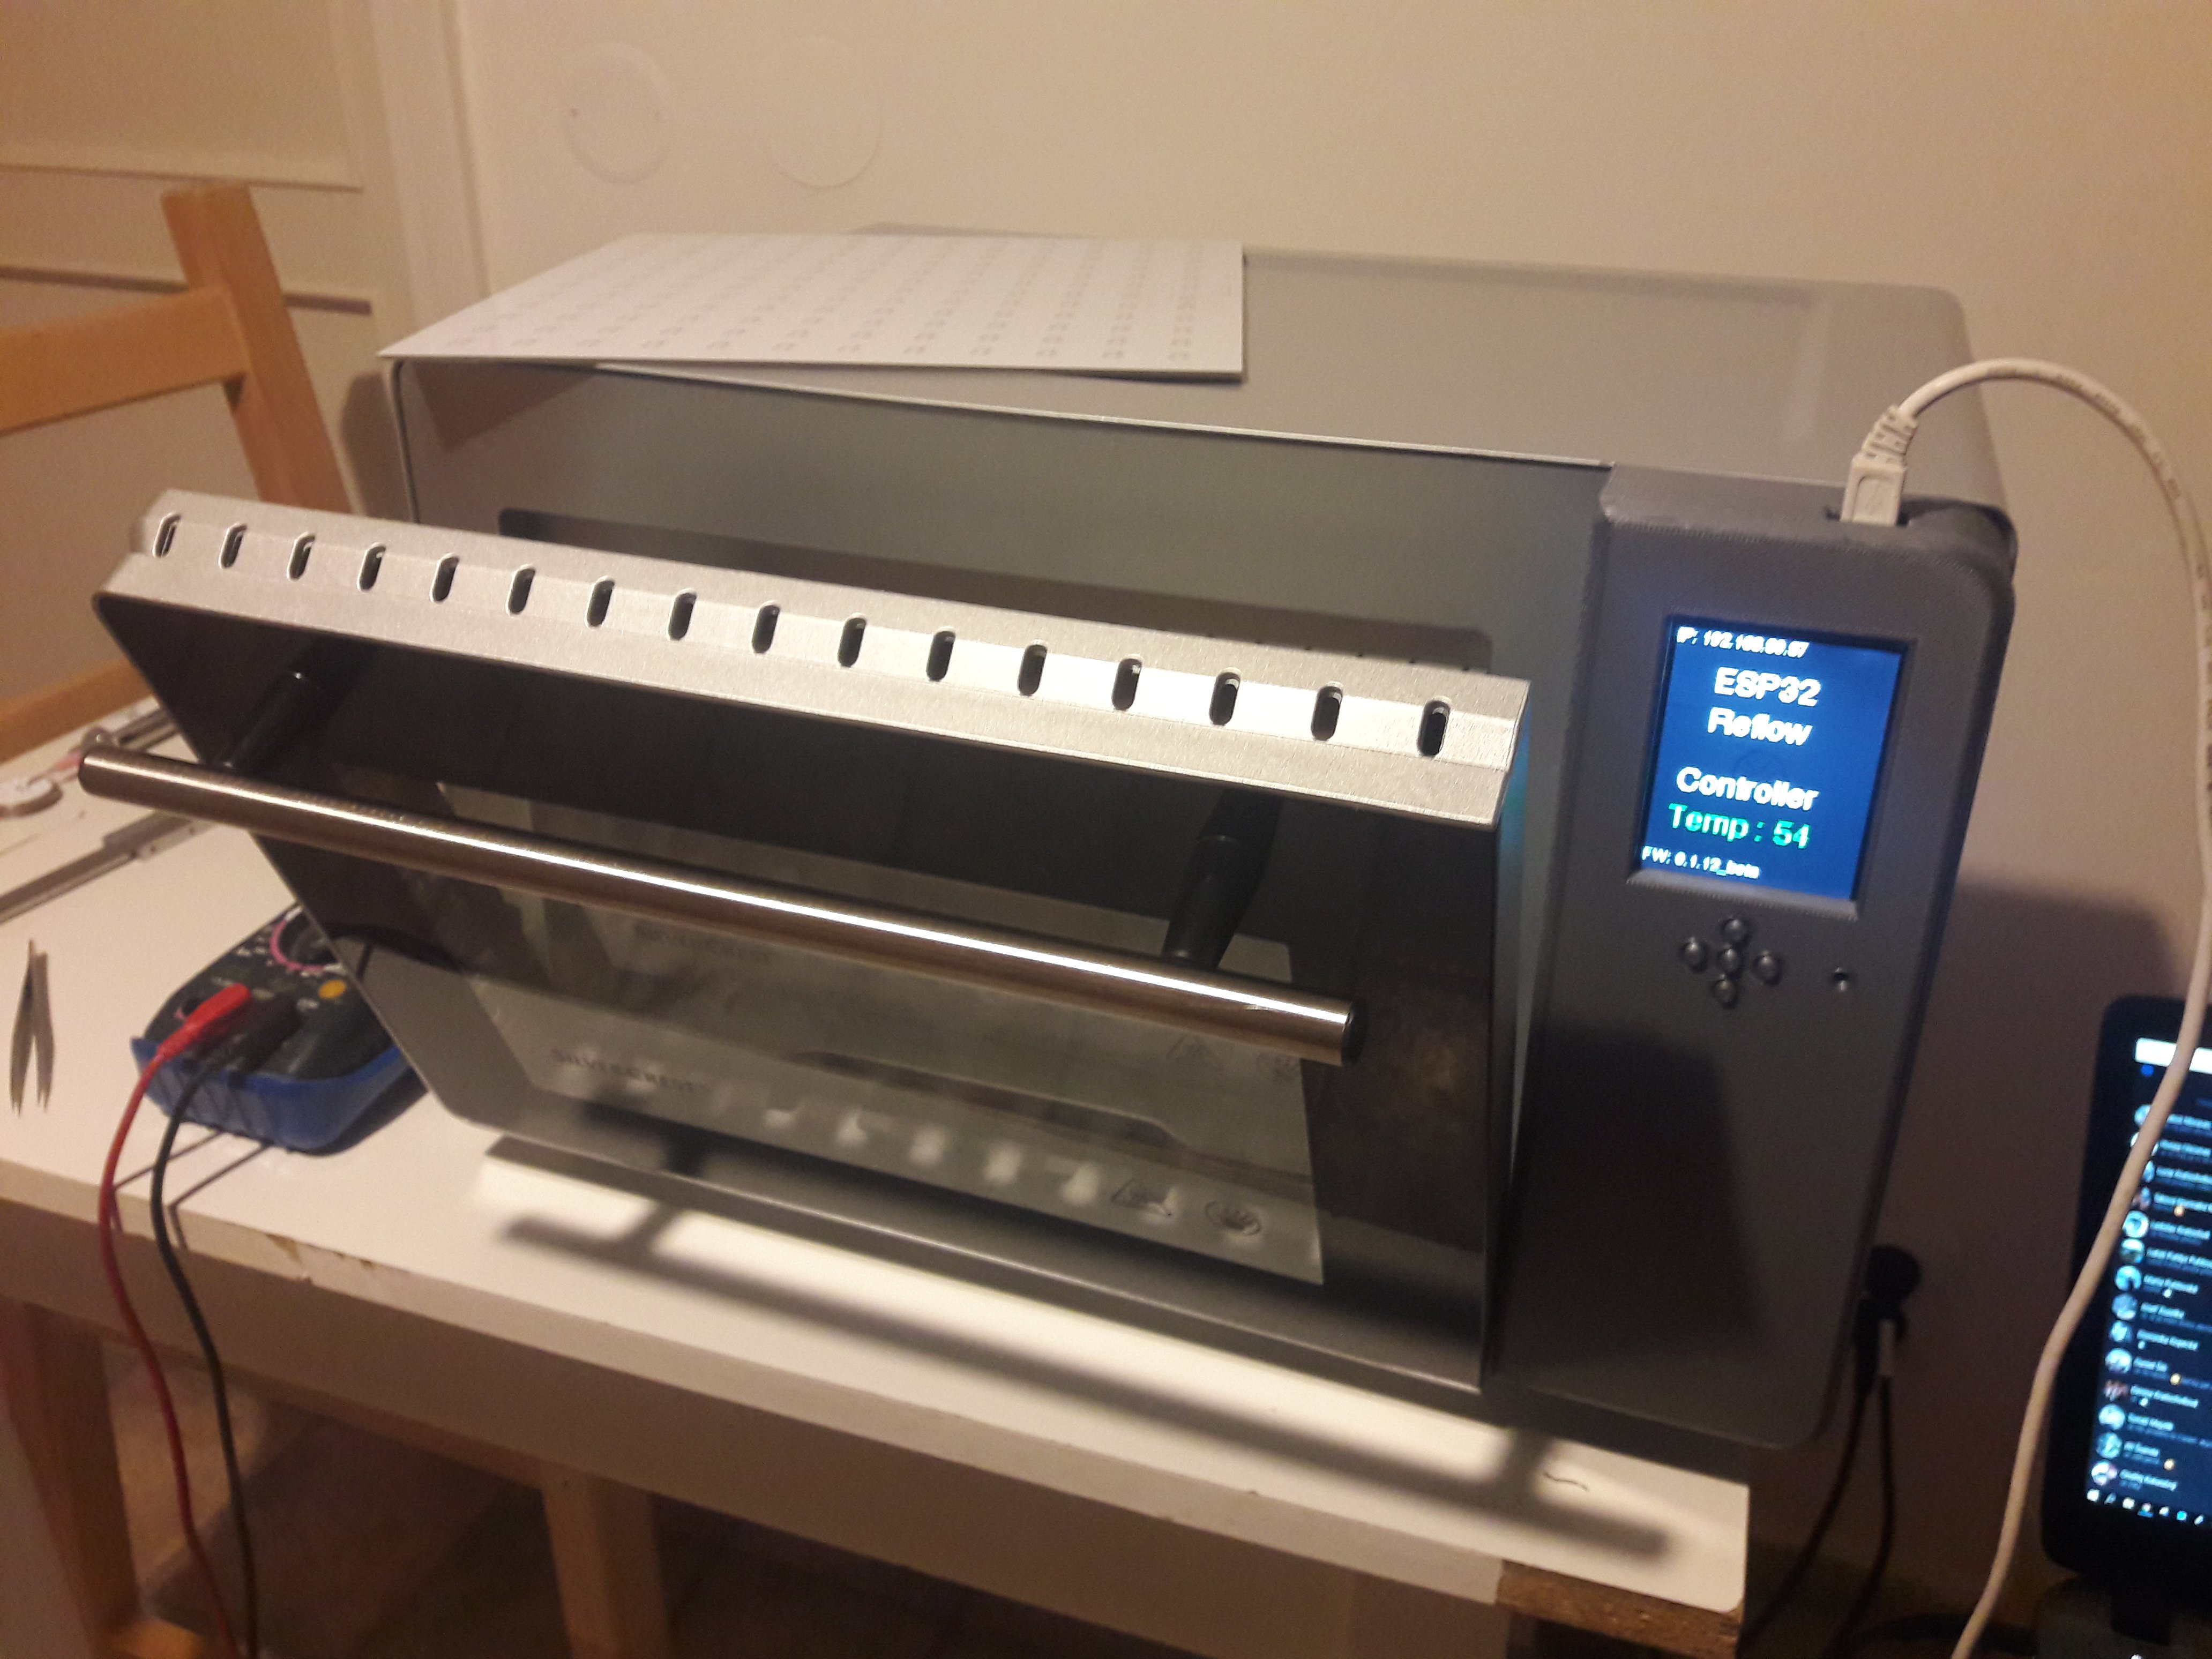
Here is final picture:
After I tested that everything works, I attached cover of the main body.
Discussions
Become a Hackaday.io Member
Create an account to leave a comment. Already have an account? Log In.