 Eugene
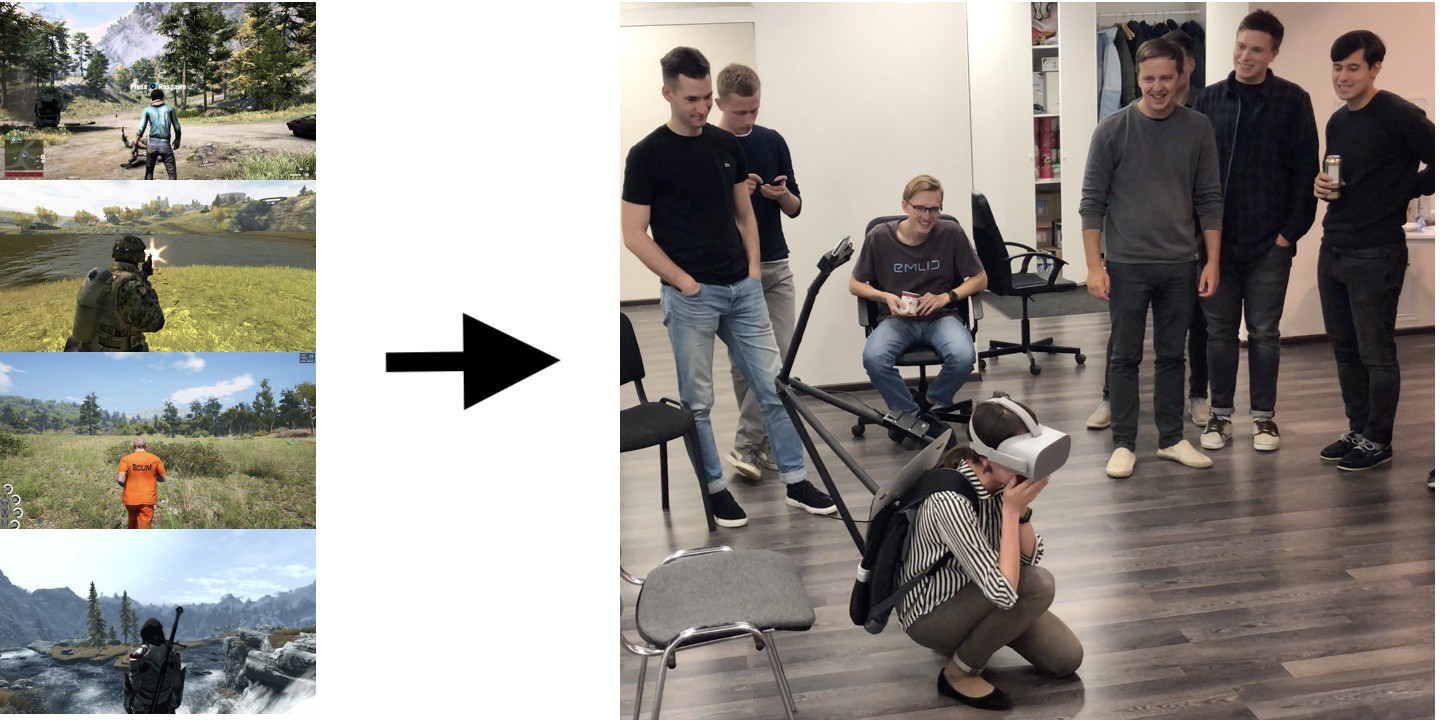
A friend of mine hosts a VR club and asked me if it’s possible to make a 3rd person view in a real life. Thus, we decided to conduct another experiment using our StereoPi (a stereoscopic camera with Raspberry Pi inside).
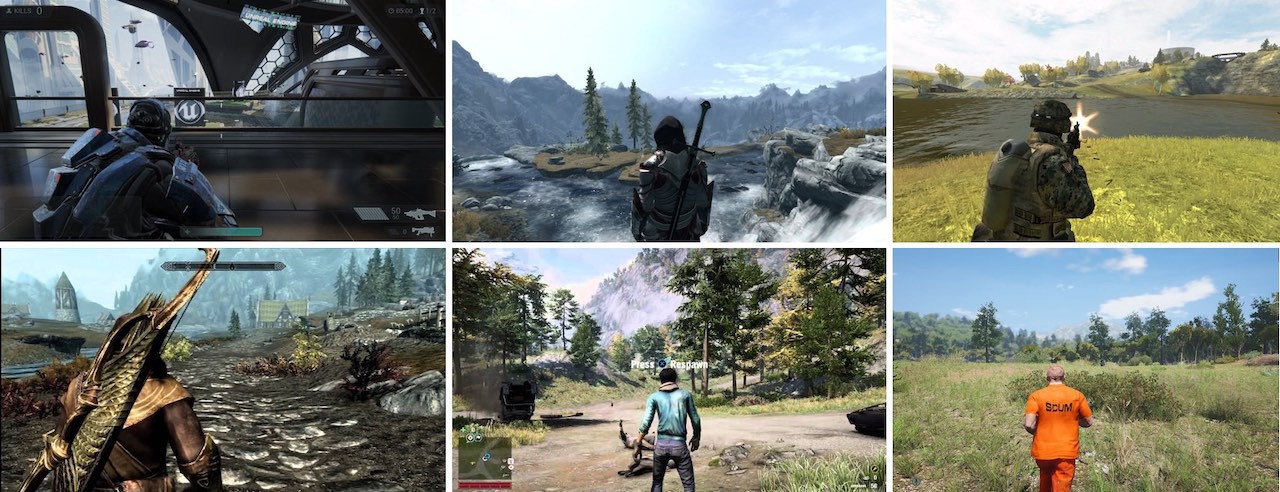
My friend showed me some screenshots to clarify what it should look like:
After several days to compile mechanical parts and write some code for video livestream to Oculus Go, our team created a prototype of this 3rd person camera view.
Tests
I went to a friend’s office party on Friday and offered for his colleagues to take part in the first tests of this system. The results were really impressive! Here are some interesting moments:
What’s “under the hood”?
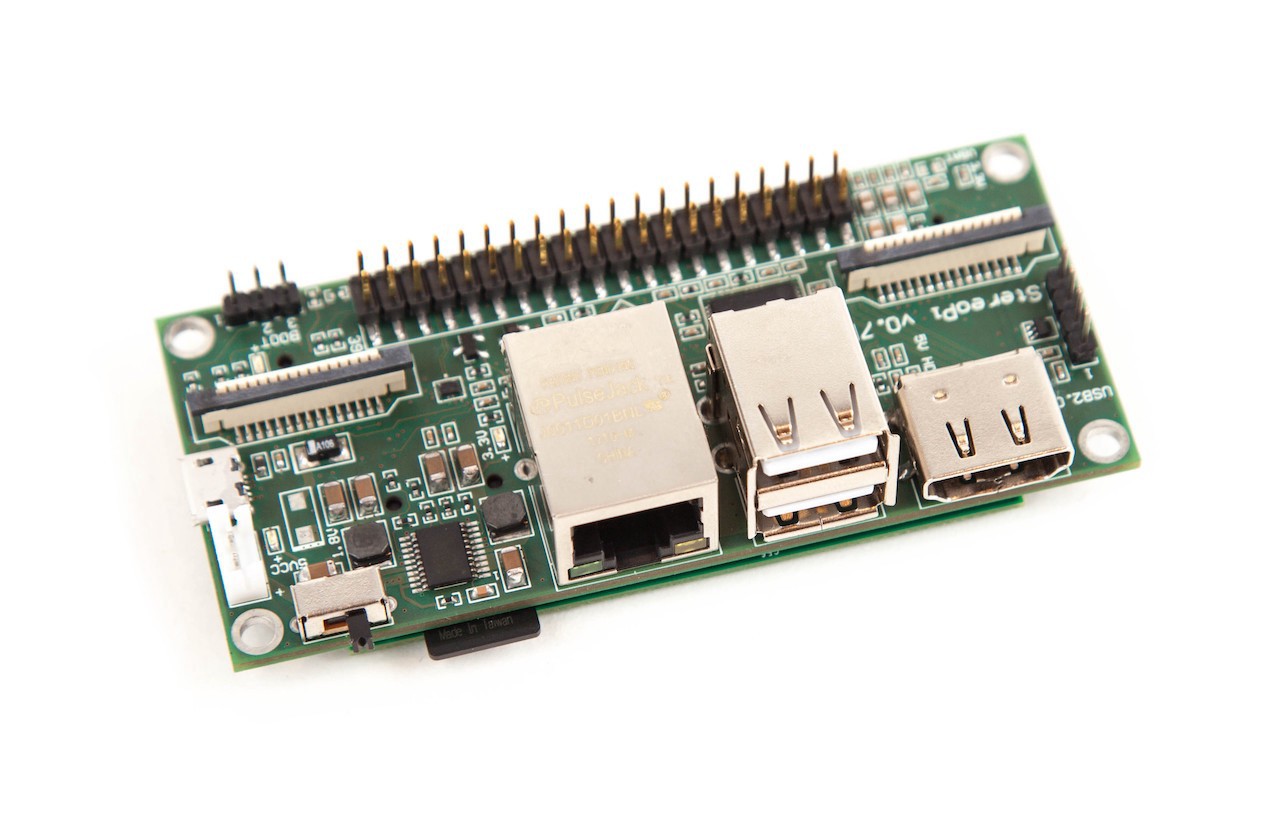
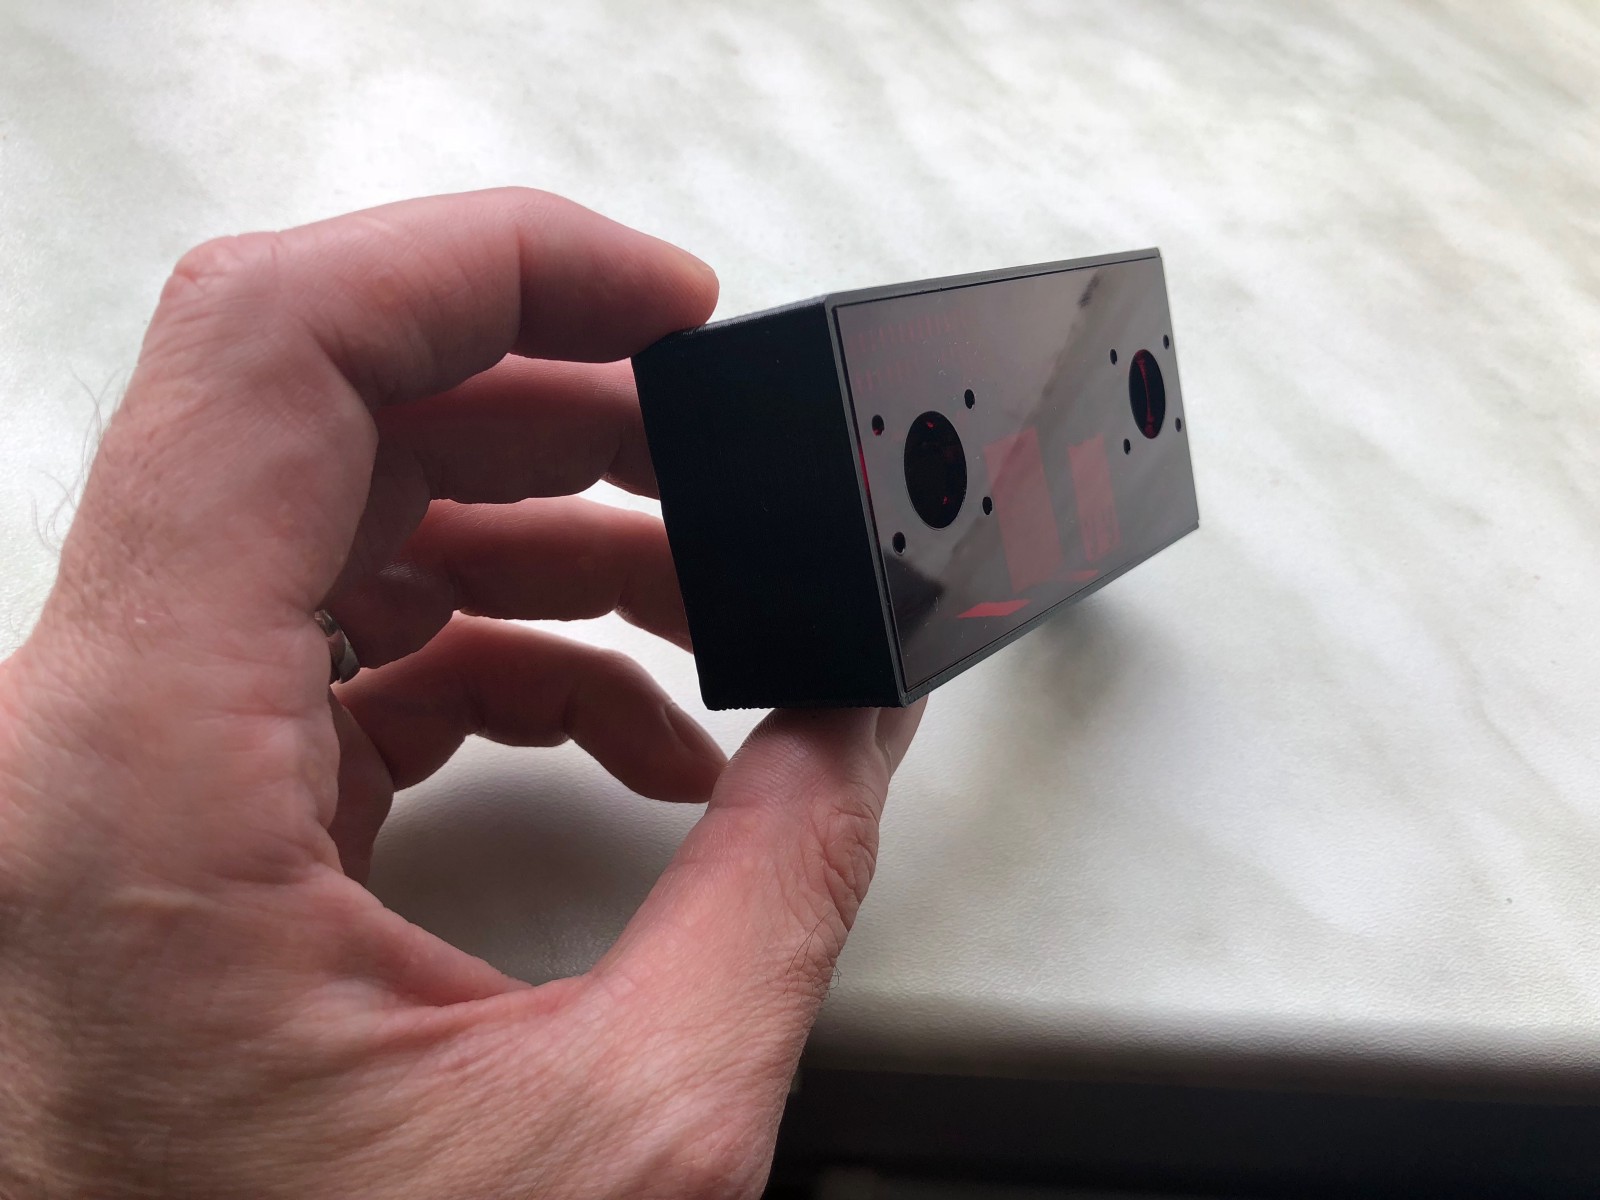
1. Electronics
We used StereoPi v 0.7 with Raspberry Pi Compute Module 3 Lite. For cameras, we chose Waveshare 160 degree cameras.

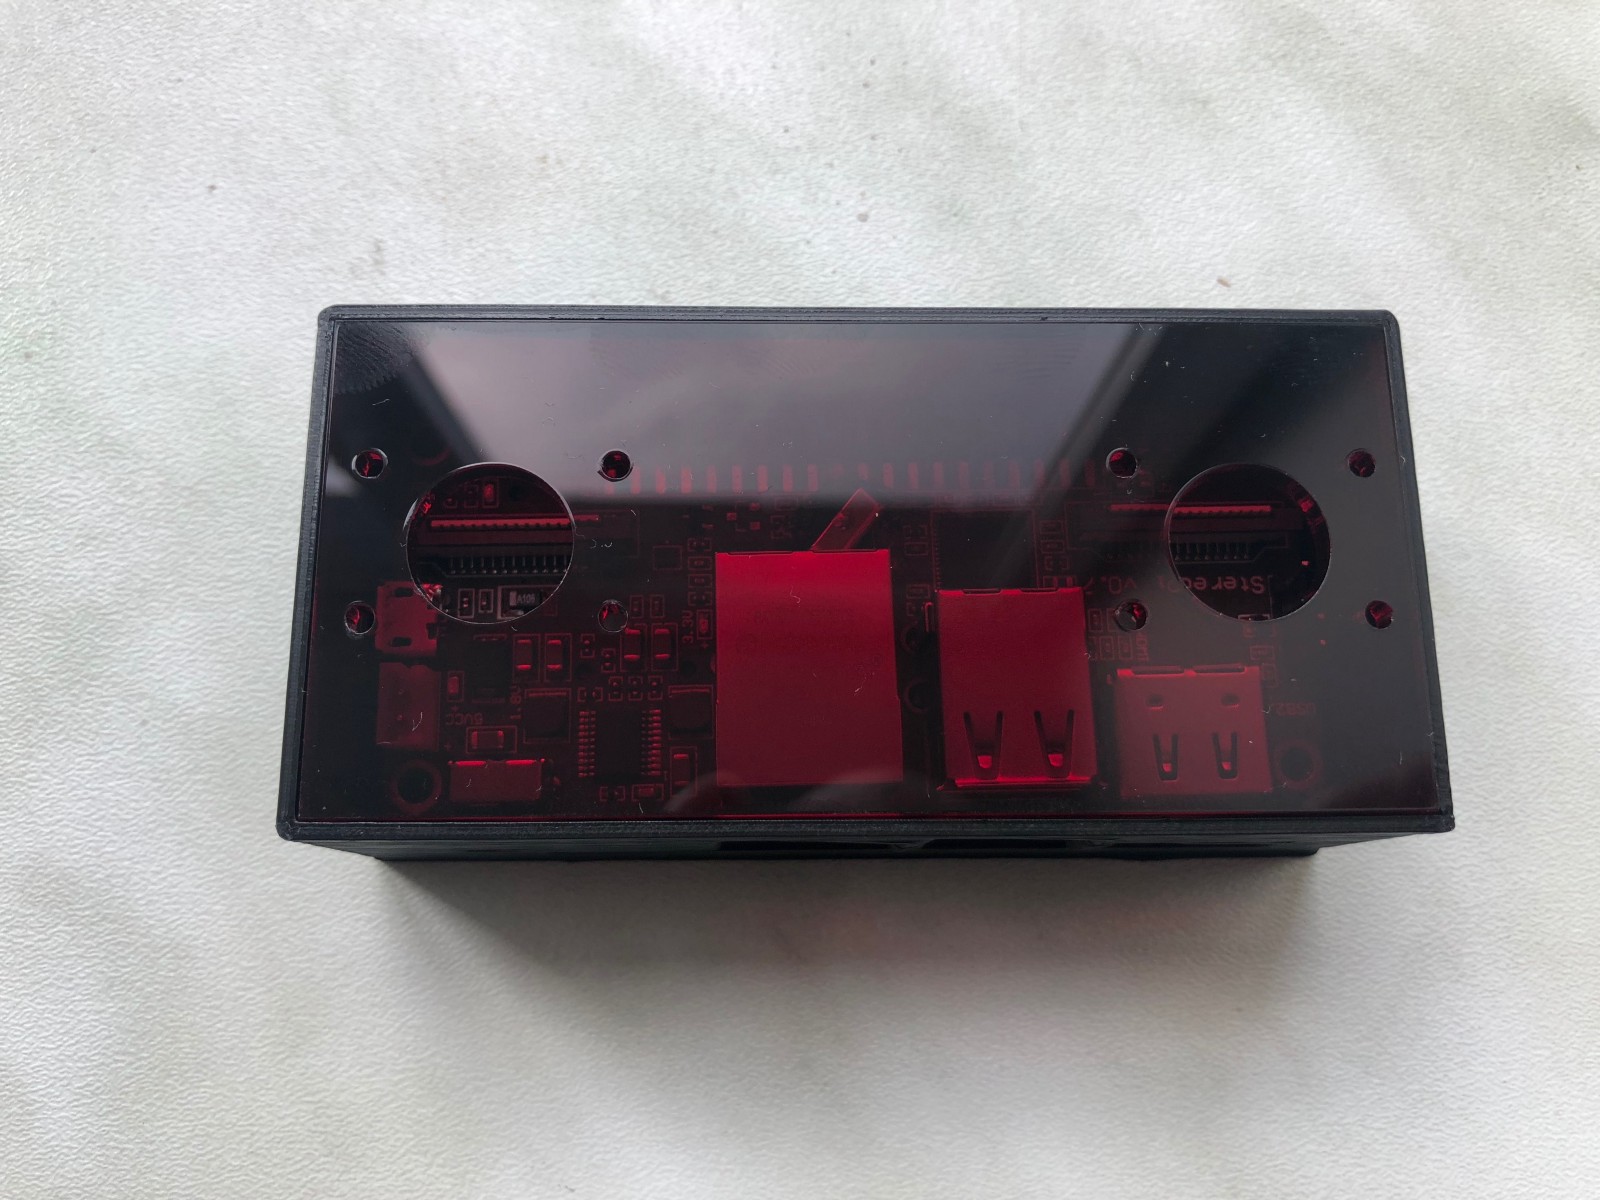
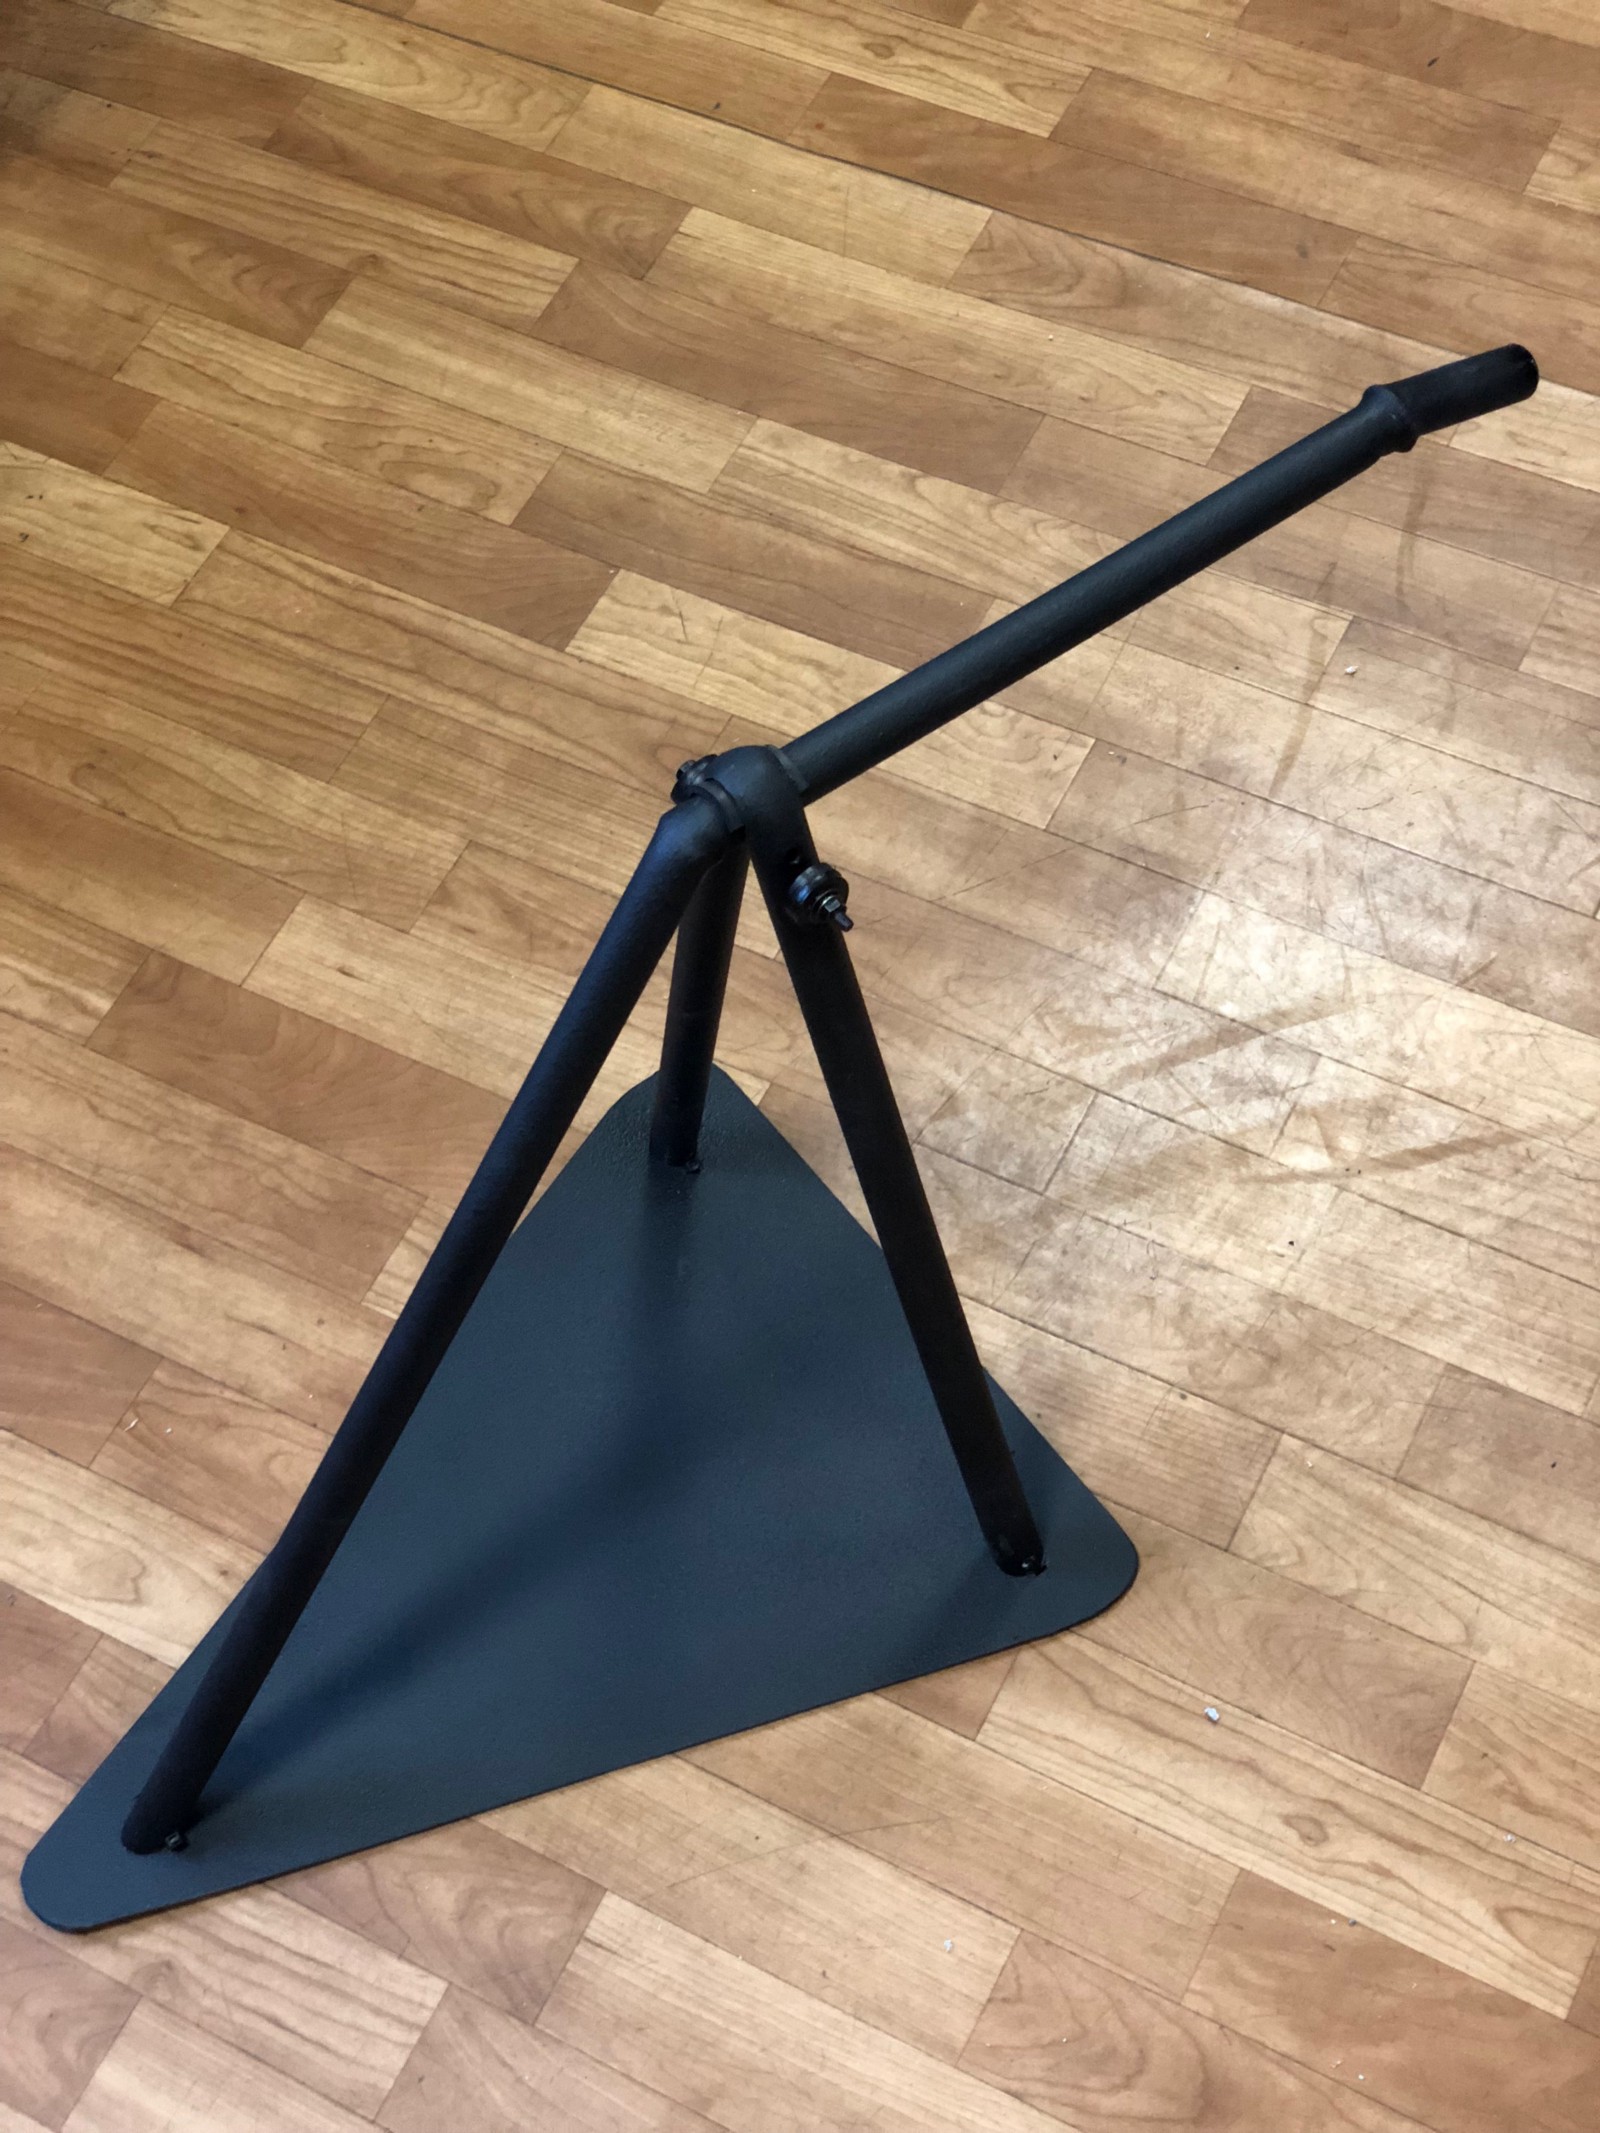
2. Mechanics
We 3D printed a simple case and created a laser-cut camera support plate:

To attach the camera to the person’s back, we created this construction from plastic tubes and colored it with liquid rubber:
3. Software
On the StereoPi side, we created a simple application to capture videos in stereoscopic mode with raspivid. This application also supports autodiscovery functions, to automatically find and connect to applications (currently ones on Android and Oculus Go). To provide for easy adjustment of settings, we created a simple admin panel, available over WiFi.
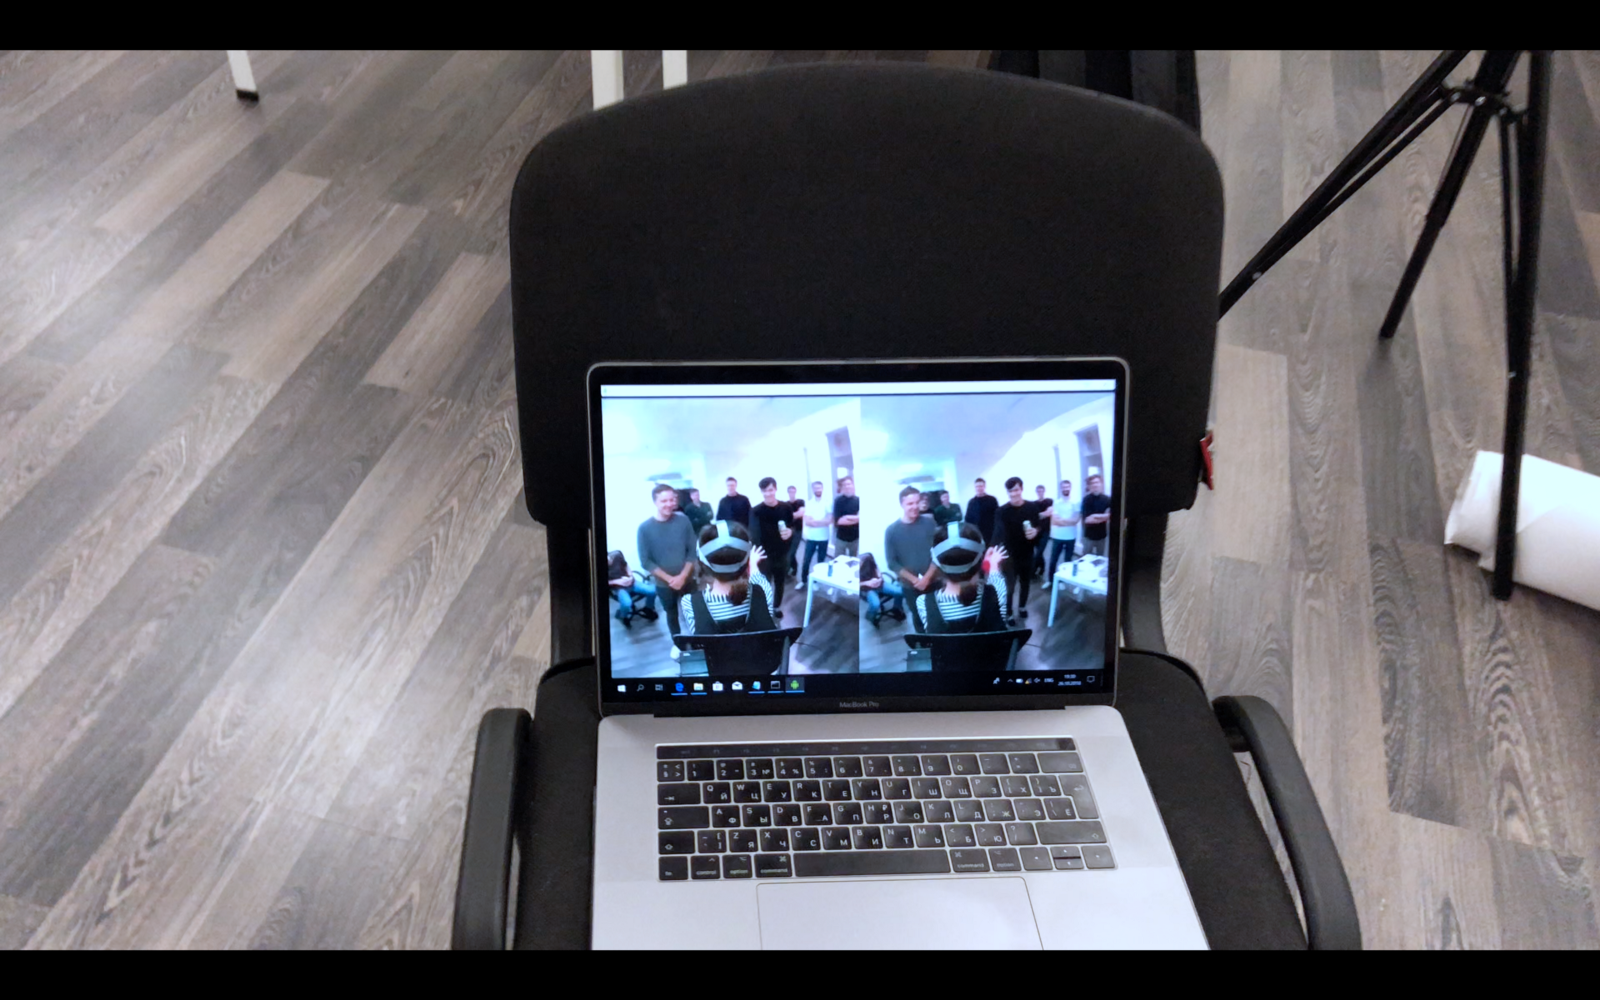
To stream video from the Oculus Go to the computer for observers, we used scrcpy-win64 and reconnected Oculus from a MicroUSB wire to a UDP connection. This allowed us to see the livestream on an external screen:
For the Oculus Go we used our Android application. It is not yet fully adjusted for Oculus, but it was enough for the first tests. This app uses the network to automatically find StereoPi, request access to its video, and begin livestreaming it to the user.
4. Some specific settings
To minimize latency, we set the camera to 42 FPS (maximum available on Raspberry Pi in stereoscopic mode without overclocking) with 1280x720 resolution. Bitrate was set to 3 Mbit. With these settings, latency was around 100 ms.
As I mentioned previously, we used two wide angle cameras. In this case, we cropped the left and right images to keep the aspect ratio that people are comfortable with. When using cameras on drones, we usually compress the images horizontally to maintain the original FOV; however, this time we planned to show it to people untrained in FPV flying.
There was no stereoscopic calibration or on-the-go rectification of stereoscopic video. We just tuned the cameras’ axes to be parallel as precise as possible and livestreamed it “as is”. We added this software to our to-do list for future additions.
5. Conclusion
The tests worked out very well. All of the testers left in a good mood and with new experiences. The first several seconds, it was best to support the users, to prevent them from falling until their perceptions adapted to the new reality
As for the hardware part — StereoPi met our expectations as a quick prototyping tool in this case as well. This, therefore, continues to prove its usefulness in such areas.
If you would like to know more about the developments in StereoPi production, and to take part in our upcoming crowdfunding campaign, you can subscribe to updates on our pre-launch page here: https://www.crowdsupply.com/virt2real/stereopi
Discussions
Become a Hackaday.io Member
Create an account to leave a comment. Already have an account? Log In.