Close
0%
0%

AGI-ESP8266

WiFi accessible IoT plant monitoring system

Similar projects worth following
The agi-esp8266 project is a wirelessly accessible system for monitoring the key environmental data related to growing plants on a window sill or within an self-contained and insulated coldbox.

I am currently looking for potential collaborators to assist in several areas:

The first area where I need assistance is in 3d modelling.

I need assistance in designing a pipe bending system using an arduino microcontroller, NEMA 23 stepper motors and custom designed hardware to take spooled copper tubing and accurately bending it into programmed shapes. Hopefully, whomever is interested is also interested in designing several vertical wind turbine designs.

The second is programming the esp8266 and in general circuit design. I would like to formalize the agi-esp8266 into a software package that can be uploaded to an esp8266, interface with the sensors and log data back to an MQTT server either on a Raspberry Pi or to an online service.

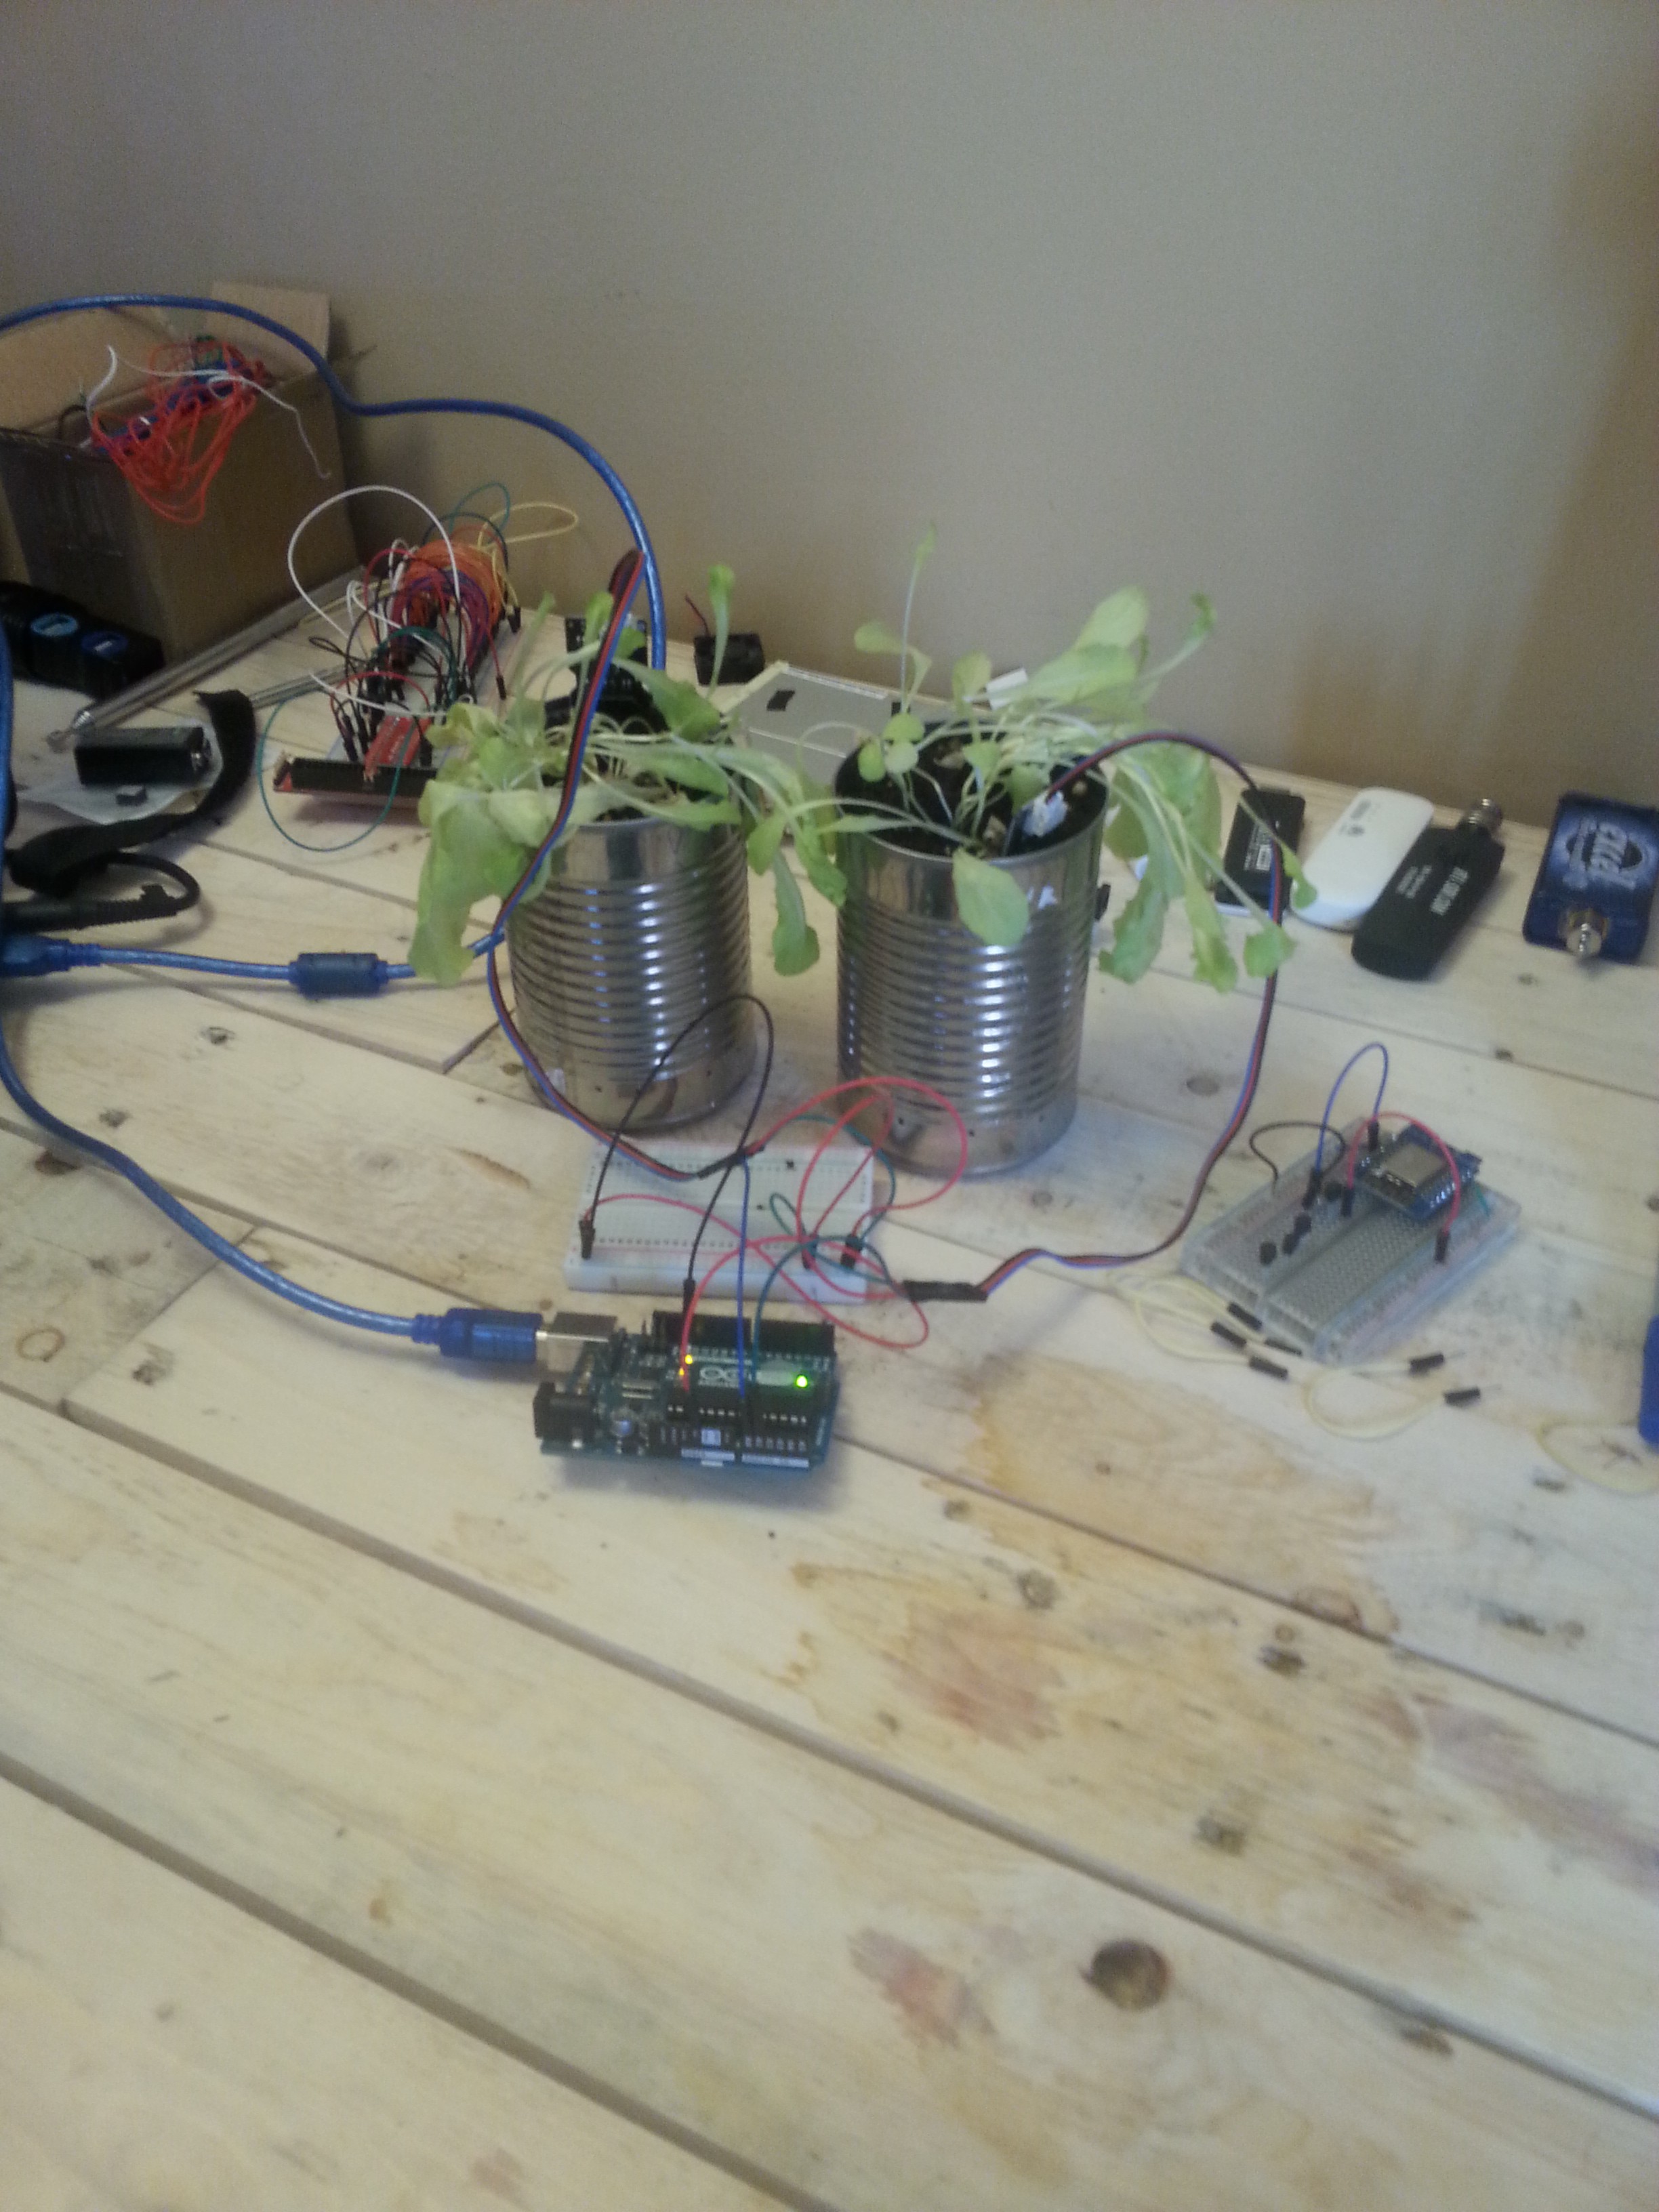
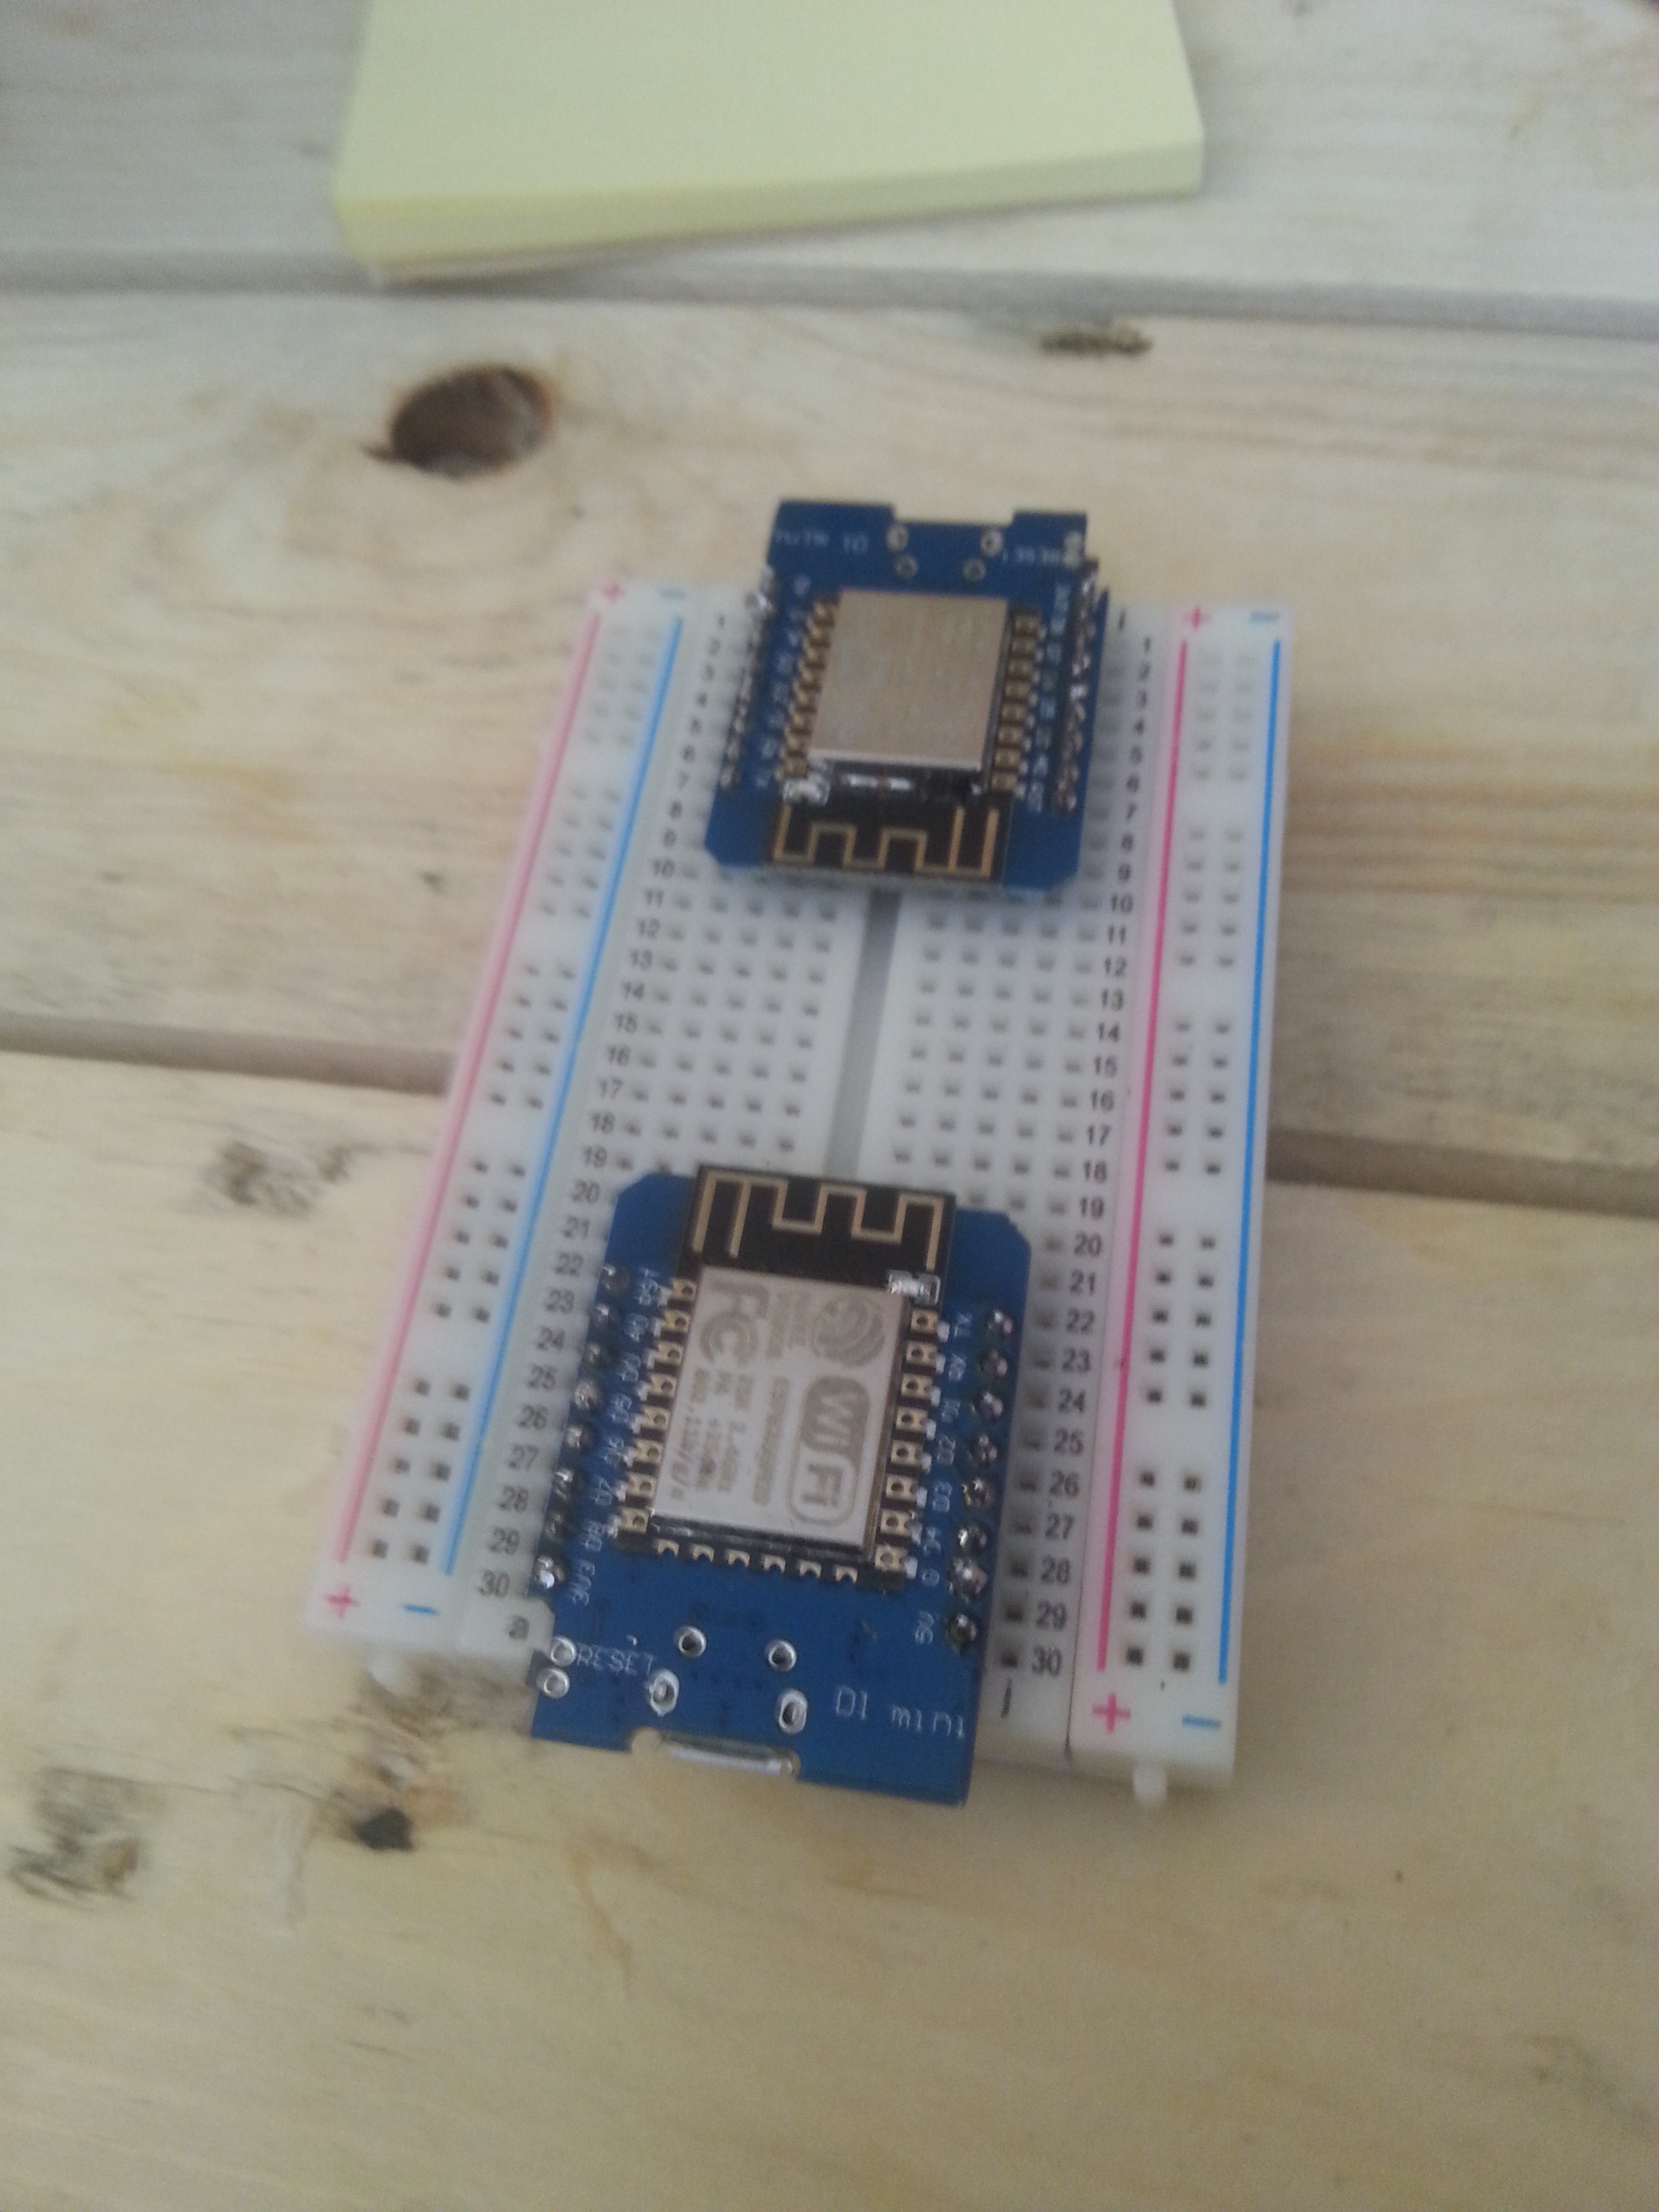
In the DIY hacker community, the ESP8266 microcontroller is the ideal IoT device for logging data. AGI-ESP8266 is intended to assemble a cheap, robust system for logging temperature/humidity, ambient light and soil moisture data over a long period of time.

Currently, several design challenges need to be overcome.

The first is regulating soil temperature on window sills. The problems that I have run into involve effectively reducing rapid transitions in soil temperature. The proposed solution involved bending copper tubing and circulating water under the planter trays to maintain the soil temperature at room temperature. However, I will need to design a rig for bending the copper pipe accurately into the shape of the planter tray before attaching aluminum foil to the copper tubing.

If anyone is interested in contributing a design using high torque stepper motors and a 3d printed assembly for doing that I would be extremely keen on building it and using it for that purpose.

However, that brings me to what I am currently exploring. I'd like to take the agi-esp8266 system I've assembled and putting the agi-esp8266 microcontroller prototypes to use growing plants in a self-contained coldbox.

The current idea that I have is to utilize advancements in insulation to assemble a coldbox for use in the arctic. The advancements in insulation I would like to test are Vacuum Insulated Panelling, silica-based aerogel and conventional polyurathane rigid foam insulation.

I'm looking at assembling several prototype coldboxes to test the different insulation materials and to test several small 3d printed Vertical Axis Wind Turbine designs to both heat the box and to supply power to multi-spectrum Chip-On-Board LED grow lighting.

The idea is to require zero outside energy and operate only using wind energy. I have yet to finalize a final design for the coldboxes or the VAWT designs, but I am open to suggestions.

  • 1 × Adafruit ESP8266 Huzzah Wireless Microcontroller
  • 1 × DHT22 Temperature/Humidity
  • 1 × TSL2561 Sensors / Ambient Light
  • 2 × 3-6VDC Mini Submersible pump

  • Updates

    hominidae12/04/2017 at 20:02 0 comments

    Howdy folks,

    I know I haven't posted in awhile. I have been planning some major revisions to my original design(s).

    I'm excited to get to work on it. I've changed some of a project parameters as simply logging data isn't enough to grow plants reliably on a window sill. There are too many congruent variables affecting optimal plant growth. To mitigate those, I think a few major workarounds are needed.

    So, I've decideded that a camera with a Raspberry Pi Zero to provide visual plant logging to the setup is an important component. It provides visual feedback and allows you to gather visual data on how individual plants are doing.

    I'm going to setup two separate systems. Then I'll set 'em both up so I can evaluate the benefits and drawbacks for each.

    What that means is that I will likely be setting up a cable system connected to a couple of stepper motors to move the camera to selected plants and photographing each plant individually. I've elected to utilize NEMA 17 stepper motors as I am familiar with them via 3D printing.

    Essentially, I'll be borrowing the concept from Delta configuration 3D printers to move a Pi Zero and camera on a yoke to photograph each plant up close. All I'll need for this are stepper motors for the Z and X axis.

    However, I will likely setup a smaller single axis test platform using smaller japanese stepper motors for smaller stackable planters. This will retain the original project goals of using an esp8266, solar power and low power overall objectives. It likely won't have a camera setup.

    The idea general idea is thus:

    Camera and Pi Zero move to each plant, deposit a soil moisture probe then trigger a small peristaltic water pump to water the plants from a water reservoir connected via a small flexible tube at the base of the rig. The Pi camera will also house the temperature/humidity and light sensor.

    More importantly however, I will likely be setting up the two systems with a way of piping cool or warm water (comparatively to soil setup on a window in direct sunlight) from a water reservoir held at room temperature with a UV light to kill bacteria.

    Overall, I think these are the bare essentials that will be needed to grow edible plants on your window sill in a disparate variety of climates. I could muck around with adjustable window shades and the like, but I really want maximum natural daylight before having to power full spectrum LED lighting in the future.

  • Added a camera for timelapse photography

    hominidae11/20/2017 at 18:10 0 comments

    I've added a Raspberry Pi and 8MP camera for doing timelapse photography of plant growth.

    I think it'll be necessary to track and show changes over time and correlating with sensor data.

  • Soil Moisture Sensor Unit Testing

    hominidae07/18/2017 at 21:14 0 comments

    I have setup an Arduino Uno connected to both moisture sensors. The objective of this test is to determine how well each unit functions in it's intended environment.

    As you can tell from the above image, I've taken a couple of lettuce seedlings and placed them into a pair of tin cans. I've aerated the bottom of the can by drilling small holes and adding a 3d printed spacer.

    The two sensors that I have chosen for testing are the DFRobot Capacitive Soil Moisture Sensor, and the DFRobot Resistive Soil Moisture Sensor. Here are the links to the two product pages respectively.

    https://www.dfrobot.com/product-1385.html

    https://www.dfrobot.com/product-599.html


  • July Project Update

    hominidae07/14/2017 at 22:39 0 comments

    I've uploaded a new photo of the block diagram of the design I will be testing this month.|

    I am currently modelling a 3D printable pot design that has an hollow interior with nozzles at the top and bottom of the pot to facilitate the flow of water around the soil itself to provide passive cooling from a connected water reservoir.

    The general idea is that as the water moves around the soil, it transfers any residual heat or cold to the water maintaining the roots of the plants at room temperature.

    Additionally, a second pump is connected to the plant pots to water them using a 3D printed multi-way valve.

    I think this is actually a rather elegant solution. We'll also see which of the two moisture sensor designs works best long term. The single DS18B20 sensor will be used with the Homie framework to measure soil temperature.

    Not pictured is a water resistant sensor I will be adding to the water reservoir to log temperature as a comparative datum point to the soil's. The objective is to prevent the lettuce from bolting or wilting under the sun in the 32 degree's experienced sitting on the window sill.

  • Pump function test

    hominidae07/12/2017 at 04:03 0 comments


    Here is a test of the one of the mini submersible pumps I ordered last week. I picked up 10 feet of vinyl hose to connect to the 7.5mm connector on the submersible pump.

    I was thinking of using tin cans as a transfer medium for the plants from the seedling stage, however after a bit of testing I've found that the cans are rusting. Not ideal long term, however they would have worked nicely as a thermal heat exchanger.

    I am now looking instead at 3D printing a soil based vertical planter setup. The reason for this relates to simplicity, the horizontal shelves just aren't working out. The 1x4 boards warp in the sun, they'd also be quite difficult to level consistently for an end user.

    An update to the initial project sketch will likely be happening in the next week or so as I am still waiting on the soil moisture sensors to arrive.

  • Mini pumps arrived!

    hominidae07/05/2017 at 21:48 0 comments

    Okay, so I received the 10x Mini submersible 3-6VDC pumps that I ordered earlier this month.

    I have also confirmed they work with 3.3VDC.

    I am still waiting on the soil moisture sensors I have ordered, and when they arrive I will begin working
    on integrating them all into a single system.

    This brings me to another issue. We need more power.

    There are several solutions available. The first being a small solar panel/cell. However, the issue with that approach is that it involves taking up additional real estate on the window sill, which I am hoping will be primarily taken up with leafy greens.

    I think that a more elegant solution would involve mounting a small wireless power transmitter to a small wind turbine and having it transmit power through a glass window using a wireless charging coil. The entire setup could then be mounted to the interior and exterior window using neodymium magnets and soft pads.

    The advantages of such a setup would be that no major holes need to be drilled compromising the integrity of exterior insulation and violating possible tenant rental agreements in place.

    I am looking forward to setting this up. The system overall would resemble a complete window sill growing solution, with data points available for anything affecting plant growth and the possible means of adjusting those variables to increase growth and potential crop yields.

  • D1 Mini update

    hominidae06/28/2017 at 03:16 0 comments

    Got the D1 Mini working.

    However, one of the Wemos D1 Mini esp8266 microcontrollers is now dead. The D1 Mini, unlike the Adafruit Huzzah is not 5V tolerant.

    I attempted to connect the DS18B20 with 5V logic to one of the GPIO pins.

    It's fried. Luckily, I ordered two!

    Also, I am still waiting out on the water pumps and the soil moisture sensors.

    When they arrive, I'll integrate them.

    Cheers!

  • Wemos D1 Mini ESP8266 Microcontrollers have arrived!

    hominidae06/21/2017 at 23:19 0 comments

    I ordered a pair of Wemos D1 Mini's from AliExpress.

    I will be using them to integrate and extend the Homie-ESP8266 project for my window sill greenhouse project.

    The gameplan going forward will be to evaluate the Wemos D1 Mini as a potential replacement for the Adafruit Huzzah ESP8266 microcontroller. Basically, I chose this board because it has a microUSB port which makes programming easier.

    Stay tuned for updates on that.

  • Made a quick visit to the hardware store...

    hominidae06/20/2017 at 00:58 0 comments

    One of the problems I'm currently facing is how I'm going to go about setting up the watering system and the heat exchanger using commercially available building supplies.

    This means I have access to copper pipe, plumbing supplies and the like.

    I have also ordered about 10 low voltage submersible mini-aquarium pumps. Here's a Link to the Aliexpress page I ordered them from.

    The general idea is that I will be using several voltage relay's or MOSFETS triggered by the ESP8266 microcontroller to supply power to the pumps.

    Now, the problem I have here is how to go about designing the heat exchanger. I can either take thin diameter copper tubing and run it through the existing plastic planter trays or run it in coils around the different soil sizes.

    I'm thinking of doing for the heat exchanger what I'm doing for the moisture sensors. Once the soil moisture sensors arrive, I will be testing them against each other to finding out which design emerges victorious.

    Therefore, I will likely setup two different systems. If anyone has better practical engineering suggestions, I would be happy to hear them.

    The first approach involves setting up a copper tube in a grid horizontally along the proposed aluminum aircraft wire prototype. Essentially, the copper tube will run inside and in between the planting tray and the plastic bottom. This would hopefully provide the most direct passive heating or cooling for the soil from the existing room temperature.

    I cannot understand how important this is, as my initial tests have revealed that the temperatures on my window sill reach upwards of 35 degrees celsius. (This kills the lettuce and presumably it will do the same with other leafy vegetables.)

    The second approach involves circulating water openly into a horizontally hung container and placing the commercially available planter trays inside that. However, this has a downside in that the tray itself would be airgapped from the water which means it's effectiveness as a heat exchanger is dubious.

    So, I'm thinking of setting up two small scale experiments to test this theory for each tray singularly.

  • Components ordered.

    hominidae06/17/2017 at 21:06 0 comments

    I have ordered the following soil moisture sensors for testing:
    -Gravity Soil Moisture sensor
    This sensor's surface is gold plated using an immersion electrolysis process. Compared to conventional soil moisture sensors, it should last longer. I'm expecting this to last longer than the Grove sensor.
    -Gravity Capacitive Soil Moisture Sensor
    This sensor uses capacitive sensing to detect soil mositure. I expect this sensor to work the longest.
    - Grove Soil Moisture Sensor
    This sensor uses a corrosive surface to detect soil moisture using resistive sensing. I expect this sensor will last the least amount of time before corrosion occurs.

    Additionally, I have also ordered several mini submersible water pumps from AliExpress.


View all 22 project logs

  • 1
    Step 1

    See the Github page on the left-hand side for instructions.

    Currently, the process is a little complicated as it involves using the Arduino IDE to program the ESP8266 microcontroller, then setting up a Linux host to run an MQTT broker to receive data. I'm currently exploring ways to make all of this easier to work with for end users.

View all instructions

Enjoy this project?

Share

Discussions

hominidae wrote 10/16/2016 at 04:56 point

Feel free to comment/ask questions here.

  Are you sure? yes | no

Similar Projects

Does this project spark your interest?

Become a member to follow this project and never miss any updates