 Szabolcs Lőrincz
Now for the last step: the tree. The obvious choice was to make it from copper. I used standard 1.5 mm^2 MCU wire, which I stripped from its insulation. I soldered it to the underside of the board, so that it will also serve as the ground connection for the LEDs.
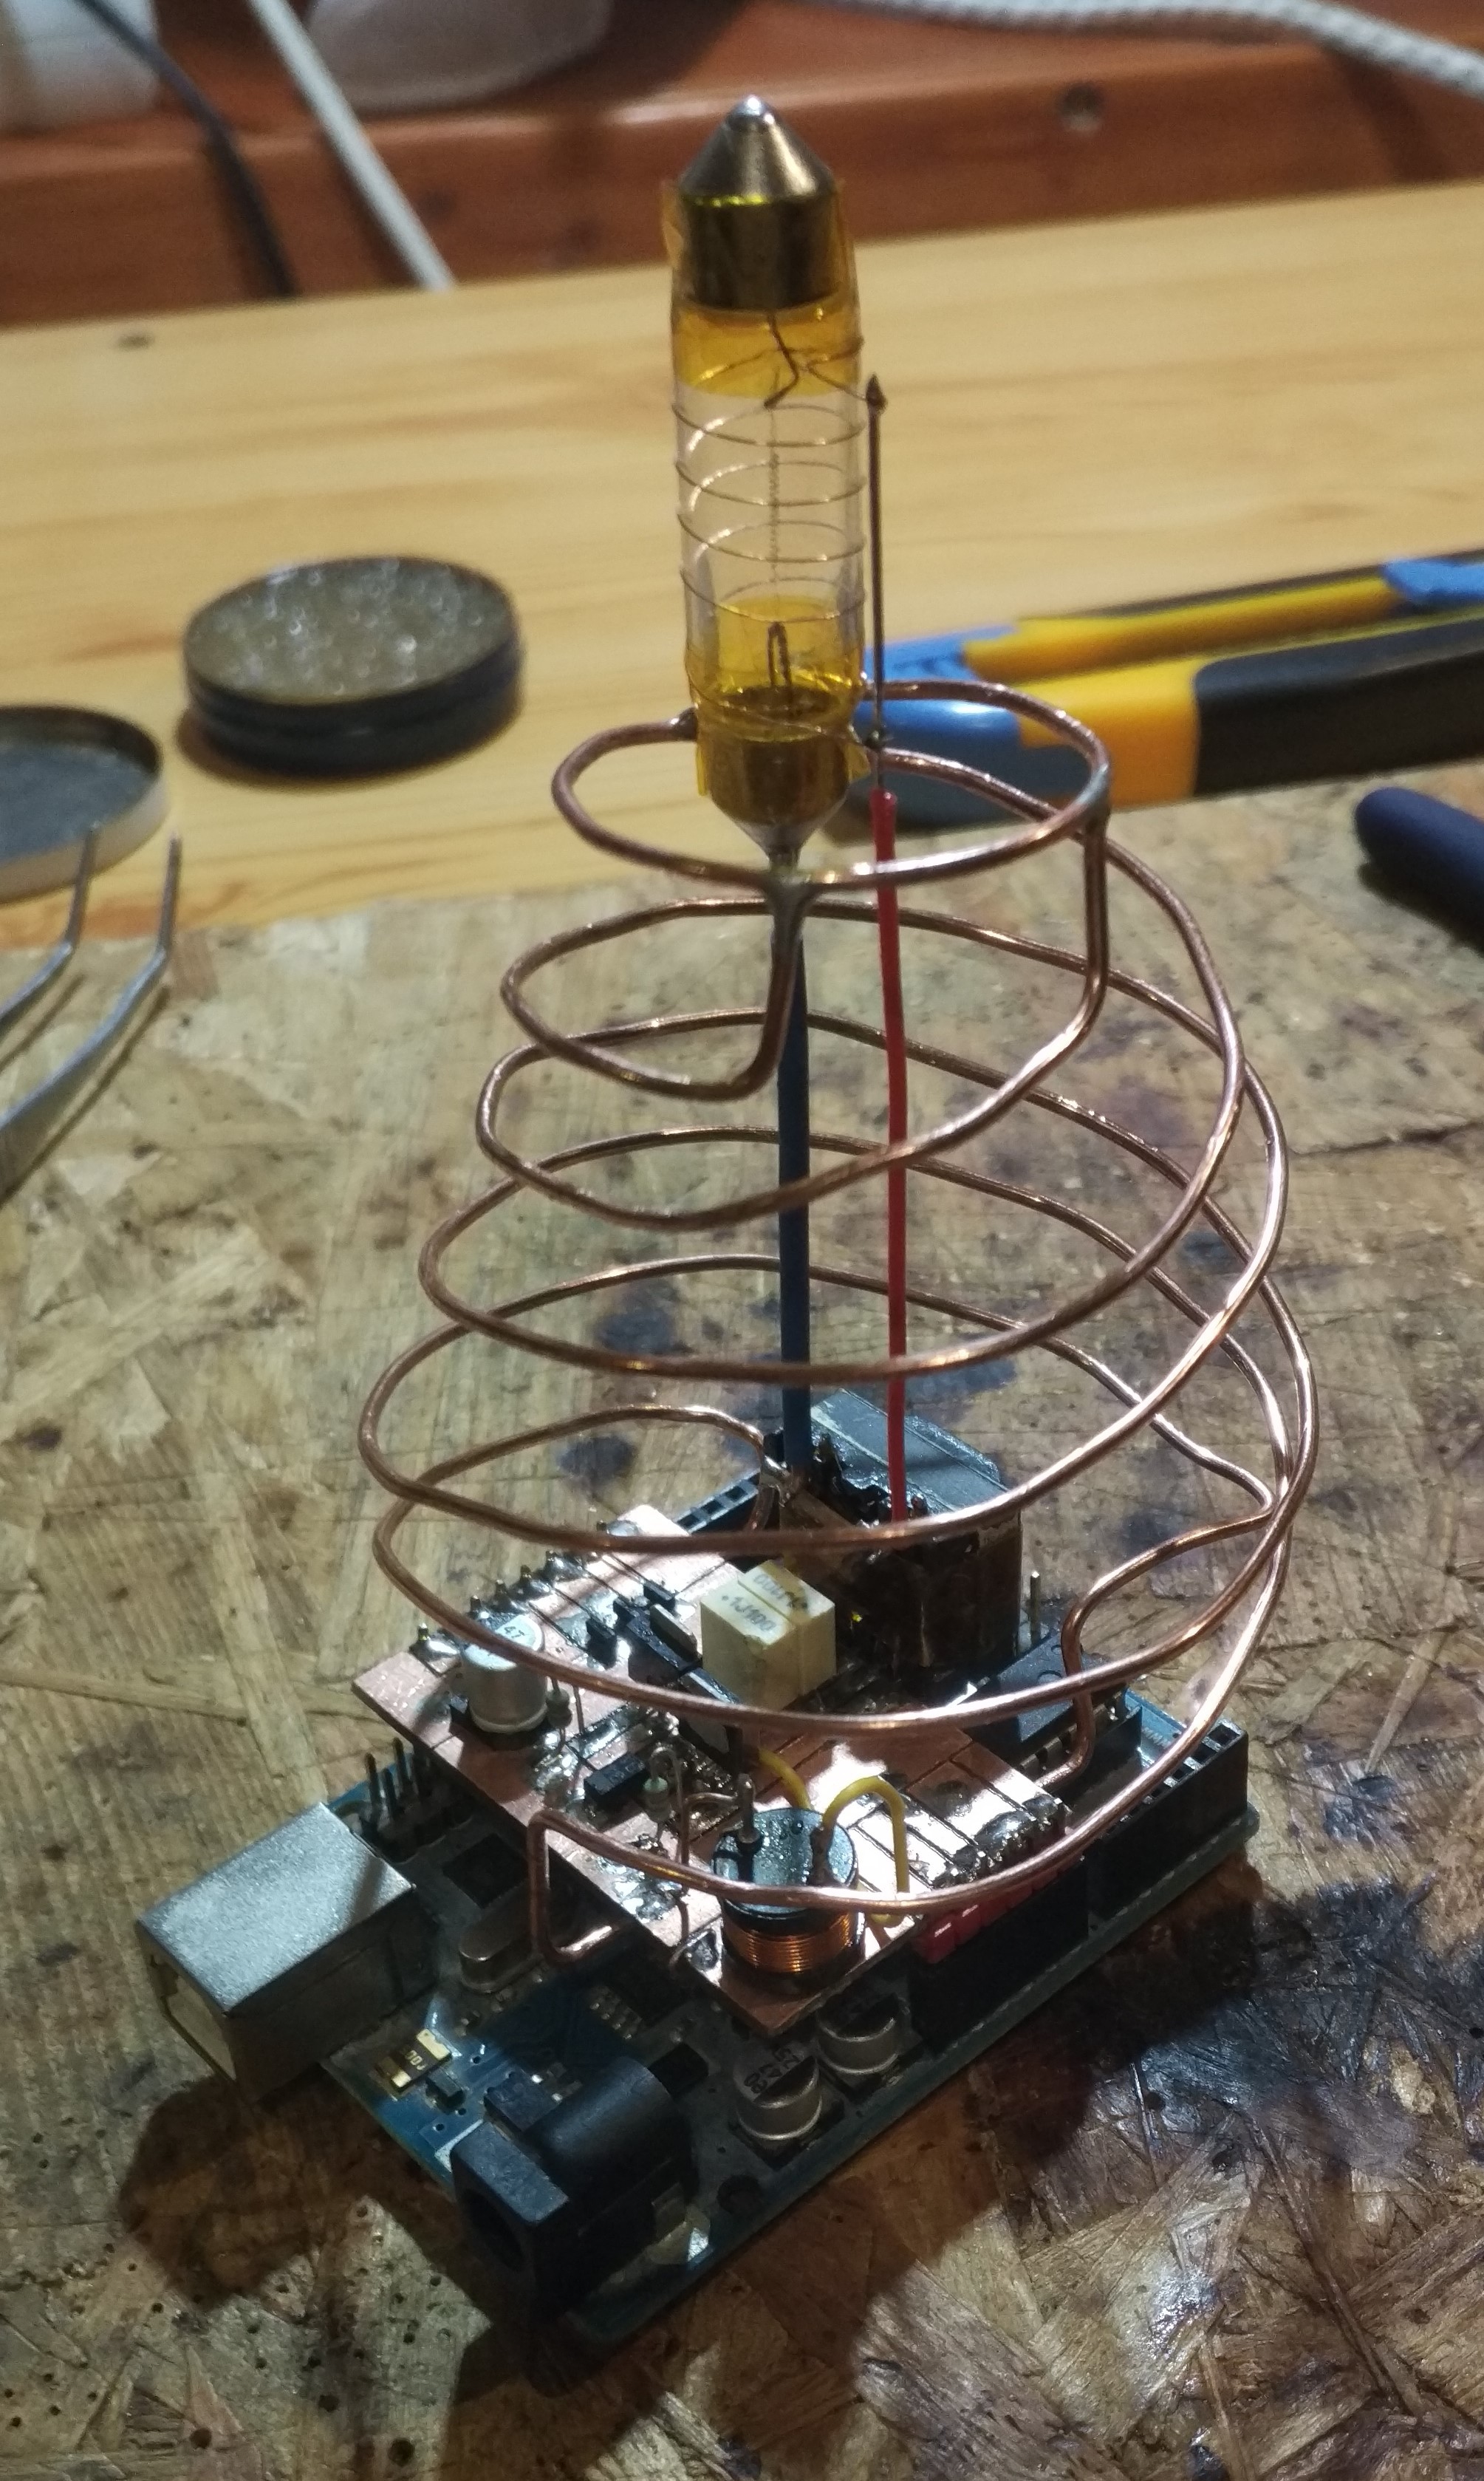
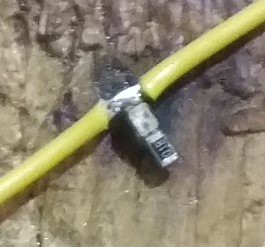
After putting 2 coils of wire, I decided that another coil was needed. Indeed, it looks better with 3 coils. Time to hang the lights! (Or more likely, solder.) I soldered SMD LEDs in series with 1k resistors to form the lights, and soldered them directly to the tree. To connect to the supply, I used colorful wires for additional decorations. This turned out to be a nightmare, as bending these relatively rigid wires to position often resulted in pads breaking off the soldered LEDs and resistors, meaning I had to replace them. The wires were only cut at the first and last LEDs, at the intermediate pieces I just cut the insulation and pulled it slightly aside, exposing the copper conductor. This way, it could be soldered neatly.
I also improvised a rig to solder the LEDs and resistors together:
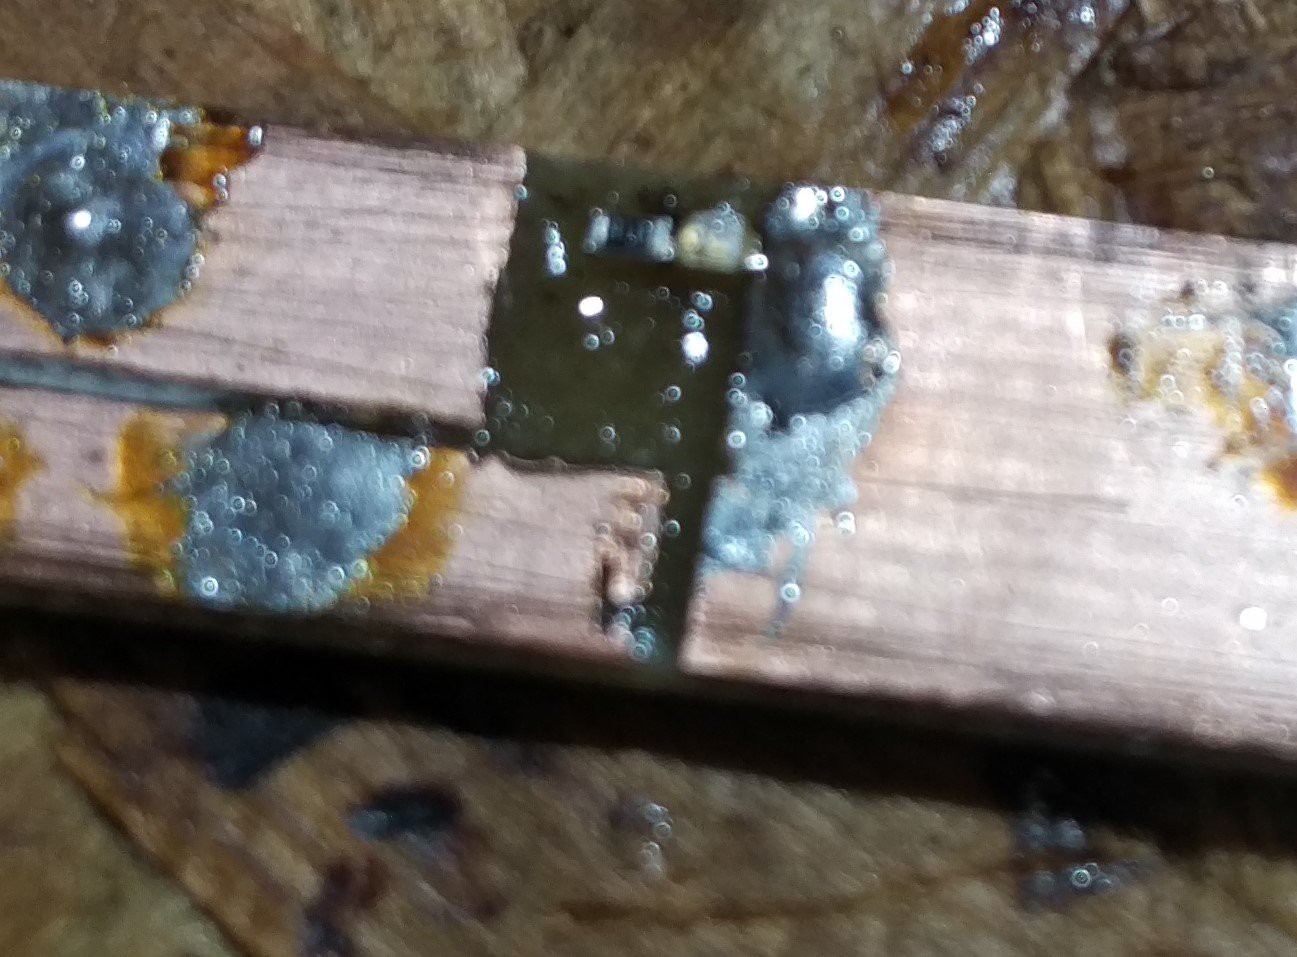
In this picture you can see (more or less) how it works: you attach one end of a component to the copper, and then solder the other component directly to it. Then, after desoldering from the copper plate, it could be added to the tree. After soldering all 6 string to their place, I connected their lower ends to the Arduino IO ports. Since all LEDs draw approximately 2-3 mA, the AVR is able to supply 10 LEDs directly from the GPIO. I also covered the lights with hot glue for more structural stability. As it turned out, this was also a great way to diffuse their light.
The rest is pretty much just software. You can see the final result in the project pictures, and in the video in the next log.
Discussions
Become a Hackaday.io Member
Create an account to leave a comment. Already have an account? Log In.