 Adrien Fauconnet
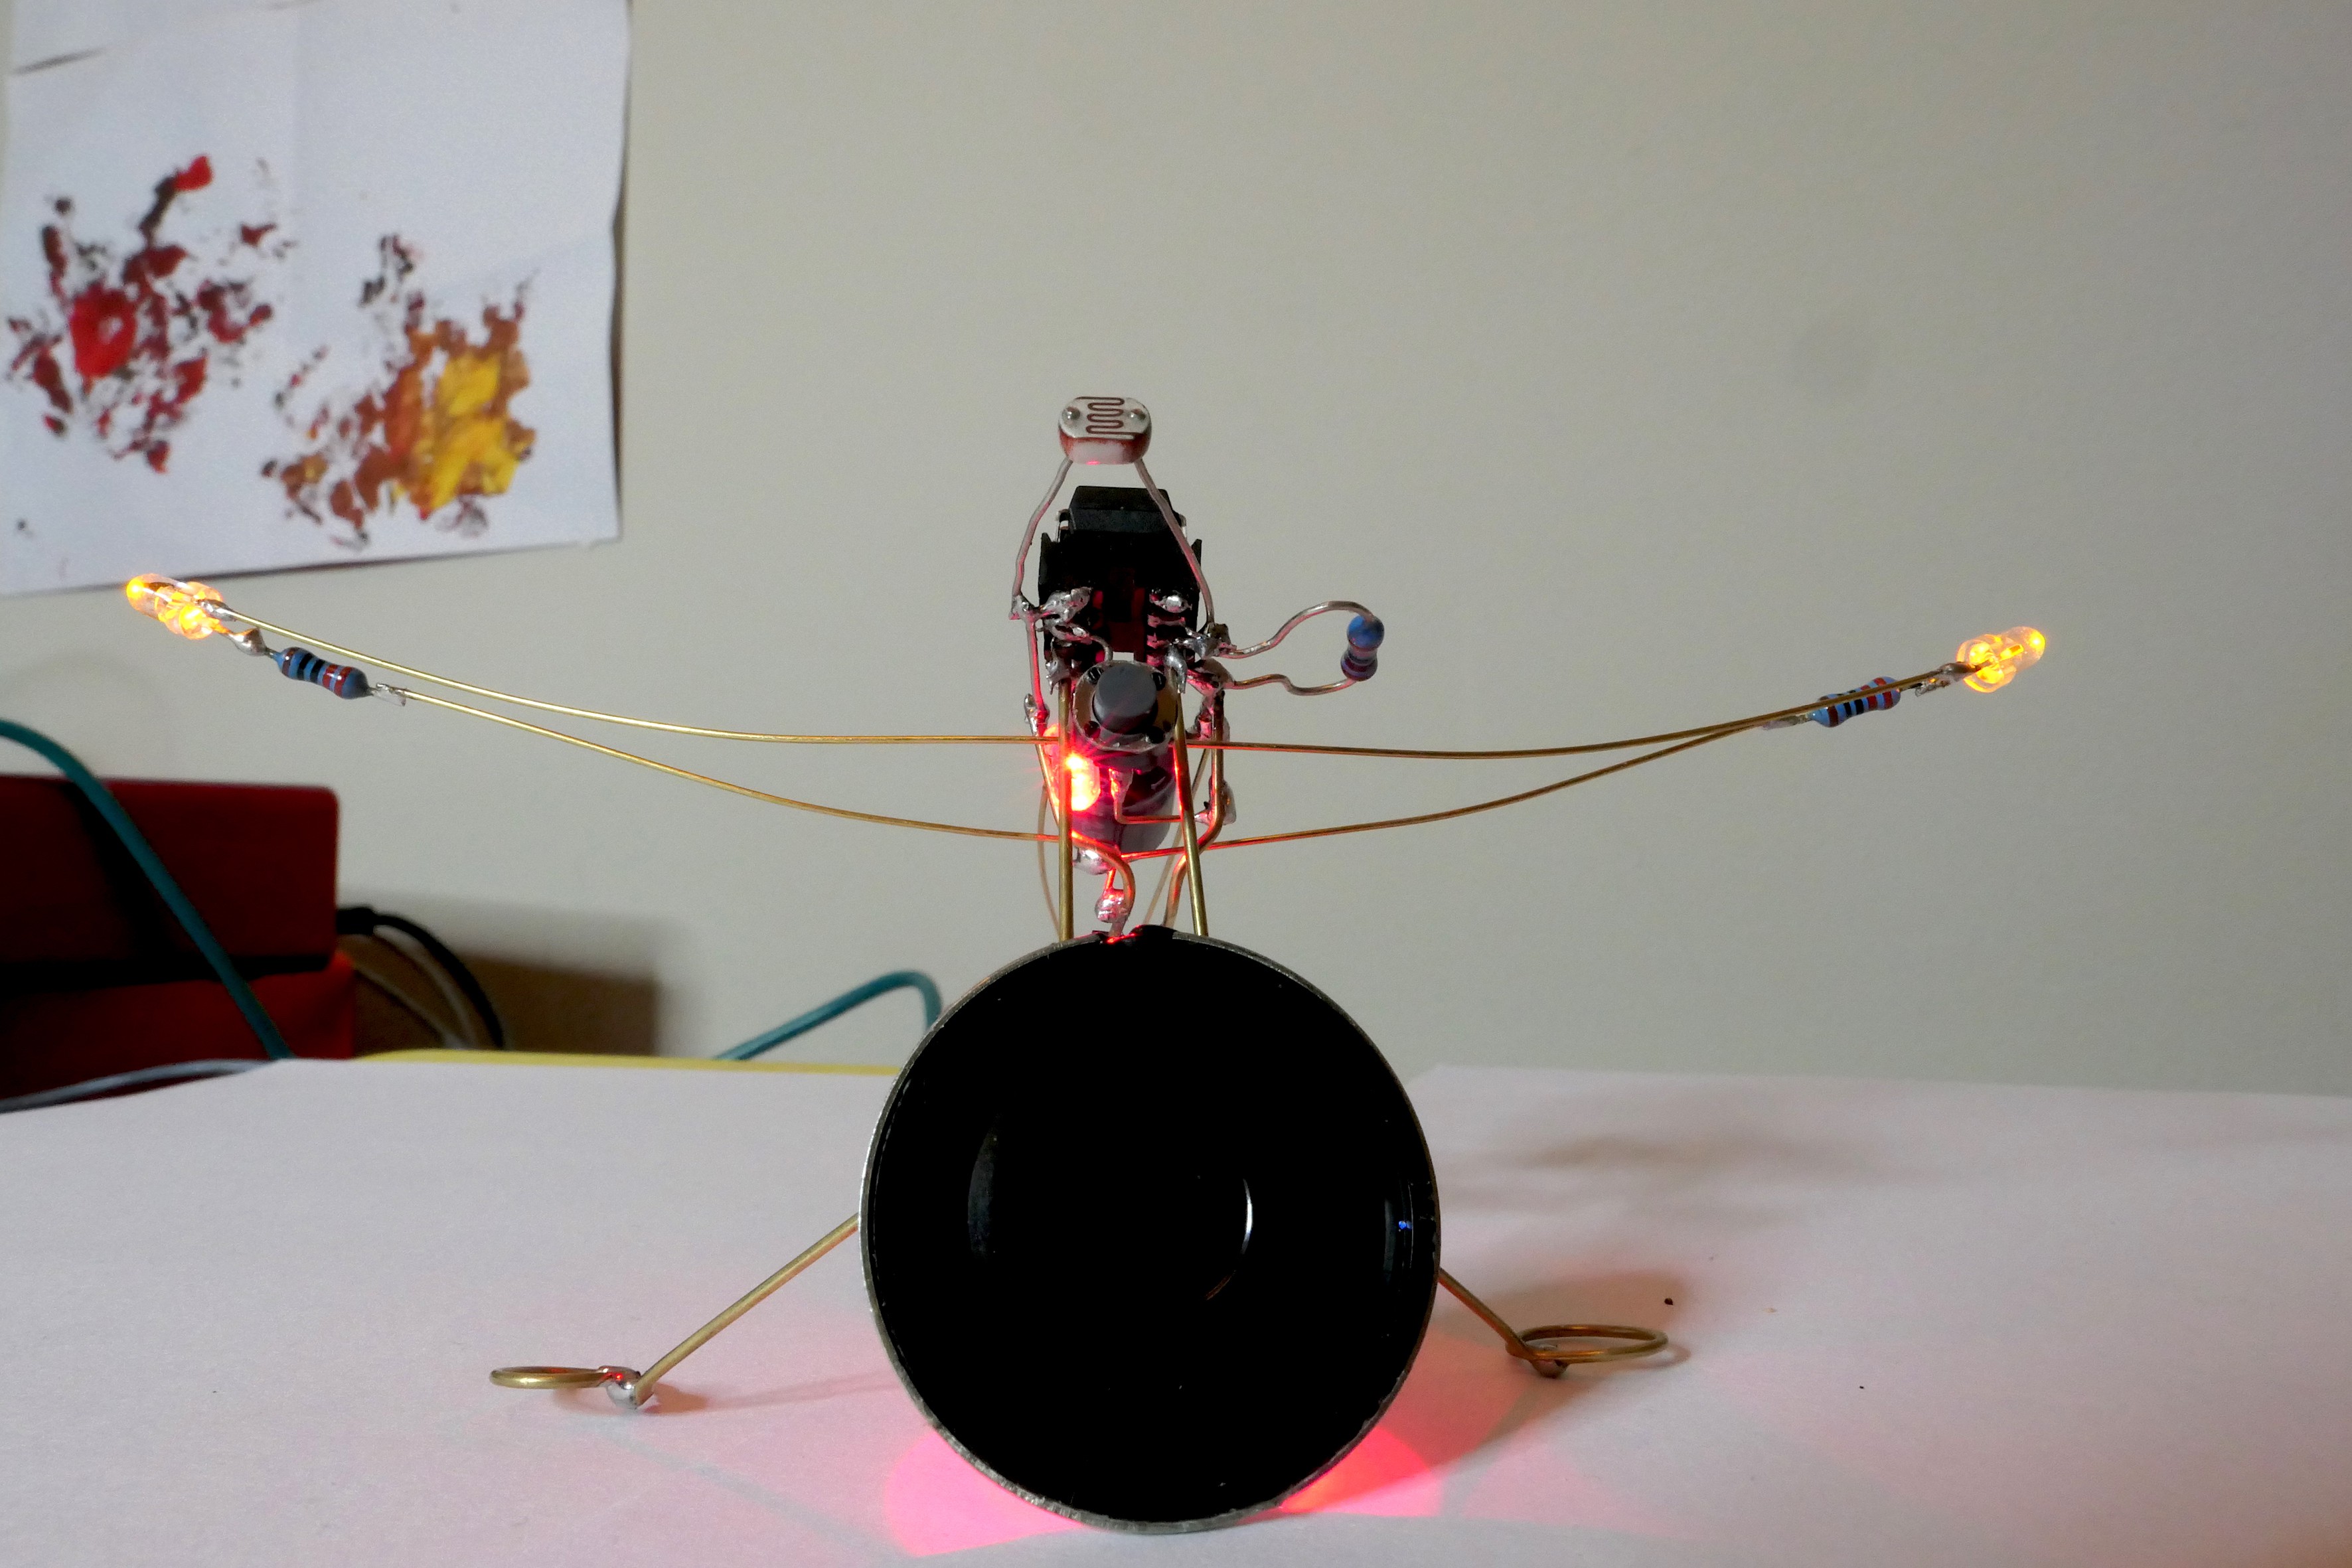
The story of the Tiny Cuicui...
A few events brought the tiny cuicui to life, here's what happened...
- I started following Mohit Bhoite on Instagram a couple months ago and thought: "That just looks amazing! I'd love to give it a go!" but I had no idea that popped in my mind.
- Some time ago, I ordered a 99p USB development board for ATtiny85 on eBay and forgot about it until it arrive last week.
- At the same time, I invested another 99p in a bag of 50 LDR that showed up a day later
- Then came Christmas and Secret Santa. I got some brass rods: 0.5mm, 0.8 mm and 1.5 mm. Thanks Tom ;)
When I saw the Circuit Sculpture contest blog post, I had no excuse not to try and build something!
Making it blink with Micronucleus, Arduino & PlatformIO

First thing first, I had to find a way to get some code onto the ATtiny85 and make it blink. Google told me about micronucleus, a USB bootloader for ATtiny85 and others. I got my good old Arduino ISP and fired up the following commands after cloning the micronucleus repo:
git clone https://github.com/micronucleus/micronucleus.git
cd micronucleus/firmware
make fuse
make flash
Little tip, on OSX you can install everything you need using Homebrew:
brew tap osx-cross/avr
brew install avrdude avr-gcc
If you want to change the configuration of avrdude for your programmer, you can do this here (you might need to change the version accordingly..)
nano /usr/local/Cellar/avrdude/6.3_1/etc/avrdude.conf
In my case, I added the Arduino ISP as a programmer
programmer
  id    = "arduinoisp";
  desc  = "Arduino ISP Programmer";
  type  = "usbtiny";
  connection_type = usb;
  usbvid     = 0x2341;
  usbpid     = 0x0049;
;
Anyway, I diverge... Now we got a bootloader and the ATtiny85 shows up as a generic USB device. So I got cracking and installed the boards in Arduino IDE following this very helpful tutorial from digistump or you can set it up for PlatformIO following the instructions for Digispark USB. Make sure you install the atmelavr platform:
platformio platform install atmelavr --skip-default-package --with-package=uploader
Add this to your platformio.ini file
[env:micronucleus]
platform = atmelavr
board = digispark-tiny
framework = arduino
It works, but could be better...
After all of that it blinks, so I got cracking and experimented a little with some code on the ATtiny85. Very soon, I discovered that this dev board and micronucleus was a little bit annoying to work with... First of all, every time I wanted to upload my code to the micro, I had to unplug and plug the device back in and it wasn't reliably programming... So I decided to go back to the trusty Arduino ISP and make a board that suits my needs.
Practice makes perfect
As I was going to make some kind of sculpture shortly after this board. I decided to practice by using tinned wire and bending it as cleanly as I could on the bottom side of the vero board.
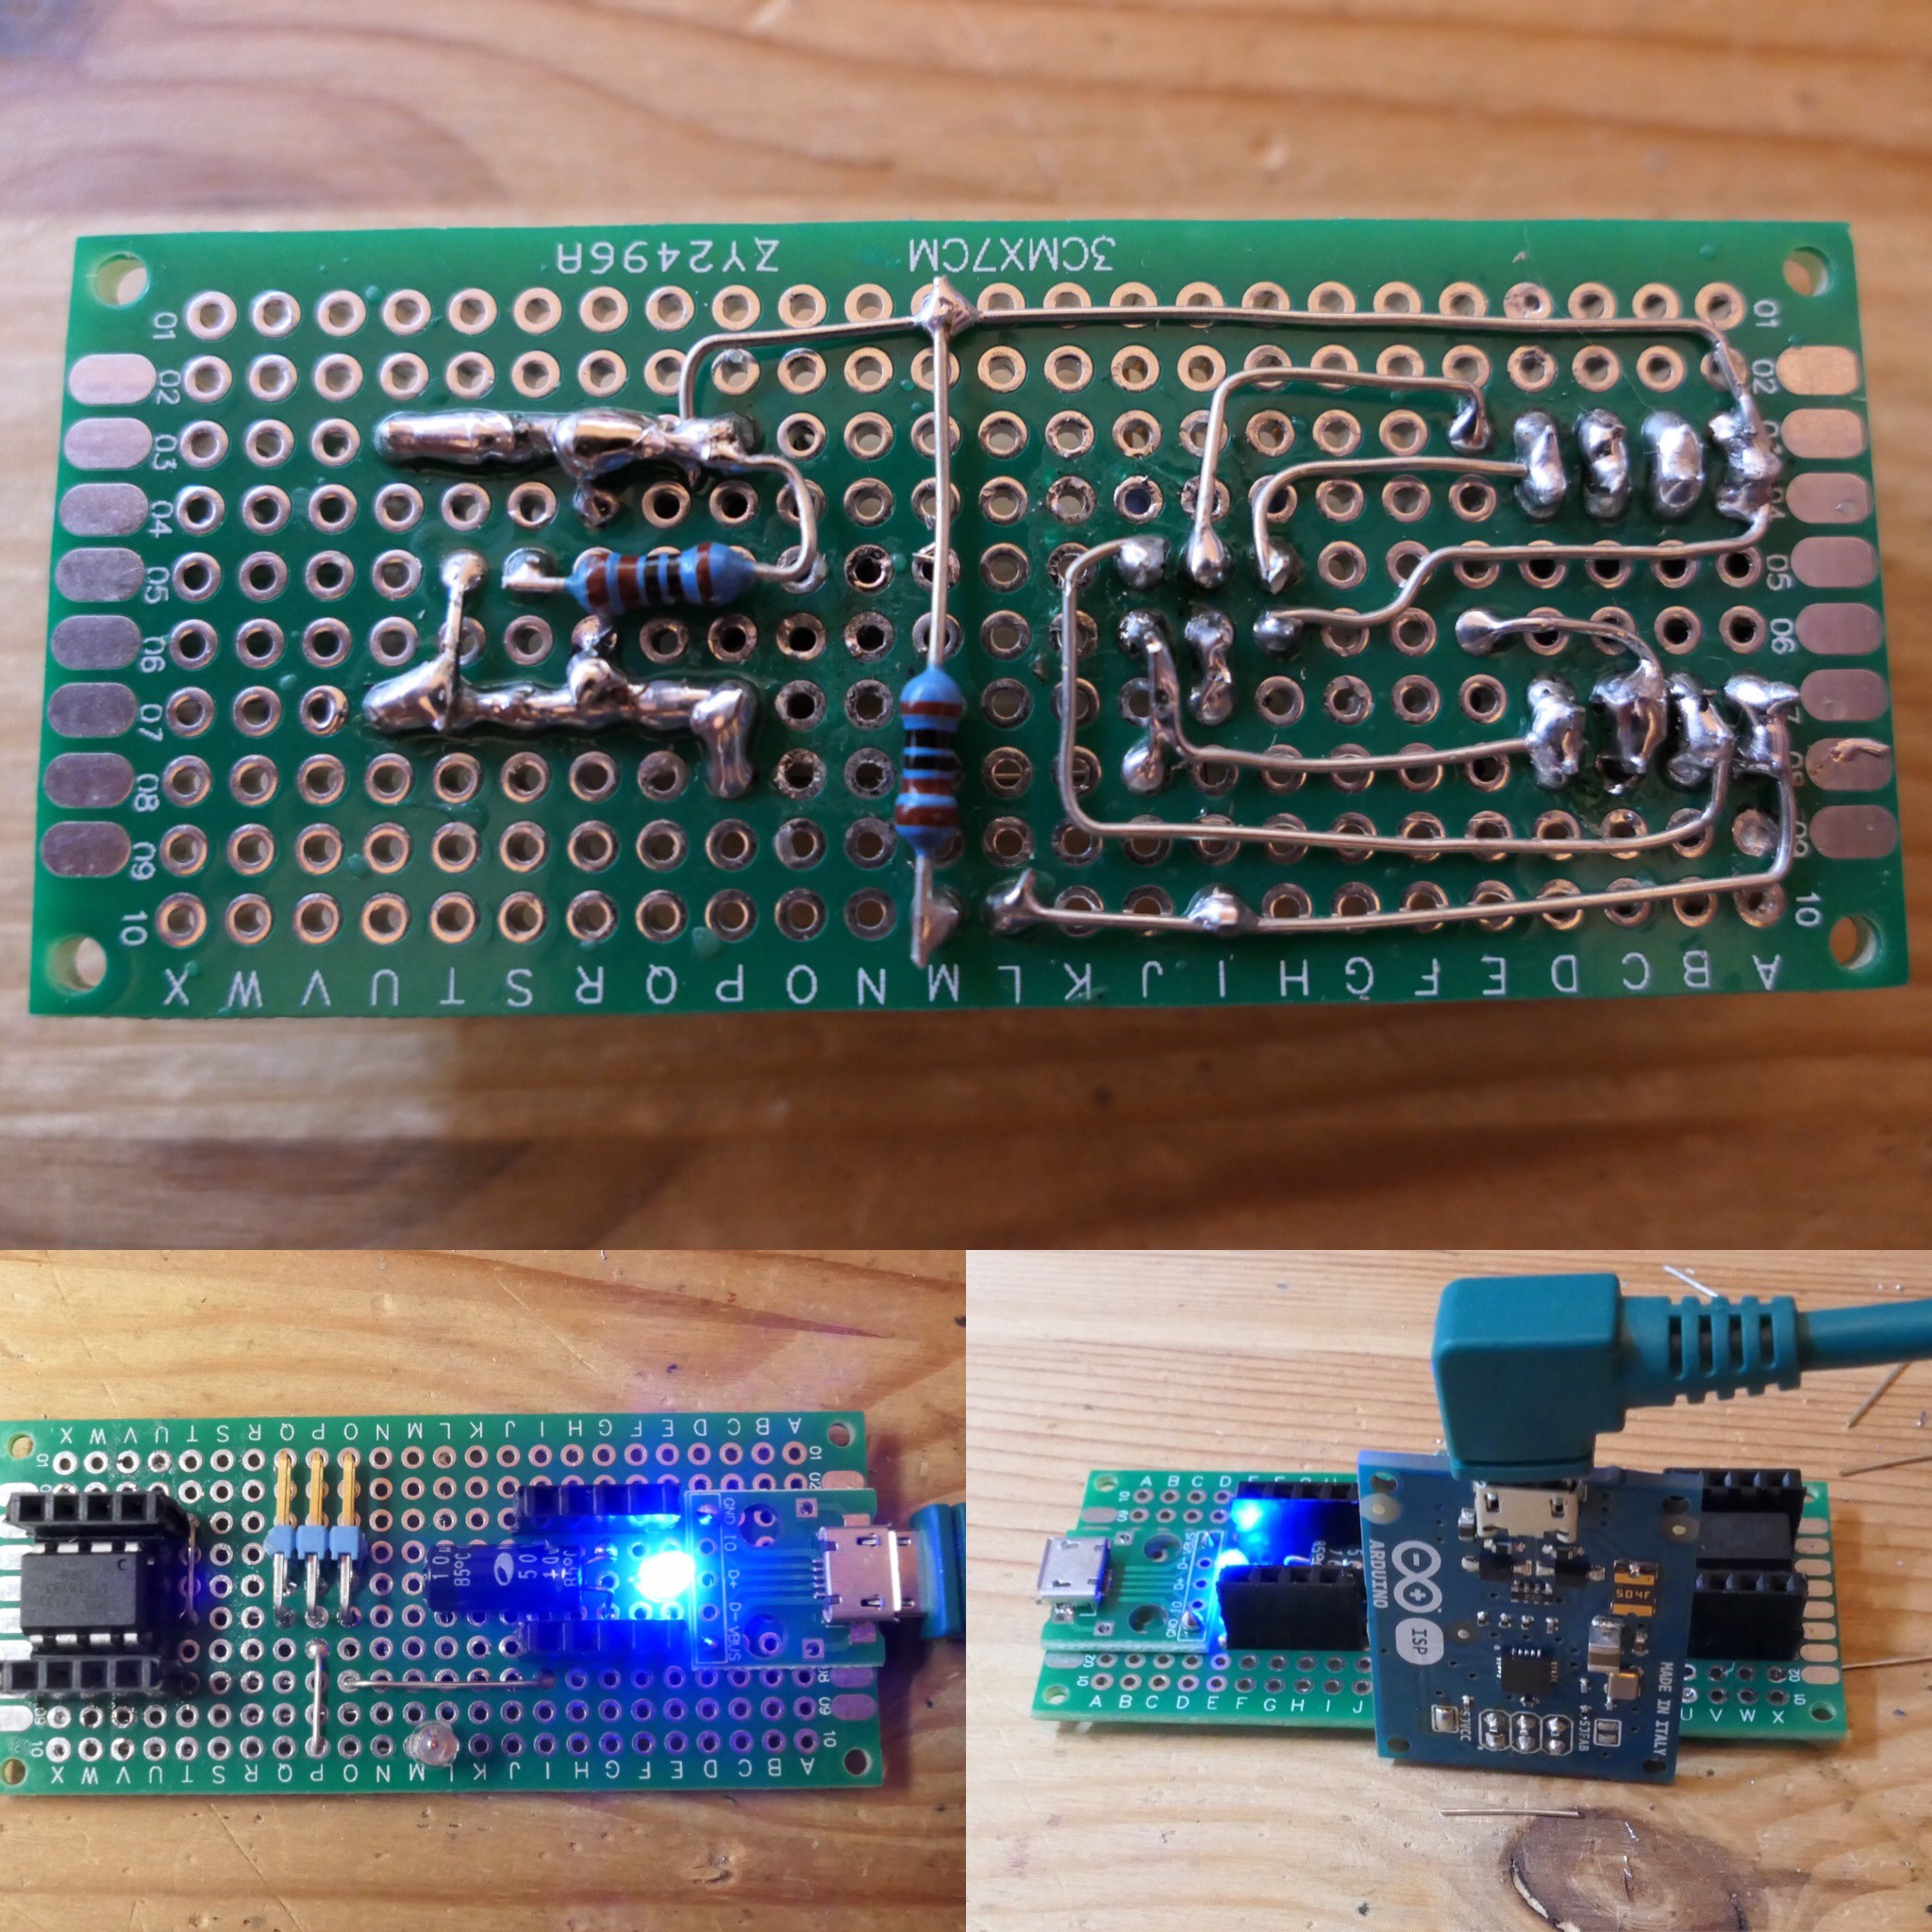
Once the board finished, I found that this was a much better flow for me. Here are some of the features of that board:
- ISP connector - I used a right angle connector to make sure the Arduino ISP is always connected in the correct orientation
- DIP 8 socket for ATtiny85
- 2 x 4 SIL sockets duplicating each pin of the socket
- 5 x GND points
- 5 x Vcc points
- LED on PB0
- USB Power Input - the circuit can be powered by the ISP or from a USB supply
- Blue power LED
In order to use this programmer in PlatformIO, I used the following...
Read more »
 Sander van de Bor
 Eric Friedrich
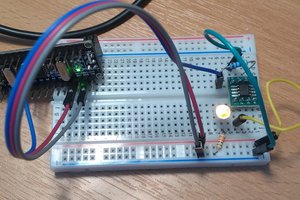
 Simon Merrett