 Tyler Johnson
Project
I decided to make this project after seeing a project created by Jiří Praus called the Arduinoflake! I envisioned my version as more of a display that could be setup on a table as a decoration.
The snowflake is driven by an Arduino Nano. There are 12 individually controllable LEDs and 6 pairs of controllable LEDs making a total of 18 individual pwm channels. I have programmed 4 different animations that can be tuned by various parameters including background and foreground brightness and animation speed.
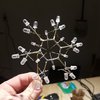
The 3D printed base is intended to provide a nice way to hold the piece in a way to expose as much of the circuitry as possible only hiding the Arduino Nano and the connections to the pins underneath.
Build
Having little to no soldering or circuit design experience and no freeform build experience I set out to start this project. I began researching all of the components I would need, making sure the controller I would use had enough outputs that could control the brightness of each LED. I found that the Arduino Nano sufficed as used by Jiří Praus in the Arduinoflake! project.
Next I ordered all of the LEDs, Arduinos, and resistors I would need for the project. However I still needed to find out where to buy the small brass rods used to create the sculpture. It was hard to find them online and I was a little worried about them getting bent during shipping so I tried to find them locally. I ended up finding 0.8mm and 1.16mm brass rods at a local hobby store. Now I could start building.
I began by designing a jig that I could 3D print and use to bend the hexagon shape with. The first version was quite small and hard to solder onto without the other joints melting and falling apart. This is also where I realized the importance of using flux to get clean and strong joints. So I designed a larger jig and shaped the frame of what is now the final product. I also created a mockup of the snowflake with CAD software so I could visualize all of the proportions and ensure everything would fit.
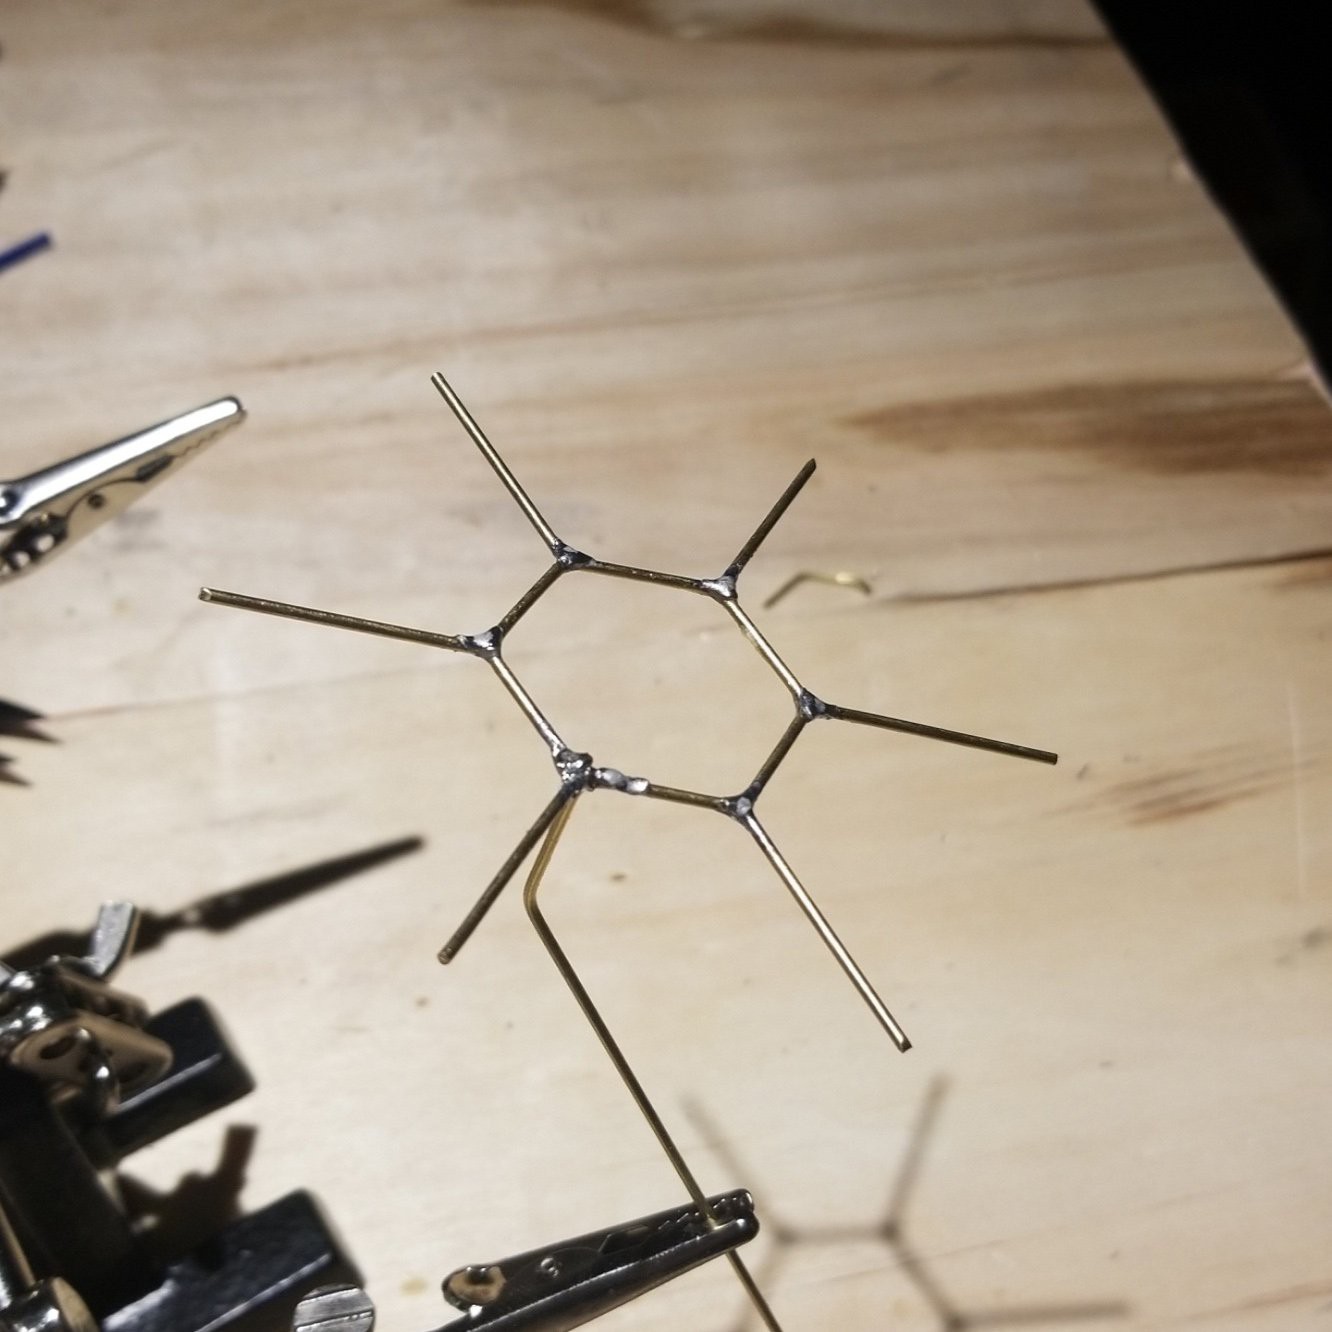
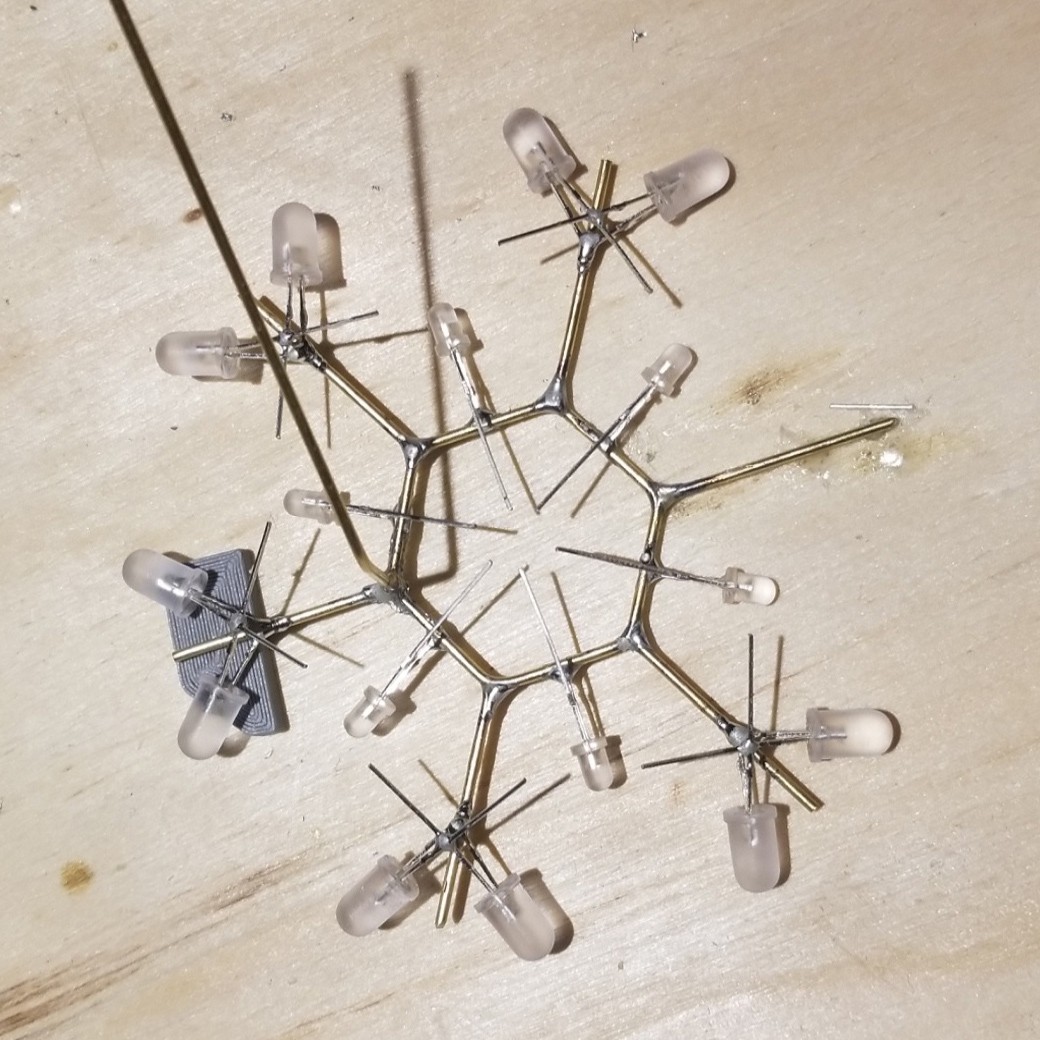
Next I cut all of the rods to length and began soldering everything together. The LEDs that branch of from the same point were initially a problem because one LED would move out of place or fall of when soldering the other. I realized that the other leads of the LED would eventually be connected together so I first soldered those leads together which held the other ones in the same position making it a breeze to solder both LEDs on at the same time.


After all of the LEDs were soldered to the main frame, I soldered all of the power rods to each group of LEDs that can be controlled individually. I made sure that each connection was bent in a way that once the sculpture was soldered to a protoboard, the snowflake would be displayed at a 45 degree angle. All of these connections were soldered to a protoboard that was used to make connecting each of the LEDs to the Nano easier and stronger. Next I designed and 3D printed the base of the sculpture after testing it and ensuring everything worked.
Overall I'm very happy how this build turned out provided that I've never really soldered anything or worked with any kind of freeform project before. I can't wait to build more projects!


 Coders Cafe
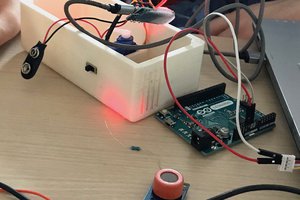
 Deepak Khatri
 Becky Stern
Very tidy! The wire form for this reminds me of the precise chemical models used by chemists.