 Mike Rigsby
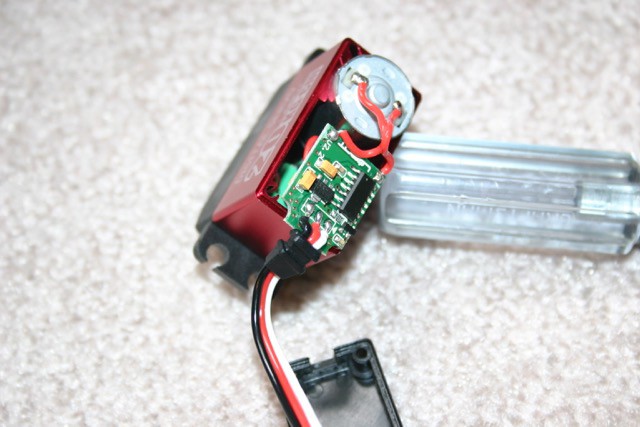
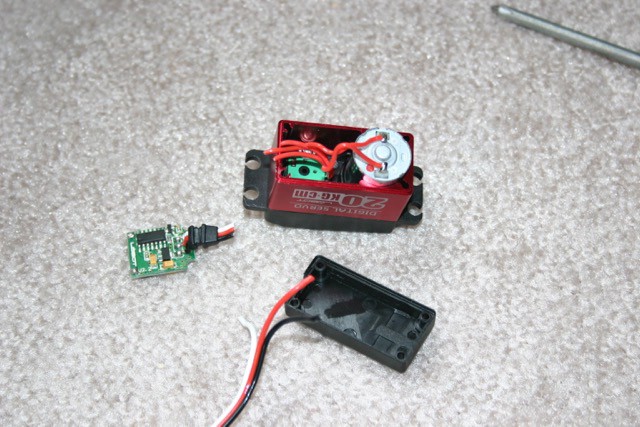
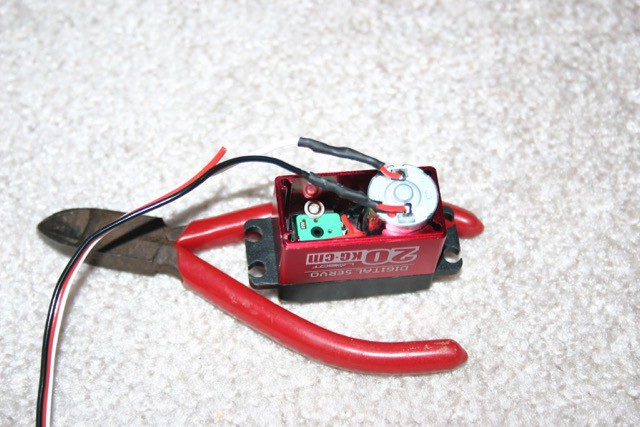
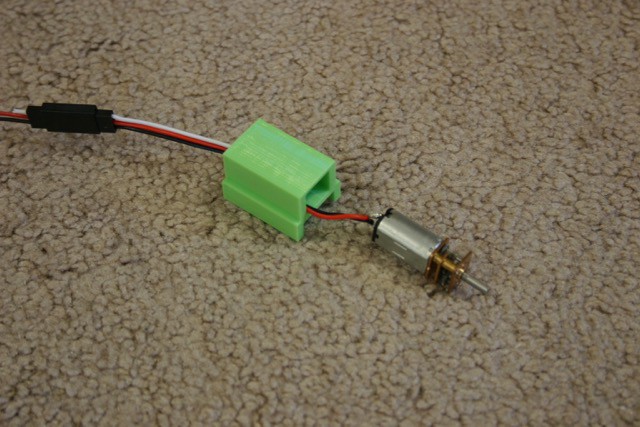
Convert the servo motor to a gear motor by removing the circuit board and soldering two wires direct to the motor (the motor I listed in the components has no end stop, so it is easy to convert).
The various 3d print and design files are available in the files section.
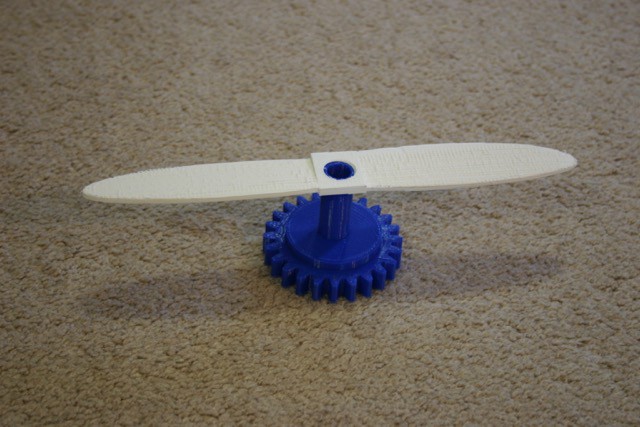
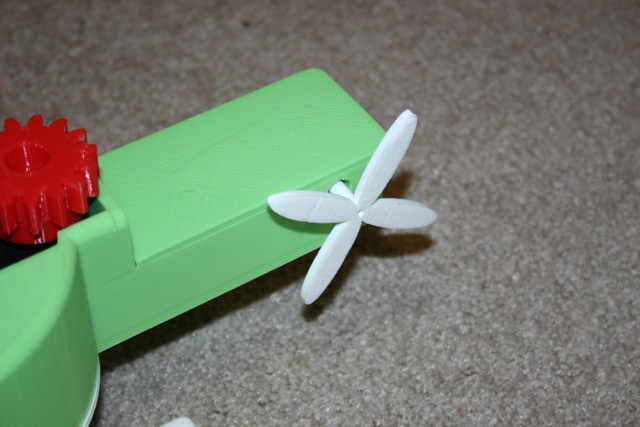
Note that blade thread and blade are combined to make propeller.
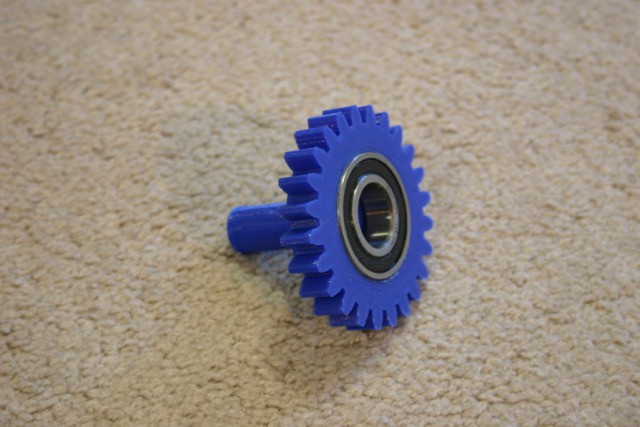
Gear and shaft lg gear and combined to make gear shaft combo.
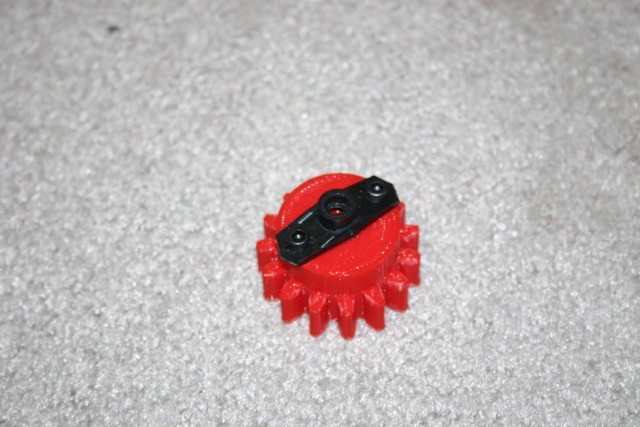
Small gear and gear spacer are combined to make sm gear combo.
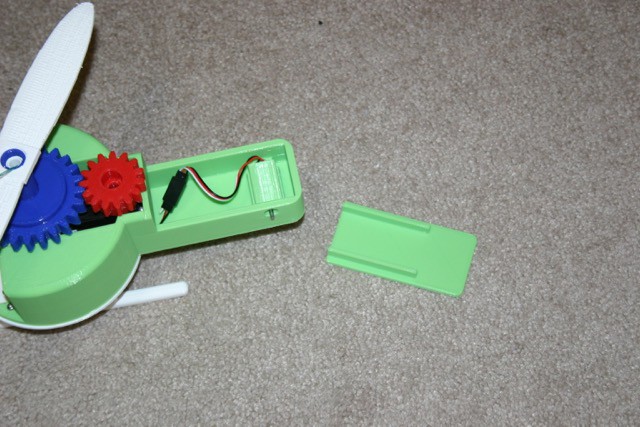
I create the gears in Fusion 360 ("Add ins, Spur Gear") using defaults, but selecting the number of teeth desired. This produces HUGE gears, but no big problem. Import the gear into Tinkercad (I scaled to 22% size) and then combine with a shaft or hub to make the gear combo I desired.
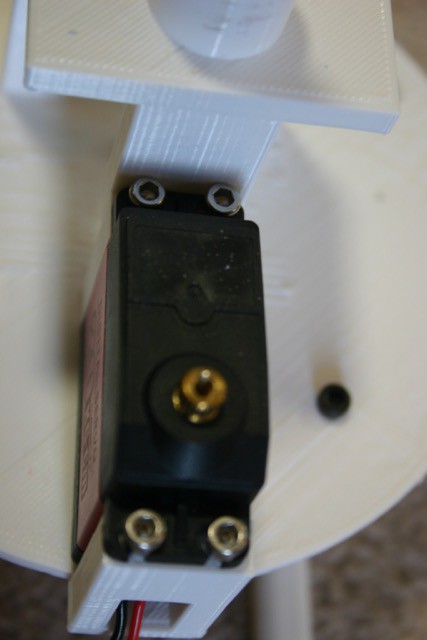
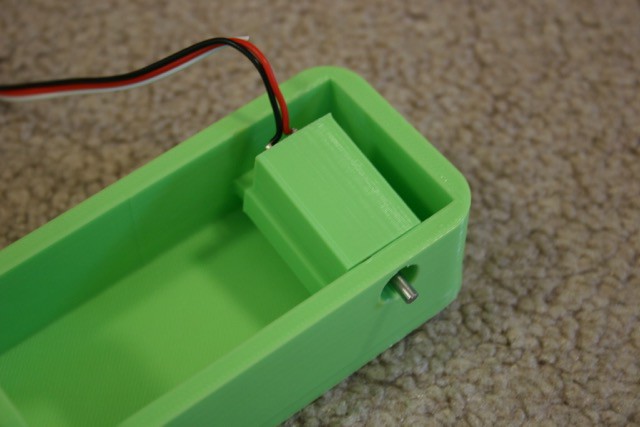
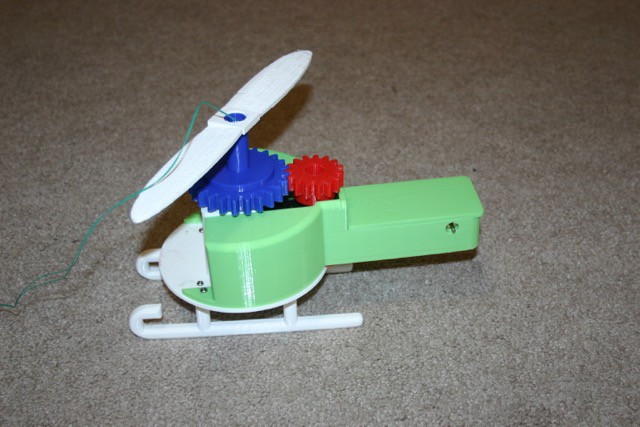
Mount the motor using 3mm screws.
Attach the small gear combo to the servo horn (clip ends off of servo horn).
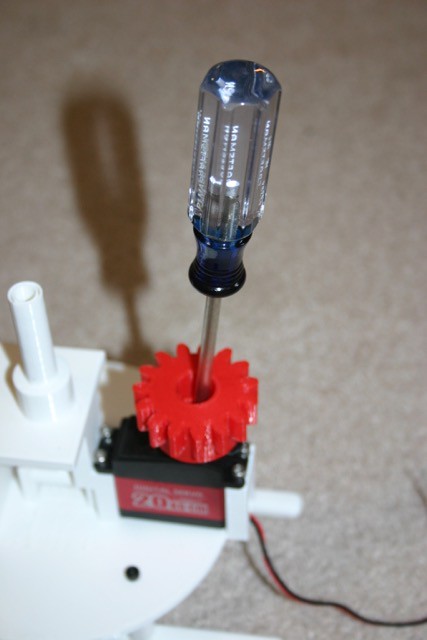
Secure the gear to the motor.
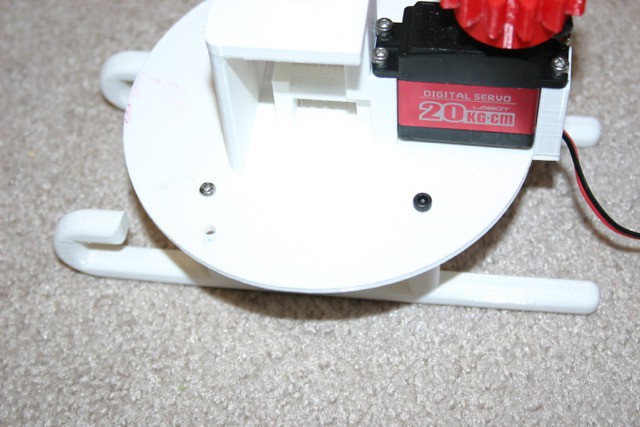
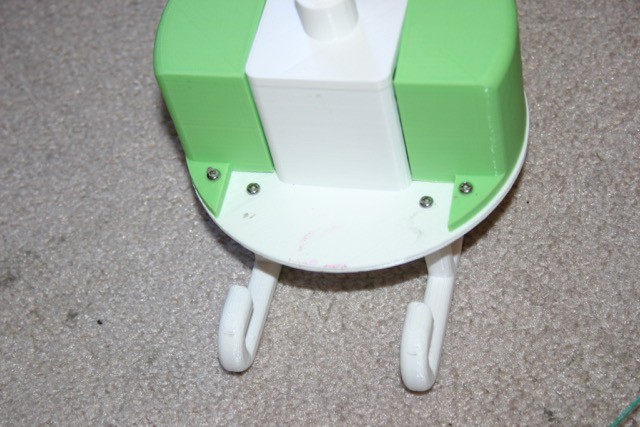
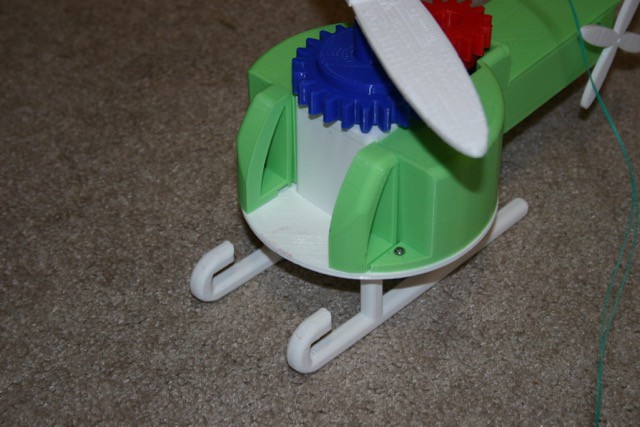
Attach the runners to the body with 3mm screws.
Put the tail motor into the rear motor bracket.
Press fit the bracket to the tail section.
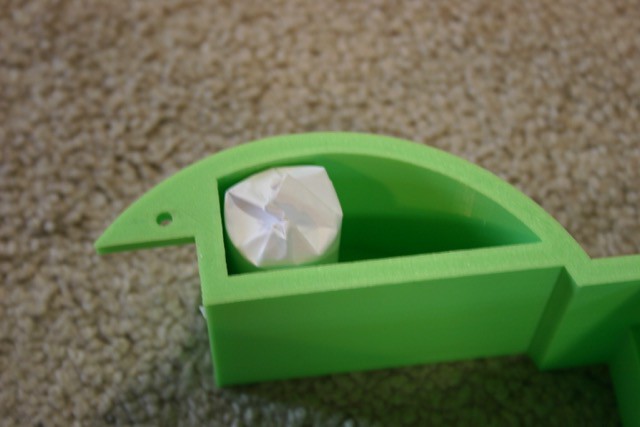
Insert a snowmobile bearing into the rotor gear shaft (gear shaft combo).
Screw the propeller onto the combo.
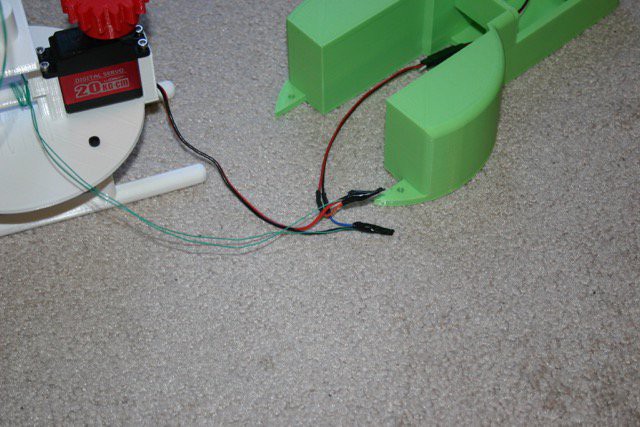
Thread the 30 awg wire wrap wire through the center shaft and wrap around the body support several times. Fasten the wire to the motor leads.
Add weight (I used two sets of quarters) to the green body.
Secure the body to the frame using 3mm screws and nuts.
Press fit the rear cover on the back of the copter.
Press fit the blade small (printed at 98% size) onto the tail motor shaft.
Glue the left and right harness pieces into place.
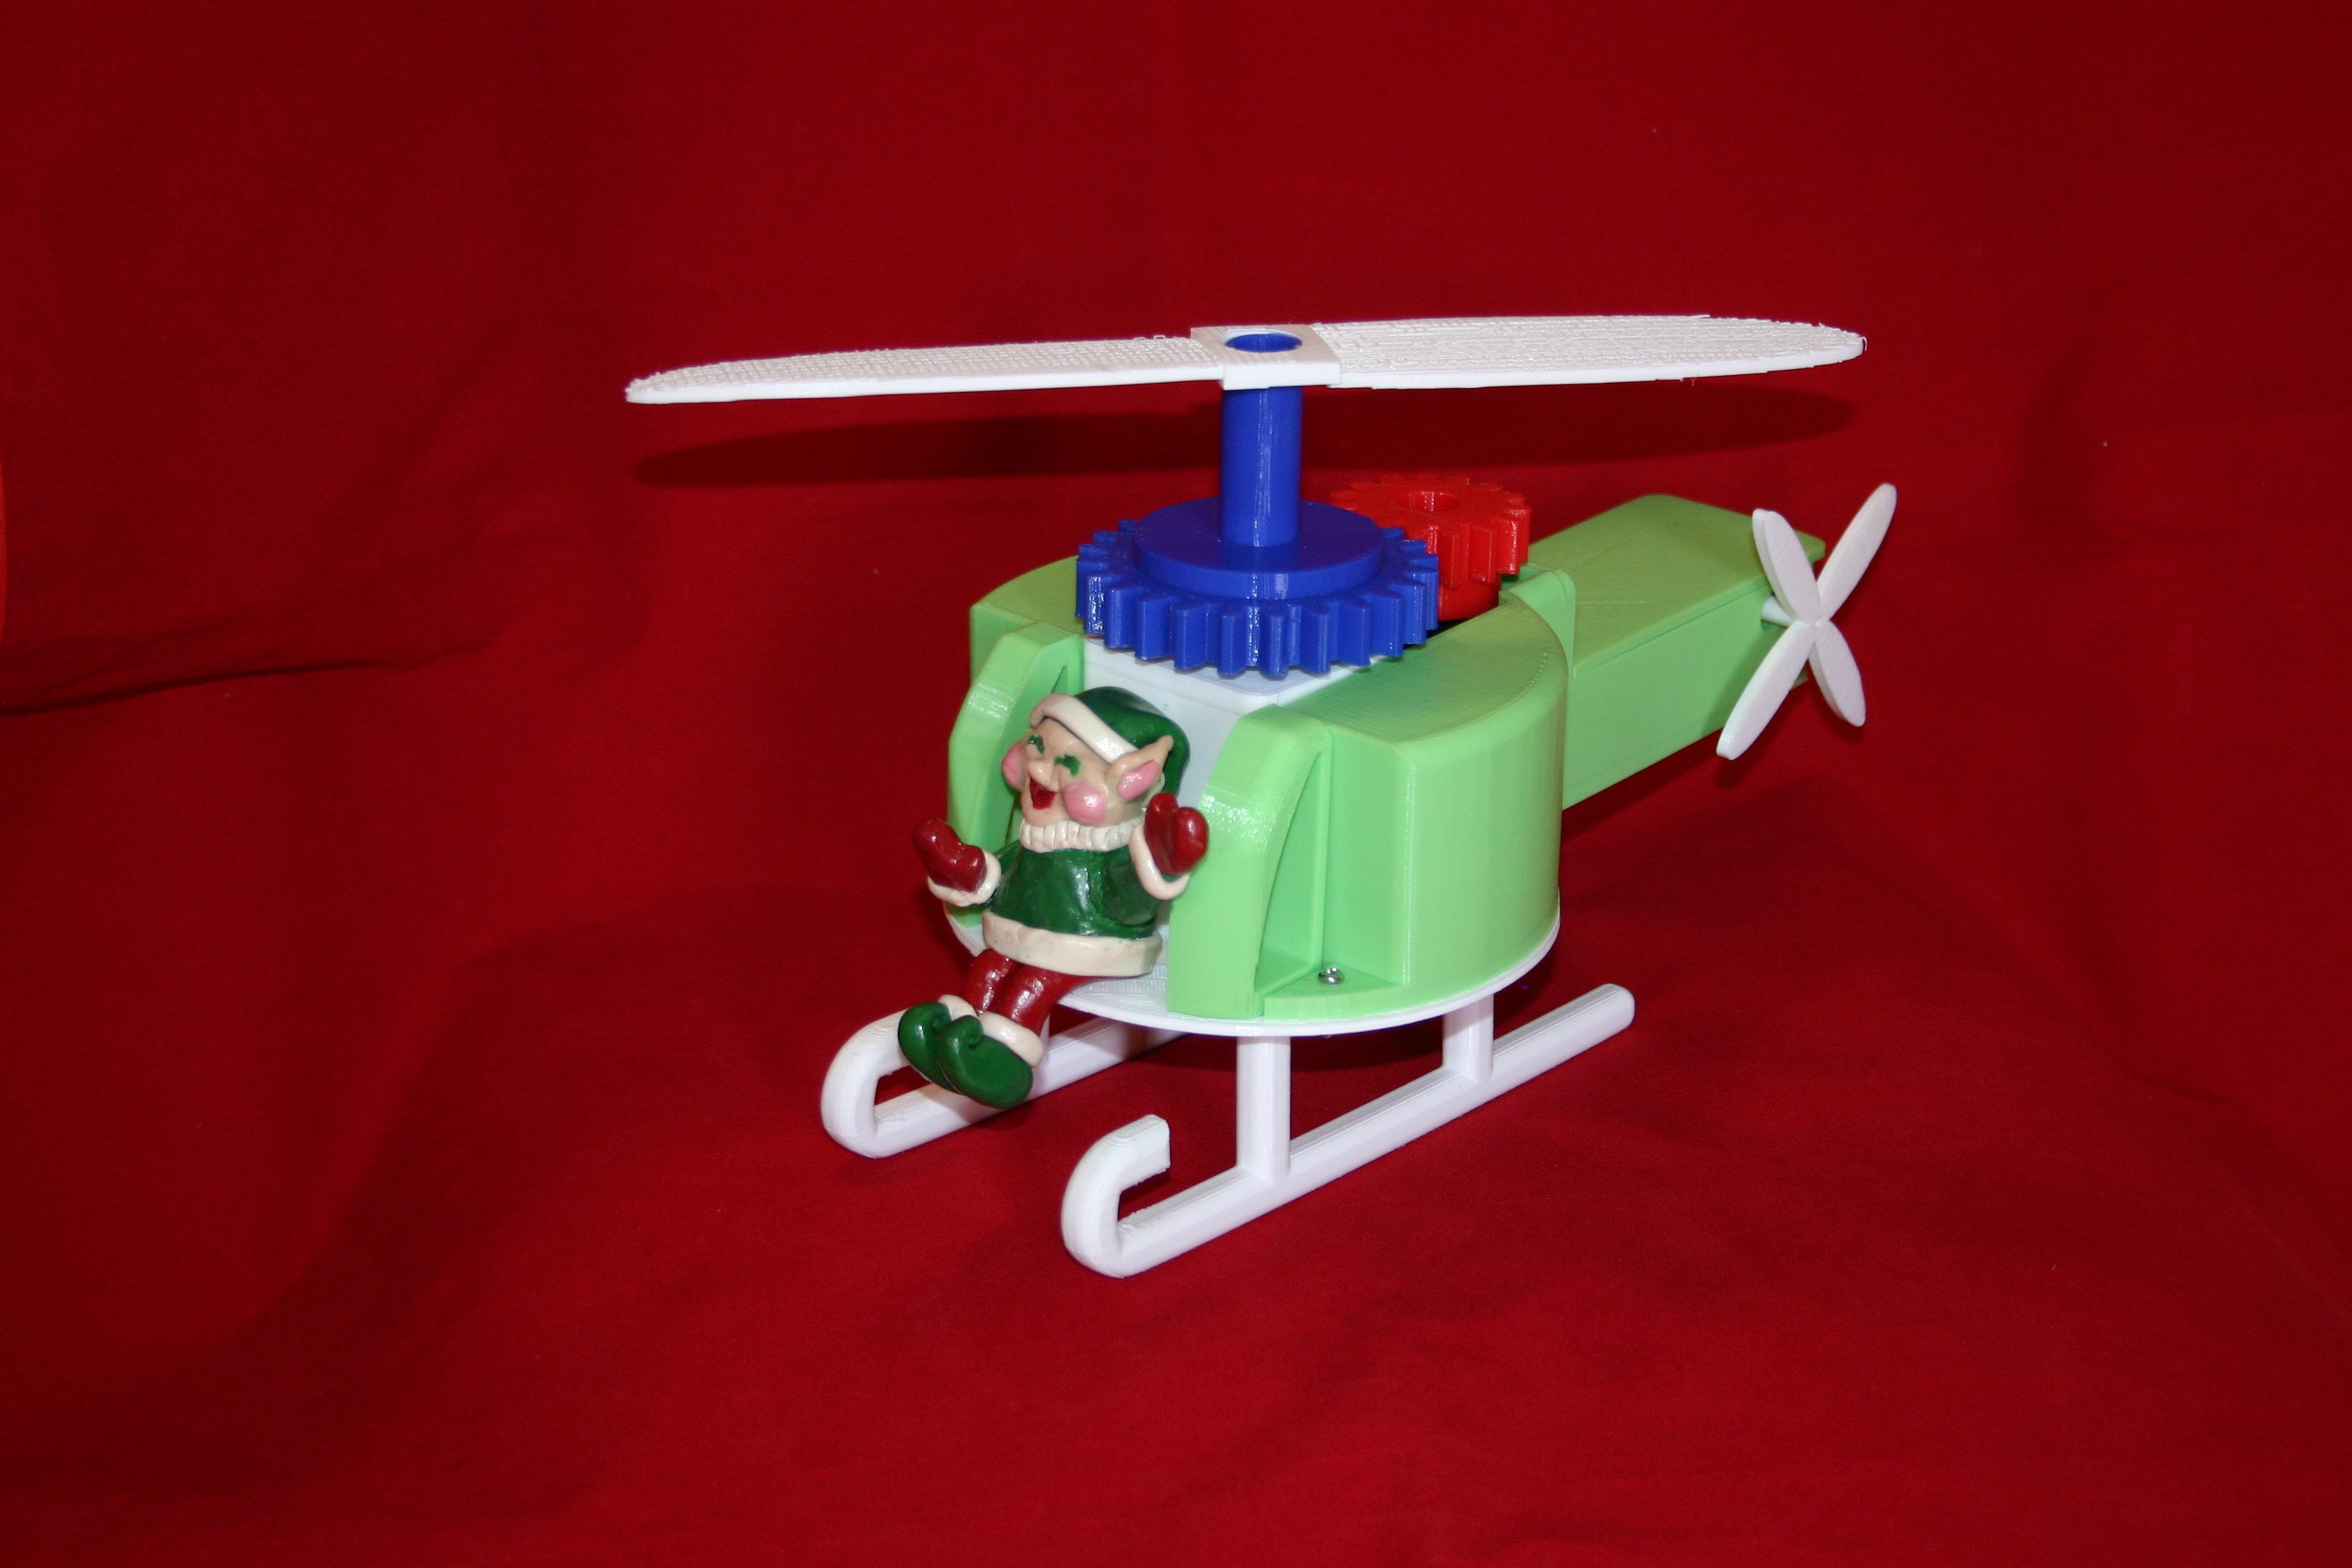
Add the driver (an elf made from polymer clay--courtesy of my wife Annelle).
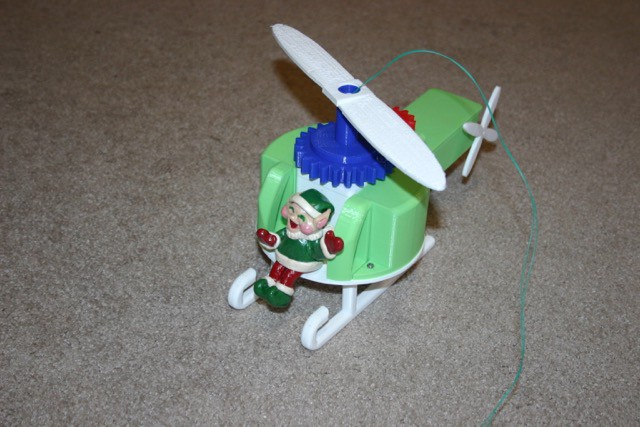
Here it is--ready to fly. Just don't stand underneath the thing!
Discussions
Become a Hackaday.io Member
Create an account to leave a comment. Already have an account? Log In.