-
YamPAD project log 20
08/22/2019 at 08:23 • 0 commentsFinal assembly...
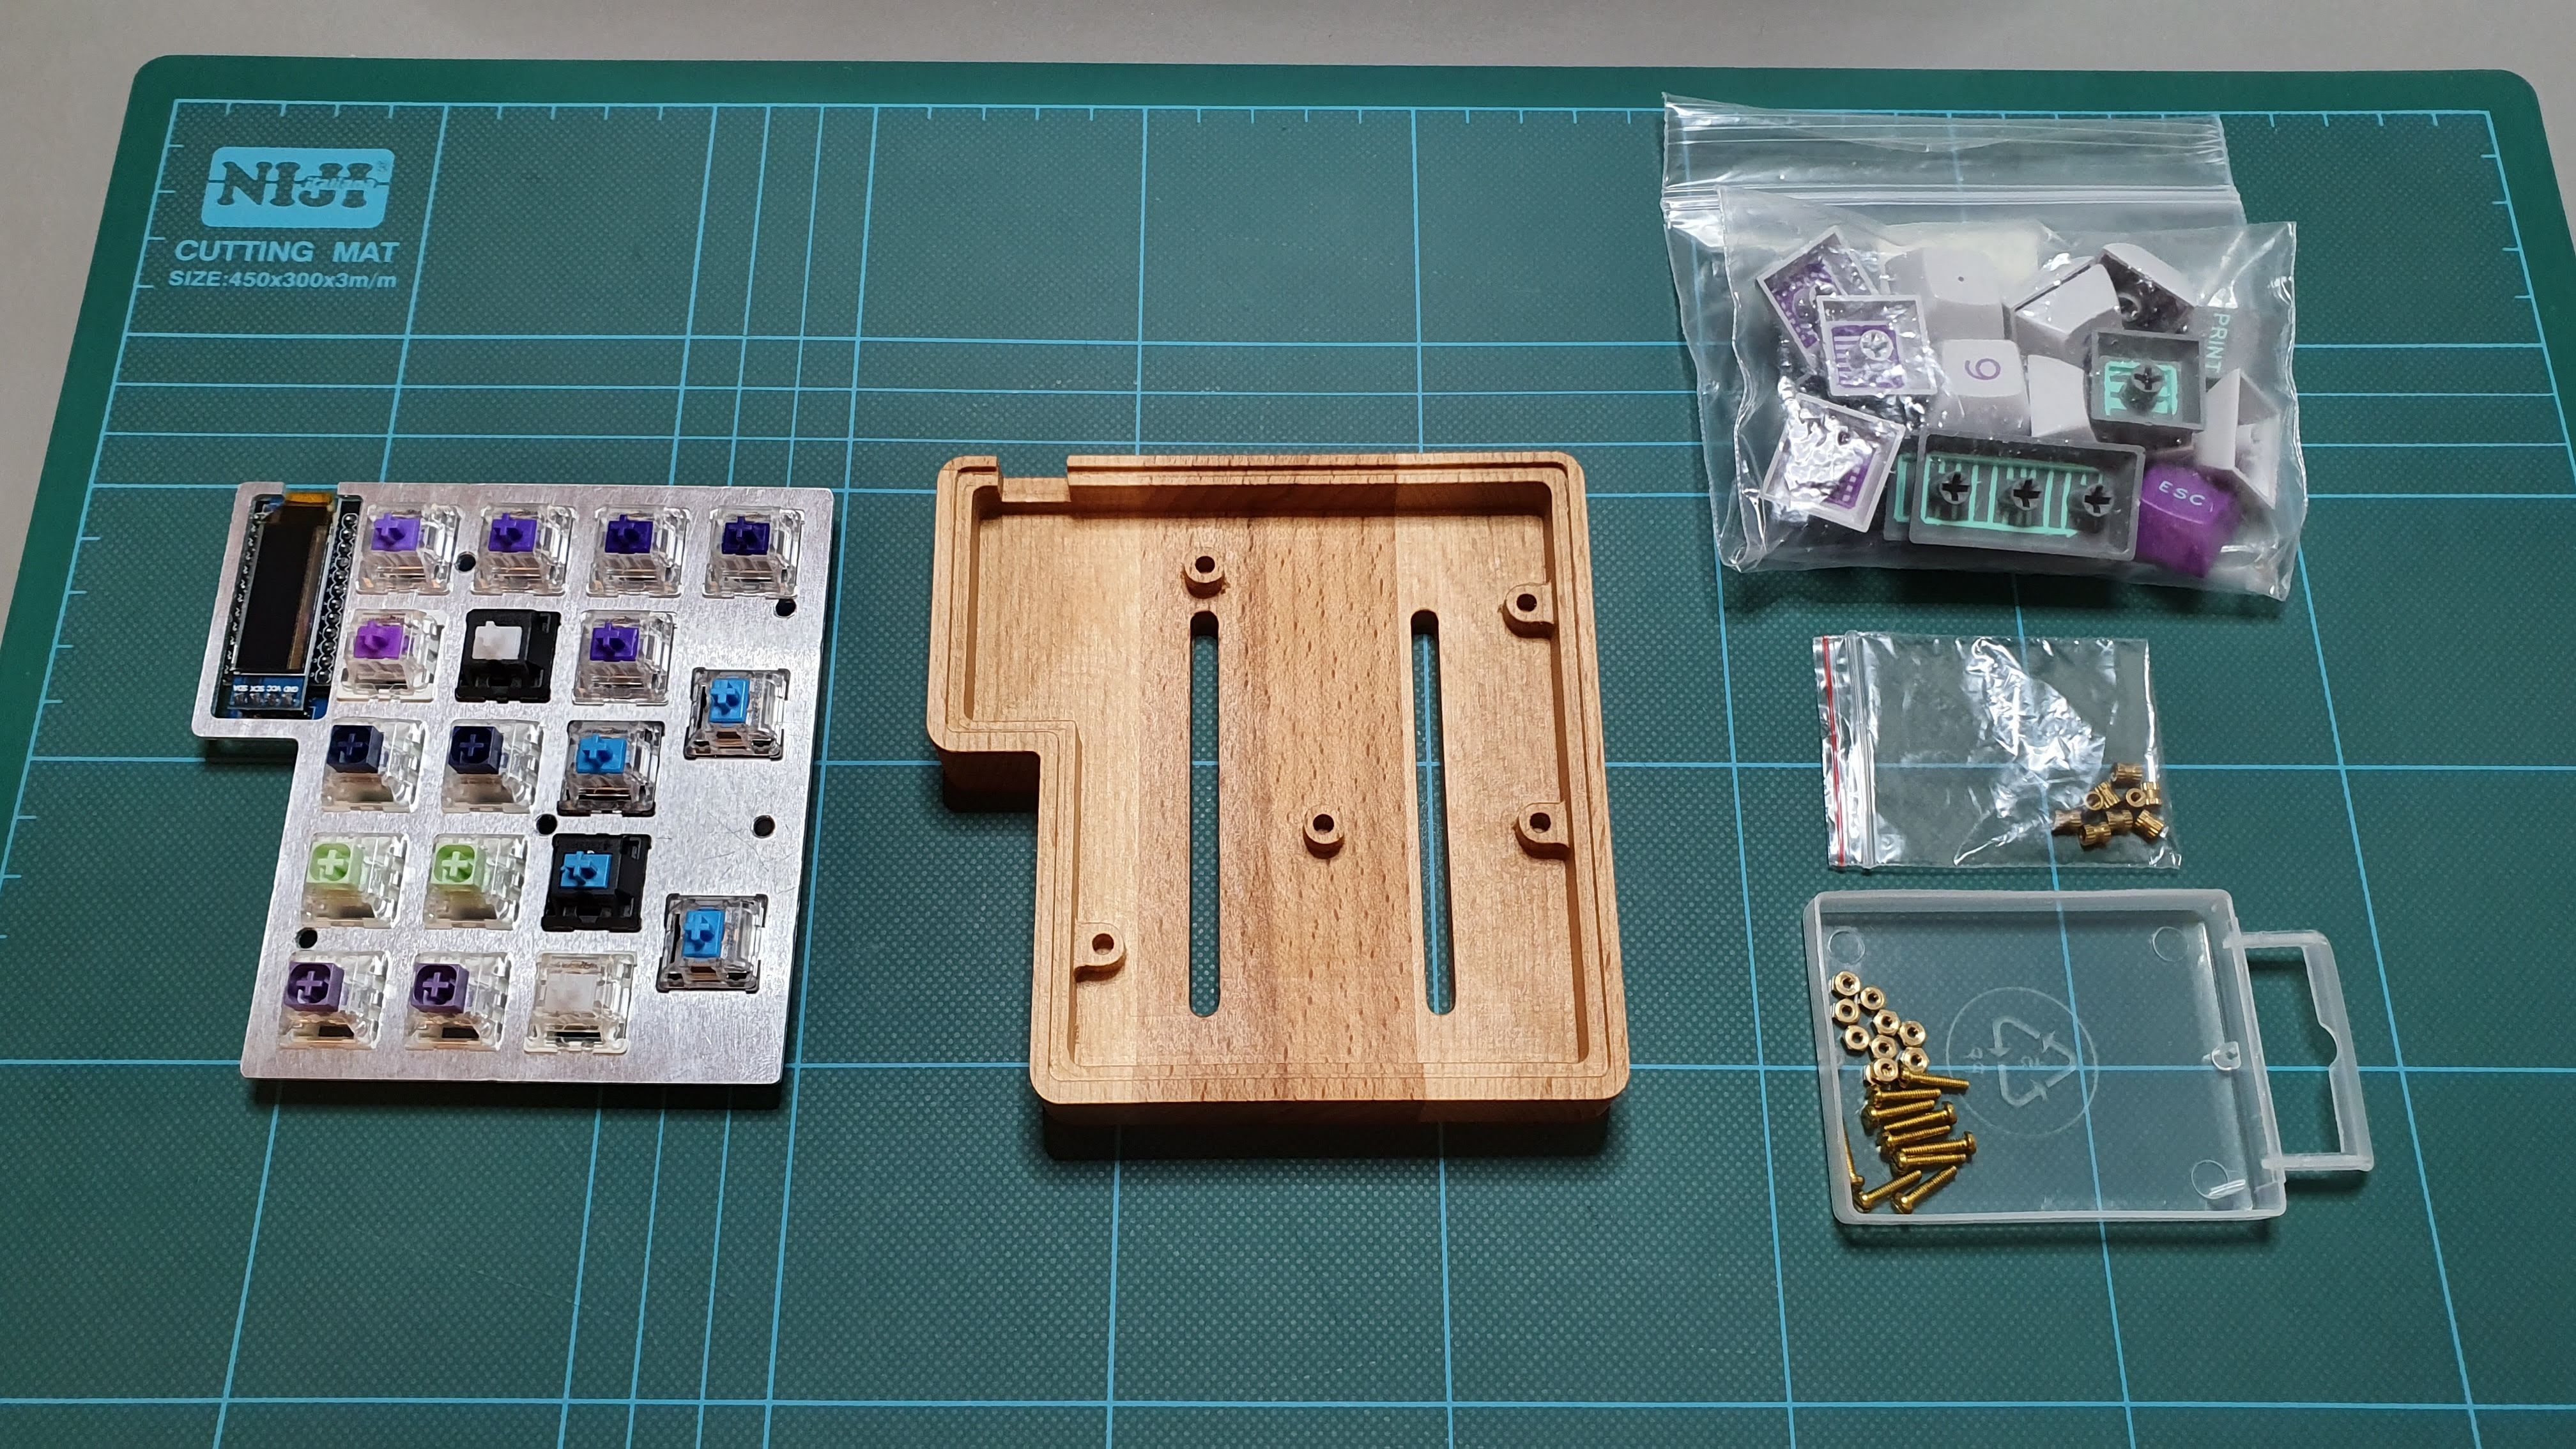
Finally... we can assemble the YamPAD and complete the project.![]() Here's all the parts:
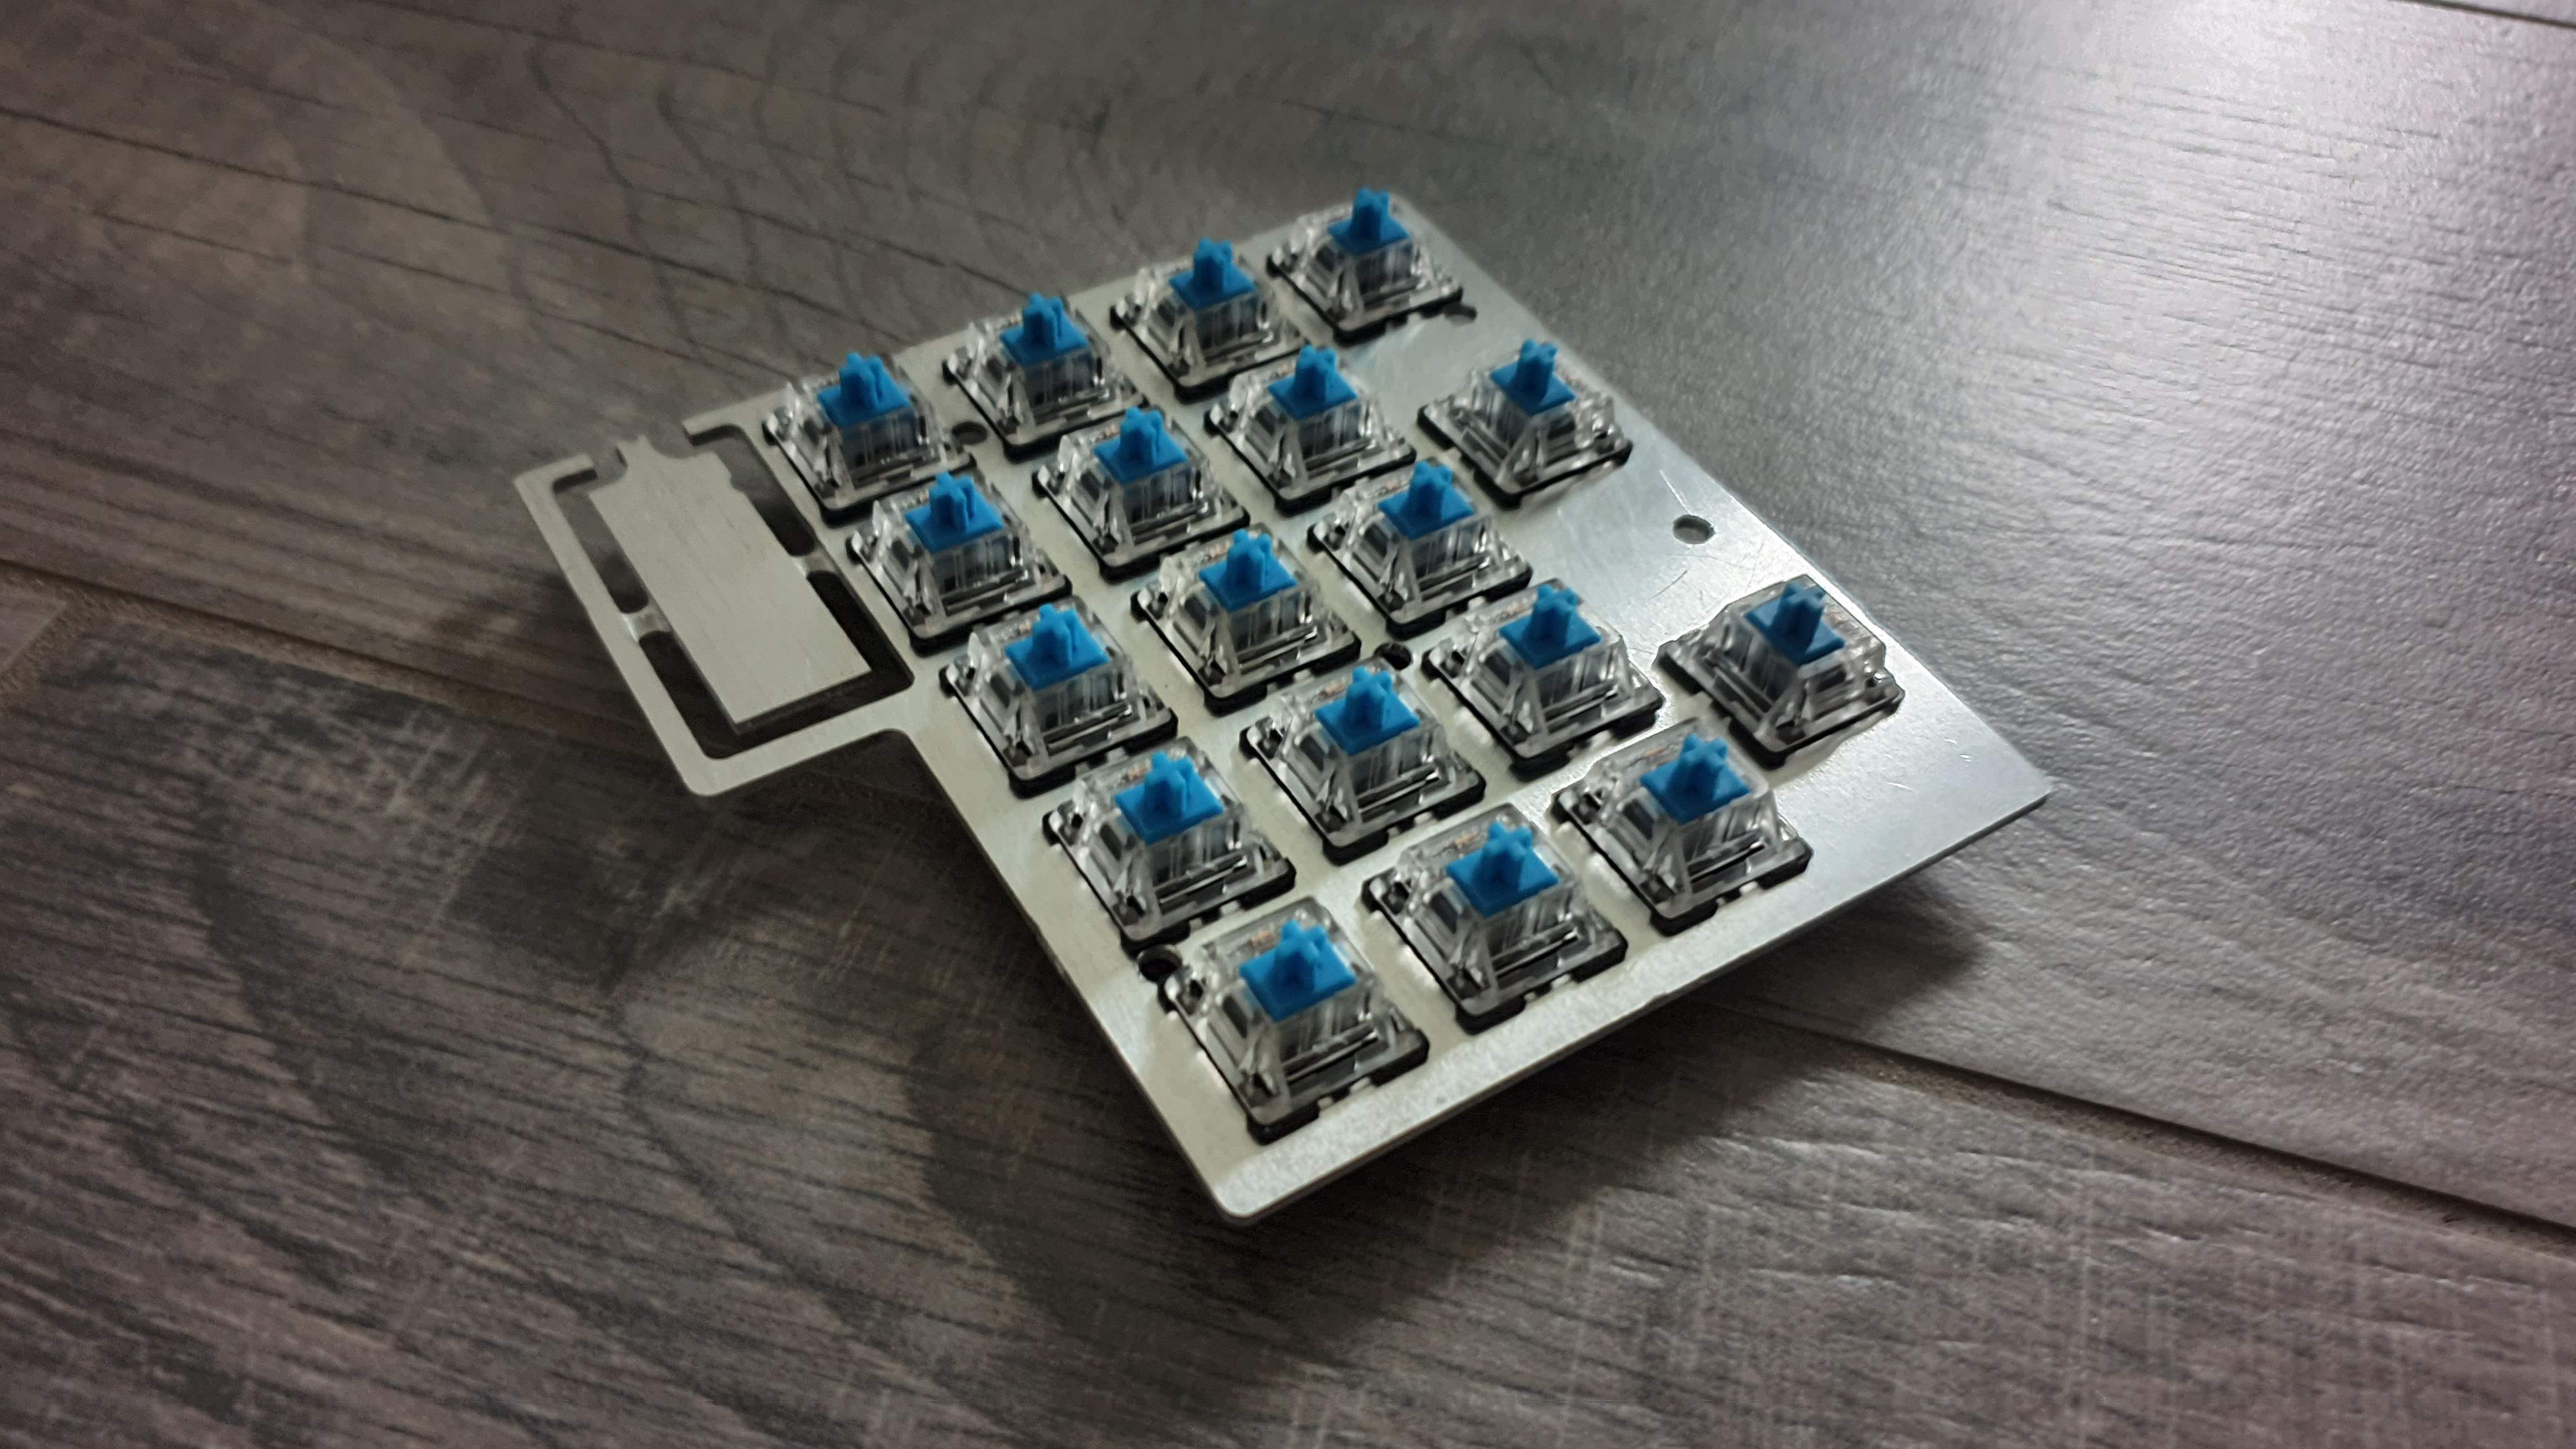
Here's all the parts:- PCB + aluminium plate
- Beech wood case
- Keycaps
- Threaded inserts
- M2 screws
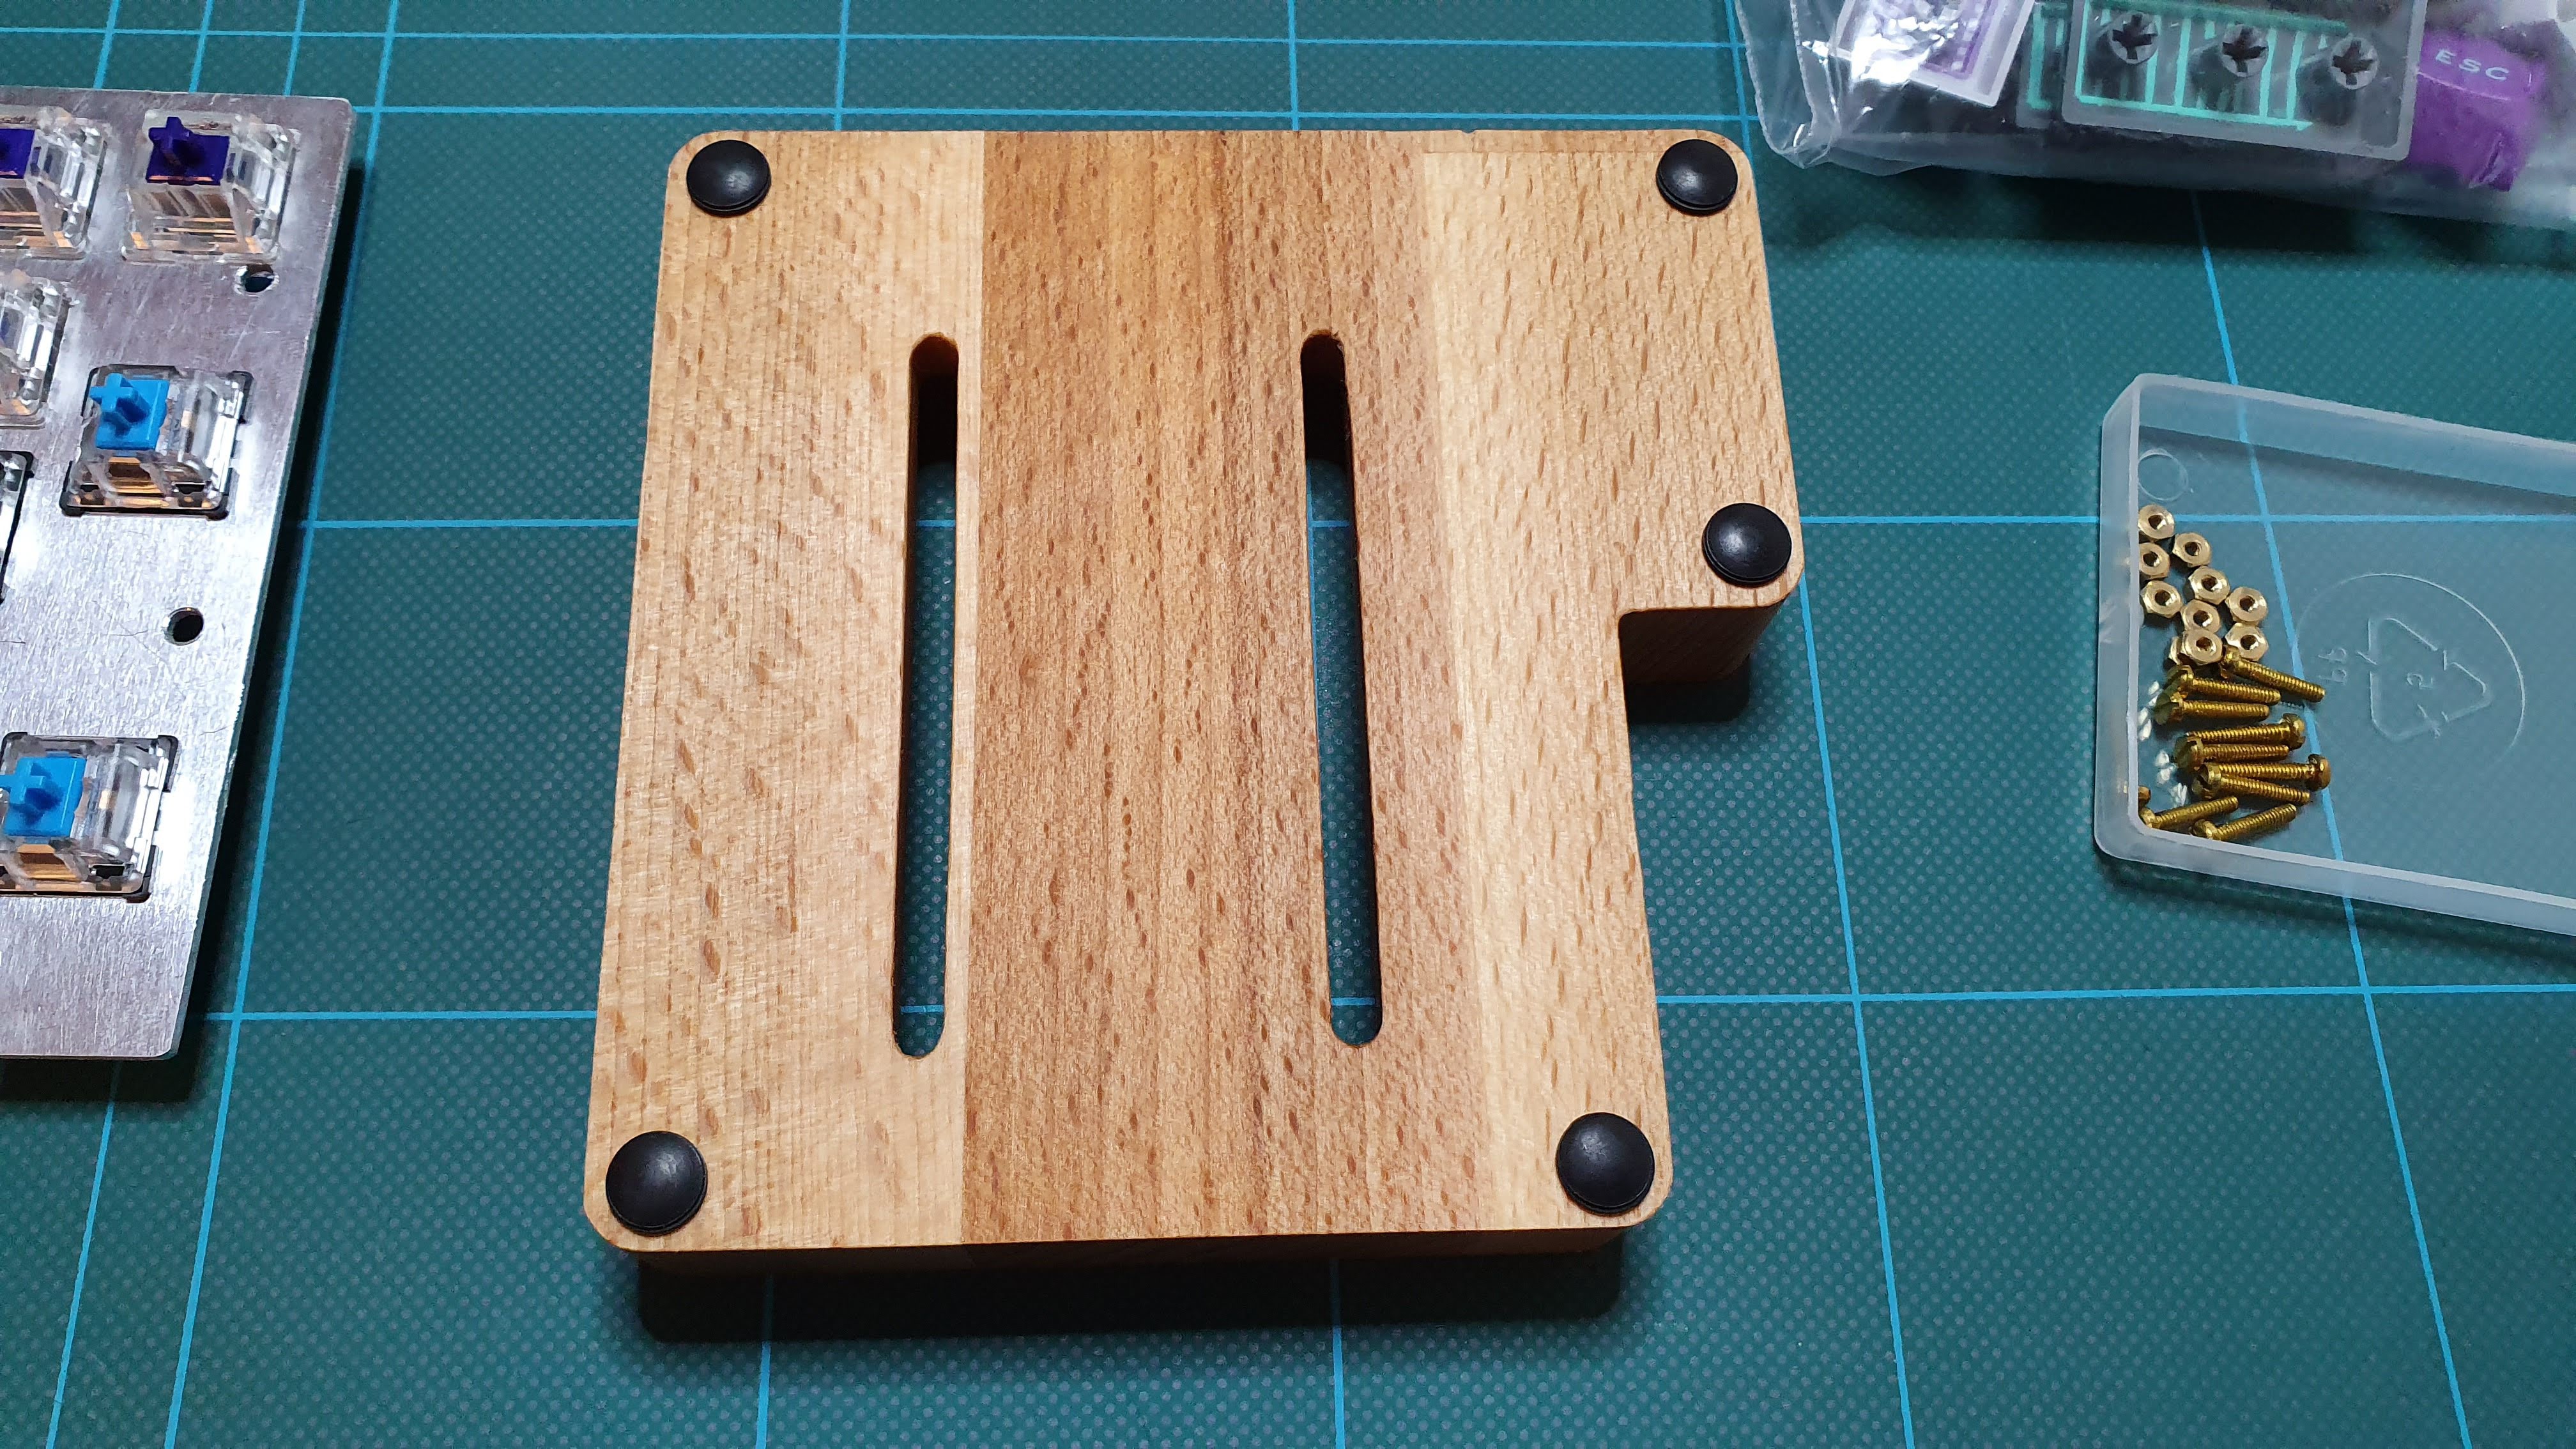
Let's start by adding some rubber feets.
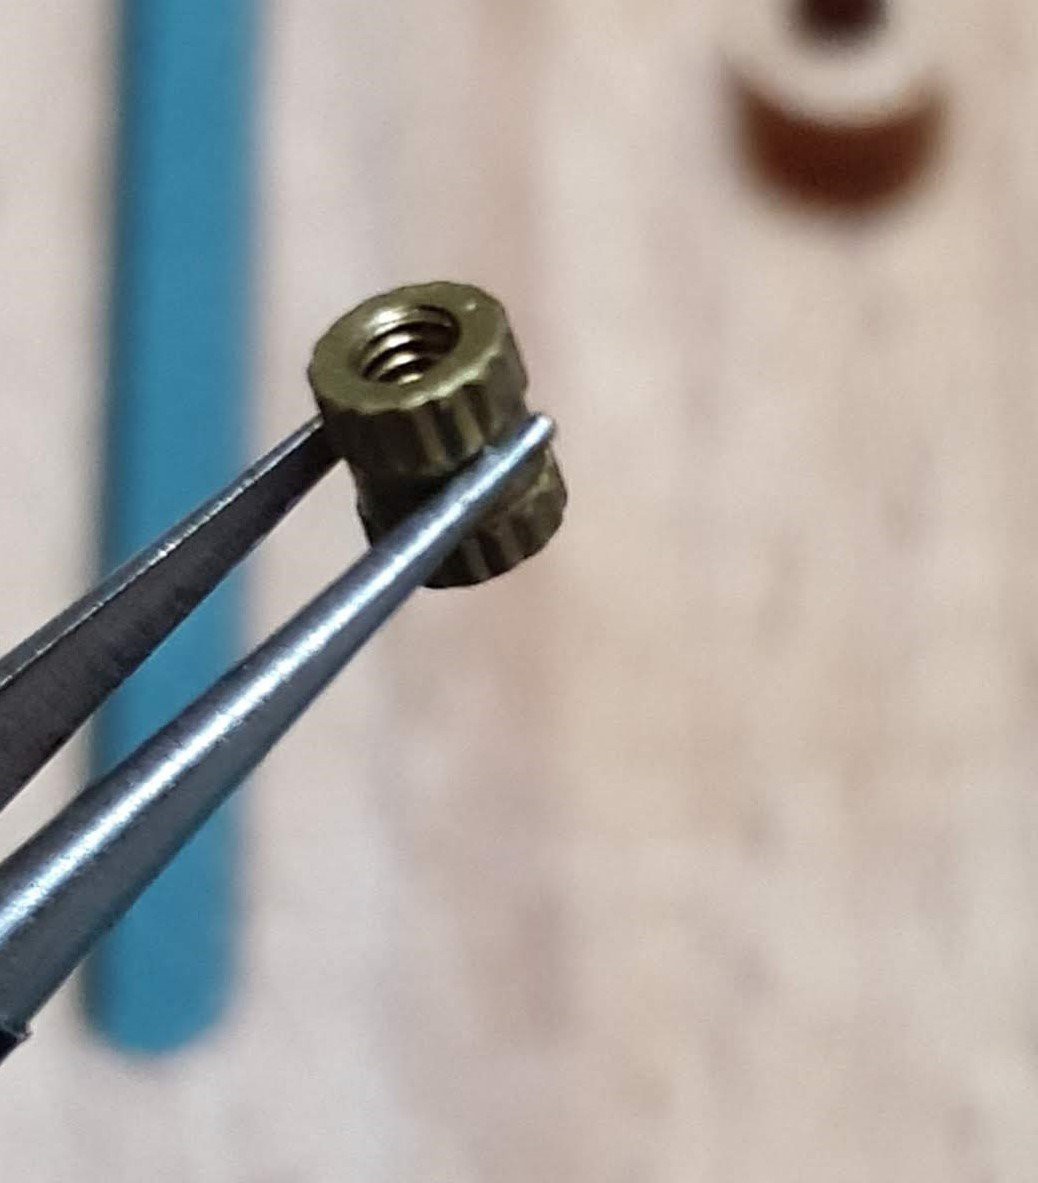
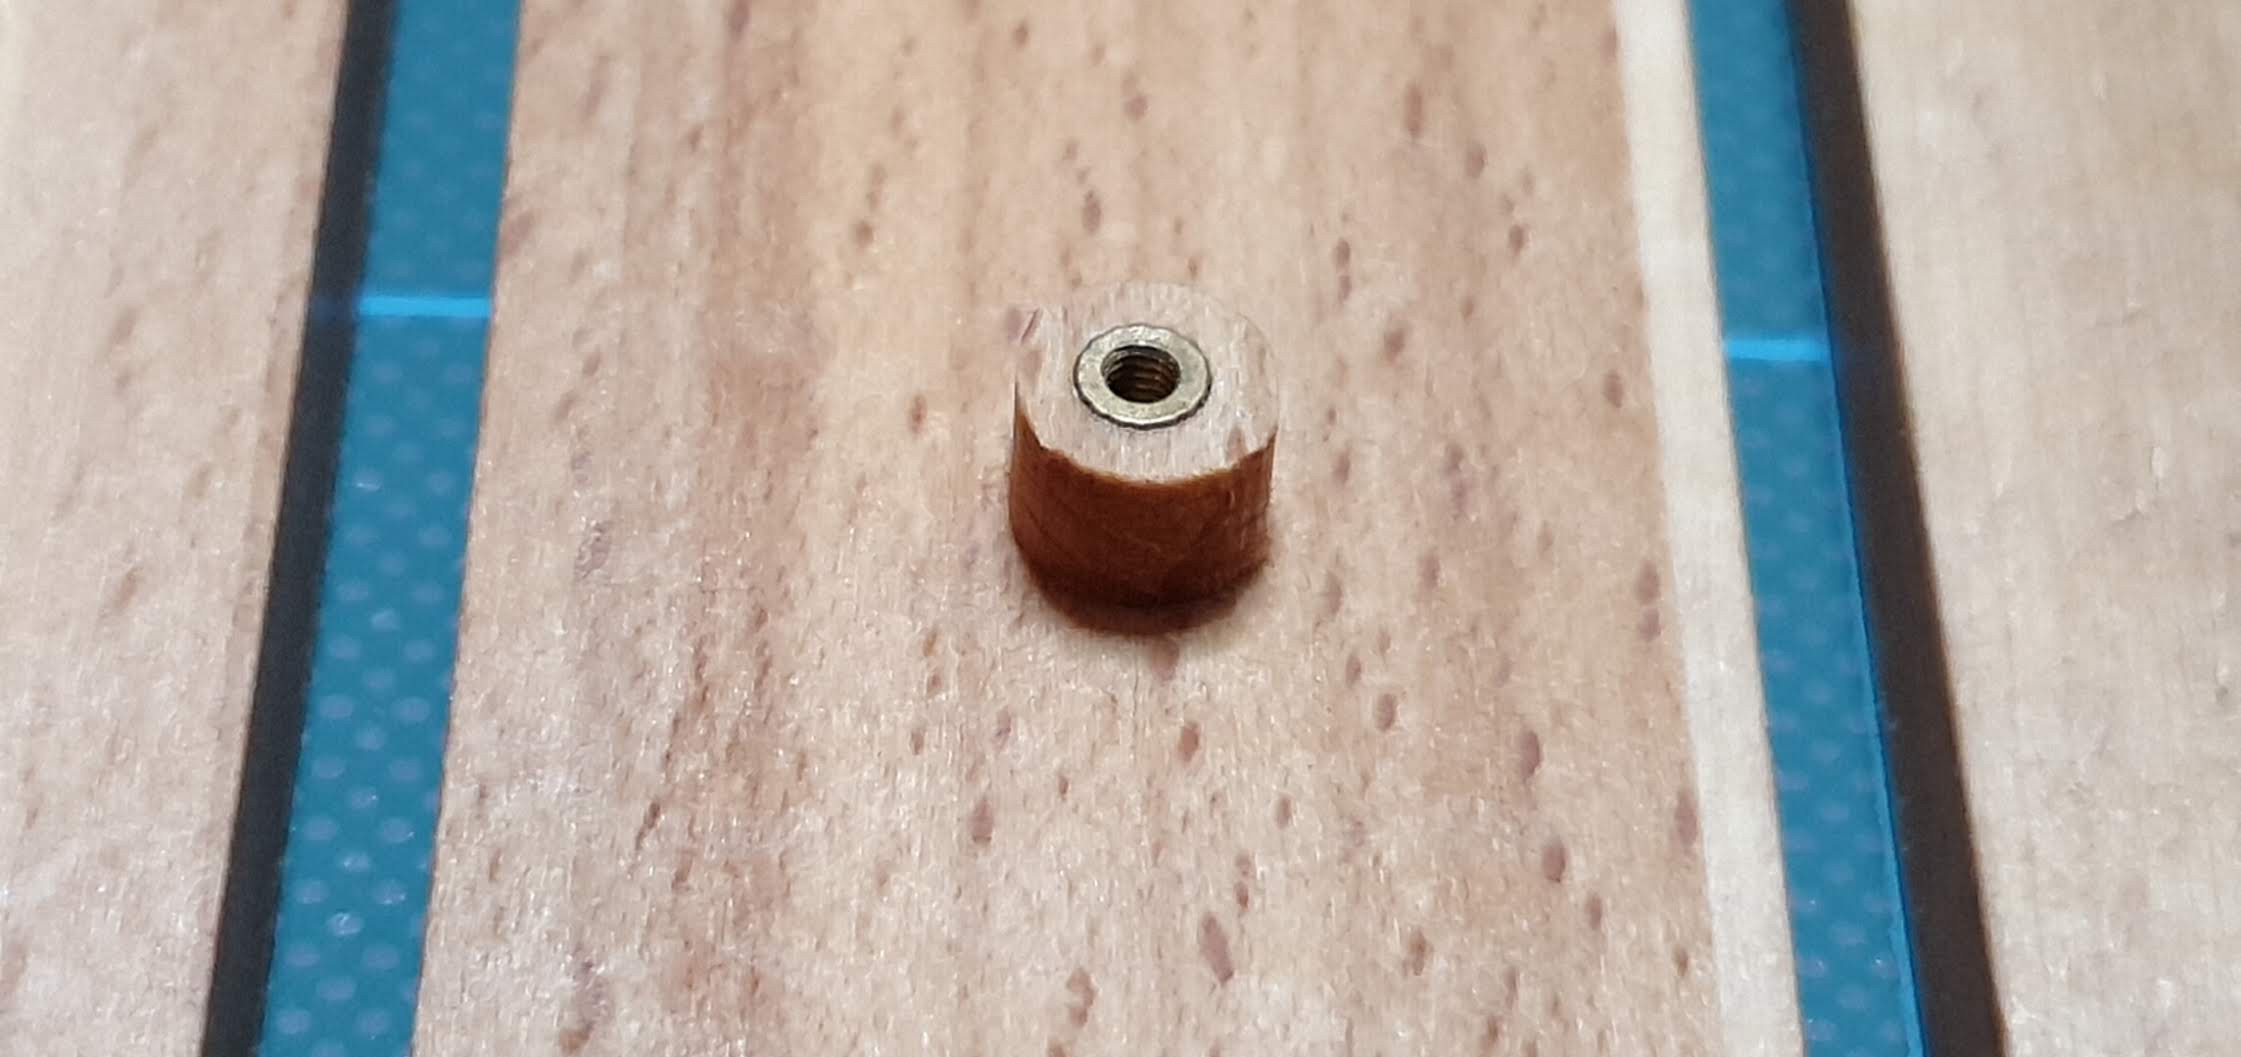
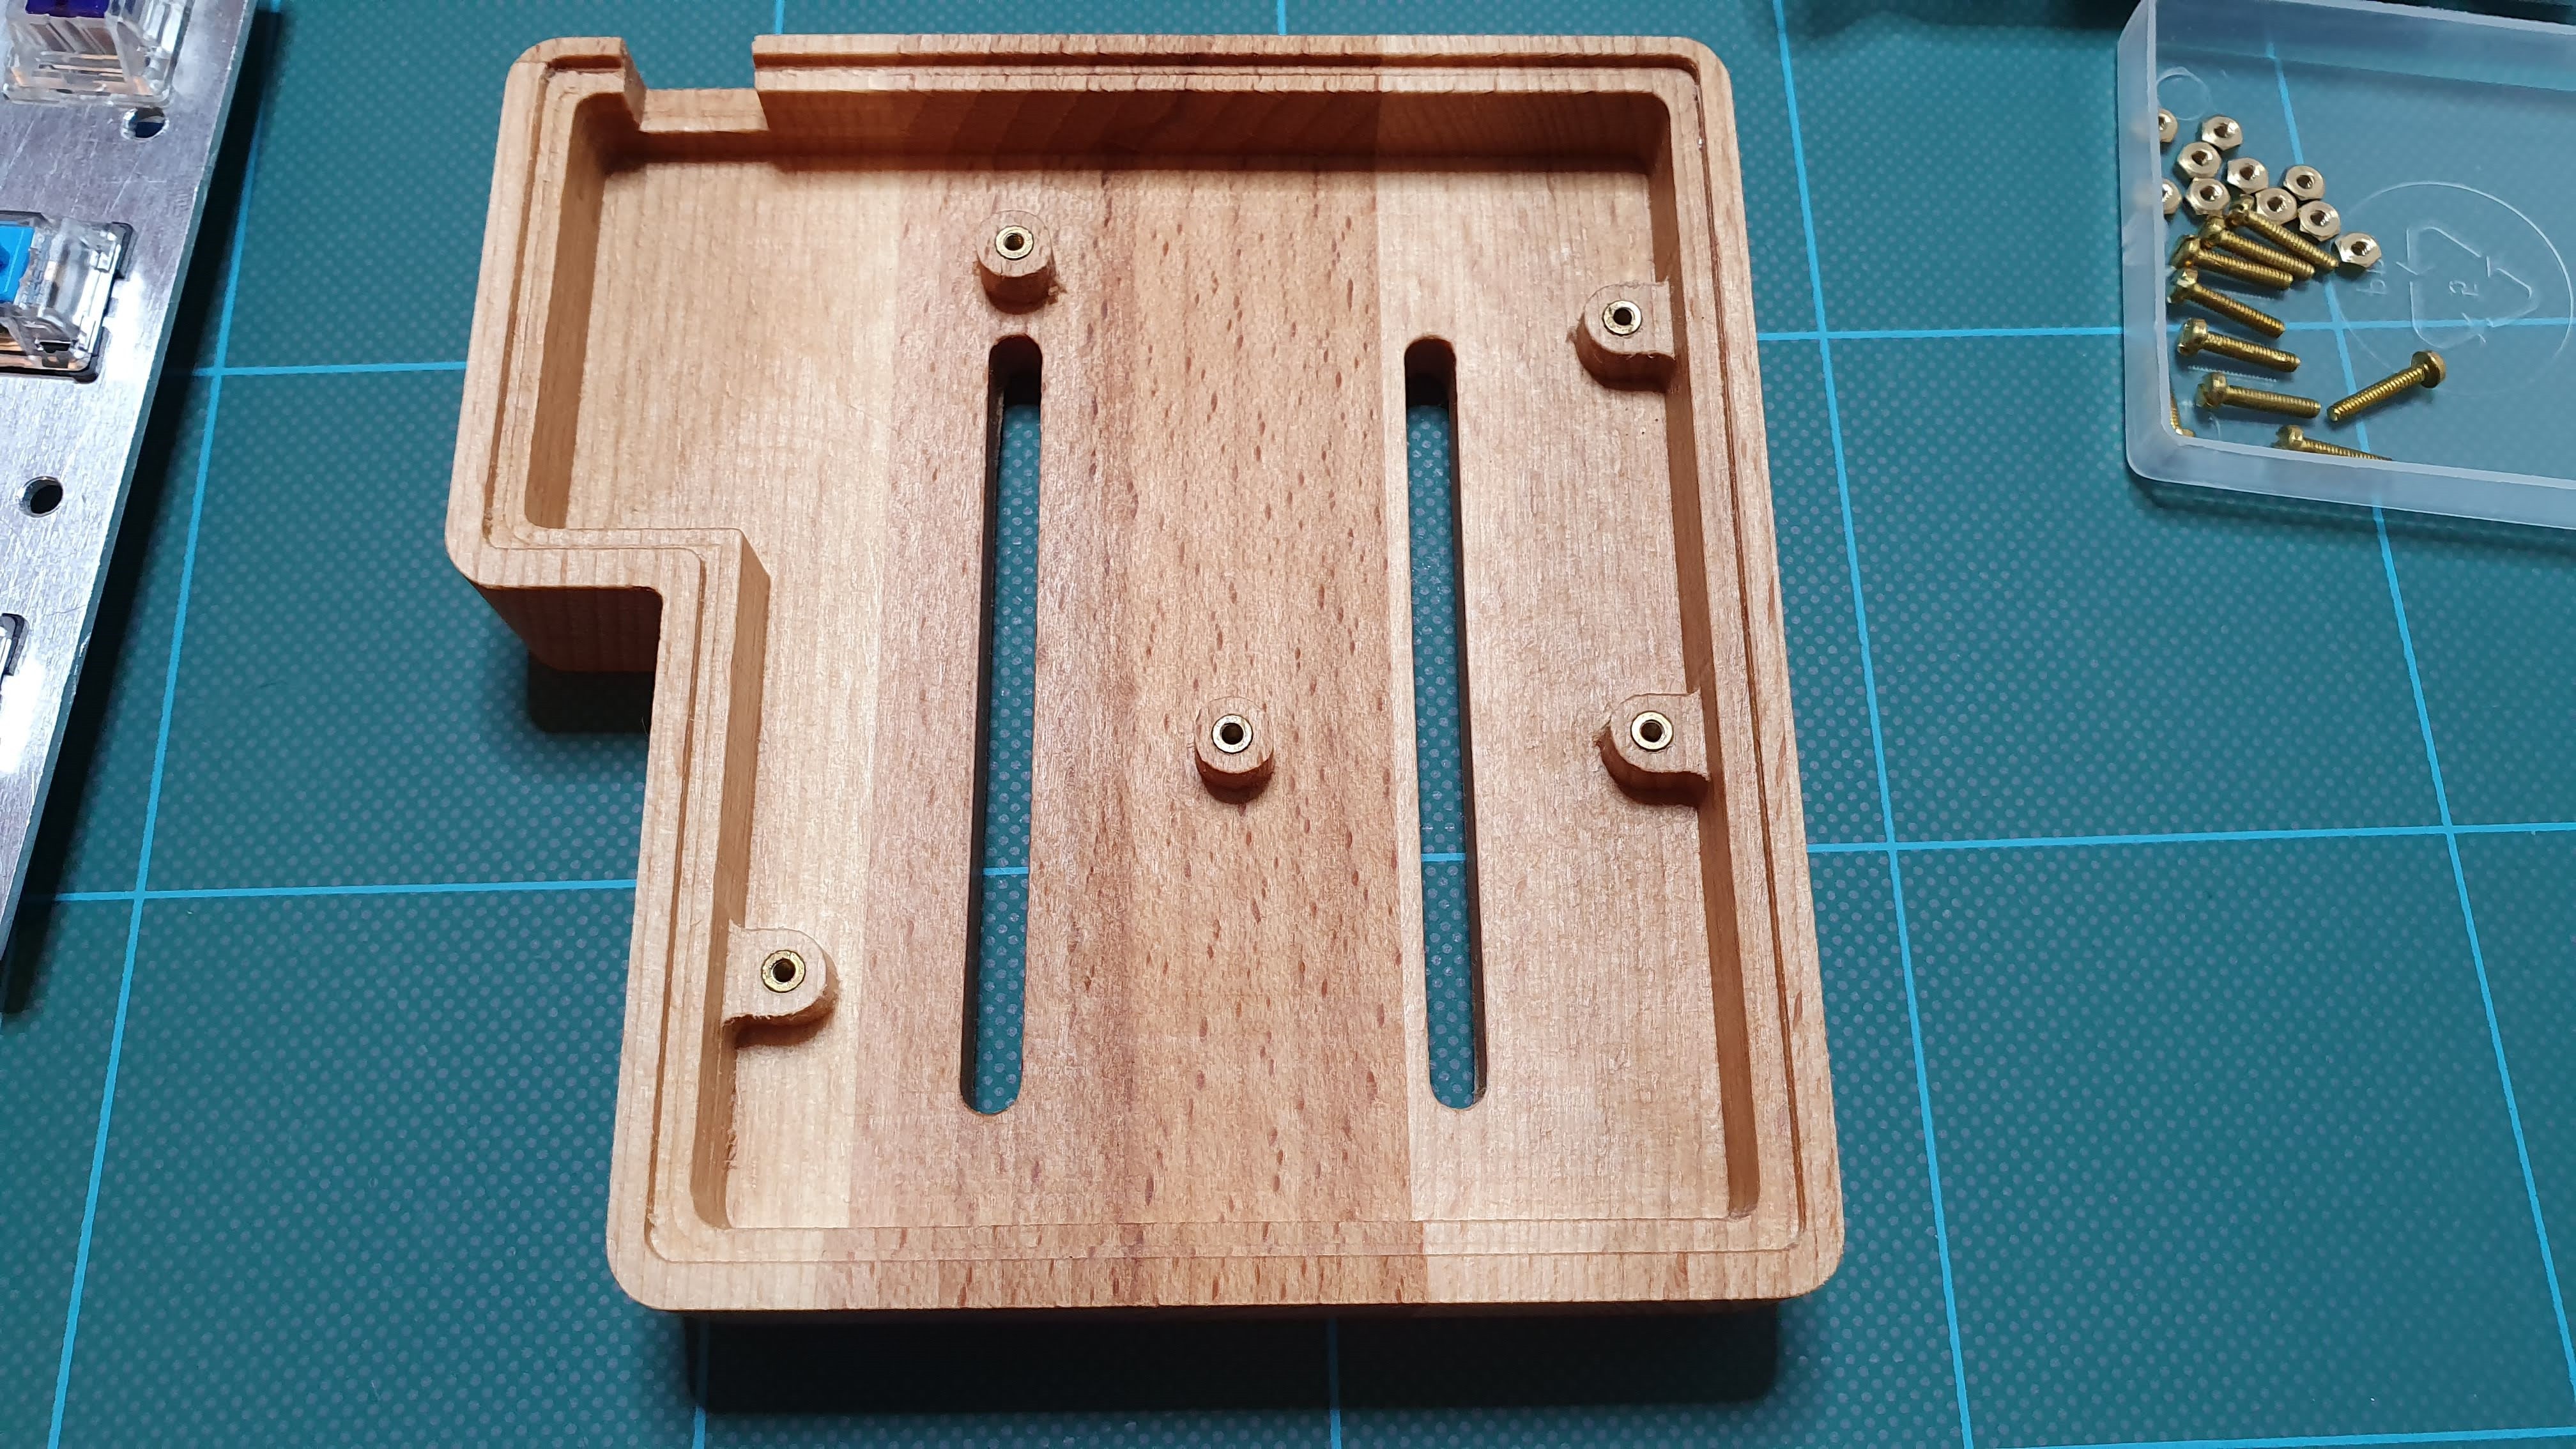
![]() Then the threaded inserts. These are actually for plastics but work great for wood too.
Then the threaded inserts. These are actually for plastics but work great for wood too.![]()
![]()
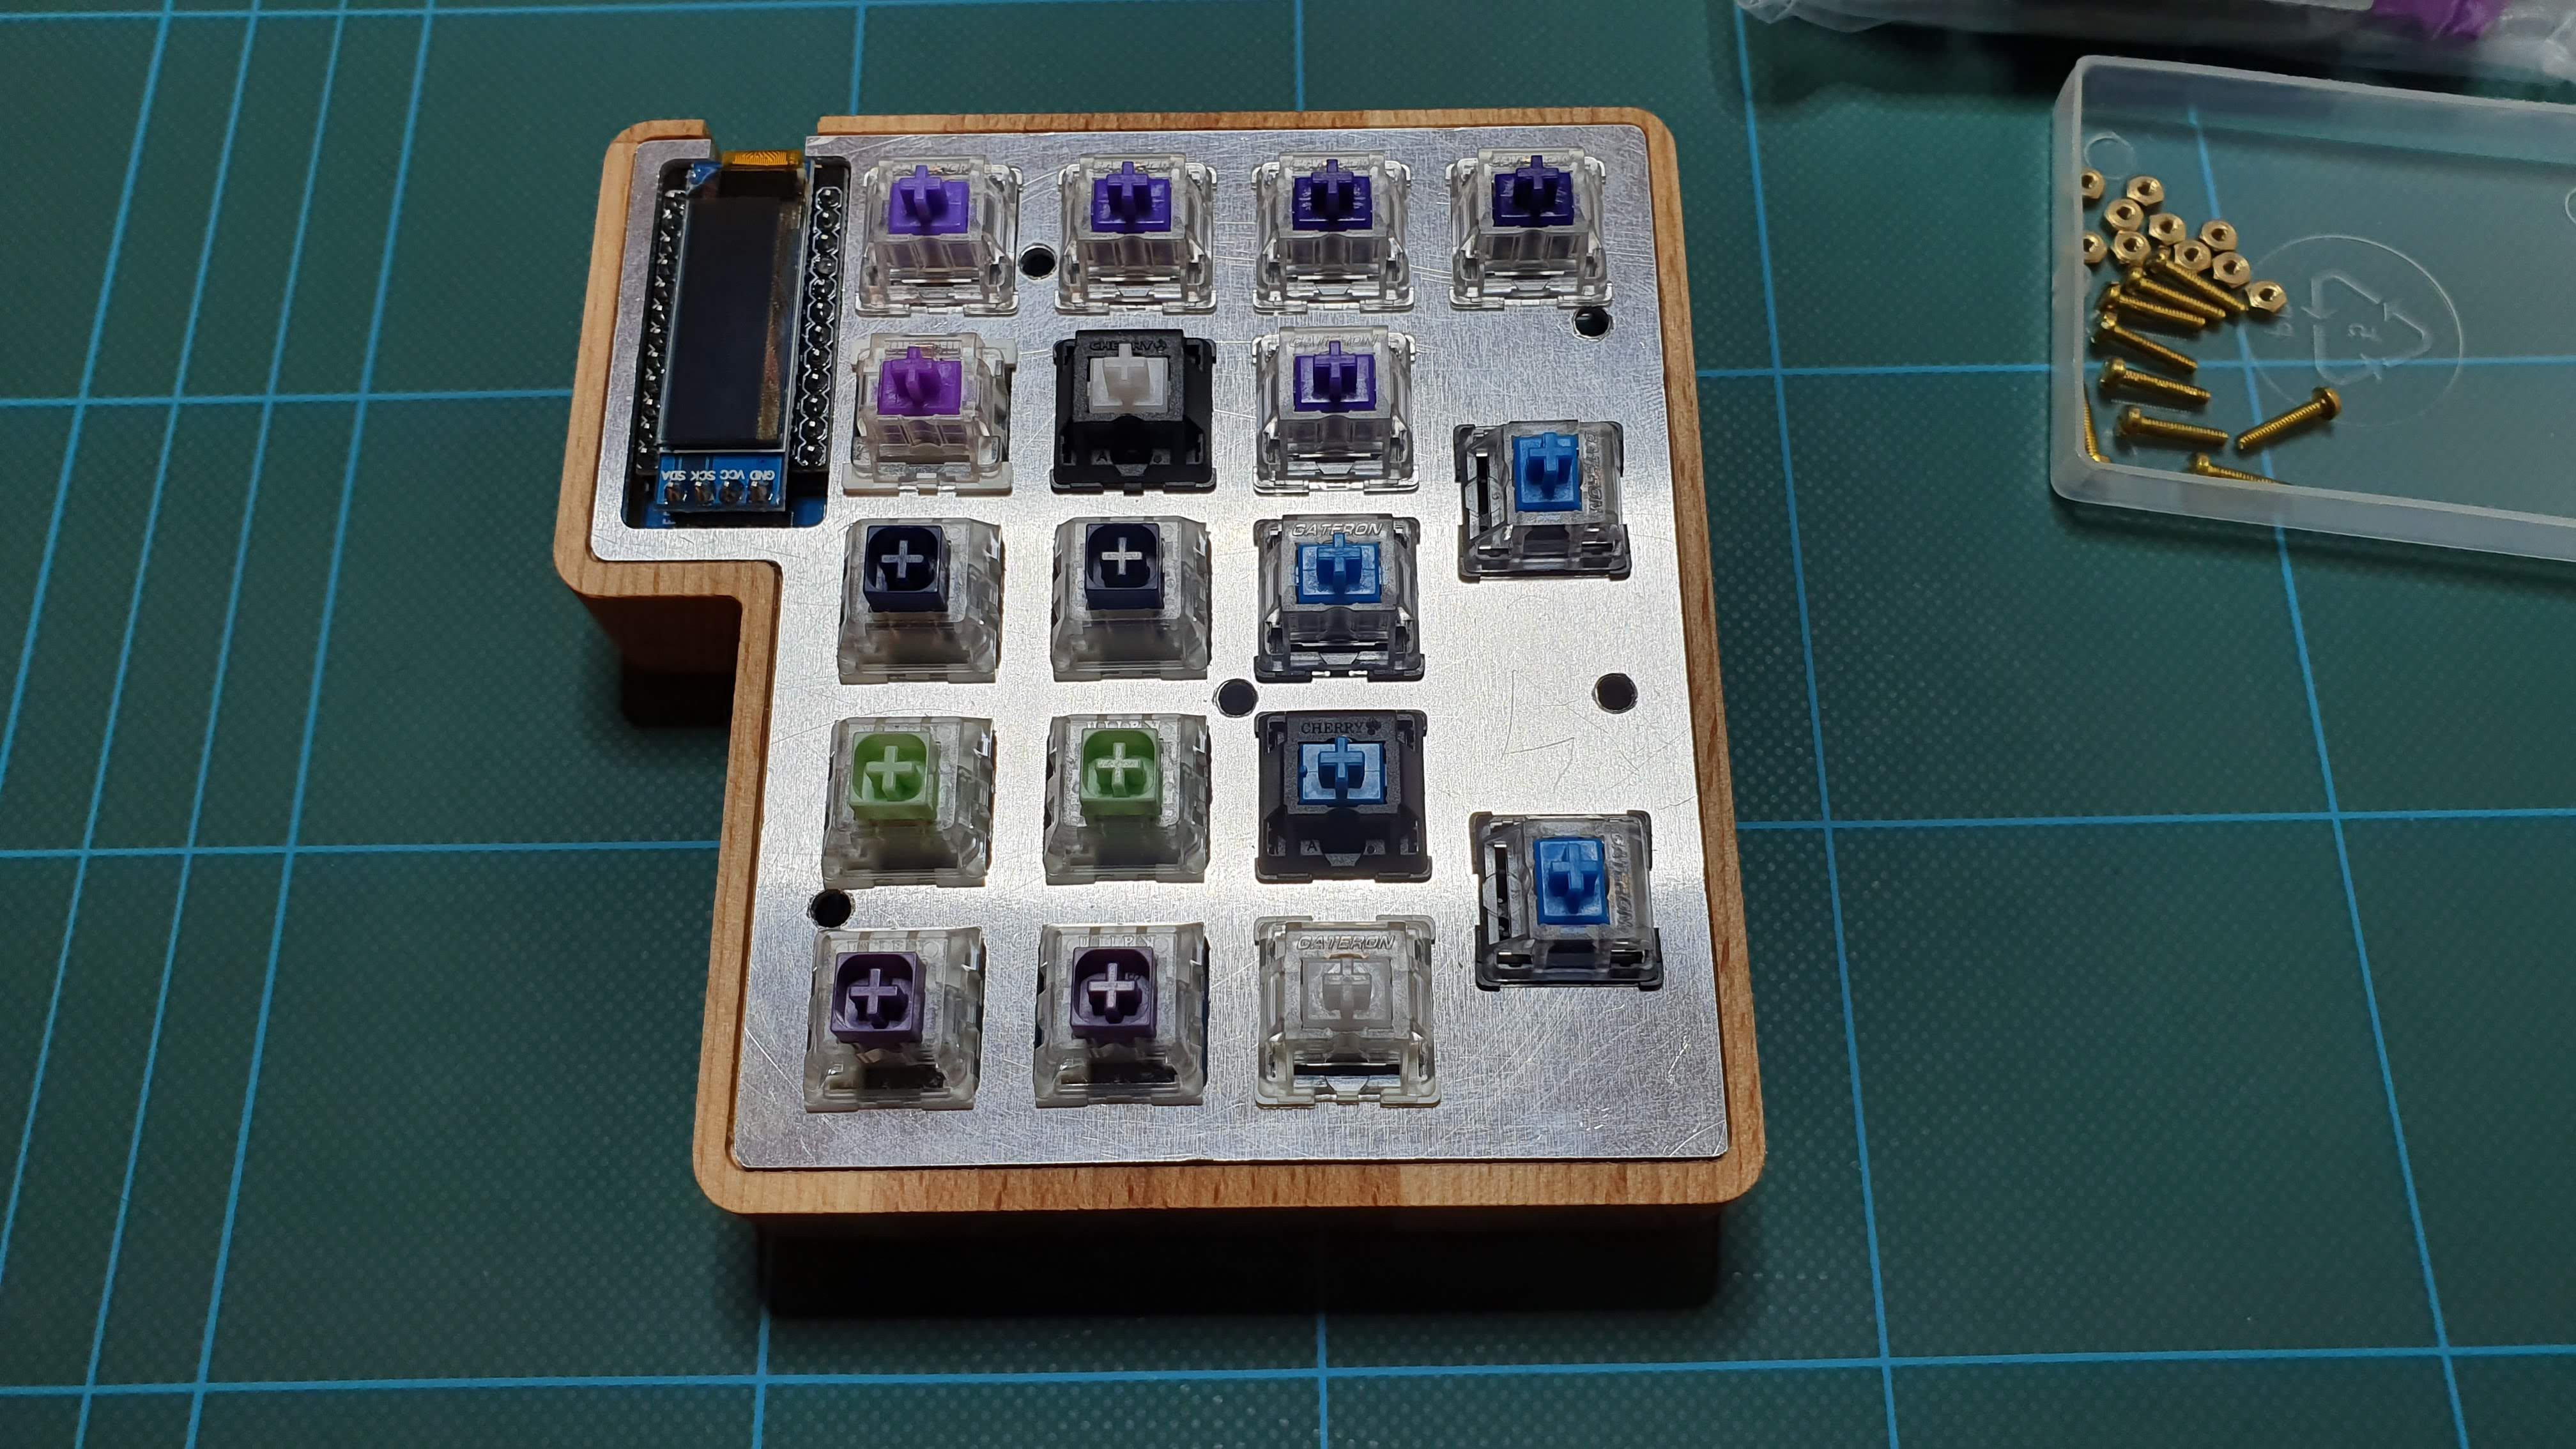
![]() And now the easy part: plate, screws and keycaps.
And now the easy part: plate, screws and keycaps.![]()
![]()
![]()
![]()
![]() I really like the contrast between the aluminium plate and the brass screws.
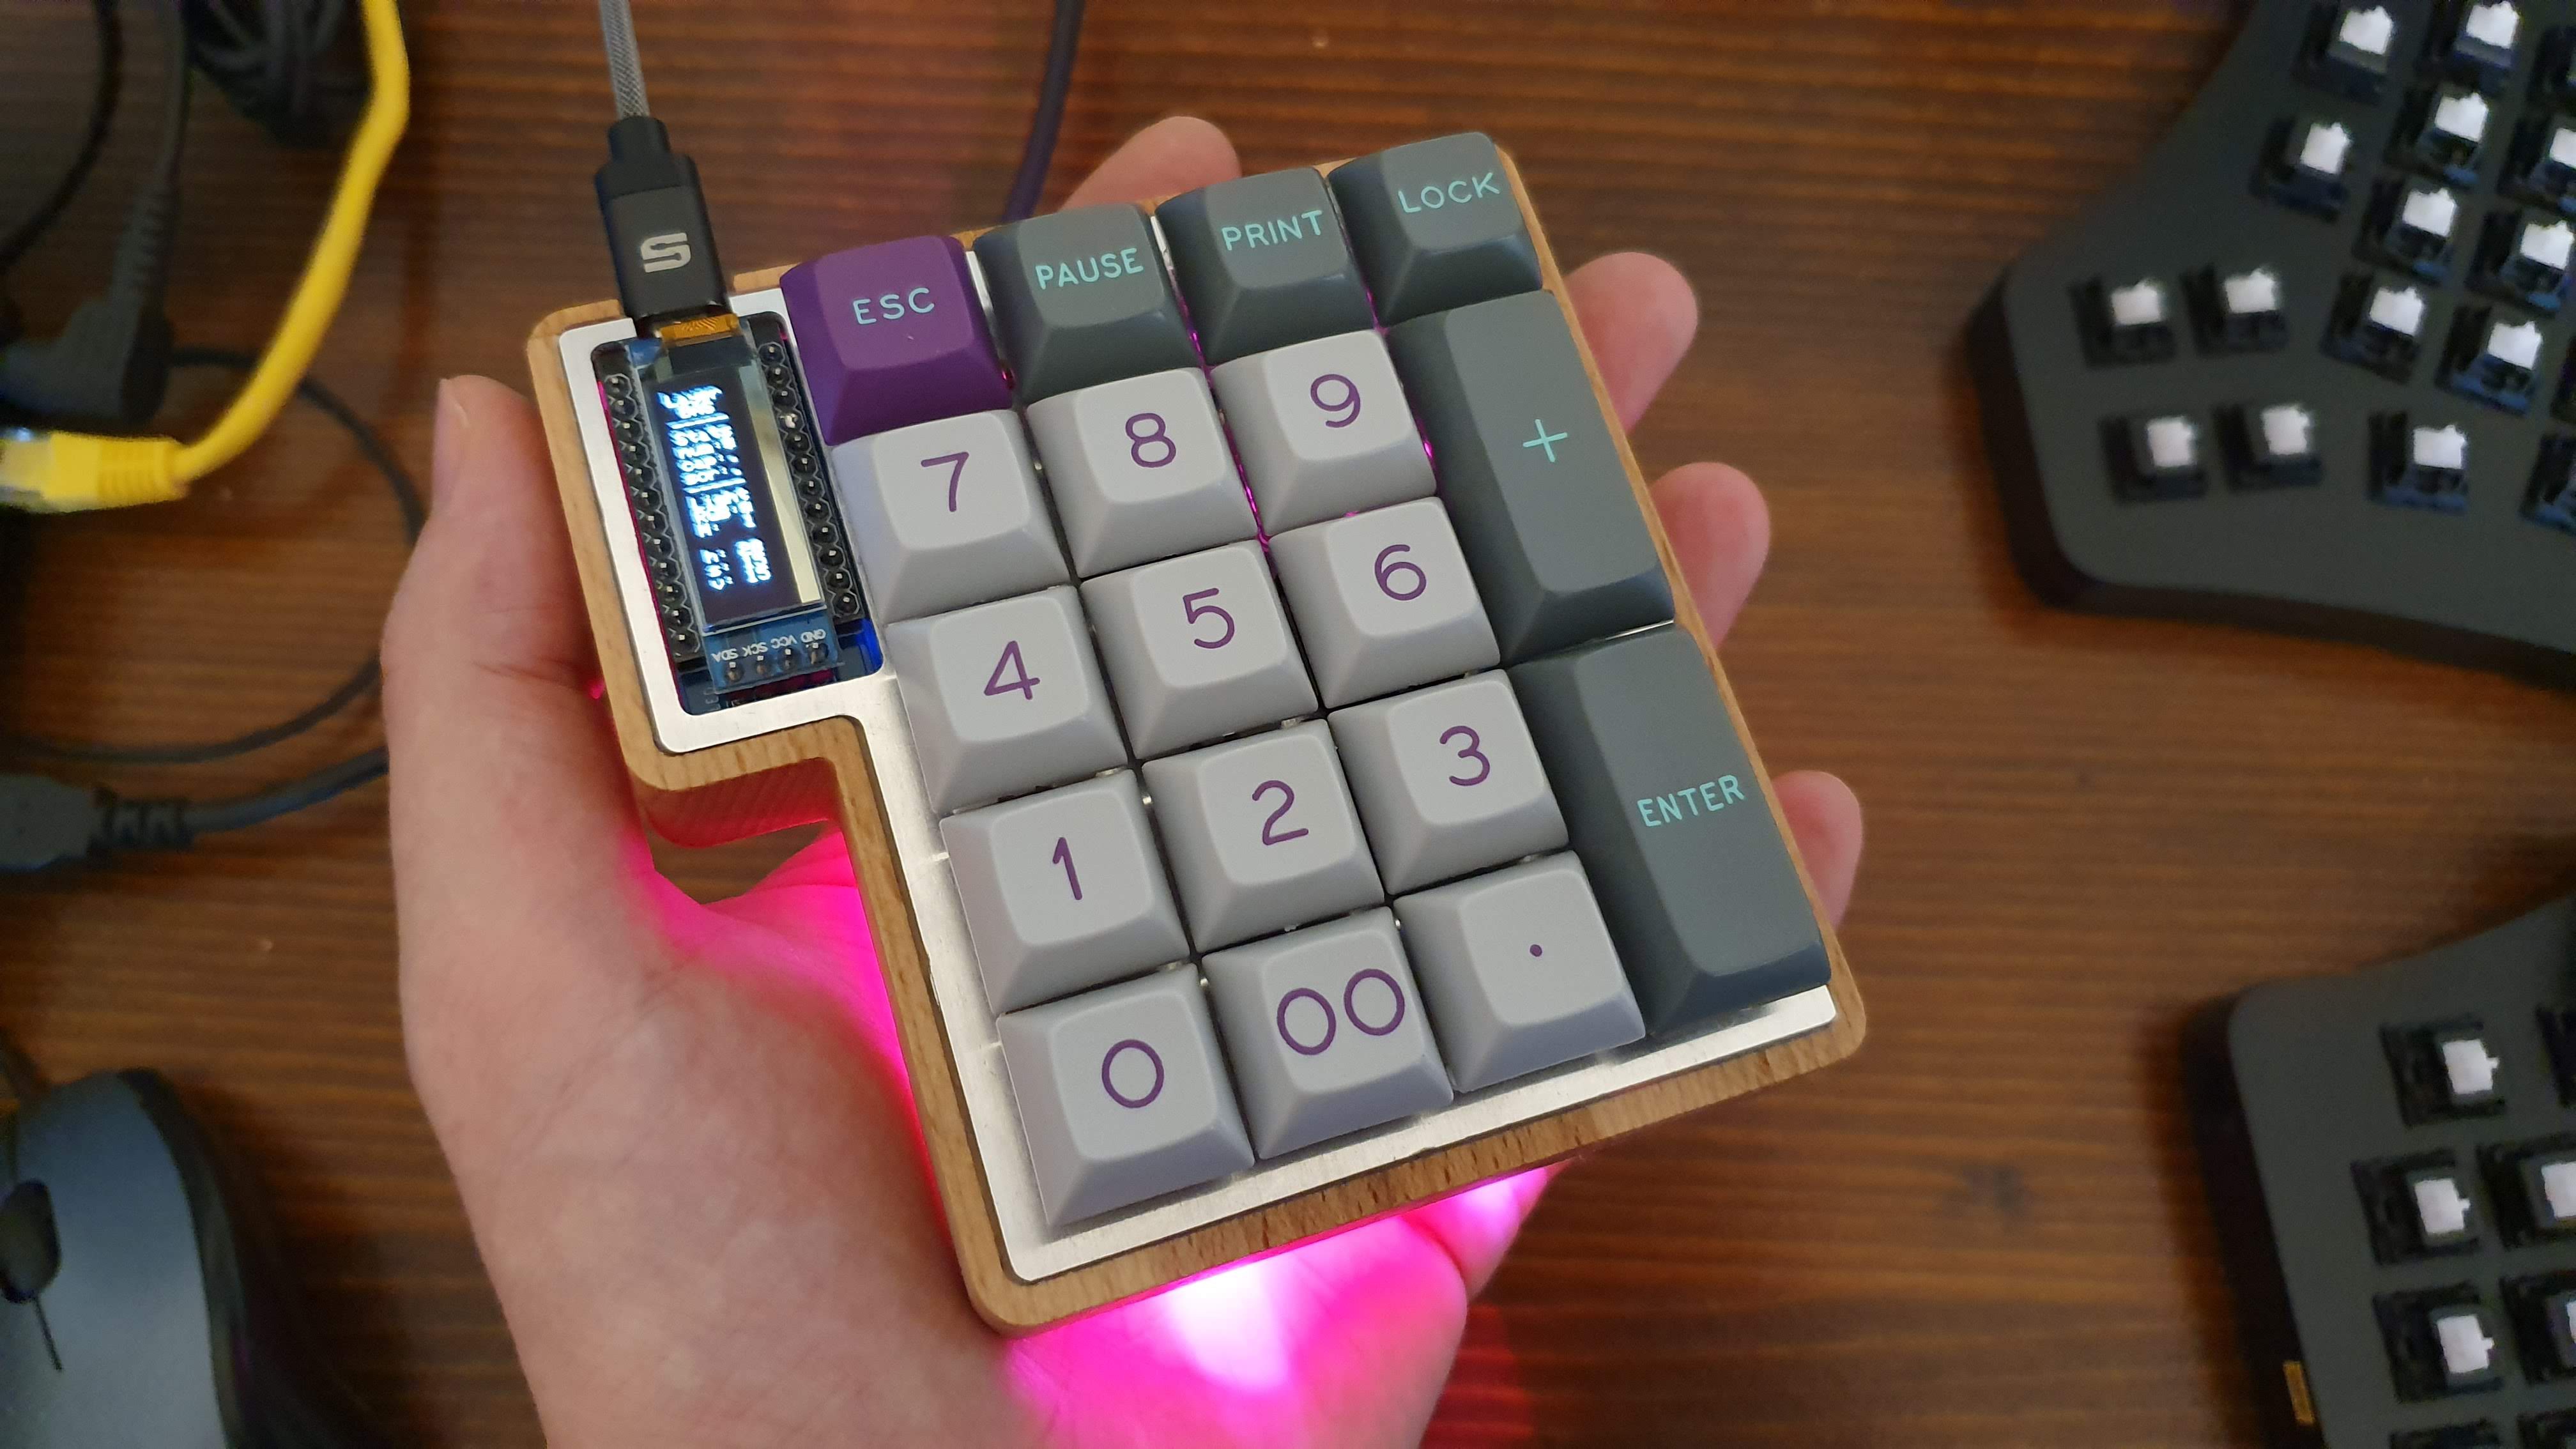
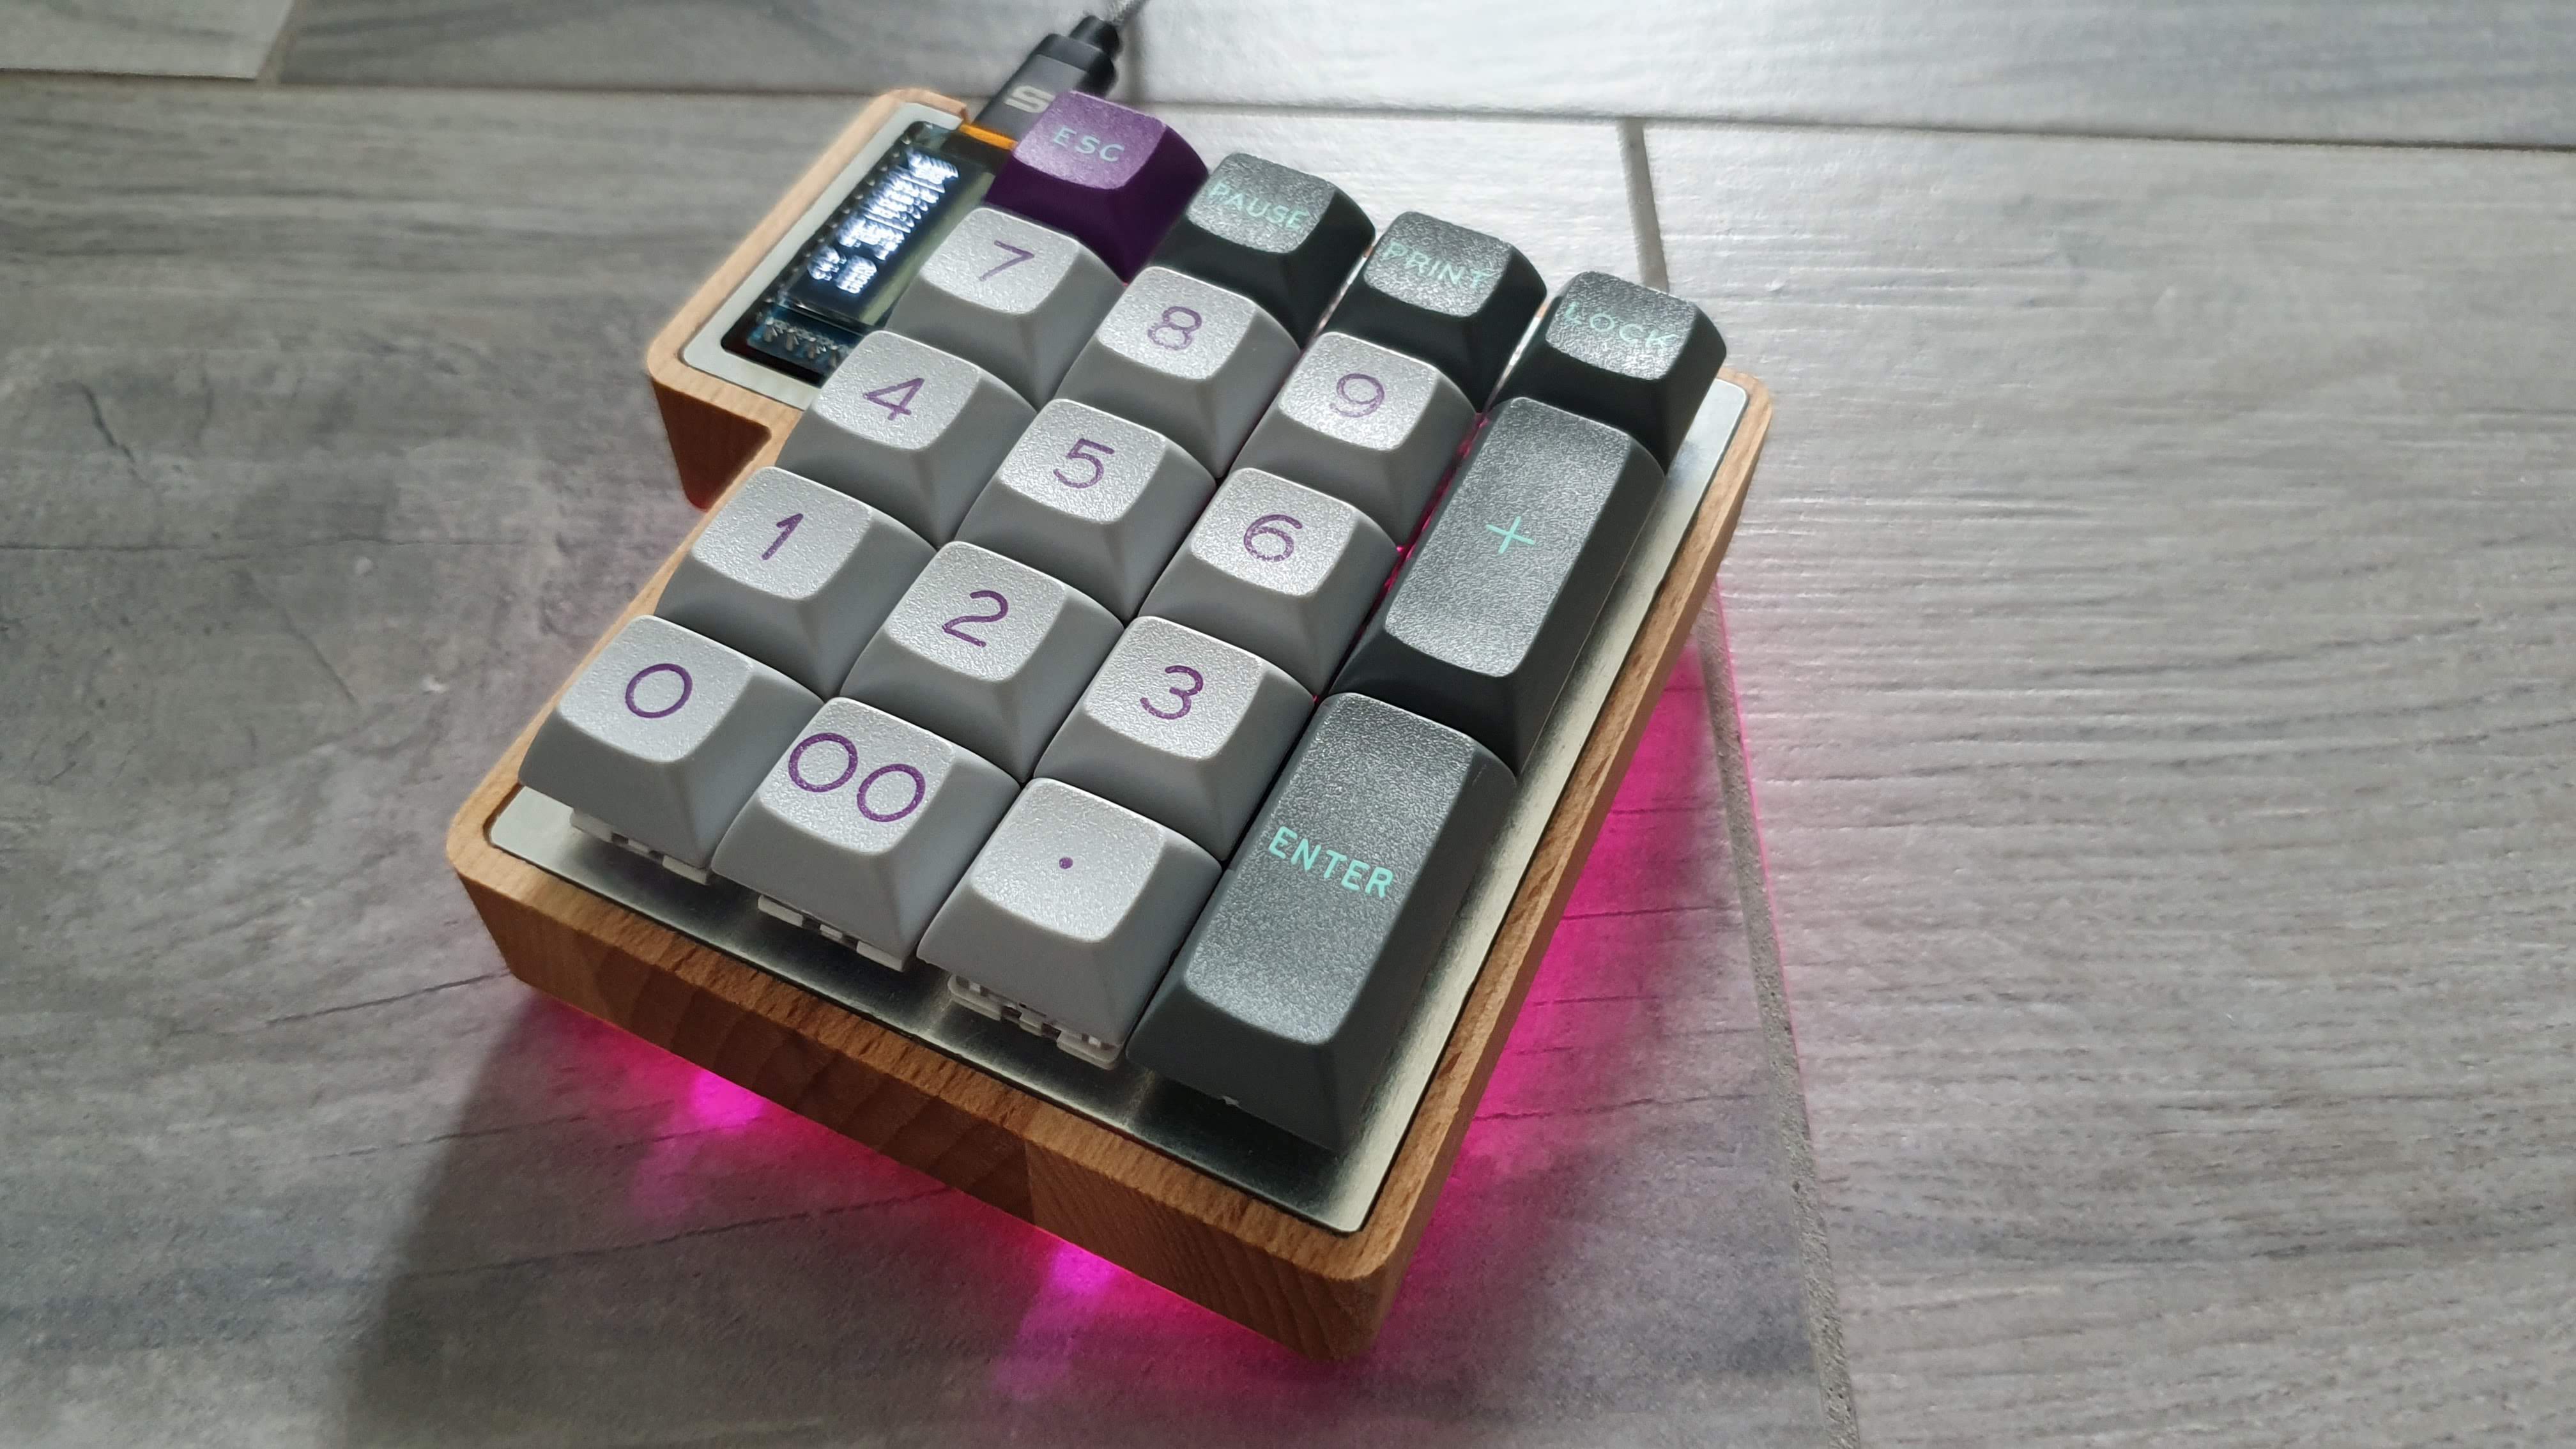
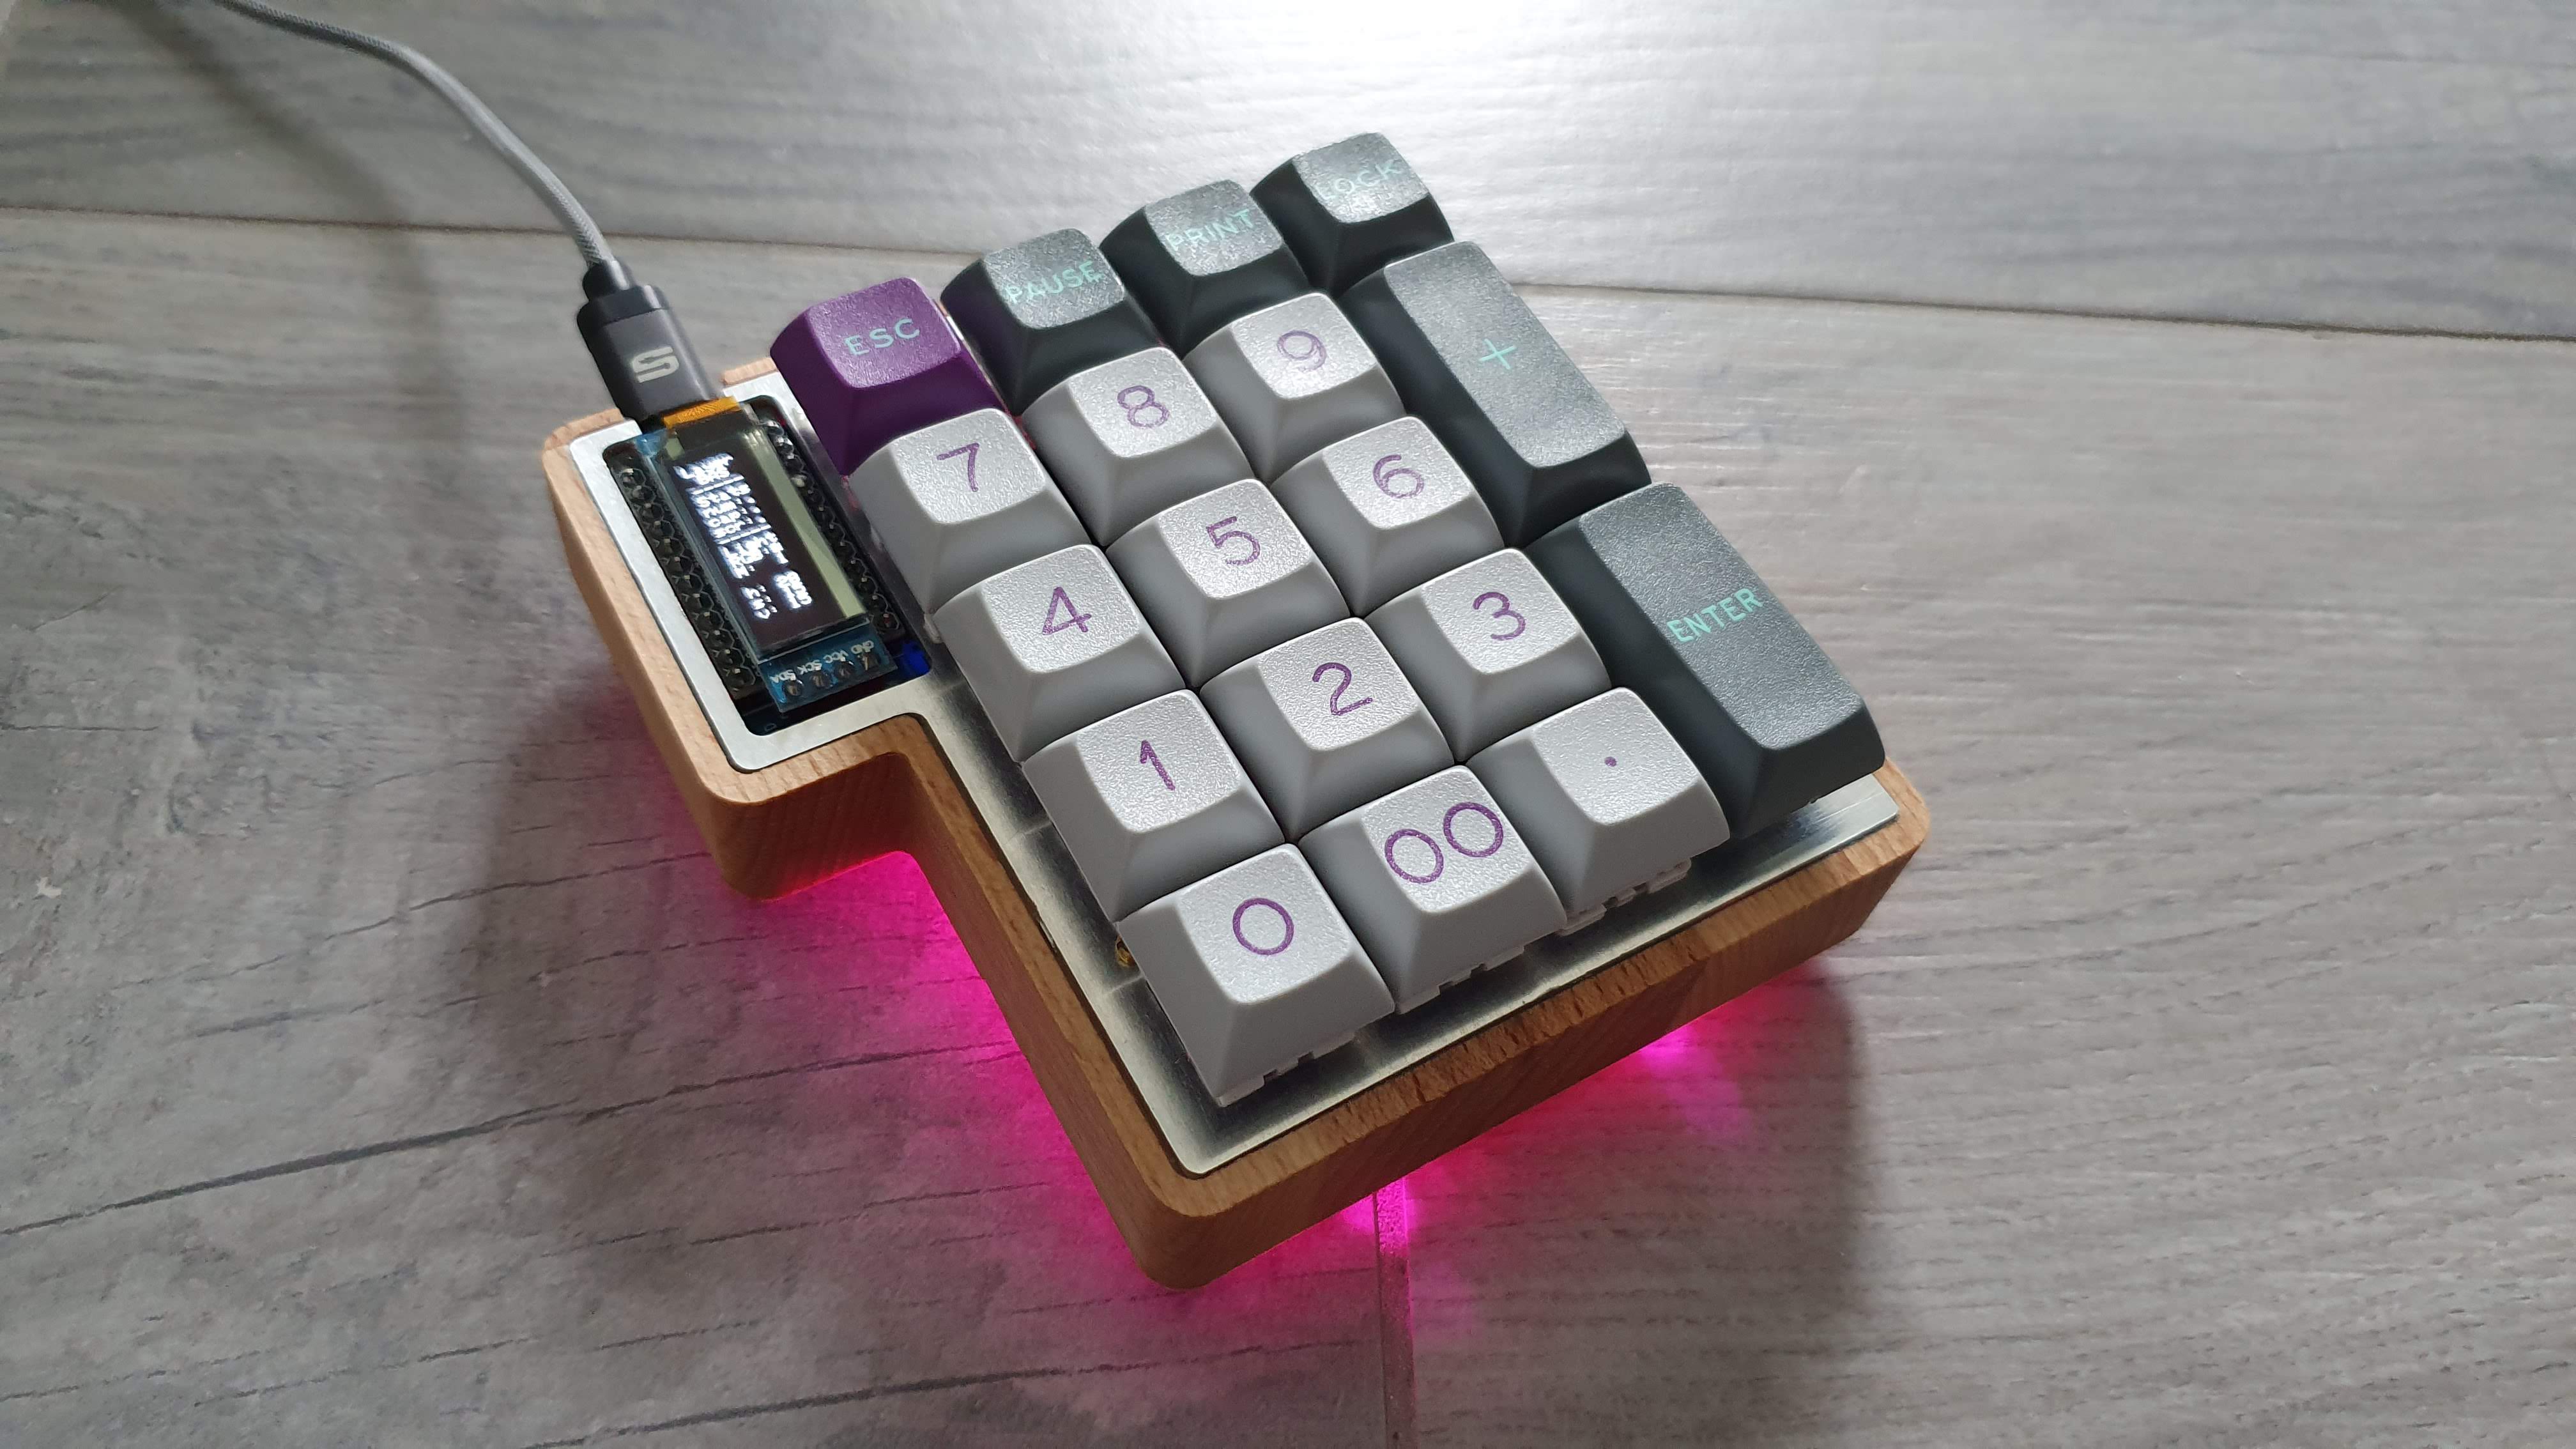
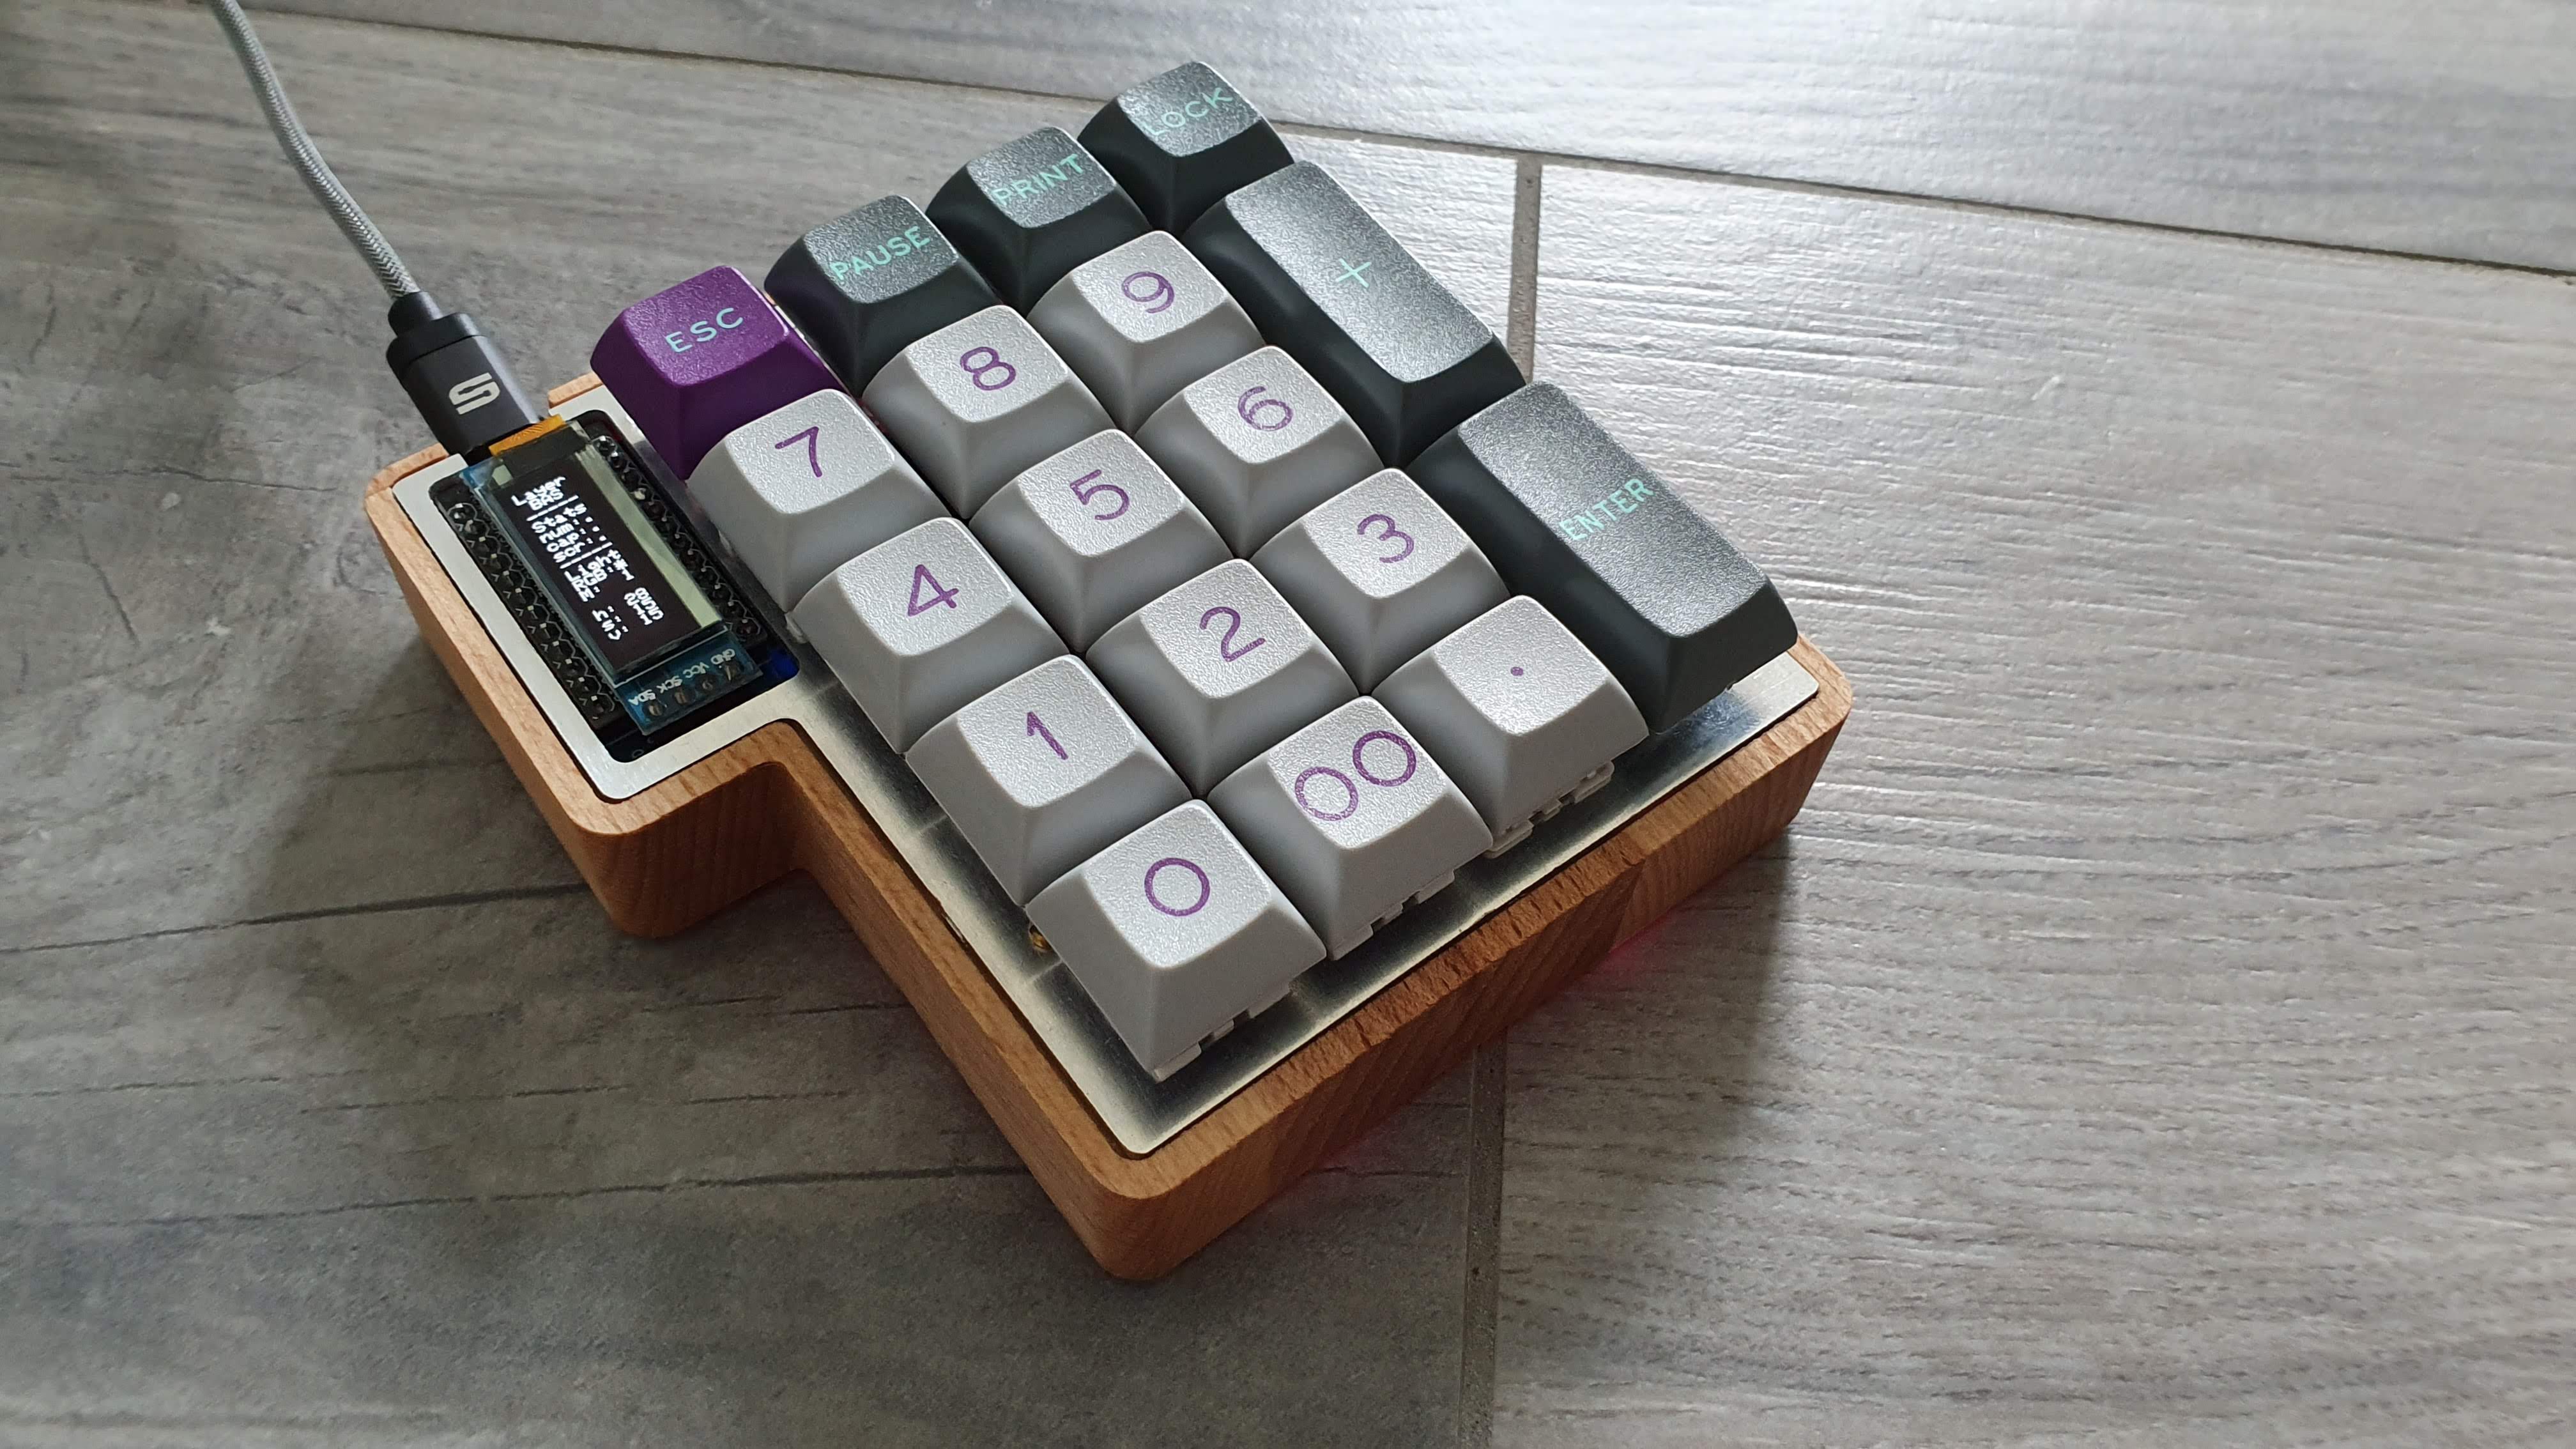
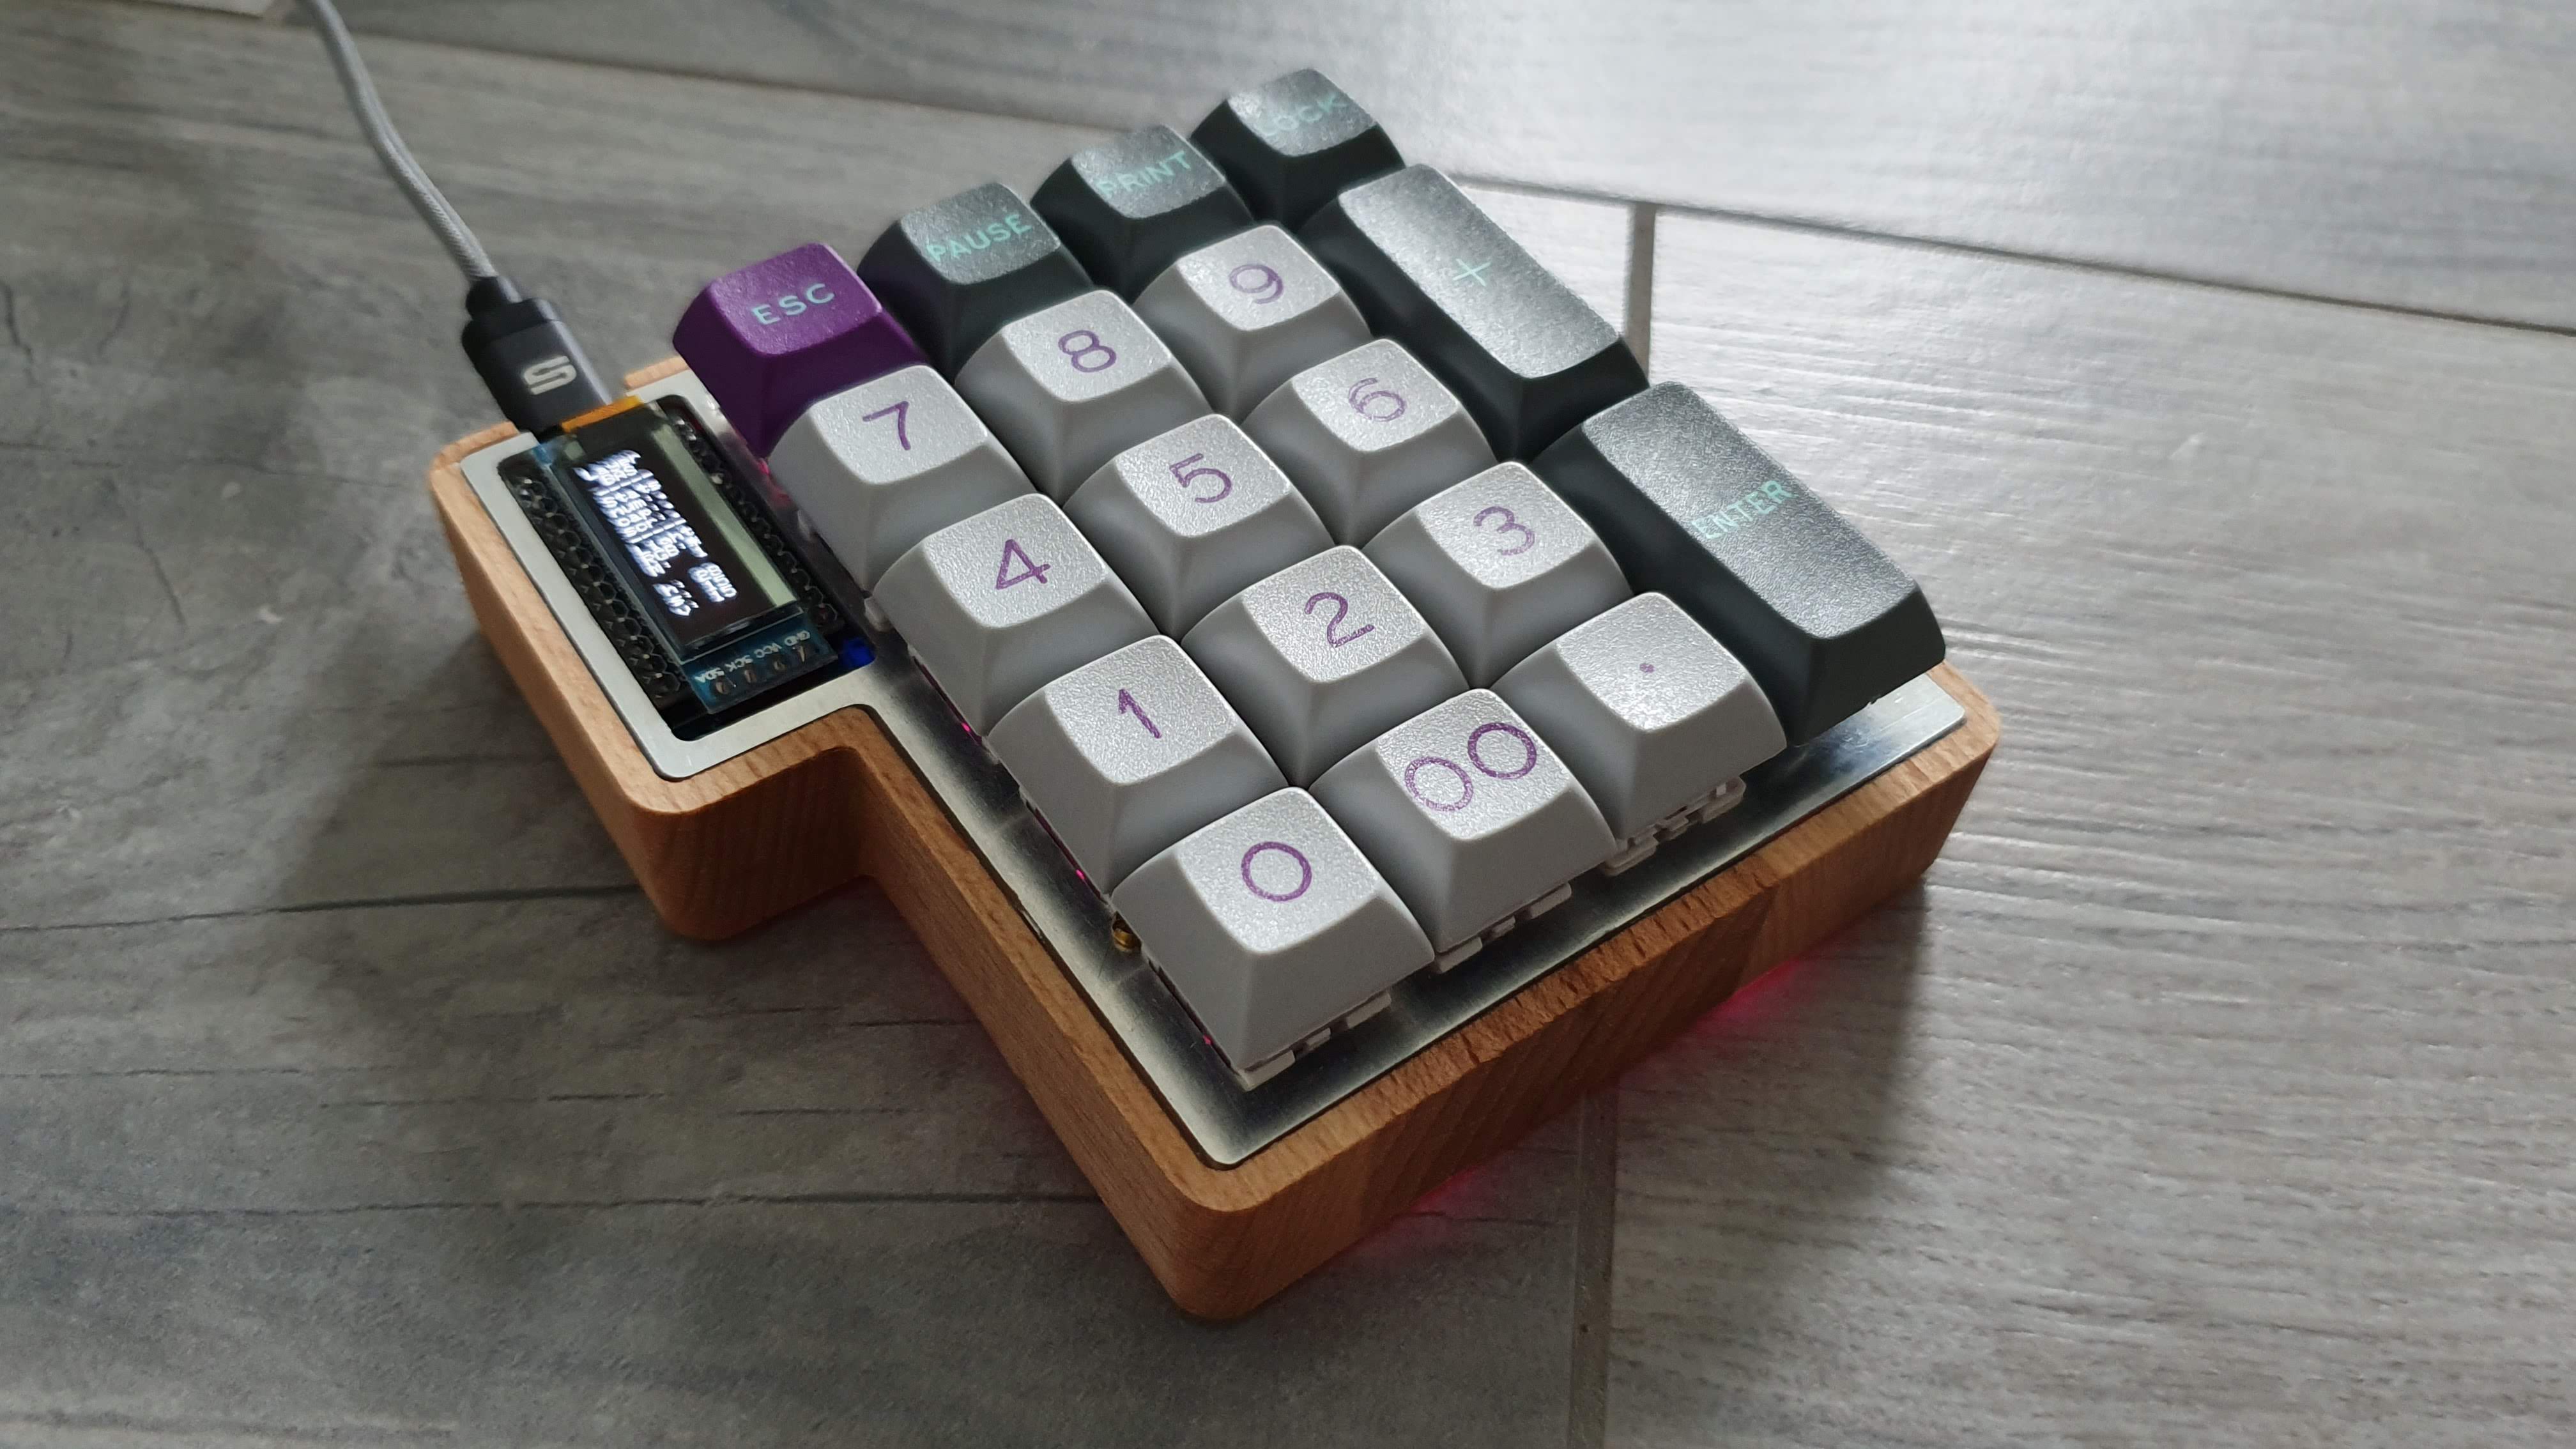
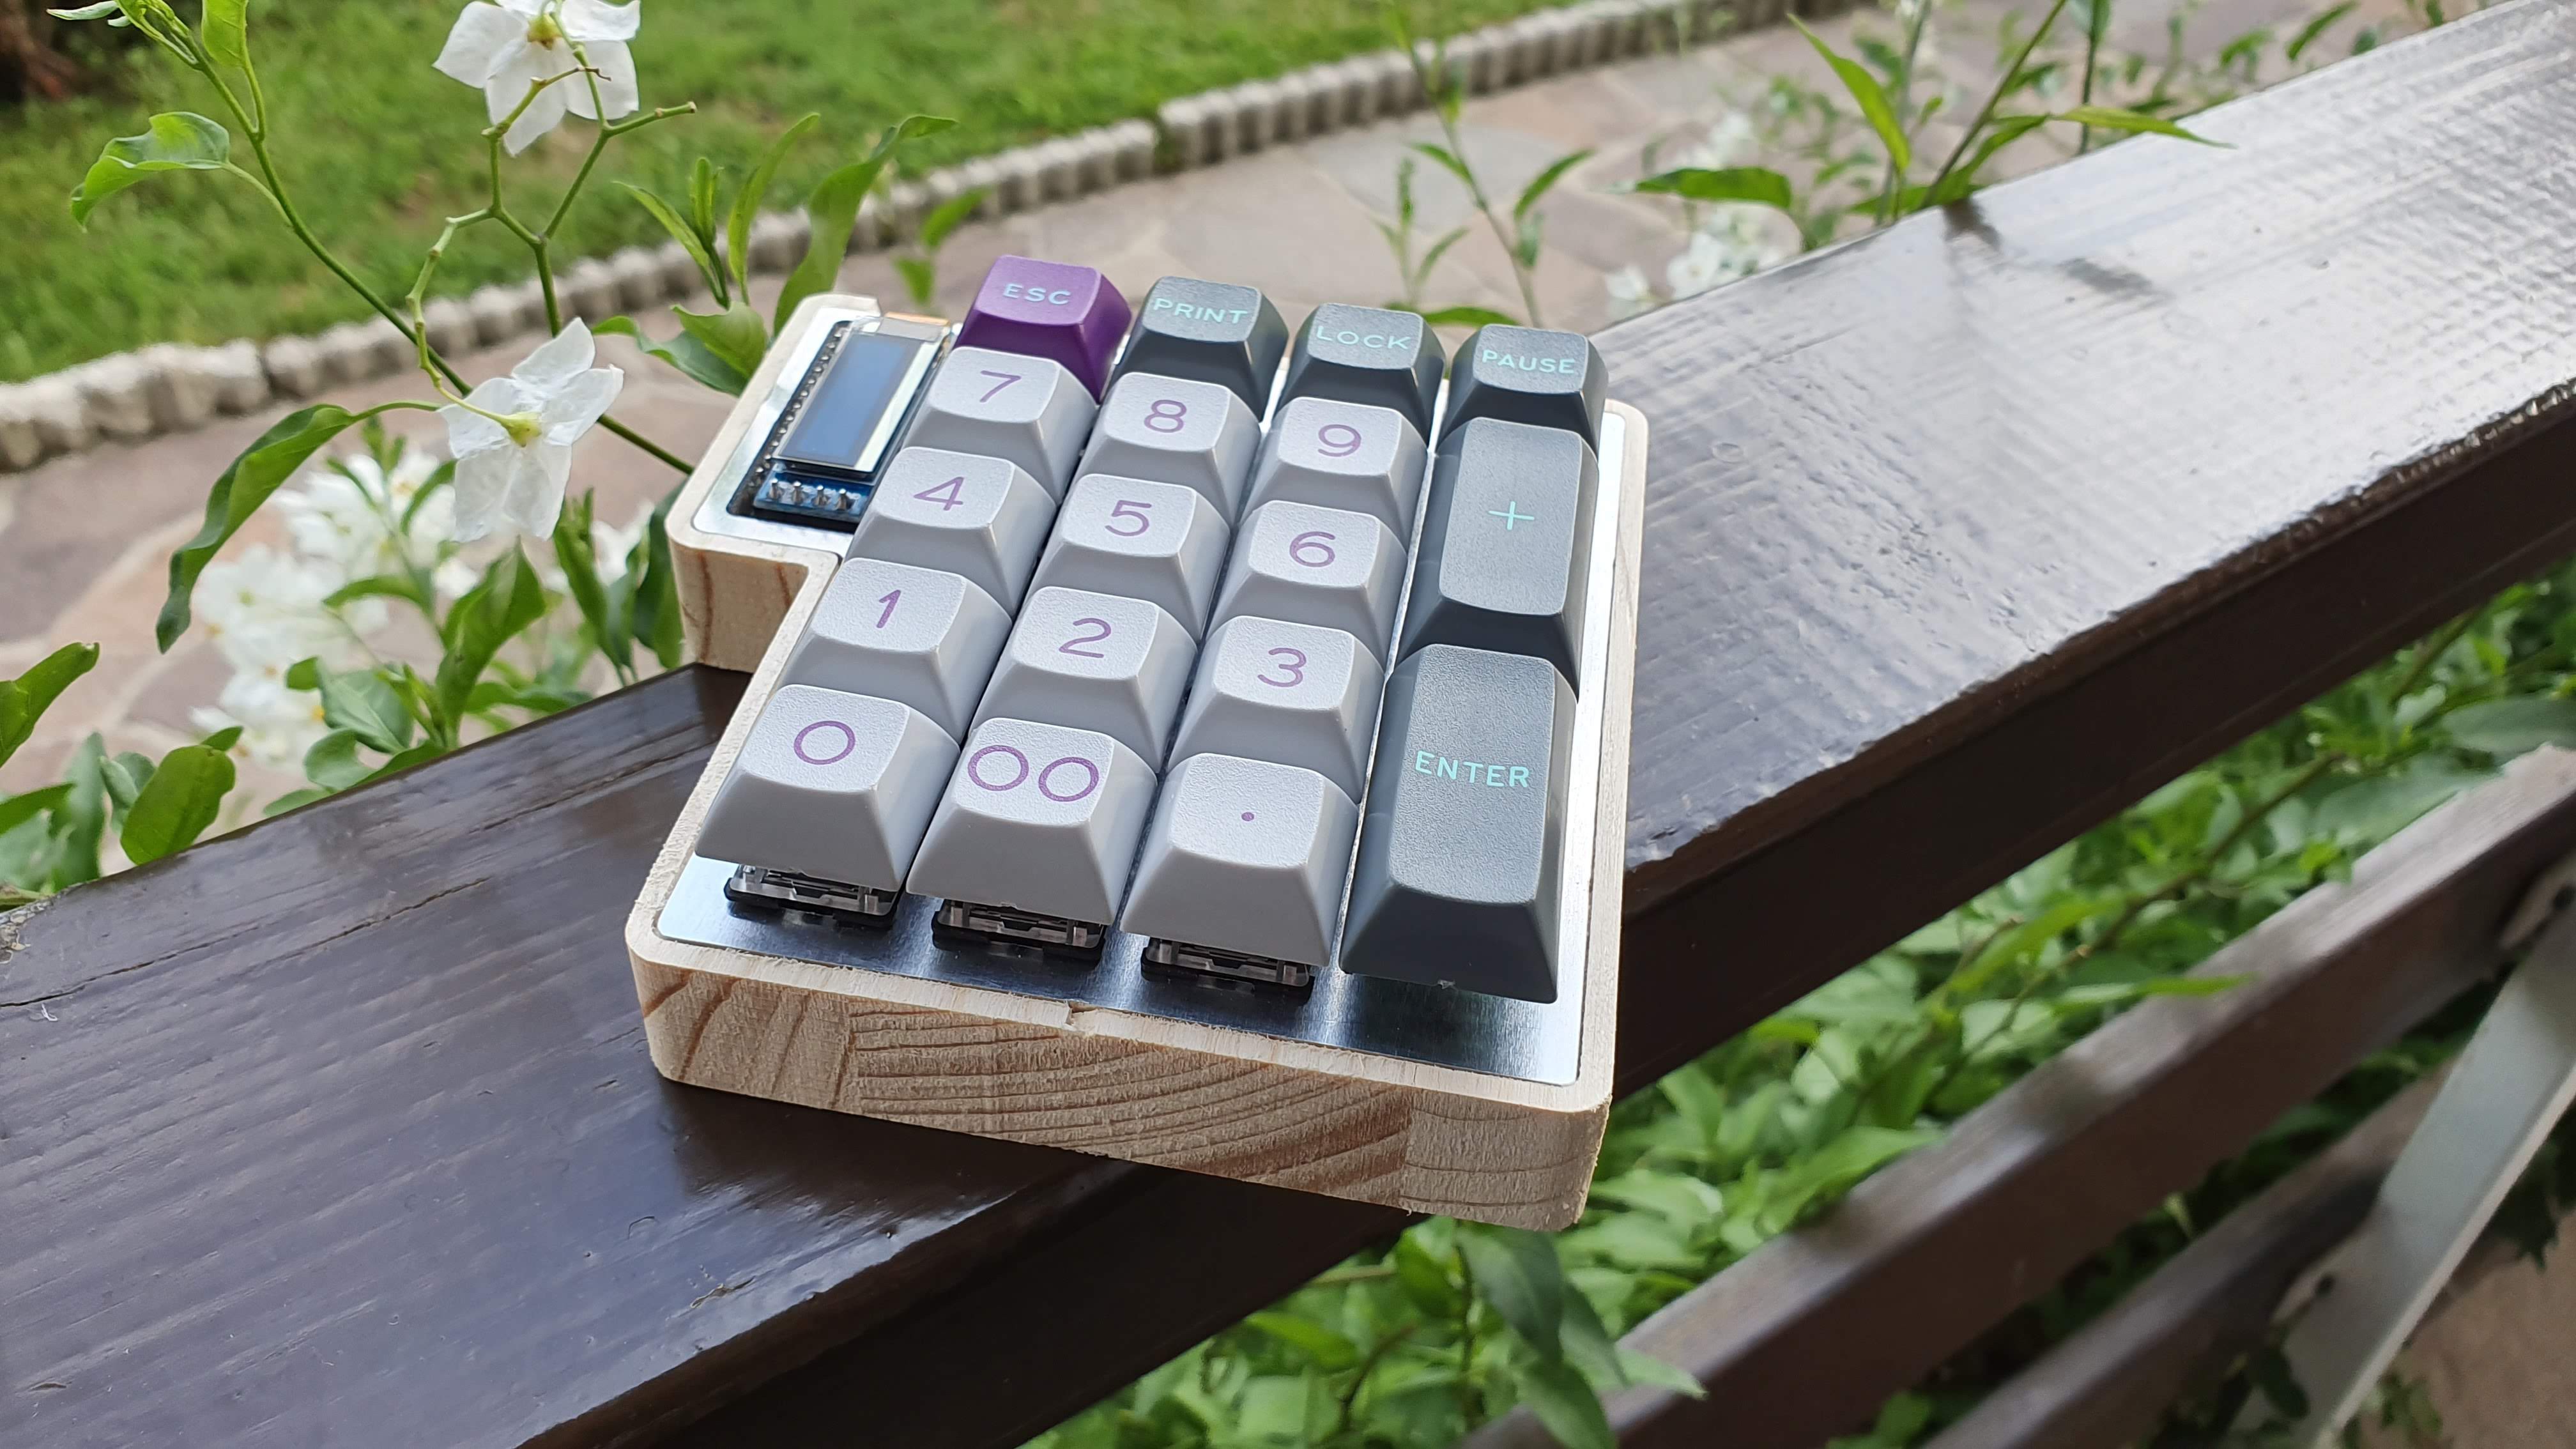
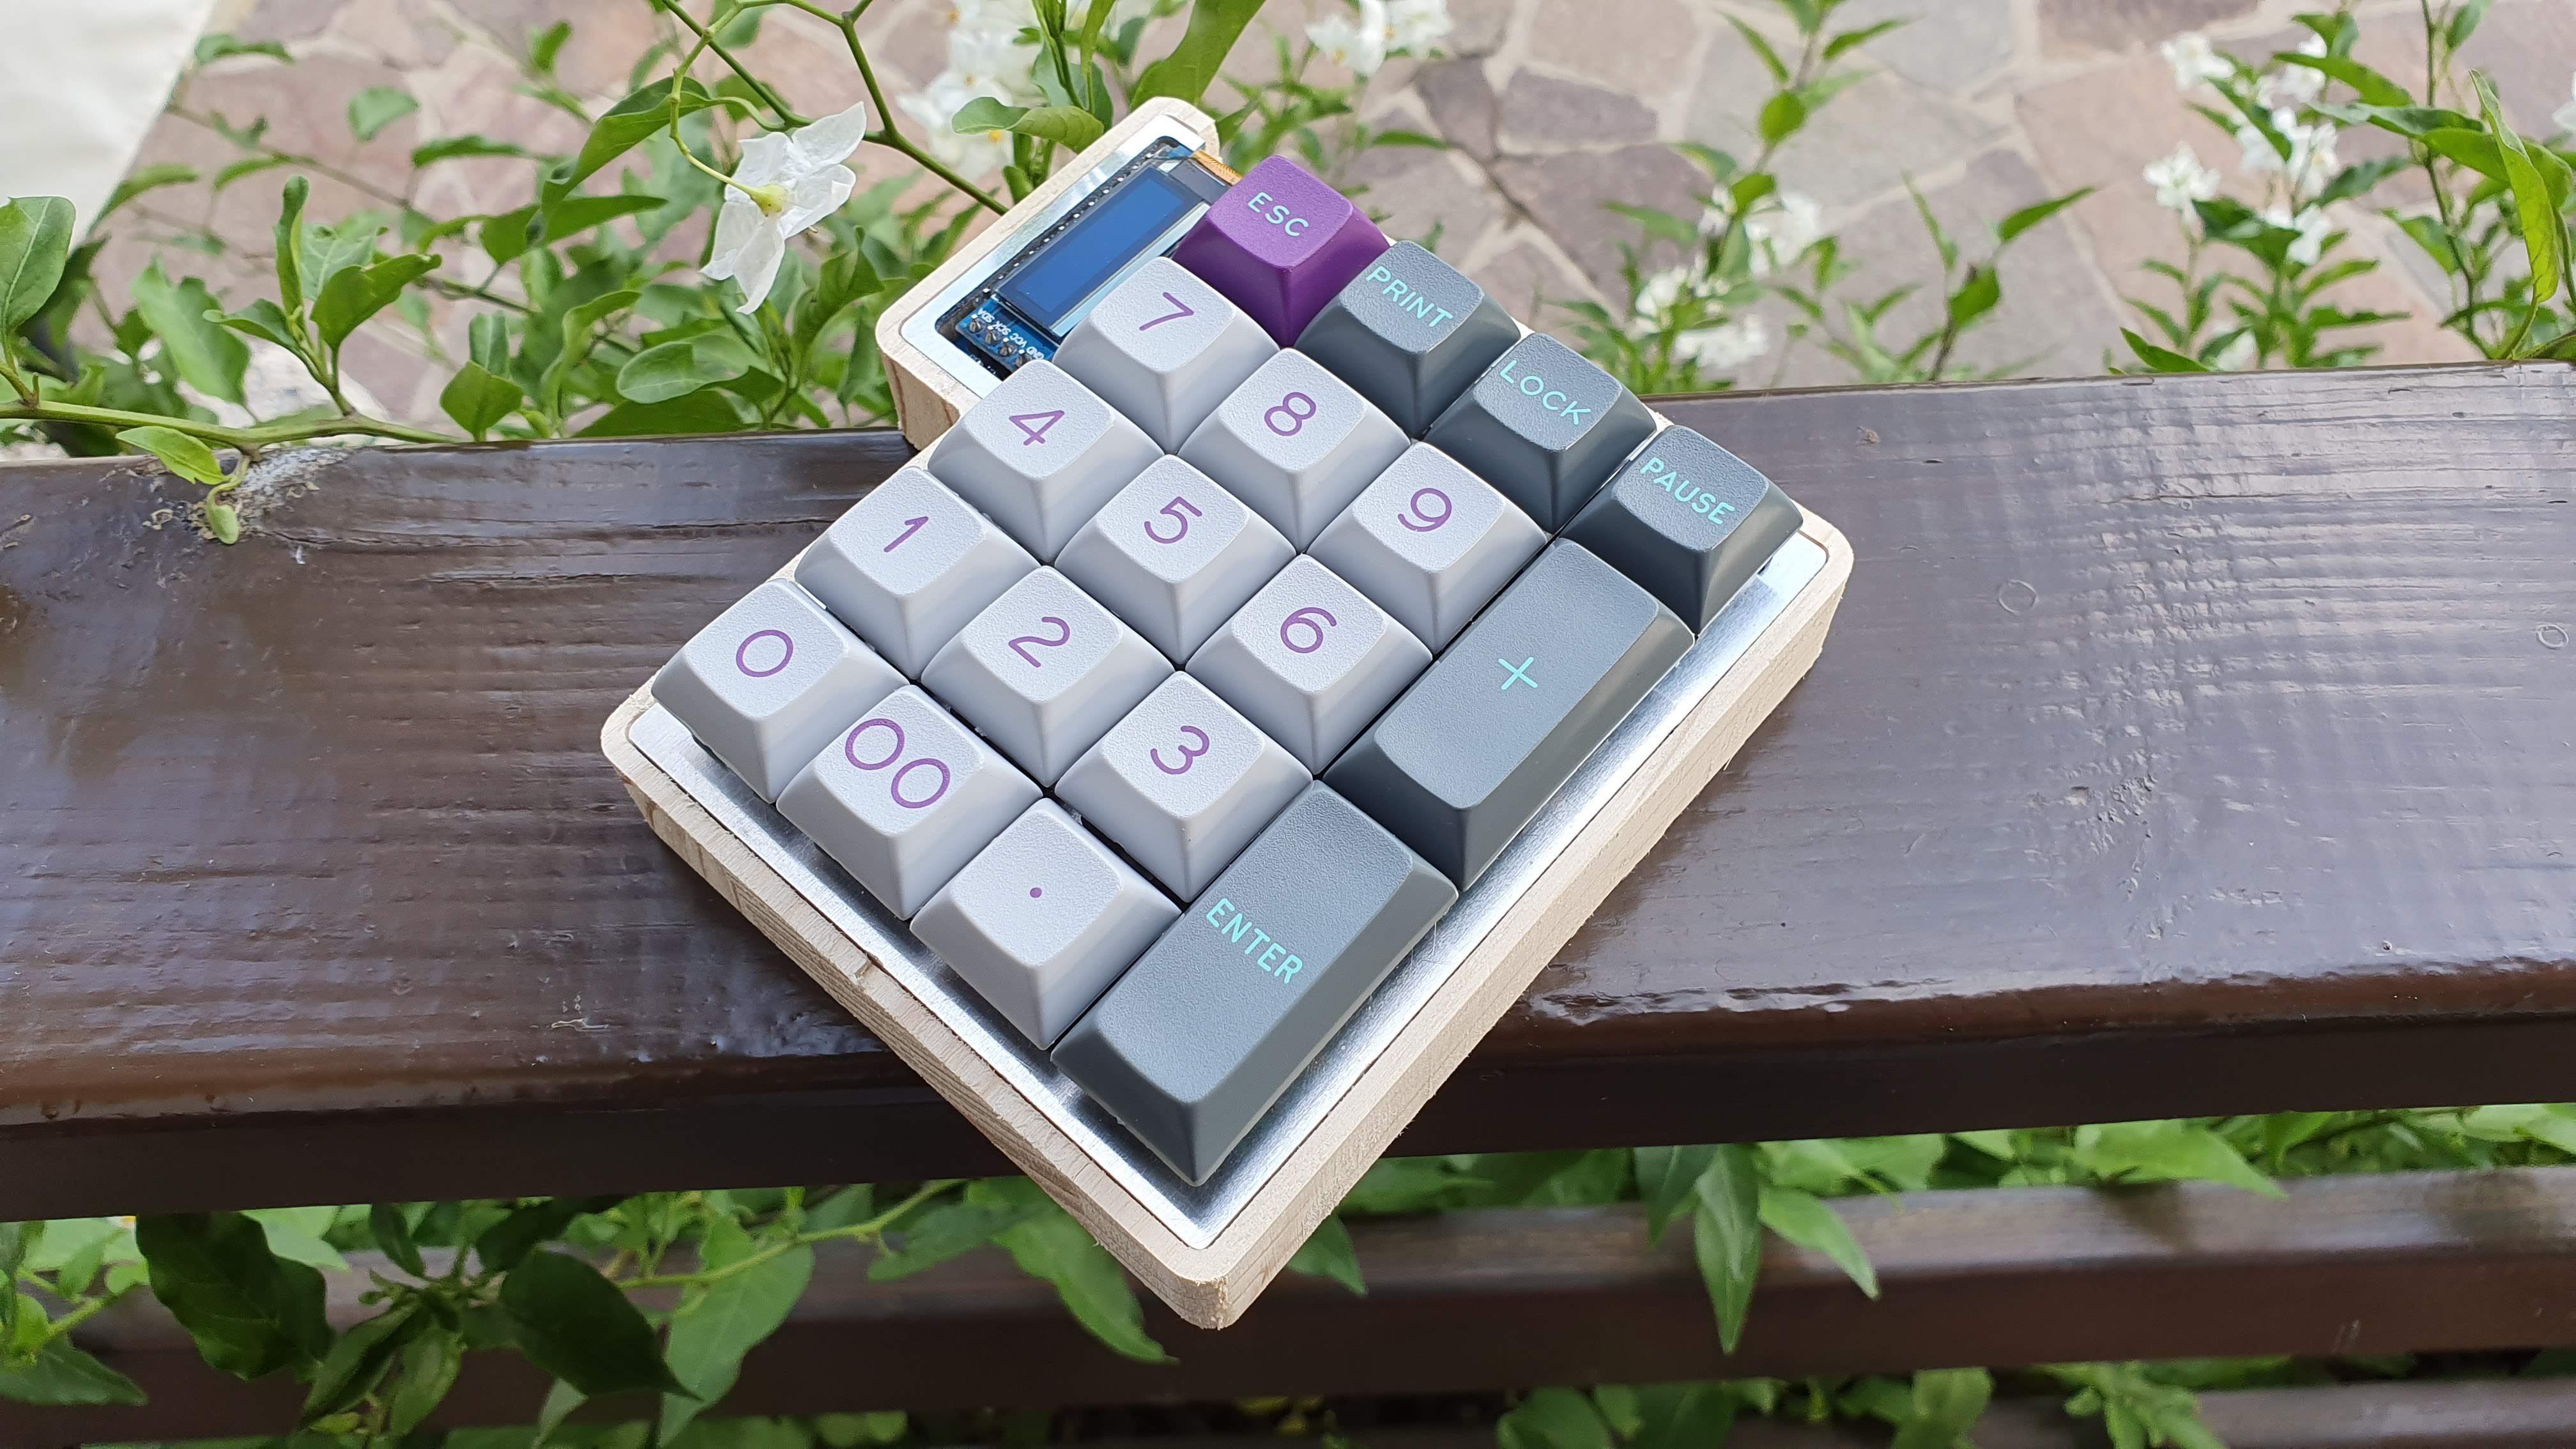
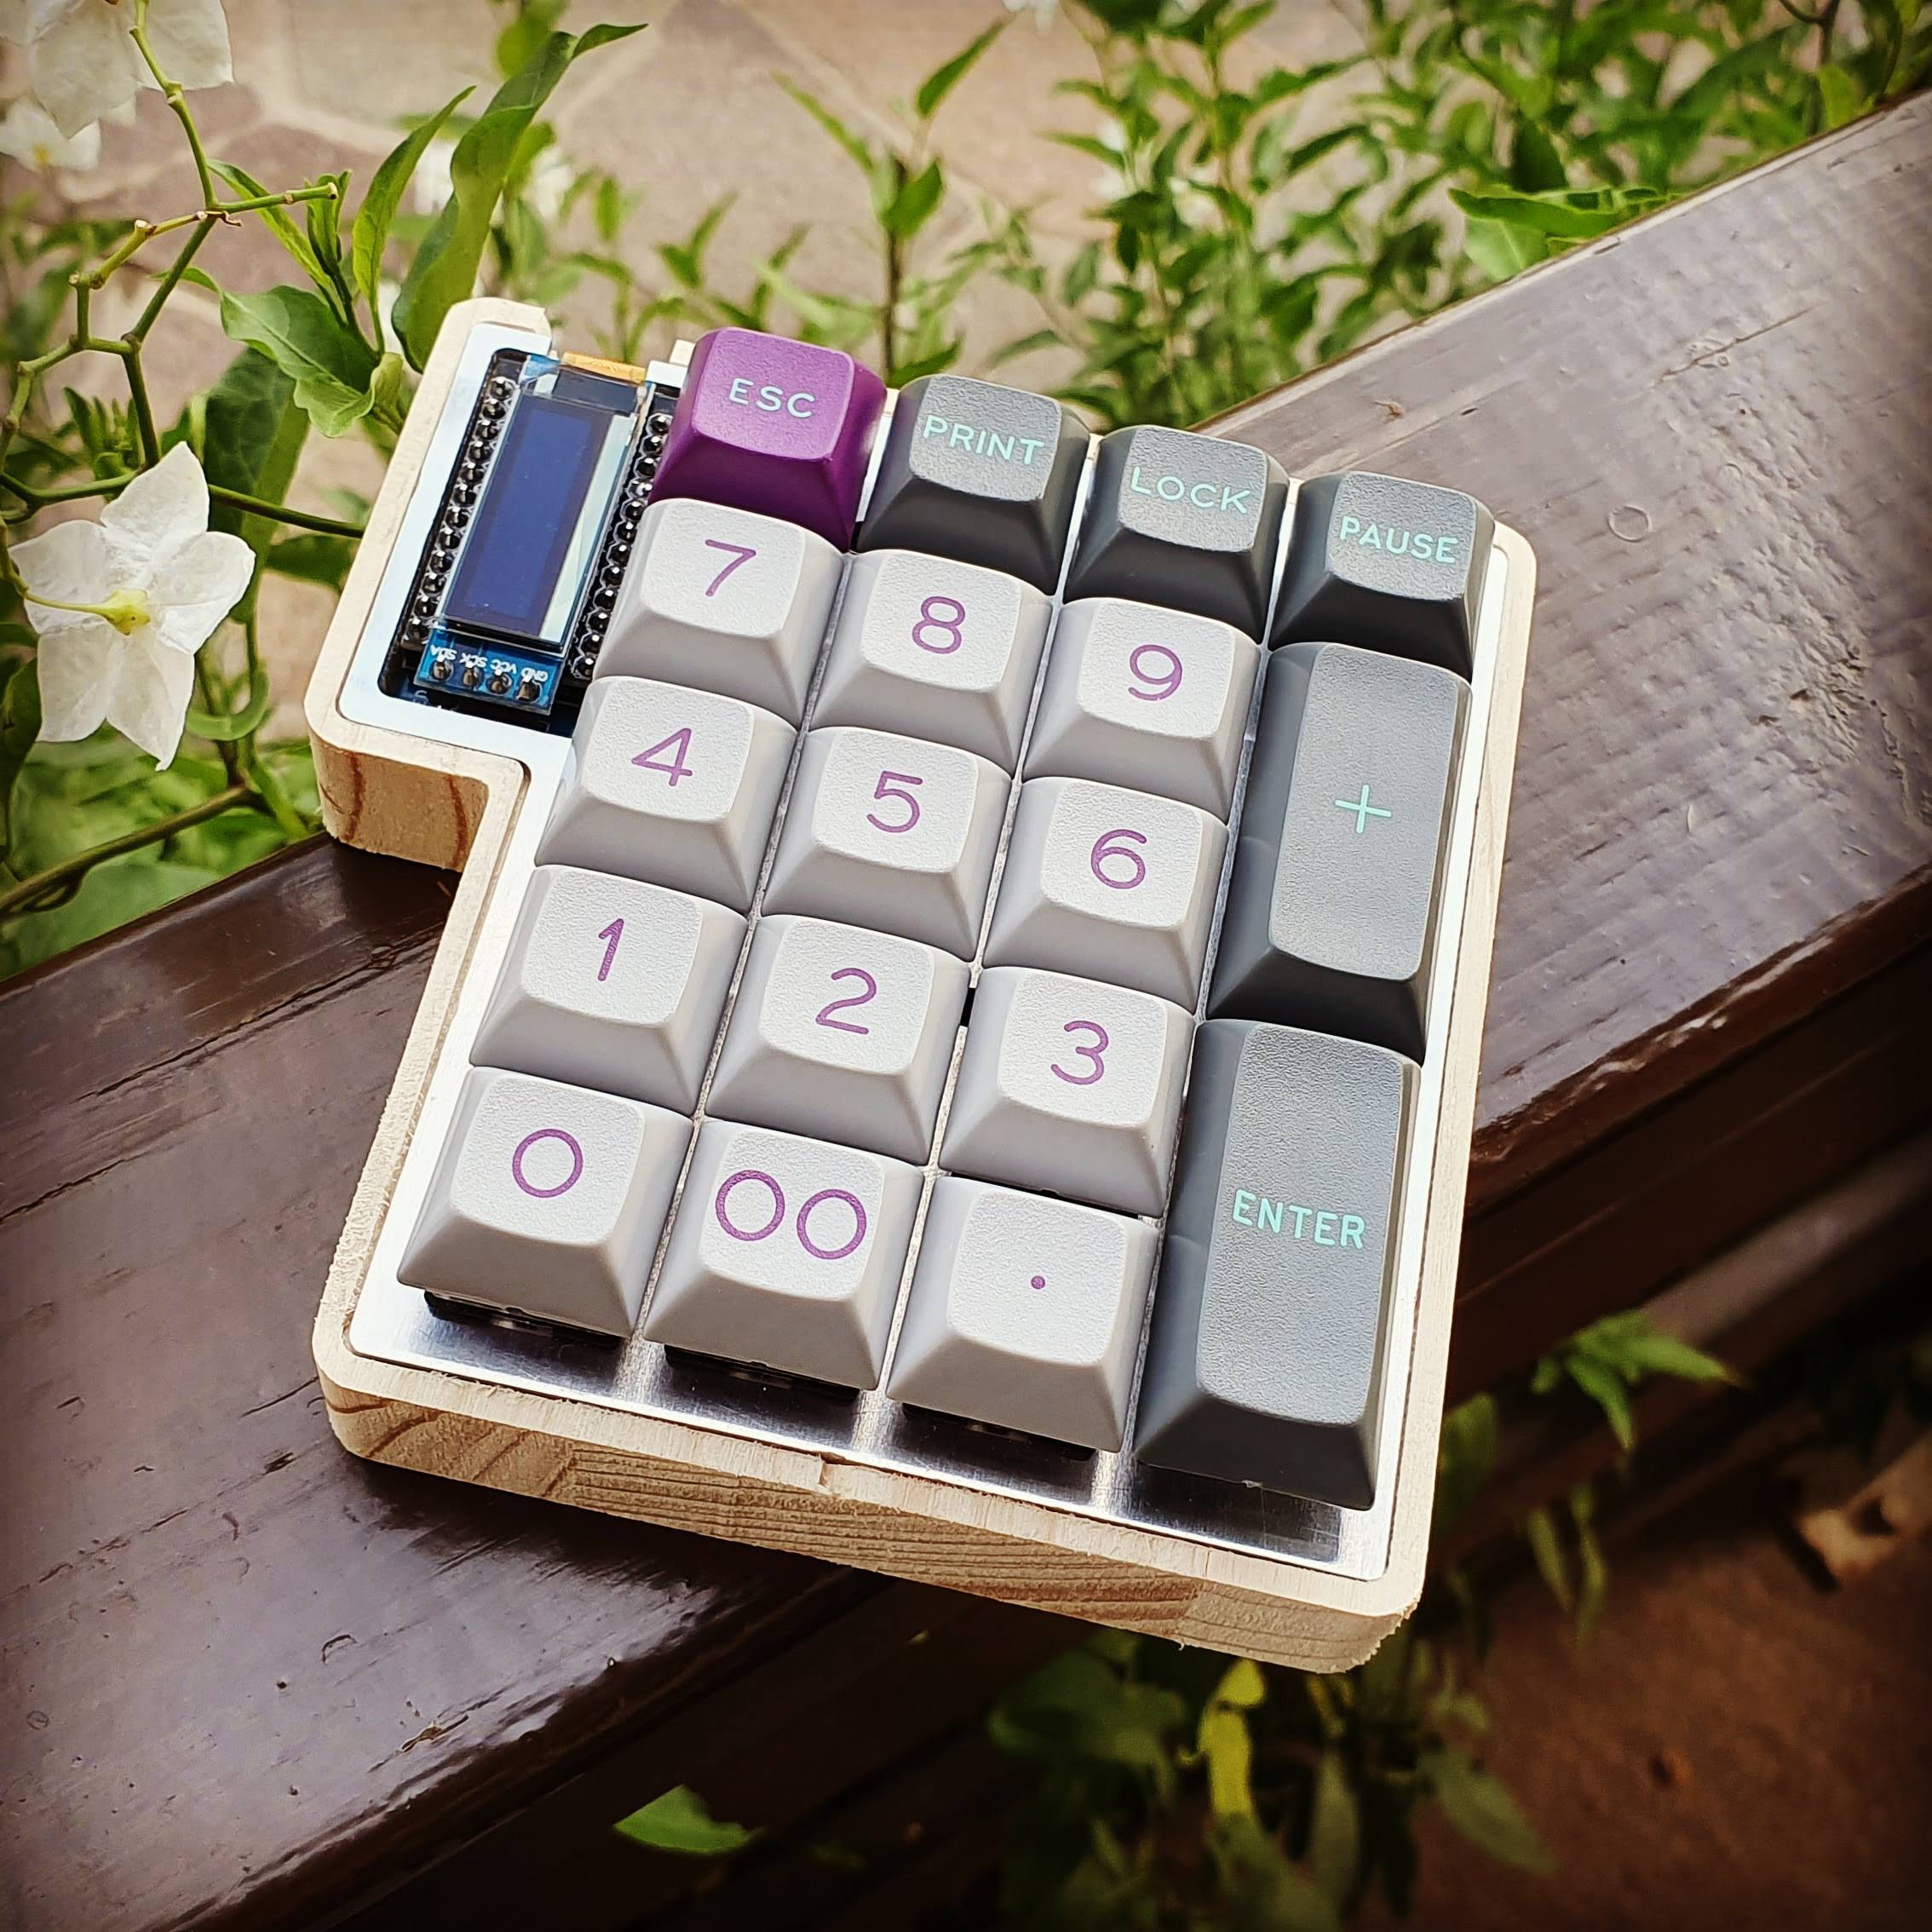
I really like the contrast between the aluminium plate and the brass screws.You may wonder why all those different switches: I'll use this numpad as a swith tester to convert my collegues at work :D
![]()
![]()
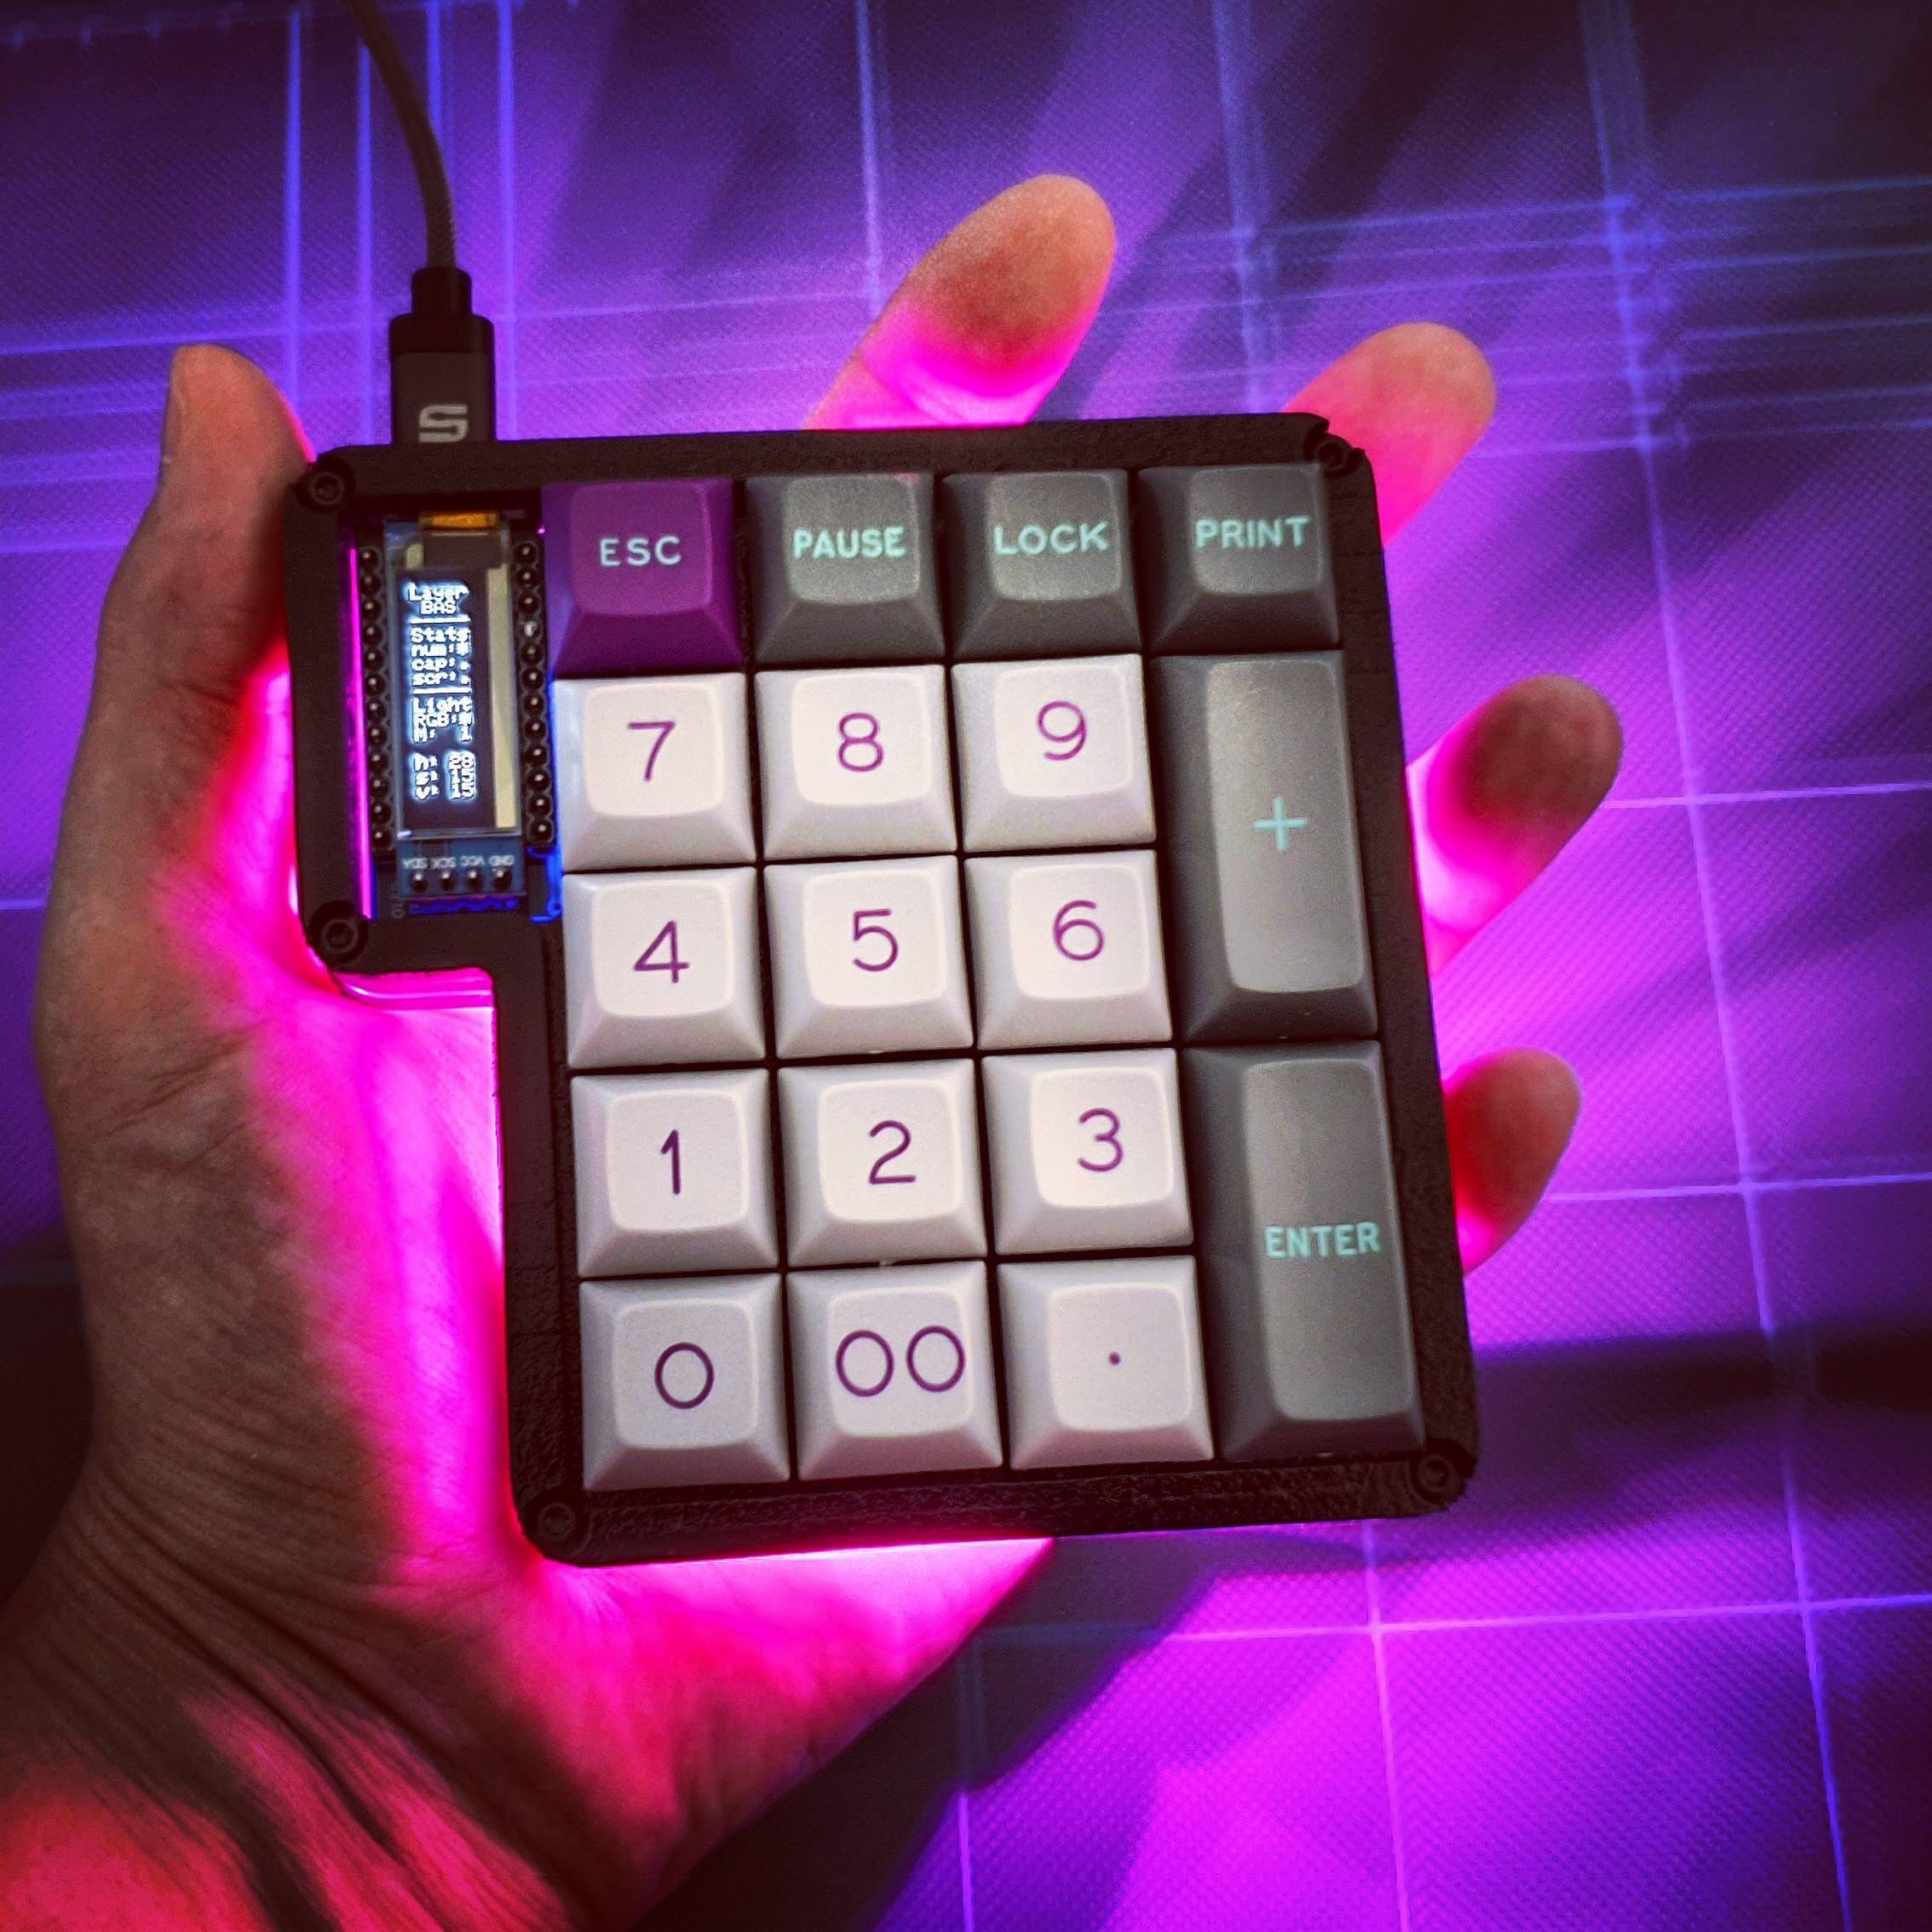
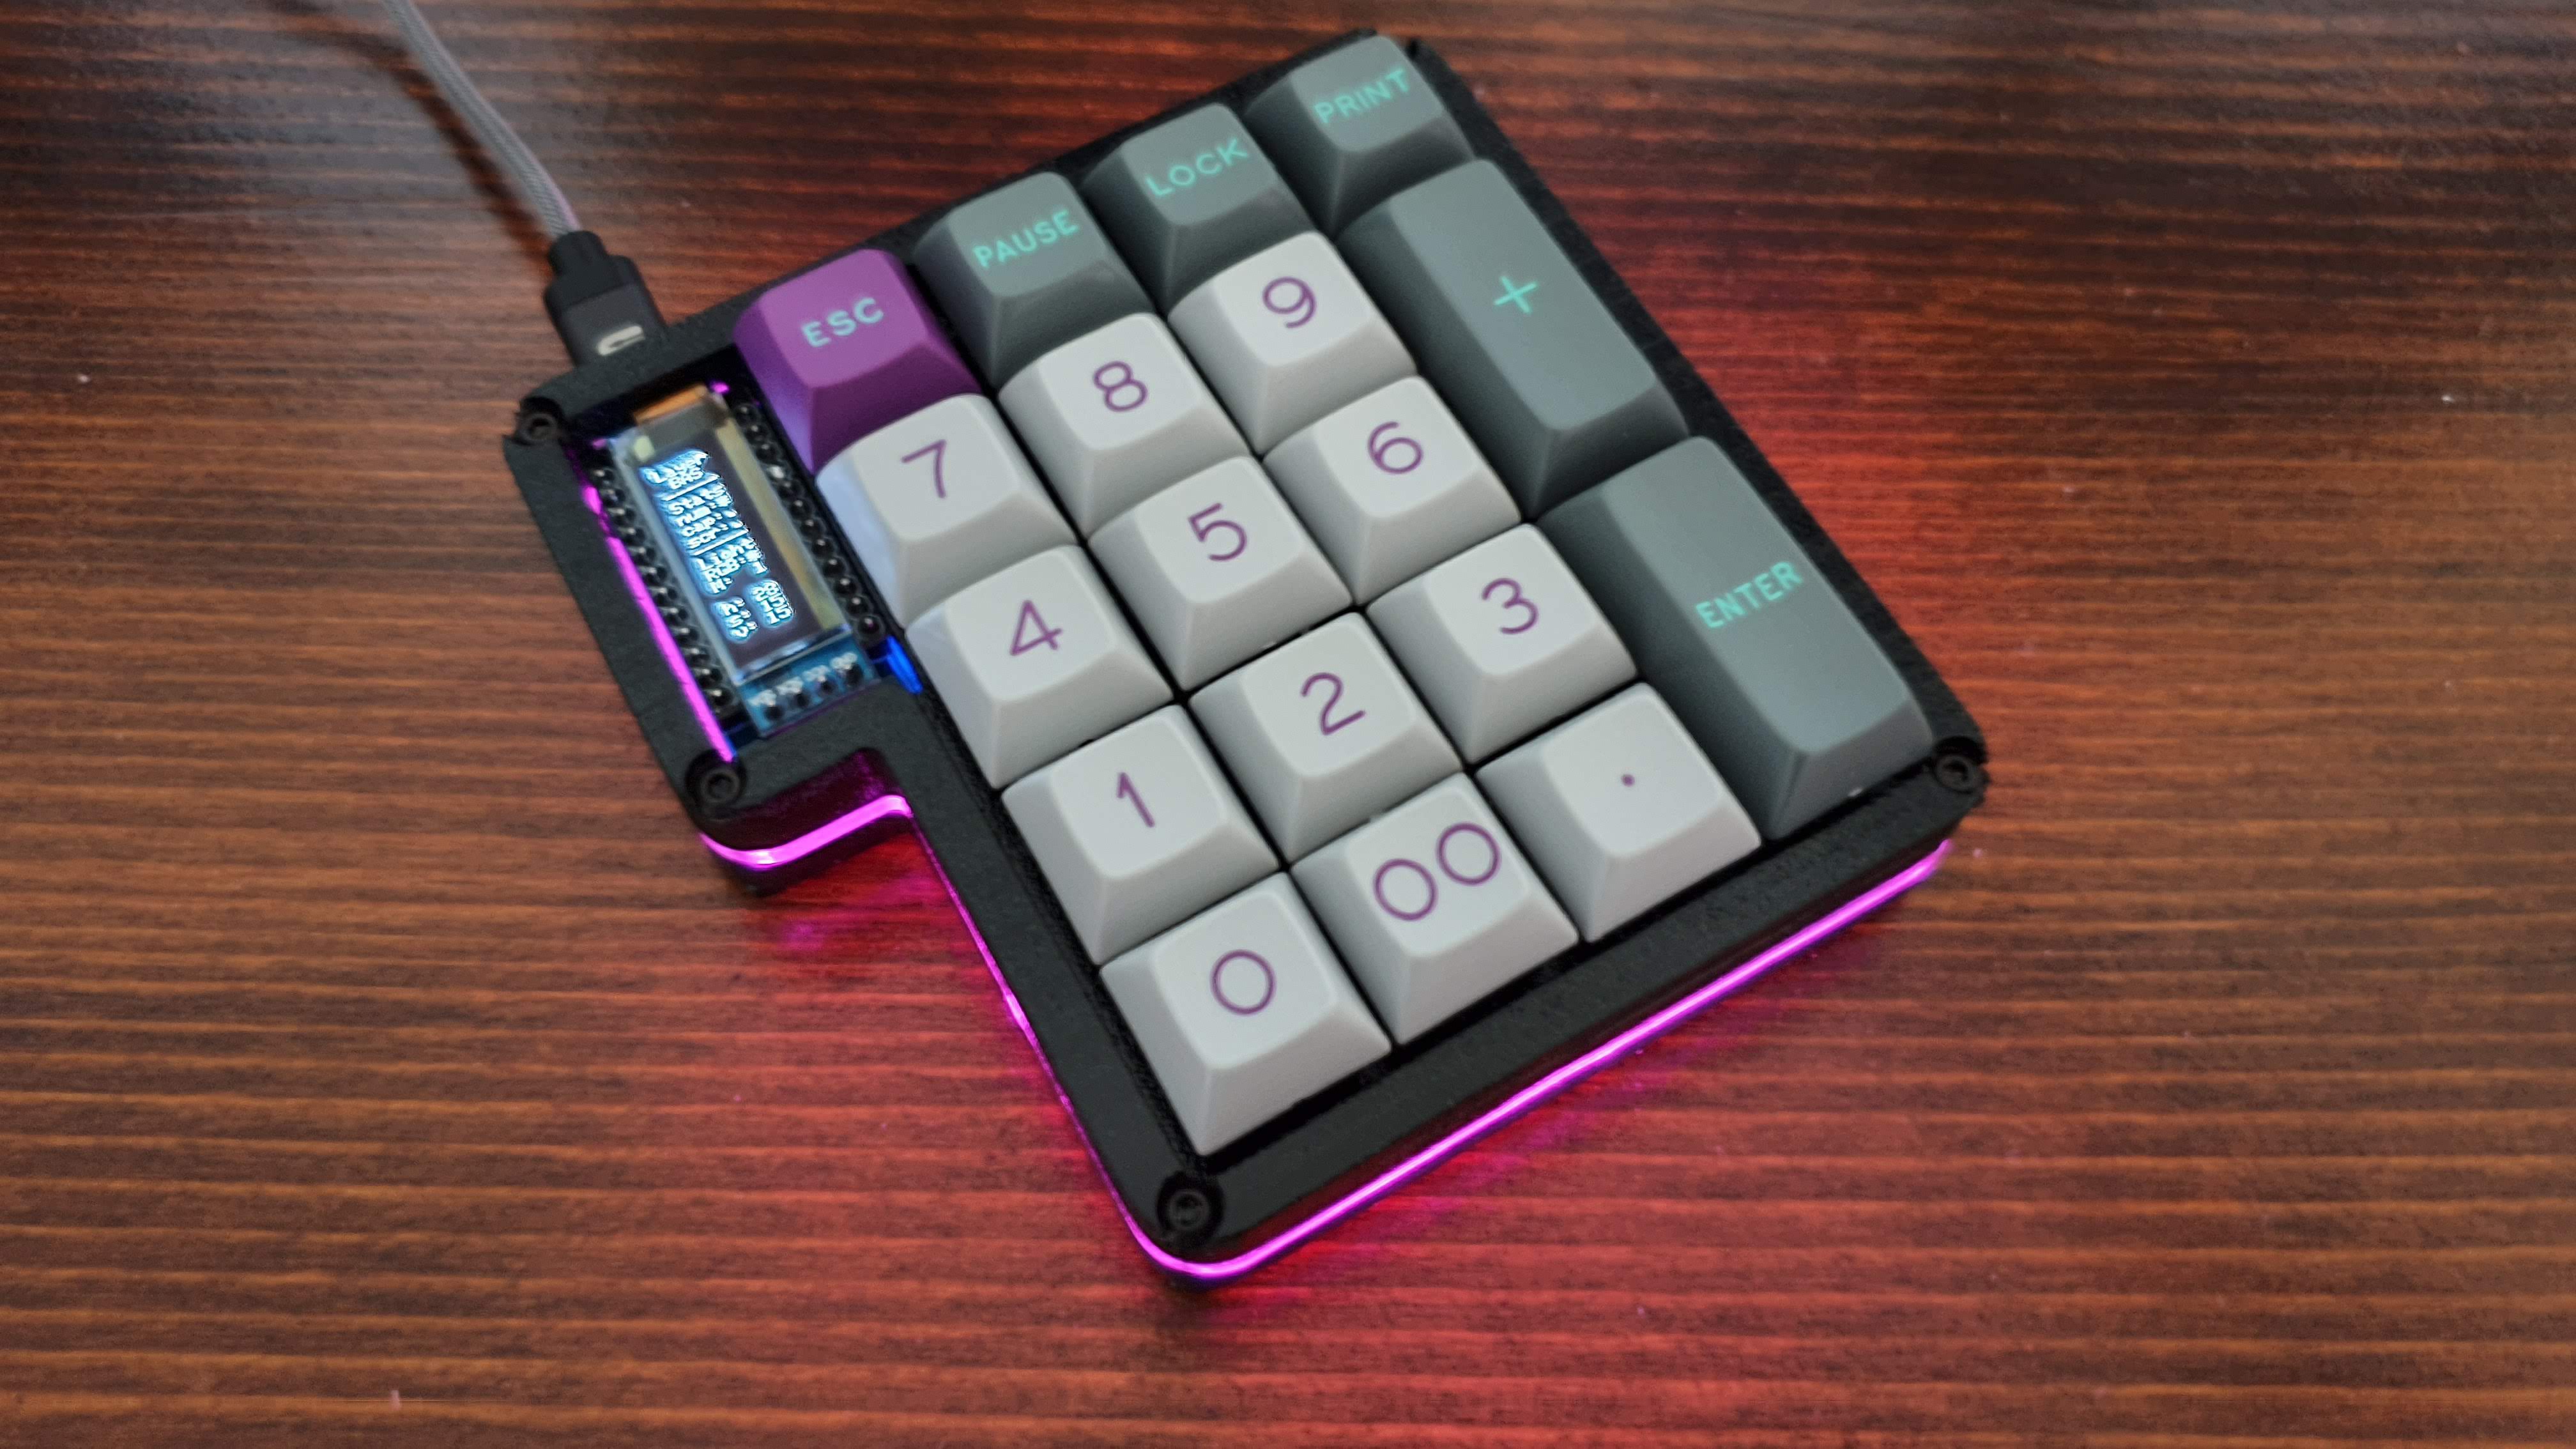
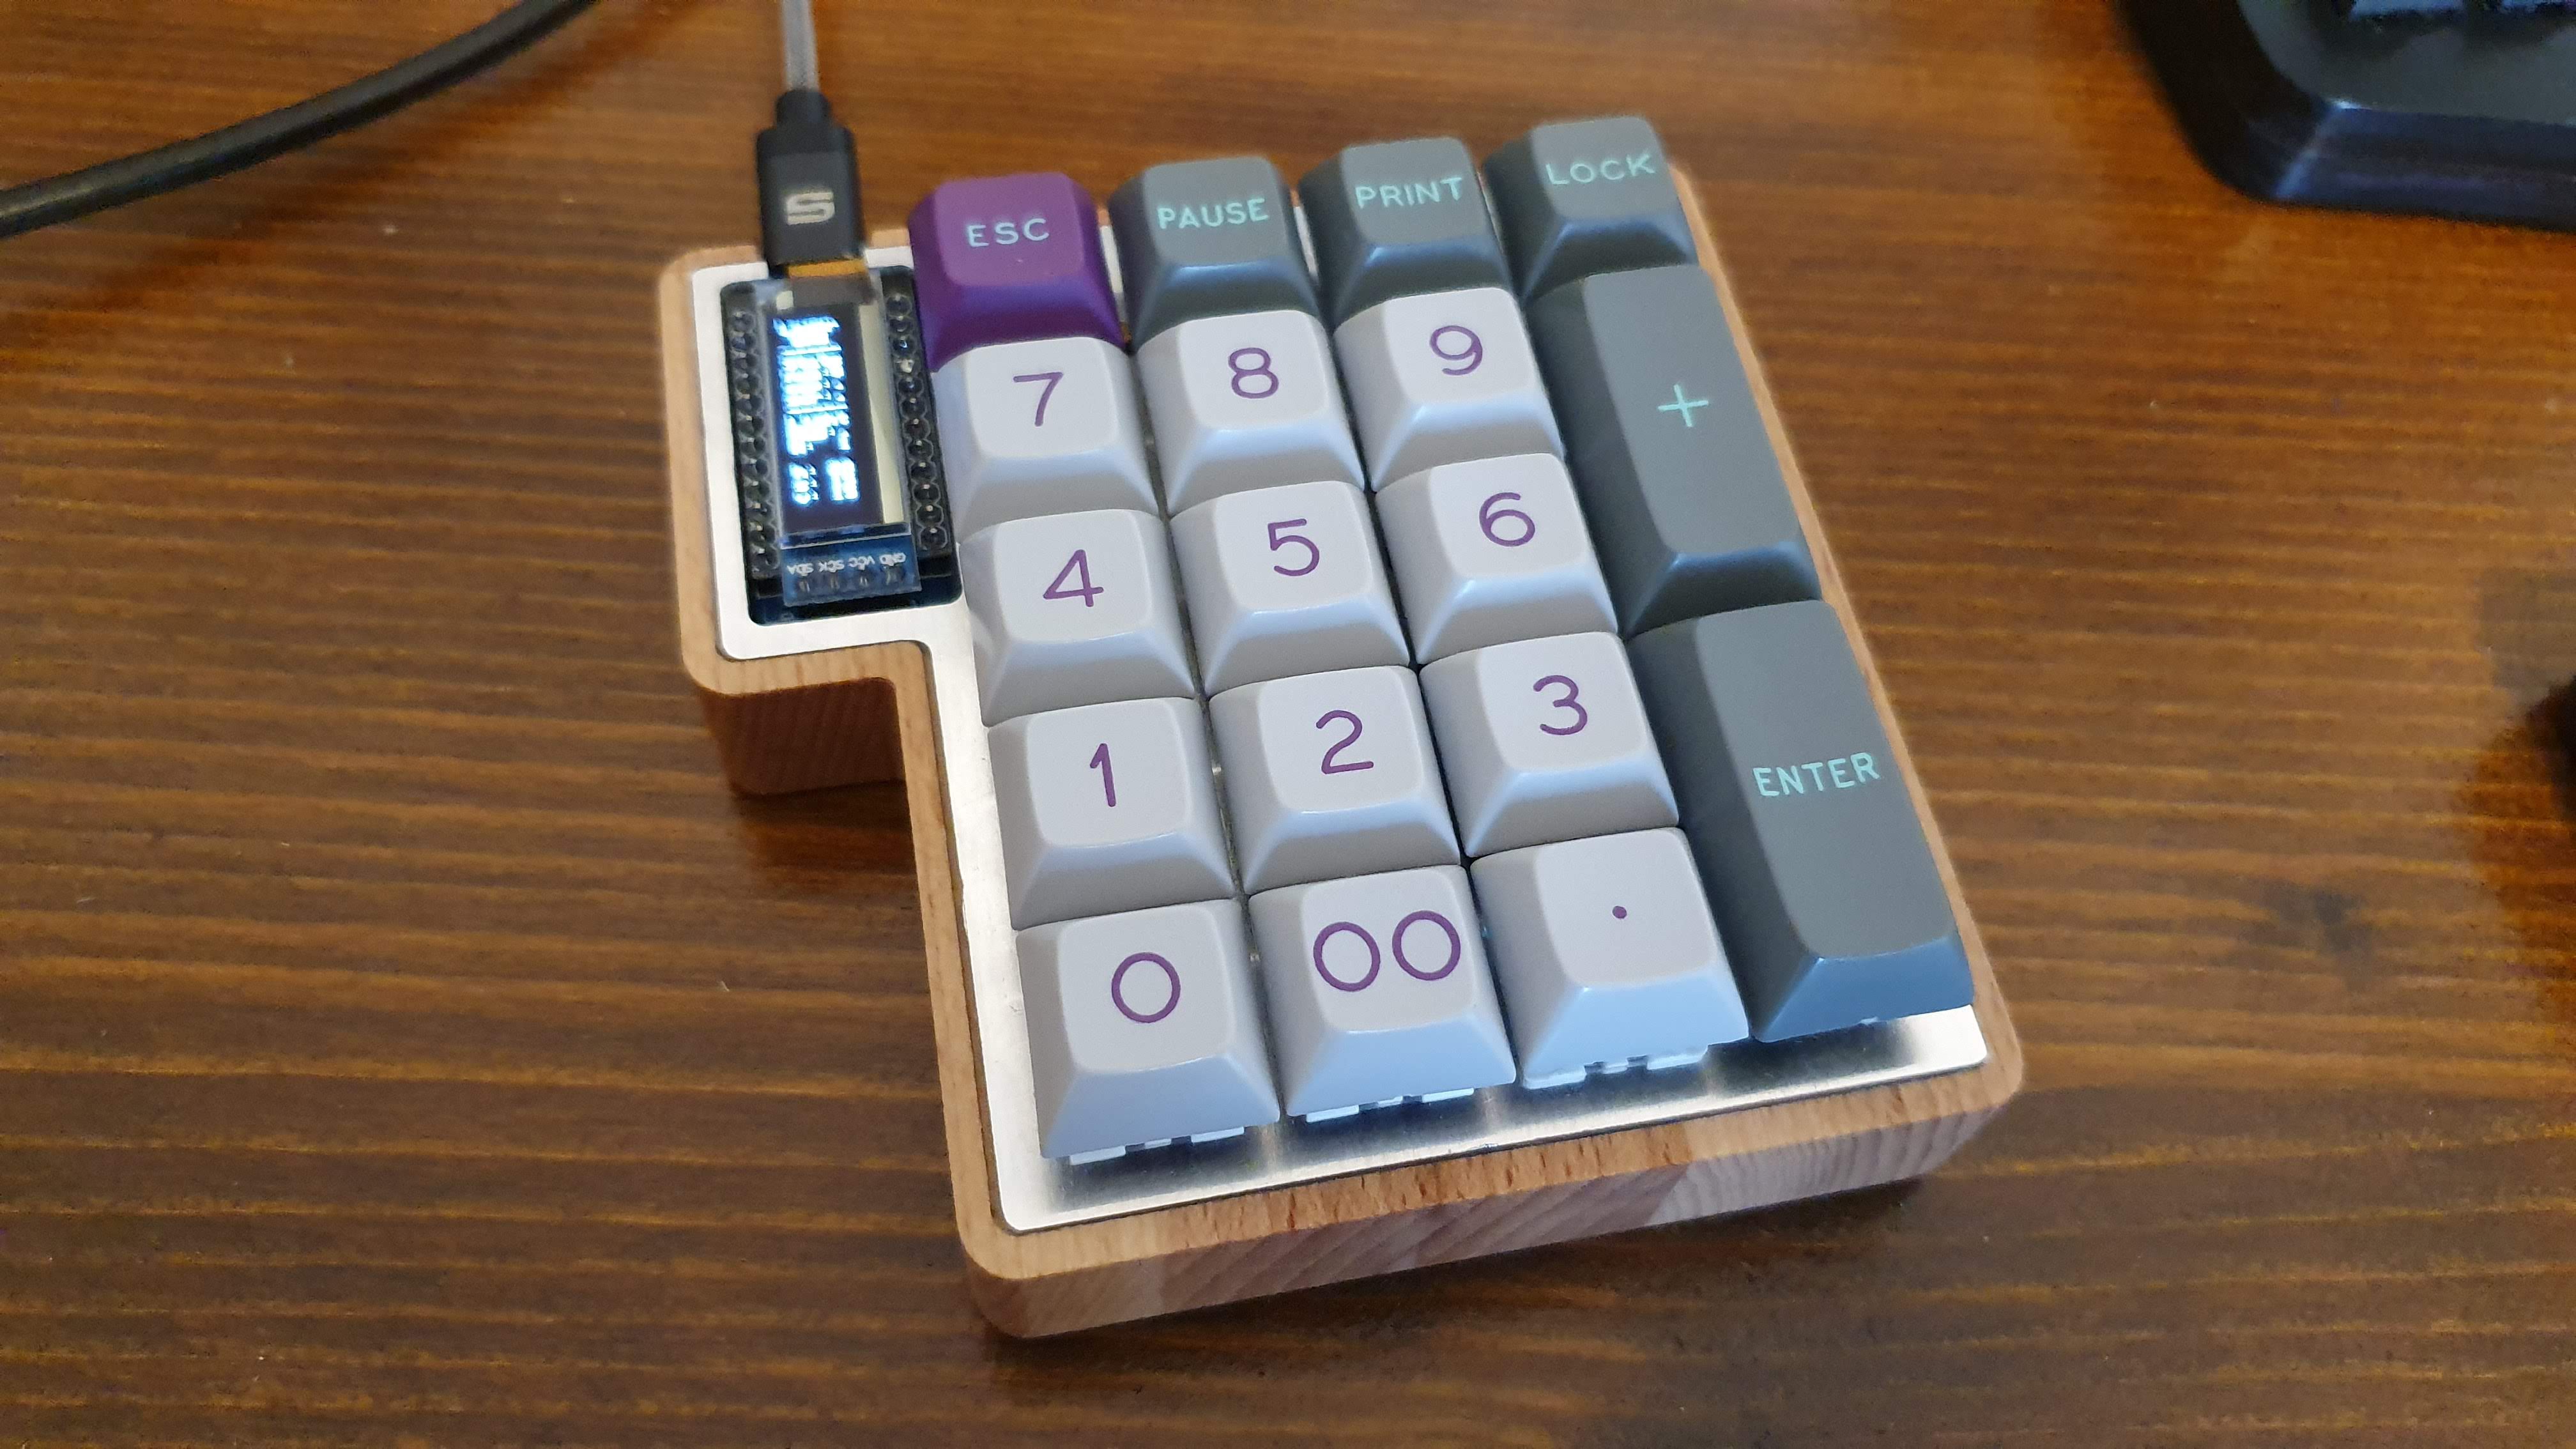
Did I mention that it works too?
![]()
![]()
![]()
![]()
And now I think we can call this project complete.
Time to sum up the project. What would I do differently?Design wise:
- I would mount the Arduino on the bottom of the PCB so that I can use the same form factor but have a nicer plate. As you can see I had to cut the plate at the top to makie room for the USB connector and there's a strip of aluminium that's way too thin on the right of the OLED screen. Just by mounting the arduino on the bottom I will fix all those problems.
- I would add the option to have one 2U key on the bottom, so that whoever wants to have it can choose to do so.
- I would add a rotary encoder because... why not?
- Enlarge the holes for the RGB lighting.
Regarding materials:
- I should find a way to protect the aluminium from scratches. During milling and related operations I scratched the surface a few time and it shows.
- I would like to wax the wood and make it look super shiny. I didn't do it this time because I was too afraid to ruin everything with a botched finish.
- I should use a thinner material for the case. Here I used a 19mm thick wood, a more sensible choice would be around 15mm maybe lower. I didn't try to fix it with the CNC because it took me 2hr to make the cut and leveling the surface would skyrocket the machining time.
Maybe I'll fix a few of these problems in the next iteration, but for now I'm happy with the results :D
-
YamPAD project log 19
08/21/2019 at 08:38 • 0 comments![]()
Sorry for taking too long... A few unexpected problems along the way delayed the project completion.
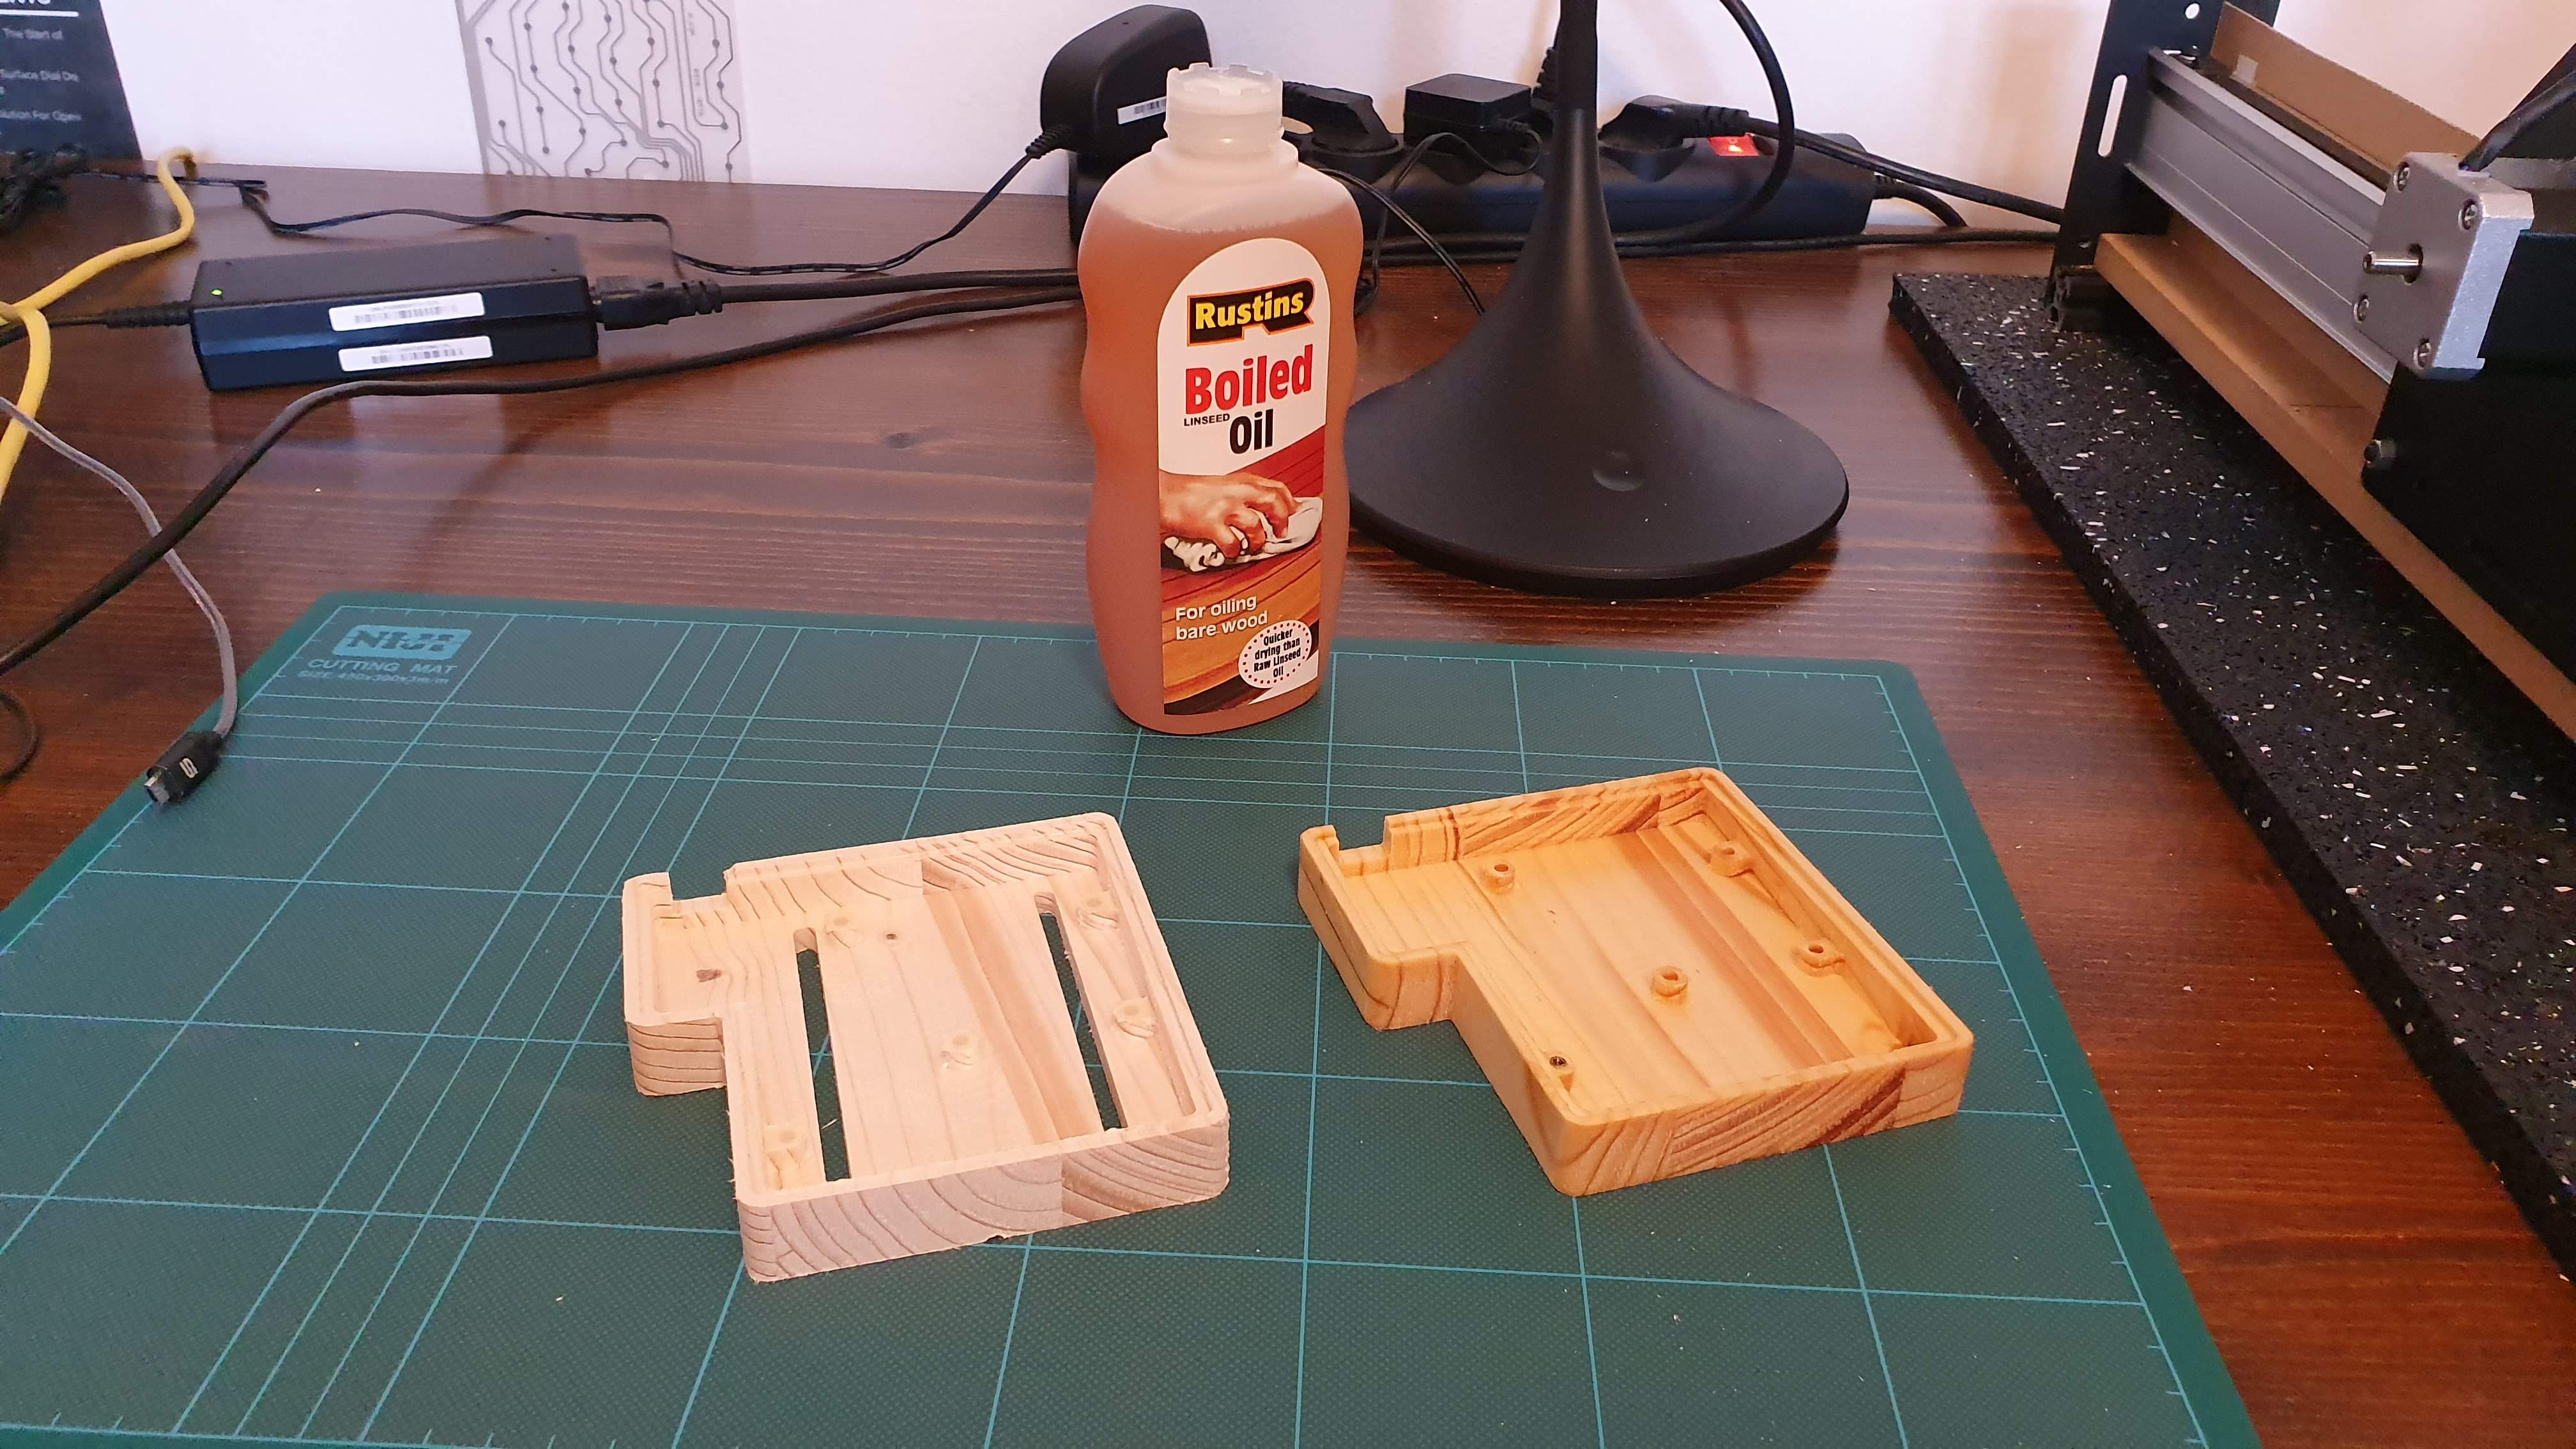
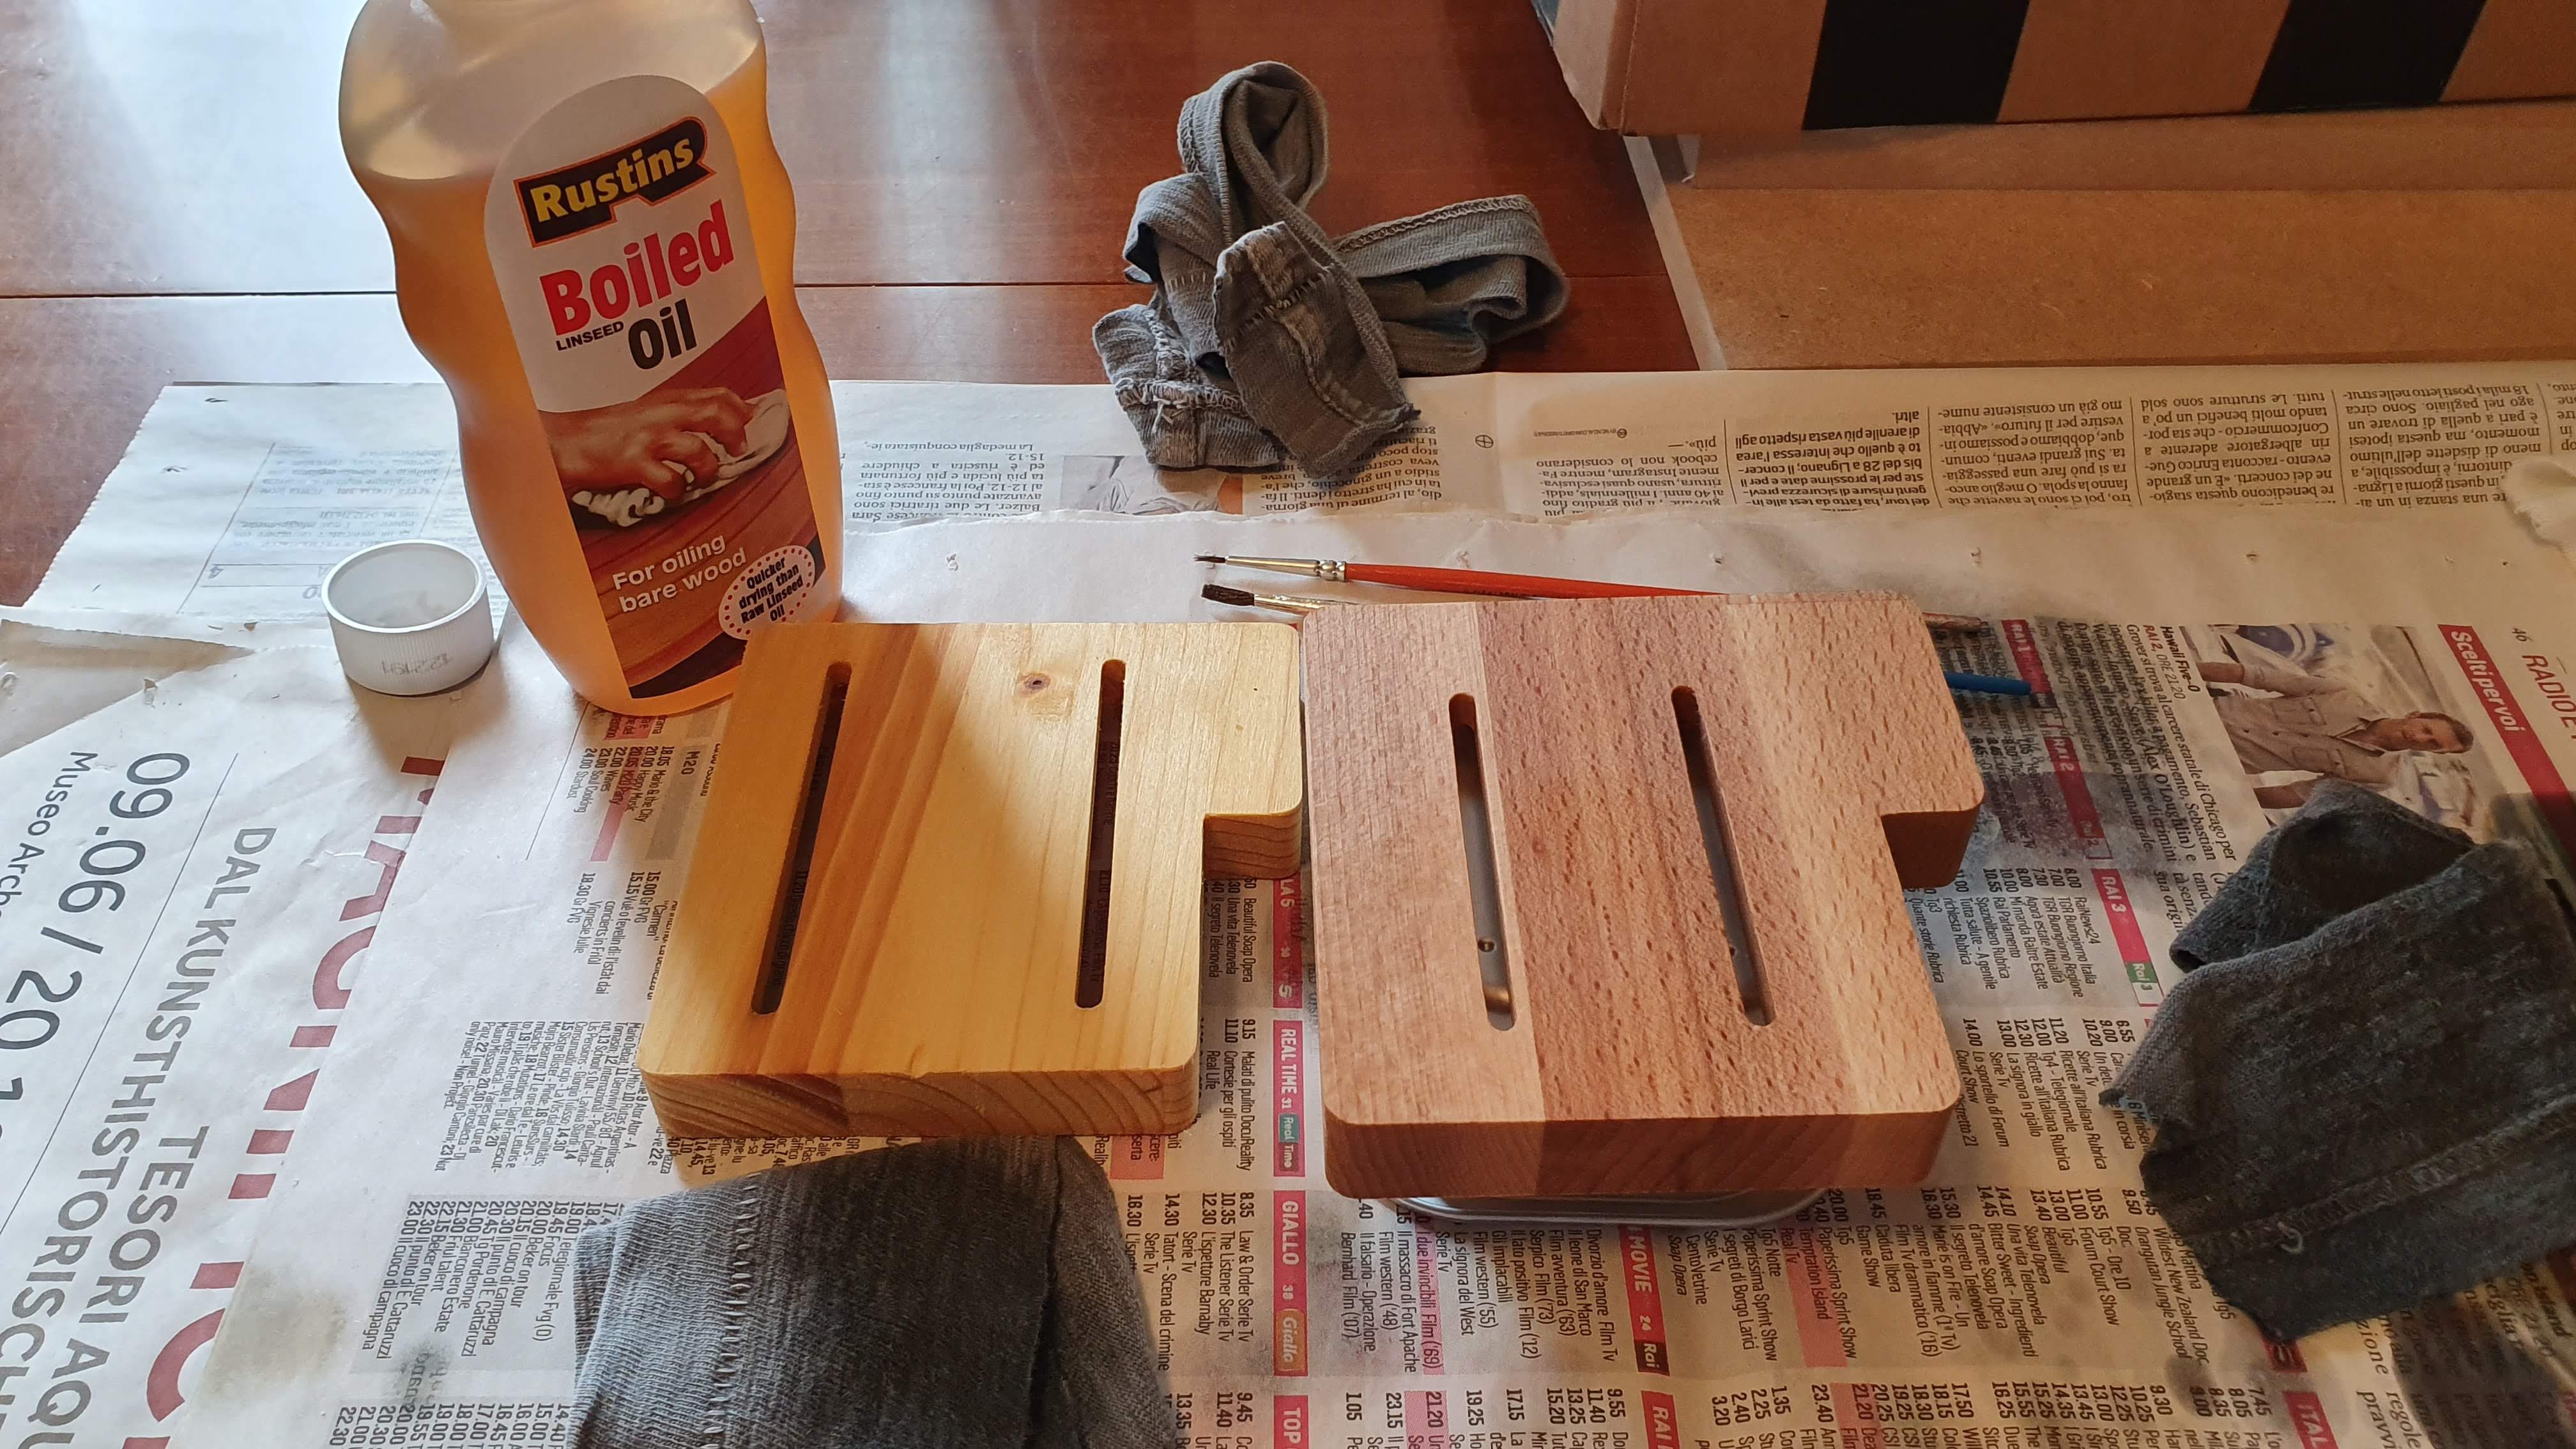
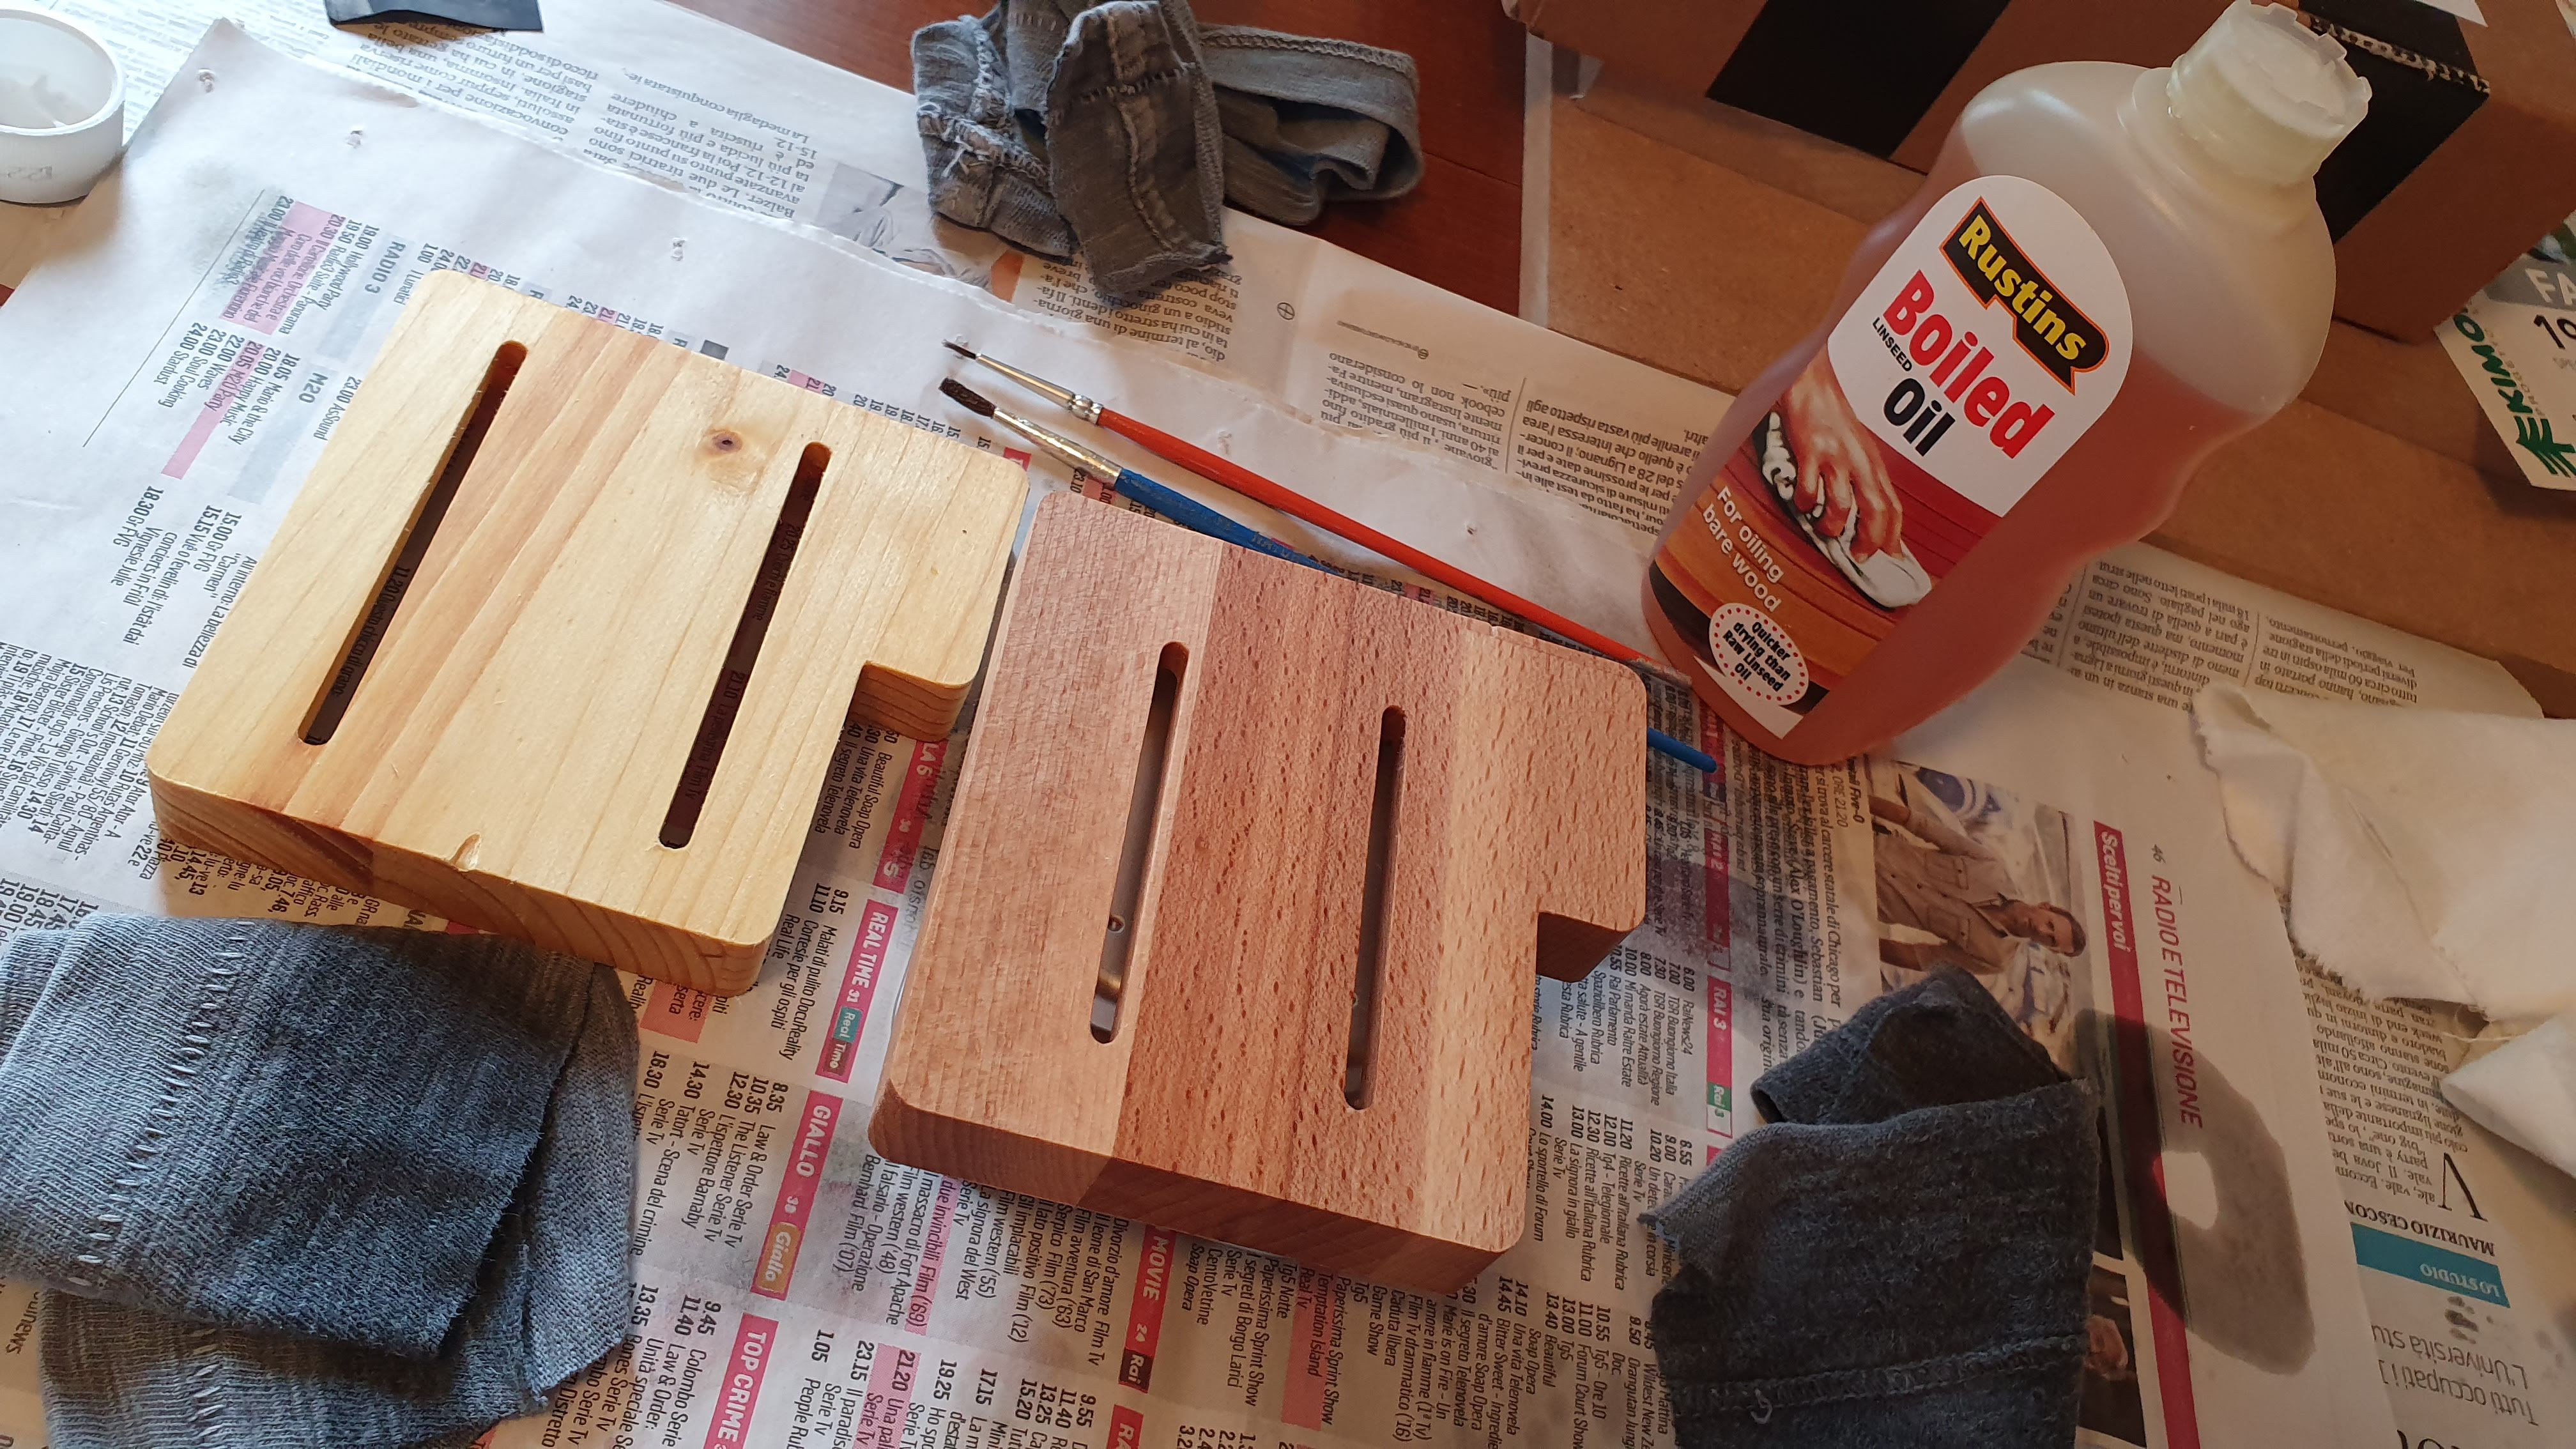
Long story short: I added the oil finish without reading the instructions and I made a mess. Turns out you should remove the excess of oil to avoid turning your piece in a sticky gummy mess.
Anyway I cut the piece again (this time filming it) and obtained the following.
![]()
![]()
![]()
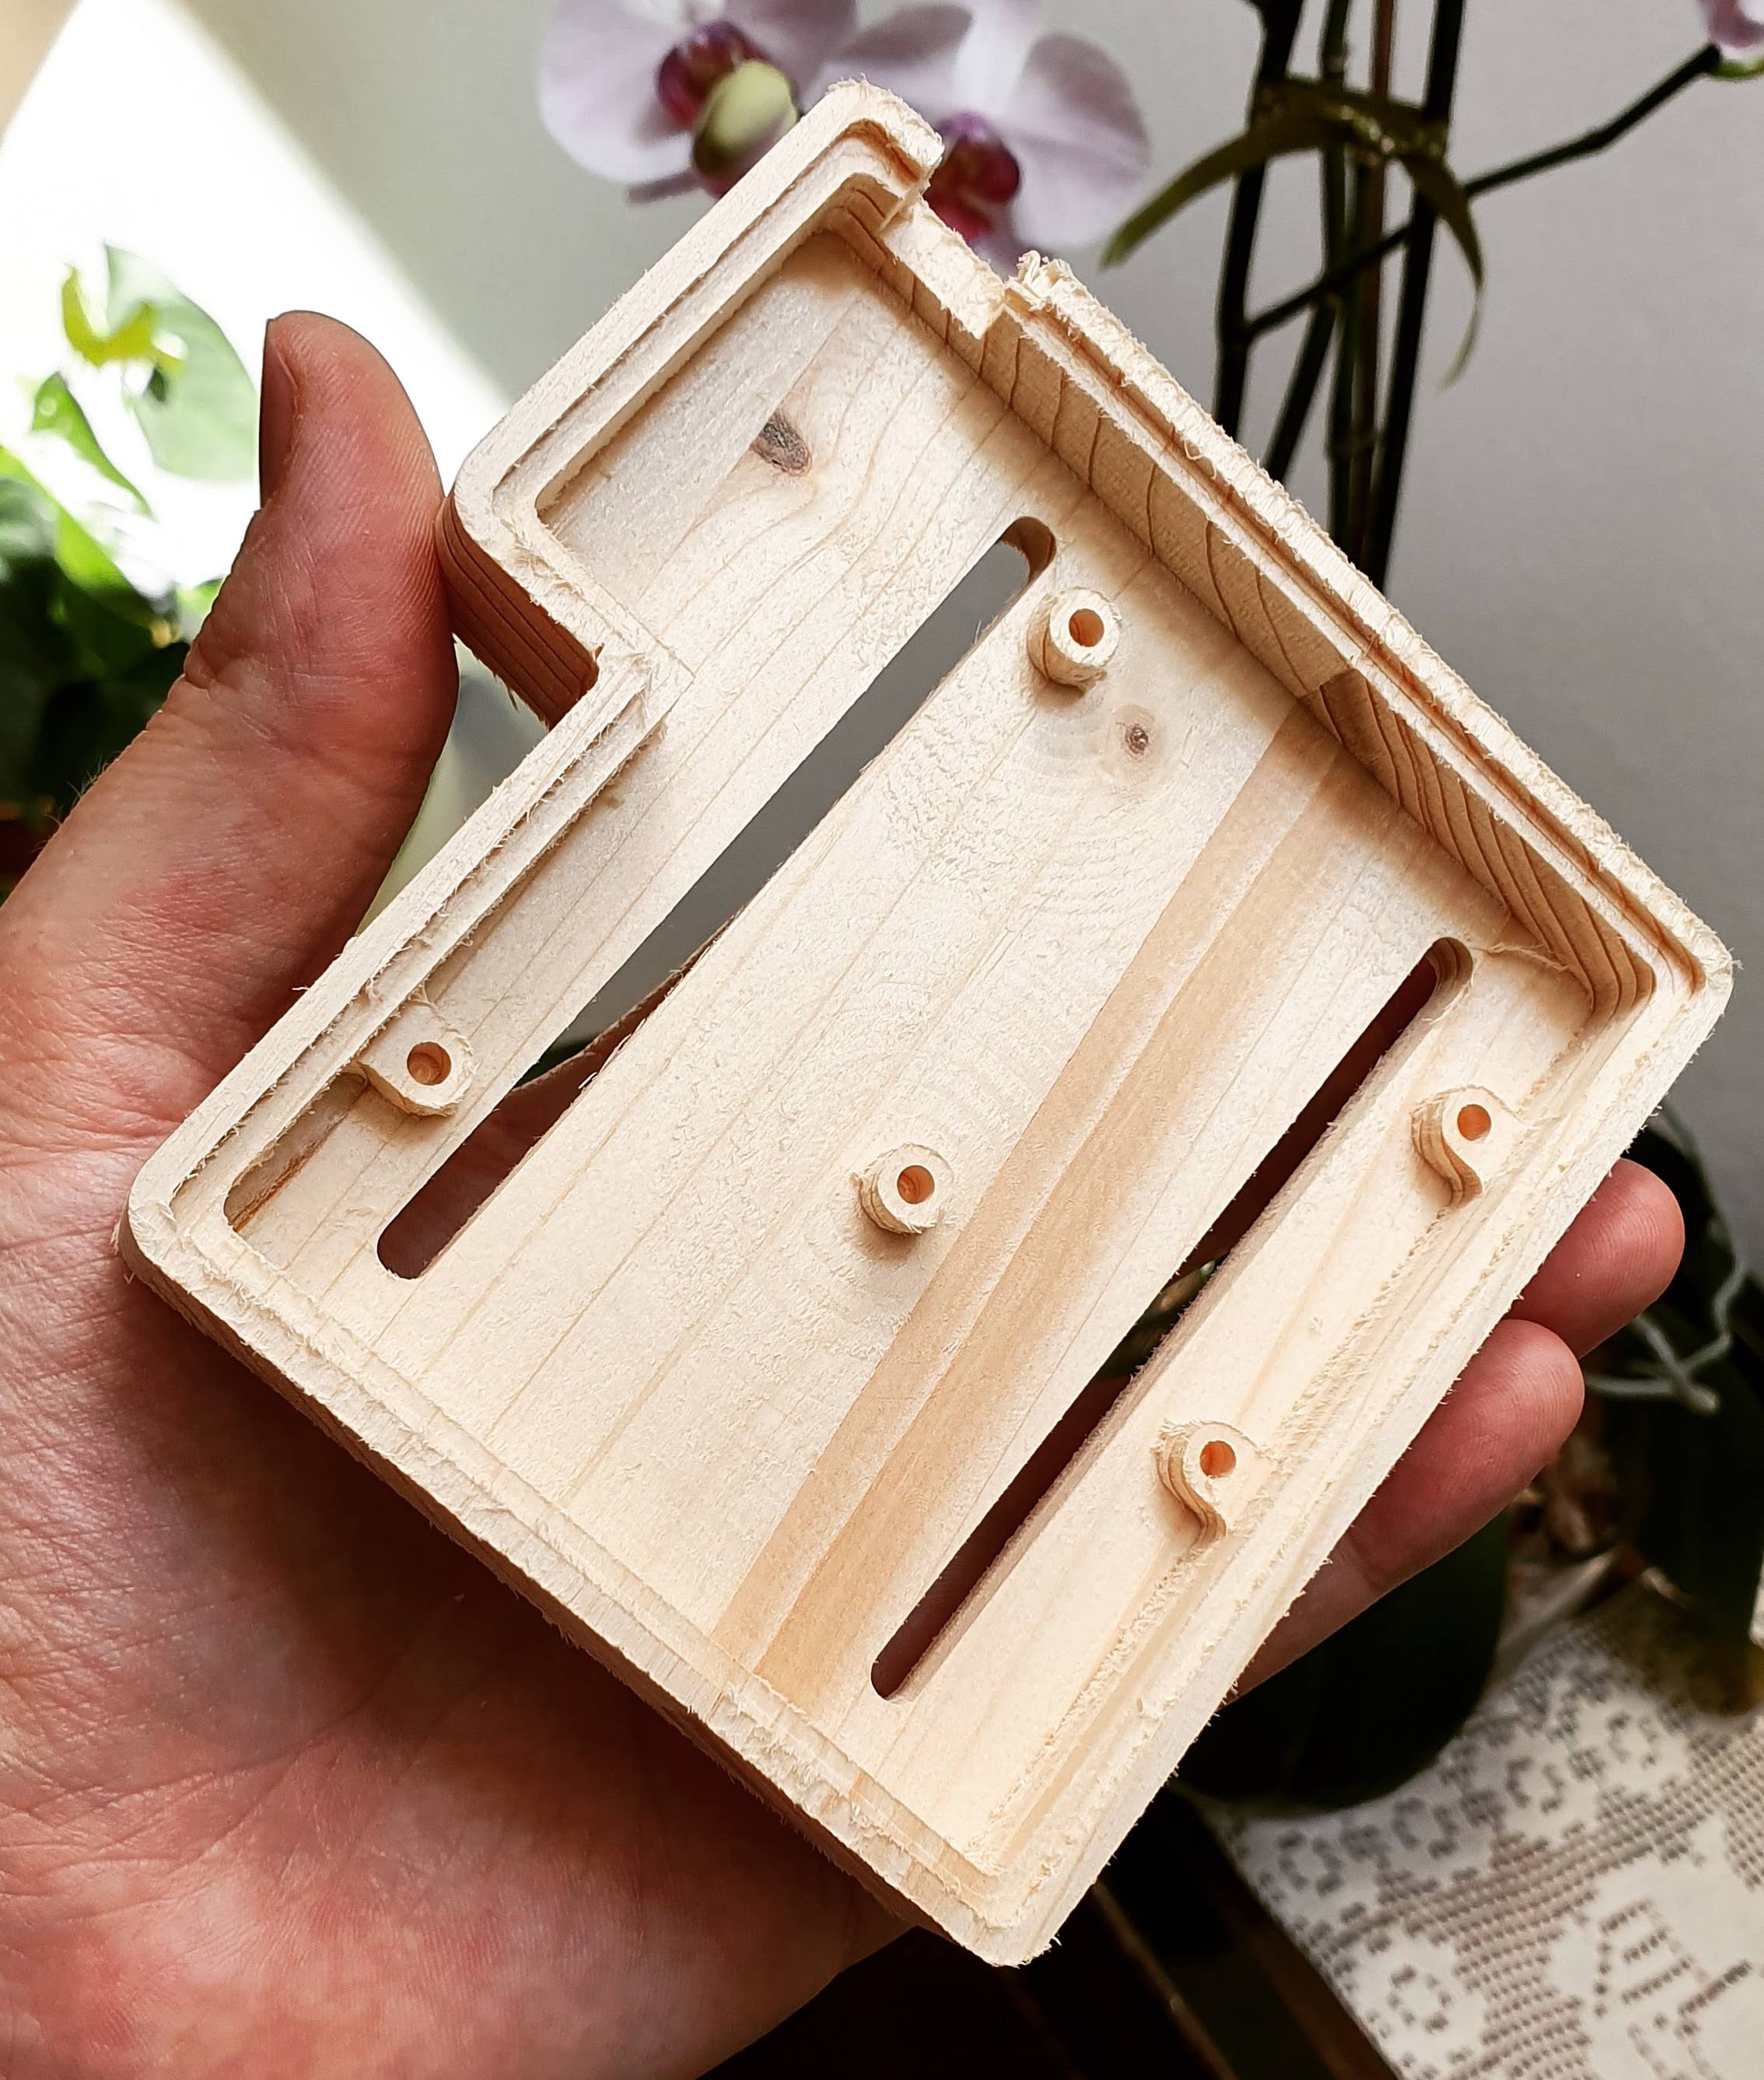
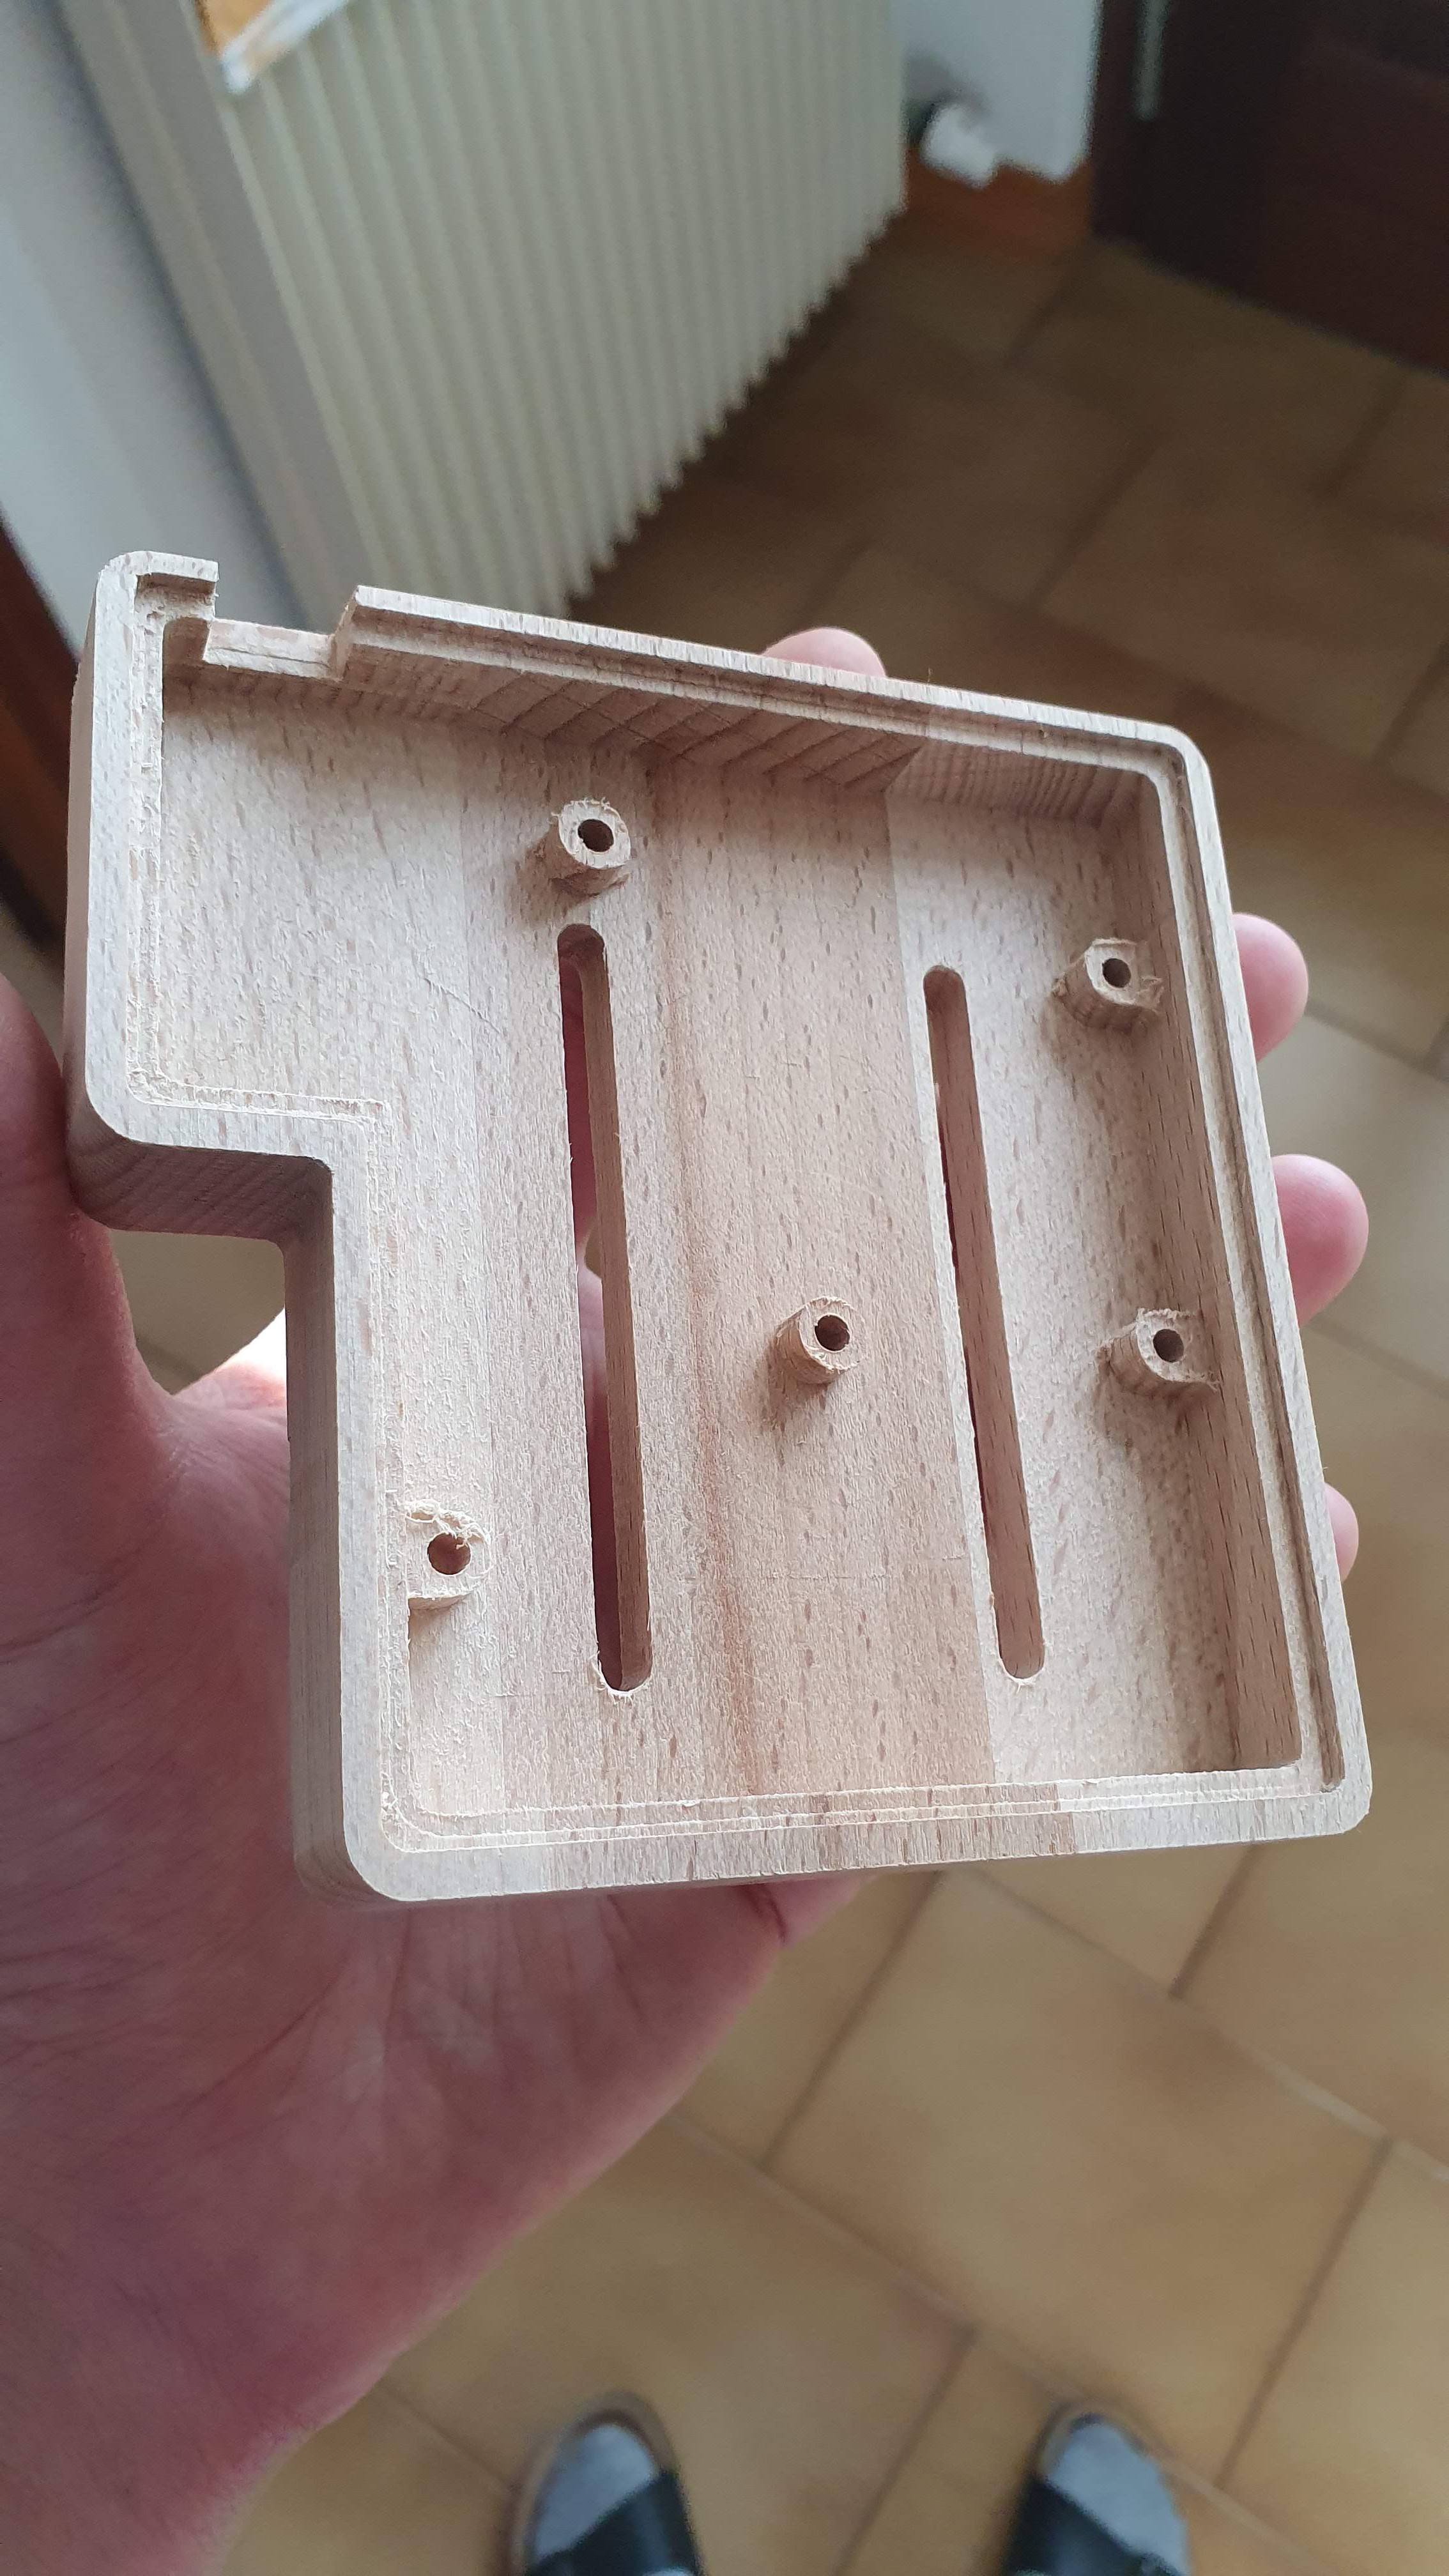
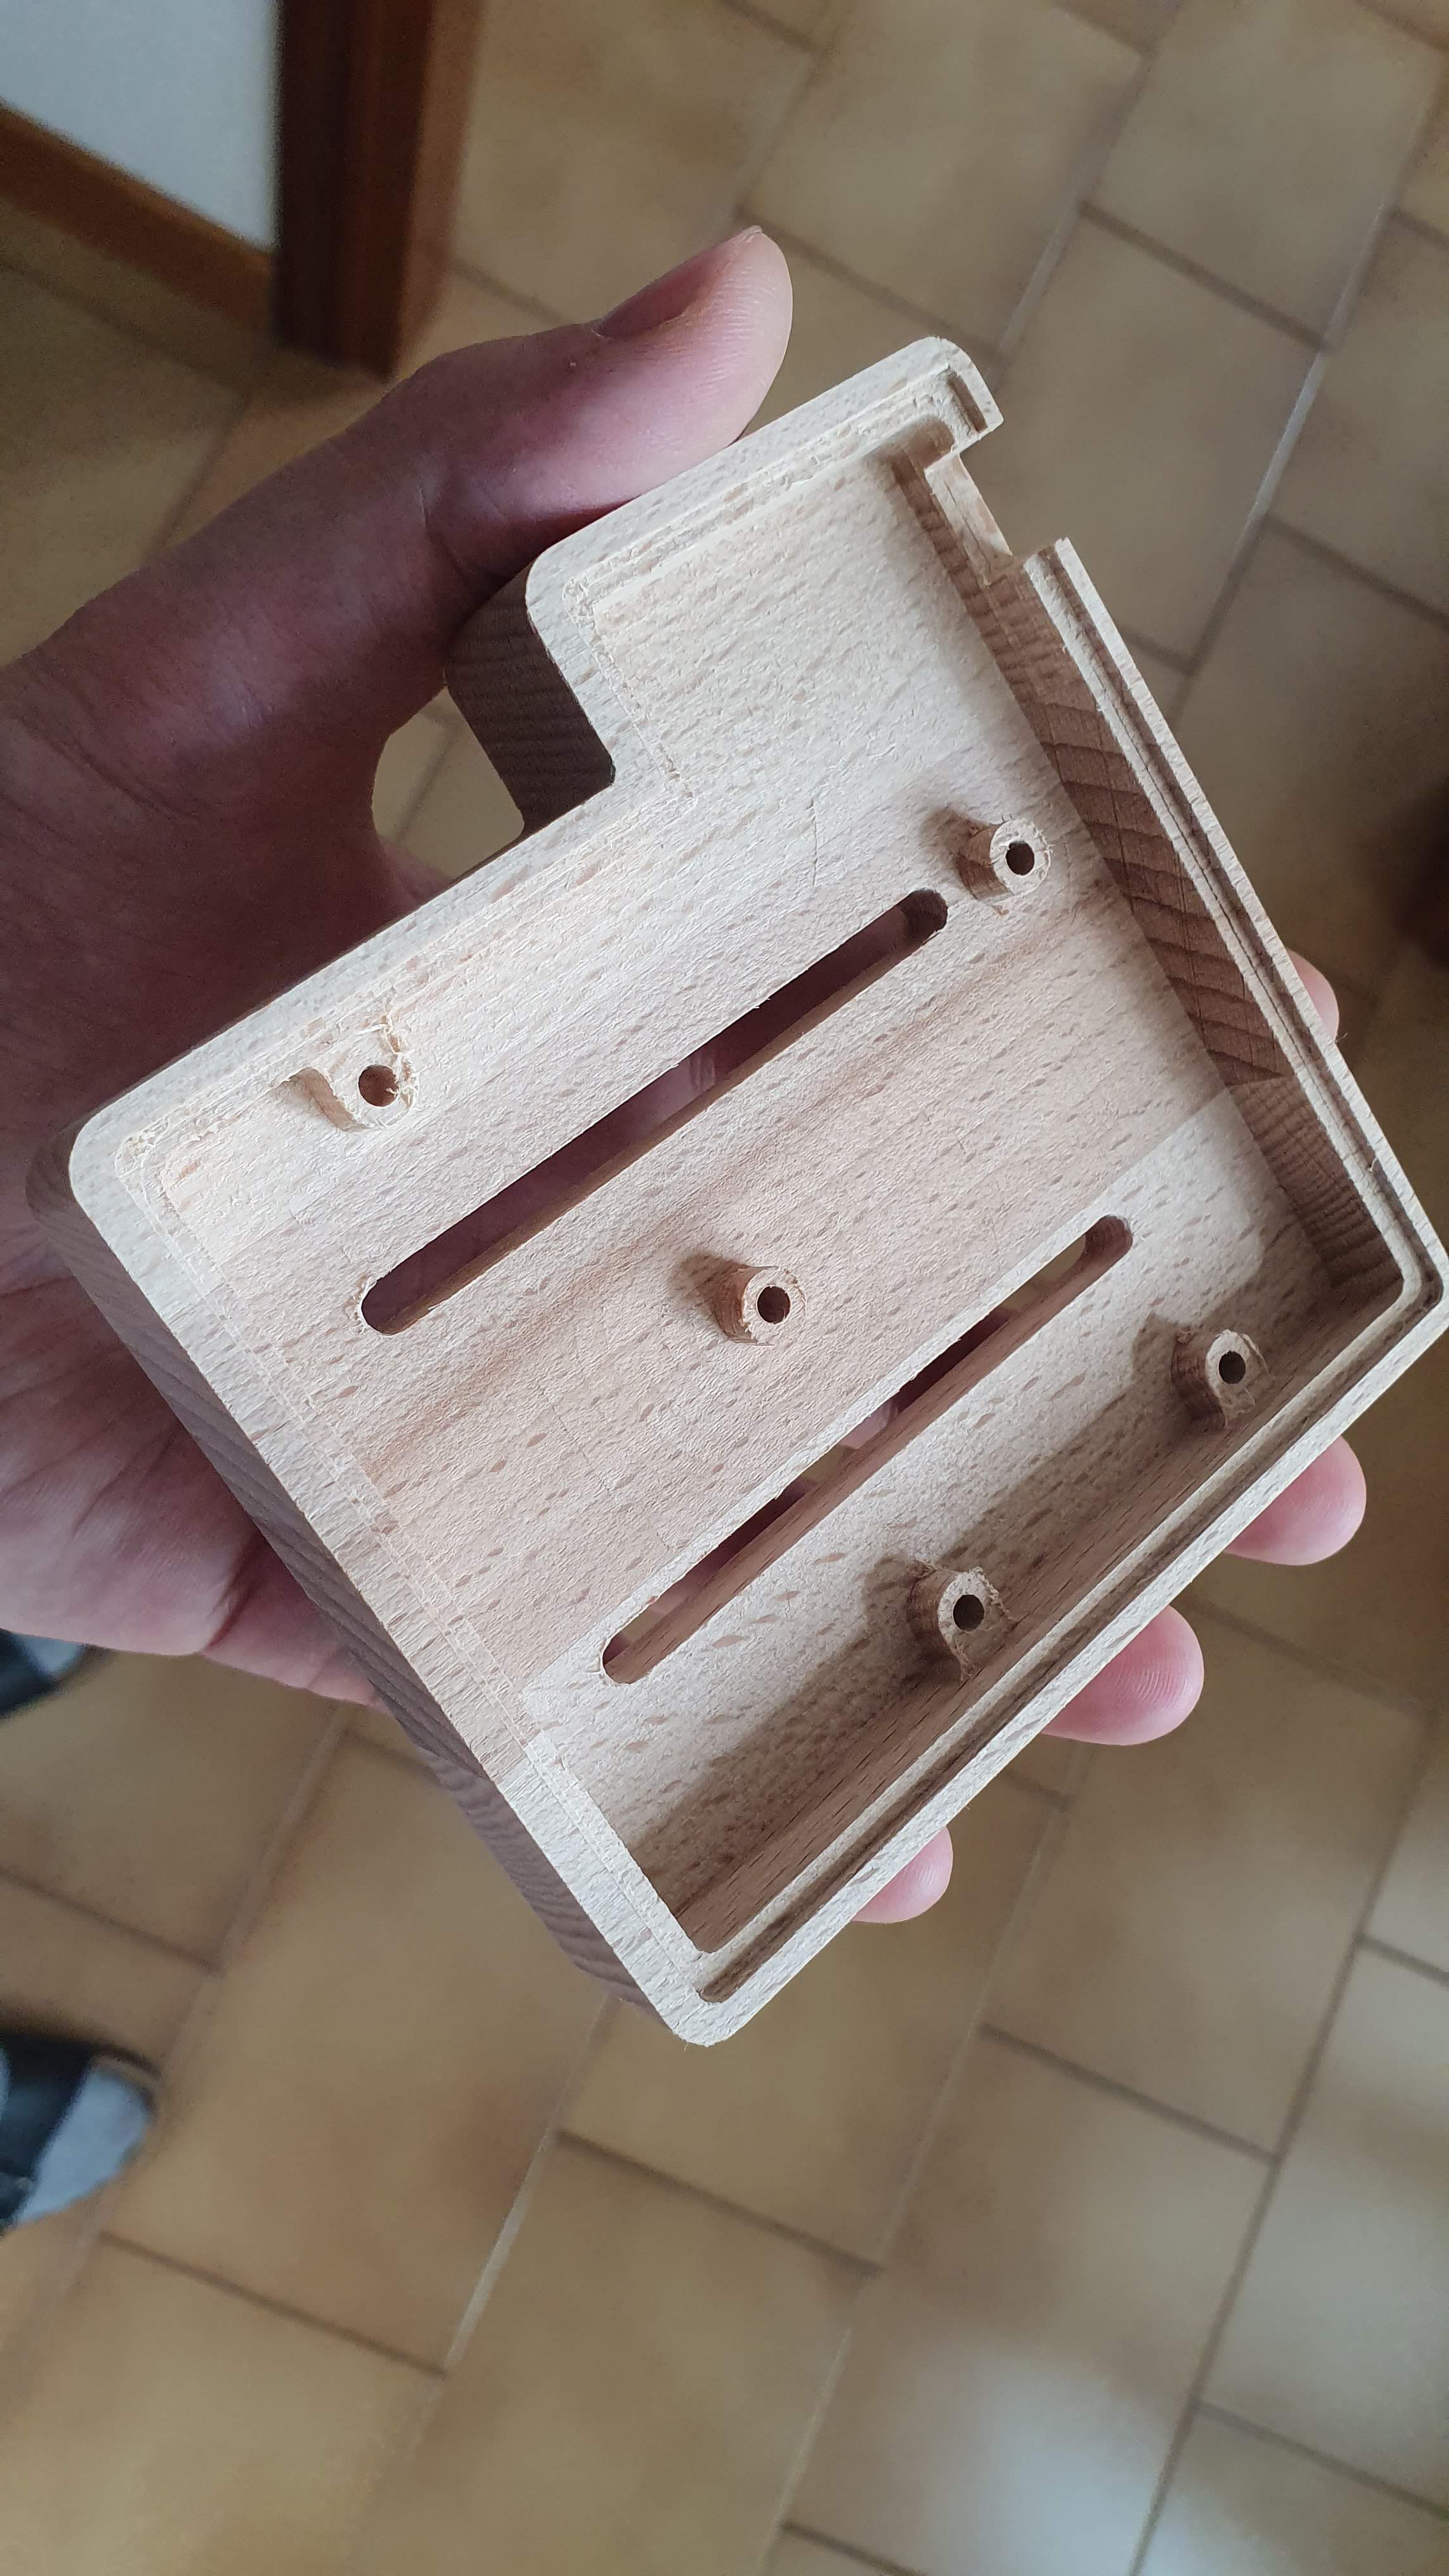
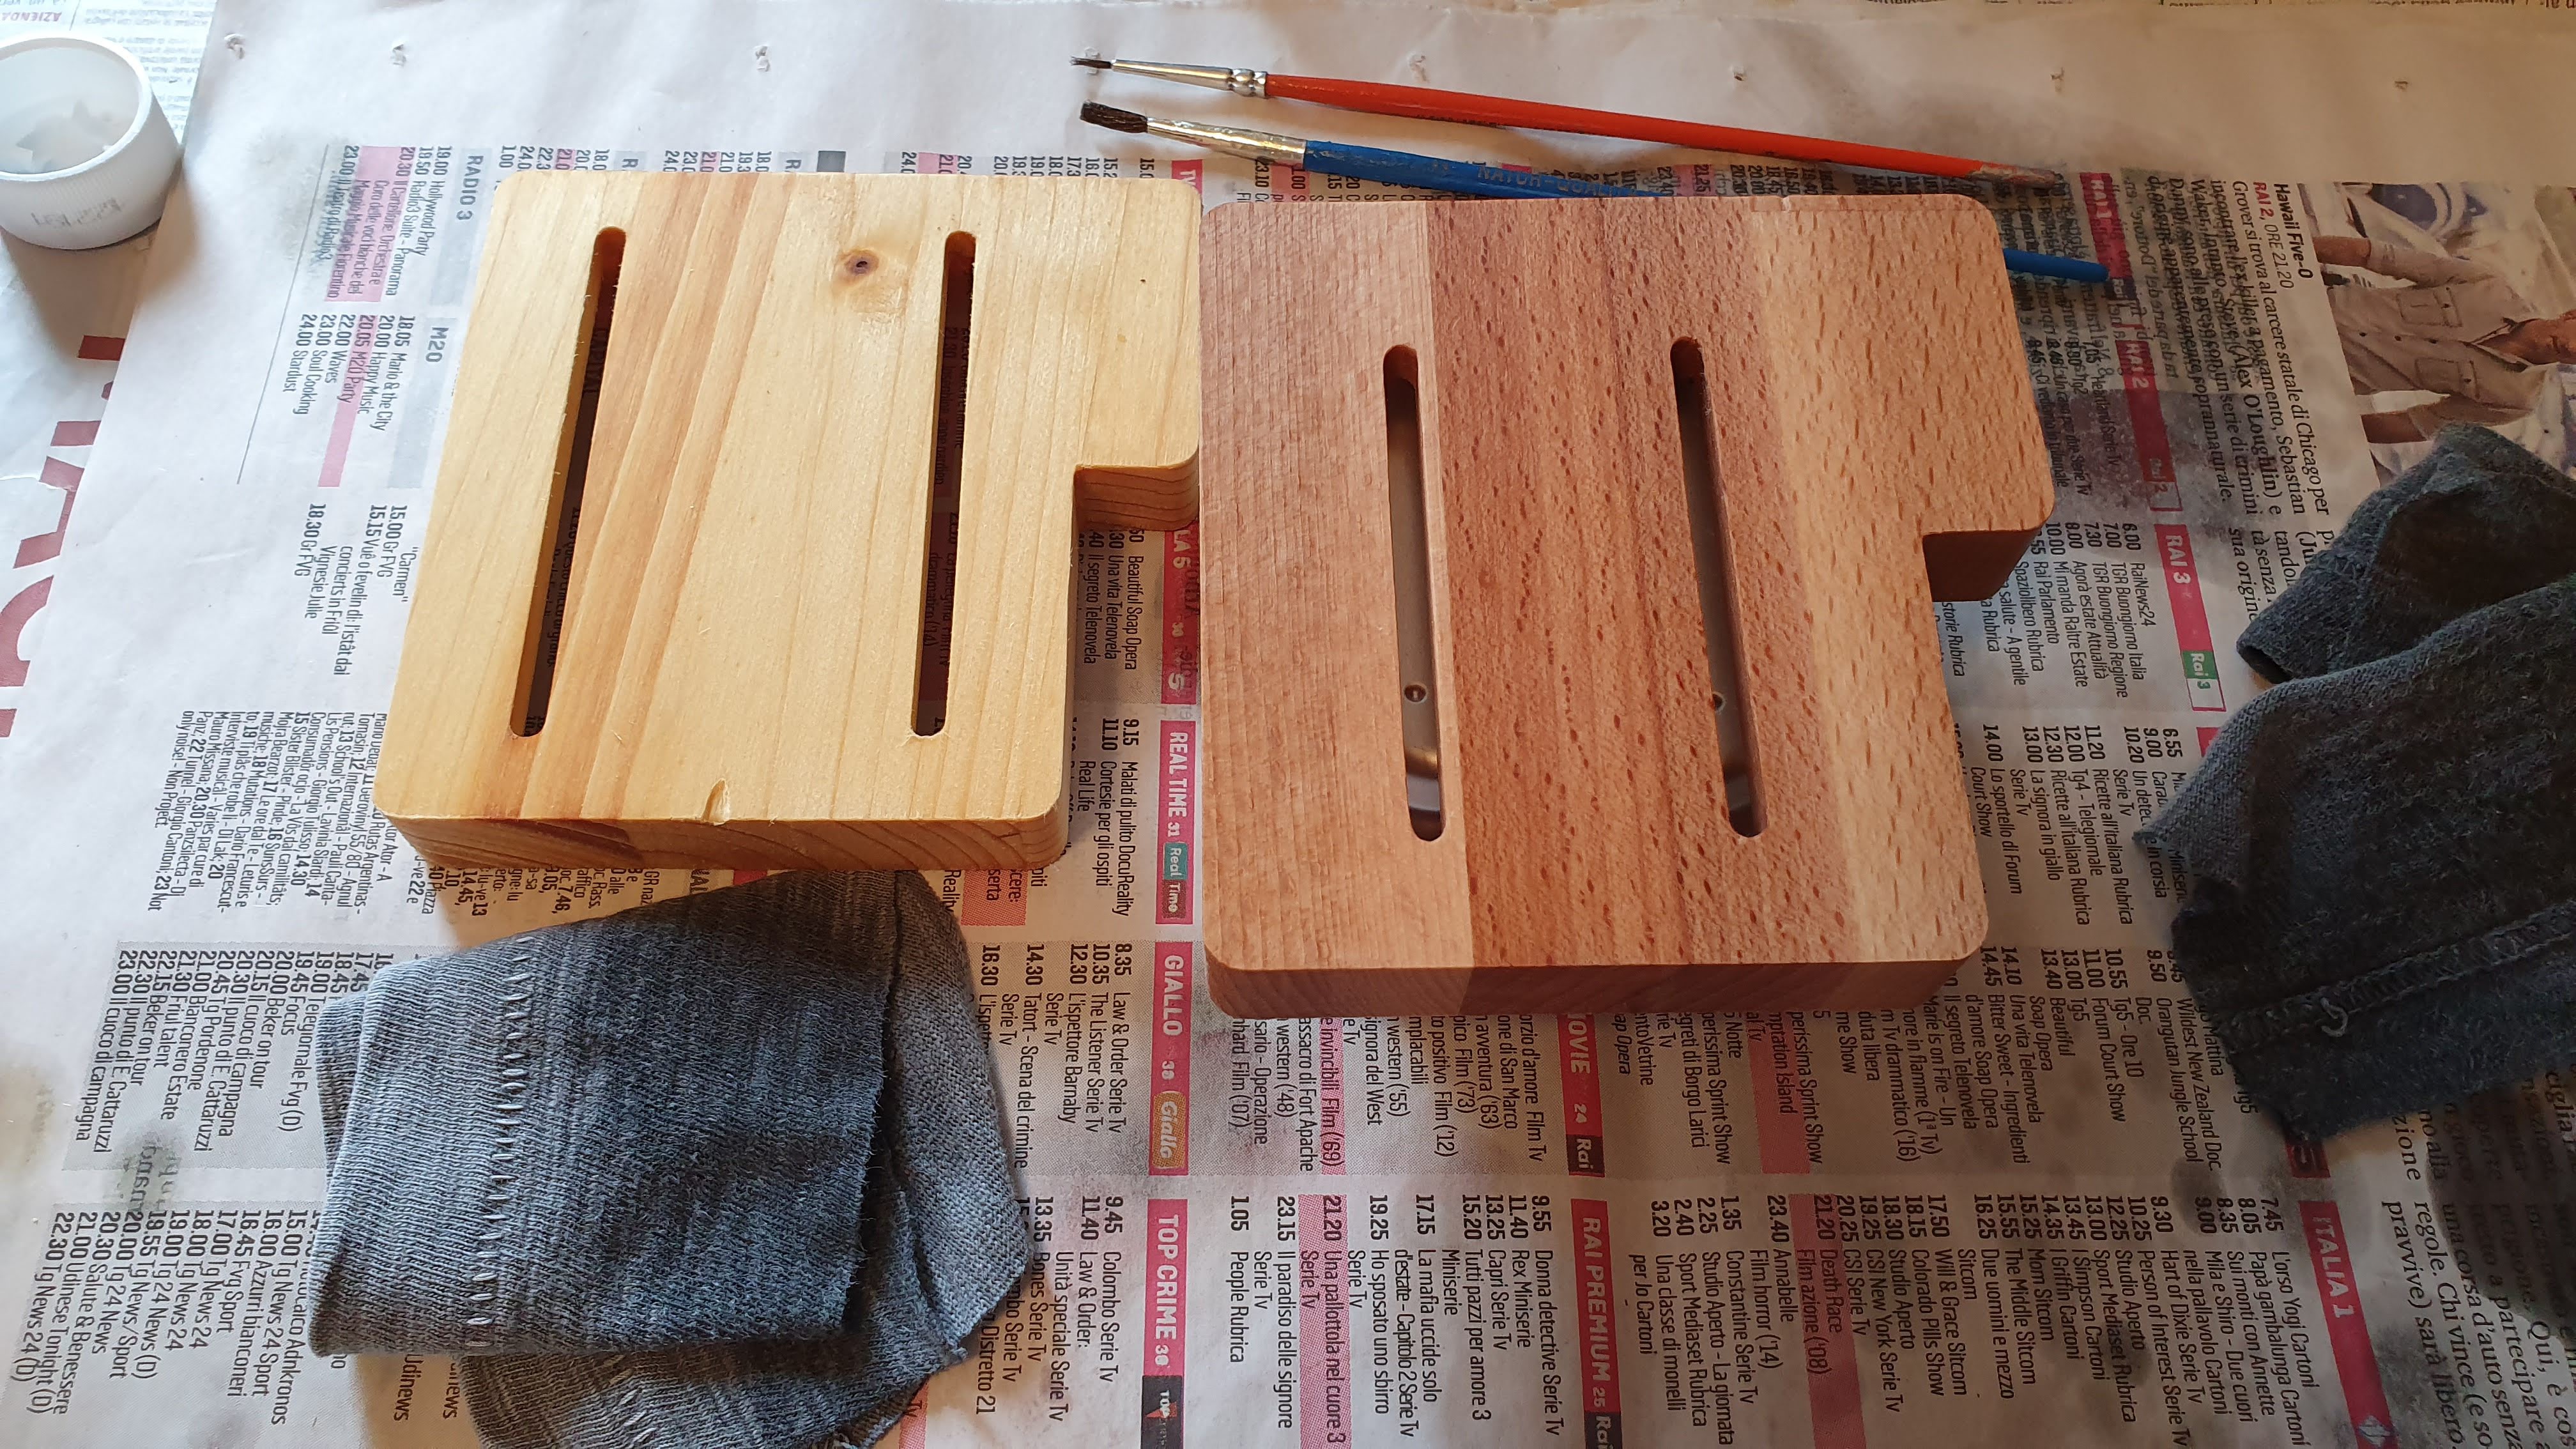
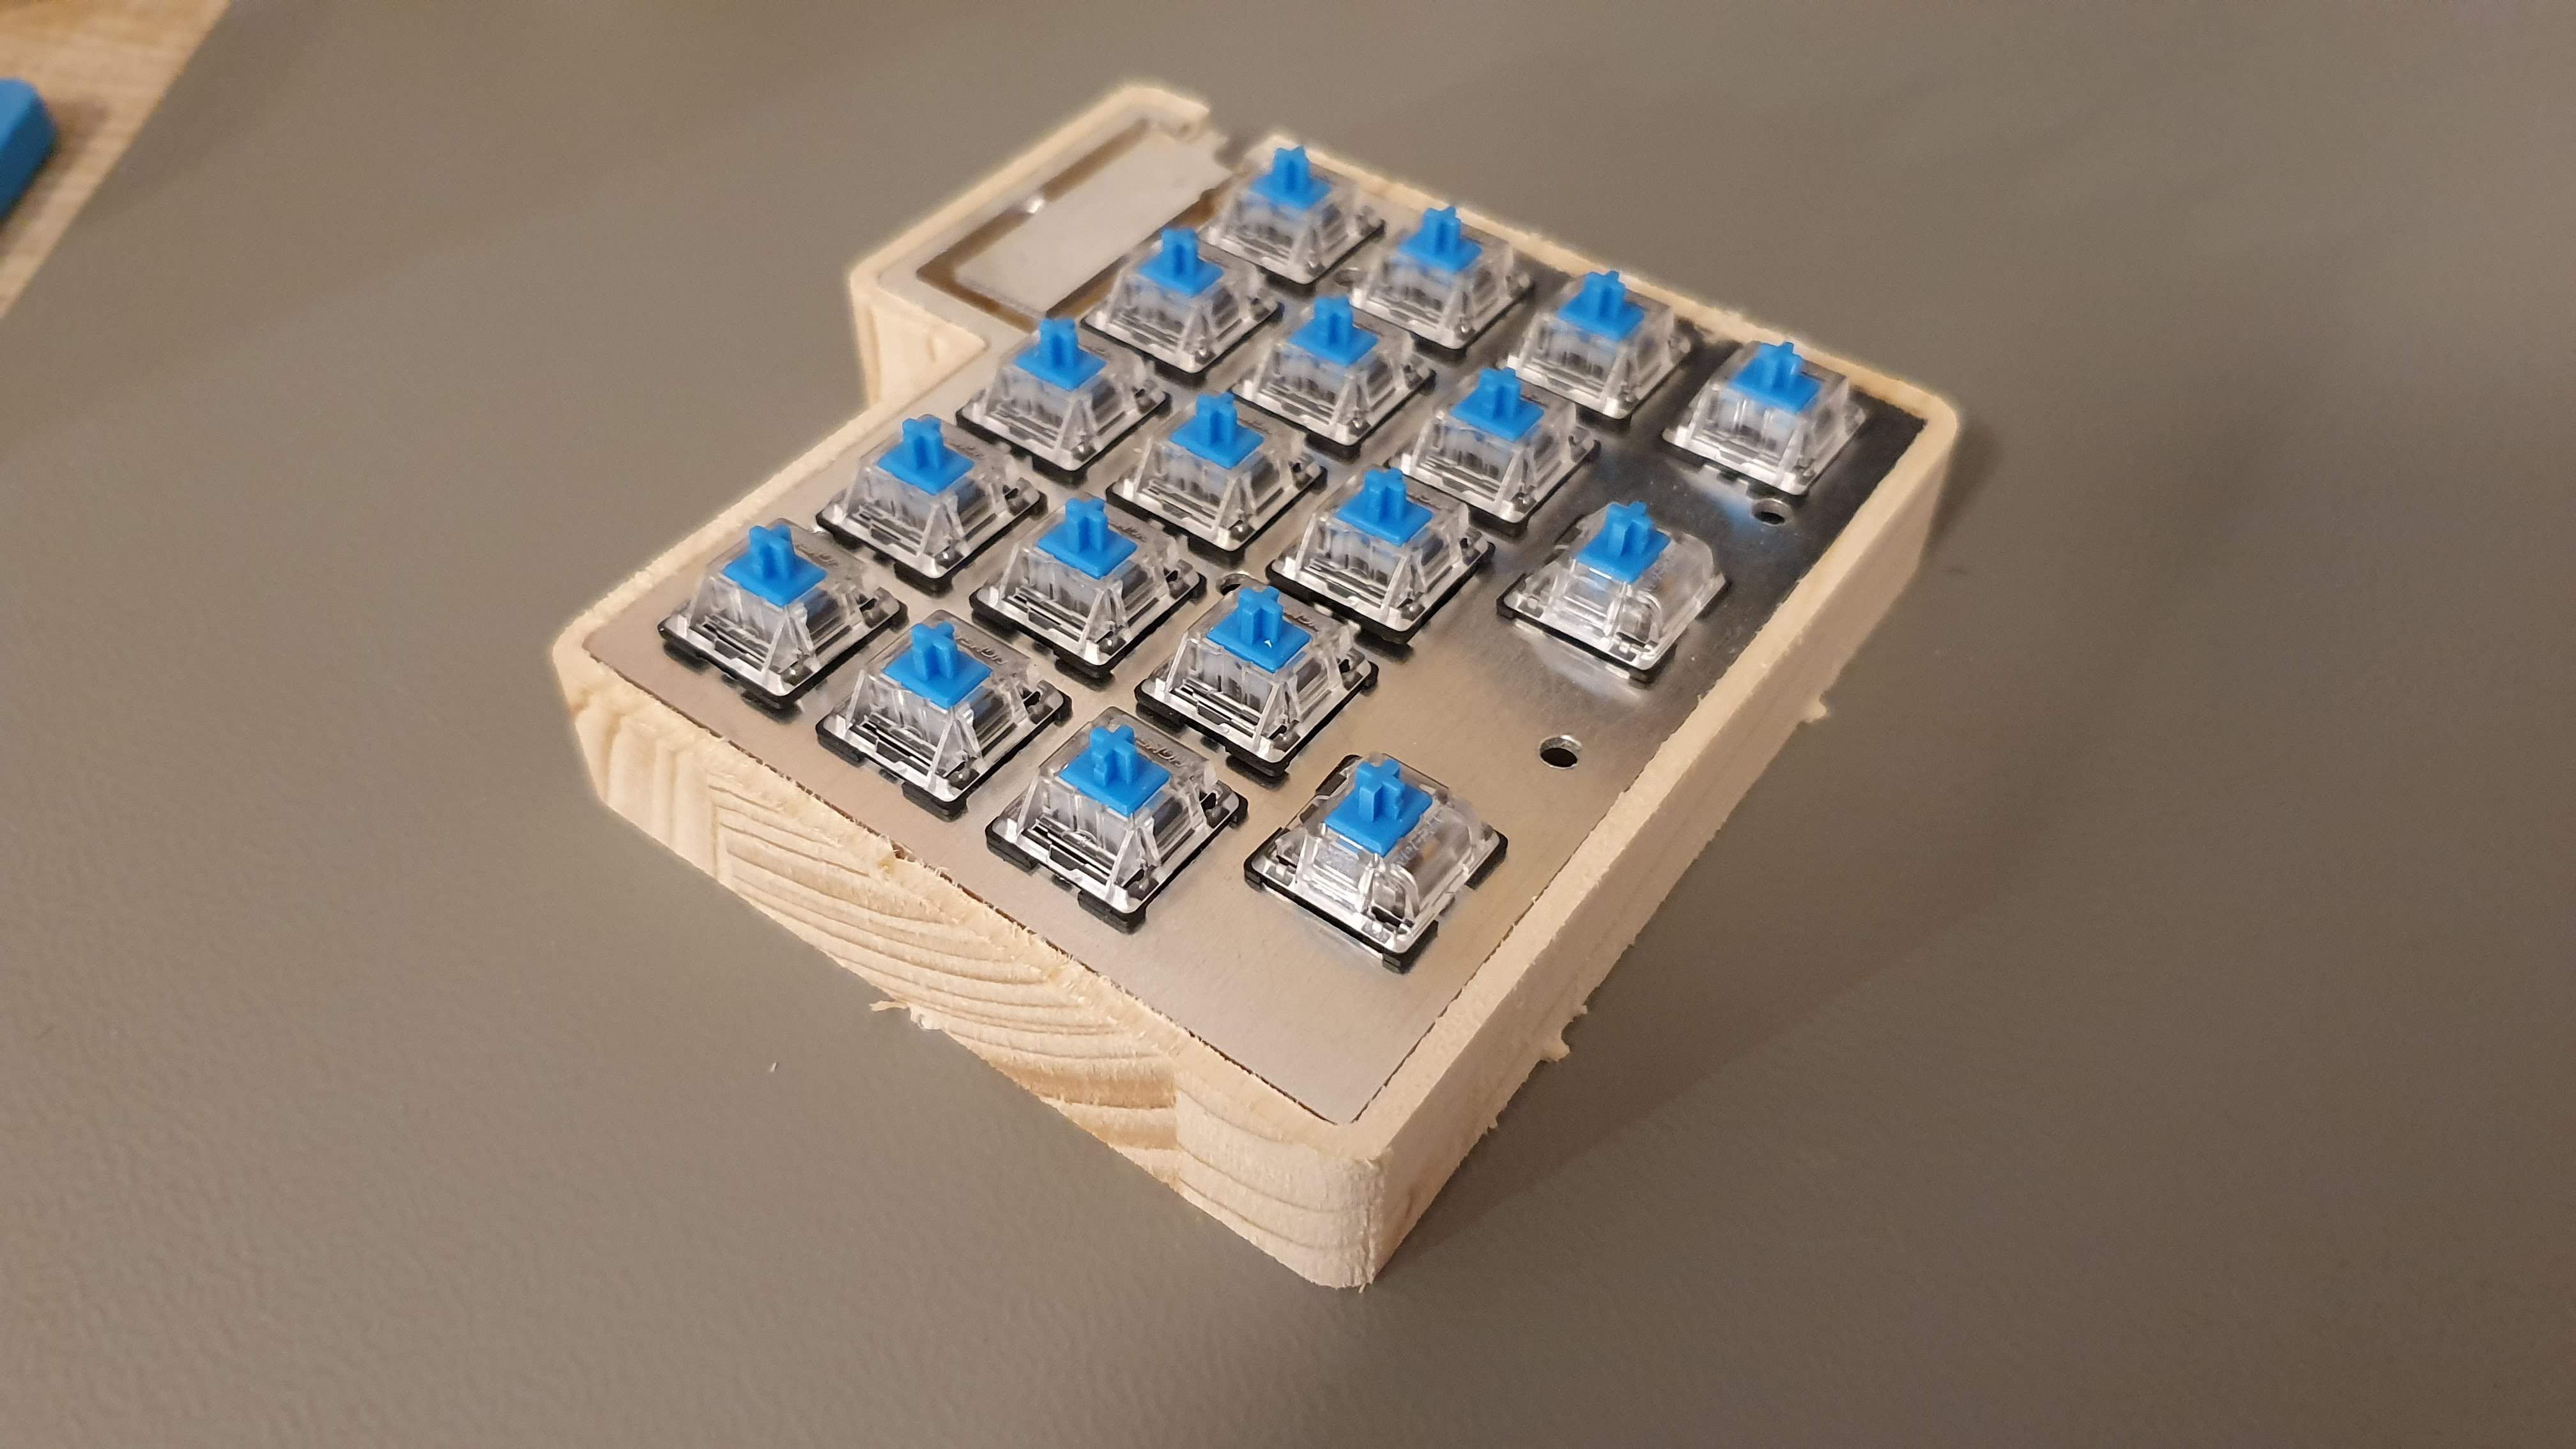
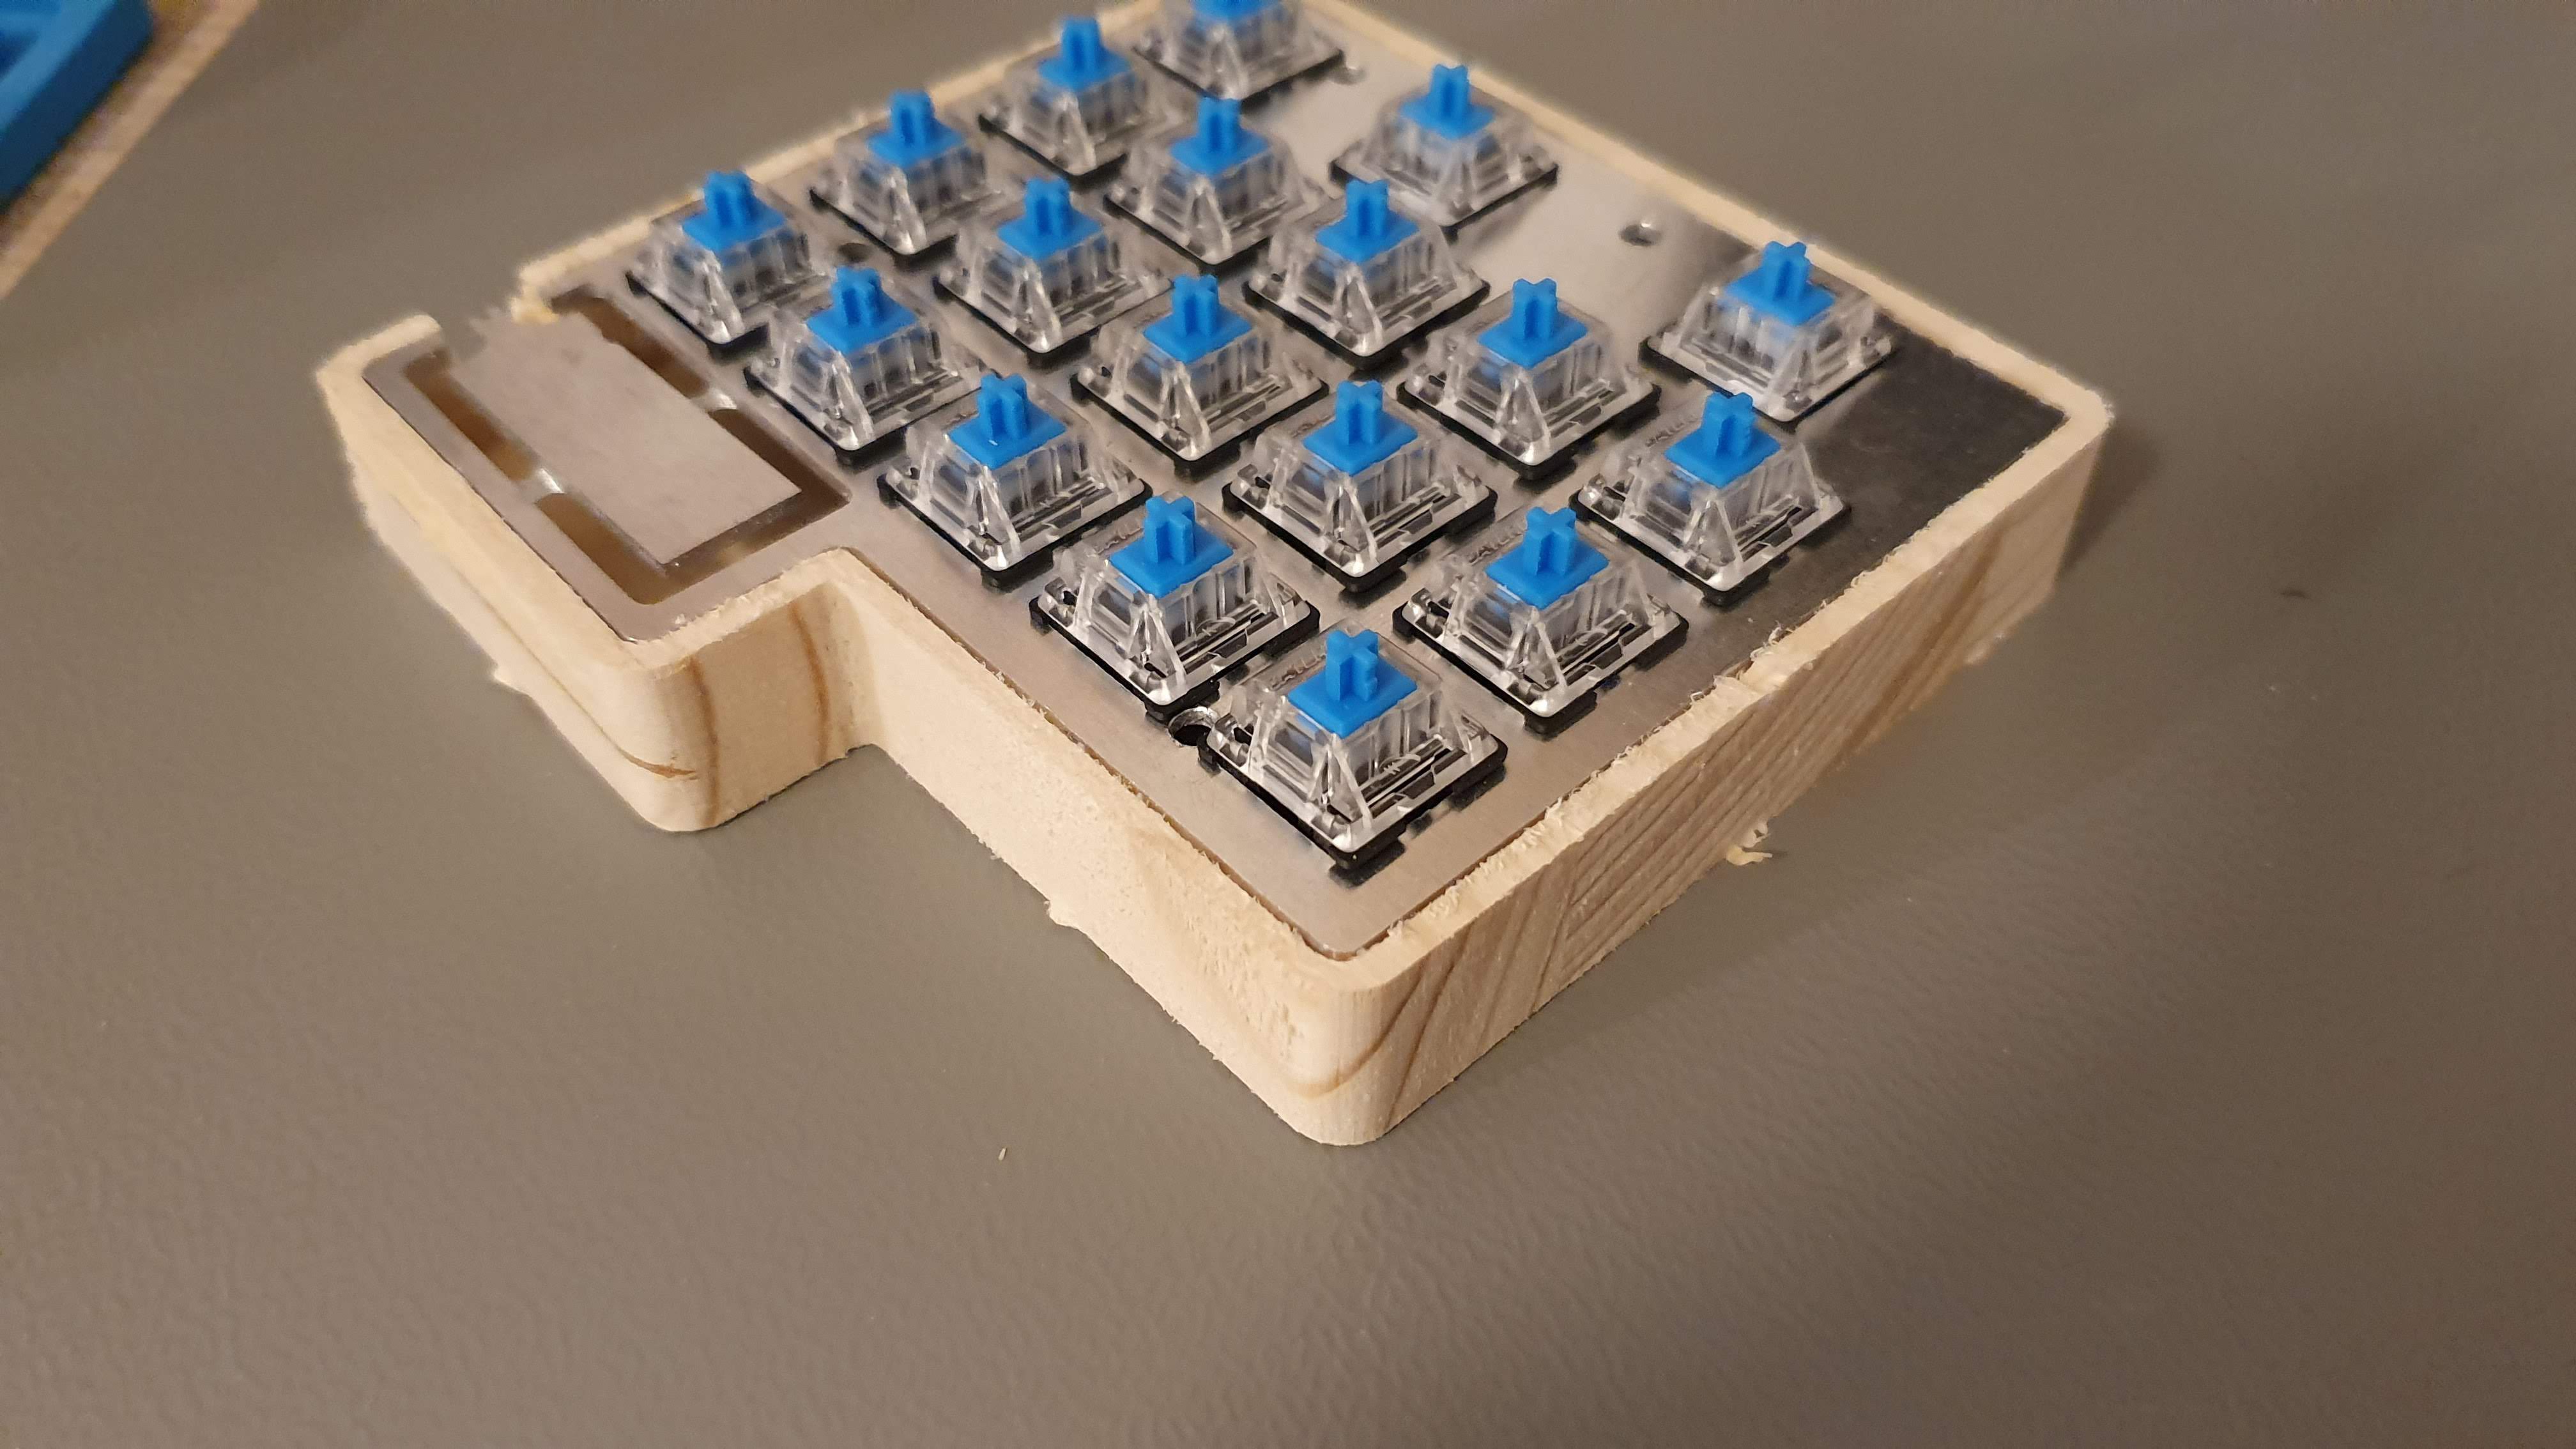
From the last image you should see where this is going... I used fir wood for this. Unfortunately it's too soft and tends to get stringy and furry after cutting. No amount of sandpaper can fix this.
I moved on anyway with the oil hoping in a miracle.
![]()
Honestly it looks like garbage...
After the finish (on the right, on the botched piece) you can see that it looks like some plastic wood surrogate.
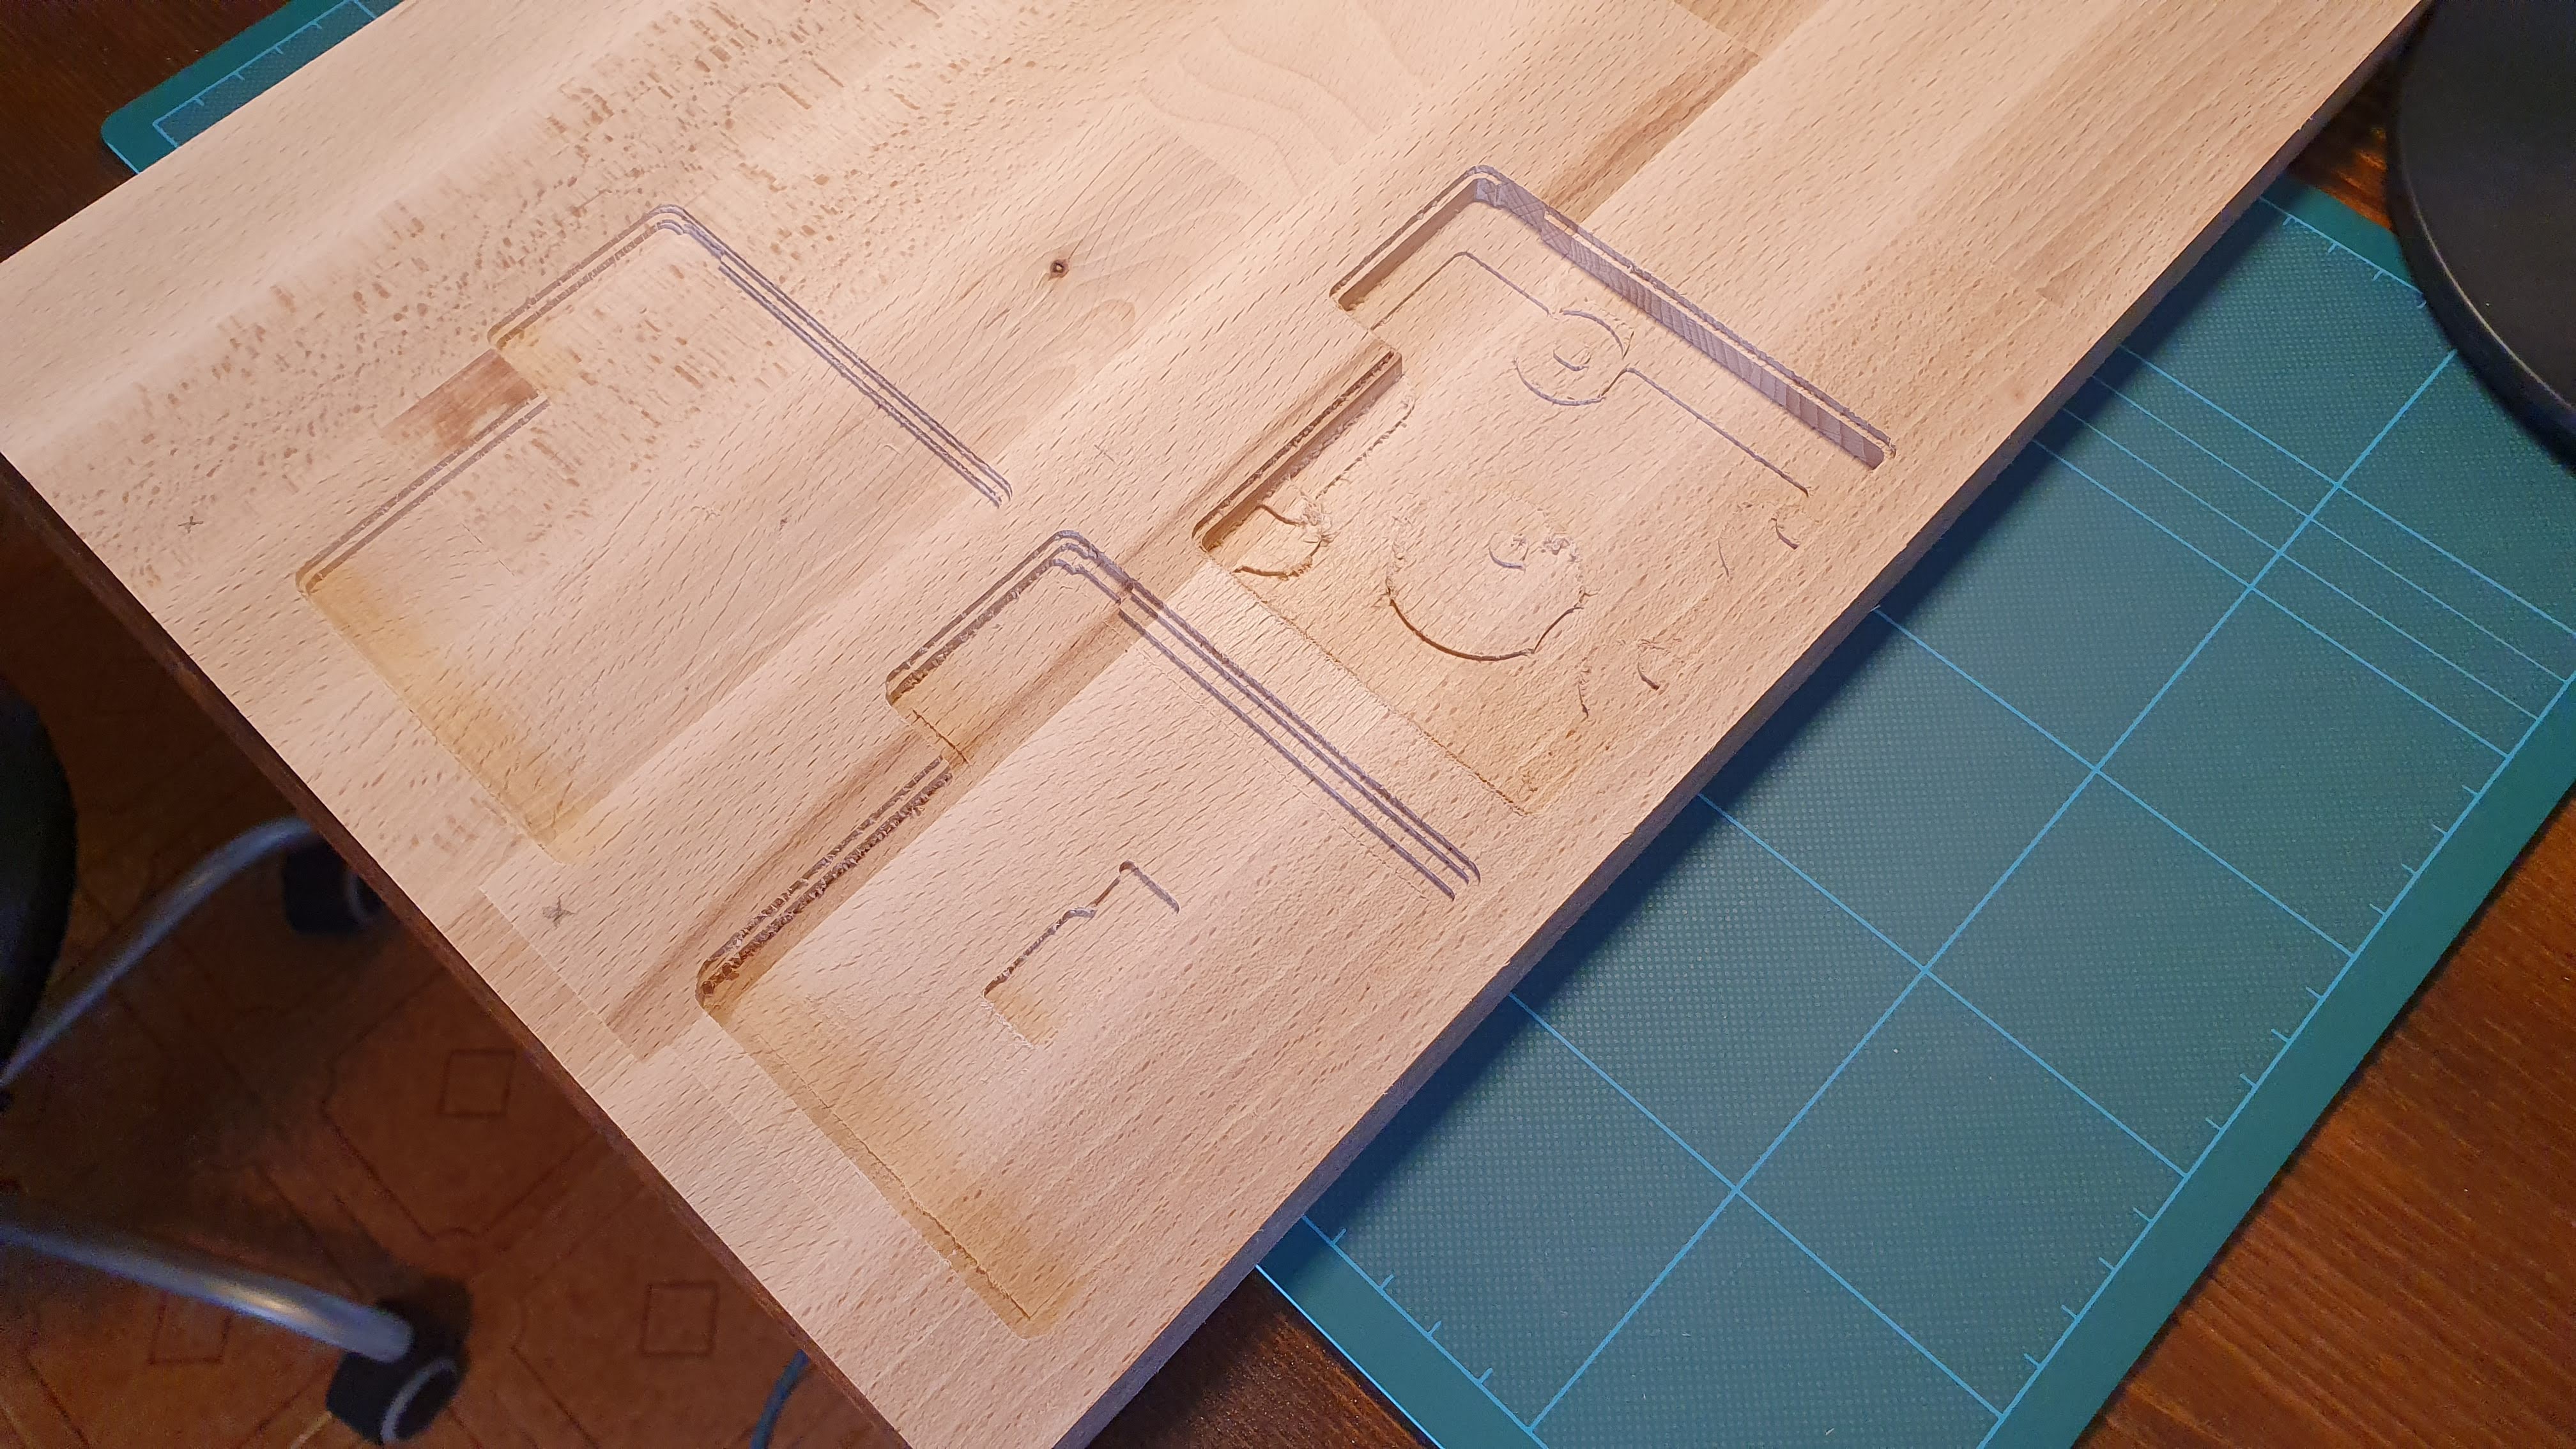
Then I decided to swap wood essence for the project. Enter beech which seems to inherit some properties from its homophone term when cut. I'll explain...
Beech is a harder wood than fir, which means that it doesn't string or get wooly when cut BUT it creates a lot of chips that get stuck in my CNC rails.
![]()
Loosing steps like there's no tomorrow...
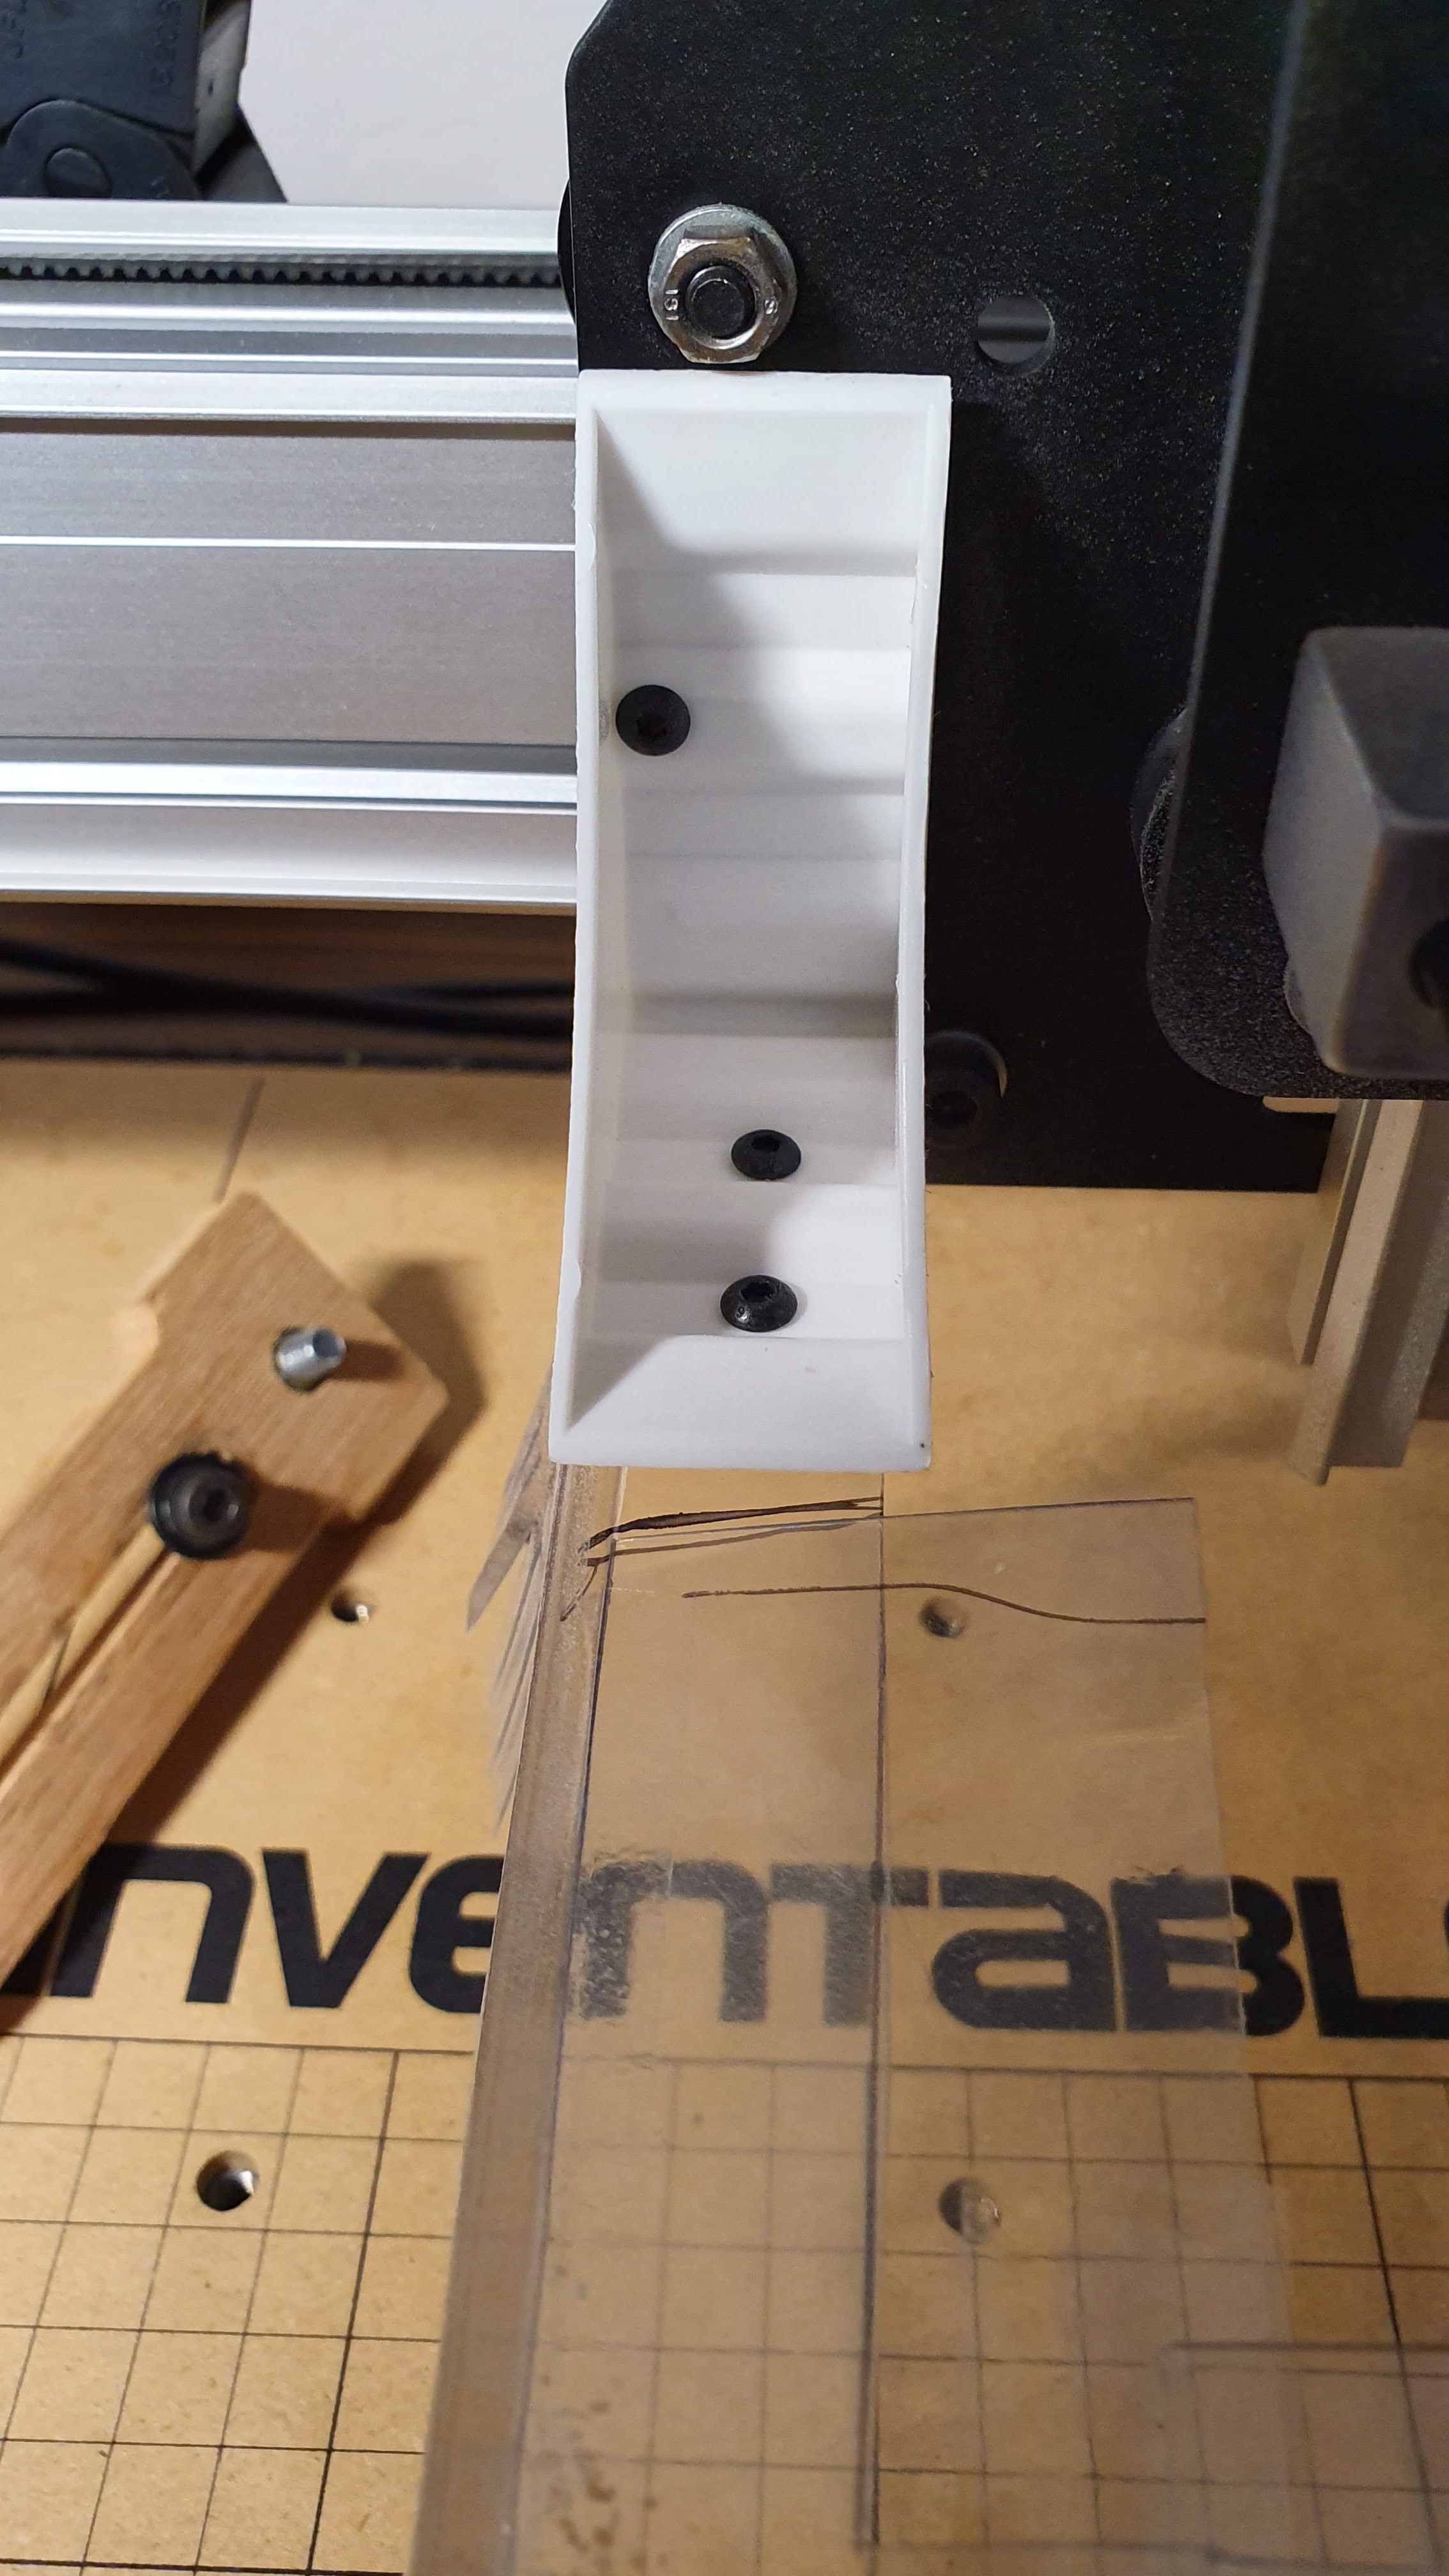
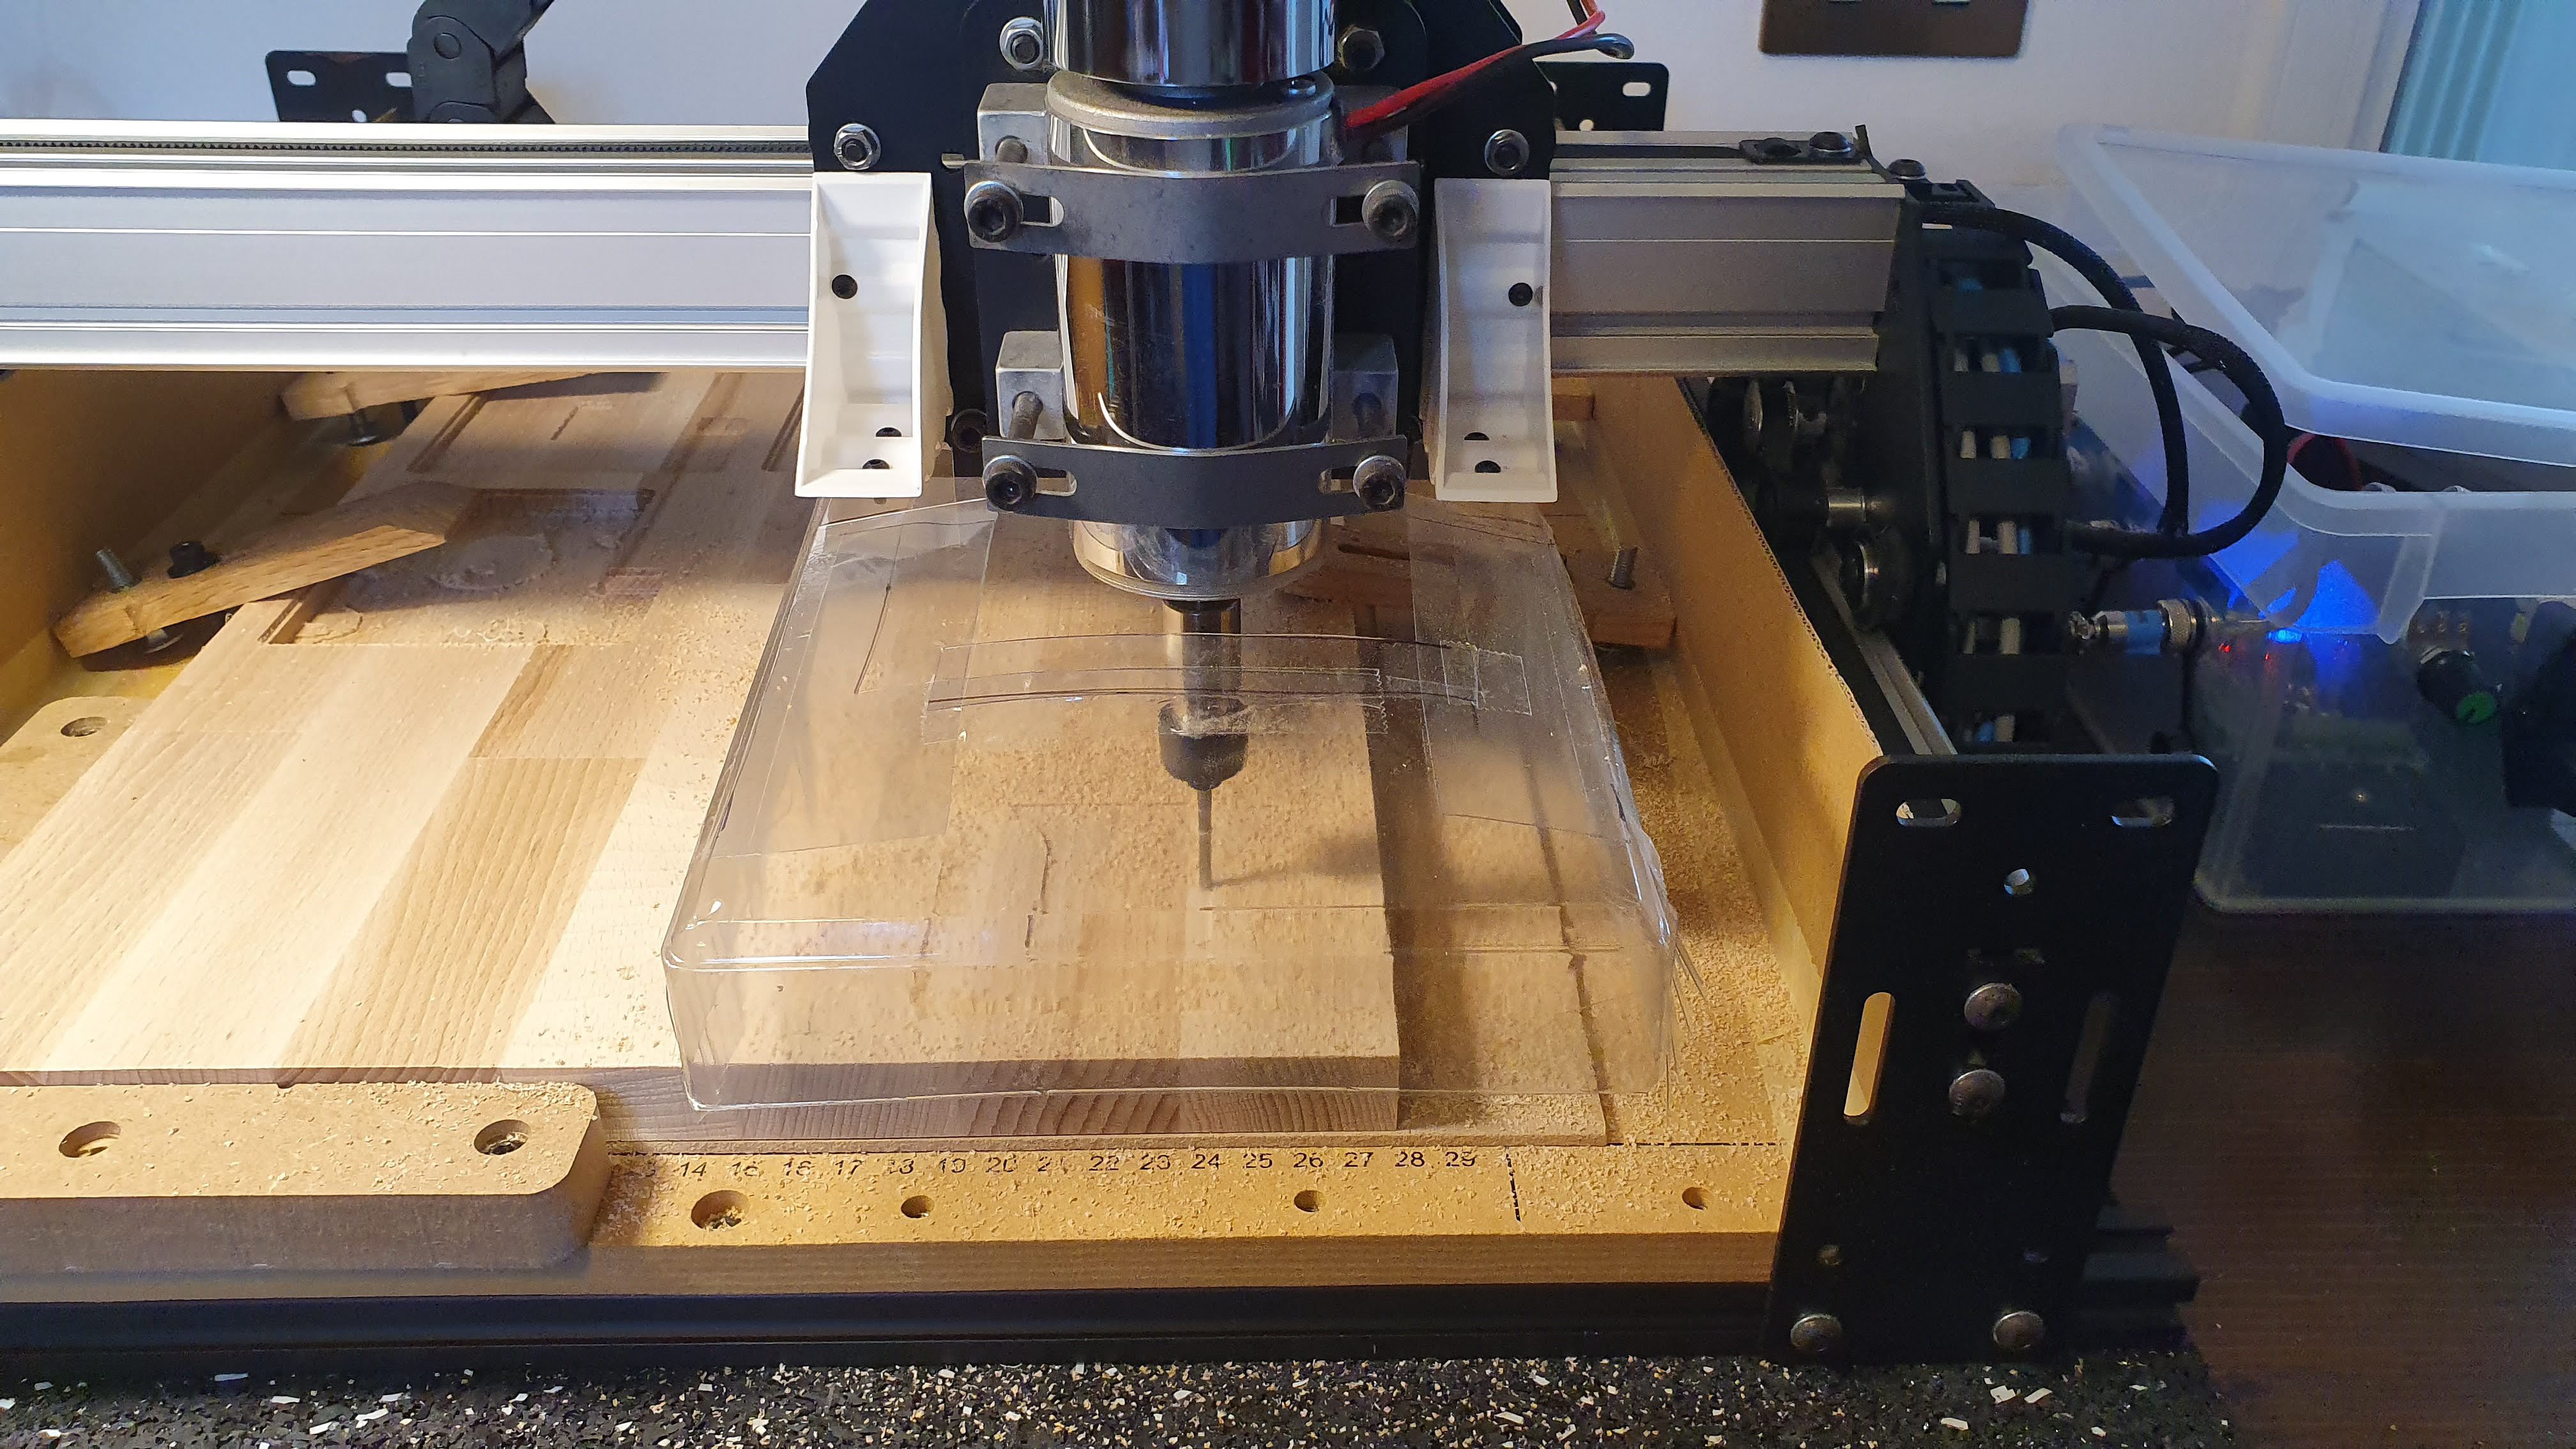
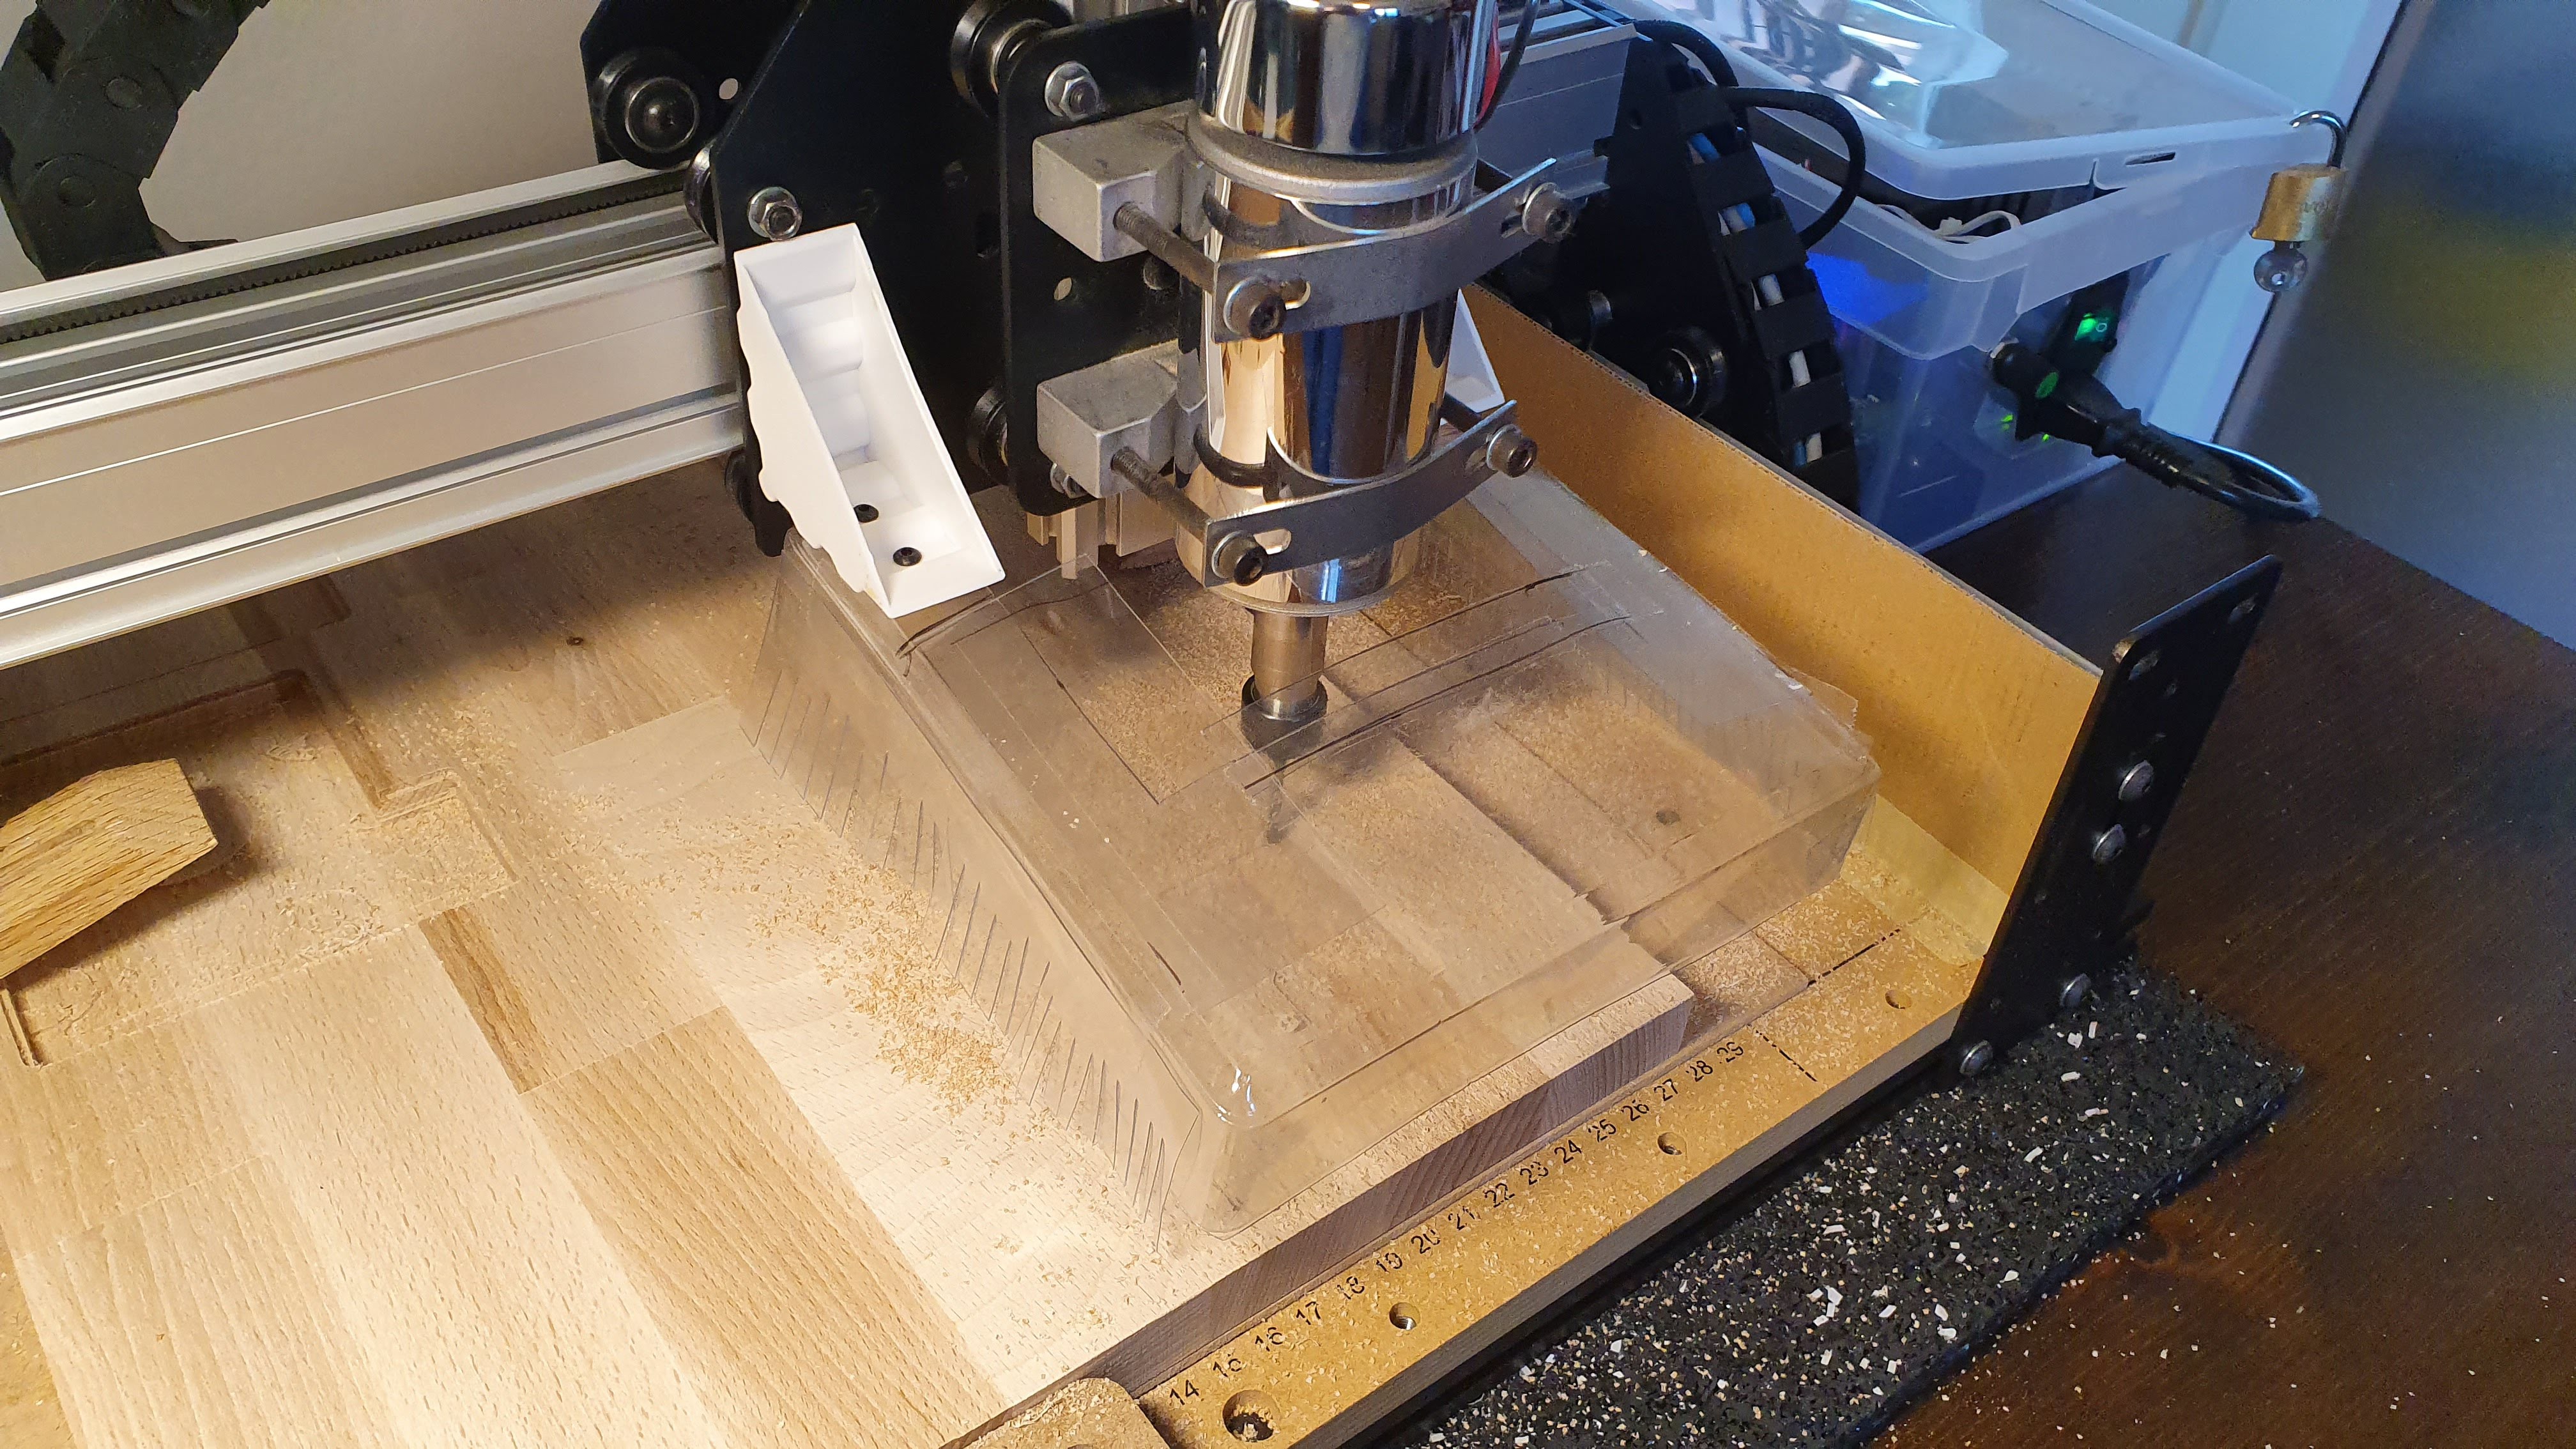
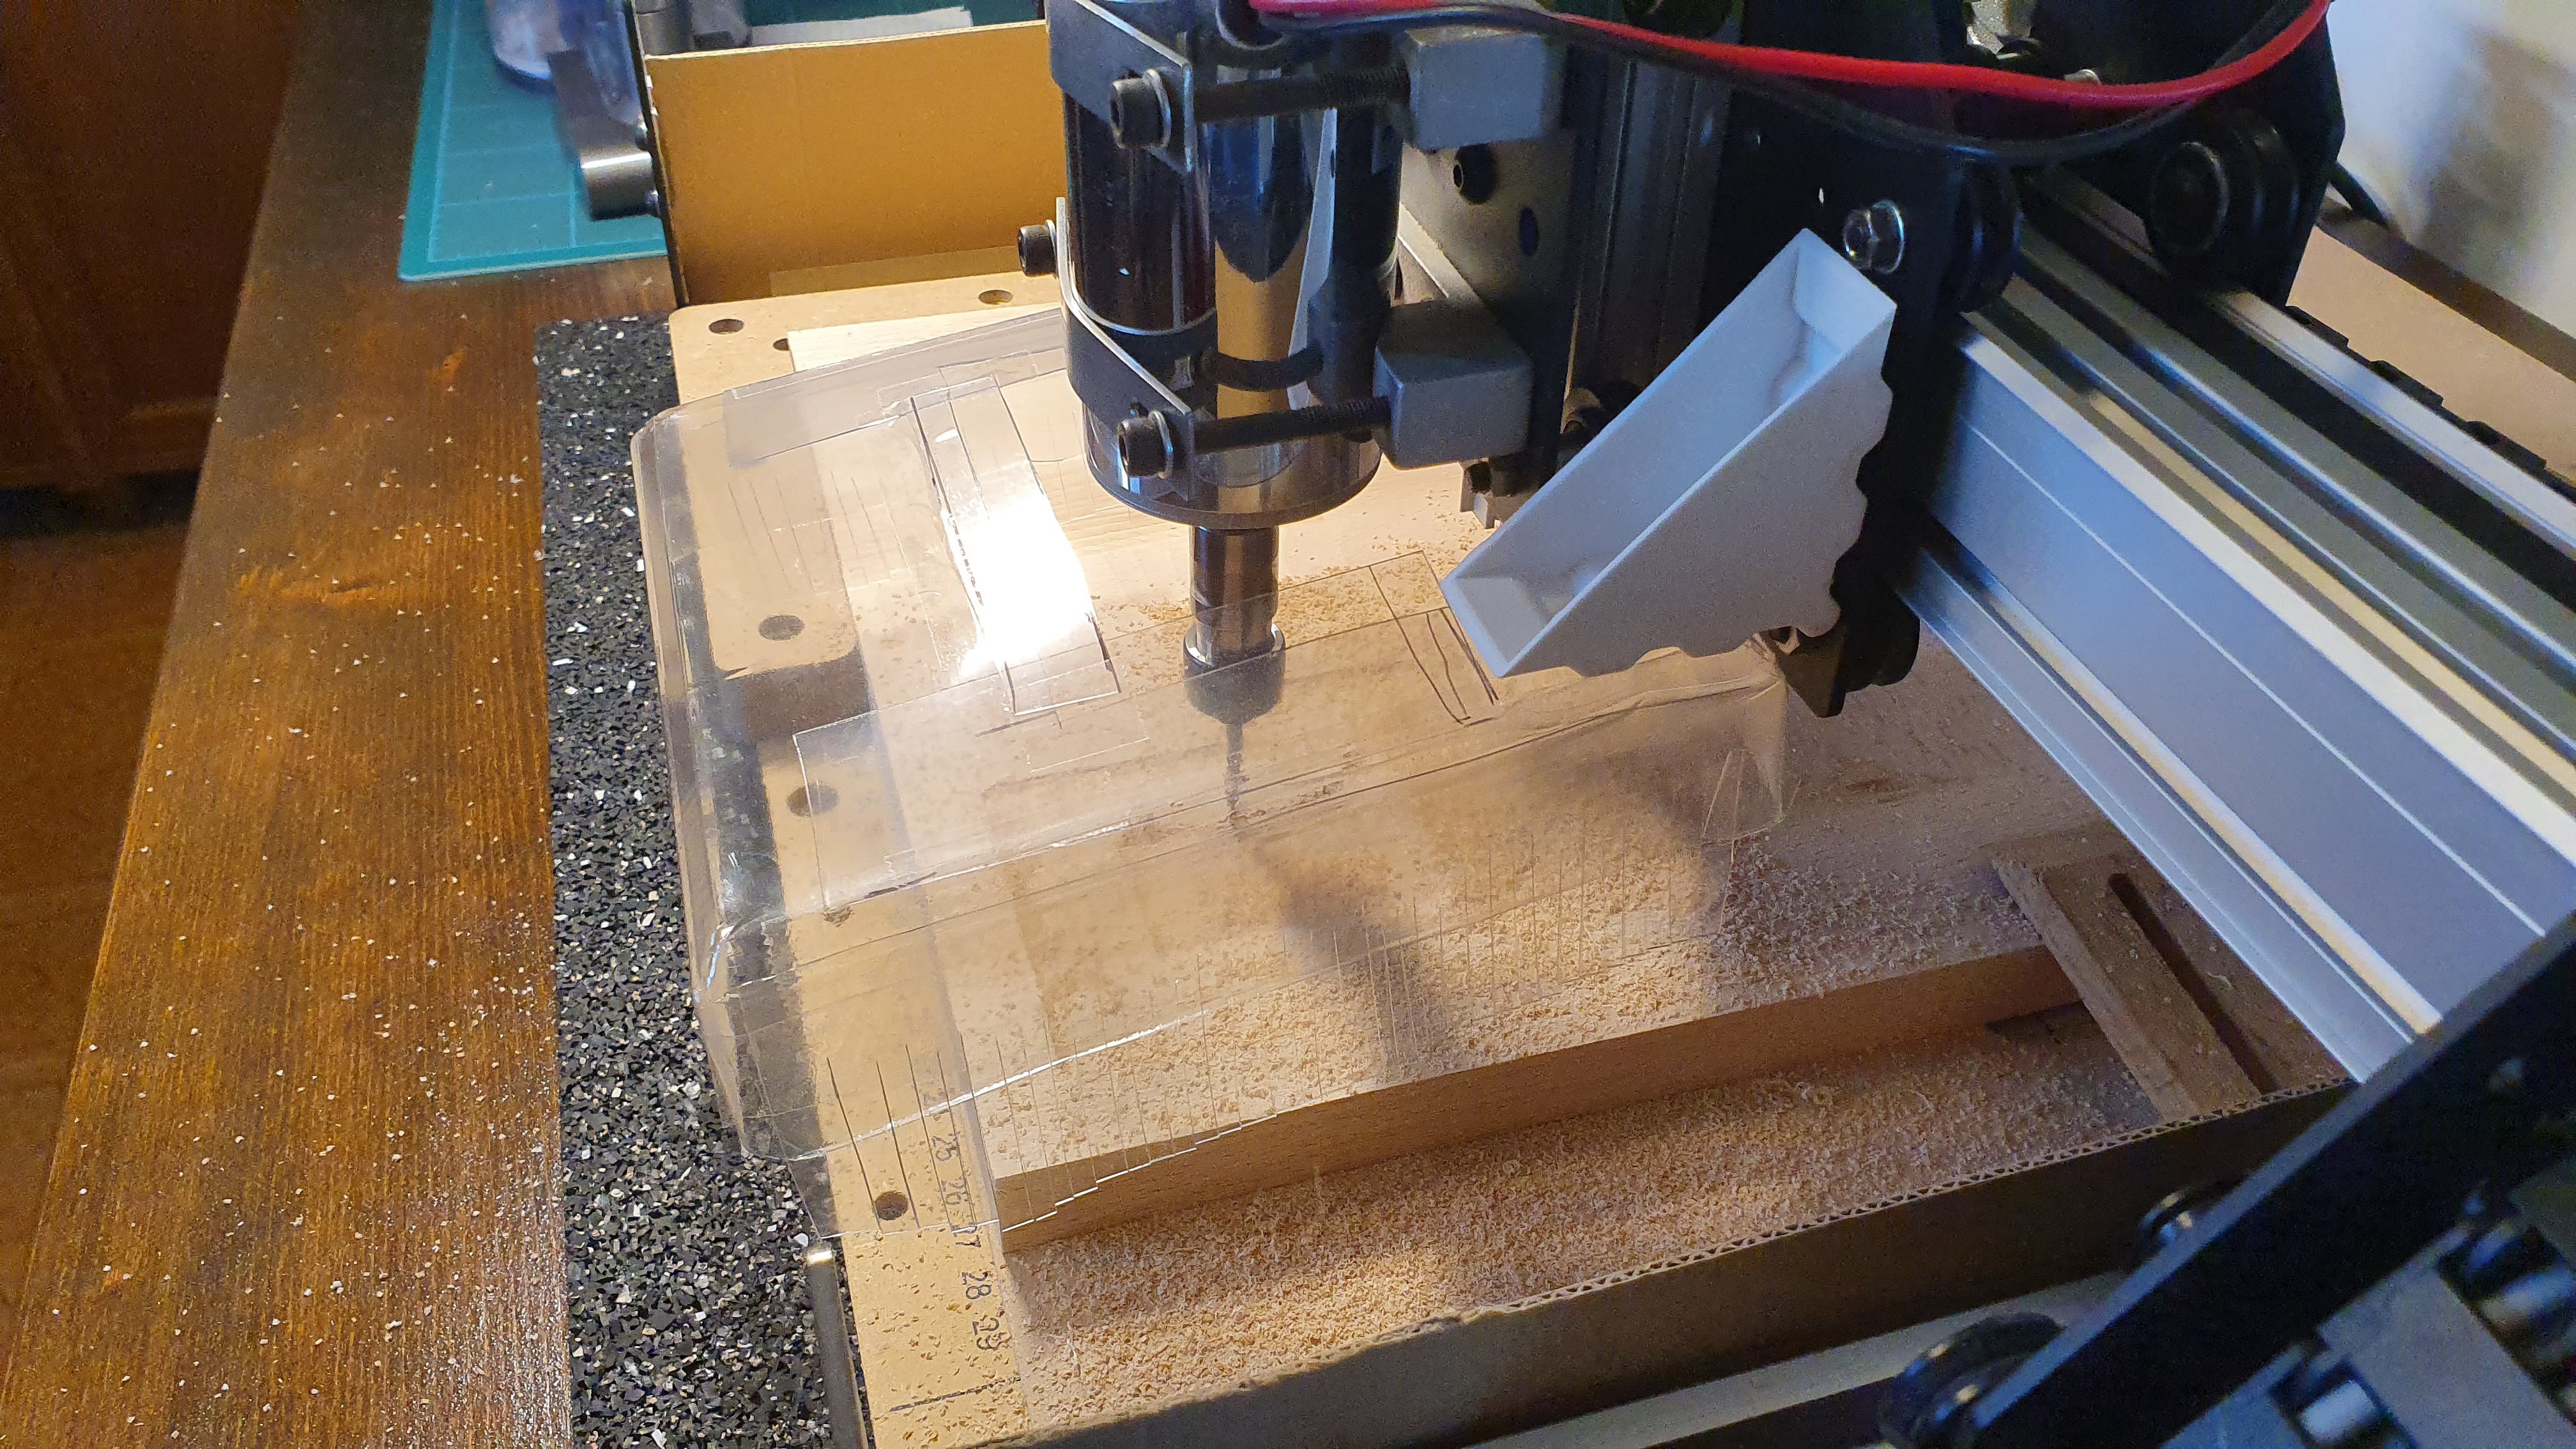
So here's the "Improvise. Adapt. Overcome." part. Here's the Poor Man's Dust Shoe (patent pending).
![]()
![]()
![]()
![]()
I actually dived in my garbage bin to salvage the parts for this dust shoe... AND IT ACTUALLY WORKED!
The white parts are from my lab's desk packaging (they were meant to protect the corners during shipping), while the transparent plastic part comes from some other packaging. My next project will be a proper dust shoe for the Shapeoko by the way...
Here's the results:
![]()
![]()
Please note the absence of wooly surfaces.
Now to the oily part...
![]()
![]()
![]()
This is what I'm talking about. This is so much nicer. And yes I fixed the two slots positions because (again) I botched them in the previous iteration...
Anyway, my next post will be (I hope) the final assembly of the YamPAD. This time I think I'm finally satisfied with the results...
Bonus: my lab assistant (pun intended).
![]()
-
YamPAD project log 18
07/14/2019 at 19:13 • 1 commentAlmost there...
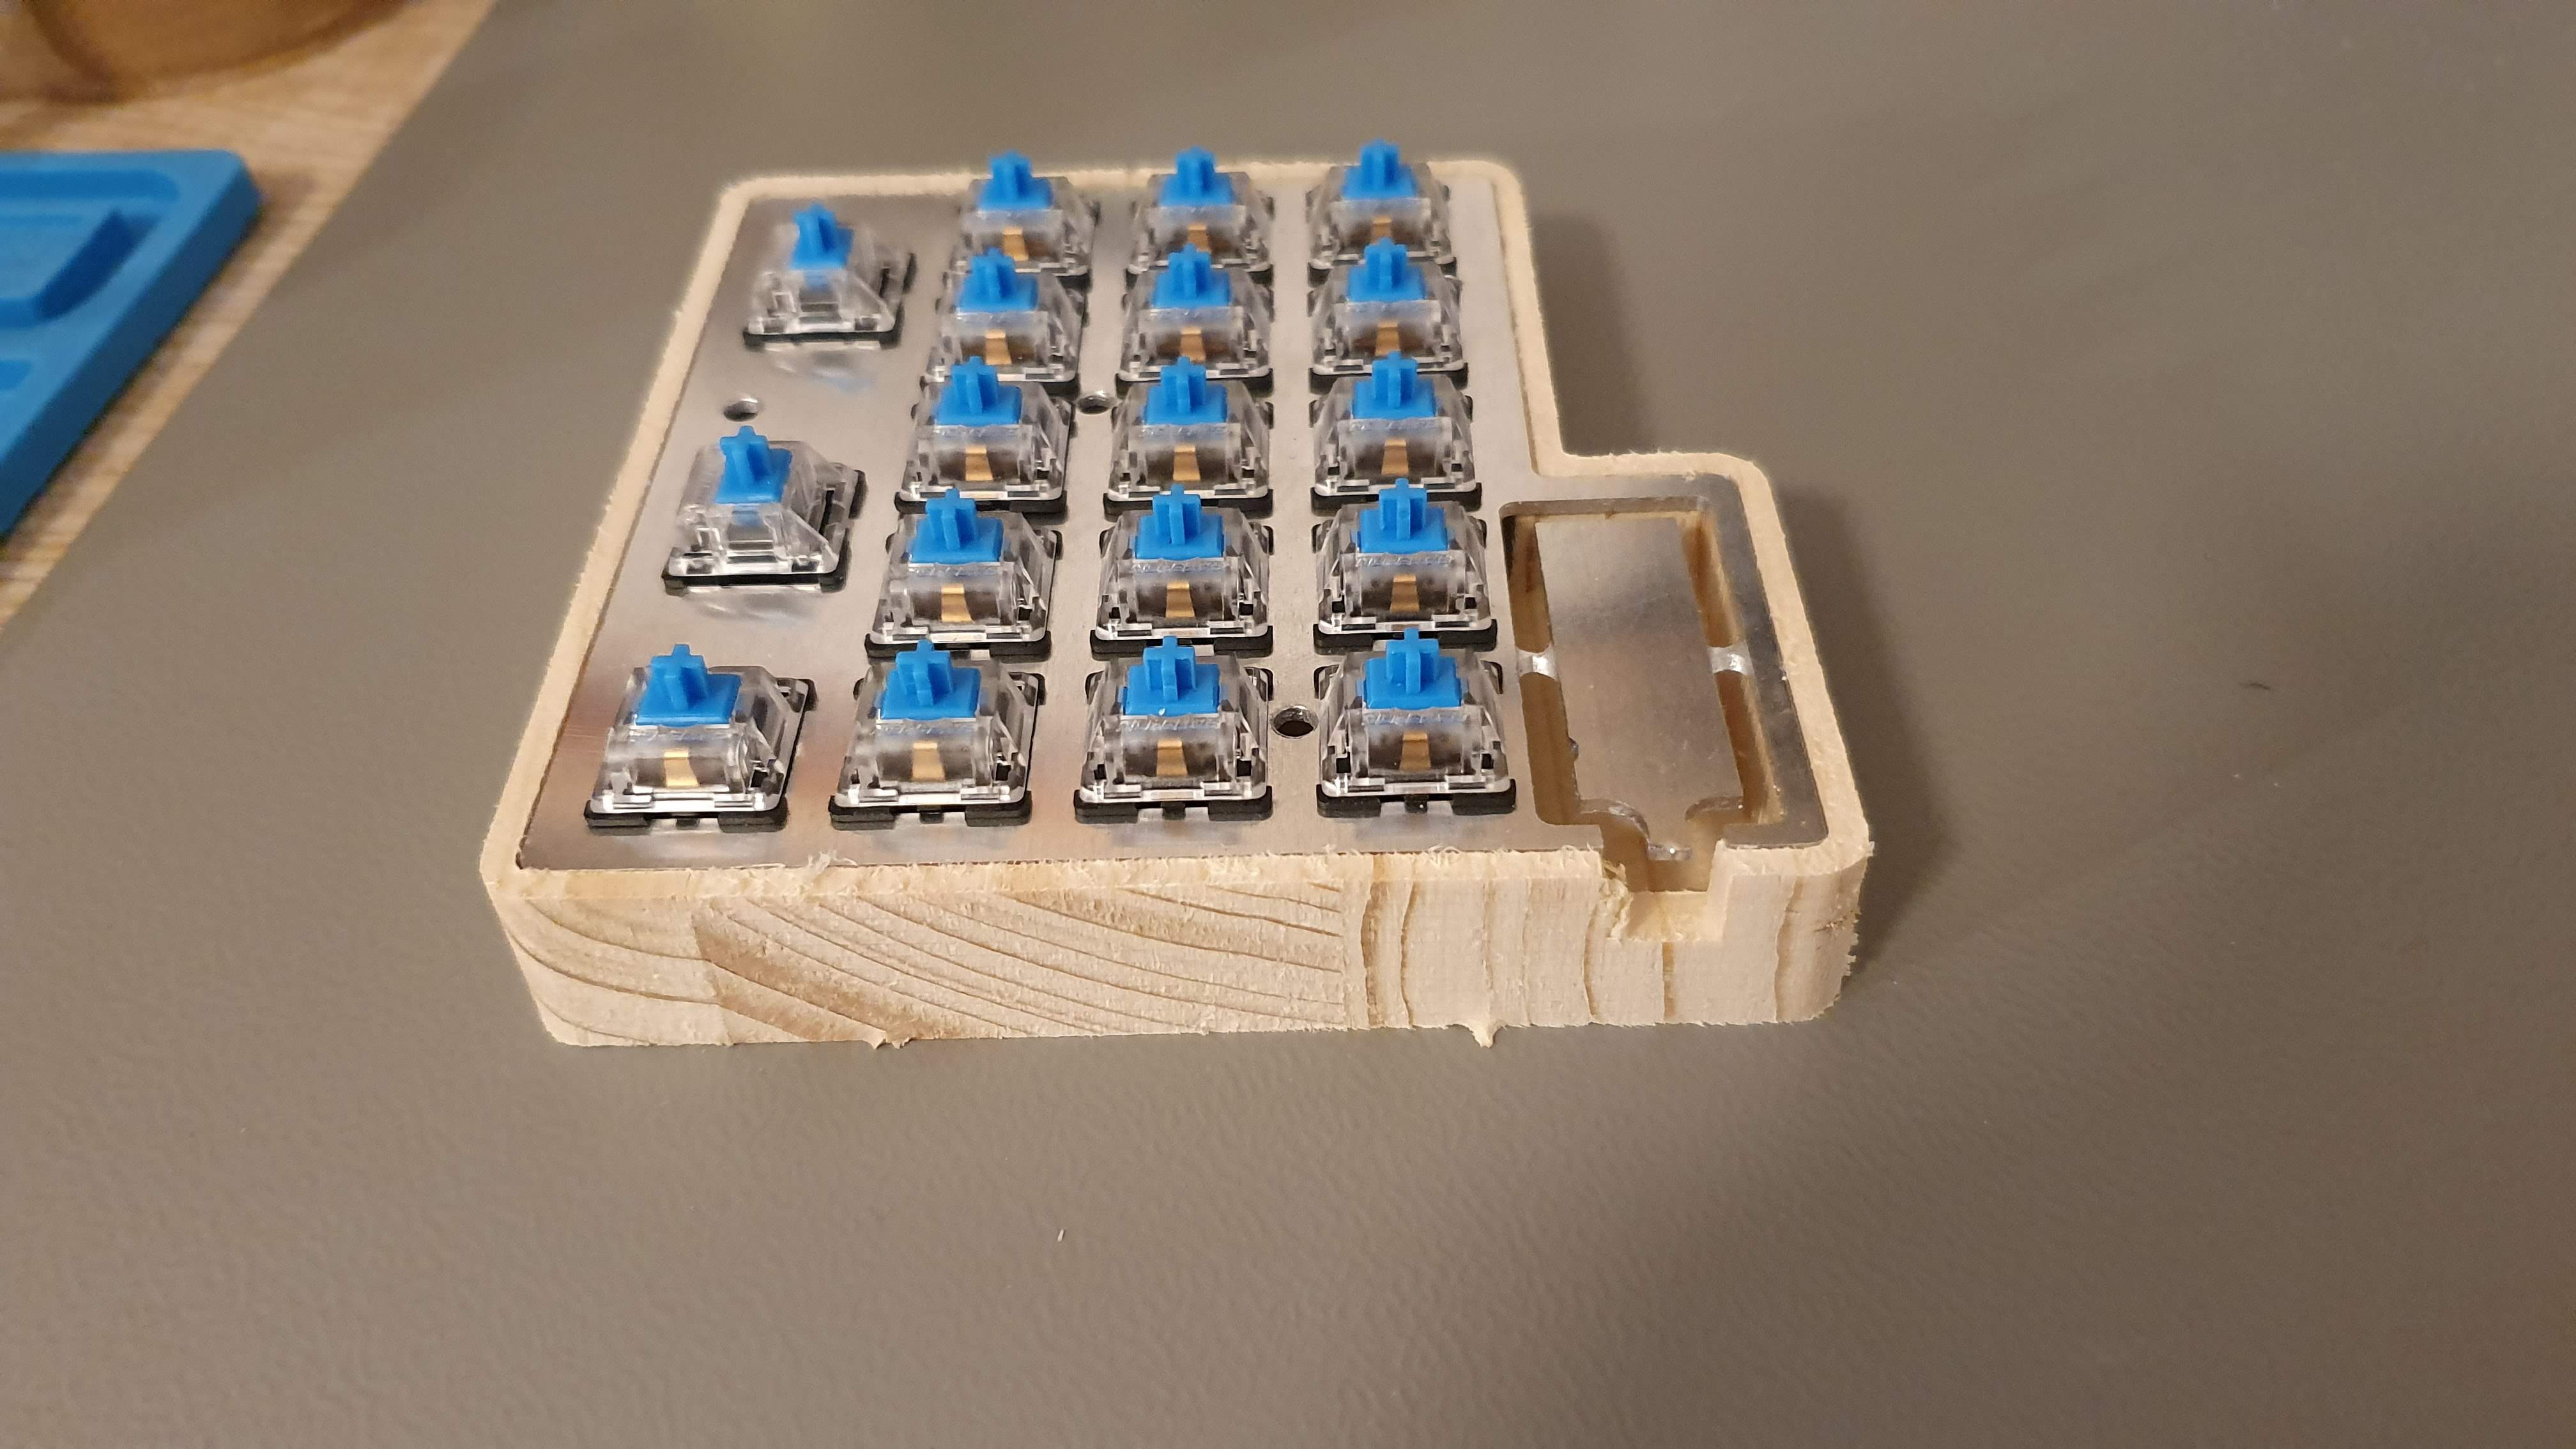
Today I finally cut the wooden case. Unfortunately I didn't take any pic during the cut. I used some fir wood because it's the cheapest and the only I could find nearby. It's super soft which is good for machining but not so good for the finishing. More on that later.![]()
![]()
![]()
Here it is just out of the CNC. The cut went super smooth. All the parts fit toghether nicely. As you might notice I got rid of the fillet around the upper edge because it was too feminine and real men want straight edges for their macropads... (Actually I couldn't figure out how to machine them in Fusion 360, if you know how and have some tips please help me!)
![]()
I added some threaded inserts inside to have something to grip into. They work great!
![]()
![]()
![]()
Everything fits so nicely!
![]()
![]()
![]()
![]()
![]()
Some nice shots to have a better feeling of how it turned out.
Now I only need to find a way to give a nice finish to the wood and find the right length of M2 screws to seal it all toghether. Guess I'll need to wait till next week...
-
YamPAD project log 17
07/07/2019 at 17:39 • 0 commentsSuccess at last...
IT WORKED! IT ACTUALLY WORKED!![]()
![]()
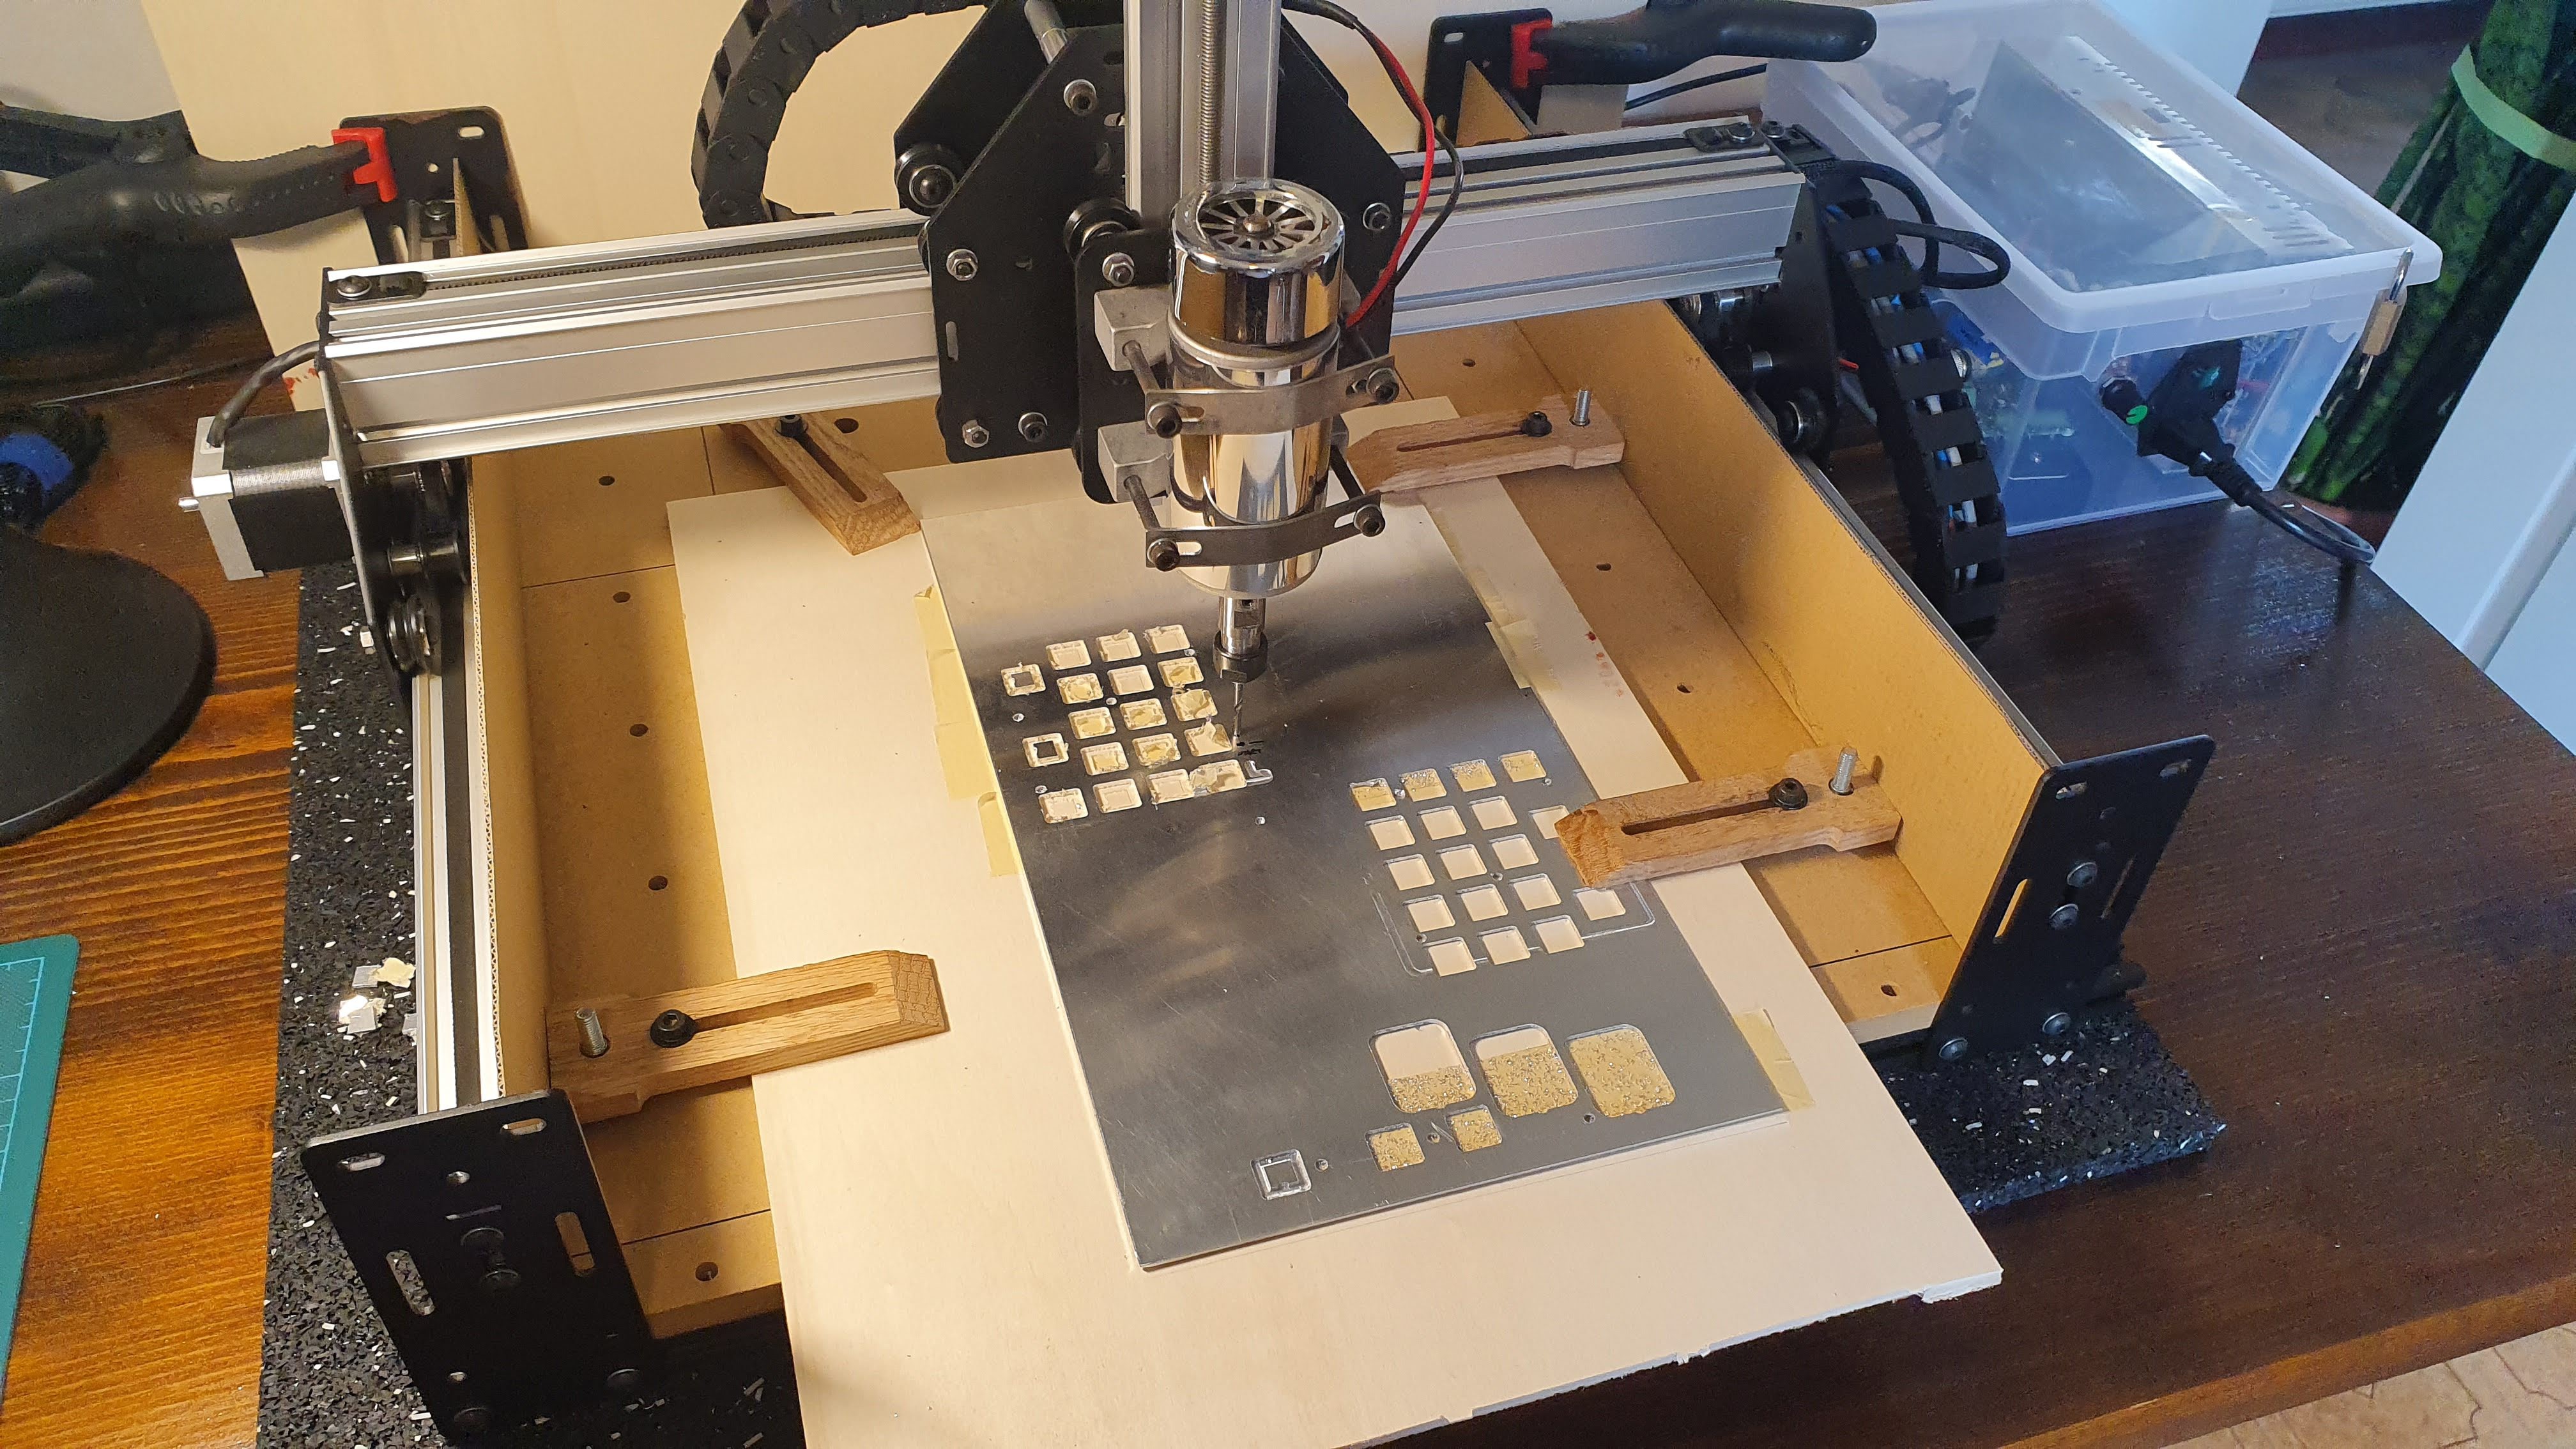
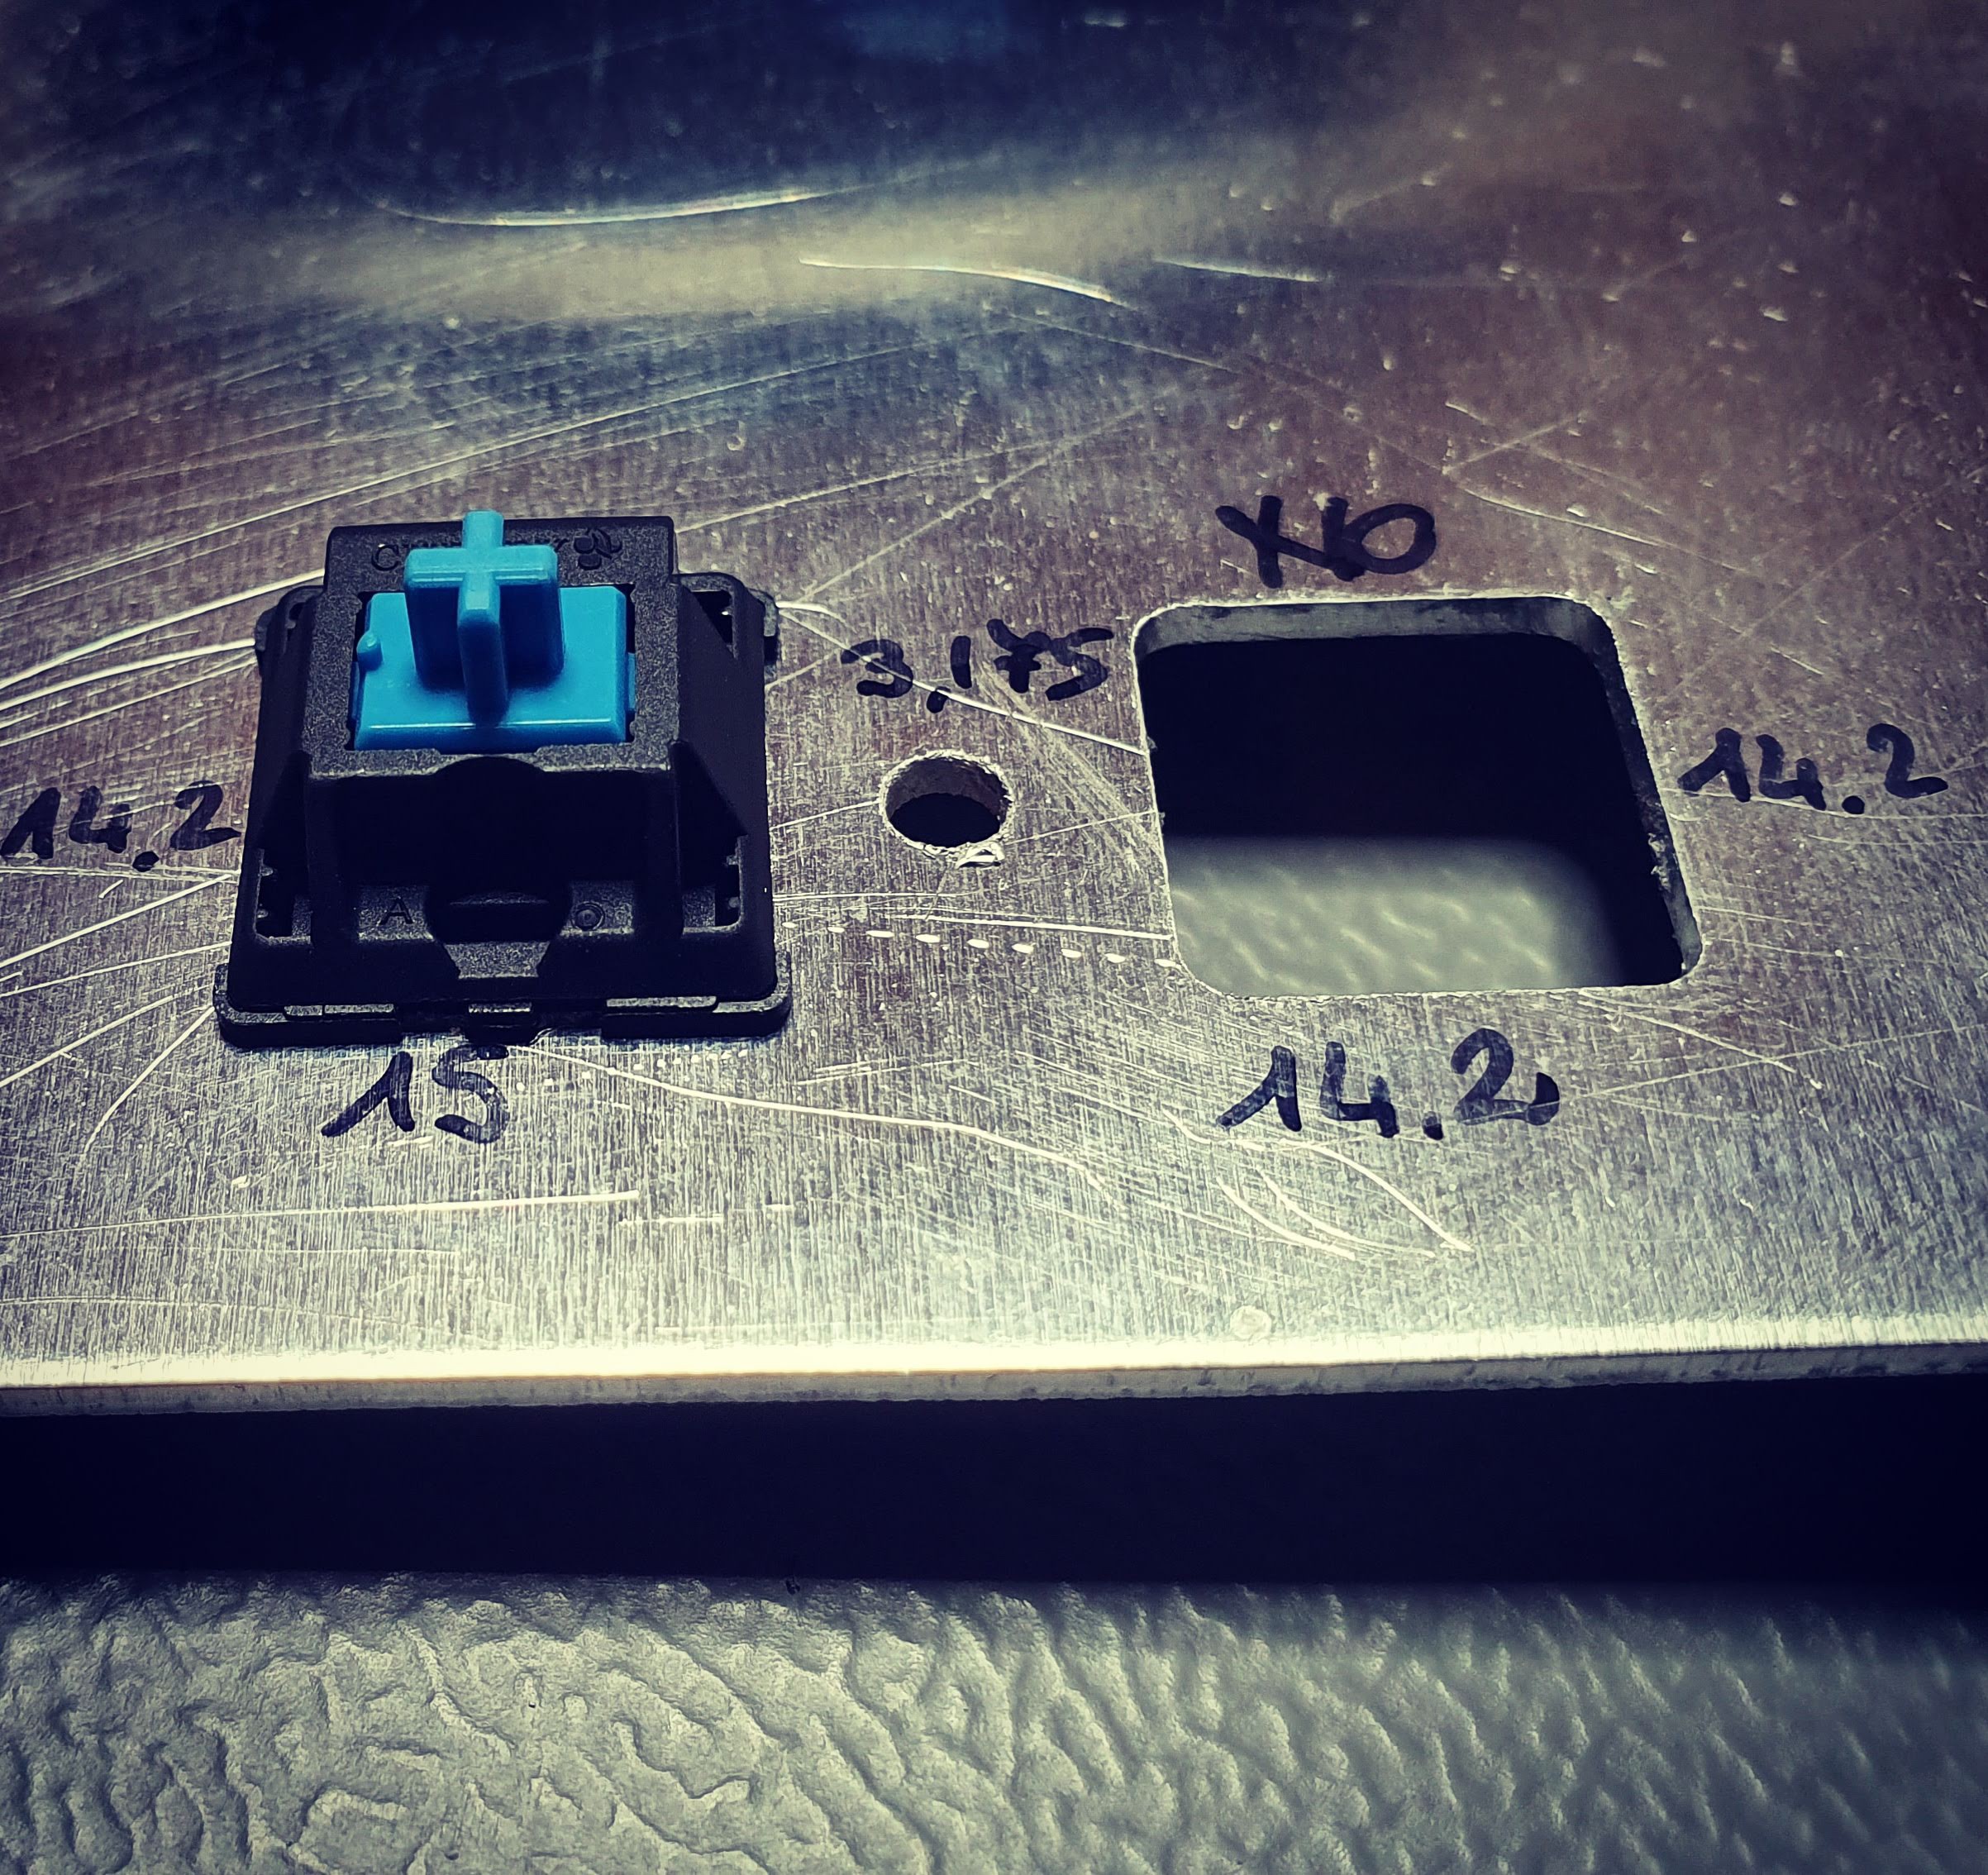
![]() Everything went smooth. I knew the CNC was capable of cutting aluminium, it was only a matter of debris. All dimensions seems to be ok.
Everything went smooth. I knew the CNC was capable of cutting aluminium, it was only a matter of debris. All dimensions seems to be ok.![]()
Now I can finally move on with the rest of the case...
-
YamPAD project log 16
07/07/2019 at 10:22 • 0 commentsAnother failure...
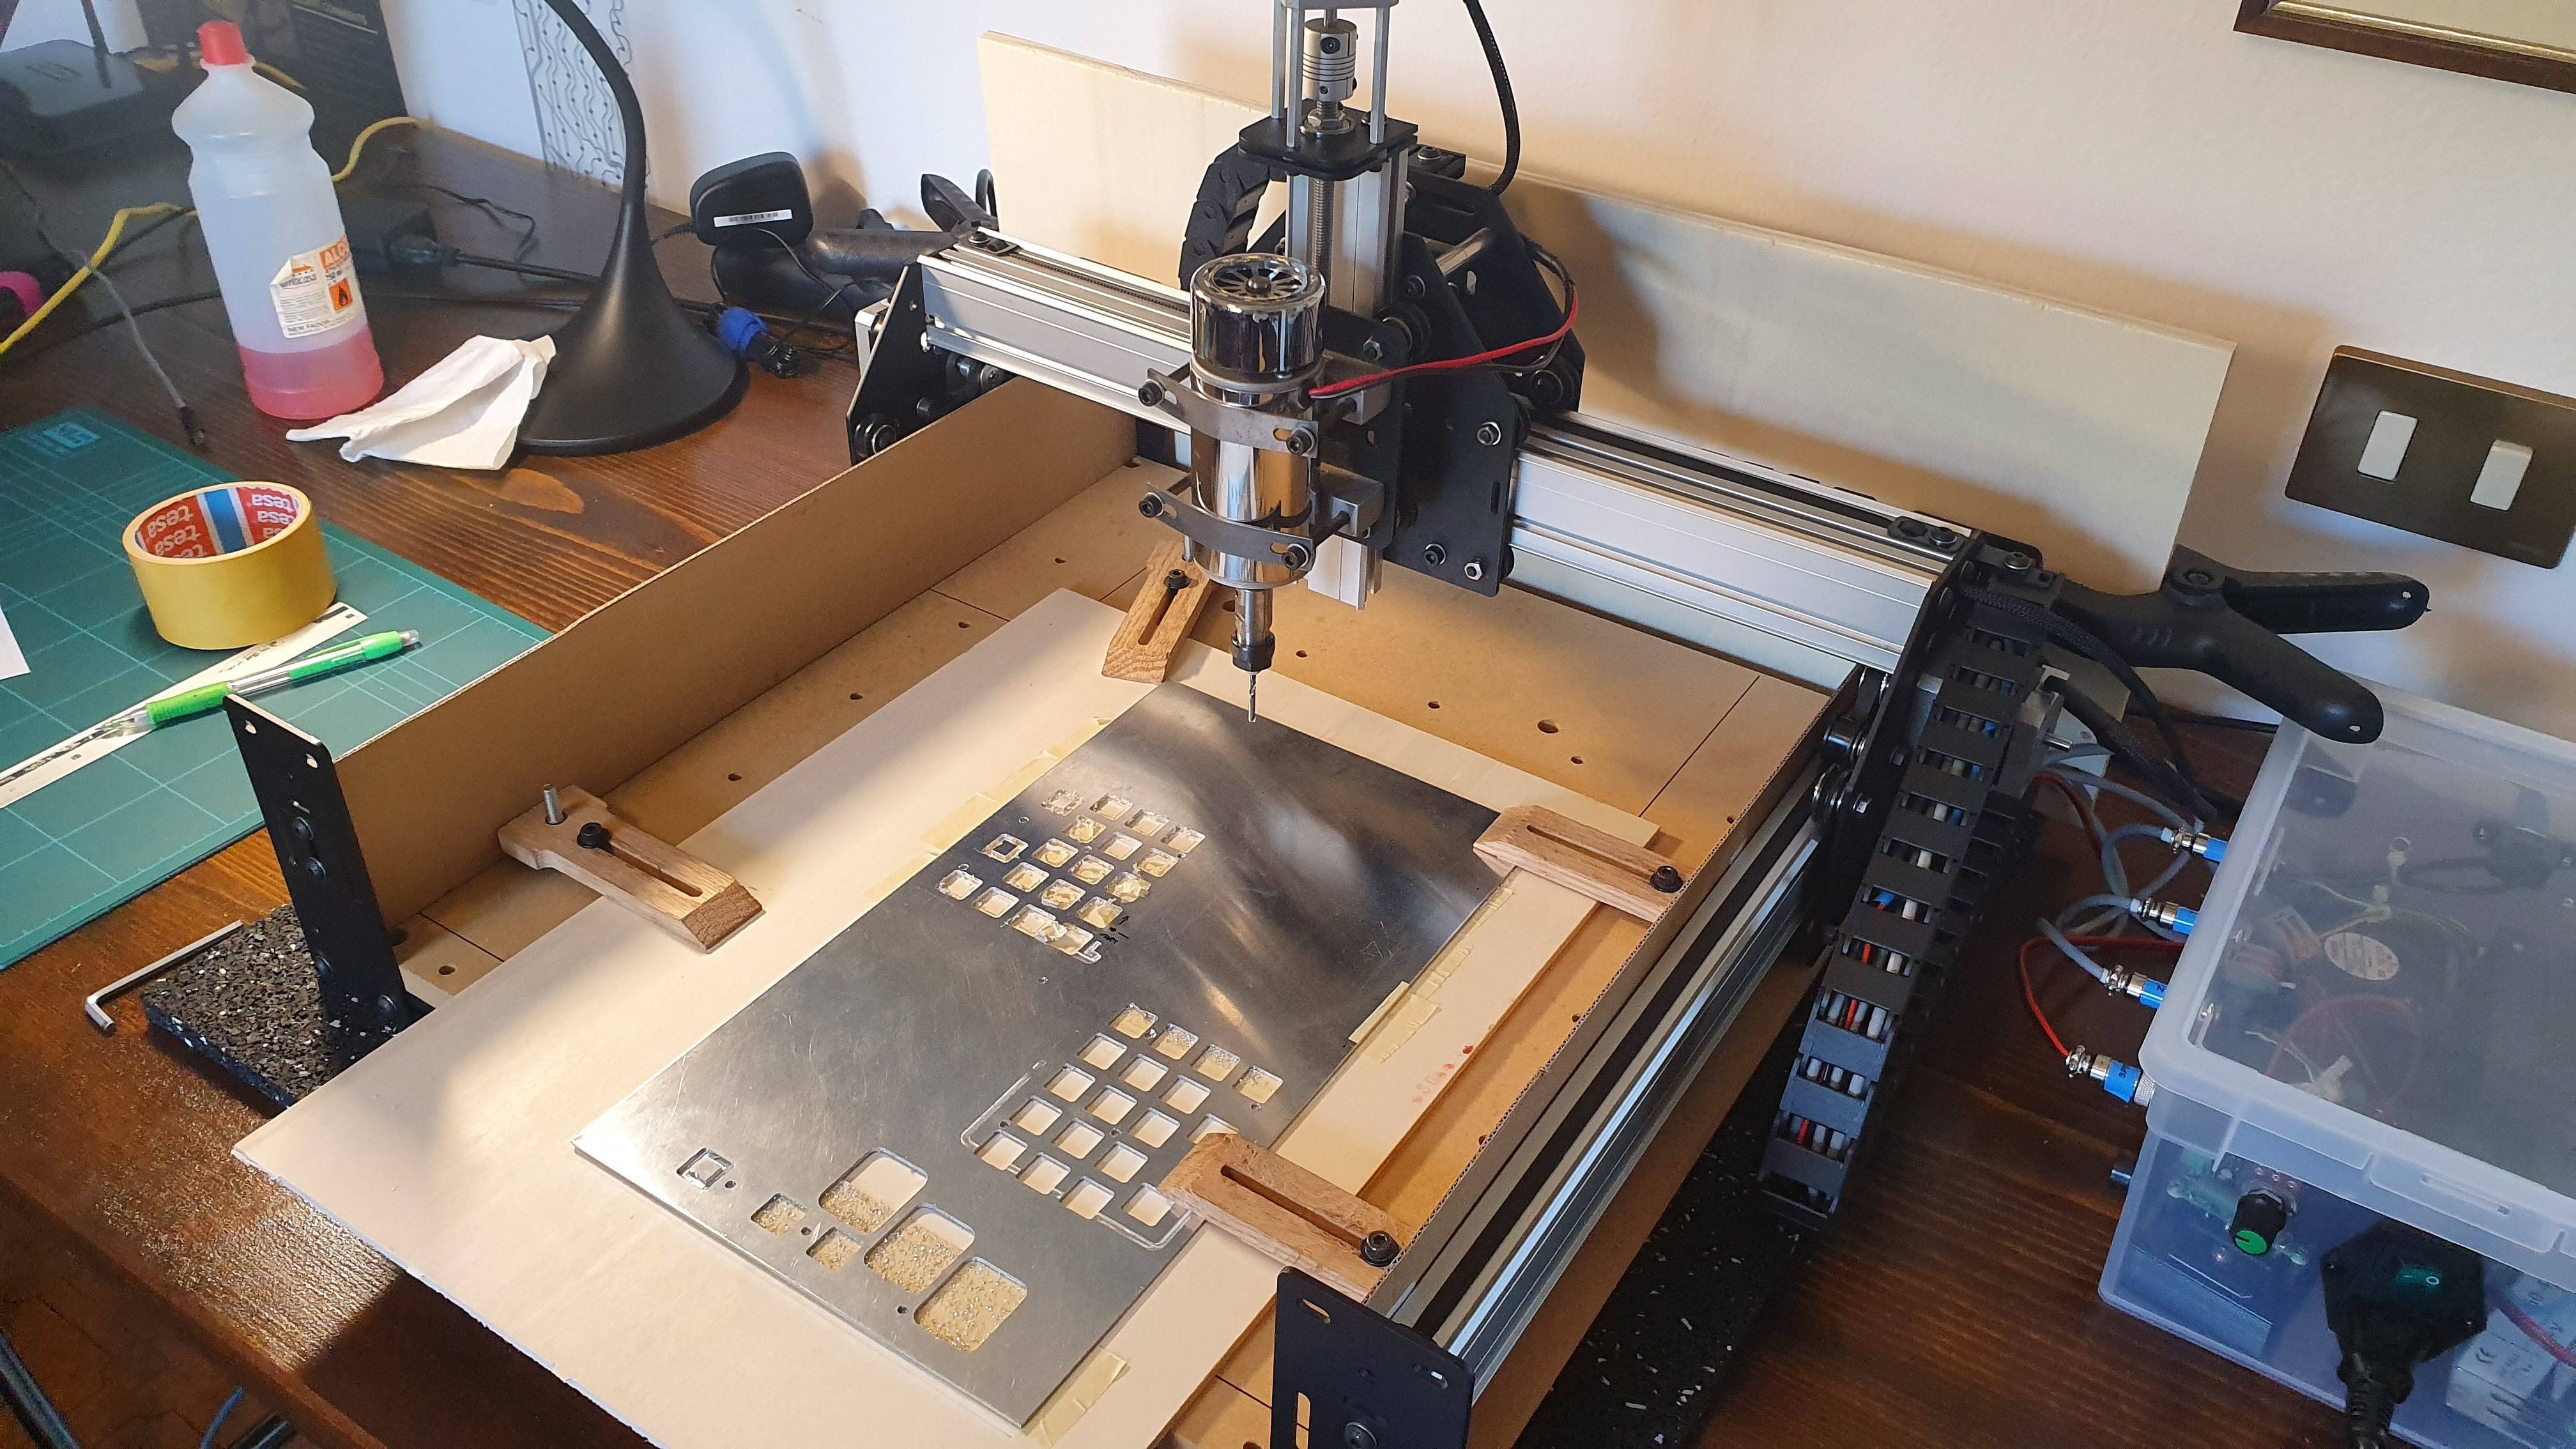
This morning I changed slightly the cutting parameters of the final cut hoping that this will help. I also gave up on using WD-40 hoping that this will avoid jamming the wheels of the Y carriage. I was wrong...![]()
![]()
![]()
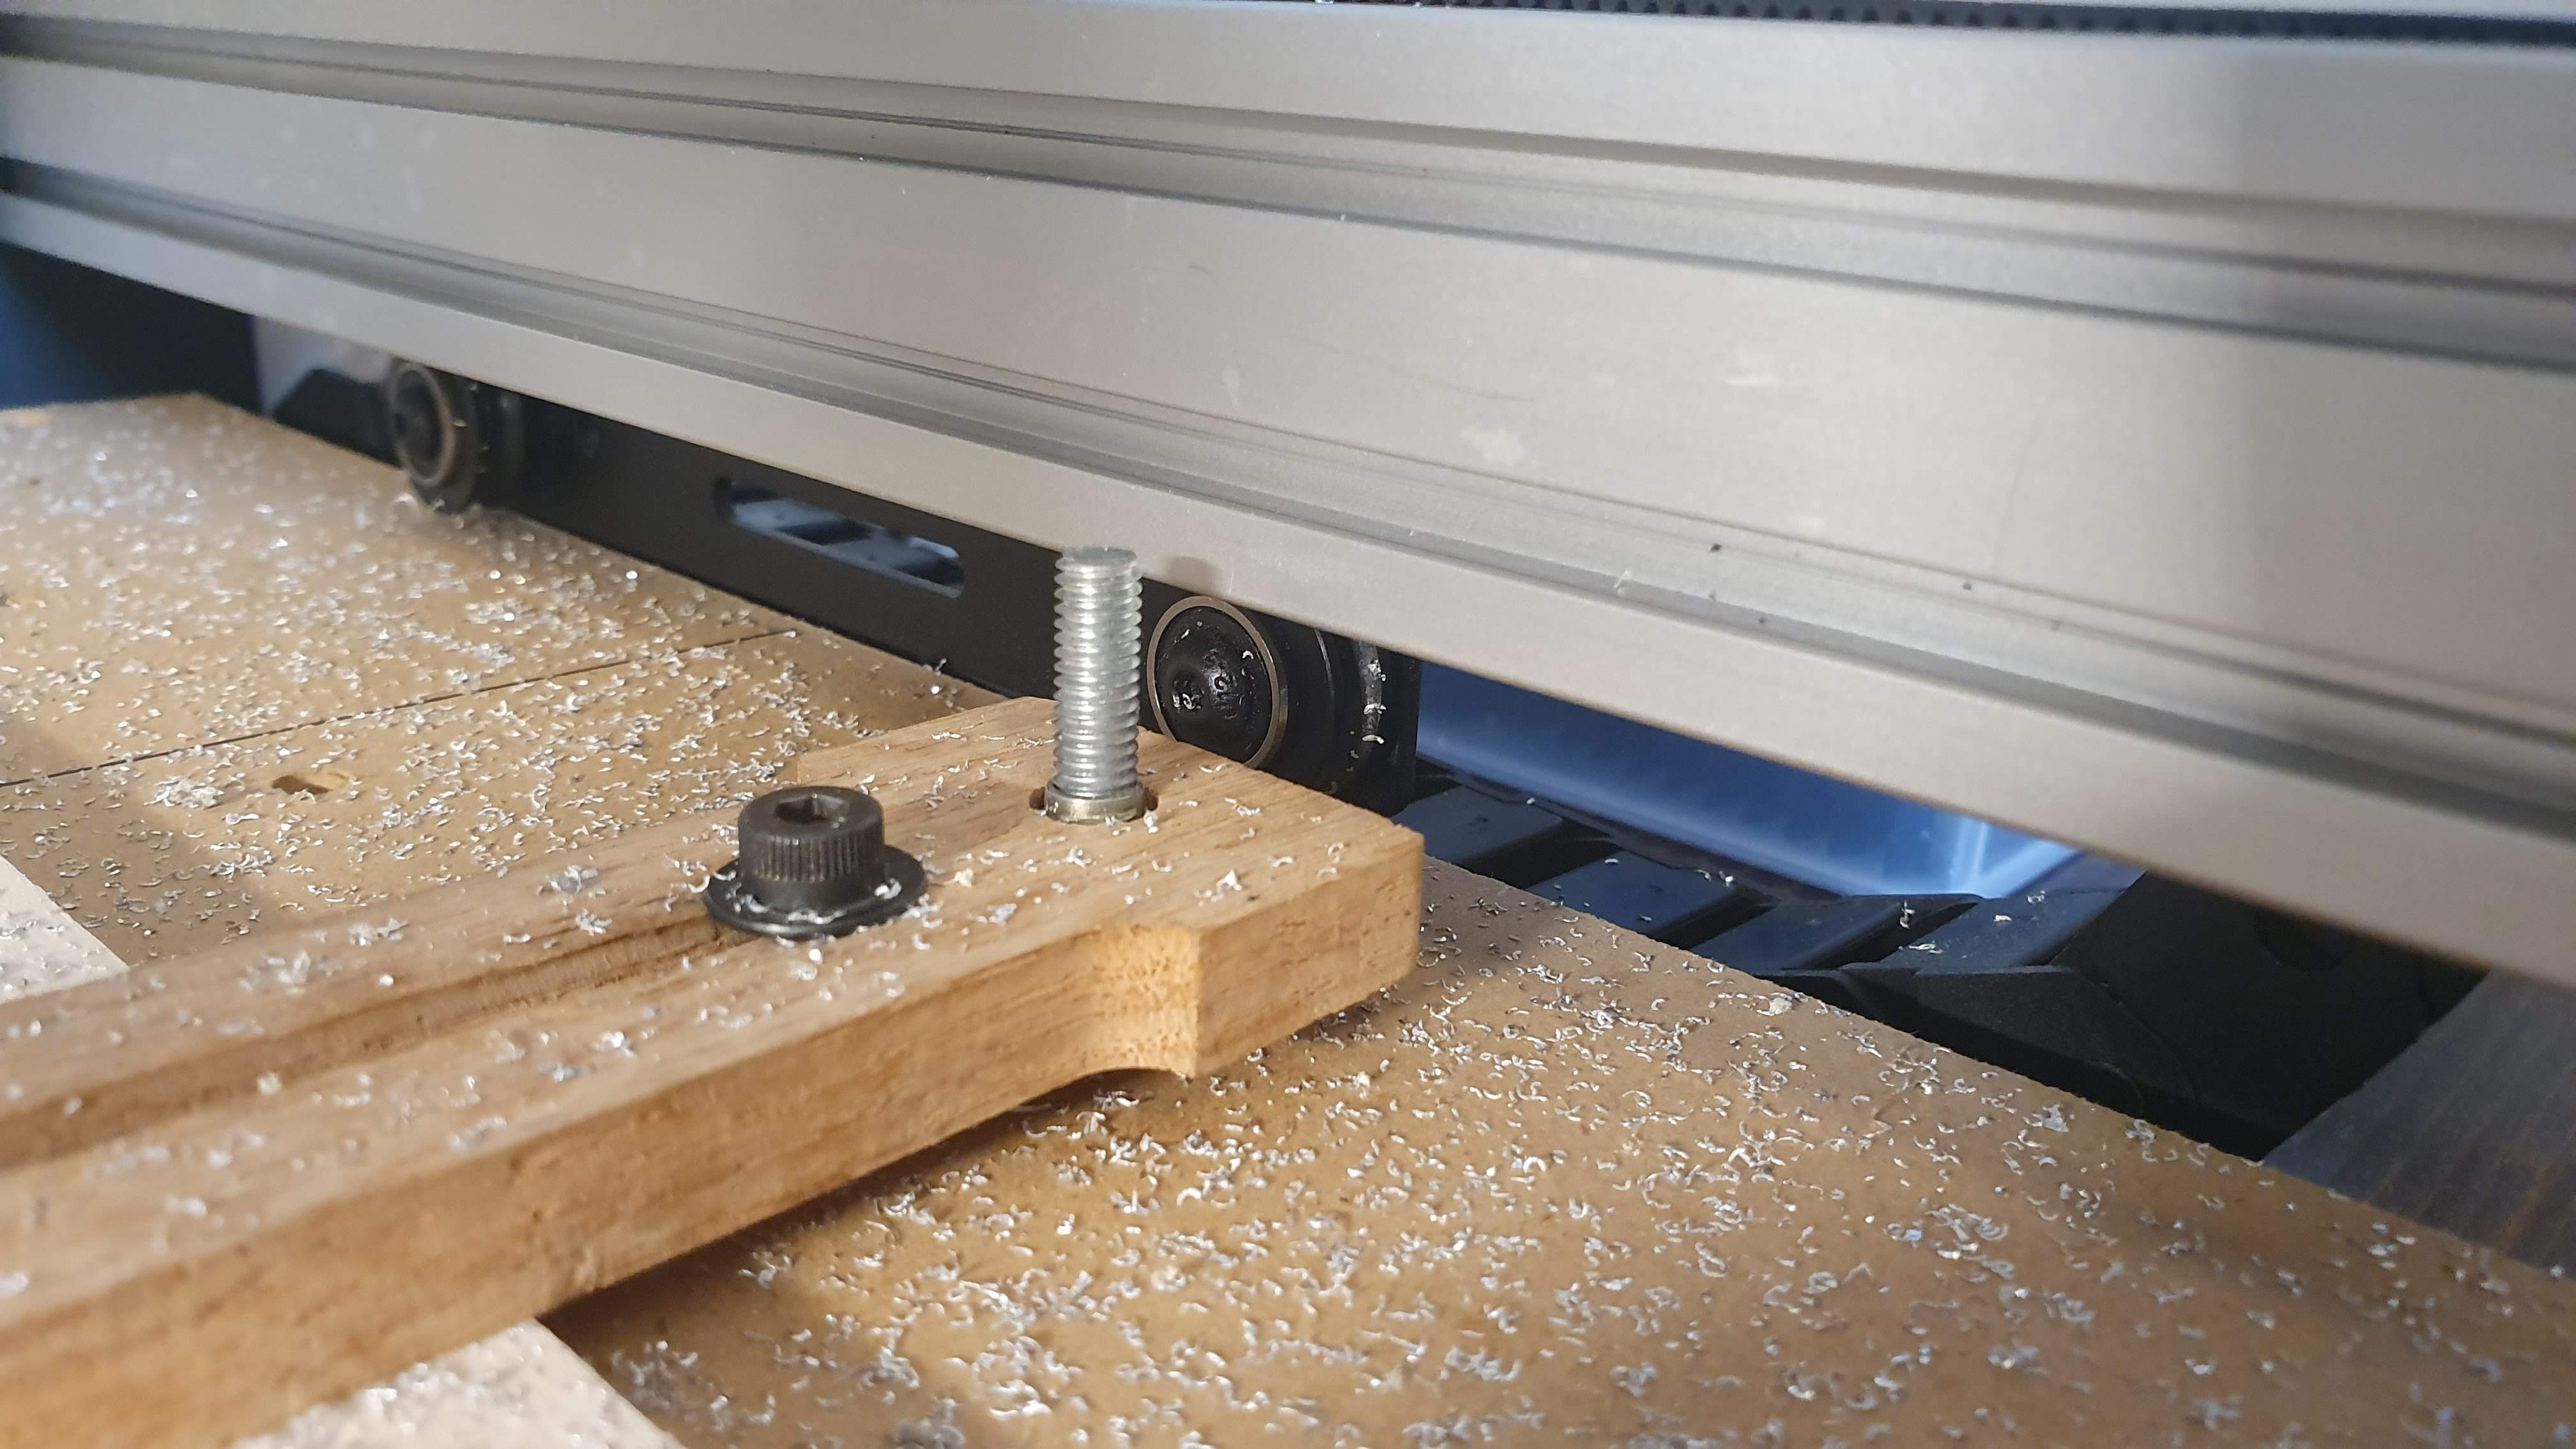
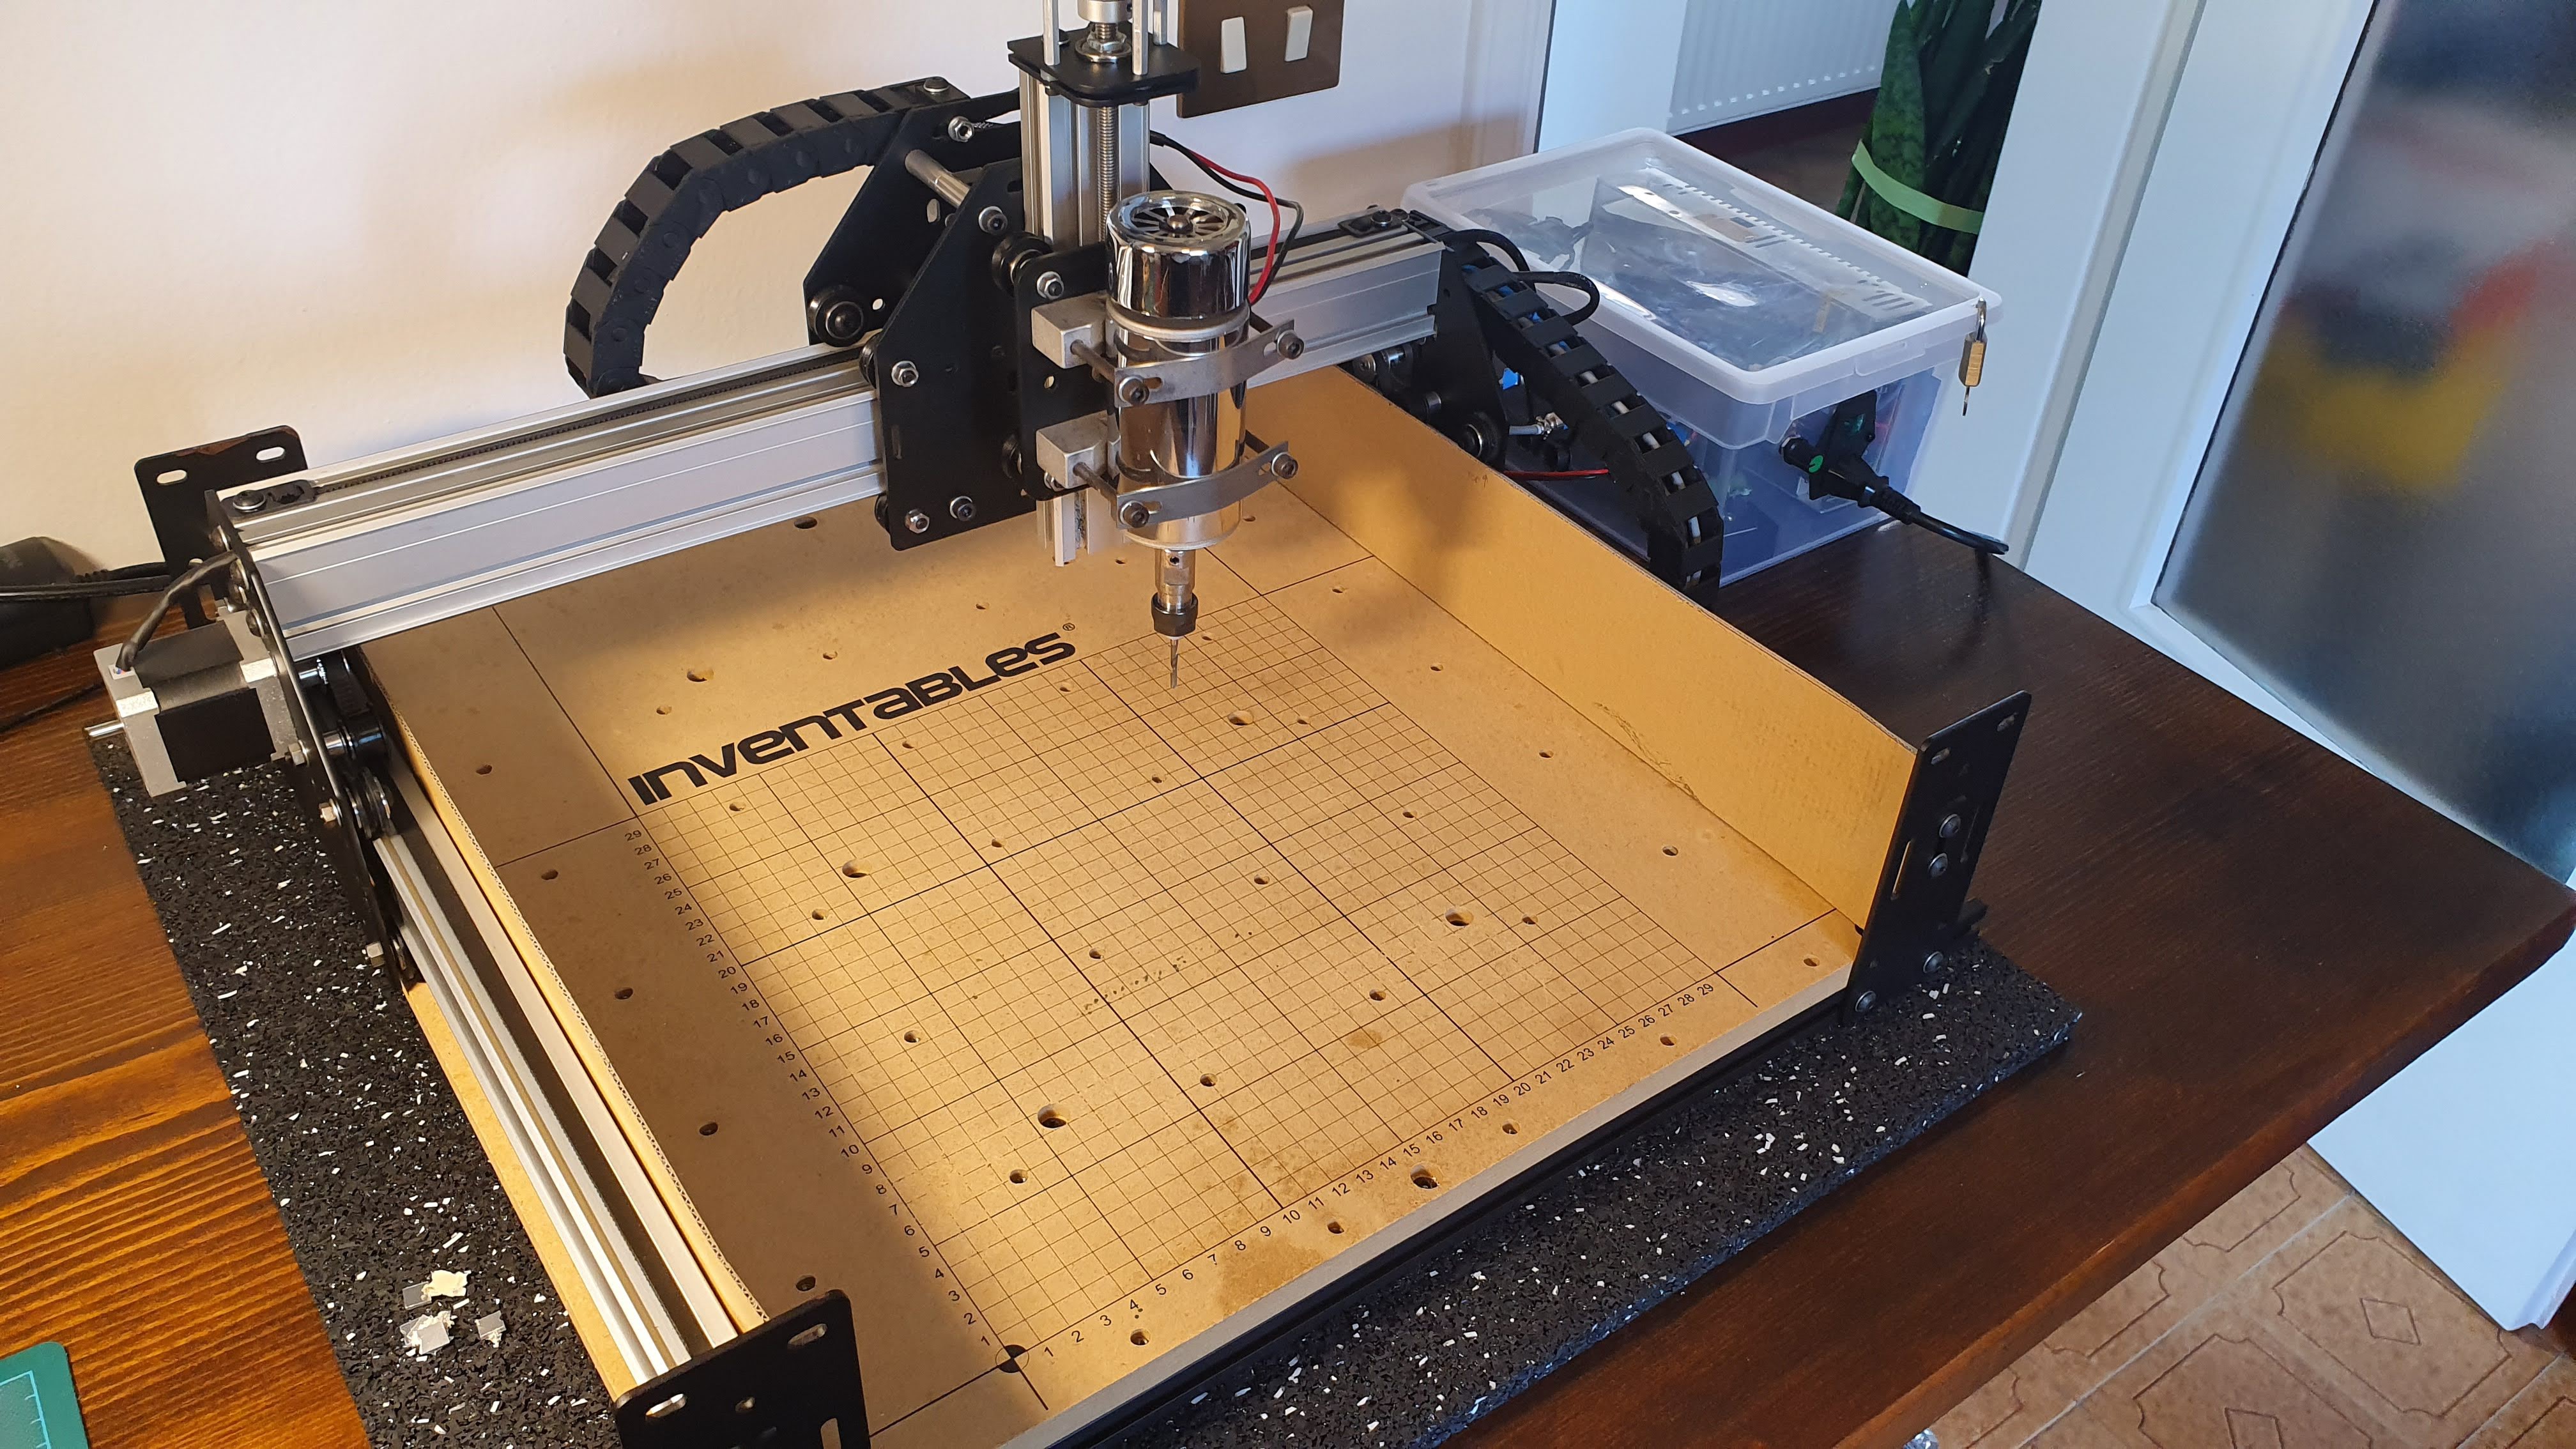
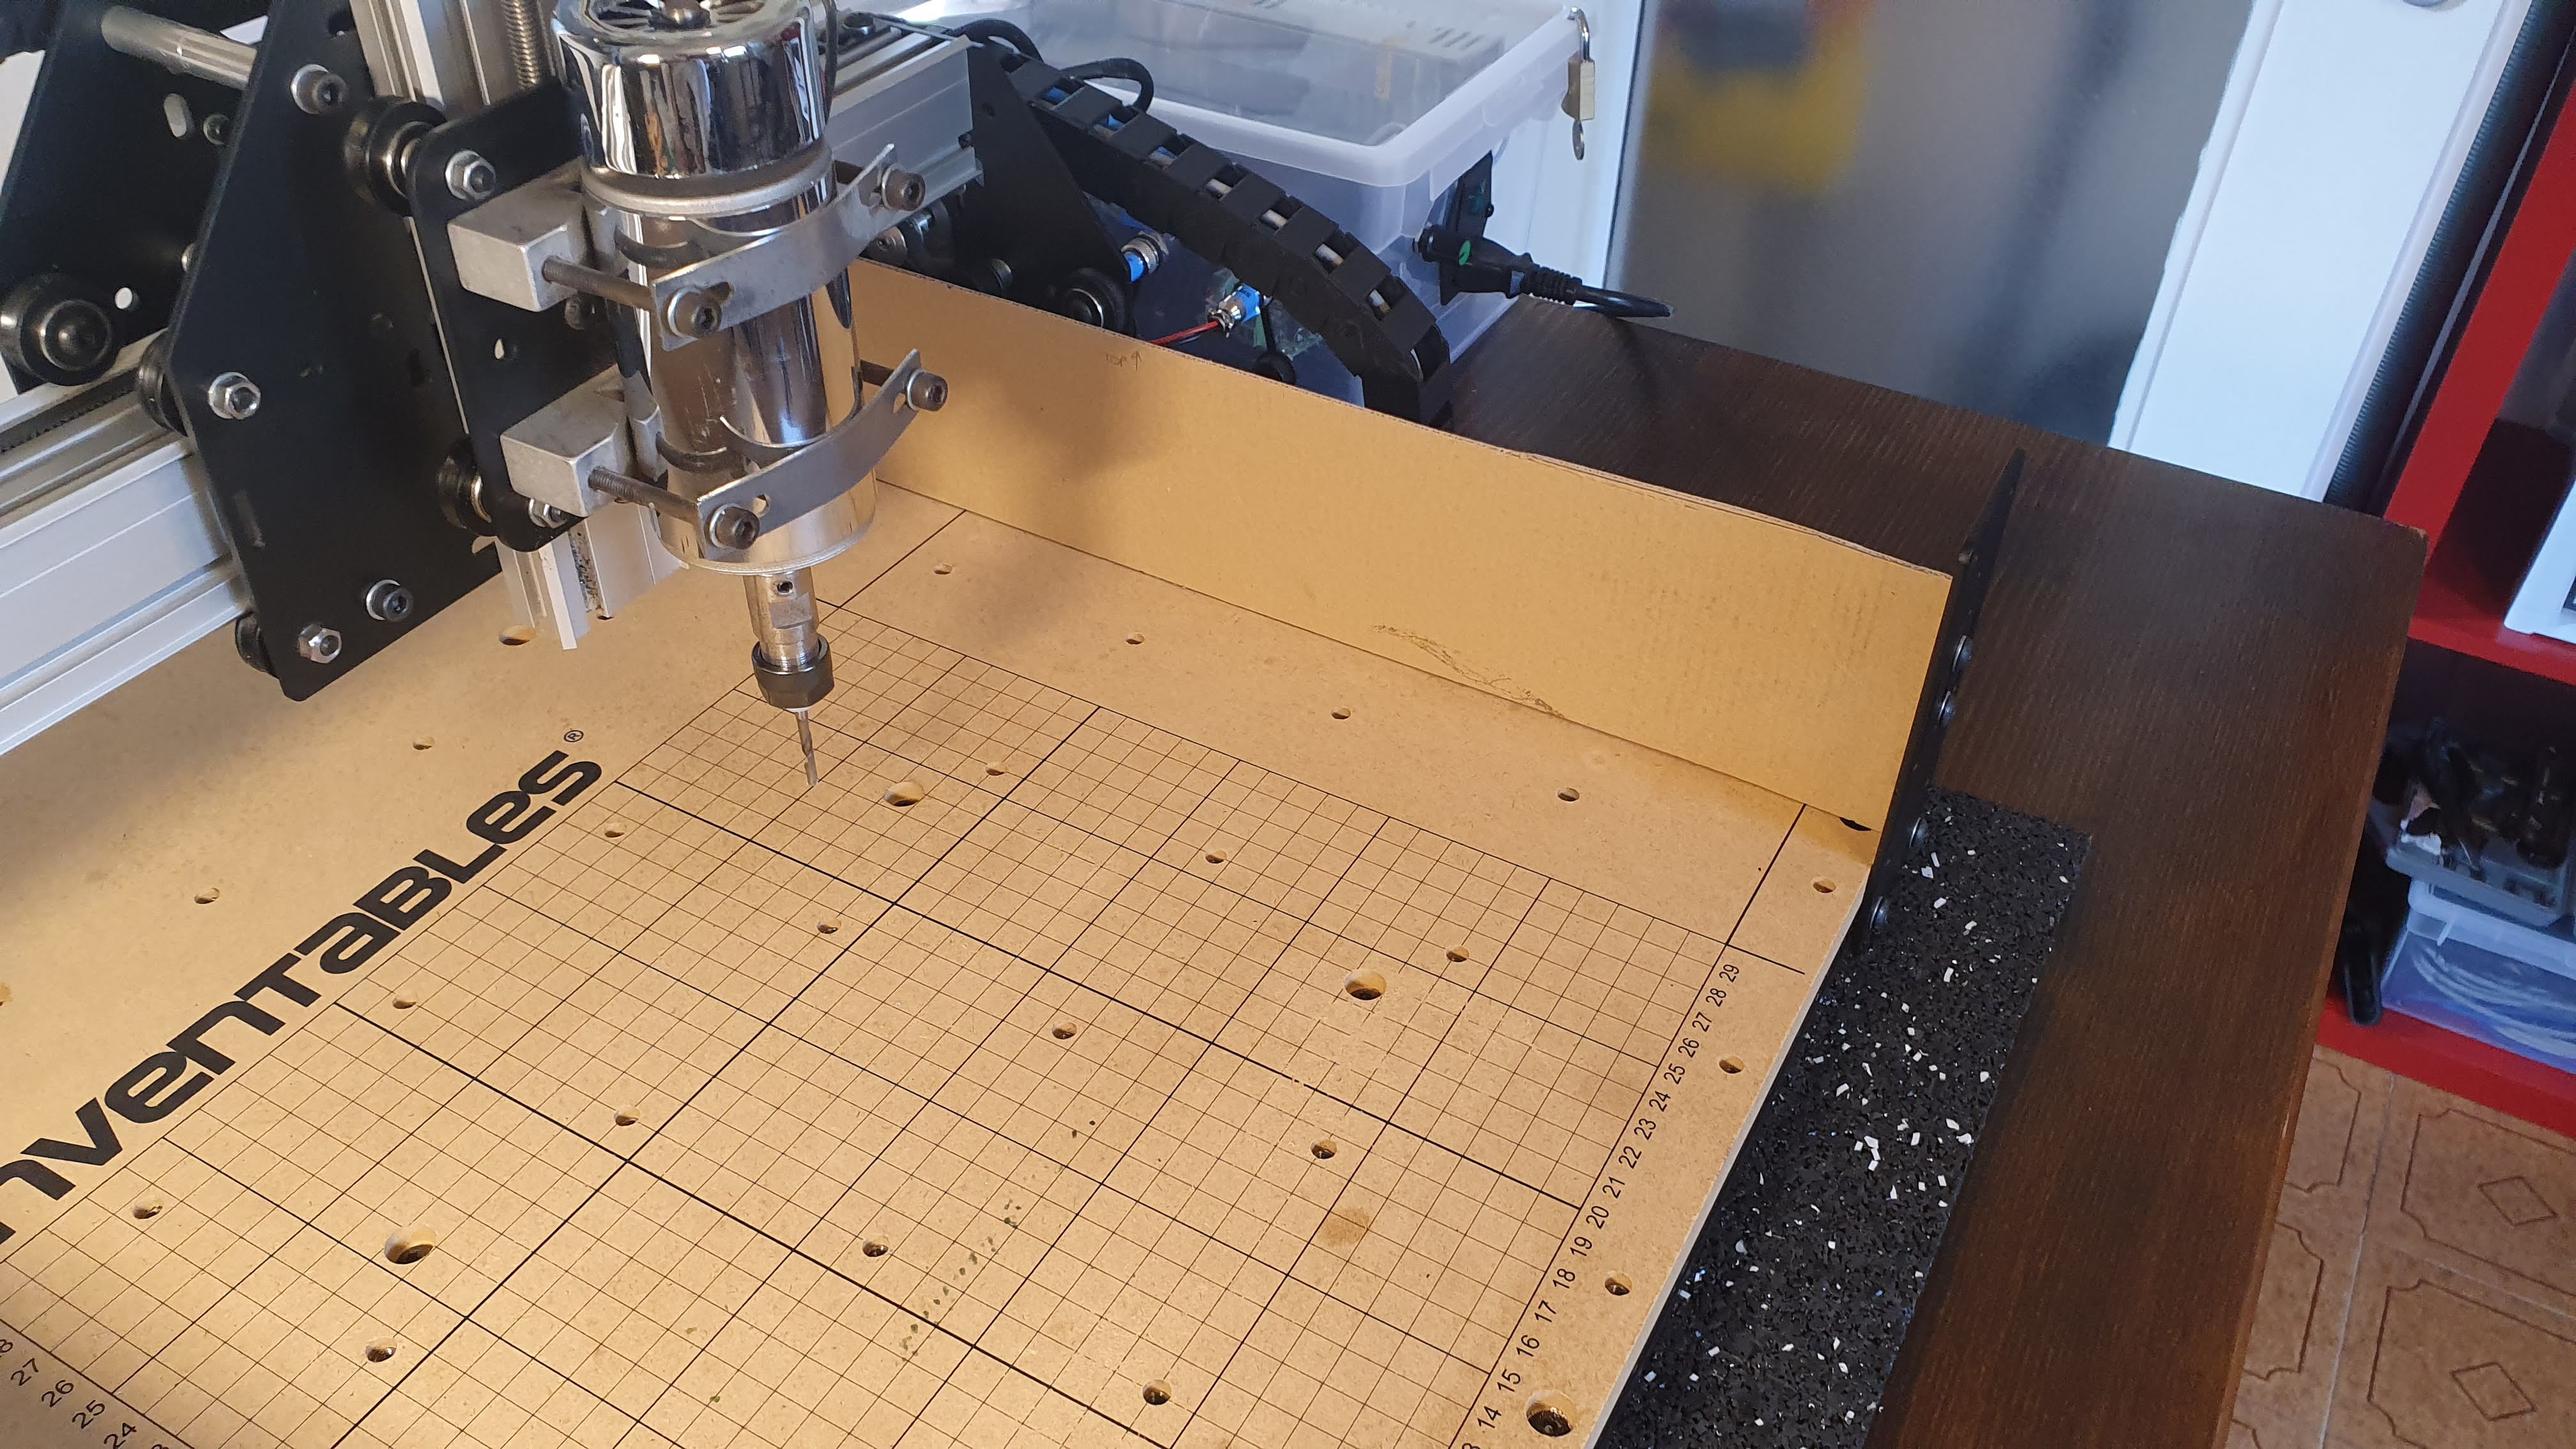
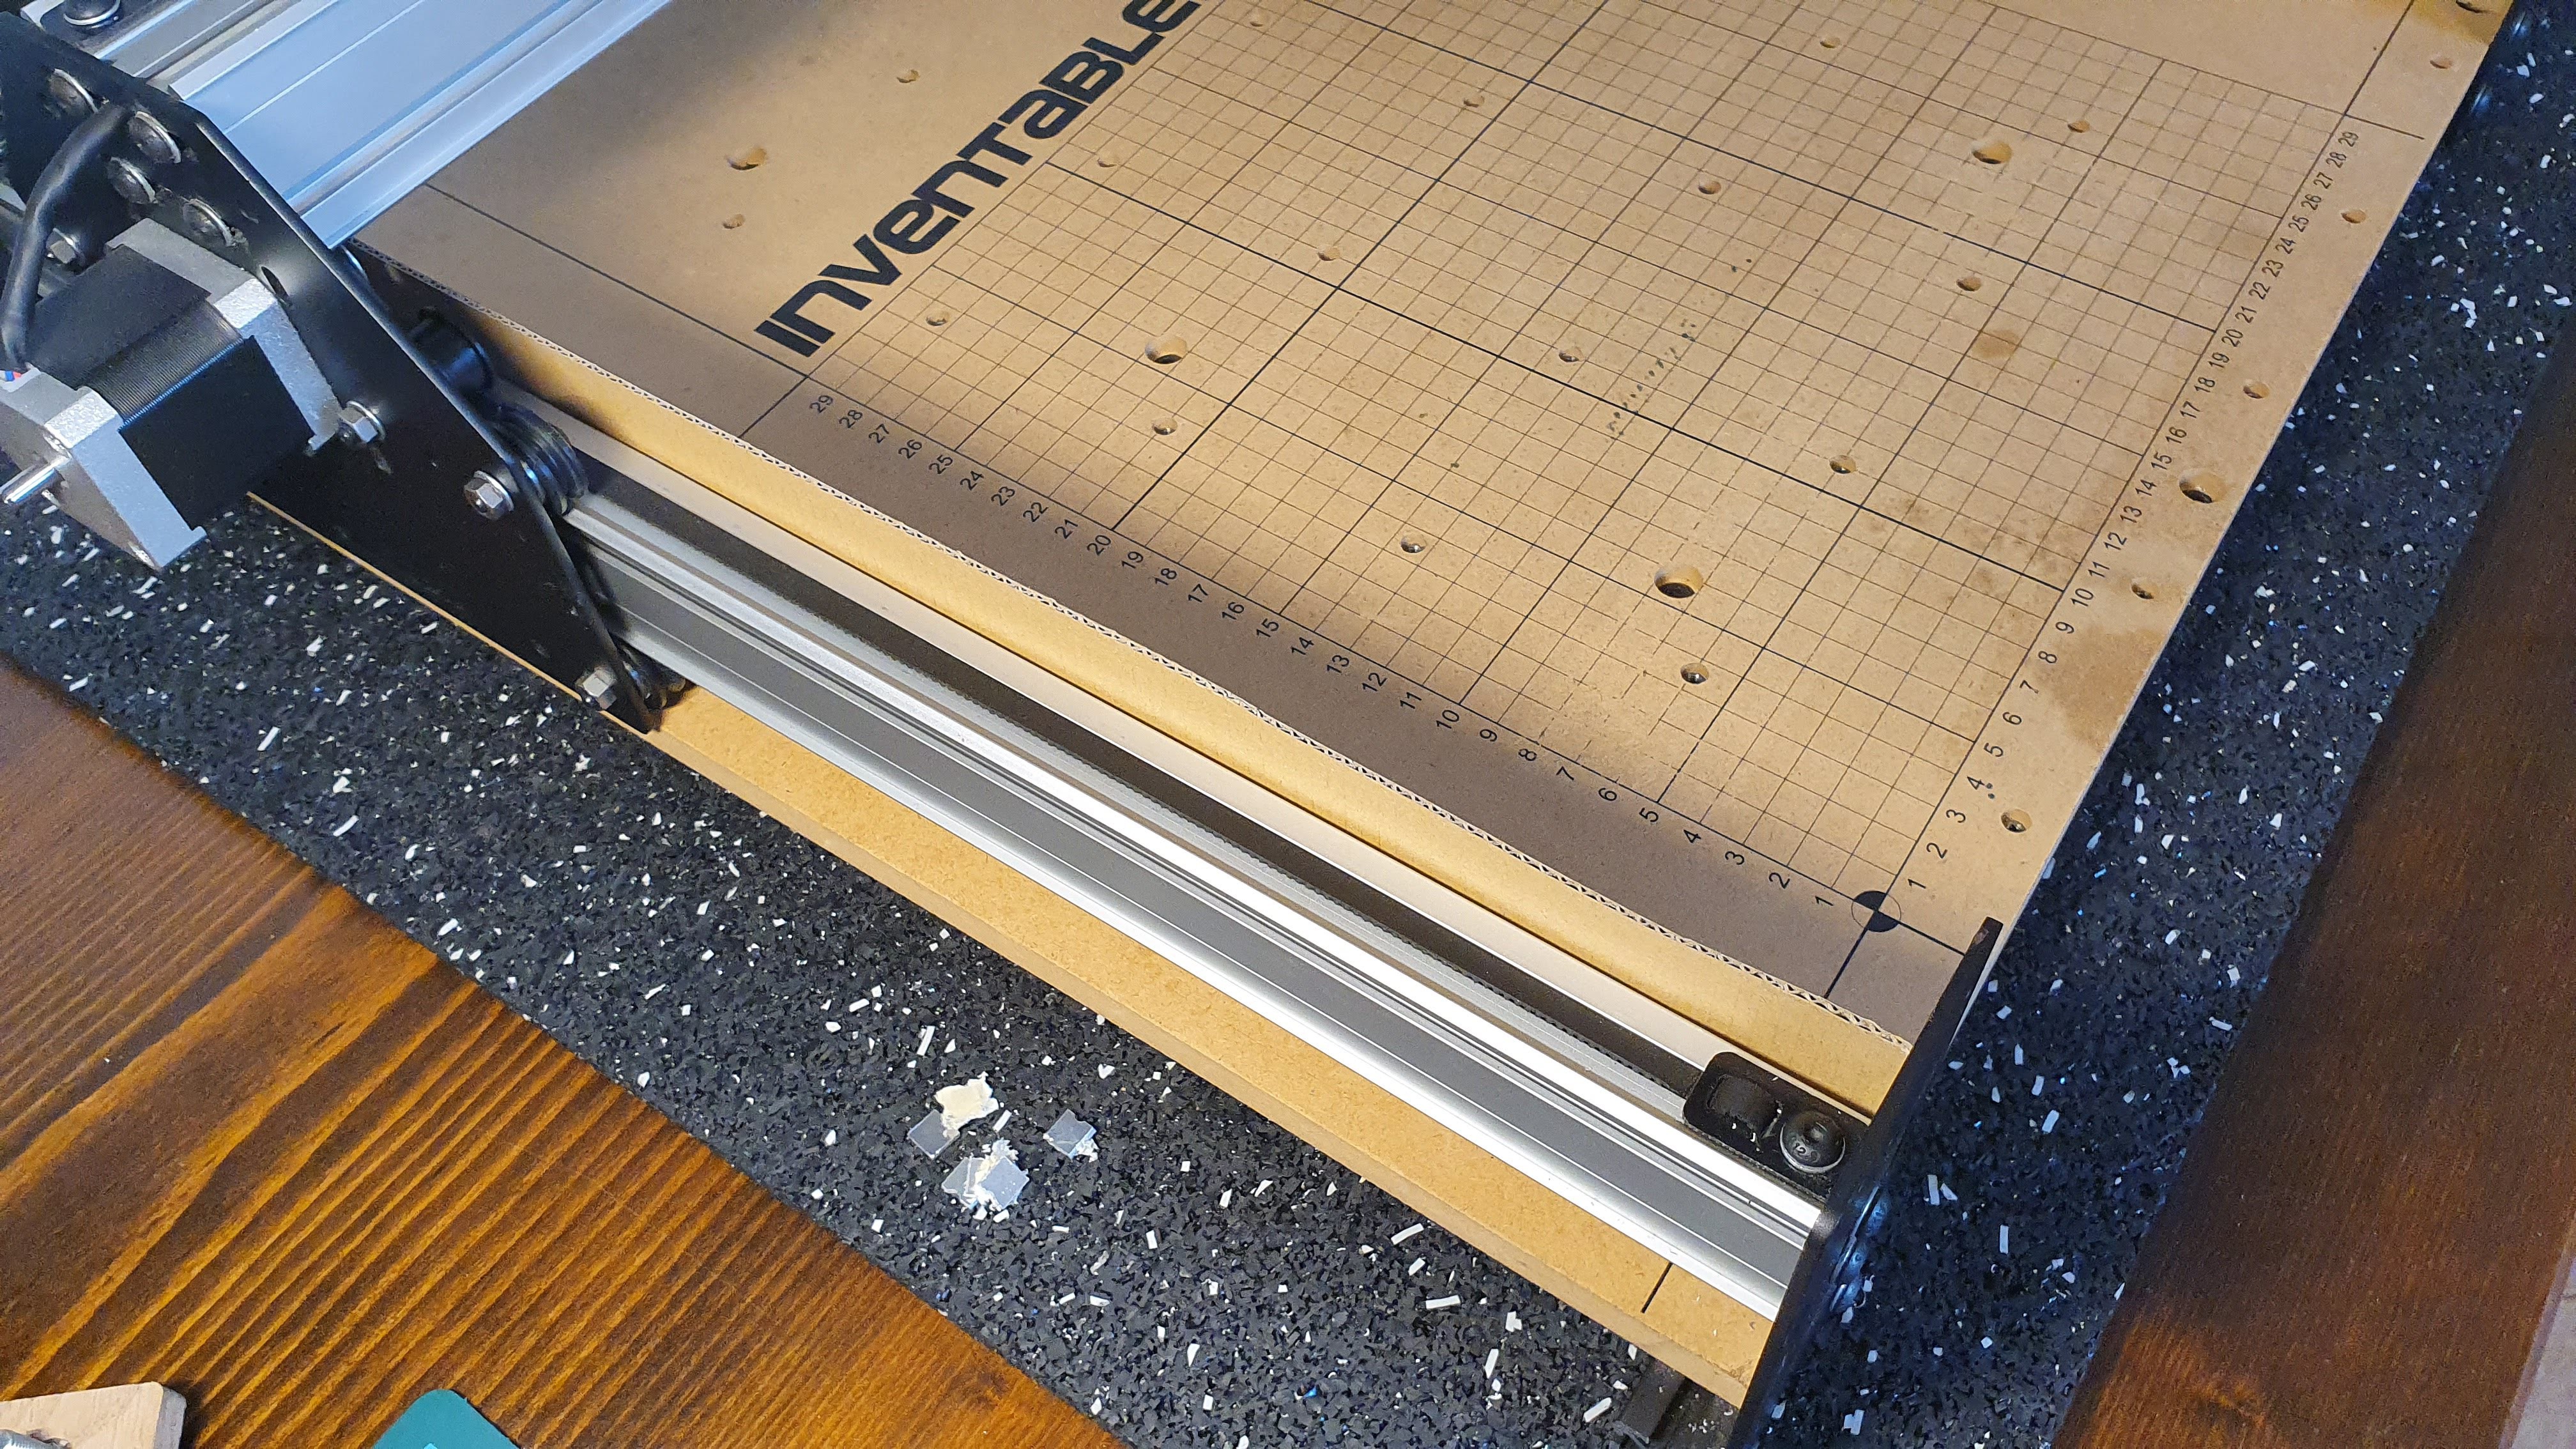
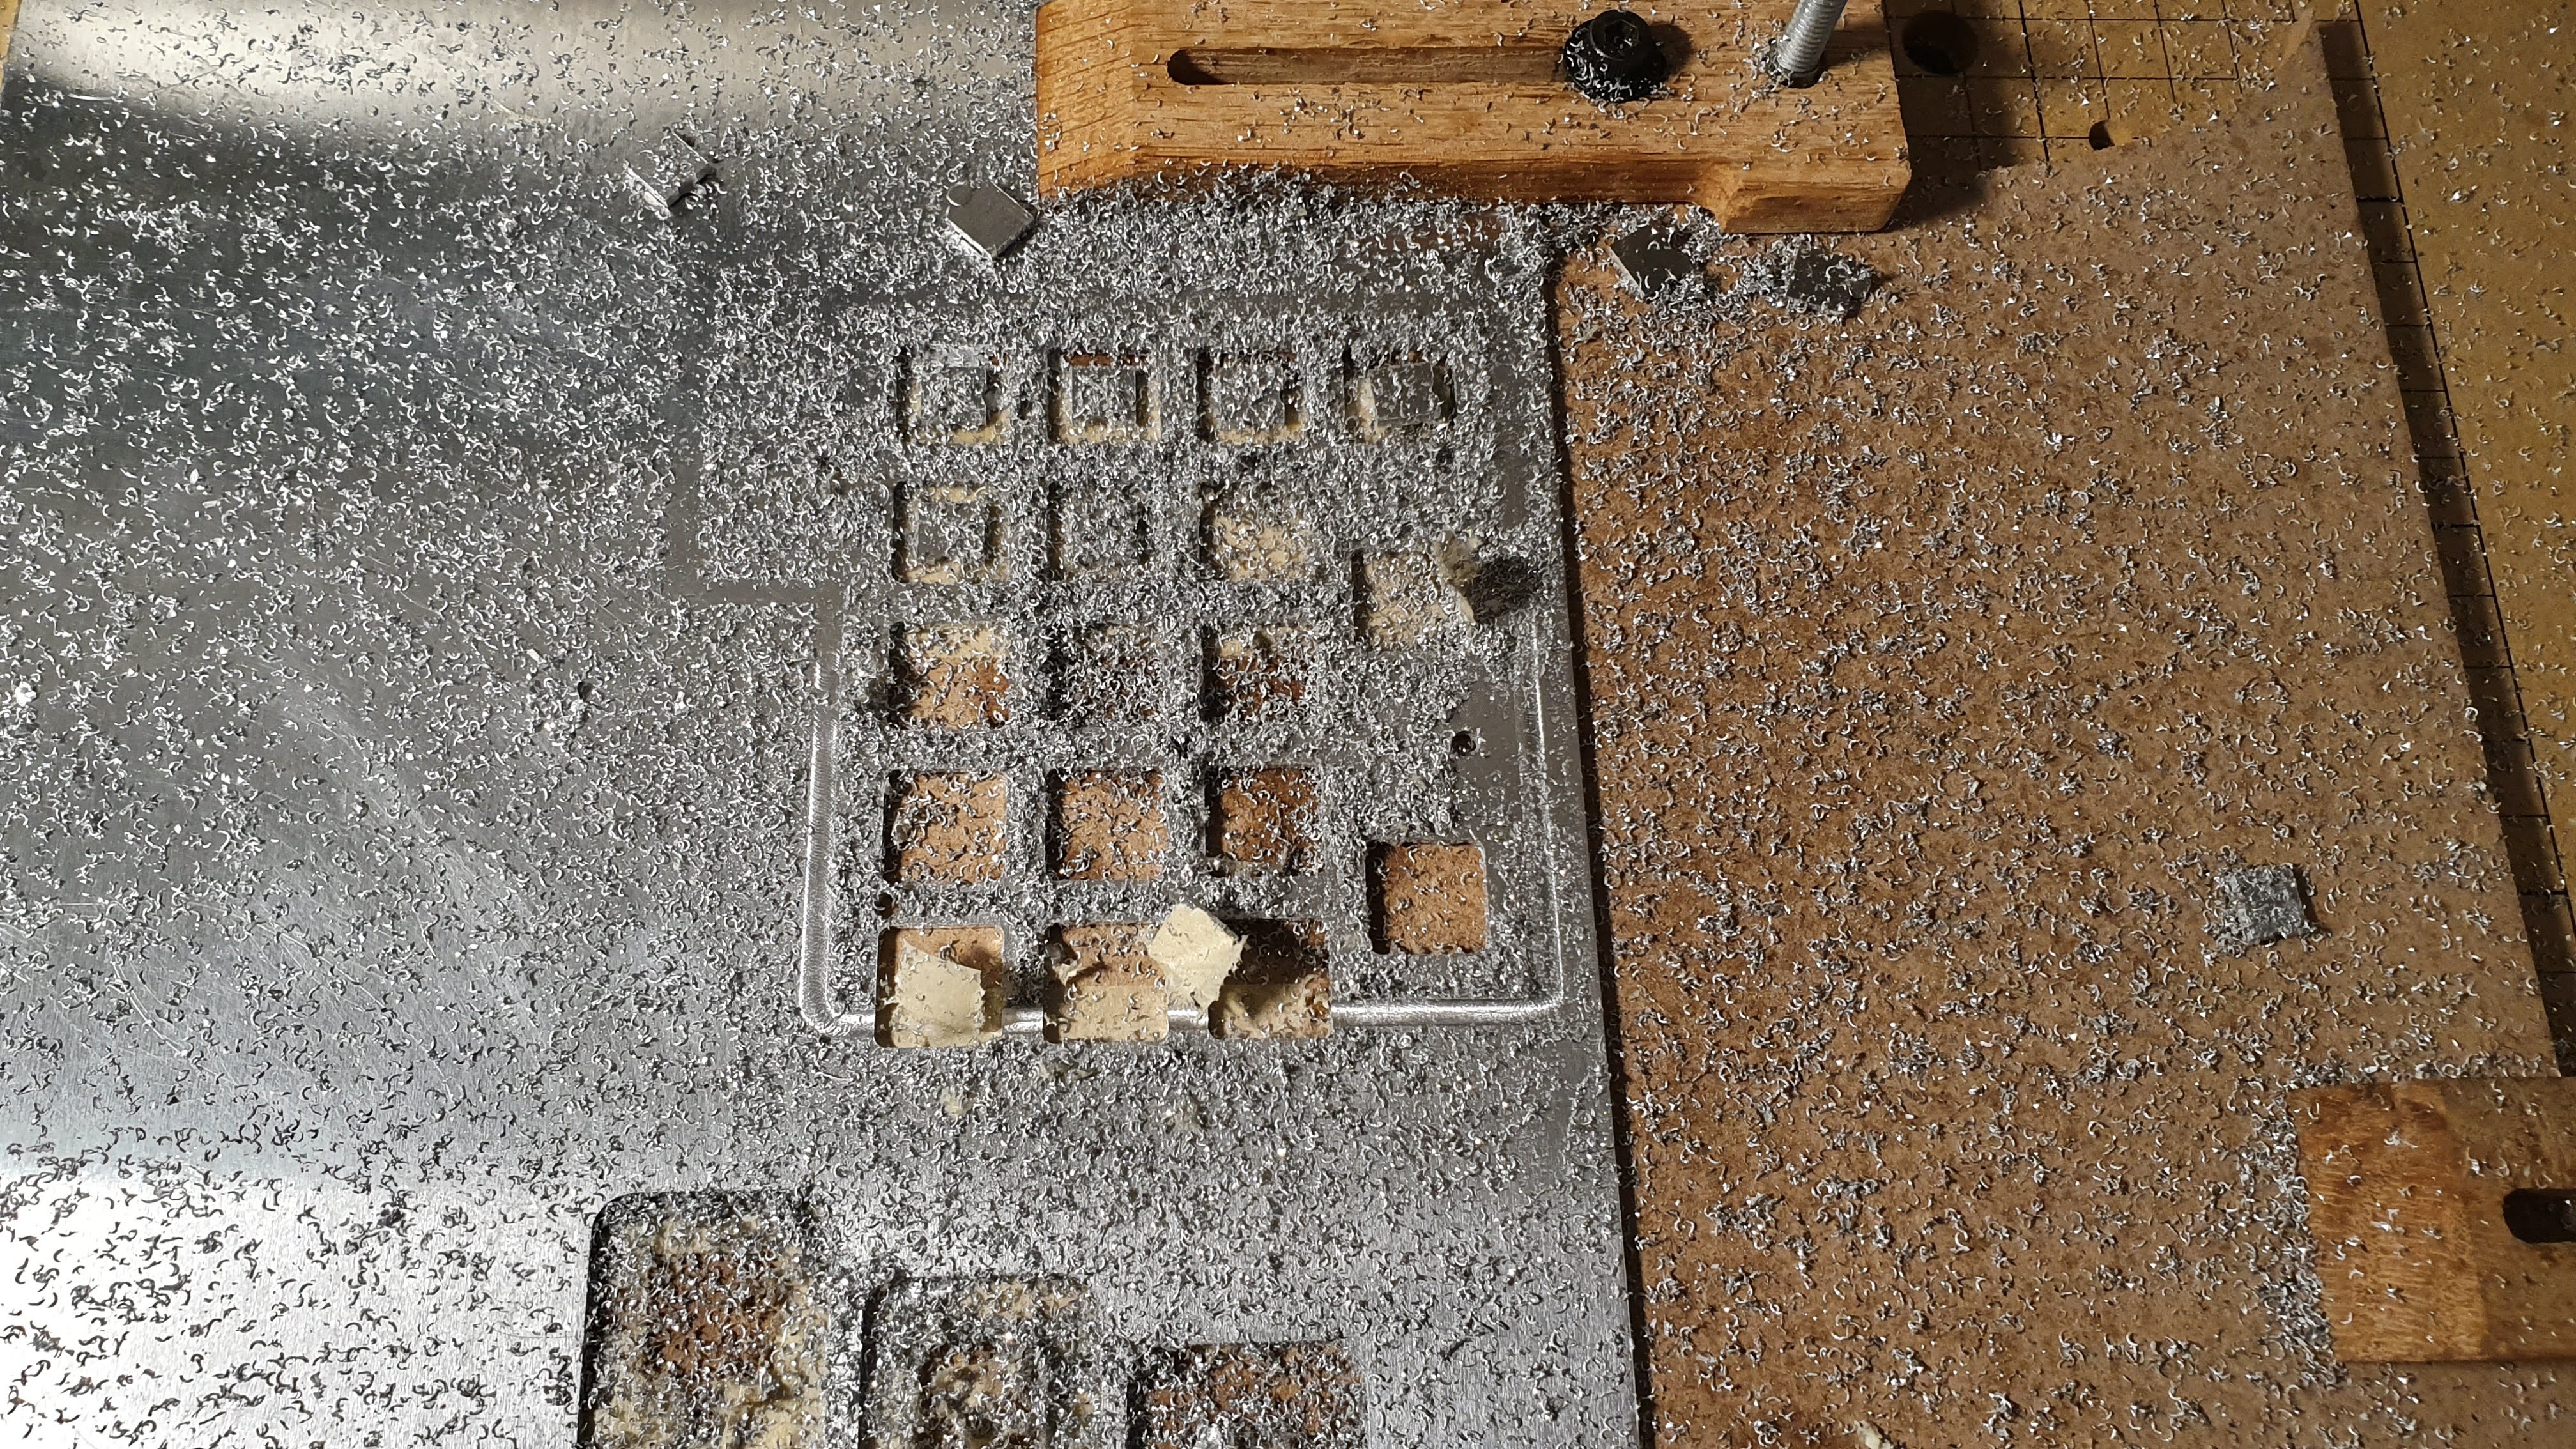
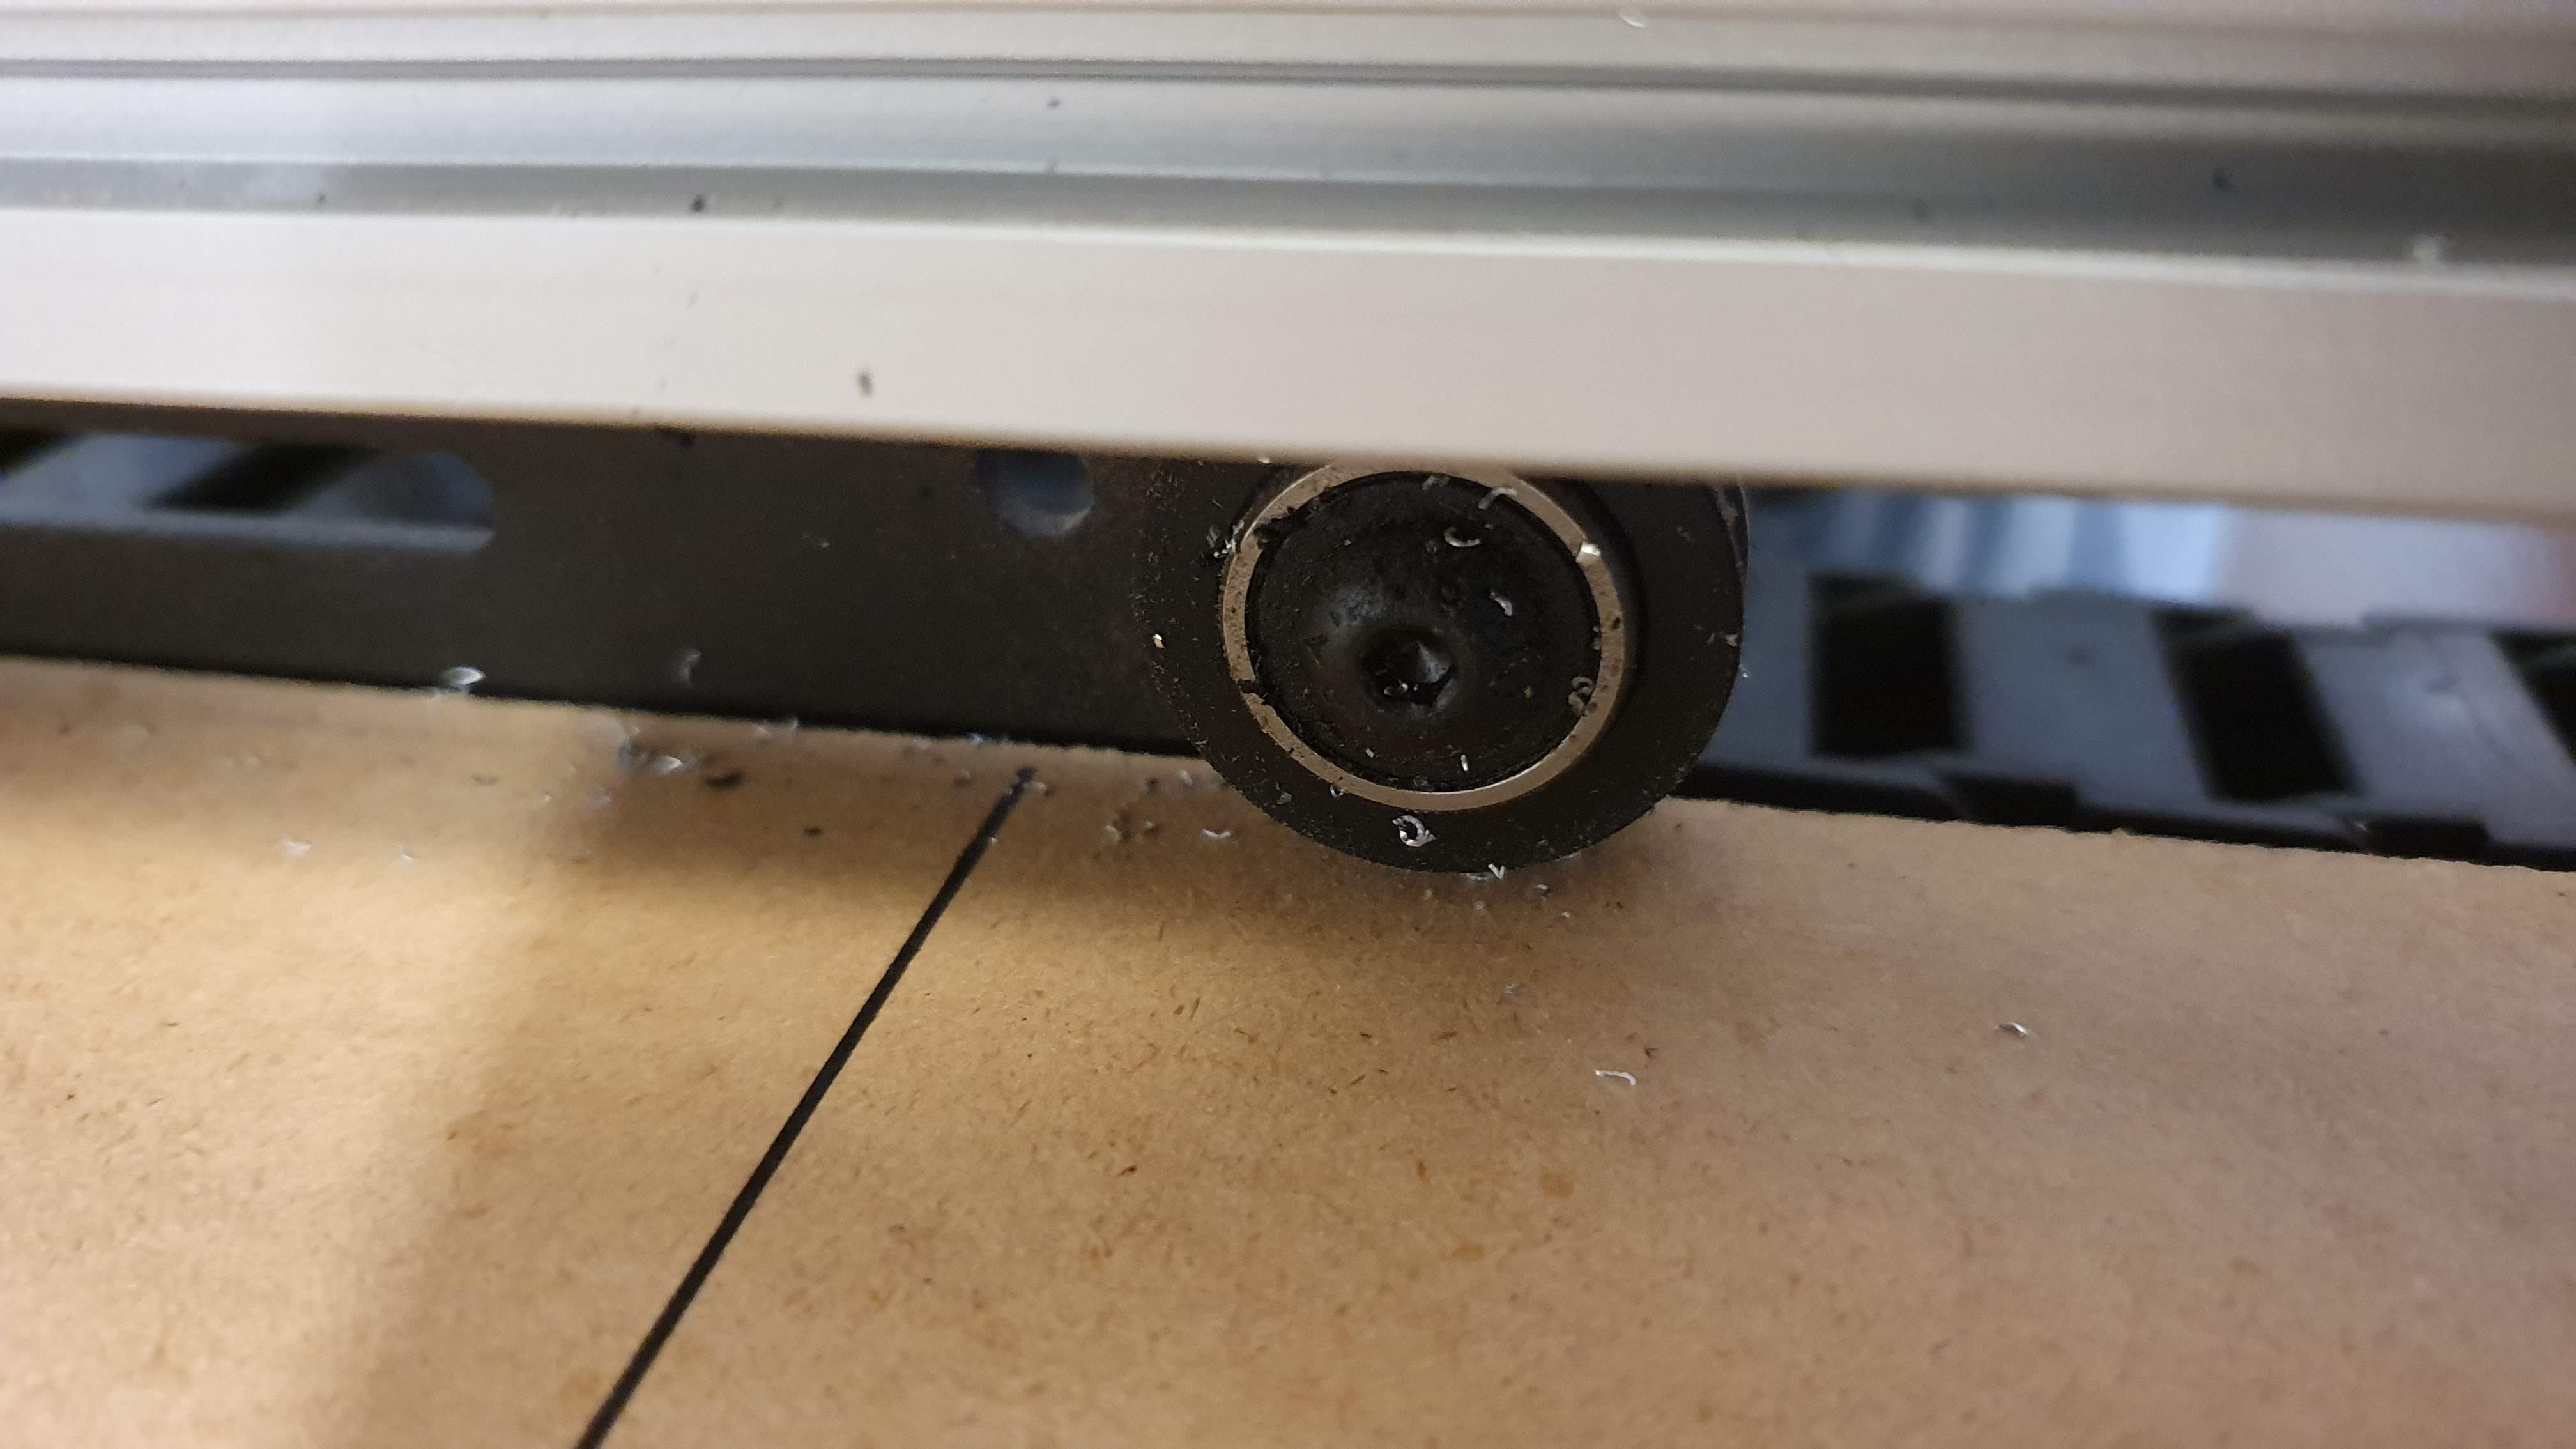
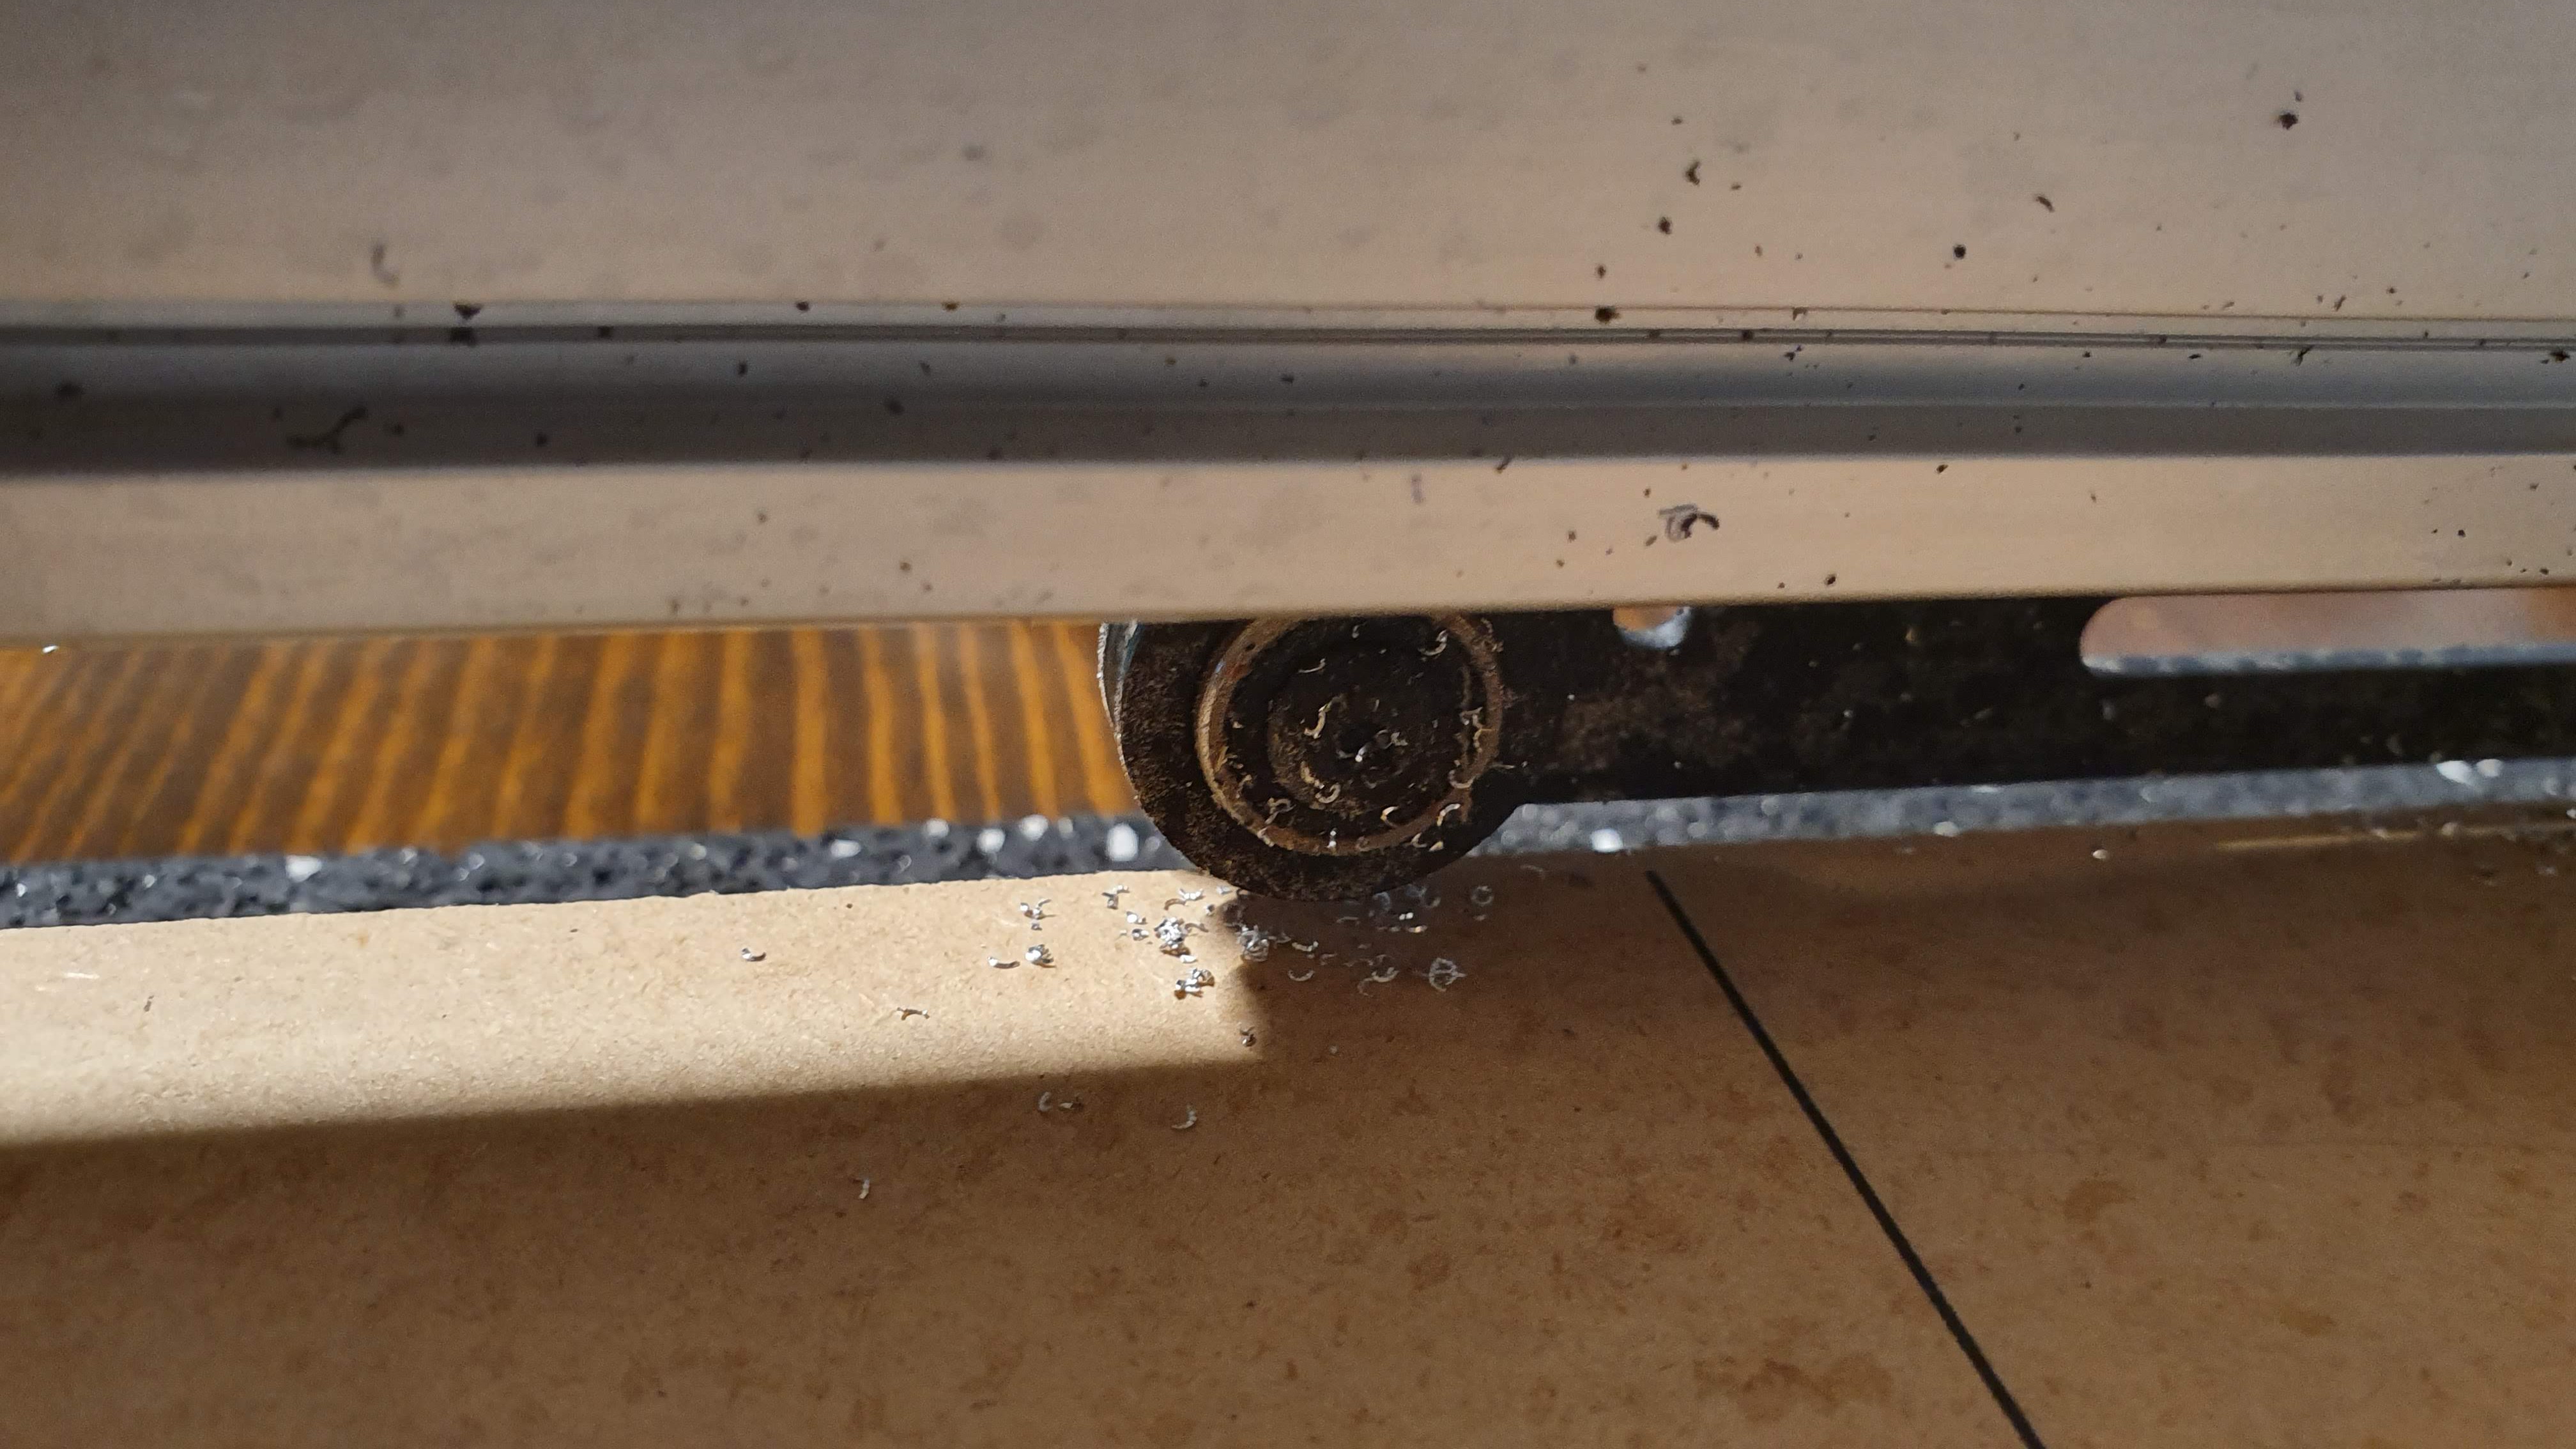
The Y axis keeps jamming. The aluminium chips gets stuck on the linear rails and the wheels adding some unneeded friction in the Y movements.
But hey, I'm a hacker. Let's hack this little beast and see what happens.
![]()
![]()
![]()
![]()
![]()
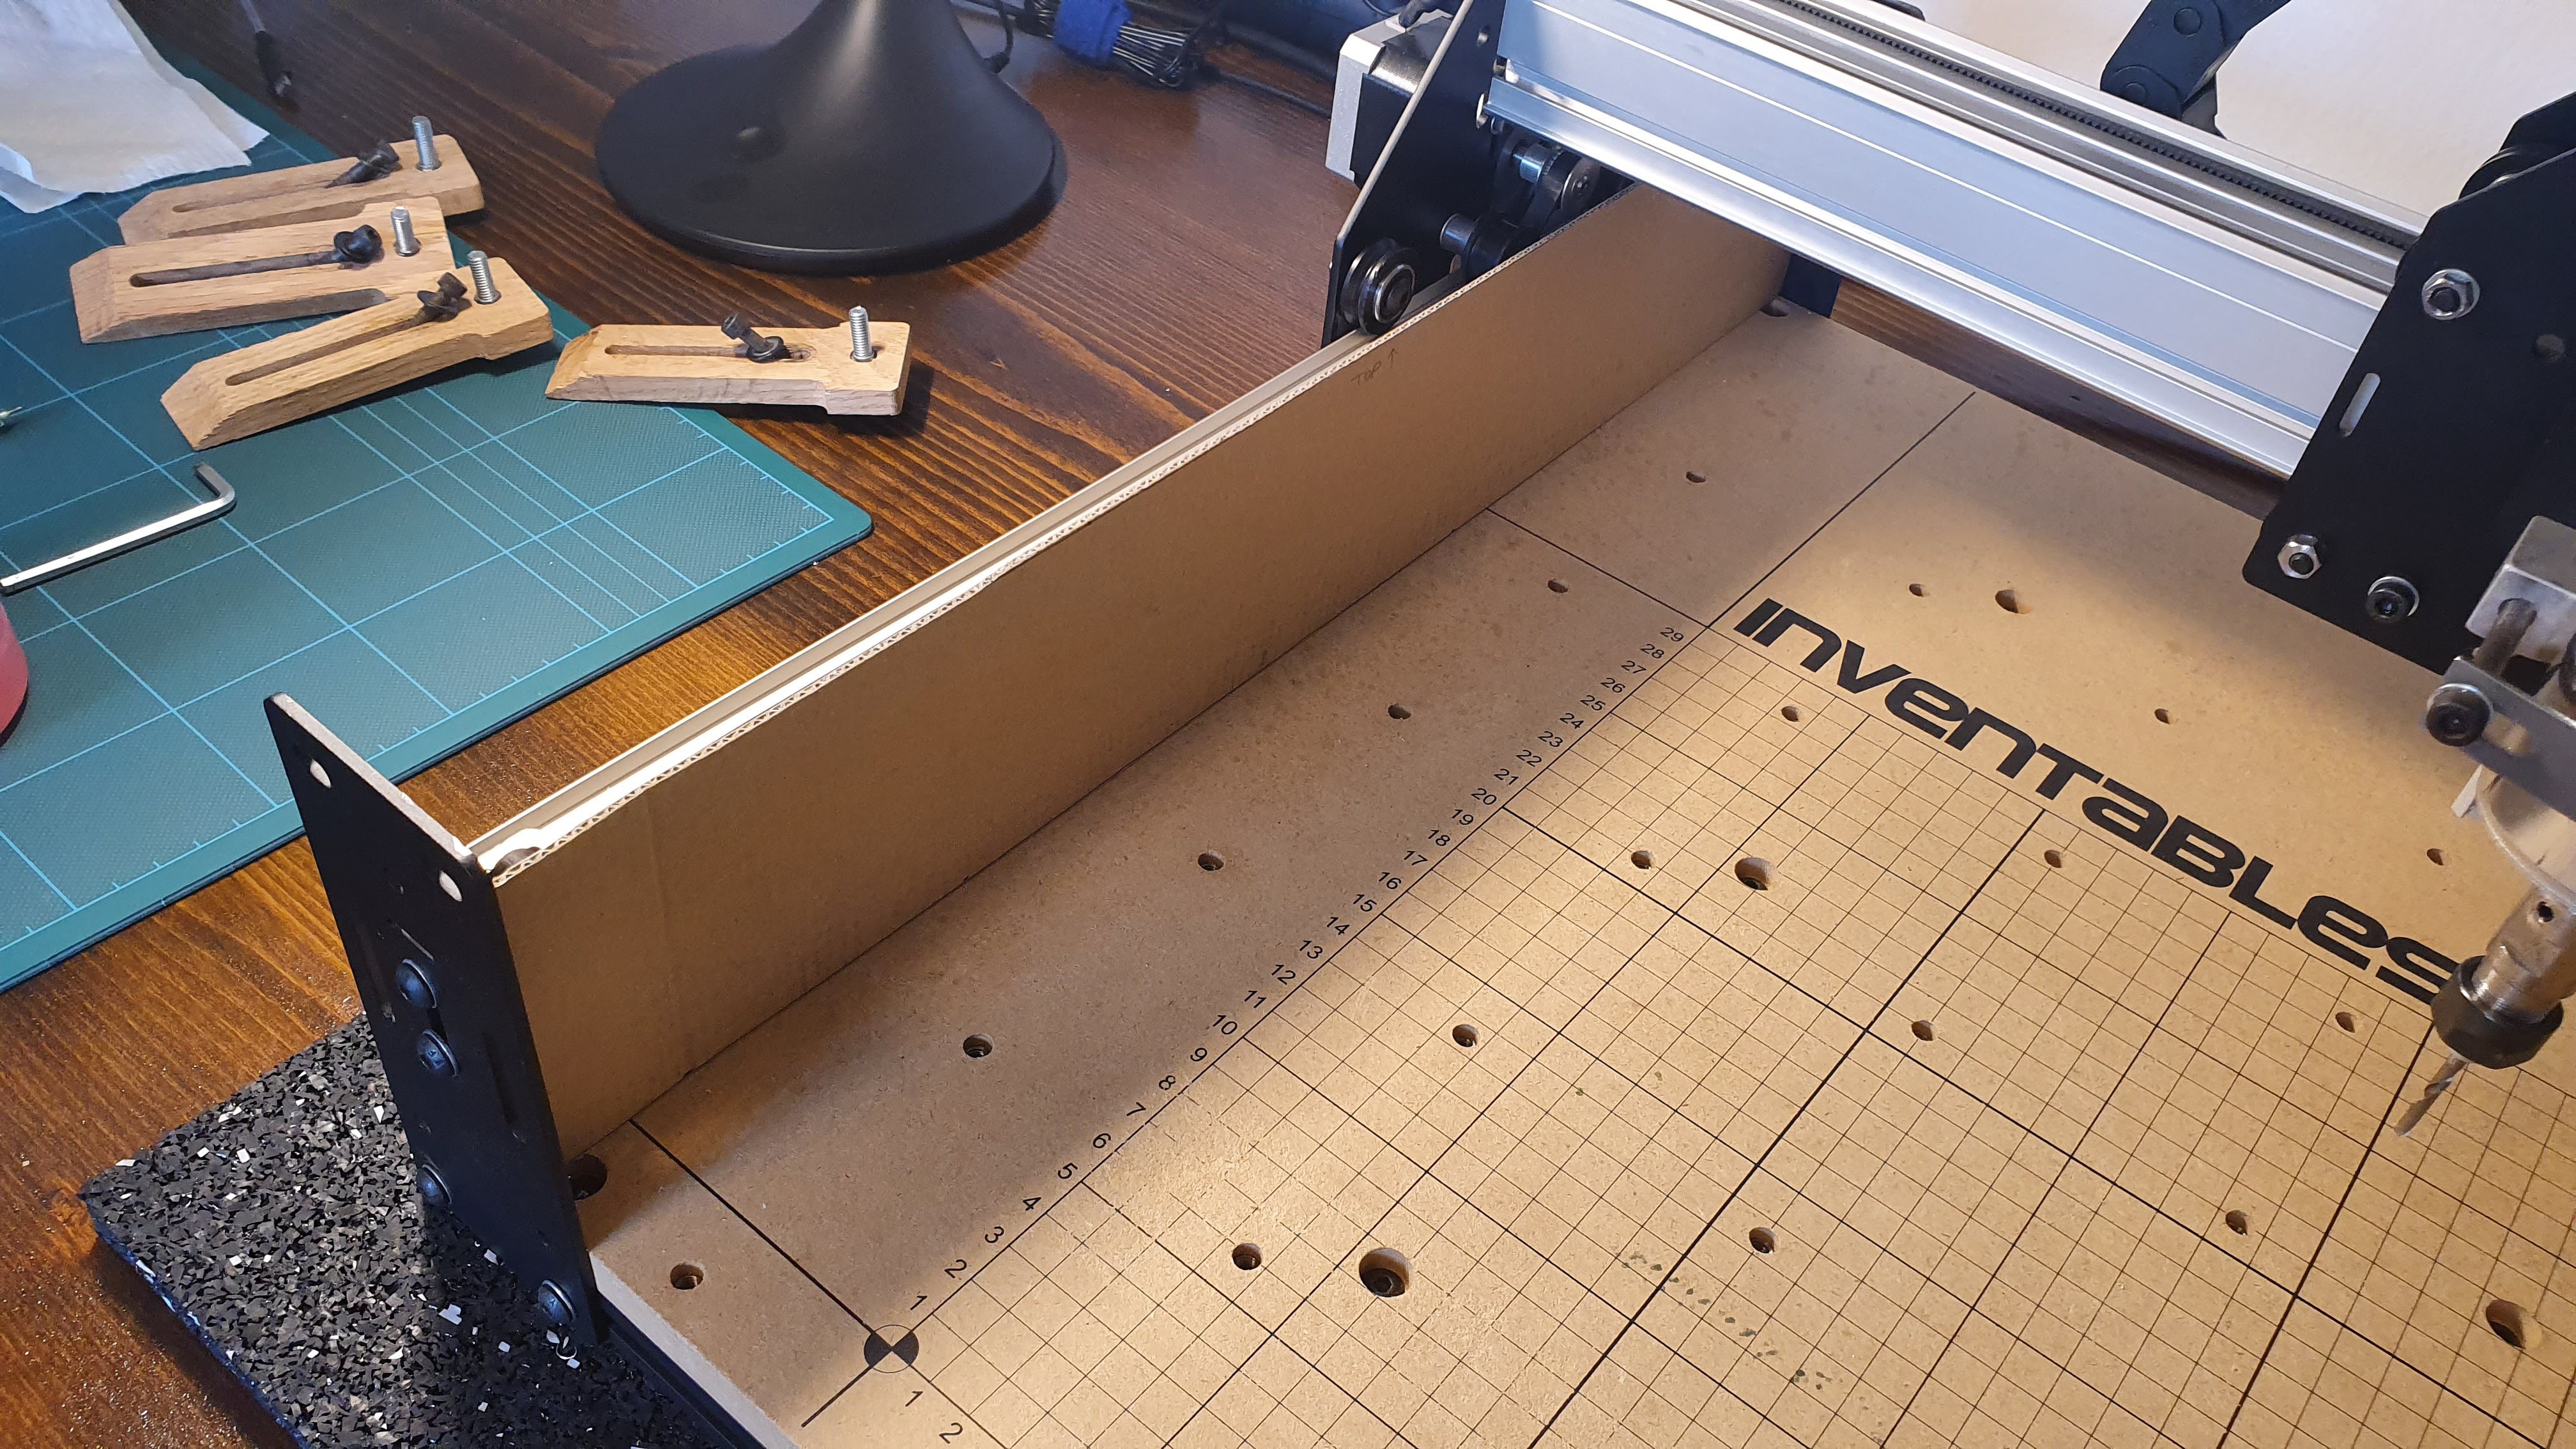
Some double-sided tape and cardboard later, here's some nice debris shields for the linear rails. These don't need to be sturdy so cardboard is an excellent choice.
![]()
![]()
![]()
.. and here's the machine ready for another attempt.
Wish me luck!
-
YamPAD project log 15
06/30/2019 at 18:20 • 0 commentsFailure...
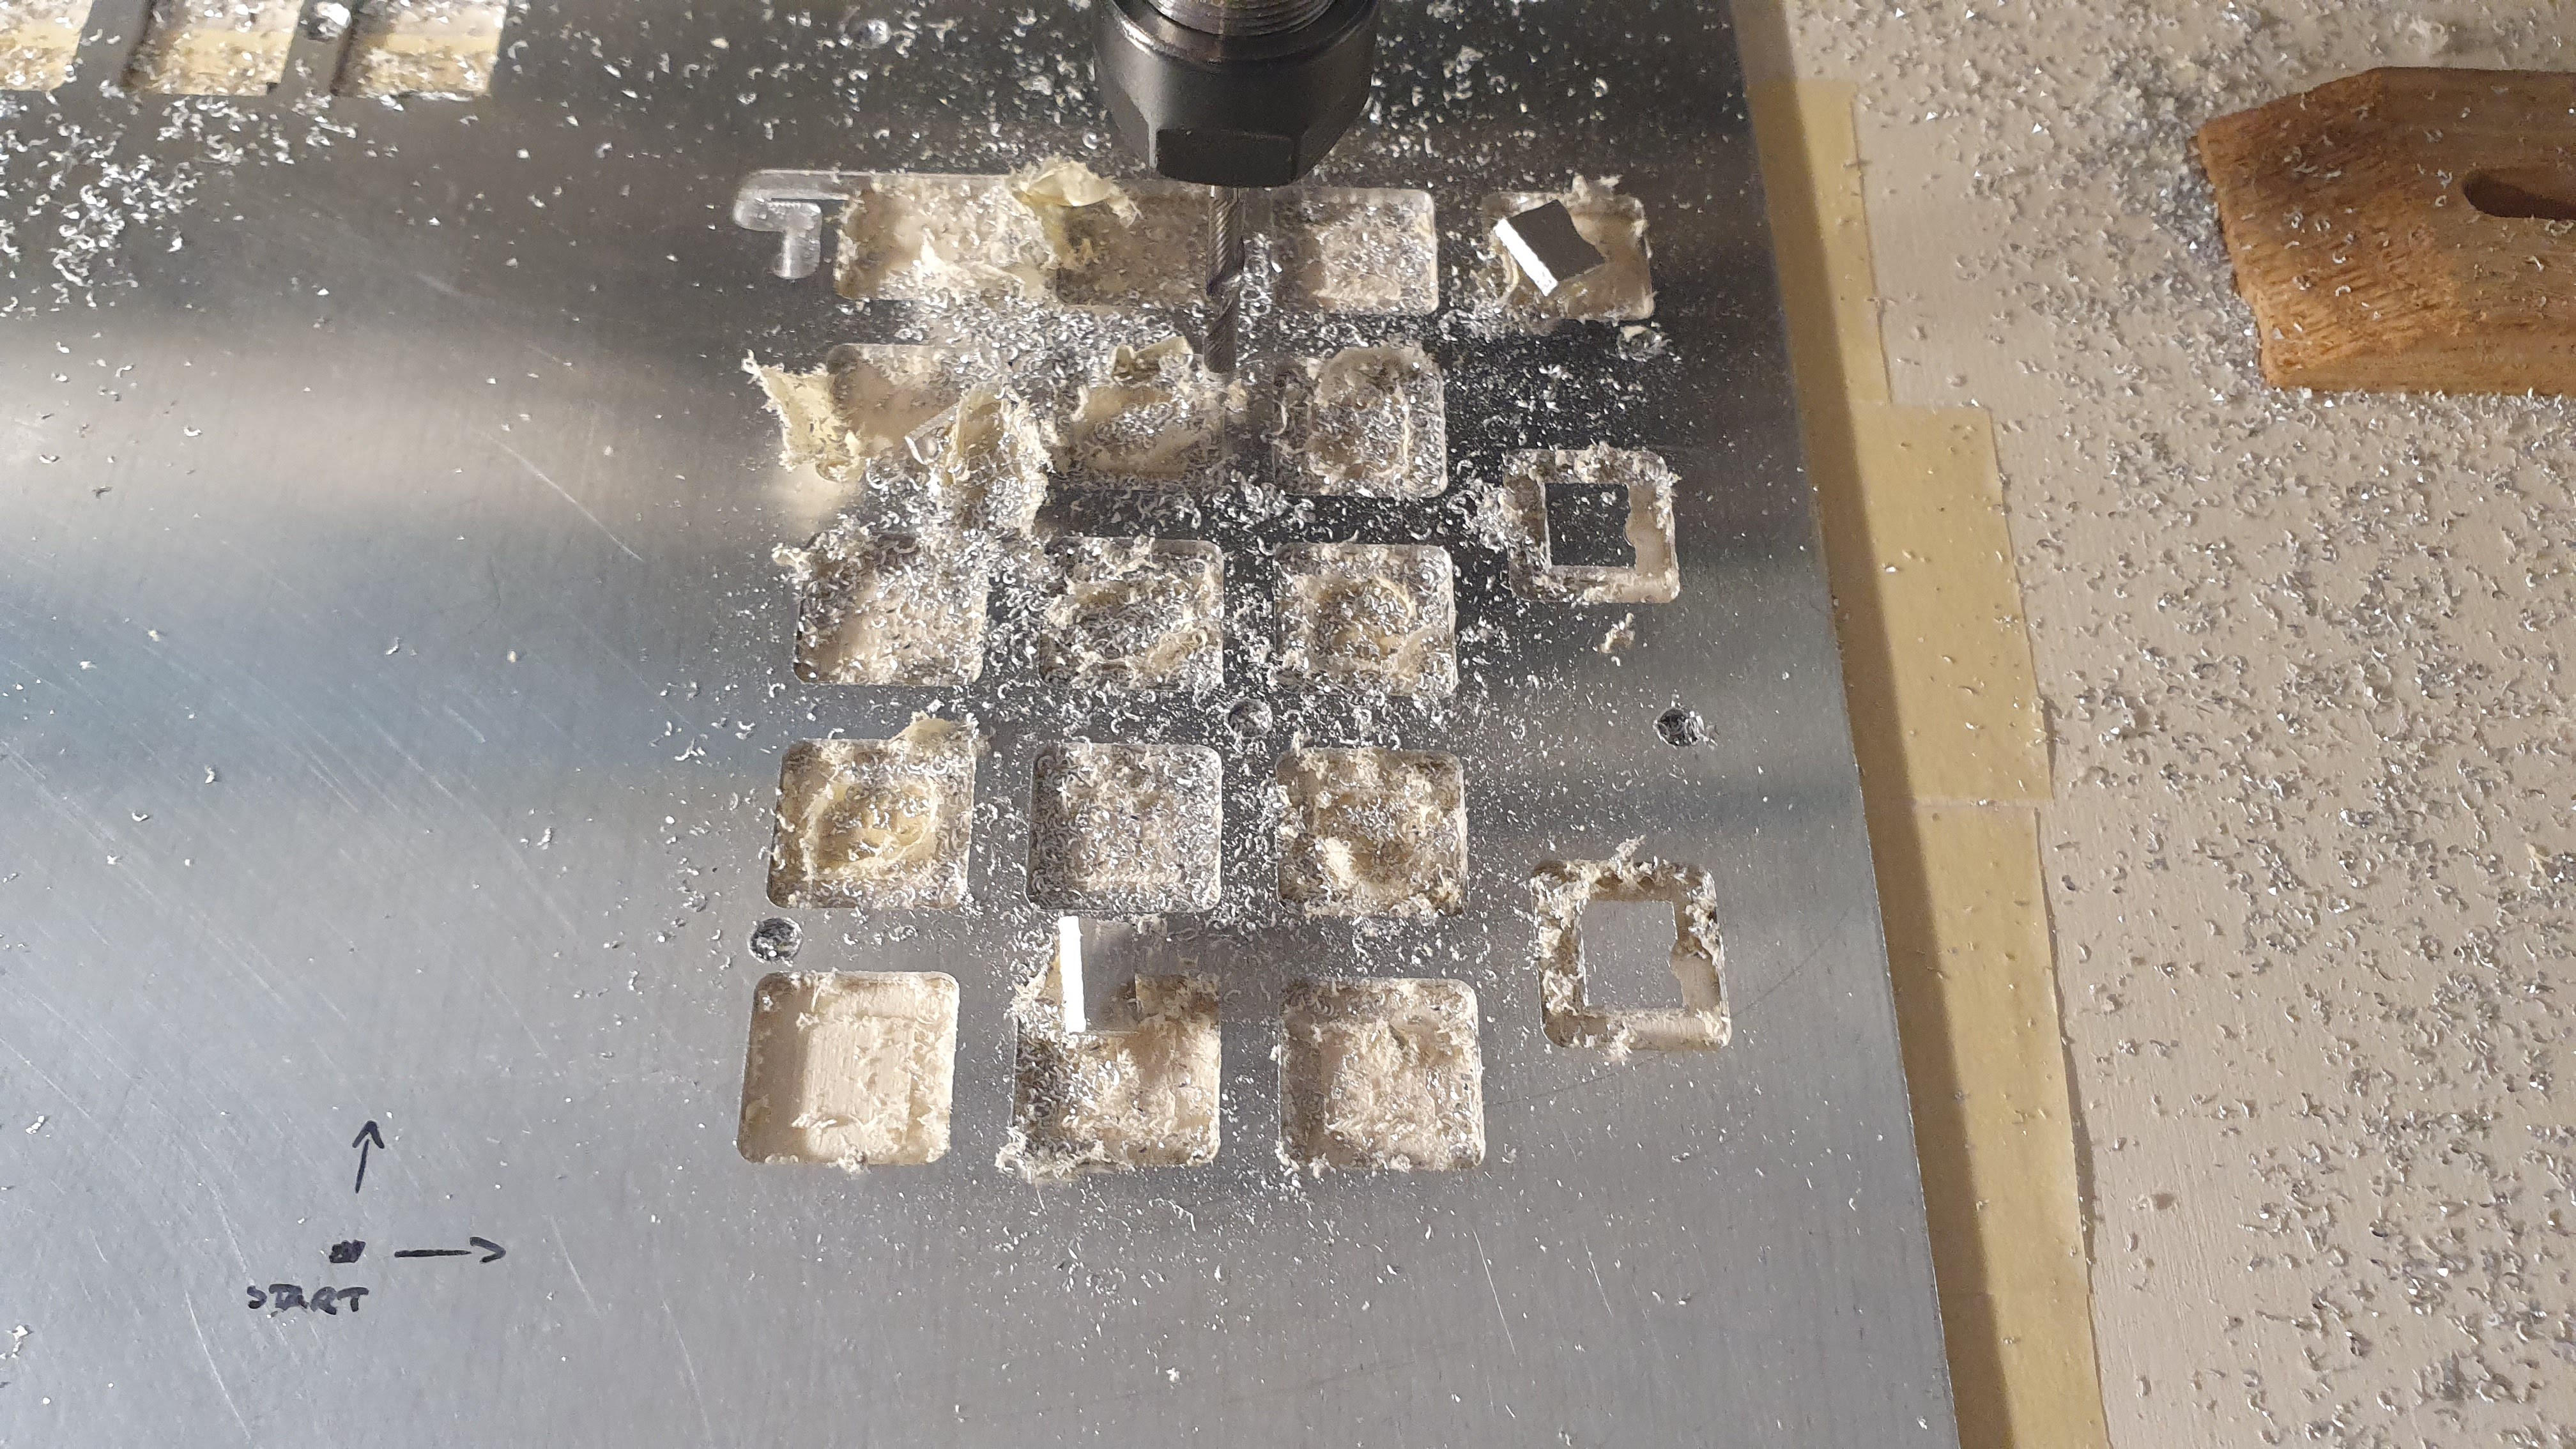
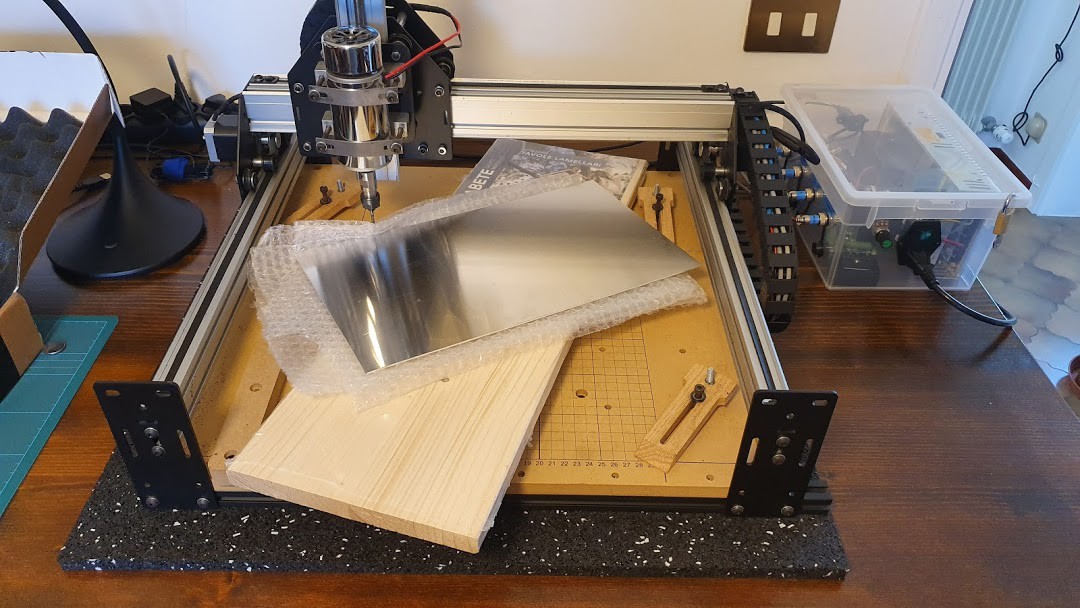
After the first success in cutting the aluminium I started fine tuning my parameters. Turns out I bought some baaaad aluminium (1050A) because I'm cheap. Thanfully a hero on the internet found the best parameters for the 1050 aluminium and I adopted them:- 800 mm/min feed rate
- 0.2 mm depth of cut
- 76.2 mm/min plunge rate
I cut my machining time from >2hr to 30min thanks to these. I'm super happy with them.
Problem is: I failed to cut the plate anyway :(![]()
![]()
The aftermath...
![]()
![]()
The most likely suspects.
In the final cut (it's alwasy the final operation...) I started losing steps during a Y straight cut. I think the aluminium chips and WD-40 mixture started jamming the wheels of the mill. Pics related.Anyway, it's too late for another attempt for today. I'll give it a try next week, hoping in the mercy of the machining gods.
-
YamPAD project log 14
06/30/2019 at 07:55 • 0 comments![]()
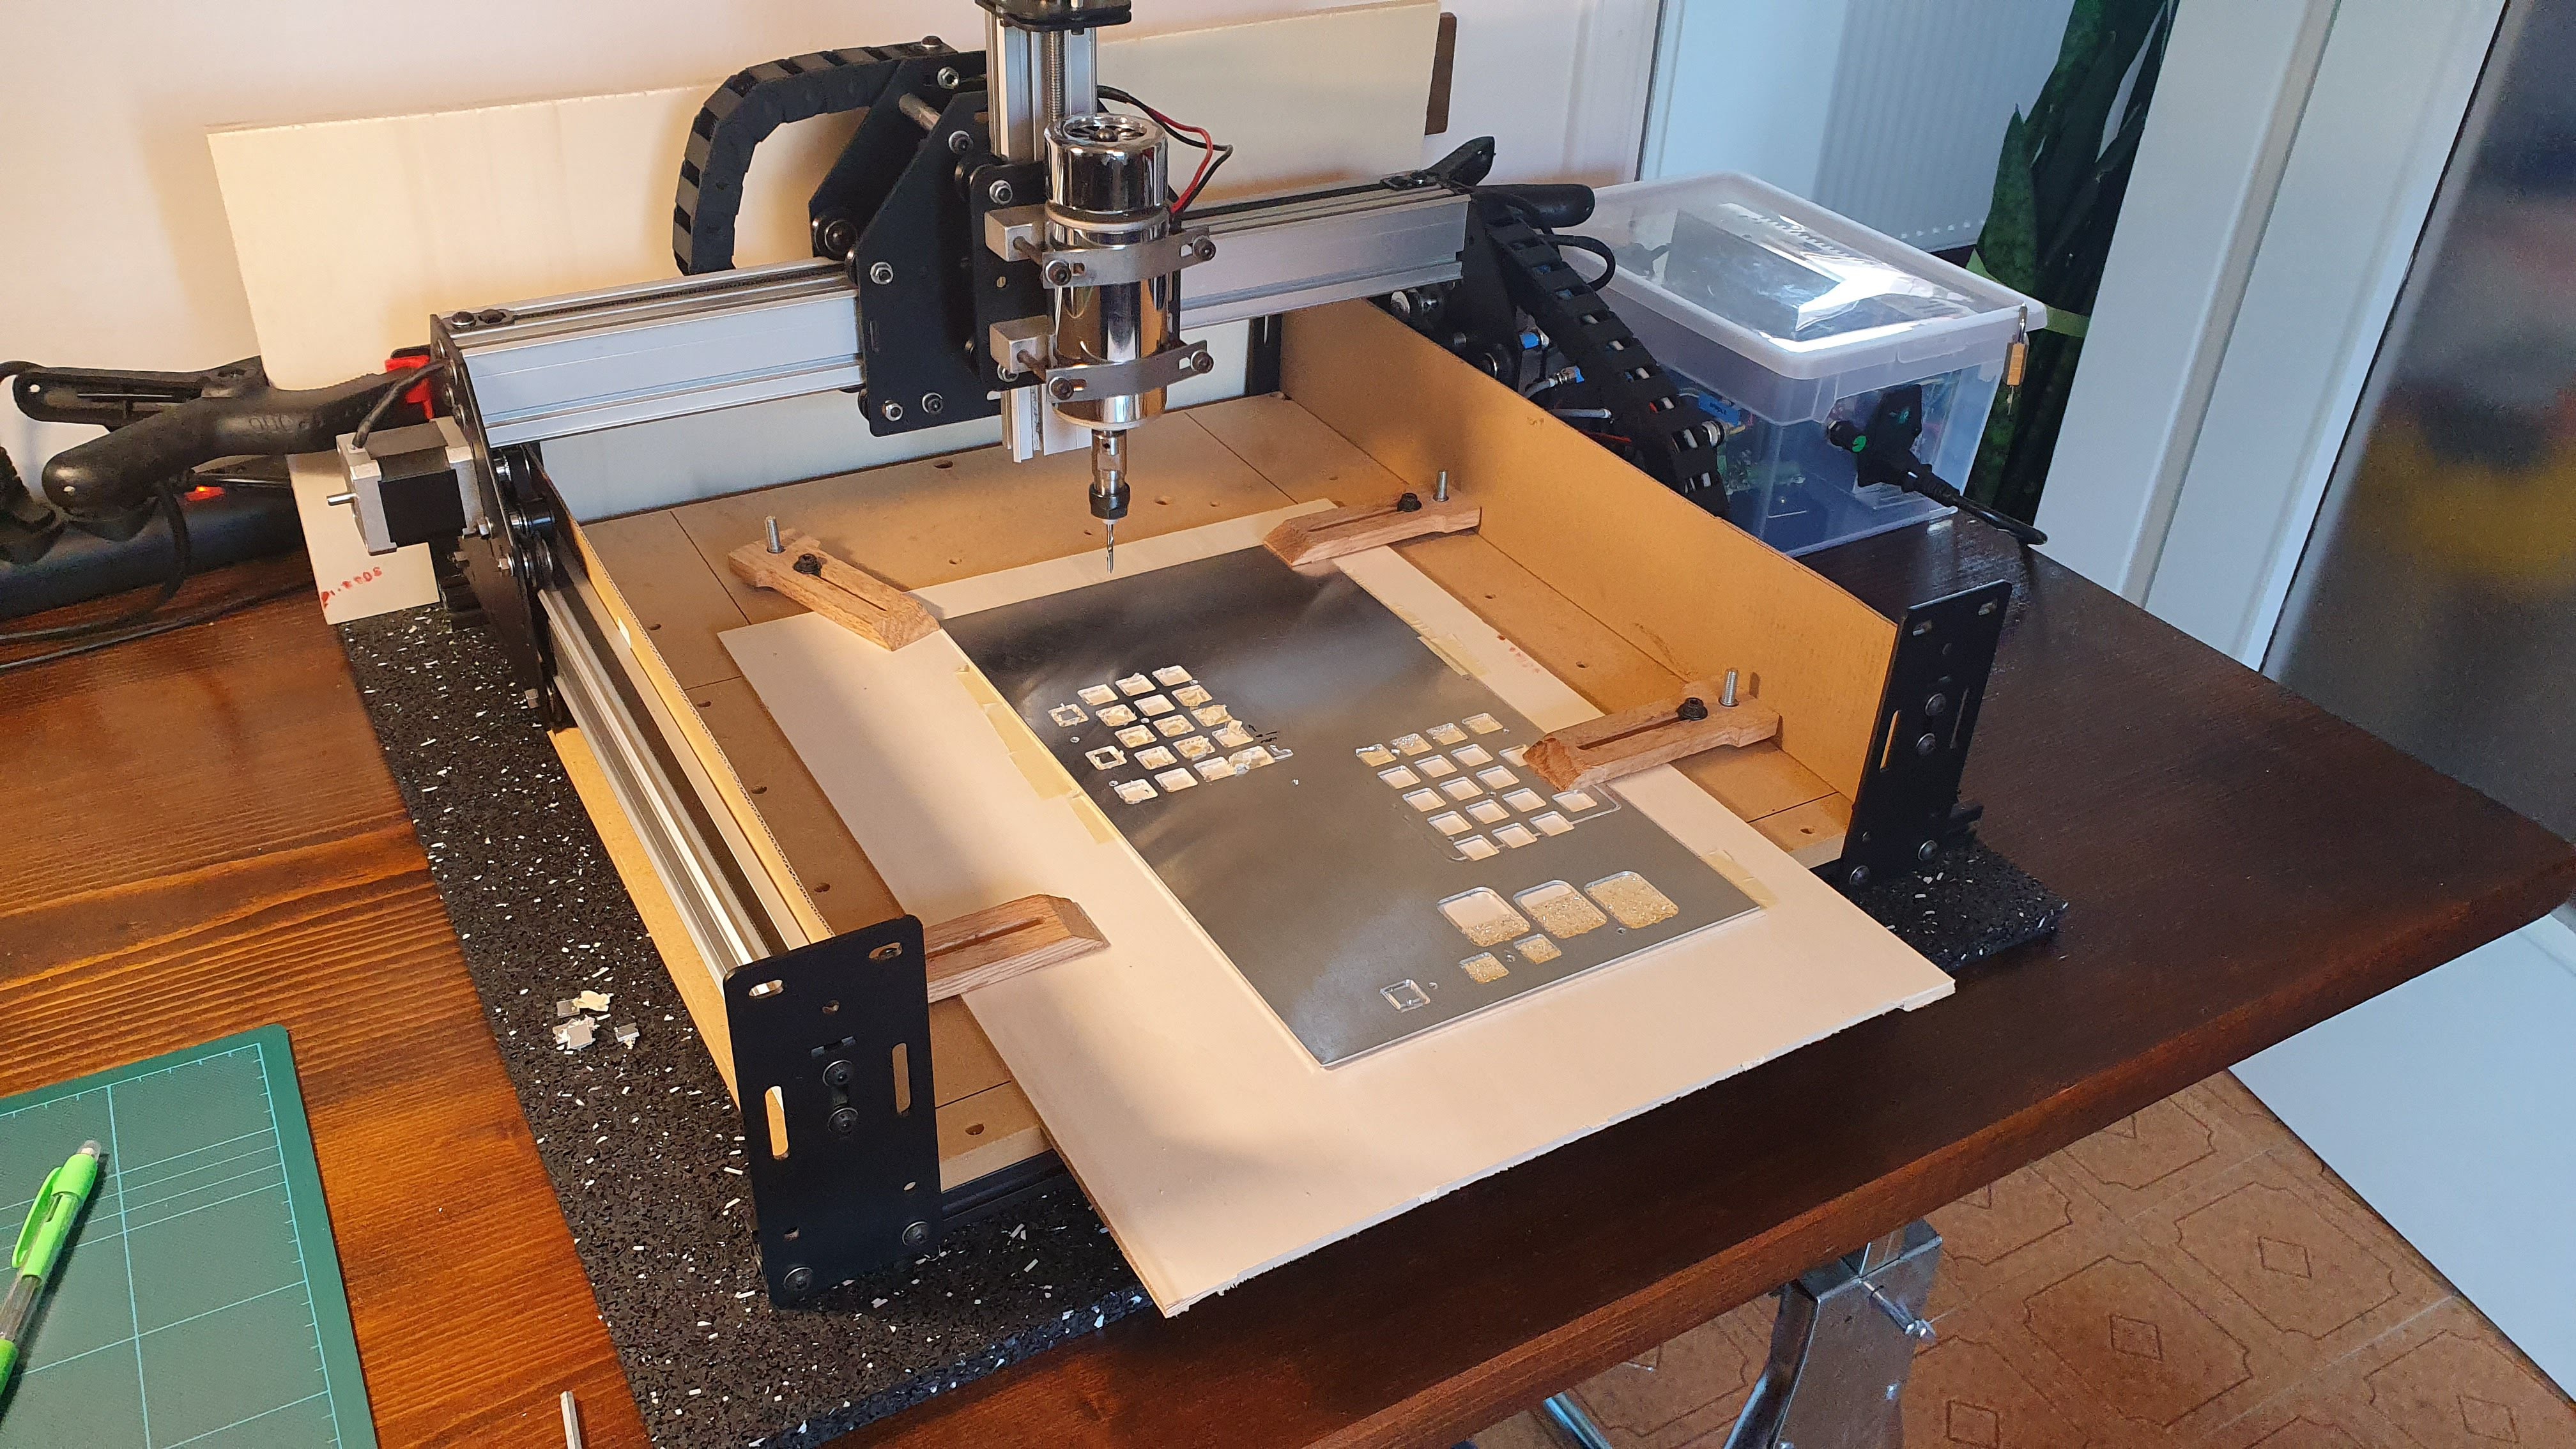
First aluminium cut test was a success... slow as hell but hey, a cut is a cut.
I had a few problem with the Z axis flexing too much on the first attempt due to some loose screws, but the second attempt was great.
I used double sided tape and some clamps to secure the material but I noticed that when the bit was cutting through the tape glue started grabbing onto the bit. The cut was successfull but for the real deal I'll try the masking-tape-and-super-glue technique to be on the safe side.I'm really super excited by this result. We'll see how this turns out!
-
YamPAD project log 13
06/29/2019 at 12:47 • 0 commentsCase take two...
The more I look at the current case, the less I like it. The finish is poor, the design is boring, the materials are meh... I can't stand it. I've decided to start from scratch for a new design, using some nicer materials.
![]()
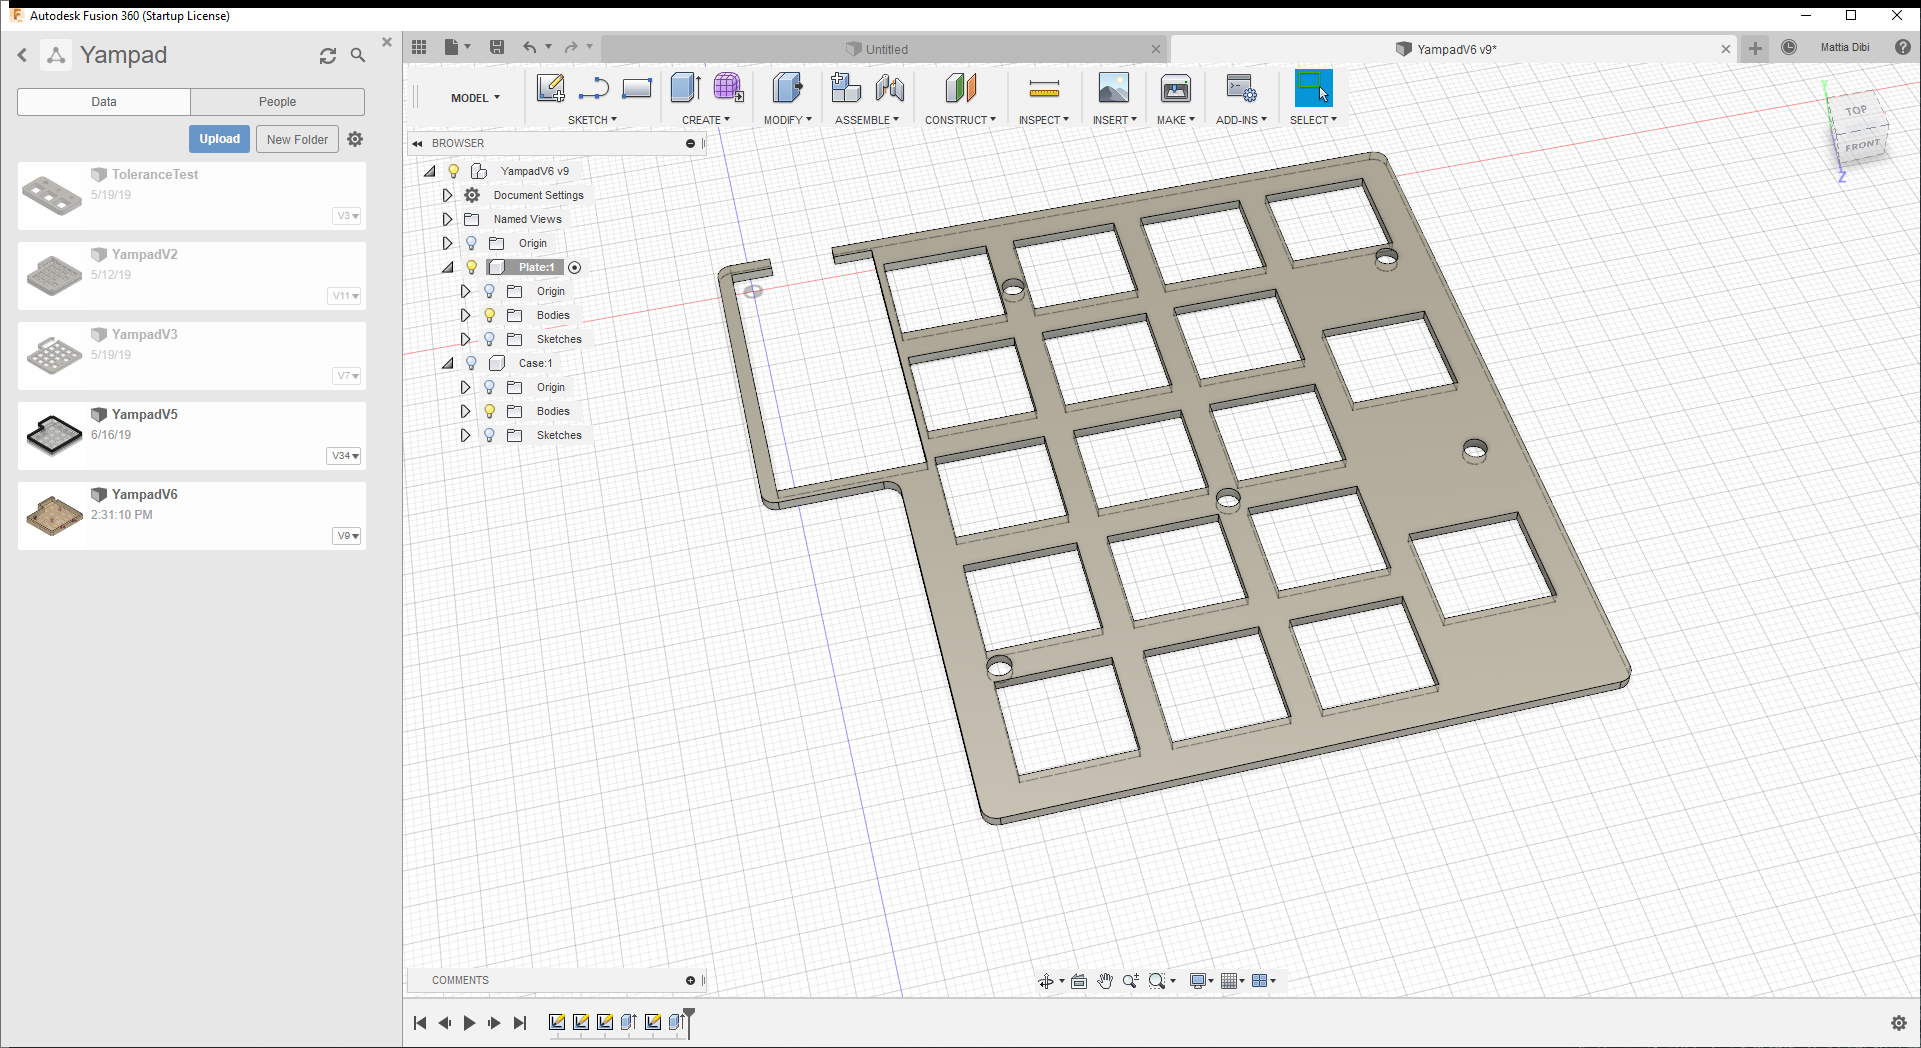
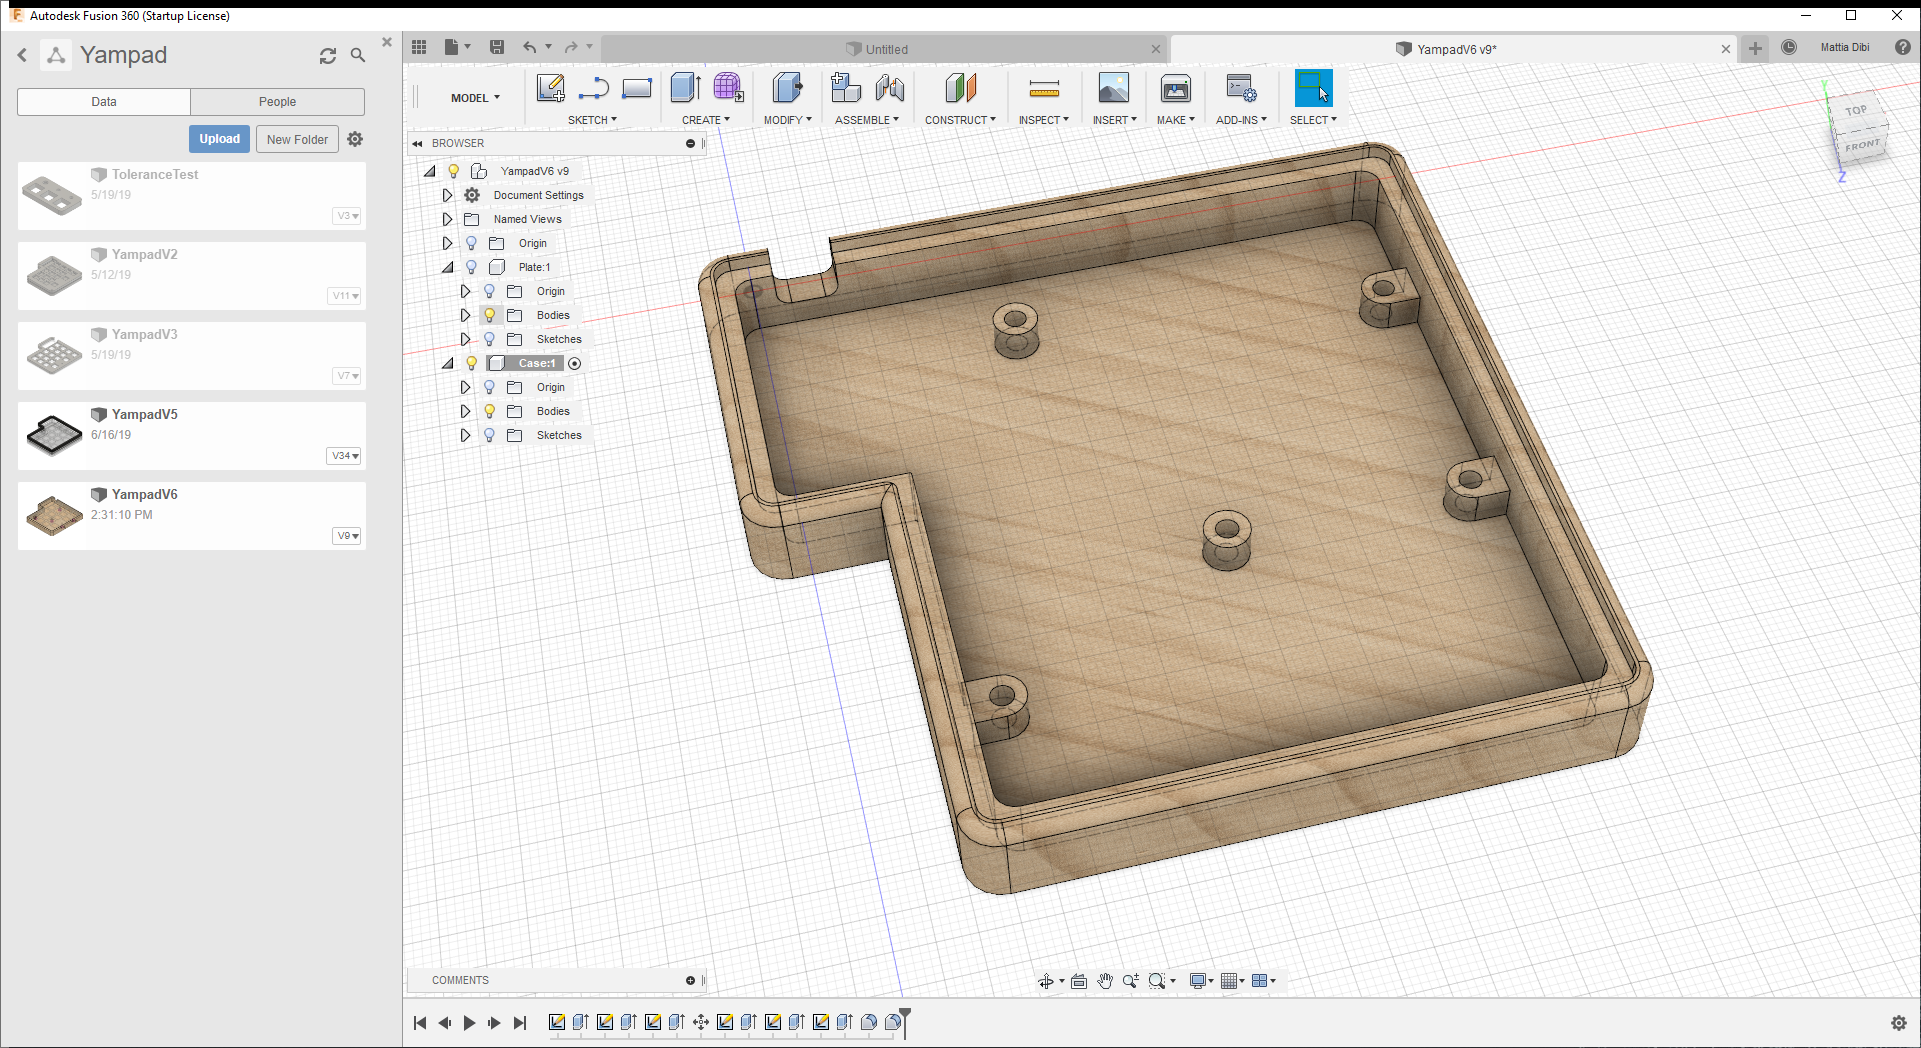
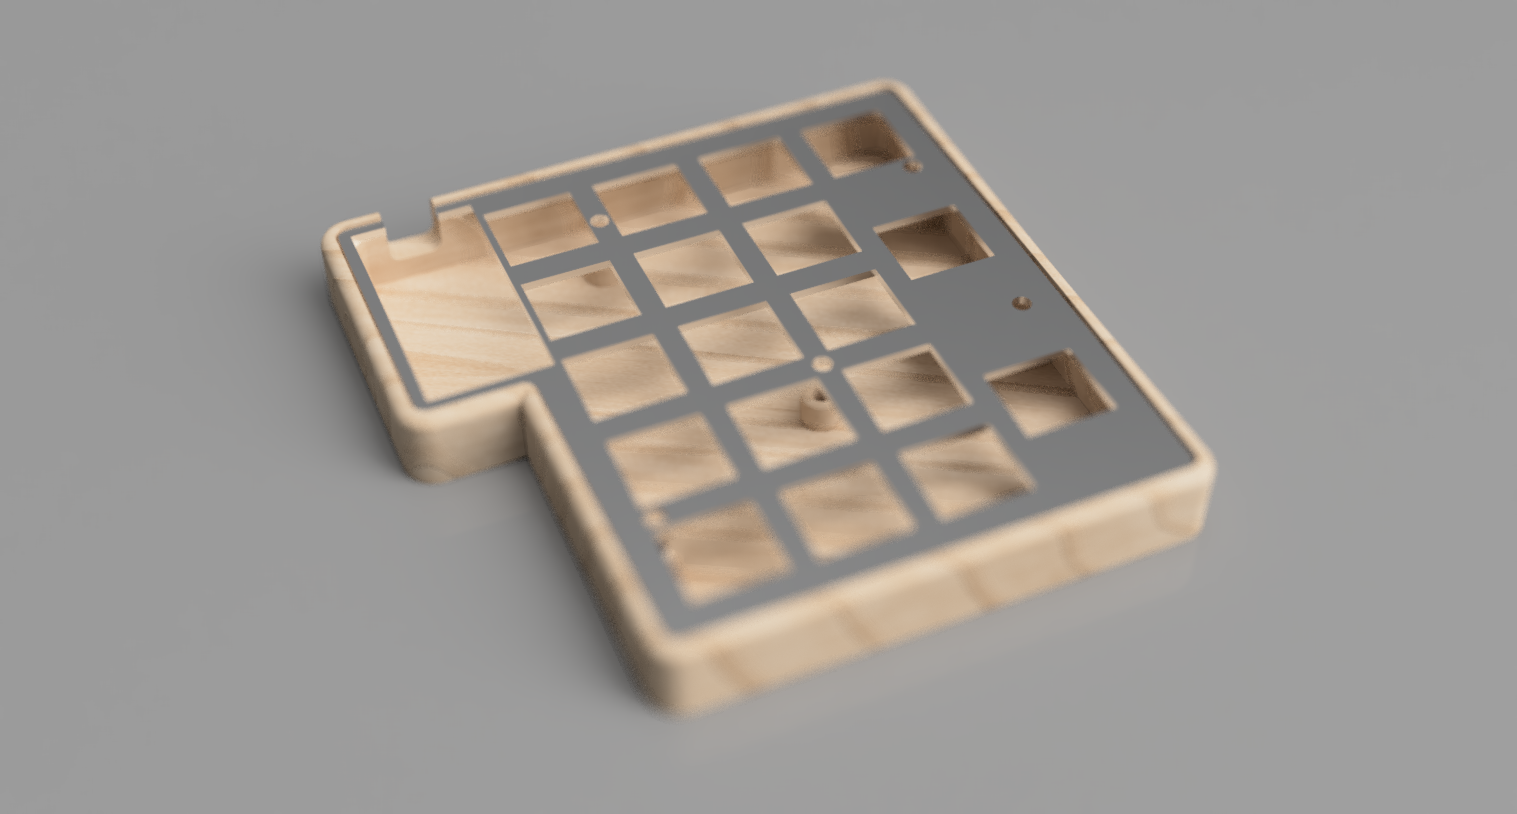
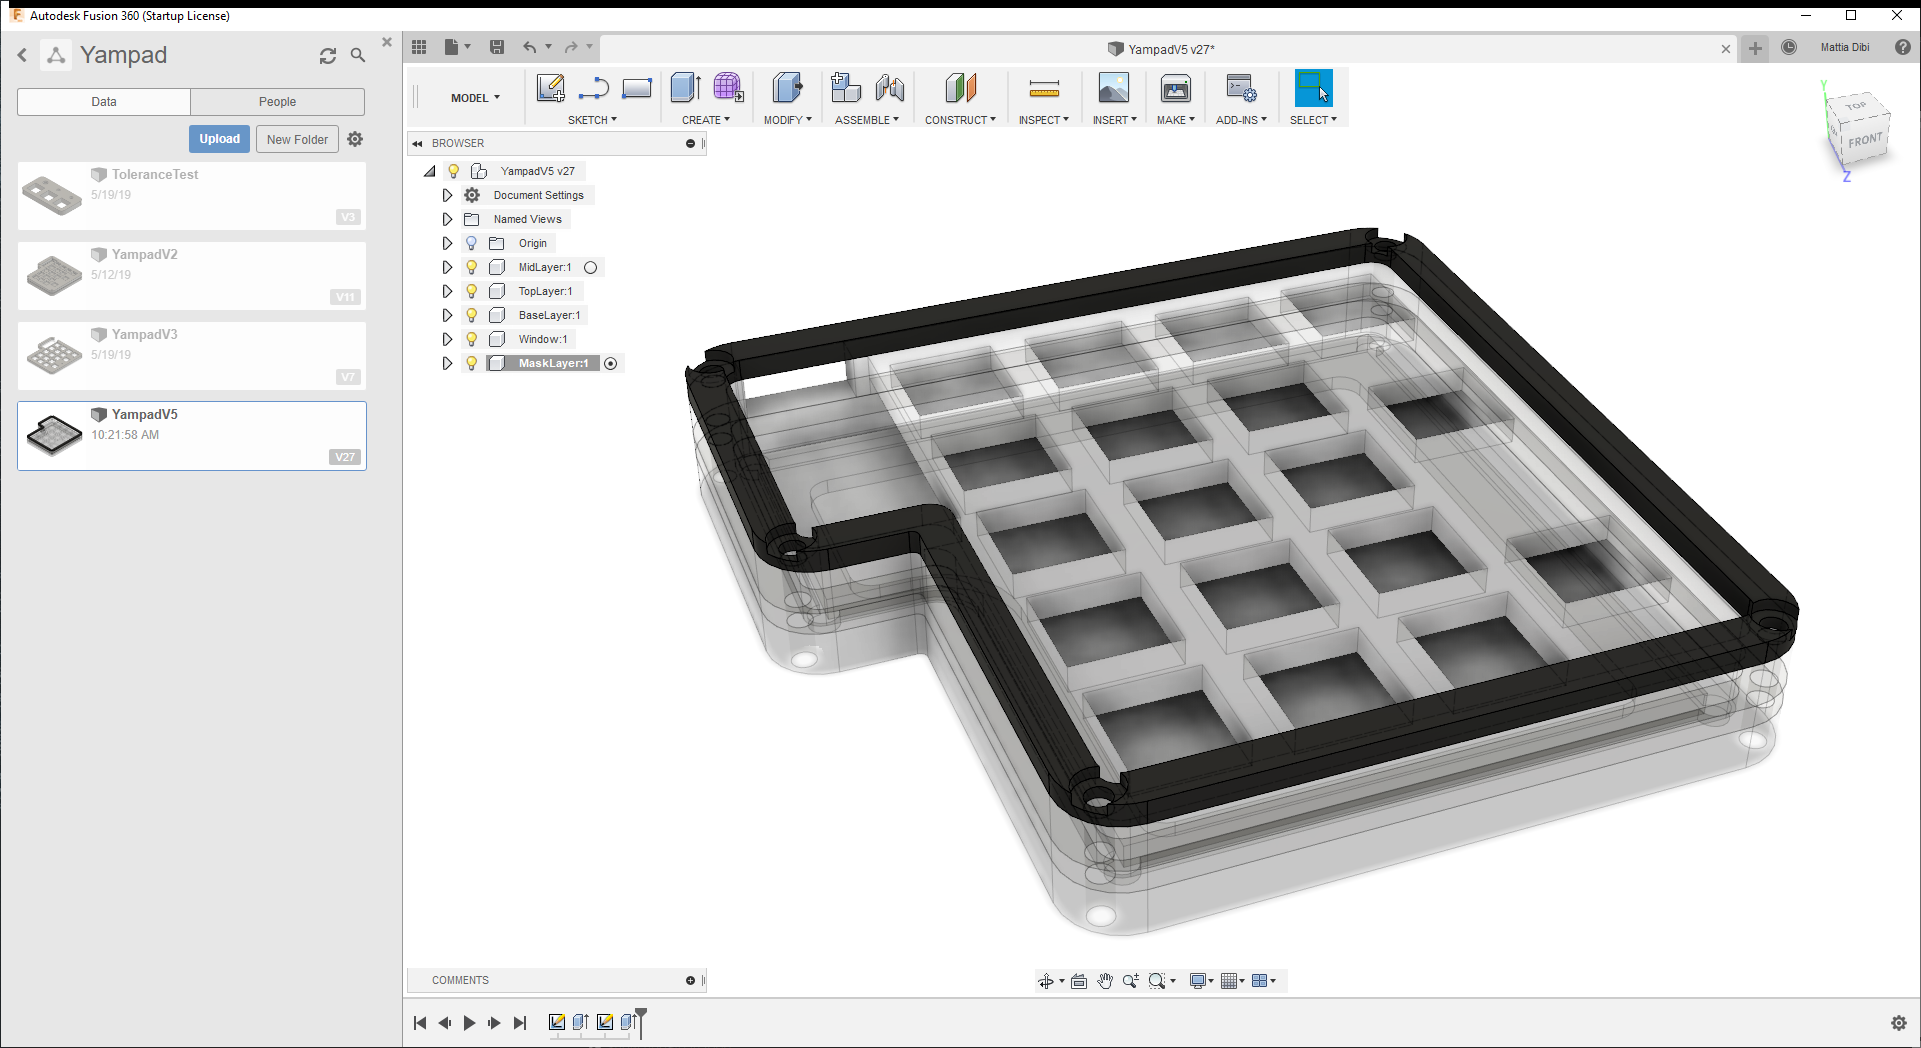
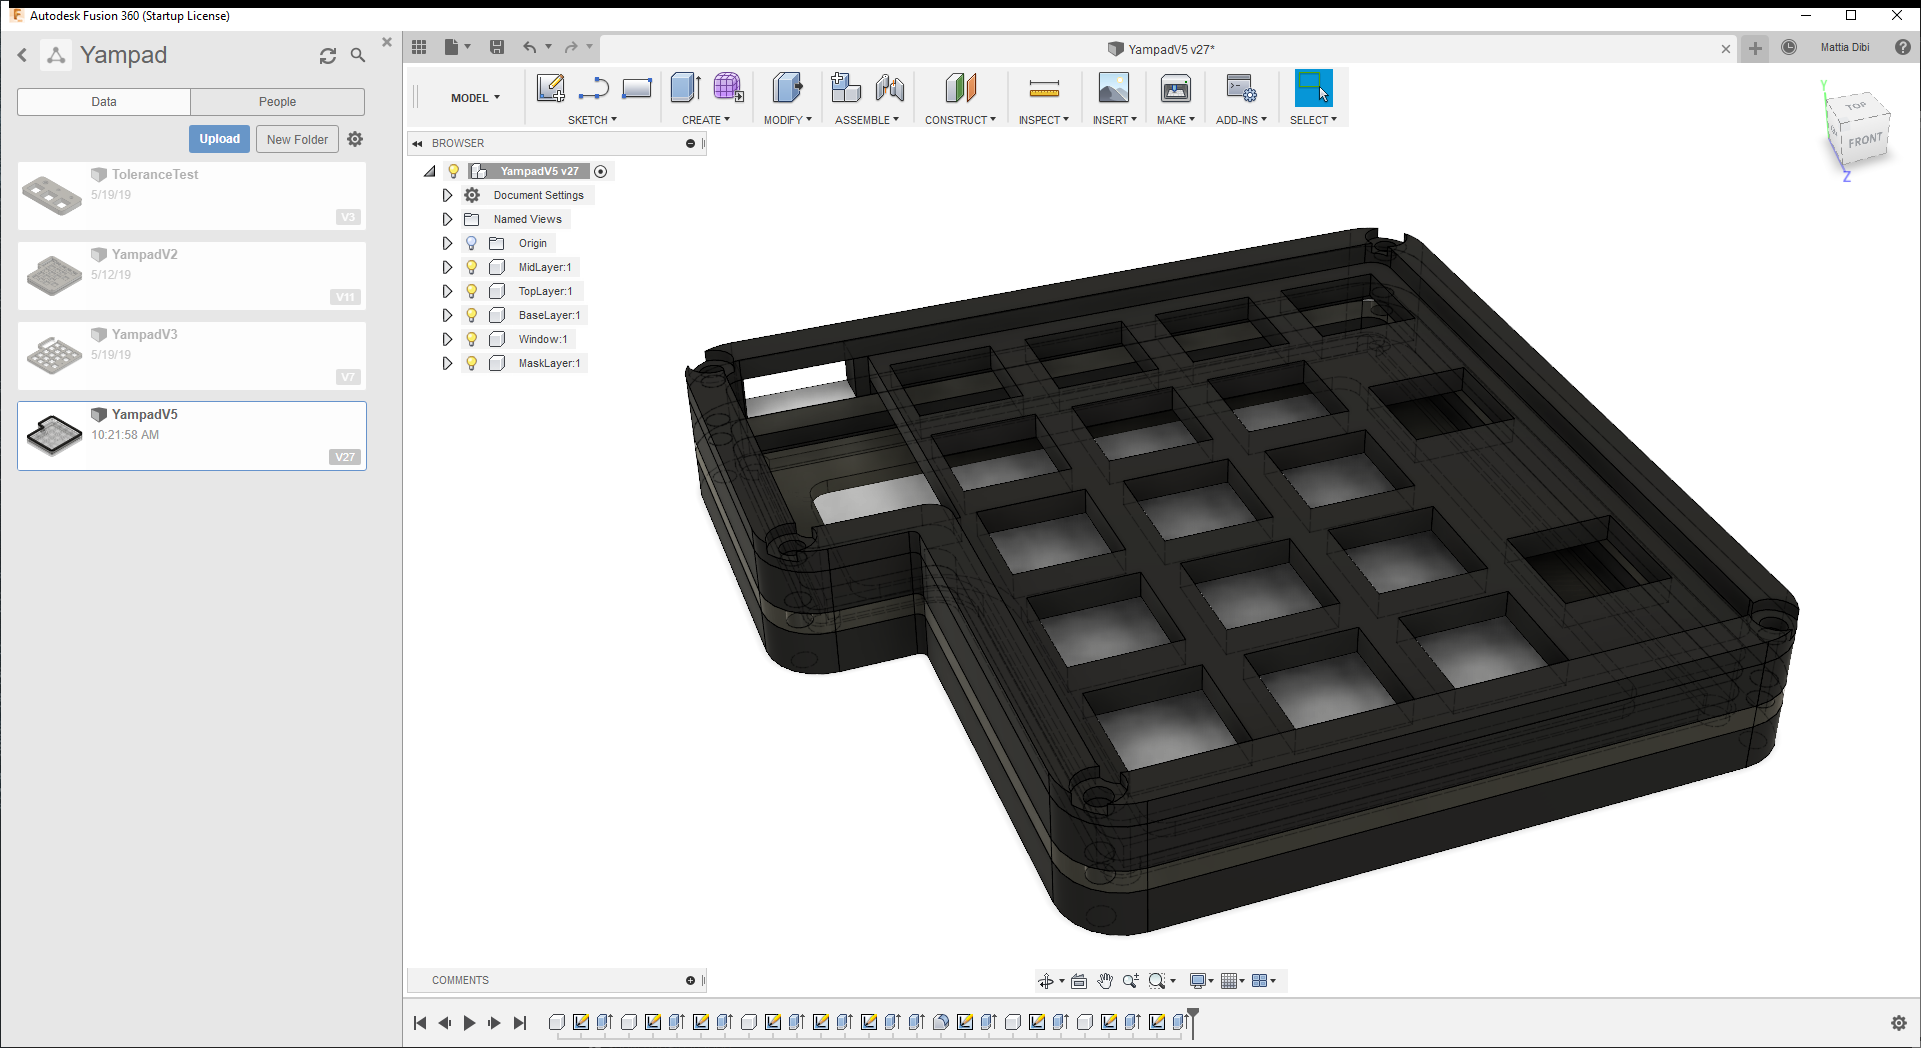
I decided to use aluminium for the plate, and wood for the case. The design is much simpler this time, and apart from some minor details I'm liking it a lot. I'll take this opportunity to test the capabilities of my CNC in handling aluminium, which is something I never tried before.
Here's some pics from Fusion 360.
And finally a couple of renderings...
![]()
![]()
As you might notice there are some features of the design that are a little too thin... I'll try to make them thicker but the overall idea is all here.
Let's hope the CNCs and machining gods will smile upon me. -
YamPAD project log 12
06/15/2019 at 16:41 • 0 commentsFirst case prototype completed.
So, today I finally cut my last piece for the case of the Yampad. I tried using expanded PVC for the case but didn't really like how it was looking so added the final layer to the MDF case.I think the final layer addresses a few of the design flaws I have mentioned in my previous logs but I think I'll do a new version of the case anyways.
Here's some pics of the final product.
![]()
![]()
![]()
![]()
-
YamPAD project log 11
06/09/2019 at 16:52 • 0 commentsDesign review
I've started reviewing my case design decisions. I have a PVC sheet on the way to start machining it, I'm super excited about it.
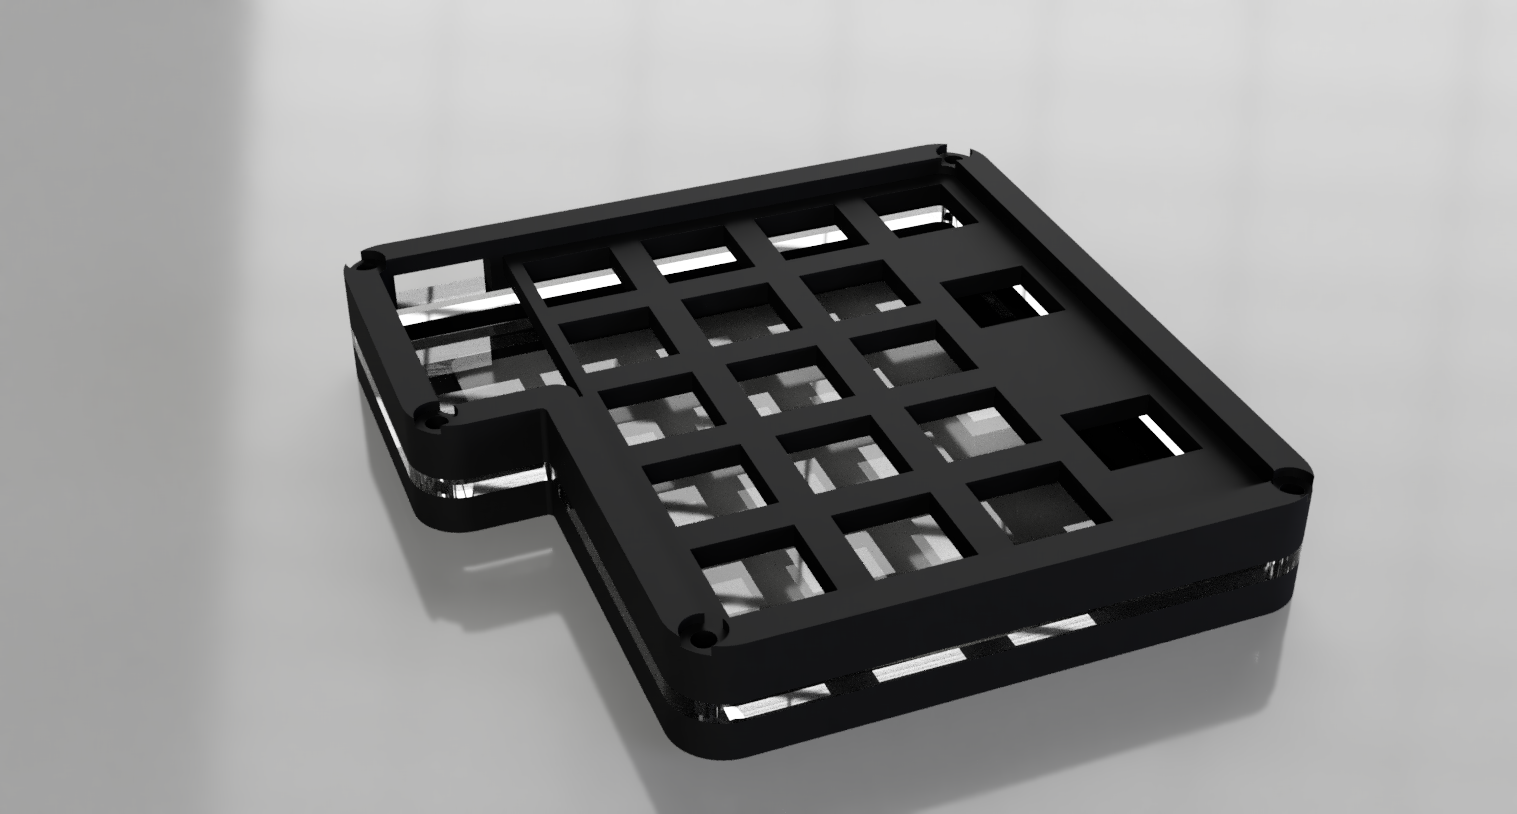
Design wise I had an idea this morning that covers a few flaws I discussed in my previous log.I've added a final layer for the sandwich case that covers the USB cable hole and wraps the screws a little. I think it's much better this way since it also covers the switches and the OLED screen.
![]()
I already cut it on my CNC but, unfortunately, when I started sanding it broke. That was also my last piece of 3 mm MDF so I'll wait for the PVC to arrive to start building a new case.
YamPAD - Feature-packed open source macropad
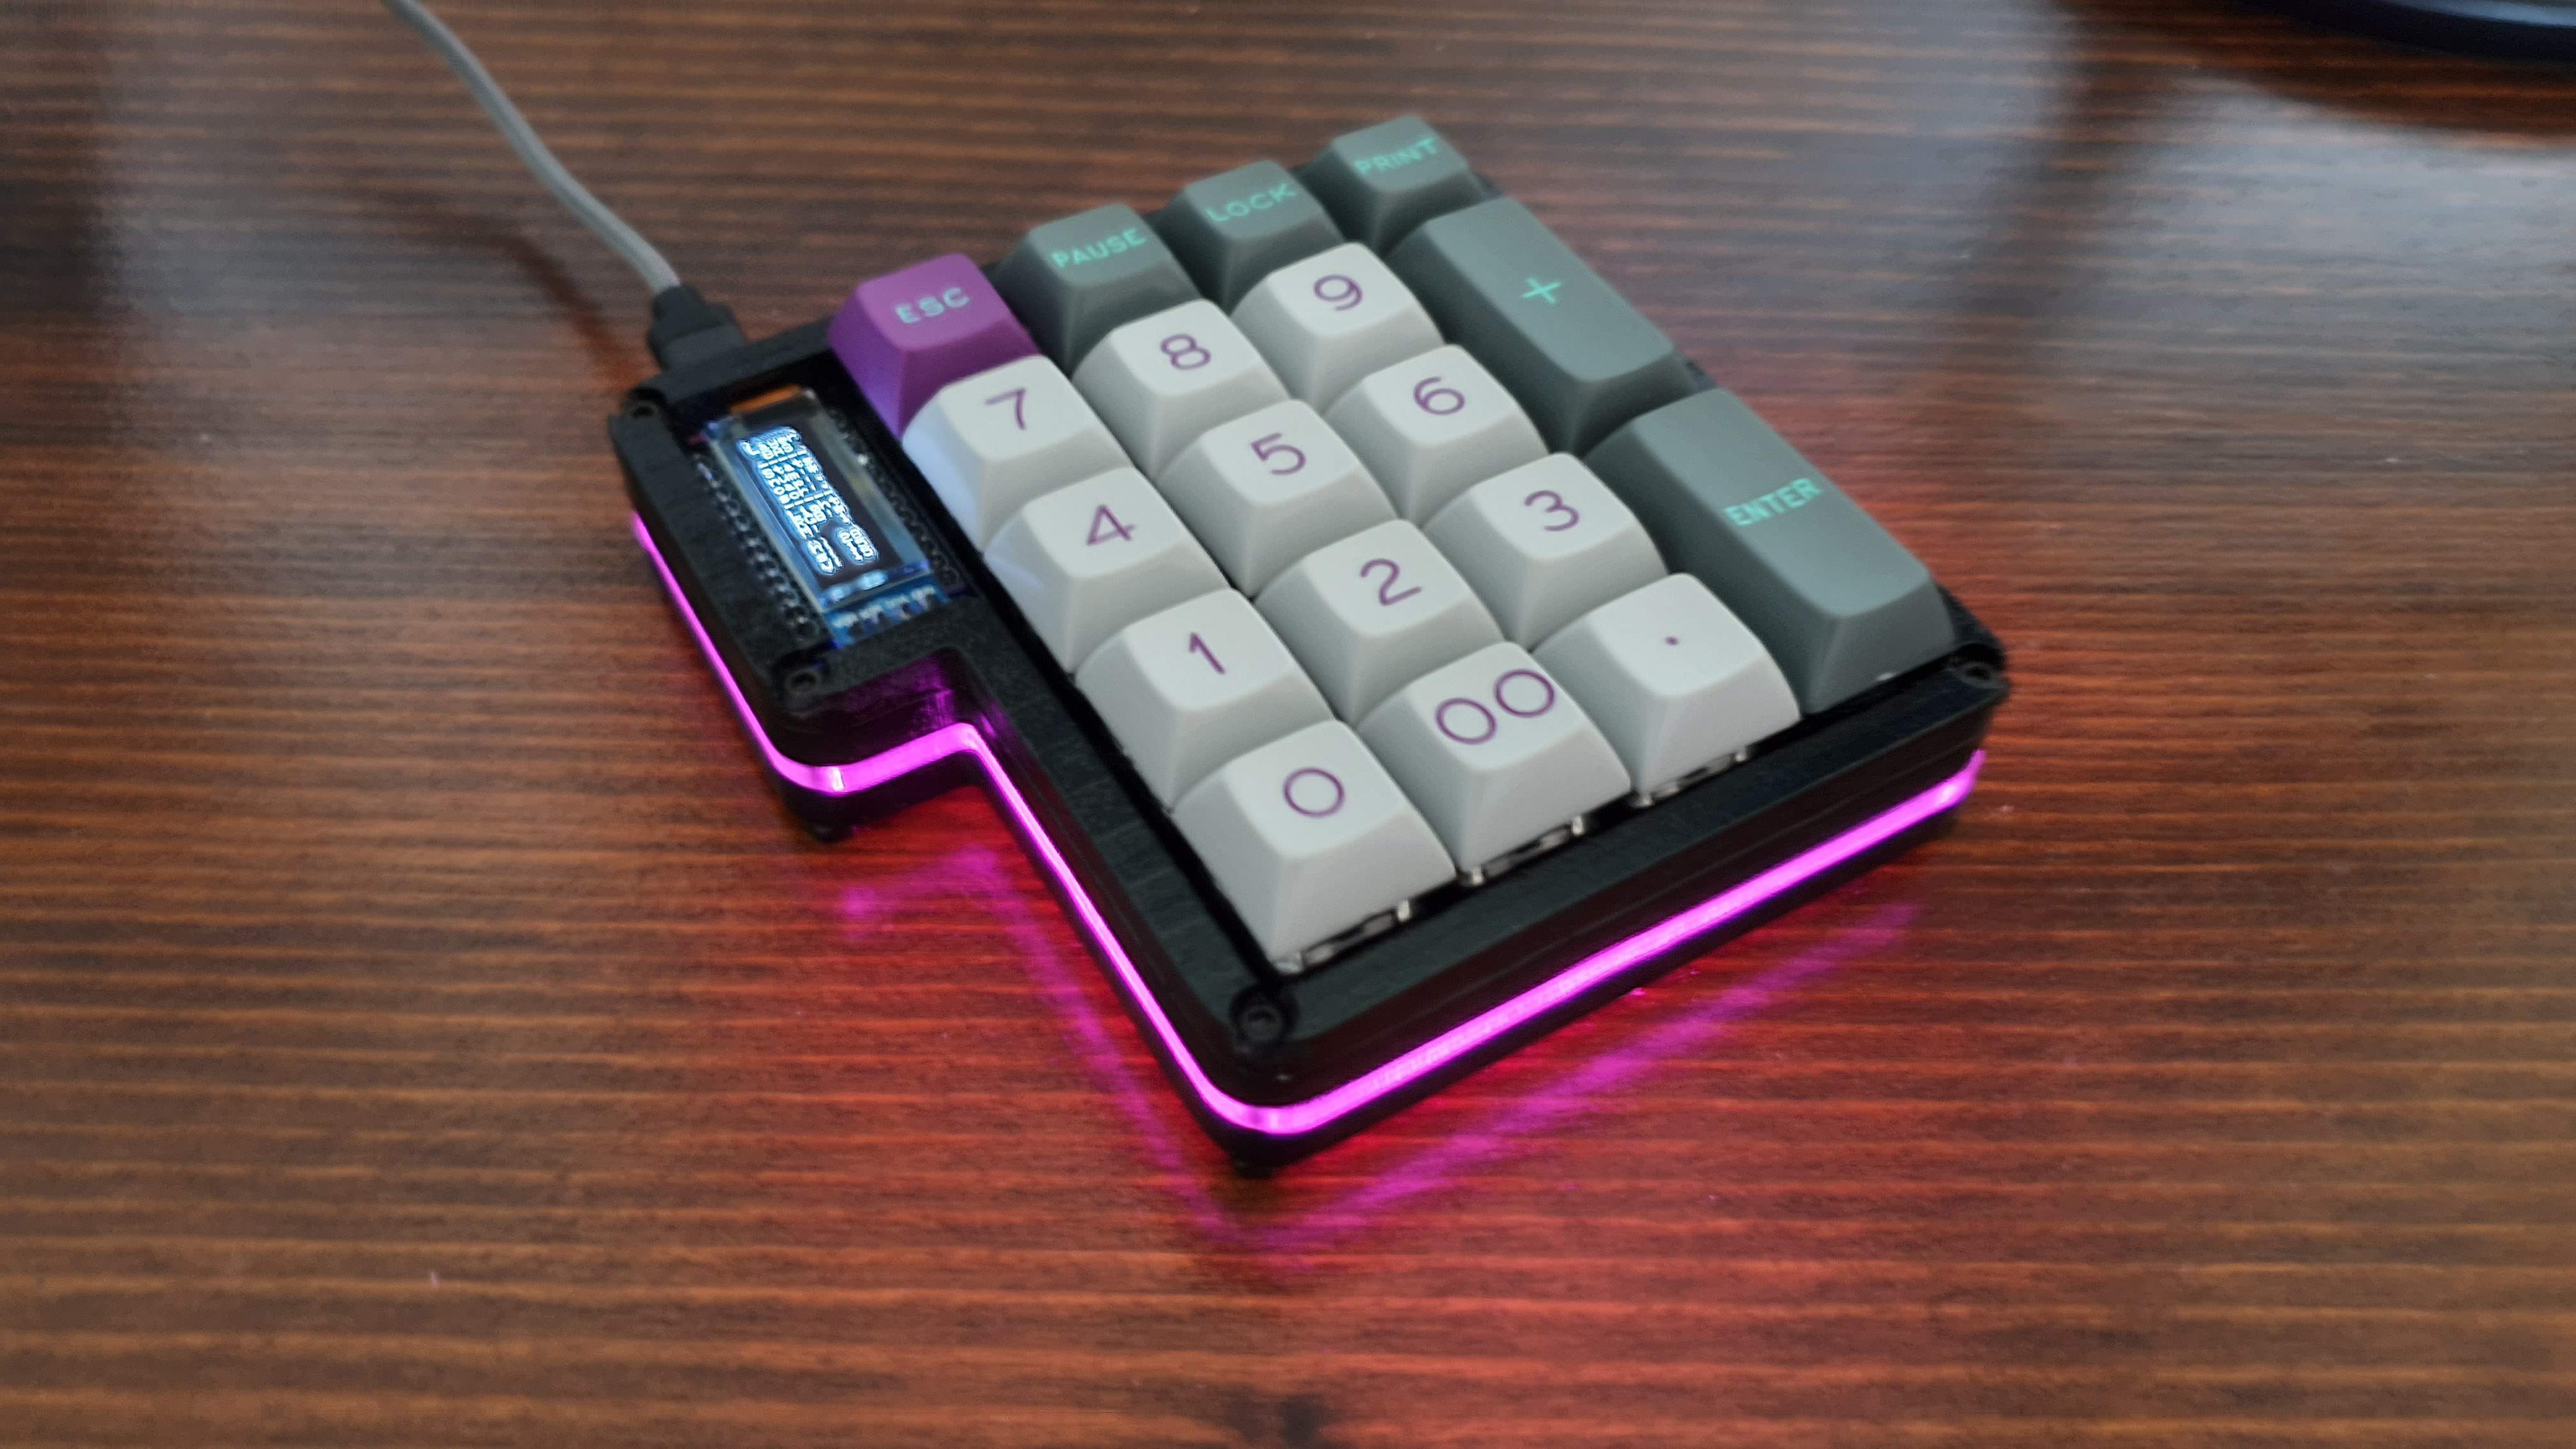
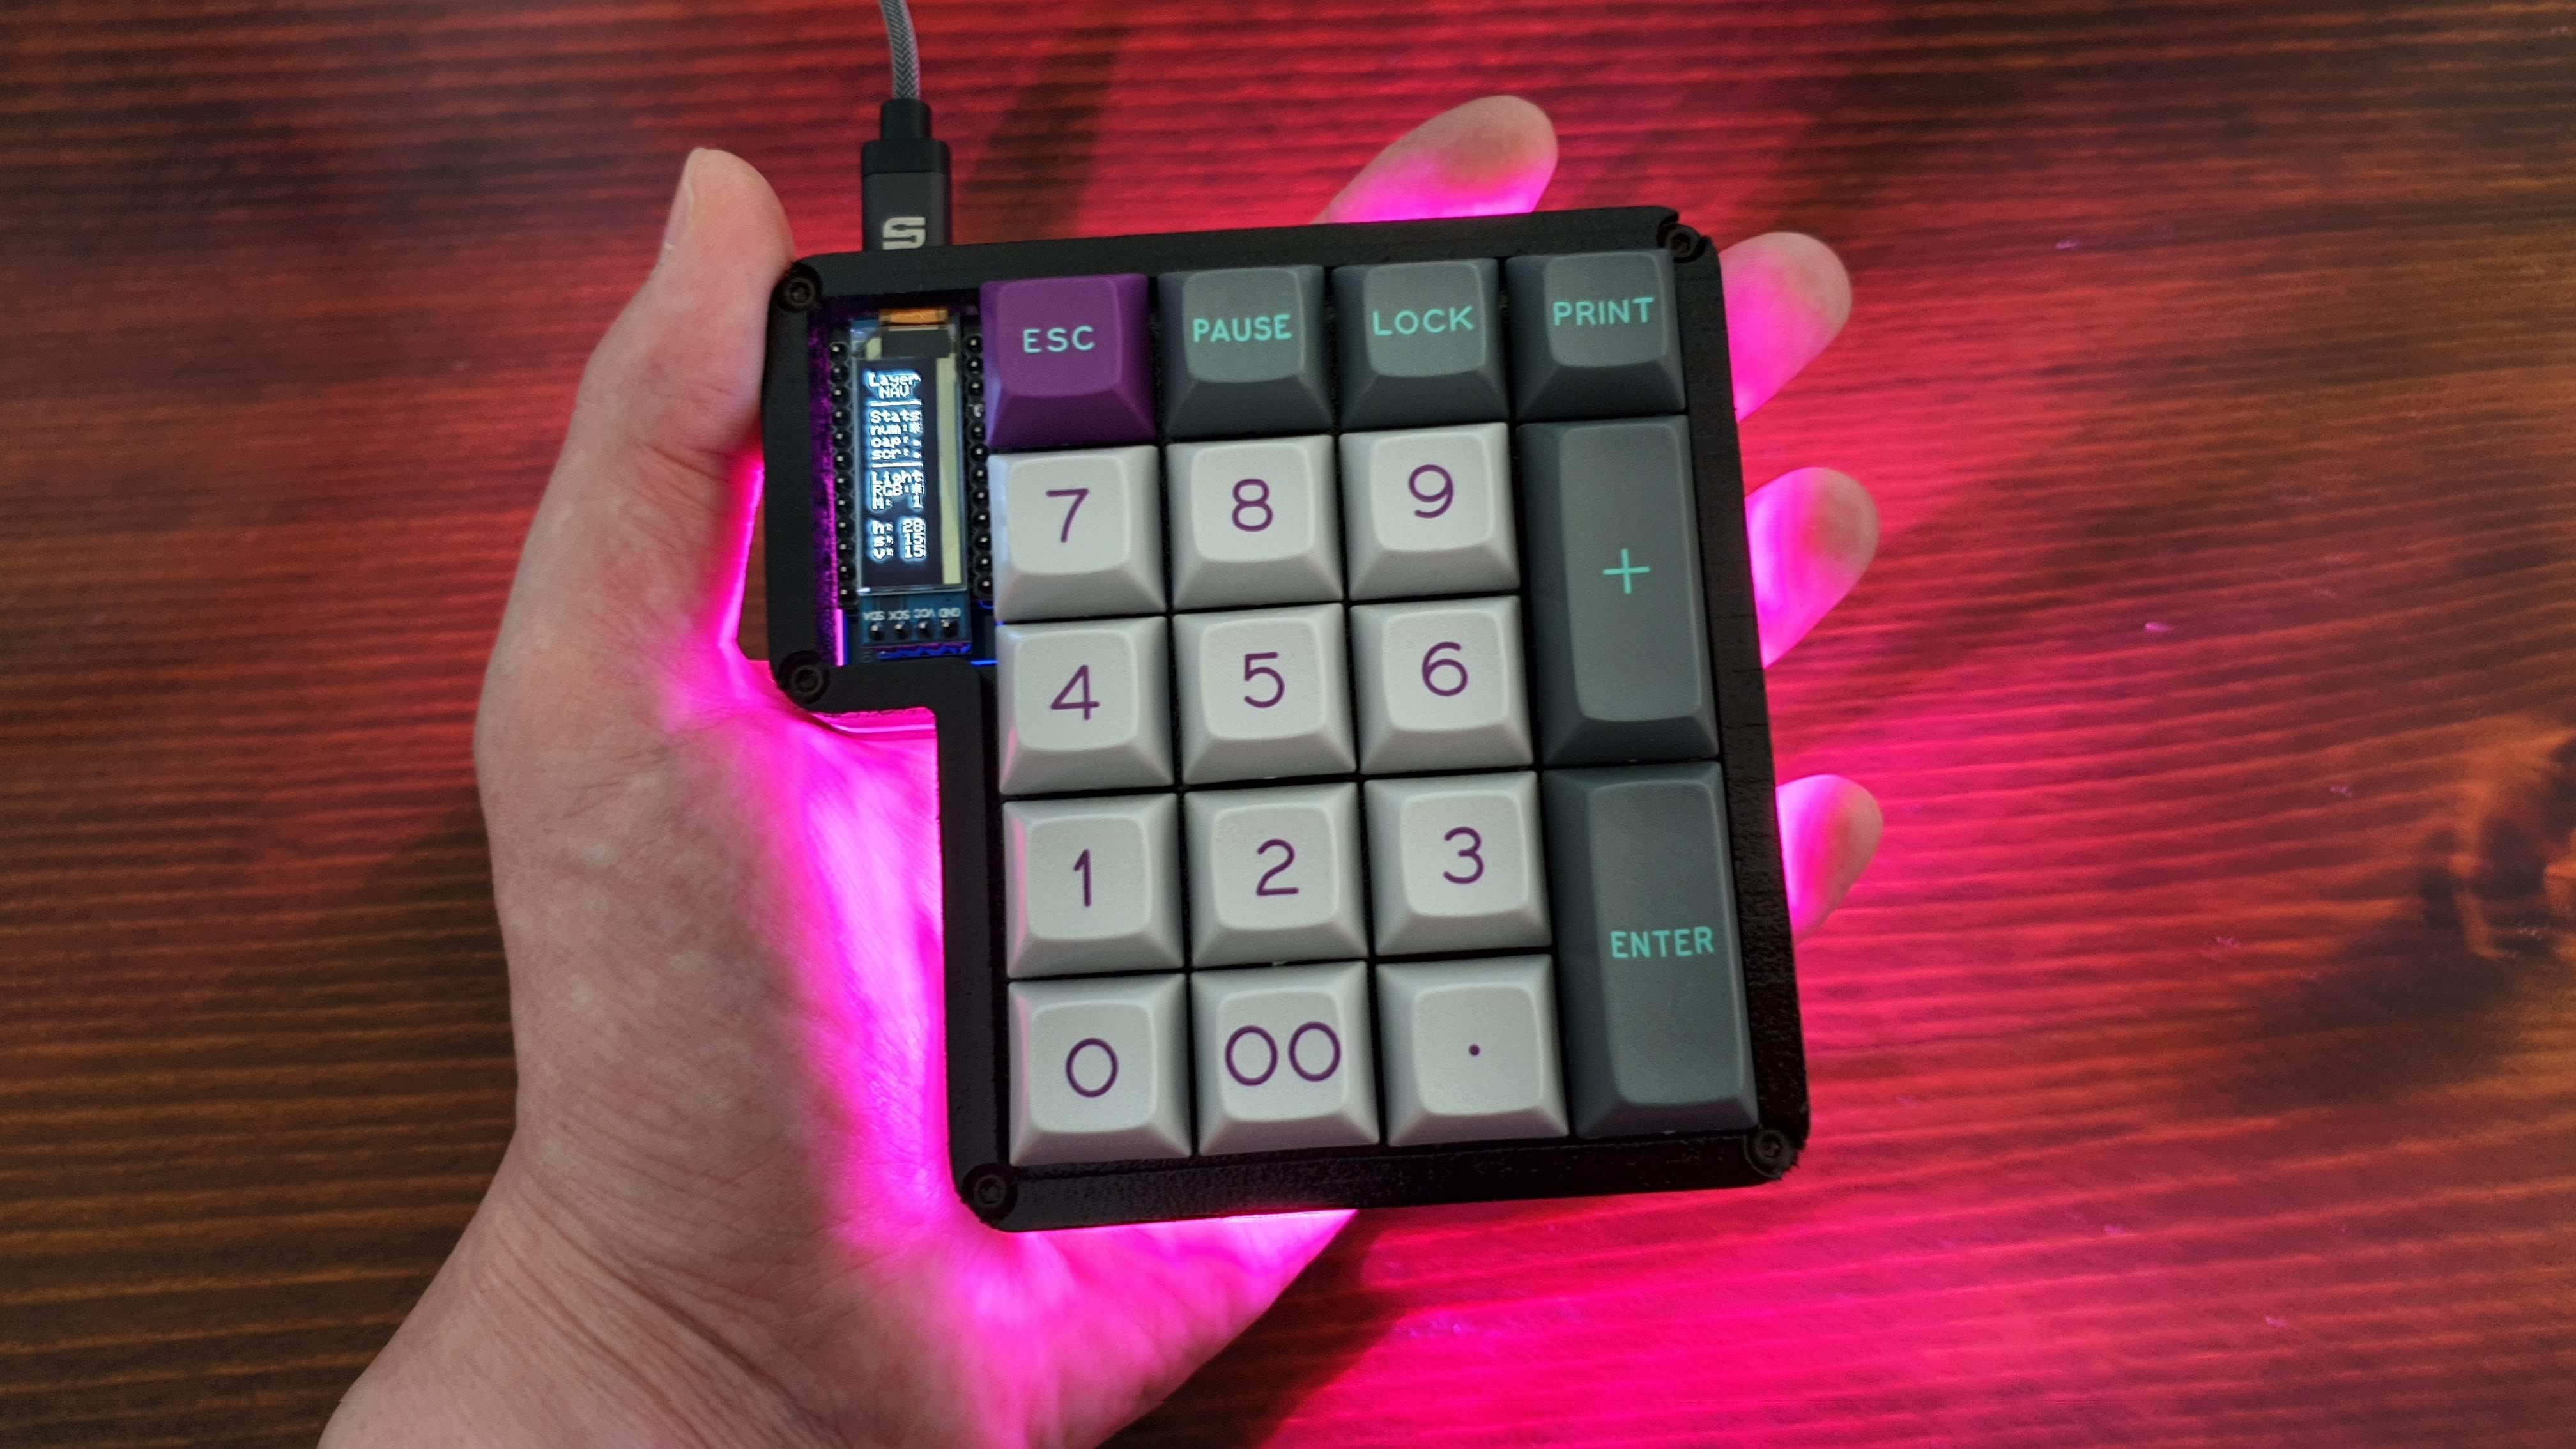
A fully open-source, mechanical, hot-swappable, RGB backlit, QMK powered, OLED screen featuring numpad/macropad.
 Mattia Dal Ben
 Here's all the parts:
 Then the threaded inserts. These are actually for plastics but work great for wood too.
 And now the easy part: plate, screws and keycaps.
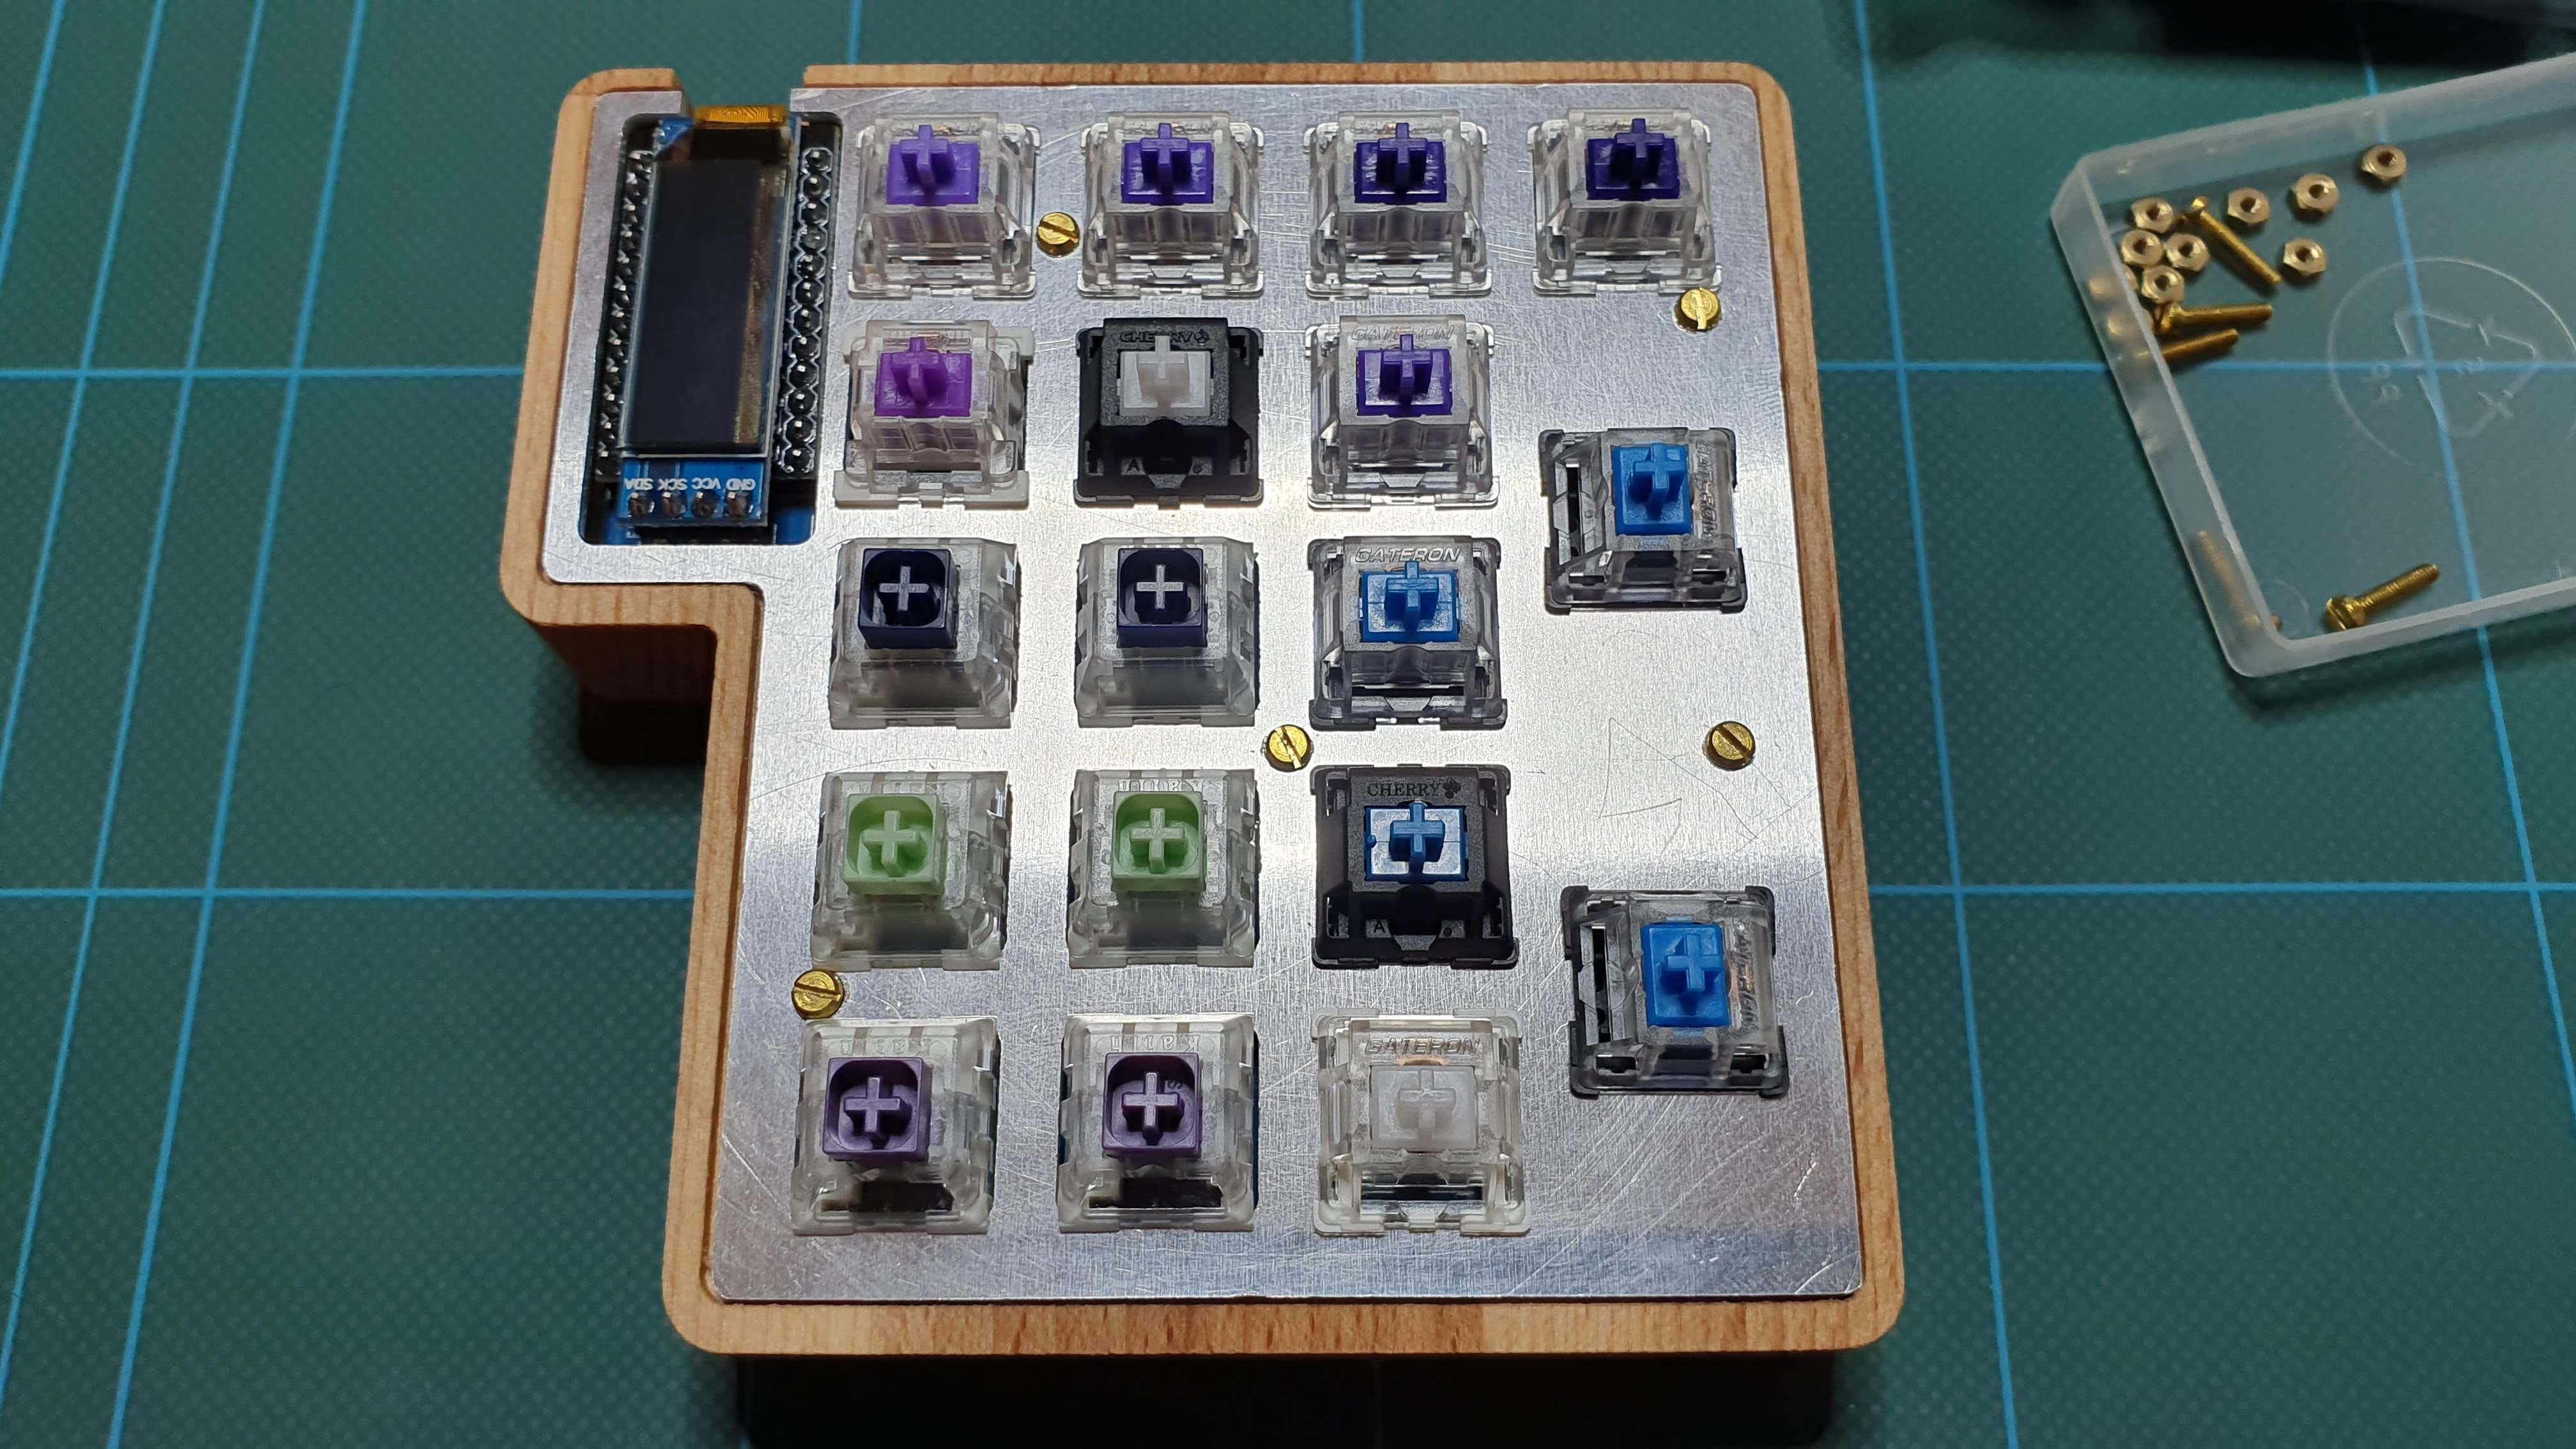
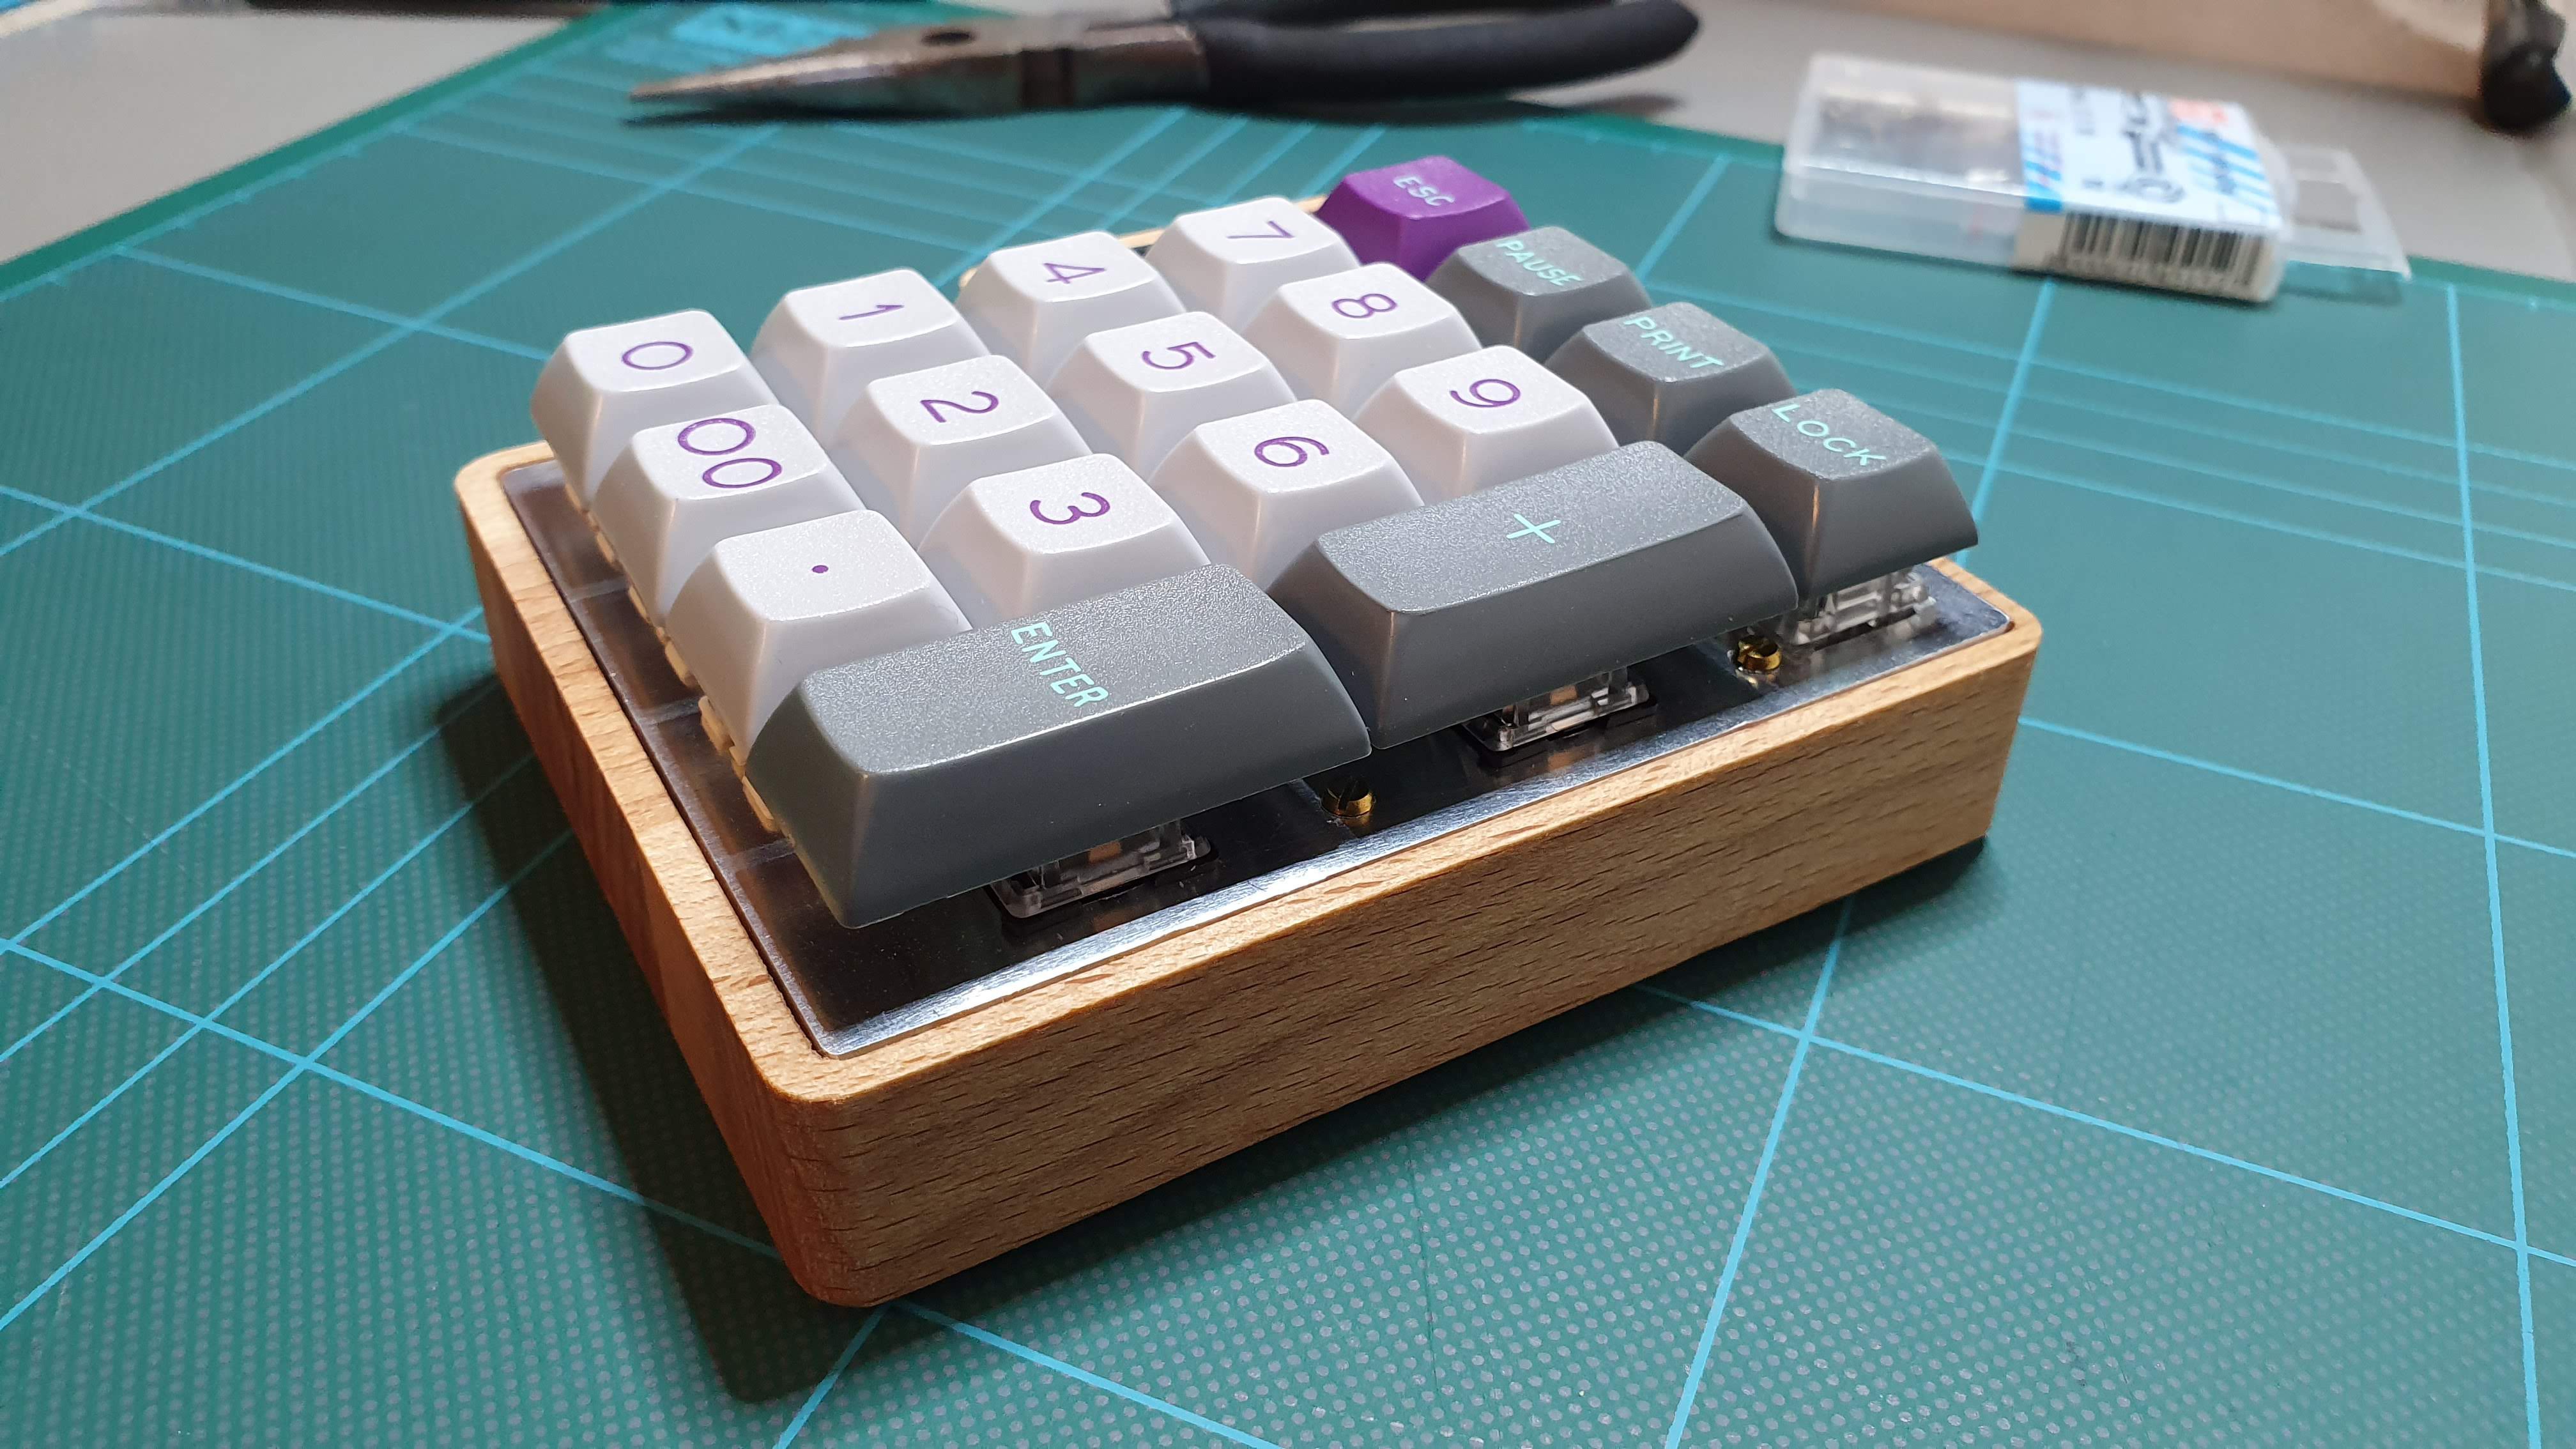
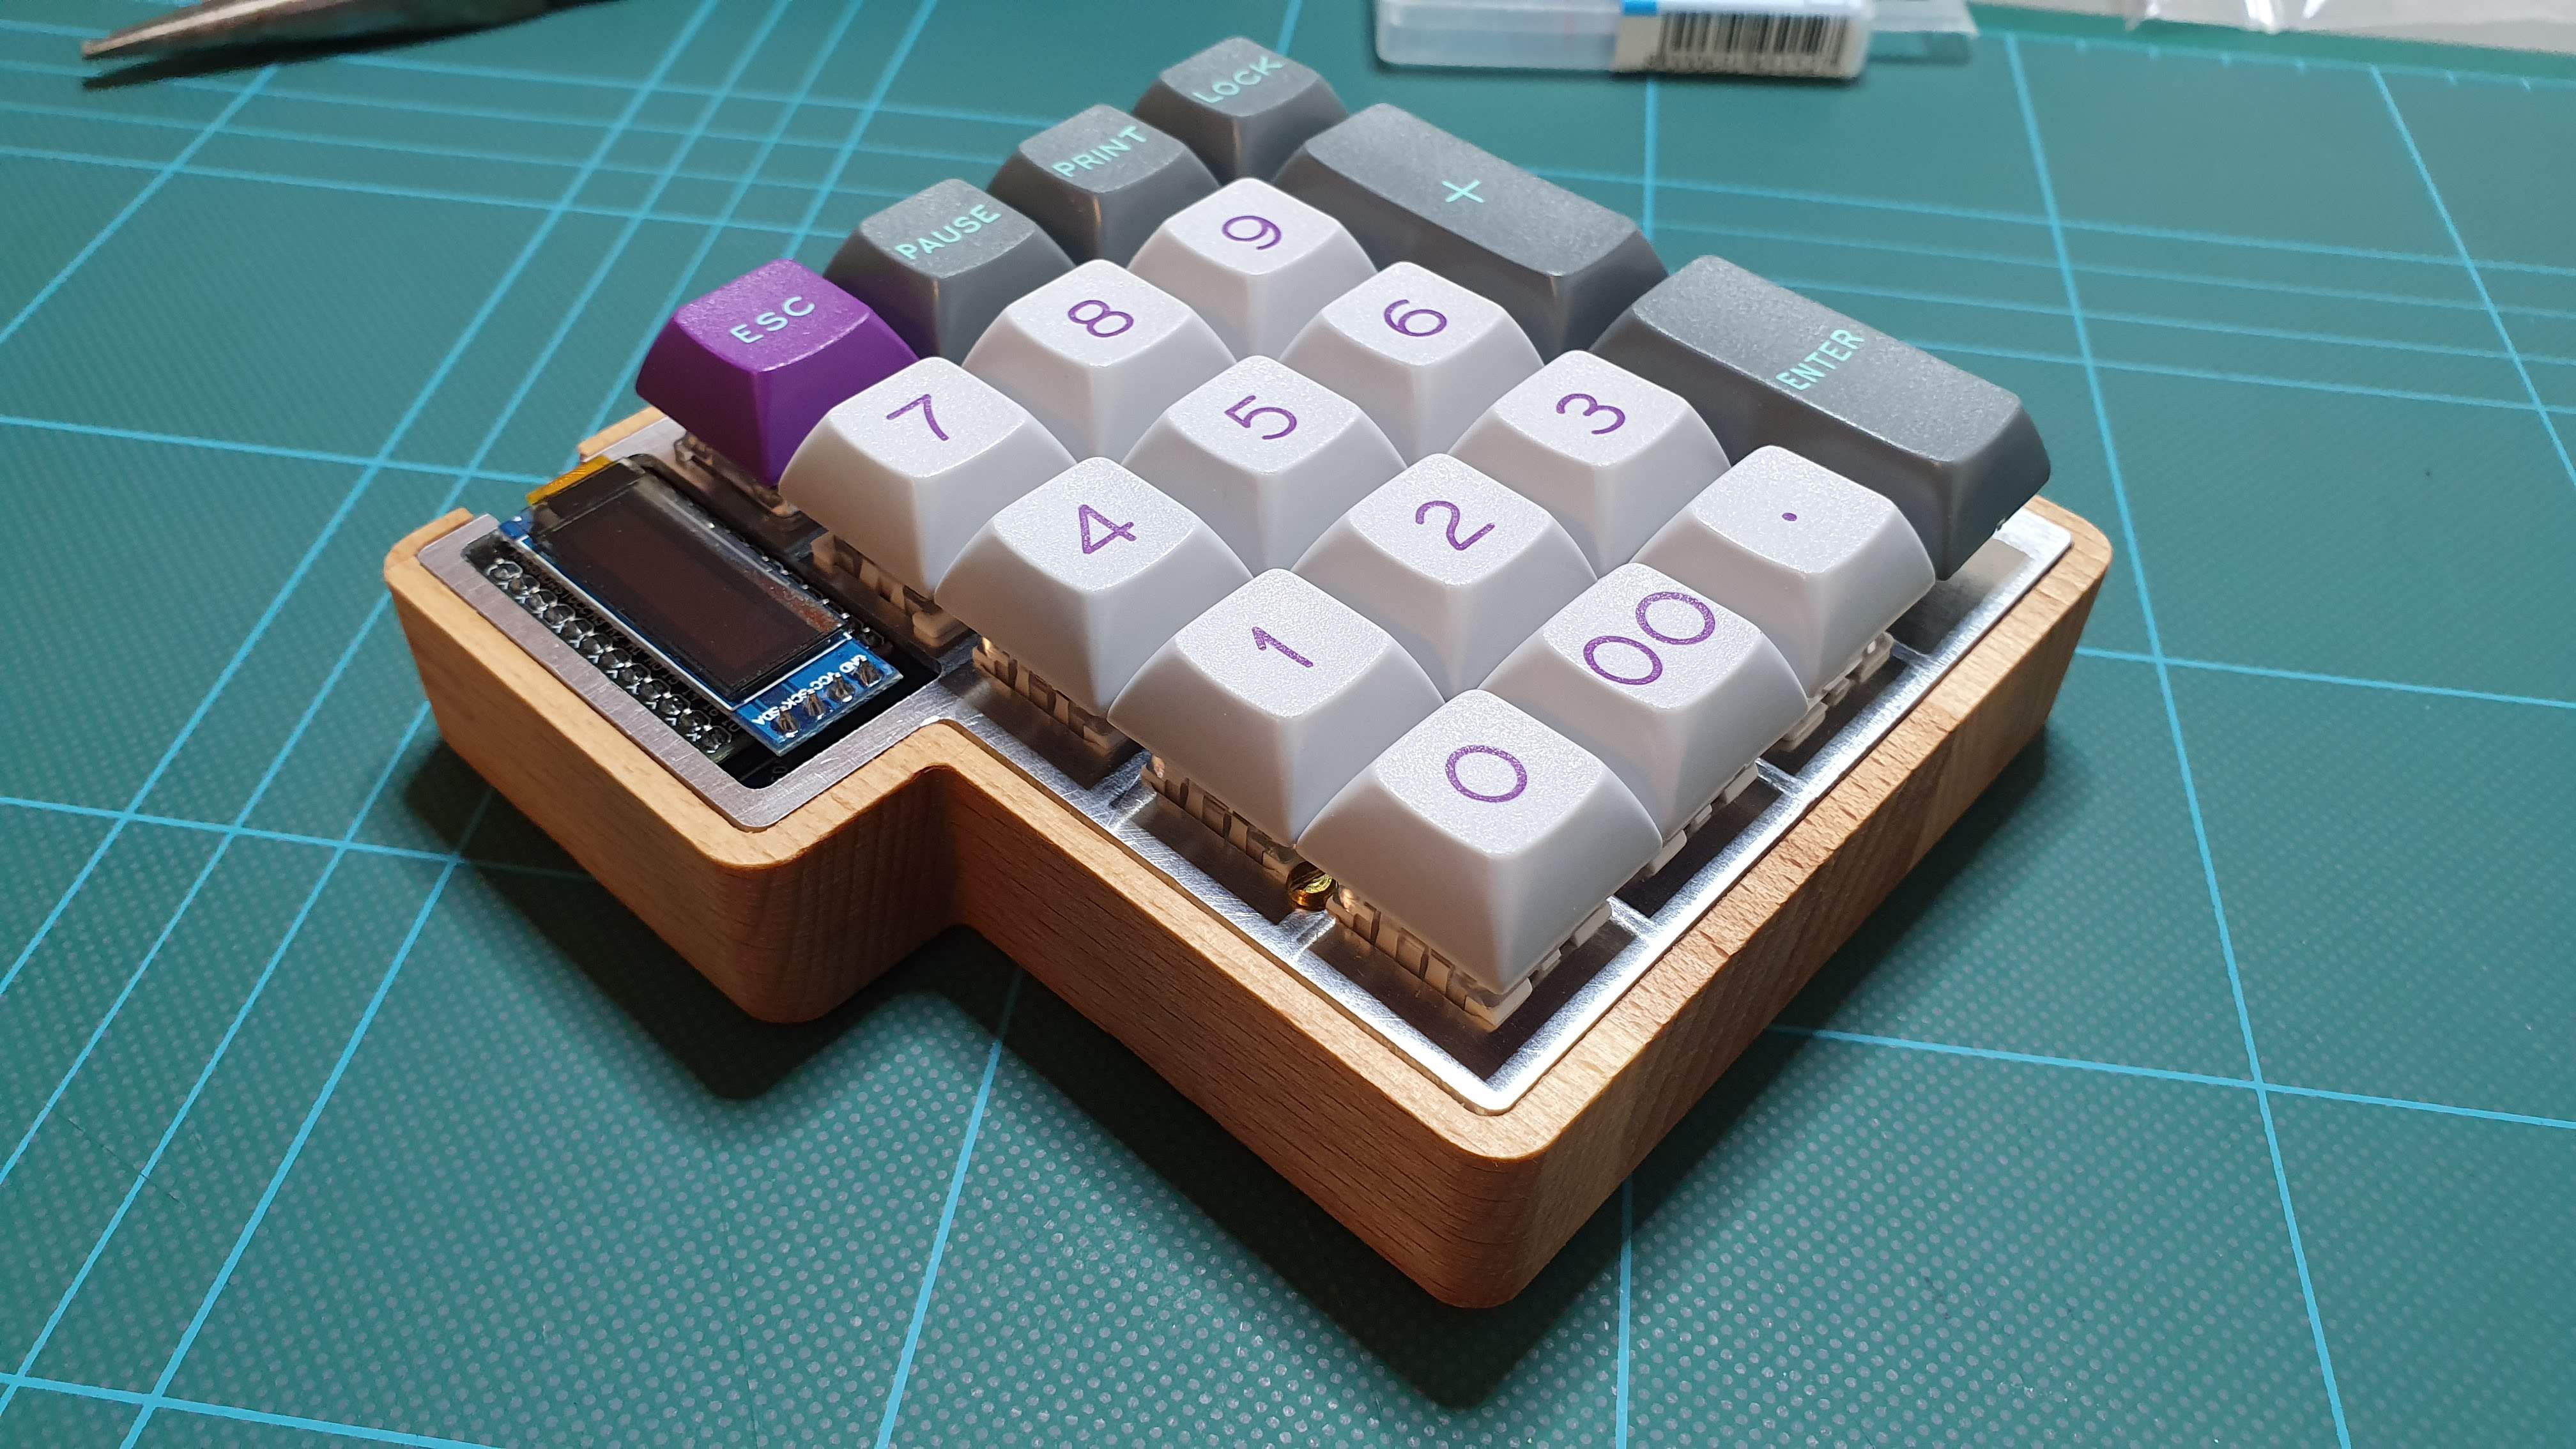
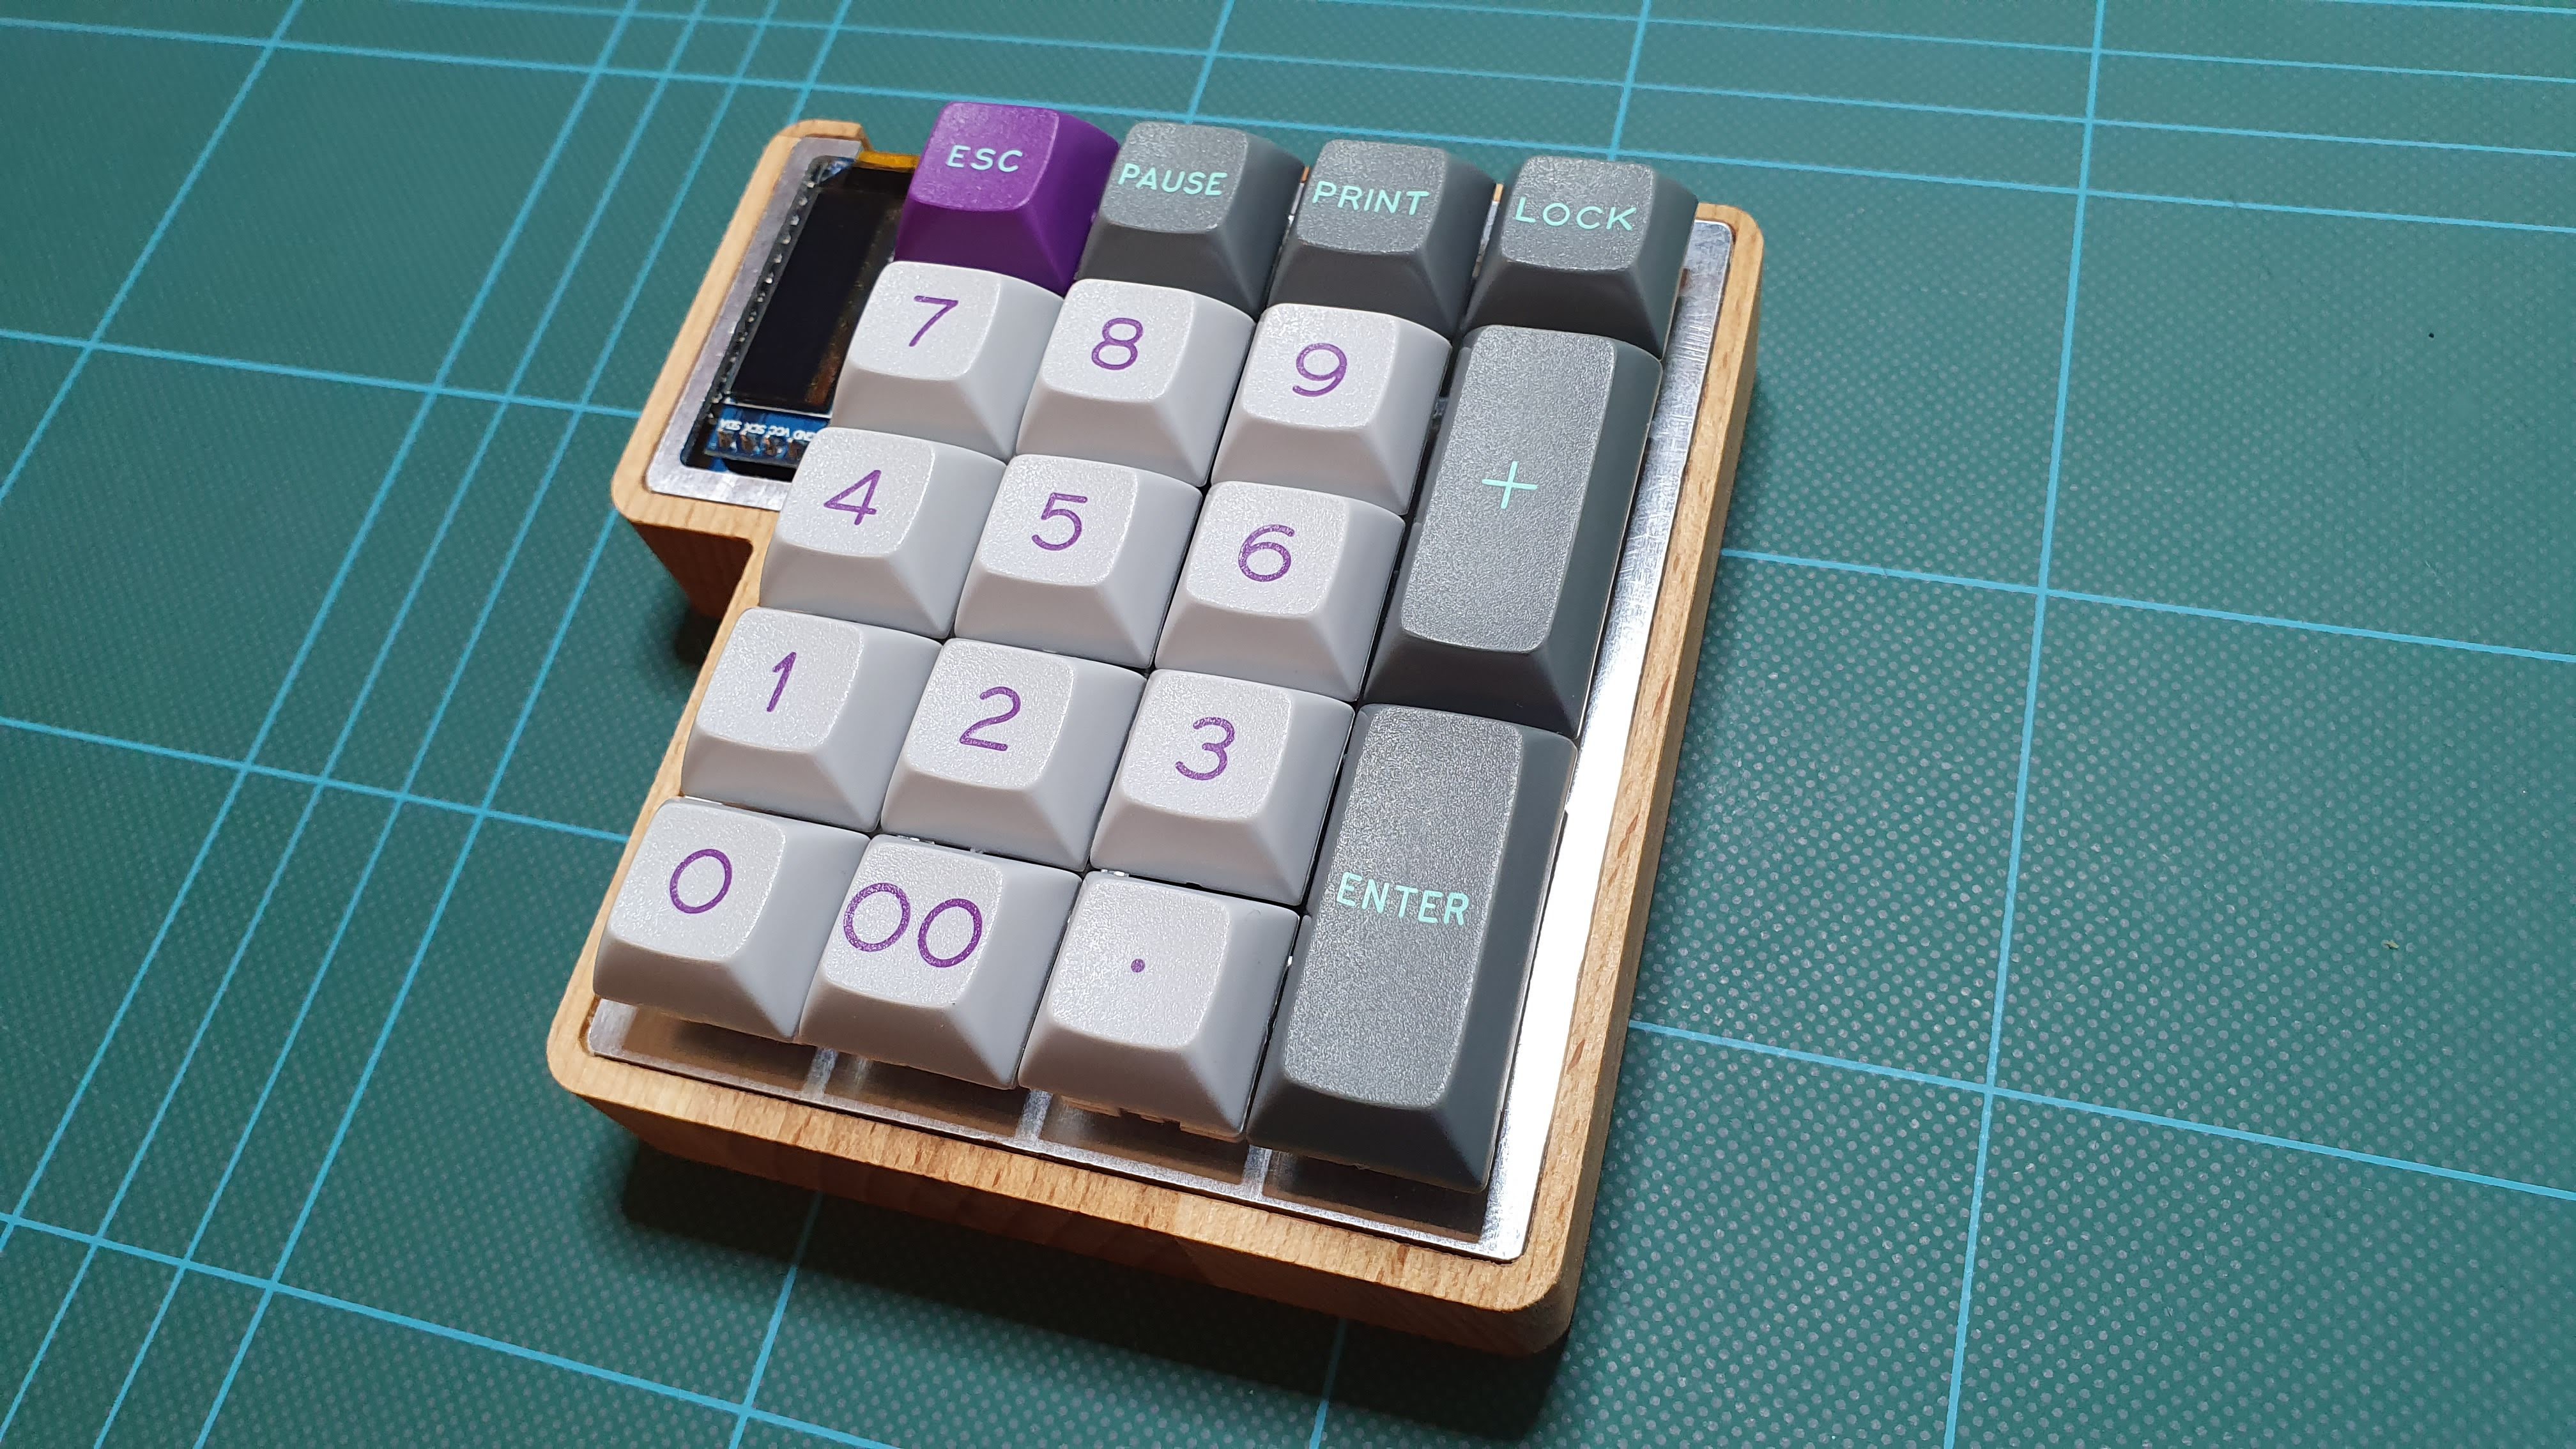 I really like the contrast between the aluminium plate and the brass screws.





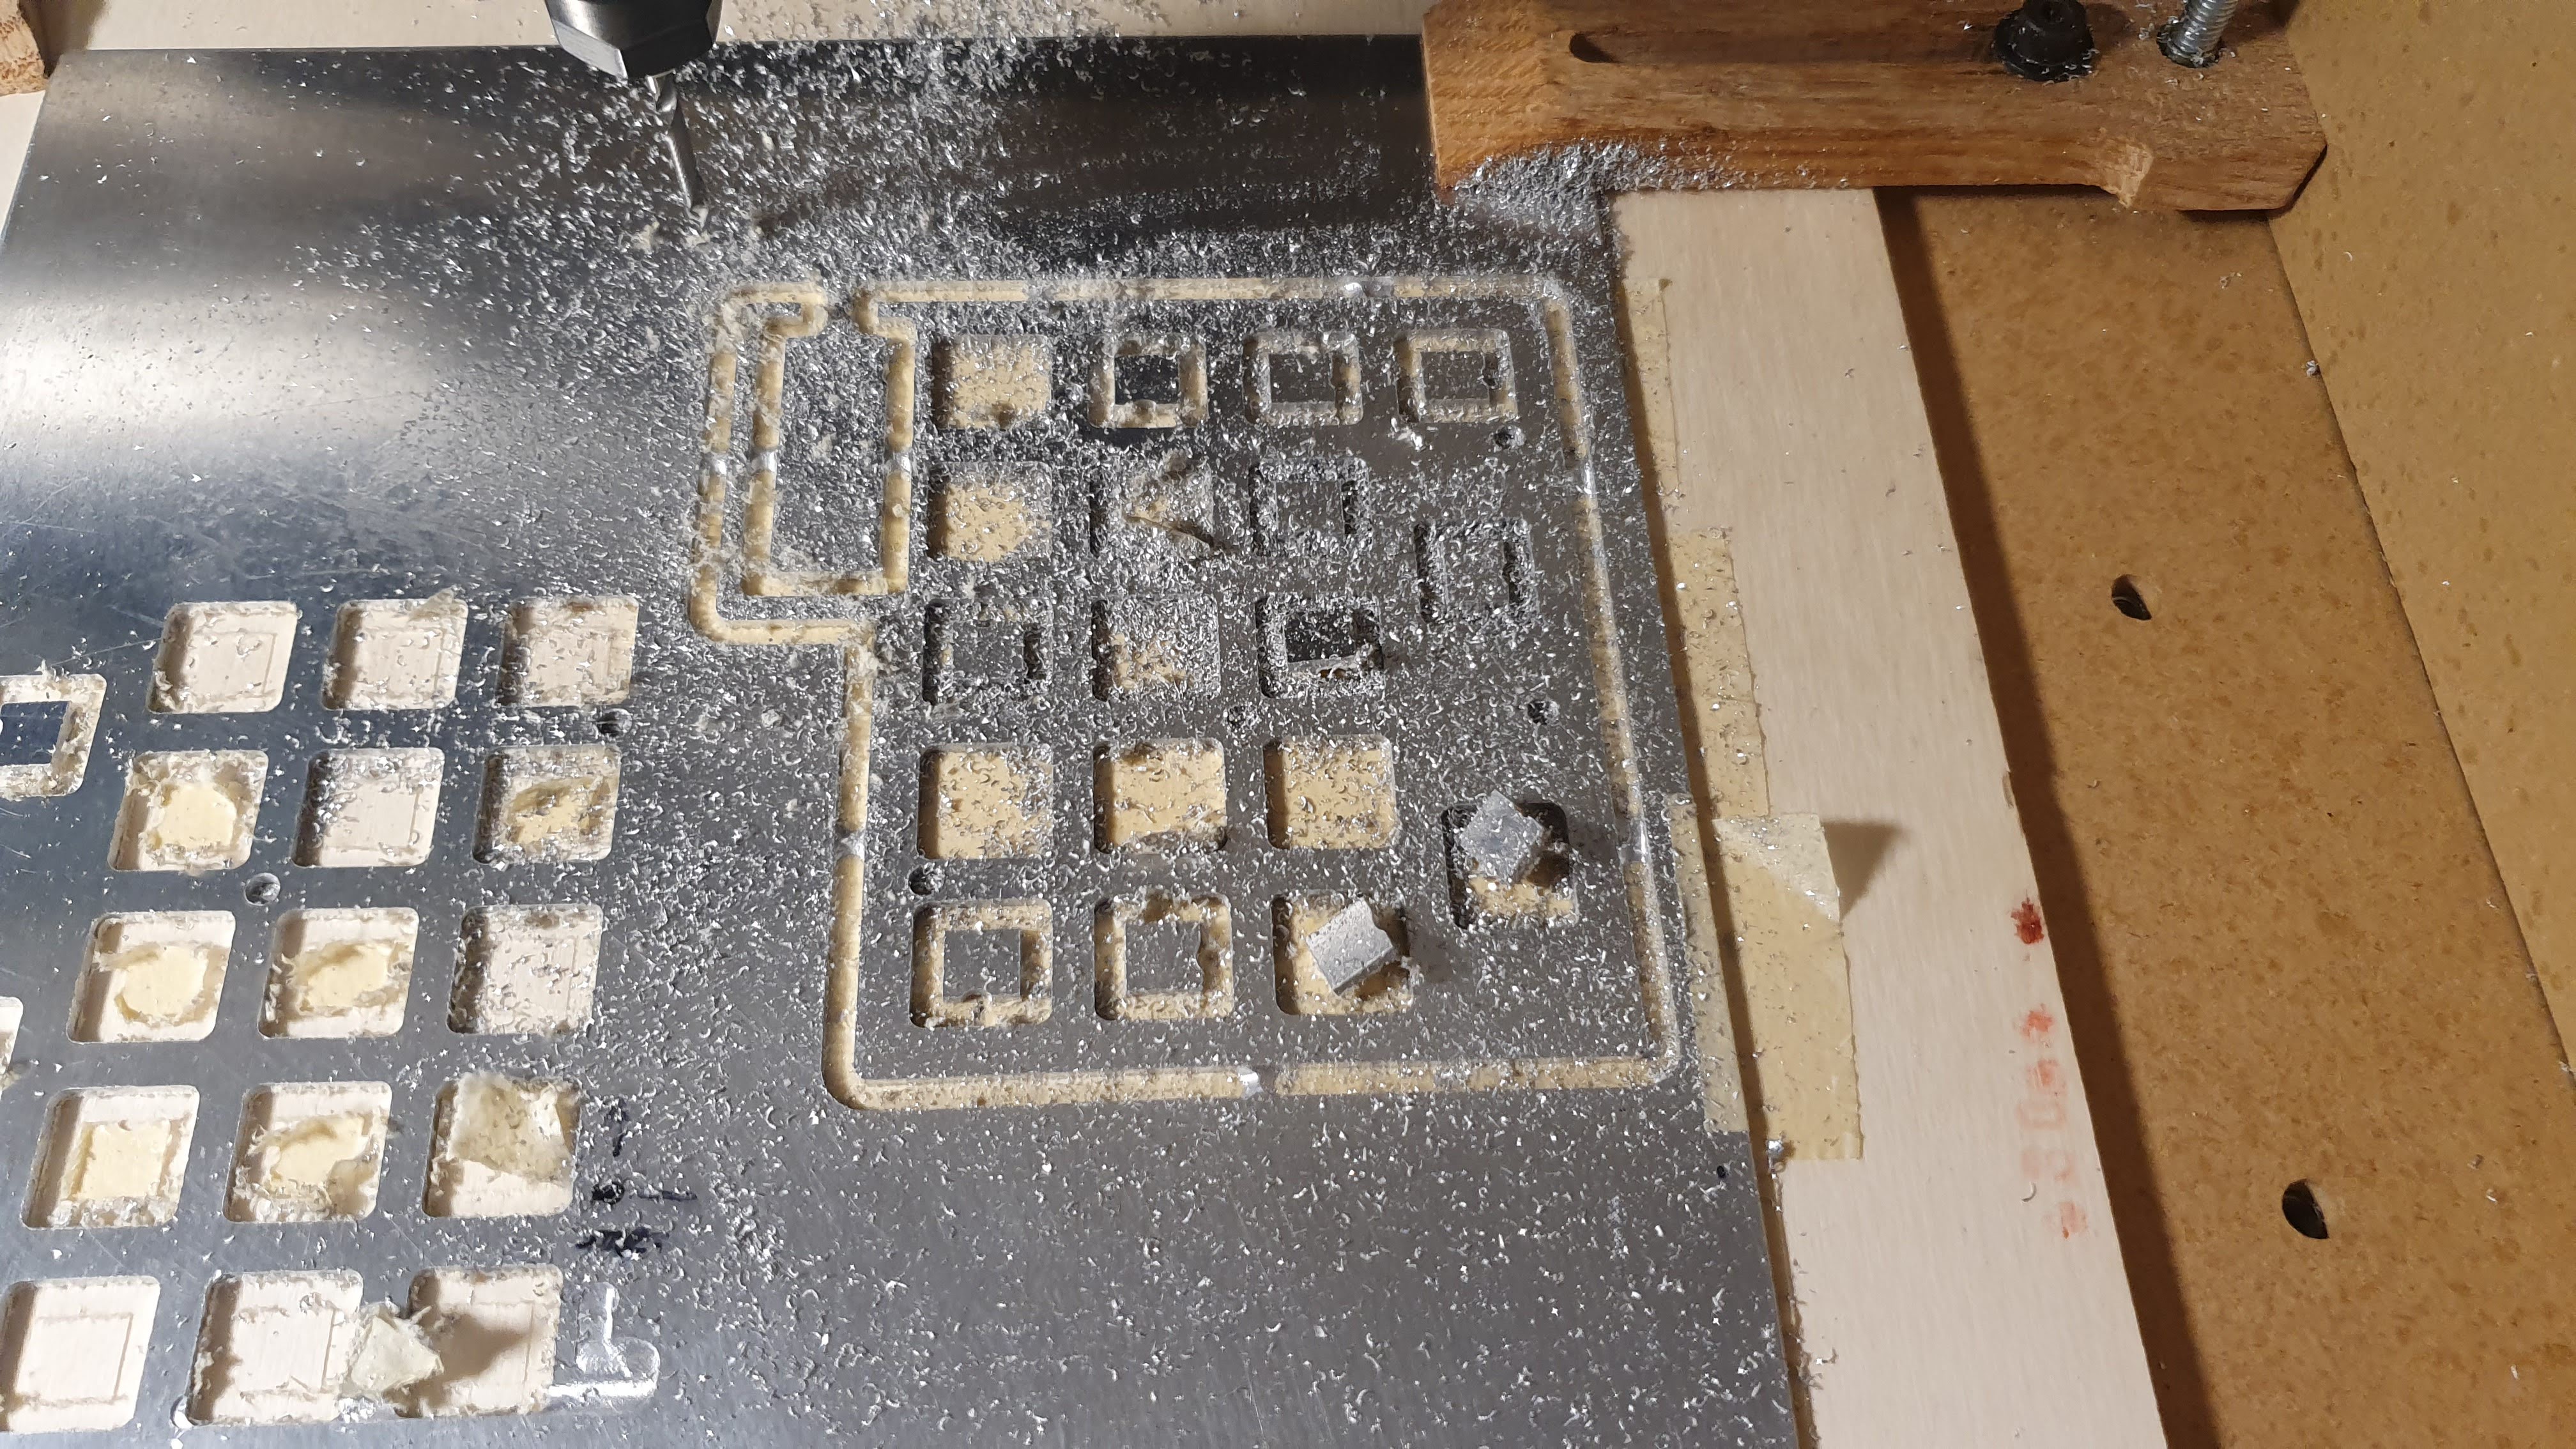
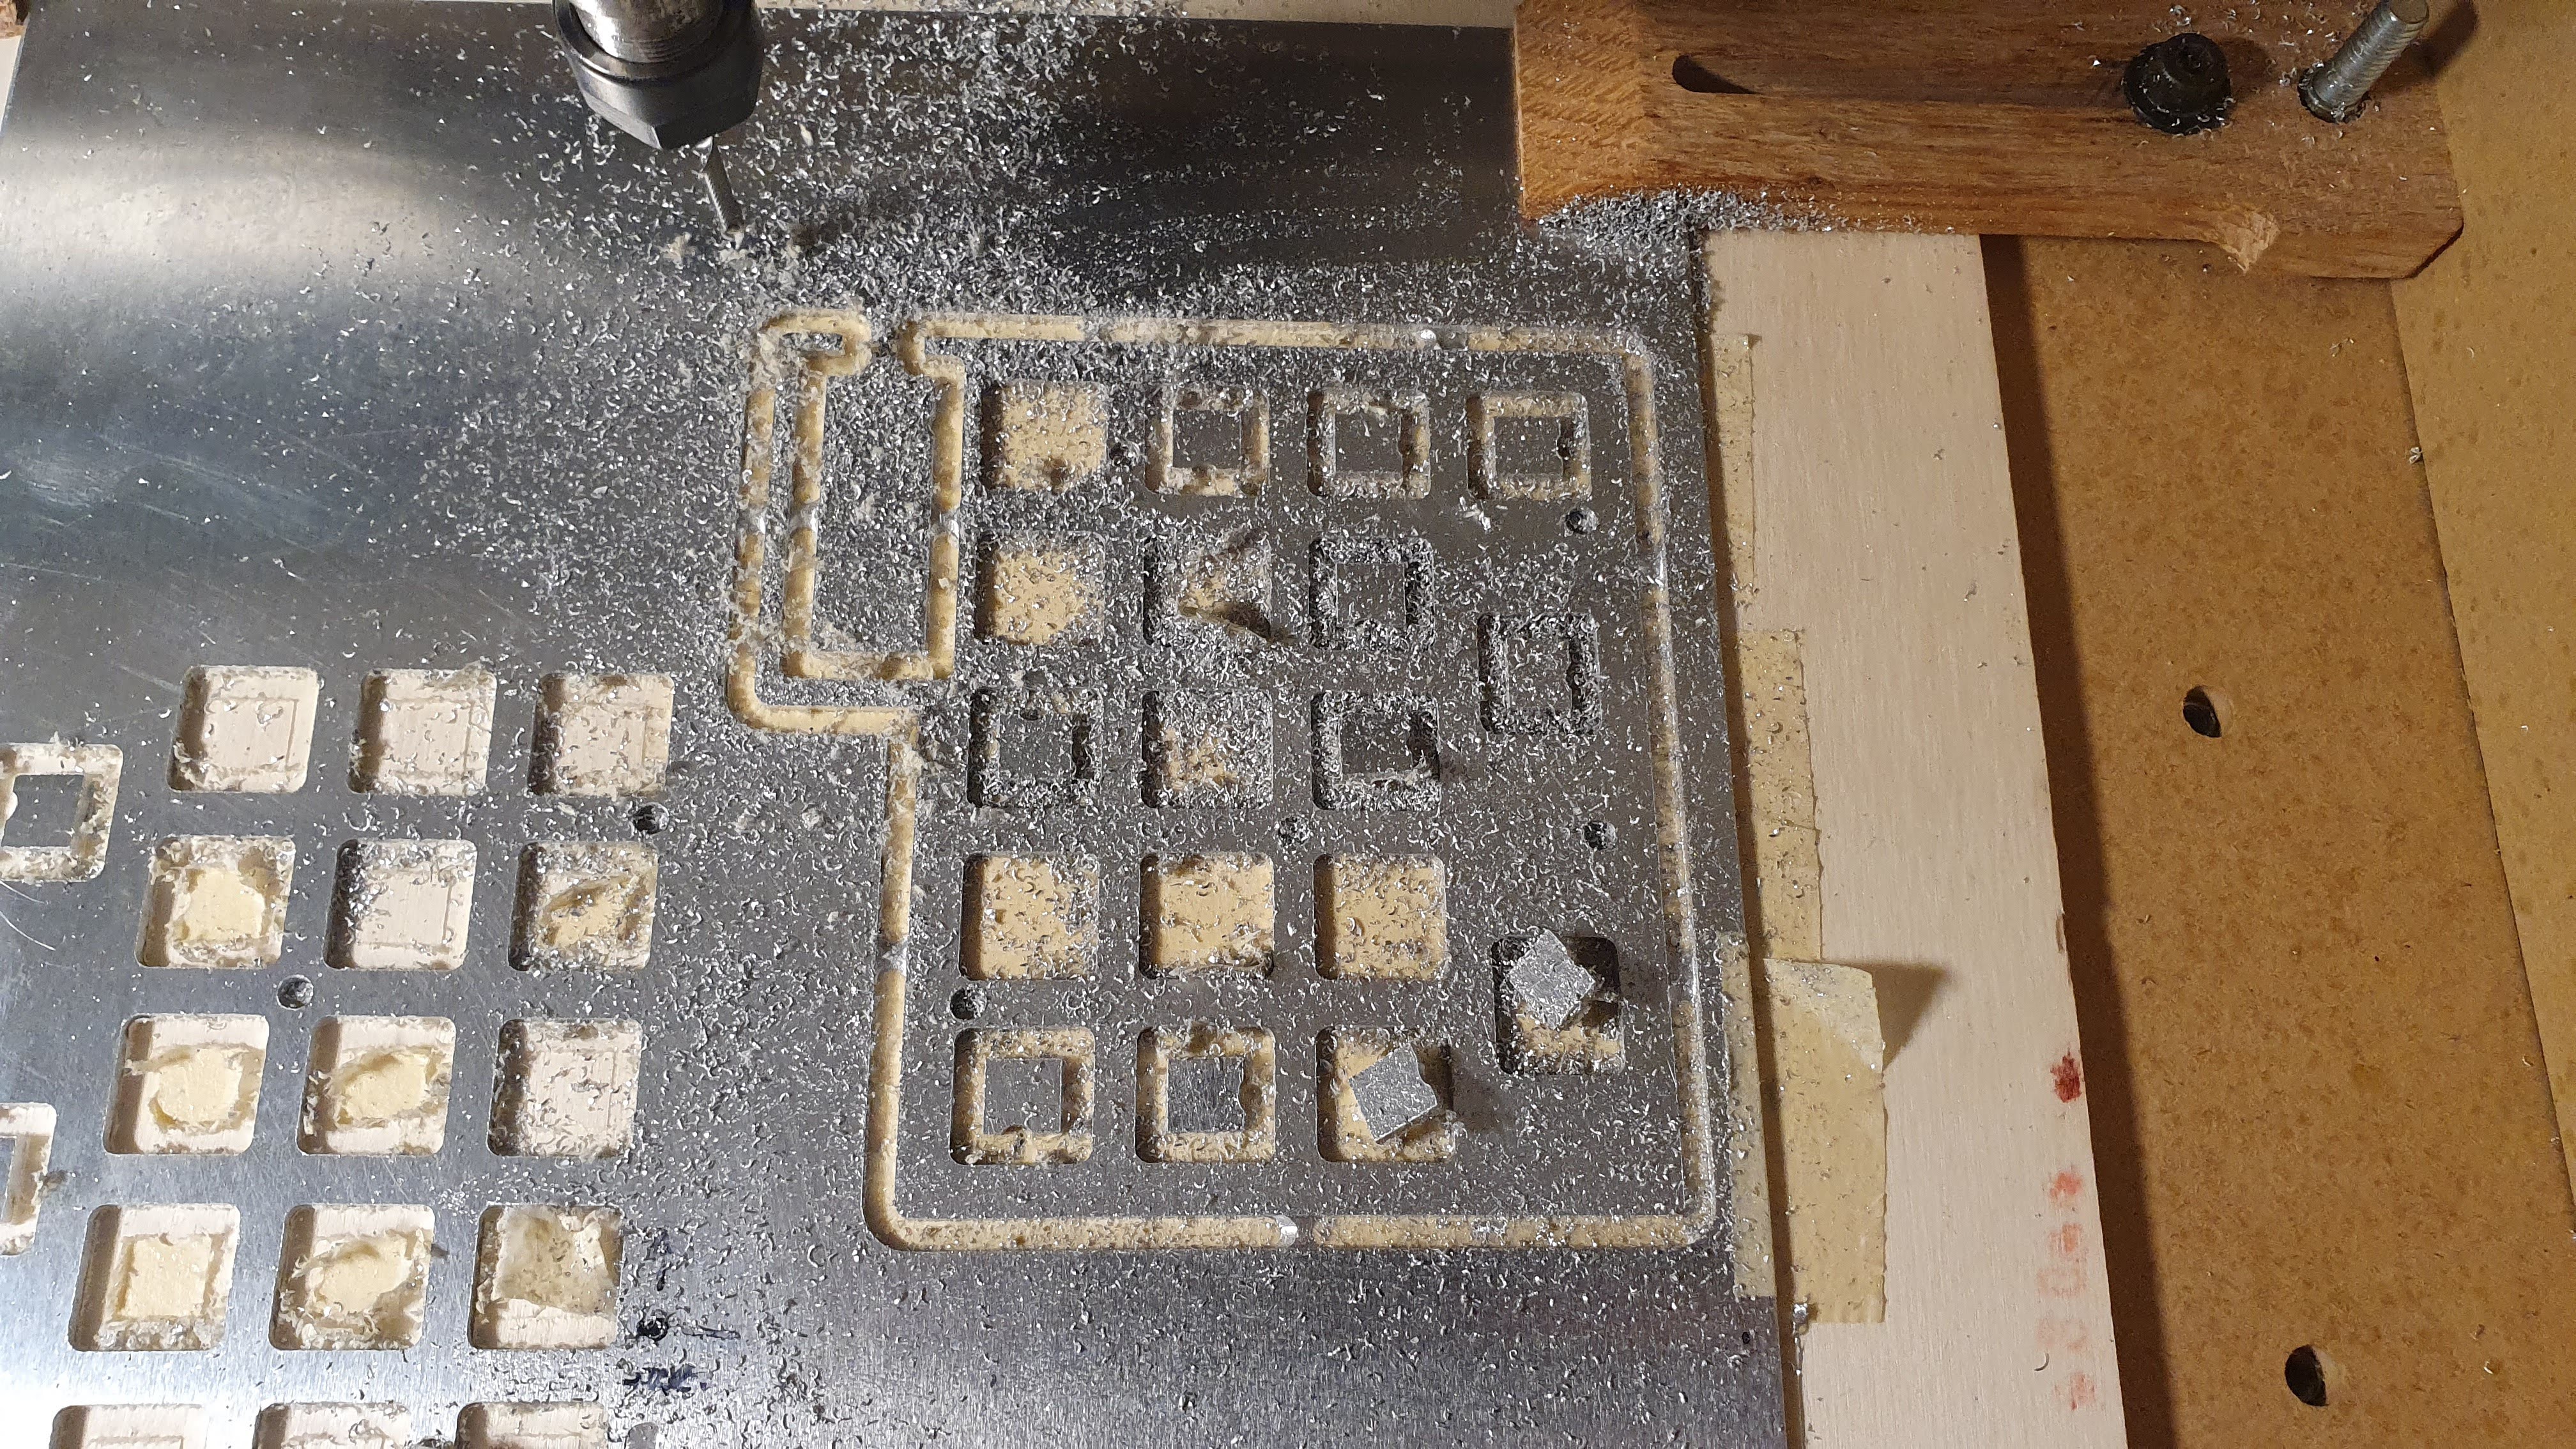
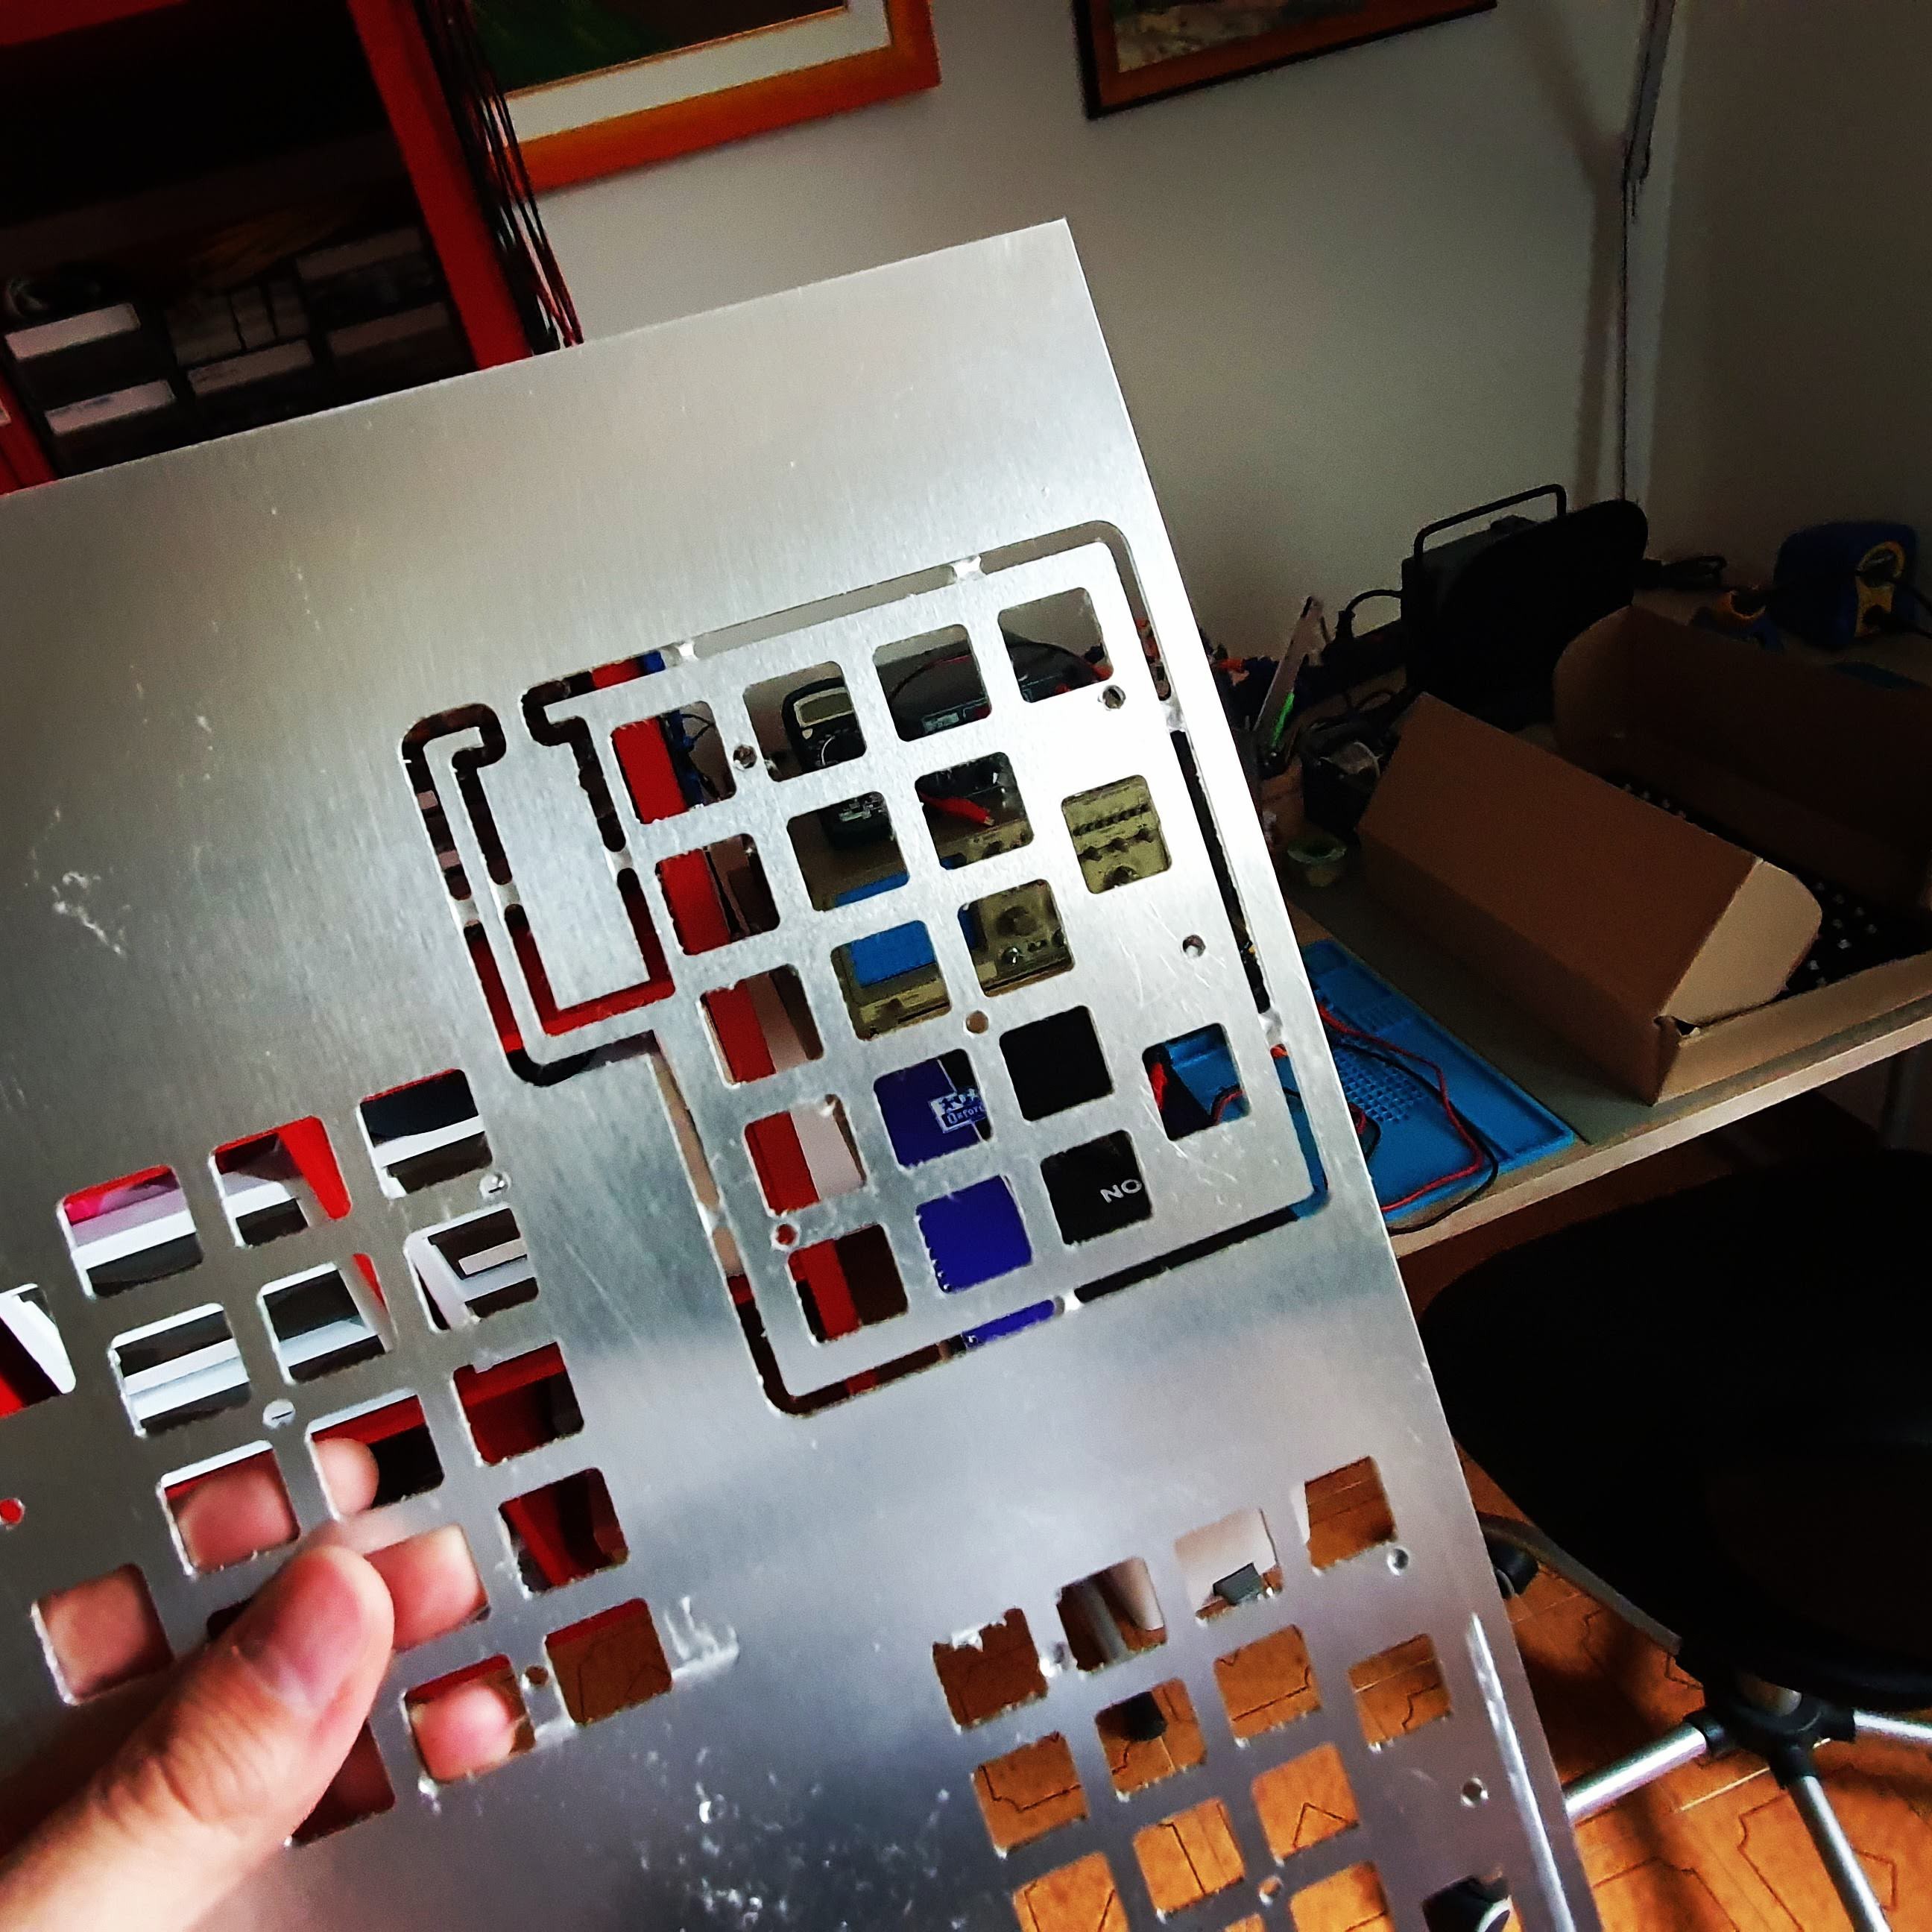 Everything went smooth. I knew the CNC was capable of cutting aluminium, it was only a matter of debris. All dimensions seems to be ok.