Don Straney
I made this little in-line converter years back because I had been playing a bunch of old Super Nintendo games in the ZSNES emulator, and controlling Mario with a keyboard is just not right. Sure, there are probably some commercial controller-to-USB adapters, or direct USB controllers, or other people's projects for doing the same thing, but what fun is all this shit if you don't do it all yourself? Fortunately, a friend managed to track down an off-brand SNES controller clone, which I bought for $5, so the largest part was in place. An extender cable for another few bucks to cut up for its connector, and external parts were ready. PCB design time!
Electronics
After designing the board in DipTrace and getting it manufactured by one of the cheap hobbyist services, here it is all built up:
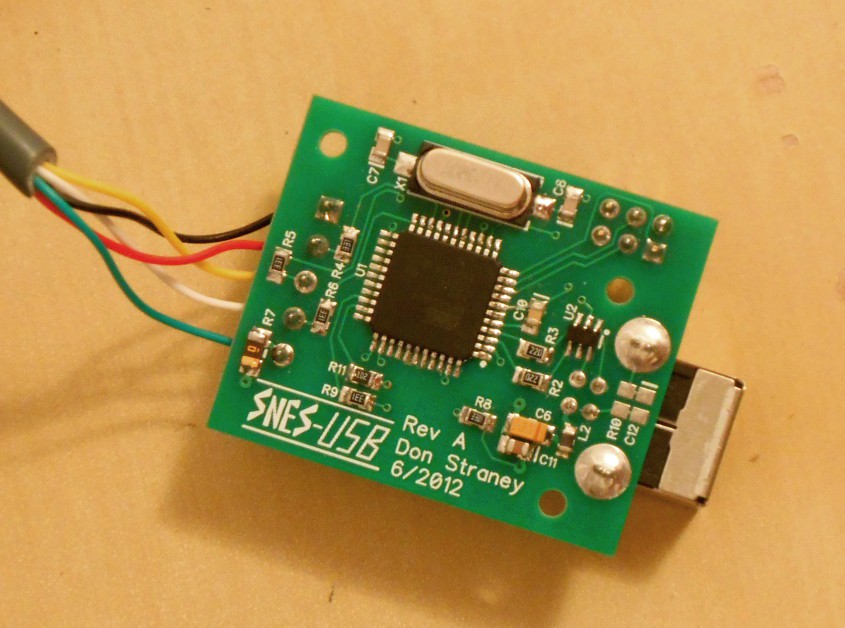
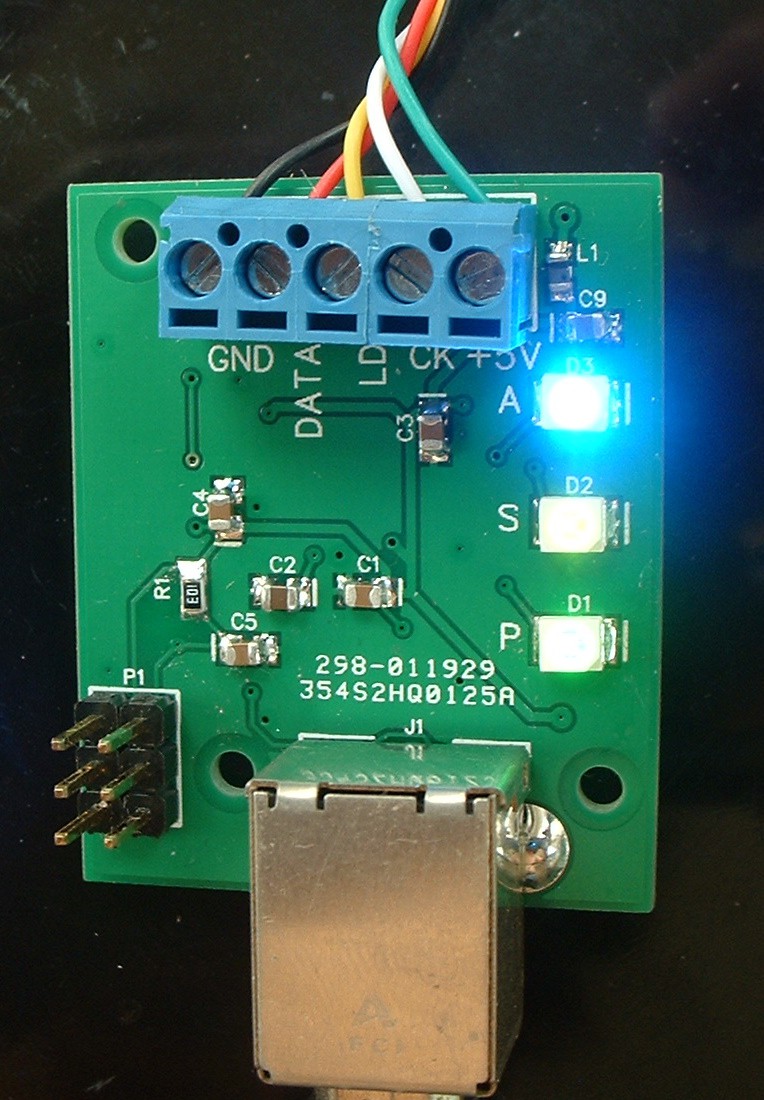
The actual circuit is really simple - just an ATmega16U4 USB microcontroller hooked to the USB port, three LEDs for power and status indications, and screw terminals for connecting to the controller cable.
There's some reasonably-paranoid protection for all the connections to the outside world, which is often what makes the difference between marginal designs and ones that work ok in real life (as in, "nothing will blow up if I short any pin to any other pin"):
- The USB port has an ESD protection chip, put there more than anything else to clamp the power rail during transients on plug-in, in case the 10uF tantalum doesn't provide enough bulk capacitance.
- The controller connector has some series resistors on the signals for current limiting in case of a short. The 5V power output also has a PTC resettable fuse to make sure the adapter can survive something going wrong in the controller. There's also a relatively-high-impedance ferrite bead as a handwave-y bit of noise protection which almost certainly does nothing (one was recommended for the USB power connection anyways, so why not? Resonance at the controller/keyboard end from the bead's inductance likely isn't a problem as these devices almost definitely have some large high-ESR damping capacitance, plus the PTC fuse's series resistance helps).
Finding controller pinouts online and some work with the multimeter told me which color wires in the controller extension cable served which purpose.
A quick note on the BOM: some of these parts (tantalum cap and the LEDs, I think?) are almost definitely obsolete by now and unavailable. All of it is really generic stuff though, except the ATmega and the ESD protection chip - just find another part with the same ratings and same footprint and you'll be fine.
Firmware
The firmware side was very easy - using the excellent LUFA library (www.lufa.org) and the keyboard demo app which comes with it allowed me to quickly get my adapter showing up as a USB keyboard and sending back keypresses. The only challenge was bit-banging the interface to the SNES controller itself. Because the guts of the controller are just a shift register, this is very easy as the ATmega can poll the controller whenever it feels like it, between handling USB things.
(Changing the key mapping for the controller means recompiling/re-flashing the firmware. Go into snes-to-usb.c, find the CALLBACK_HID_Device_CreateHIDReport function, and change the scancodes there which it reports back to the USB host.)
The AT and PS/2 keyboard versions use the ATmega's built-in serial peripheral, due to the keyboards being the ones to initiate each transfer. Manual bit-banging here was (1) more trouble than it was worth, and (2) meant that the keyboard often sent bits which got lost because the code was handling other (USB) overhead at the time.
All the original firmware source is released under the extremely permissive "do whatever the fuck you want" license, minus the actual LUFA code contained as part of it (see the README for each firmware package).
Mechanicals
Now to build...
Read more »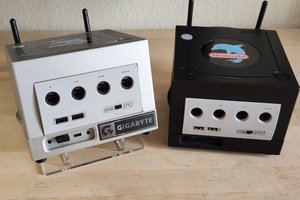
 RetroModder
 Julian Calaby
 danjovic