I used a kinematic mount with great results in my CoreXY printer, Ultra MegaMax Dominator (UMMD), and wanted to make some changes to a previously built printer, Son Of MegaMax (SoM). I decided to try the kinematic mount in that printer, too, while I was making other changes.
The updates to SoM were primarily a rebuild of the Y axis. It was ball screw driven, and had a 24V, 450W heater with a matching industrial power supply that sounded like a vacuum cleaner to power it. The plan was to convert to belt drive and hopefully reduce the noise level of the drive while gaining print speed, and replace the heater with a 750W line powered unit that would let me replace the industrial power supply with a smaller, quieter unit.
All that stuff was simple and straightforward, but I was a little concerned that the start-stop motion might cause the bed to bounce since it is held down by springs with the kinematic mount.
Kinematic mount
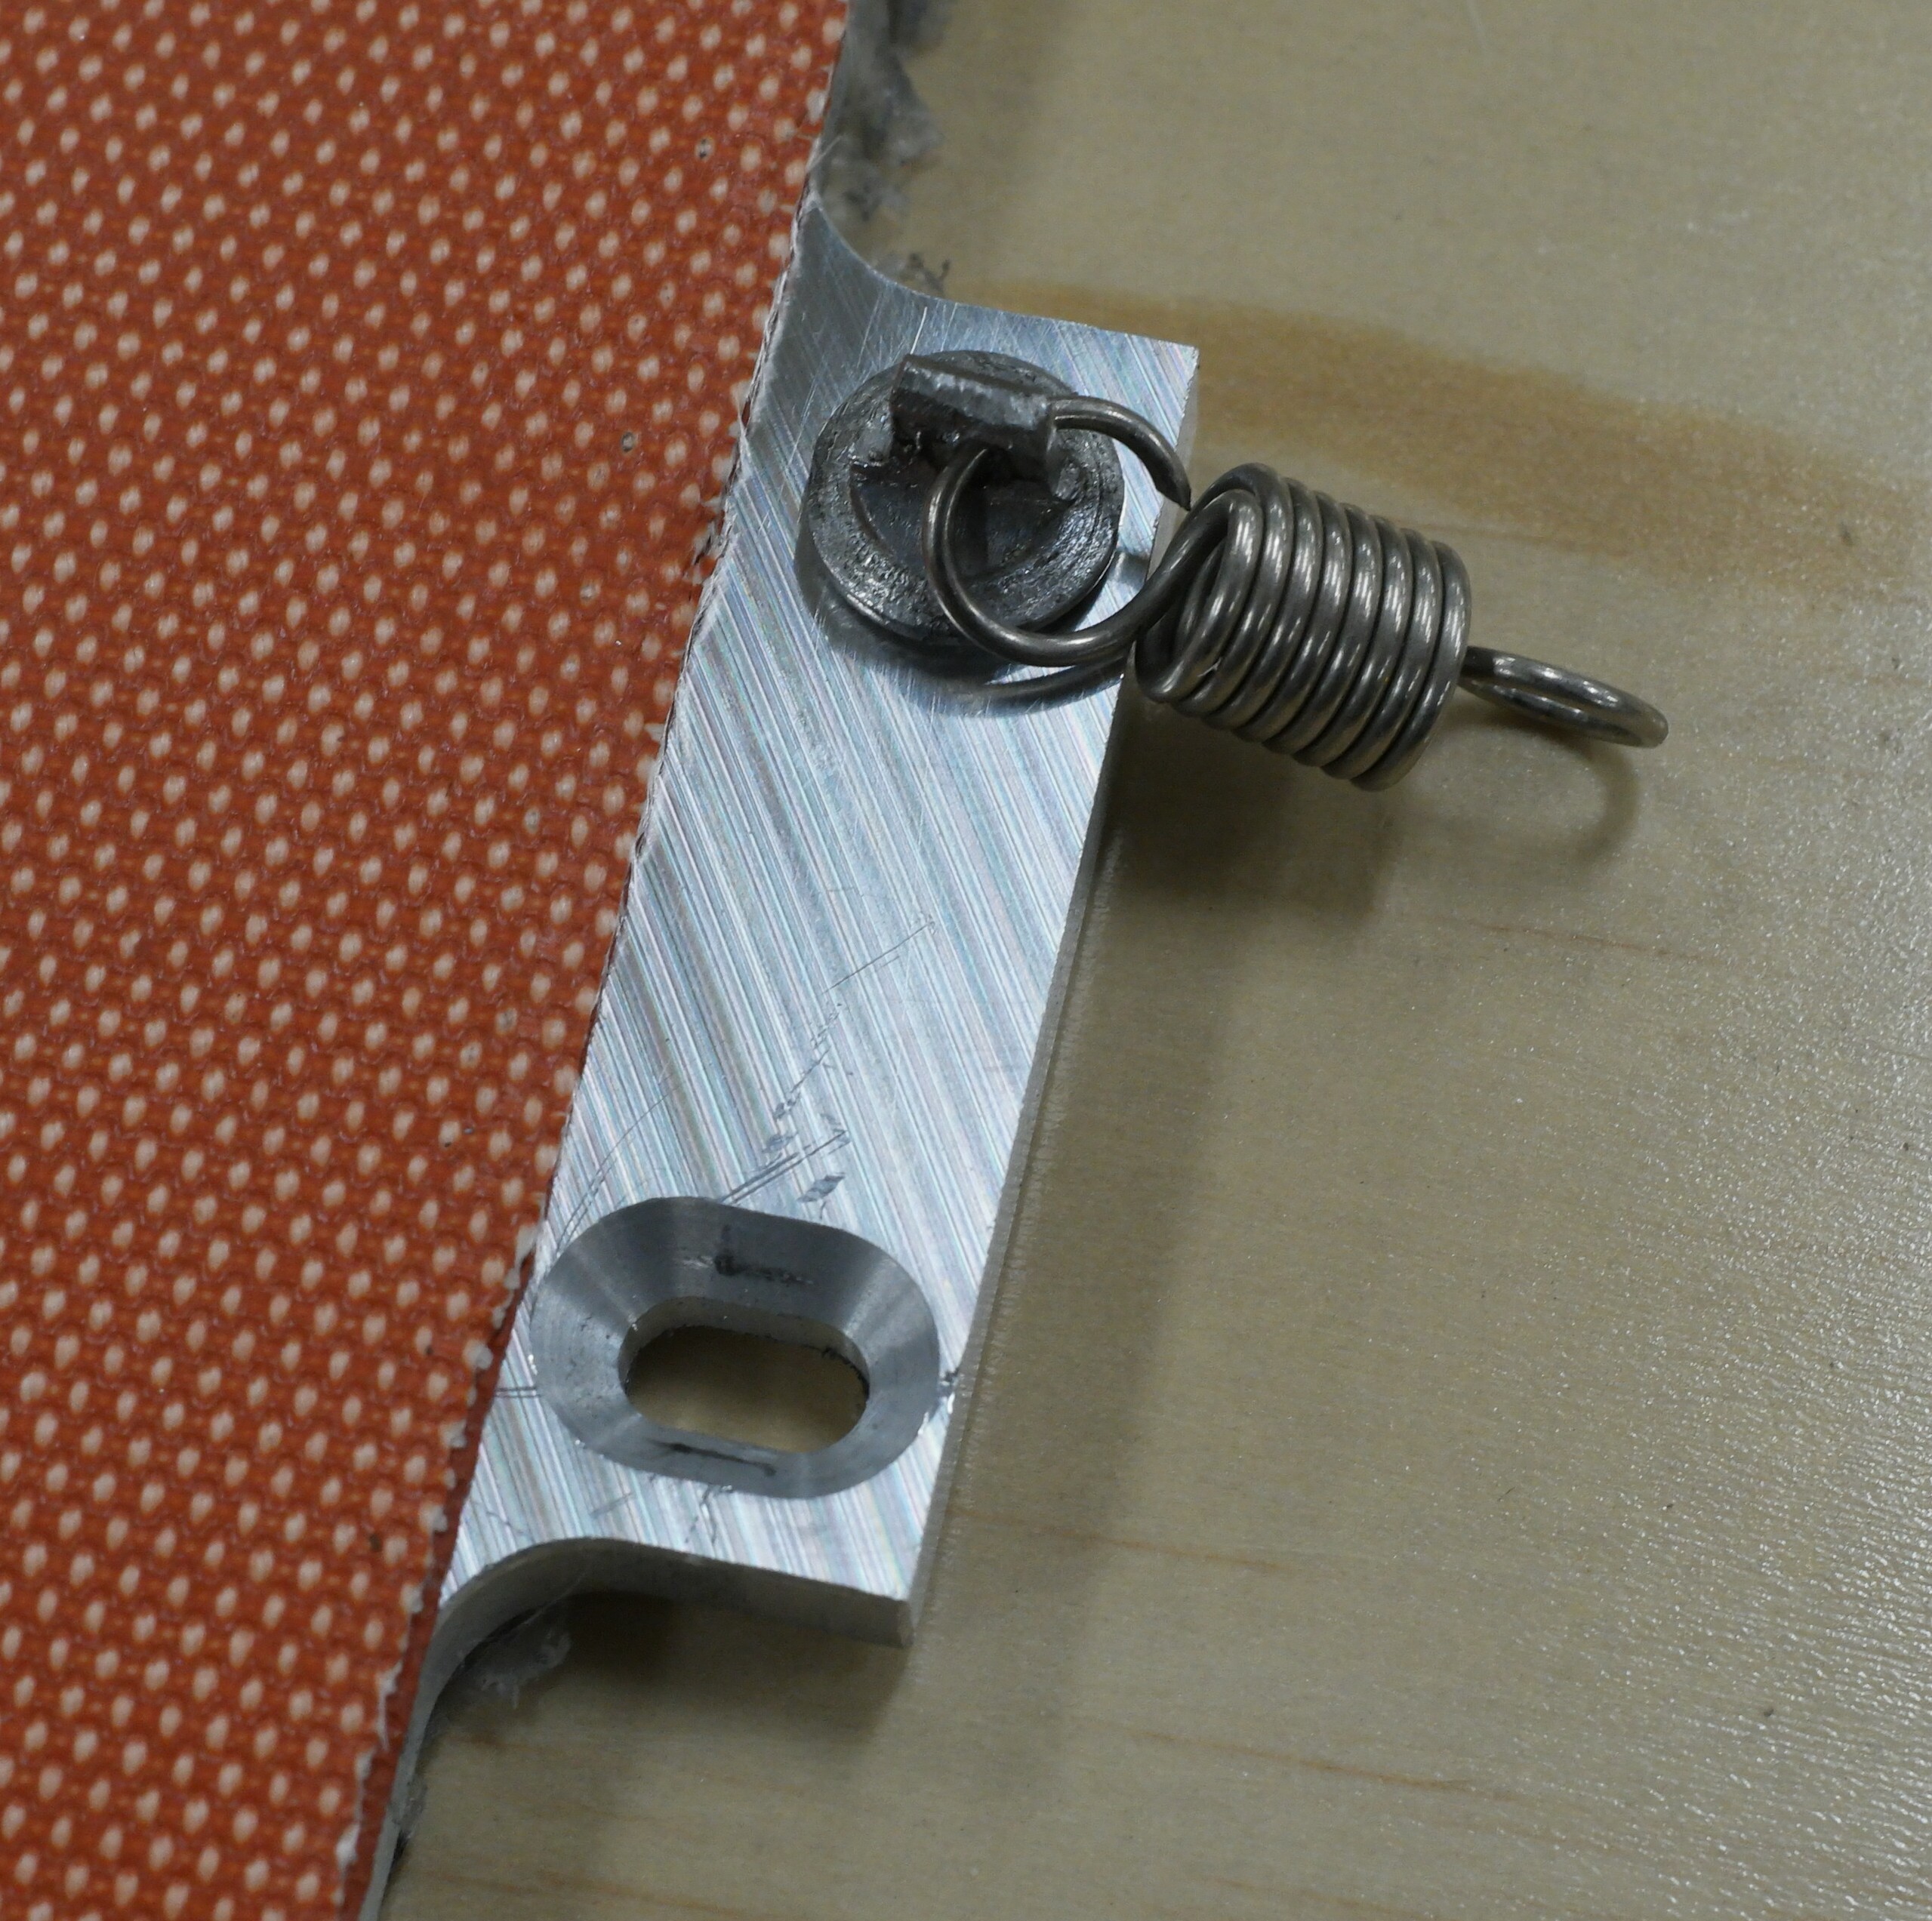
I used a Kelvin type kinematic mount in which the bed sits on top of the leveling screw heads and is held down by springs. The Kelvin mount is much easier to make compared to a Maxwell type mount because it only requires drilling one hole and milling a short slot in a line parallel to one edge of the bed plate.
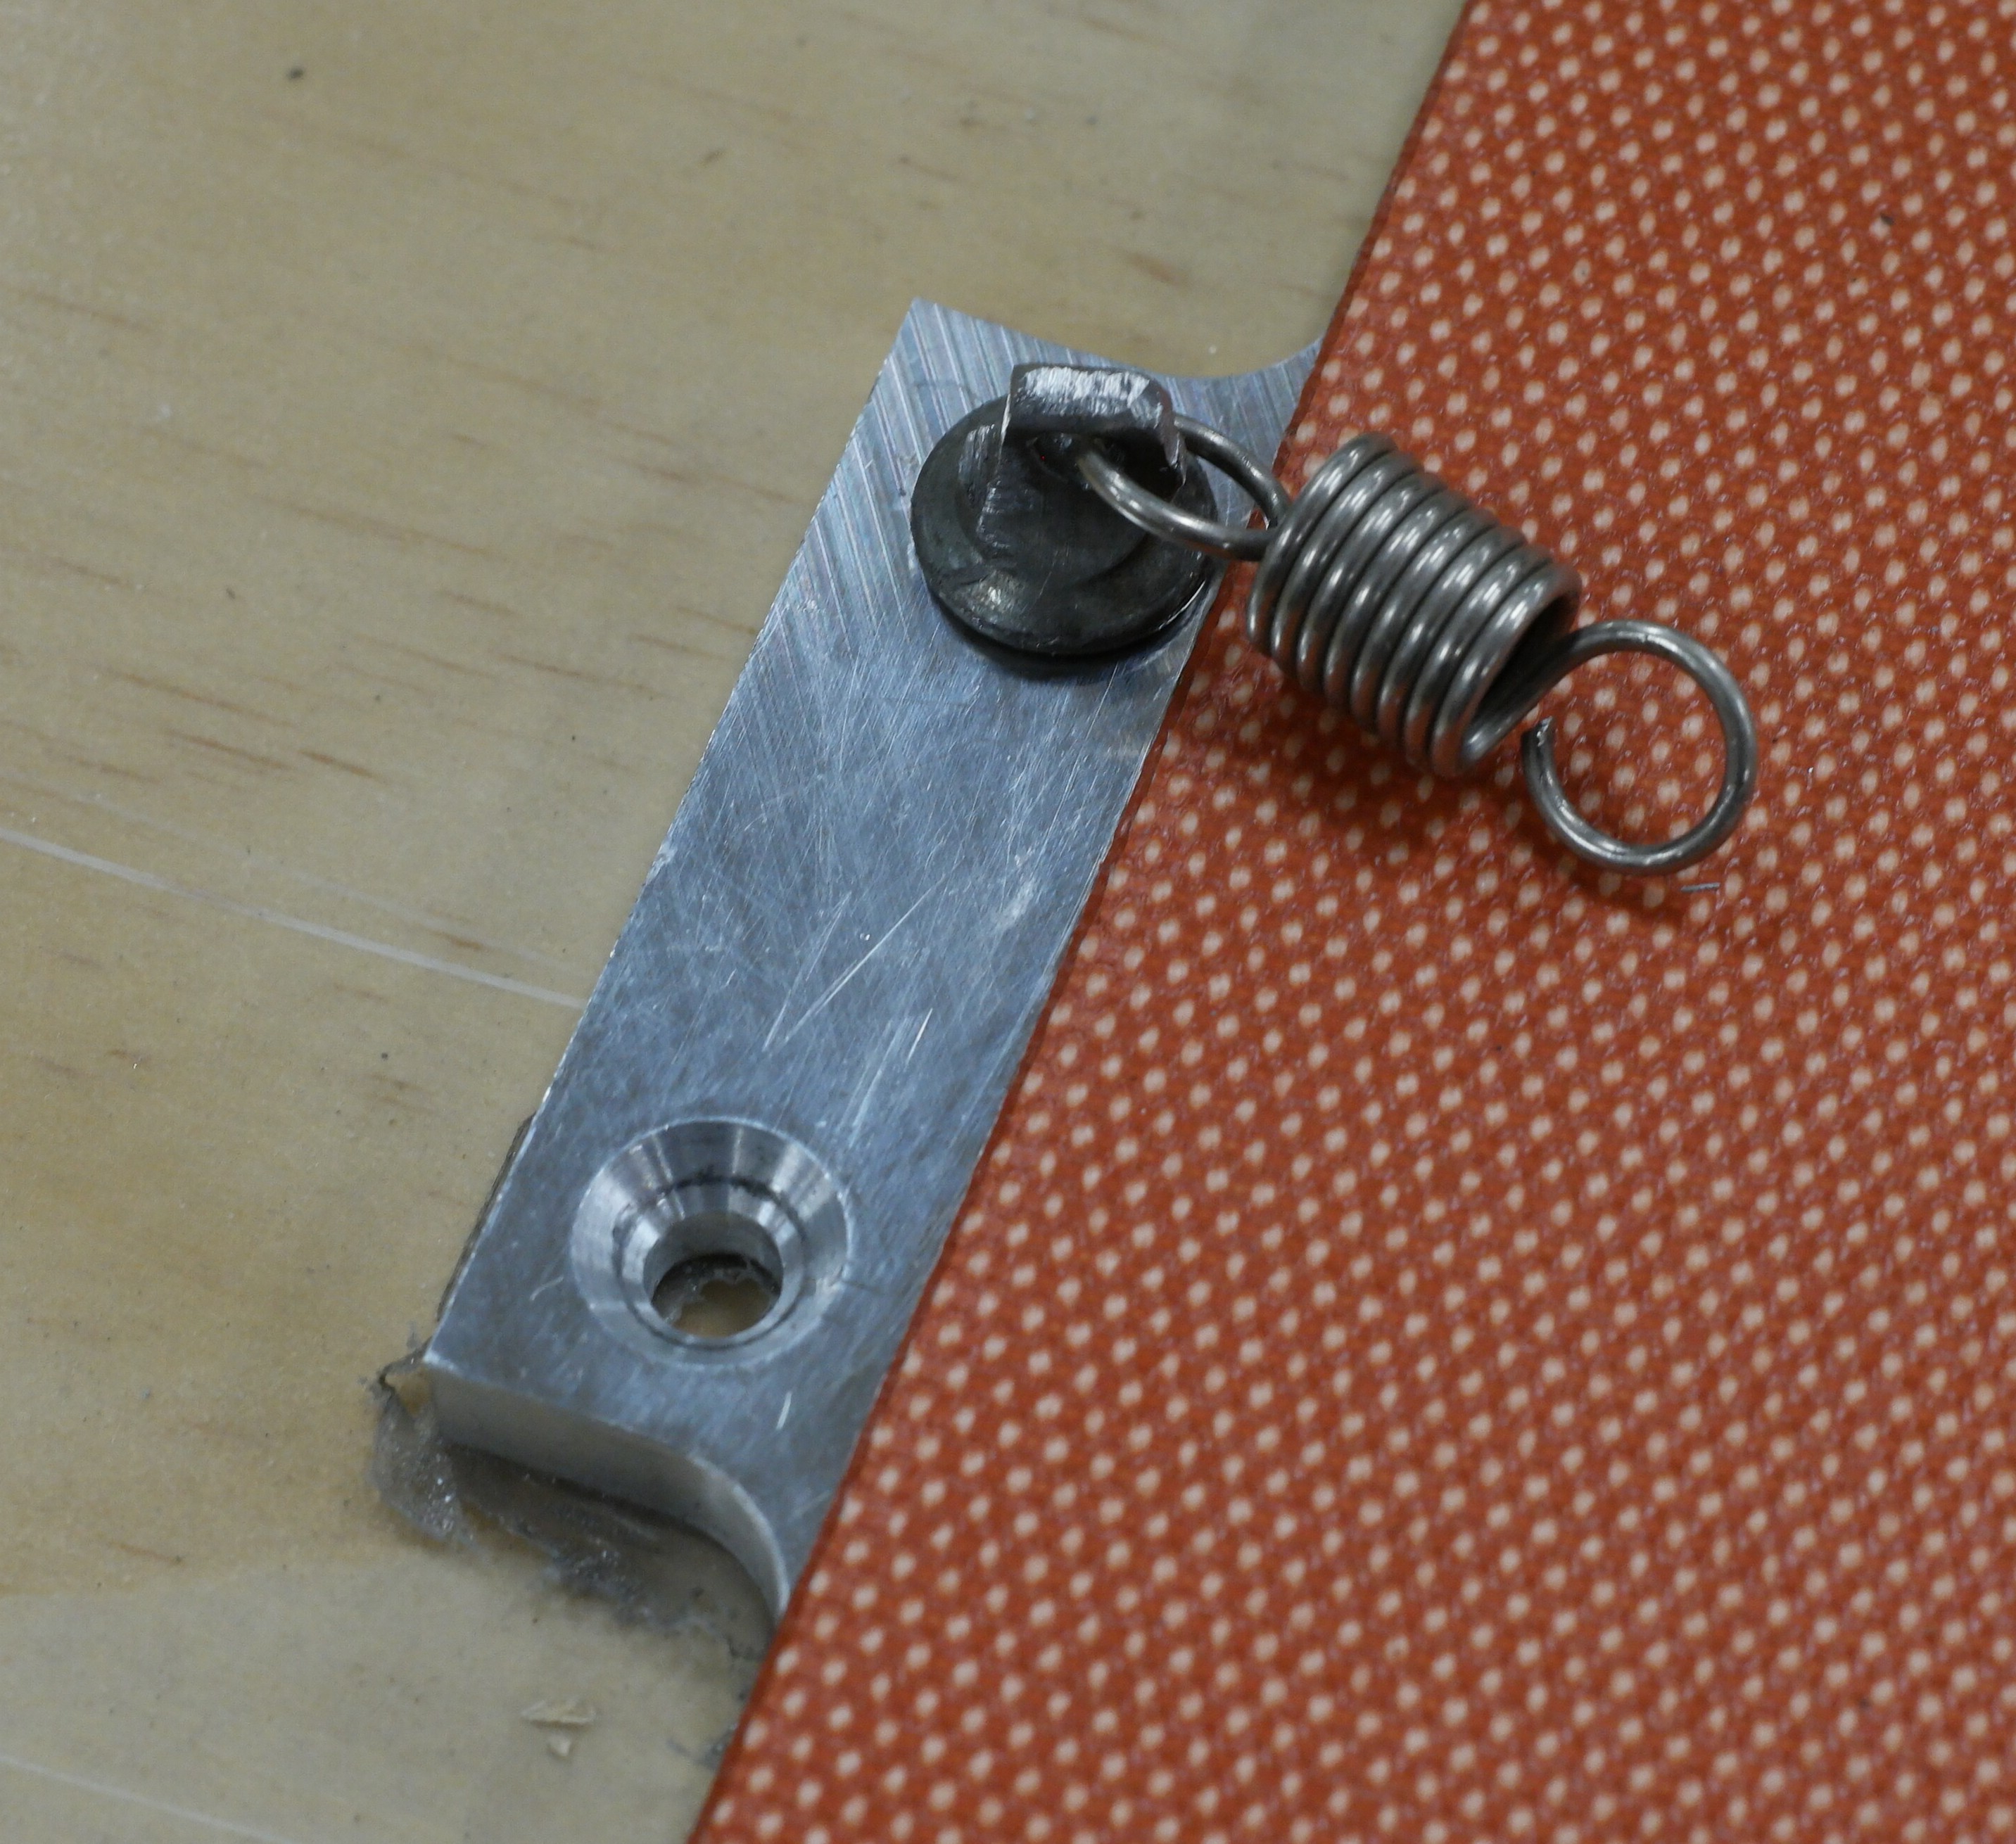
There are three levelers, one for reference, one for pitch and one for roll. The reference and pitch leveling screws have spherical heads that sit in a chamfered hole and a chamfered slot, in this case, along the Y axis of the printer. The roll adjustment screw simply contacts the flat bottom side of the bed plate. The chamfered hole and slot restrict the motion of the plate. Leveling the bed is done by adjusting the pitch first (using a 2.5mm hex key n the top side of the bed), then roll (using a thumbwheel on the bottom side of the bed).
This type of mount is very stable because as the bed plate expands when heated, it is free to slide on the pitch and roll adjusters without putting a lot of lateral force on anything that might have to flex, potentially causing the plate to lift or drop and creating problems with a print's first layer adhesion to the bed. Springs are used to hold the bed plate down on the leveling screws.


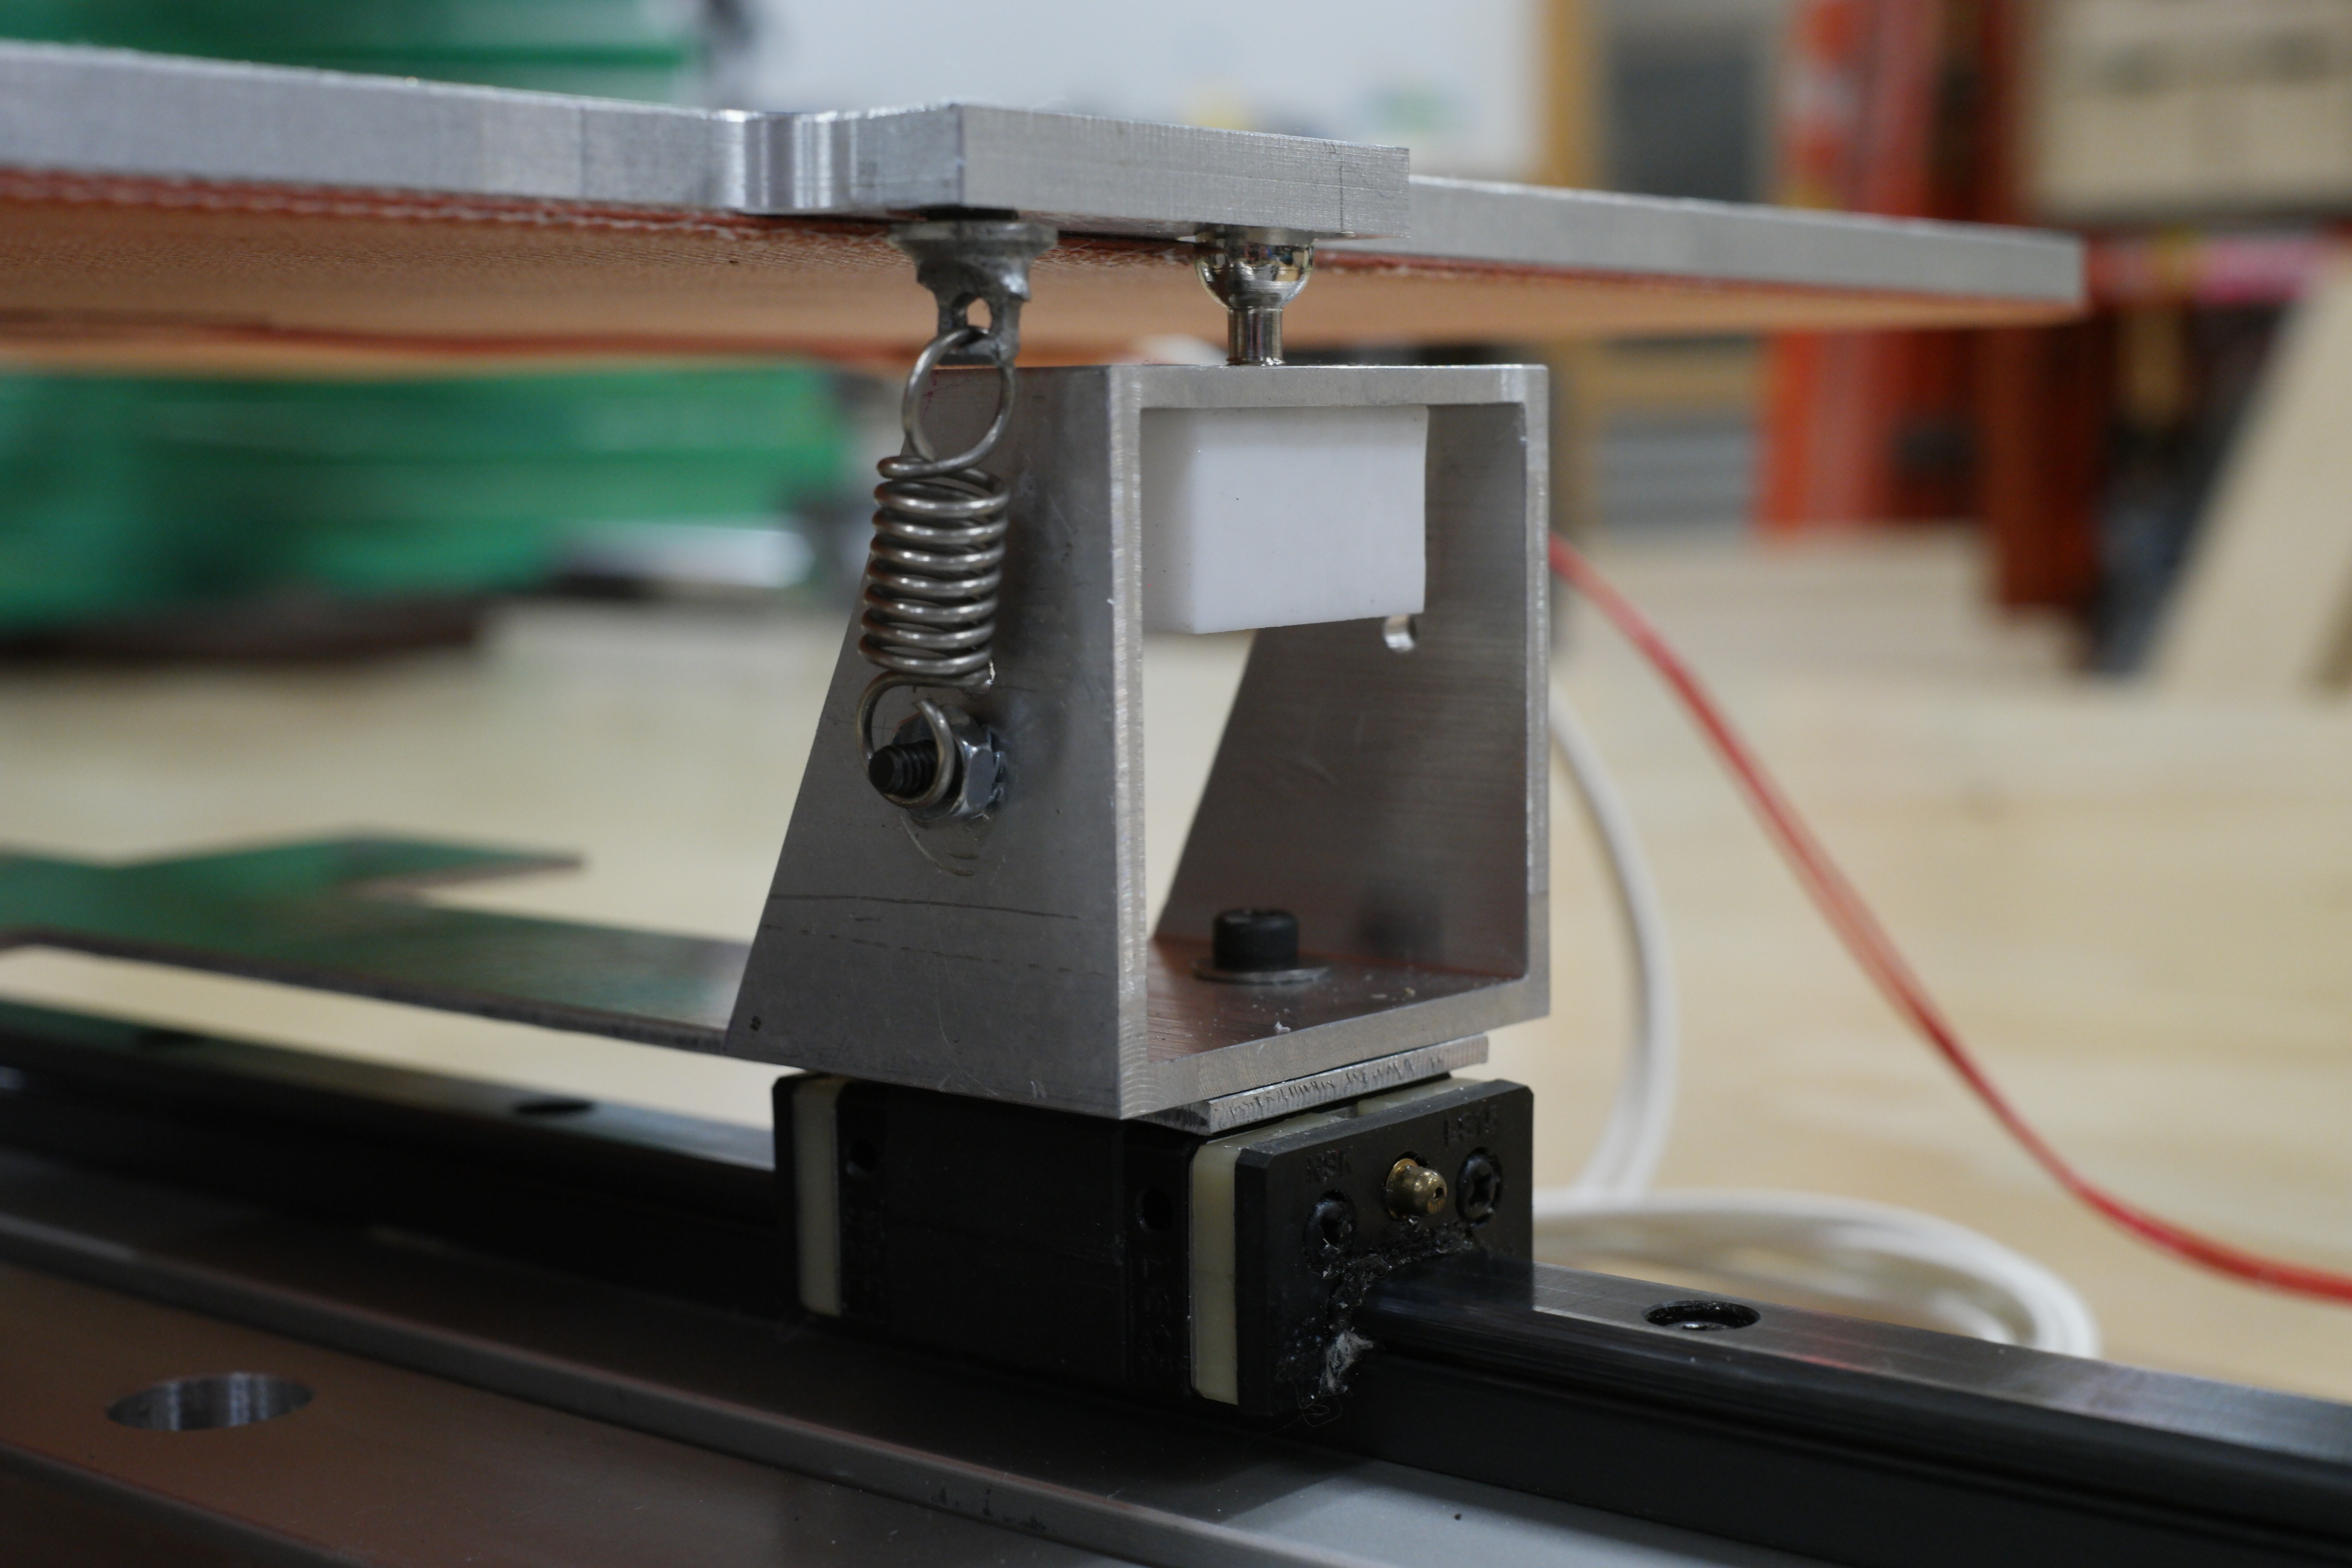
This sort of thing wouldn't work well if the leveling screws were not stably mounted. To that end I drove the leveling screws into Teflon blocks that don't soften when the screws get hot from being in contact with the heated bed plate. The screw holes were drilled slightly undersized so the screws rolled their own threads in the Teflon.
The Teflon blocks are screwed to square aluminum tubing spacers that in turn mount on the linear guide bearing blocks. It's all very solid.


The results
I replaced the ball screw drive with a belt, so it is much quieter that before. With the ball screw drive a mechanical resonance limited print and travel speeds to 40 mm/sec. I haven't finished testing yet, but the belt drive allows it to print at over 100 mm/sec.
I replaced the 450W DC powered bed heater with a 750W line powered heater. It used to take 8-9 minutes to heat up to 100C for printing ABS. It now takes about 4.5 minutes. I was able to replace the large, loud industrial power supply with a fanless type that is small, light, and silent, and an SSR to switch line power to the bed heater.
The kinematic mount is working as expected- after the initial 2 minute leveling process, it does not require any tweaking. No autoleveling is used or needed.
 Mark Rehorst