 Jan
JanPreparations
It's good to know what you want to achieve! Here's a few things to keep in mind:
- get your product as clean as possible. Pics will show every spec of dust...
- have your angle in mind. You want your pics show all the important details!
- do you want a very sterile/flat picture or a more "organic" one with shadows?
- (...)
The making of
For my example we take an off-the-shelf Arduino Pro Mini clone. I wanted a "shop-ready" picture which shows the whole board but doesn't look like it was manually free-form-selected in an editing program (which often looks very unnatural.
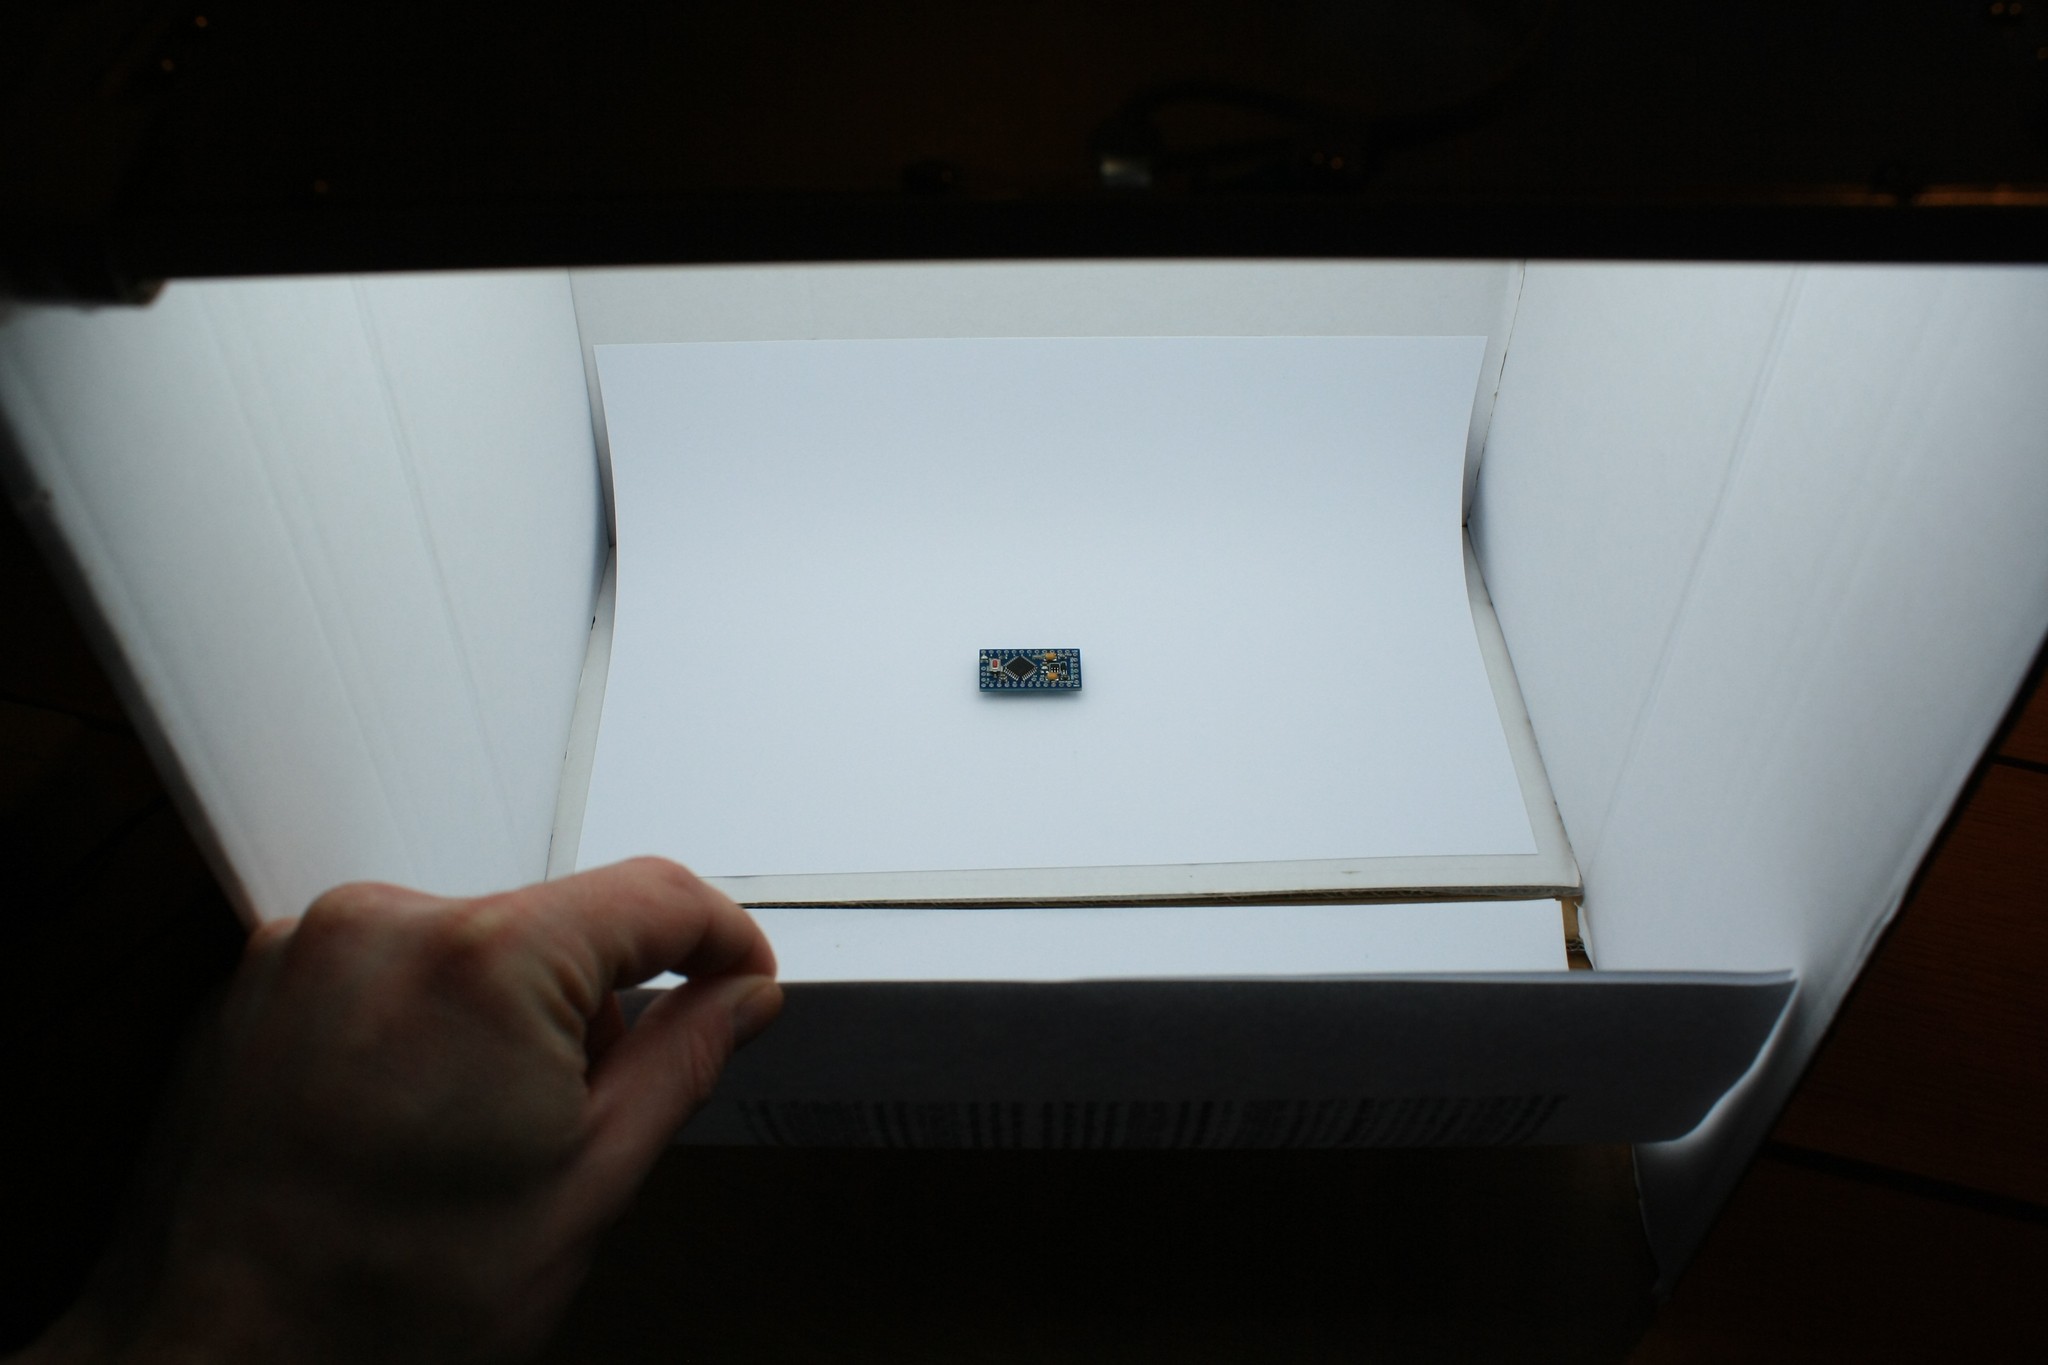
So I set the board onto a M5 hex nut to get some distance for a bit of shadow:

Of course you don't want to have that thing in your final picture. So you take your pic from an angle where you can only see the board and its shadow.
This takes us to the next step:
Angle and shadows (and how to influence them)
Would you now snap a picture, it would look something like this:
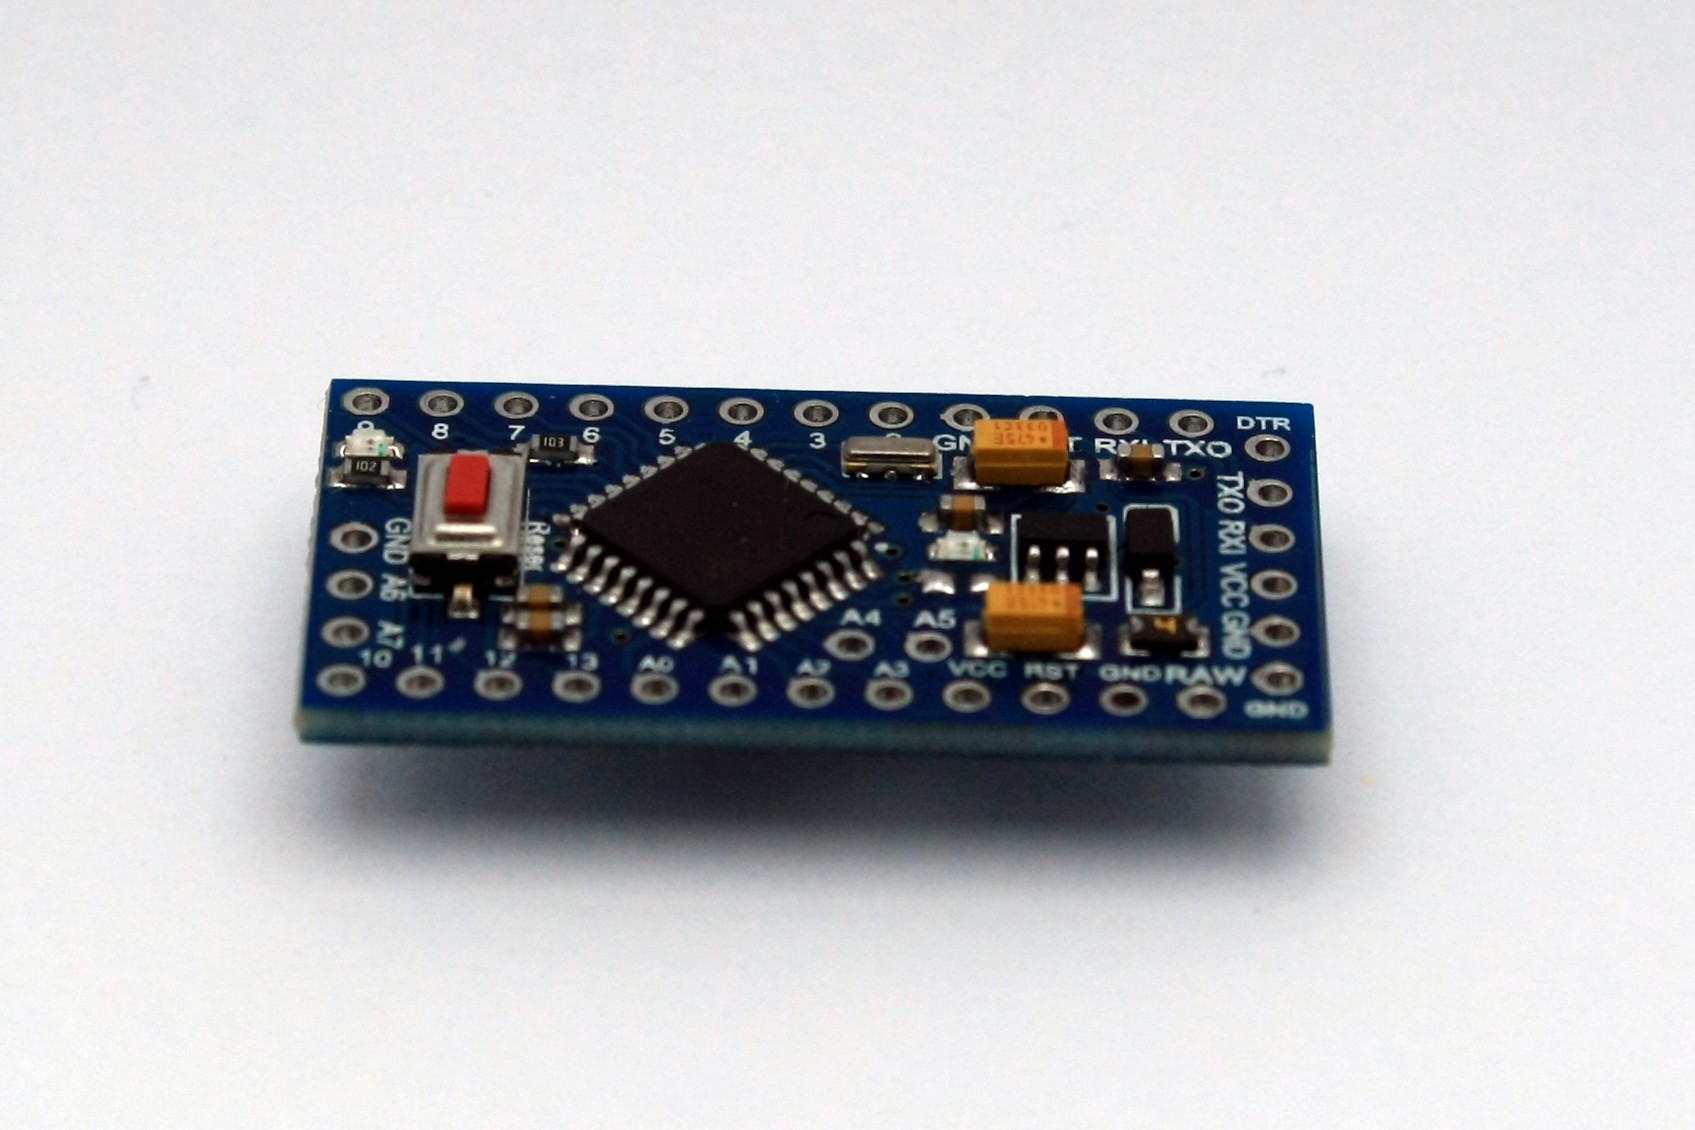
Notice the strong and quite "hard" shadow? We want to change that into something more smooth:
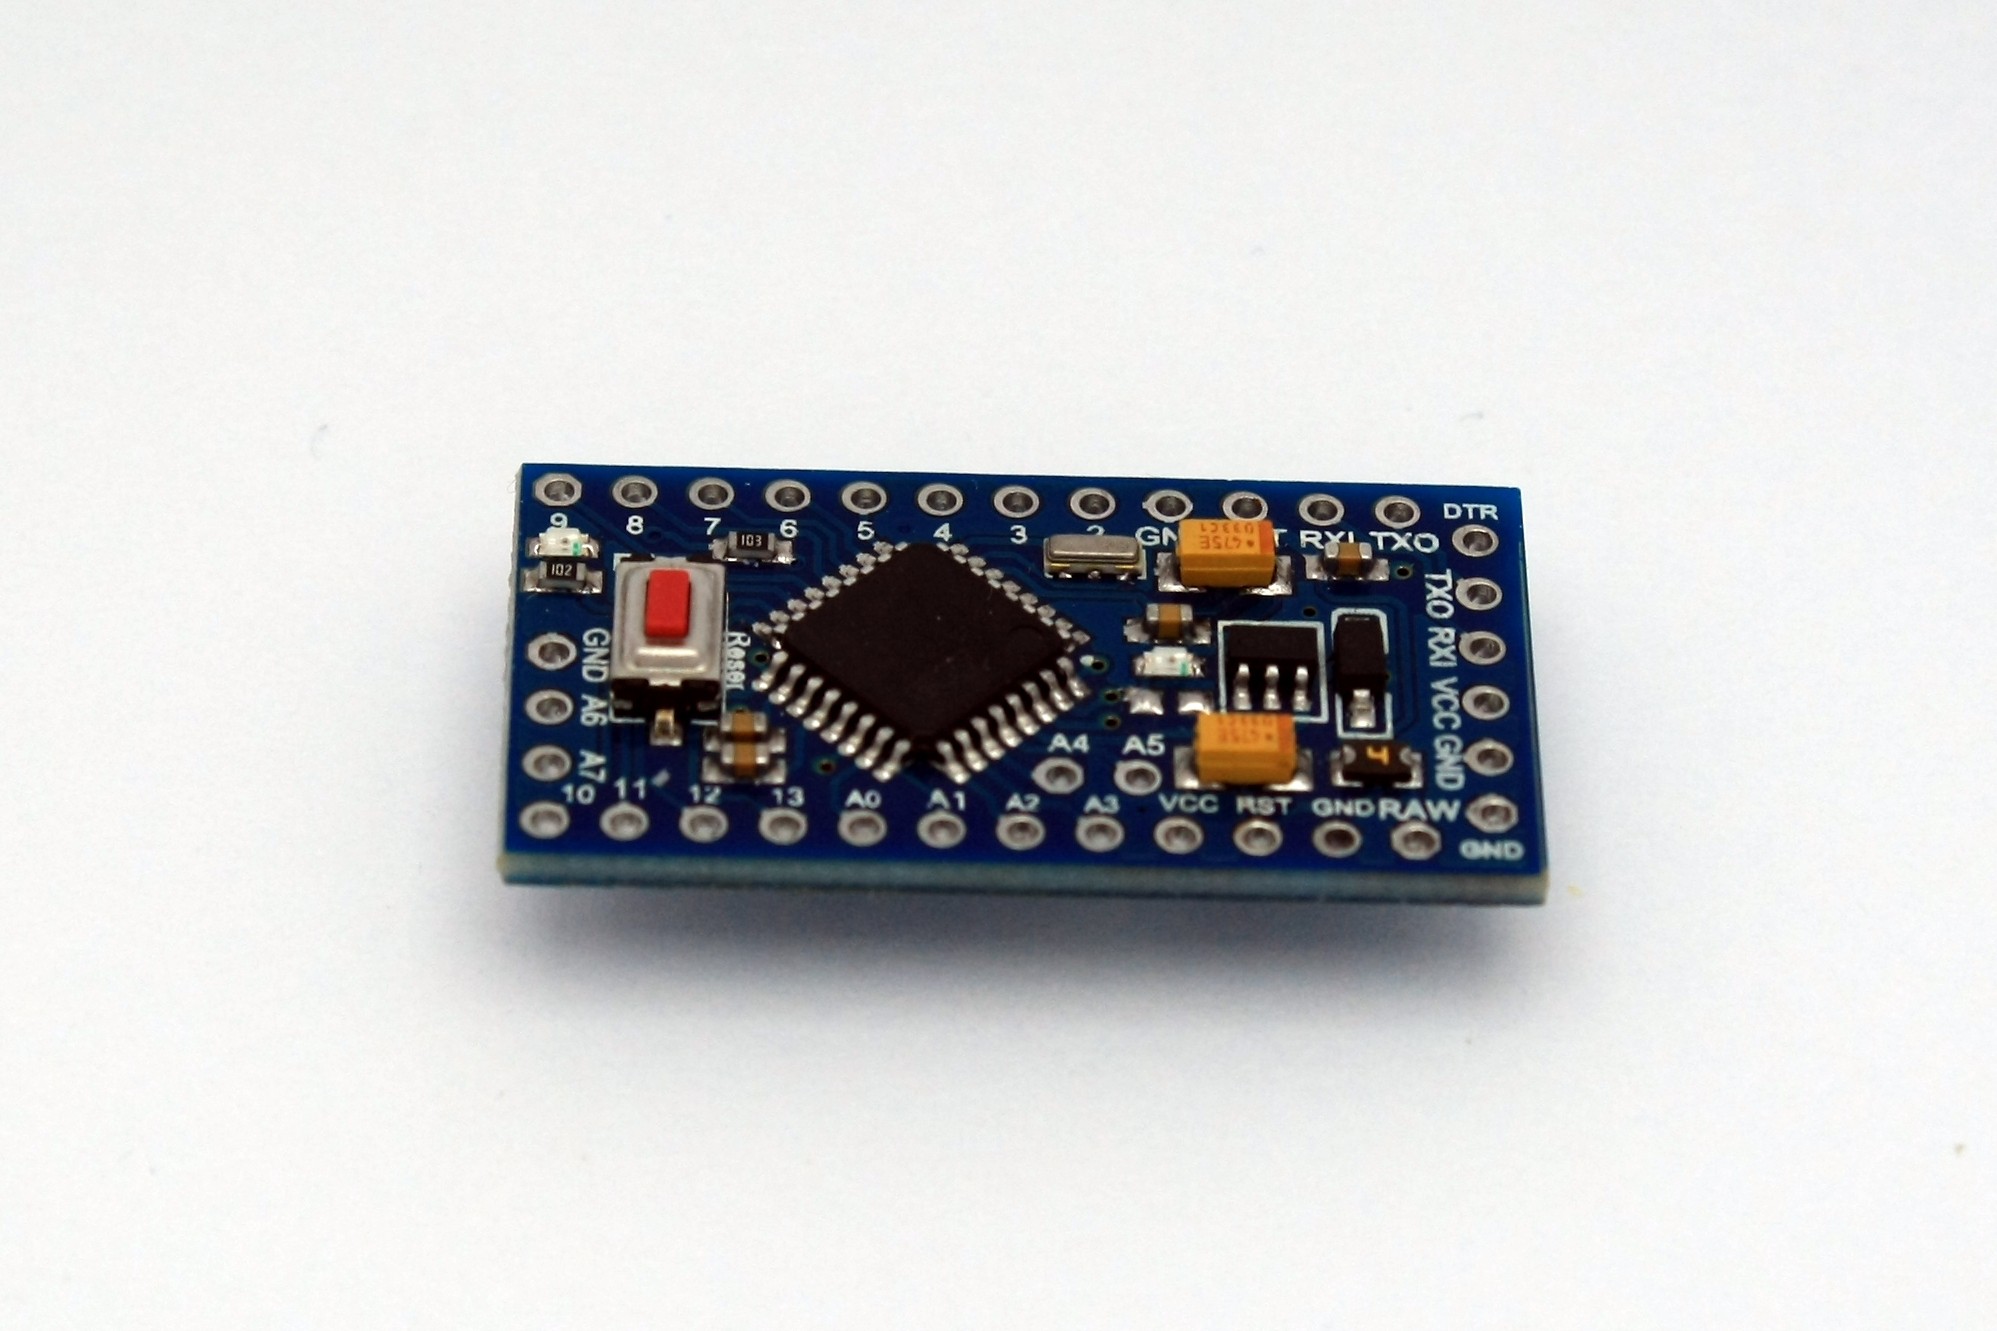
Ah, this looks much better! How did I do this? It's easy. You need to brighten the front section a bit. I did it by simply holding up some white paper, thus brightening the front by reflecting light back:
Discussions
Become a Hackaday.io Member
Create an account to leave a comment. Already have an account? Log In.