 Jan
JanIntroduction
Let me say a few important things here:
- your camera doesn't matter (to an extent, see below for details)
- the software you need is free (famous Photoshop not needed!)
- correcting your out-of-cam pics is only a matter of a few seconds per picture
- only the absolute basics here! There's sooo much more to tell which is not part of this small mini-series.
Your camera
Cameras you could use include: your phone*, your old DSLR sitting in your shelf, all the recent point 'n' shooters, ...
Manual mode is absolute king for what we want to do here, but automatic modes work in most cases too.
It's nice to have the following features / add-ons though:
- histogram (info on your cameras screen)
- live-view
- tripod
*Some digital cameras have problems with horizontal banding, which looks like this (image taken with my cheap phone camera):
See the link in the above to see what causes it and how to avoid it!
Camera settings
Mode
We'll go with manual here. This means the automatic brightness of your cam is off and you can choose aperture and exposure time manually.
Don't be scared of this, your cam helps you by showing important info before/while taking pictures!
ISO
Even with an aperture of 11 and up (remember: the bigger the aperture number, the less light gets to the sensor) ISO 100 to 400 will always be enough. ISO 100 to 200 most of the time, really.
Refresher: ISO is the light sensitivity of your "film" aka sensor. The higher the number the brighter the picture at a given aperture with the downside of more noise in the picture (because of internal amplification and the sensor heating up).
Aperture
Just a few quick hints here: The smaller the number the less definition you get in depth in your picture.
As we photograph at an angle and the PCB laying flat we need the whole board to look crisp in our picture. I use F8 to F18 most of the time. It varies...
Exposure metering
Your cam uses sensors in different positions of the sensor to tell the brightness. It can measure in the middle, calculate an average of the whole picture etc...
Lens and focal distance
I use a Tamron 90mm F1:2.8 lens for my pictures most of the time. For this series I changed to the standard 18-55mm F3.5 - F5.6 (which is quite the standard for DSLRs which come with an lens in the box).
There's lots more to know here but it isn't too important for this guide.
Taking the picture
Exposure times are quite small (aka short) when using such an bright light, so you could take pictures by hand. My rule of thumb is: When exposure time is at least double the focal length, the picture will be quite crisp (without automatic stabilization that is).
Example: Your lens is set to 55mm, your shutter is 1/100 second. You can be quite sure to make a good picture. Of course there's a bottom line here. 1/25 or 1/50s exposure time is quite long which could get you a slightly blurred photo by hand...
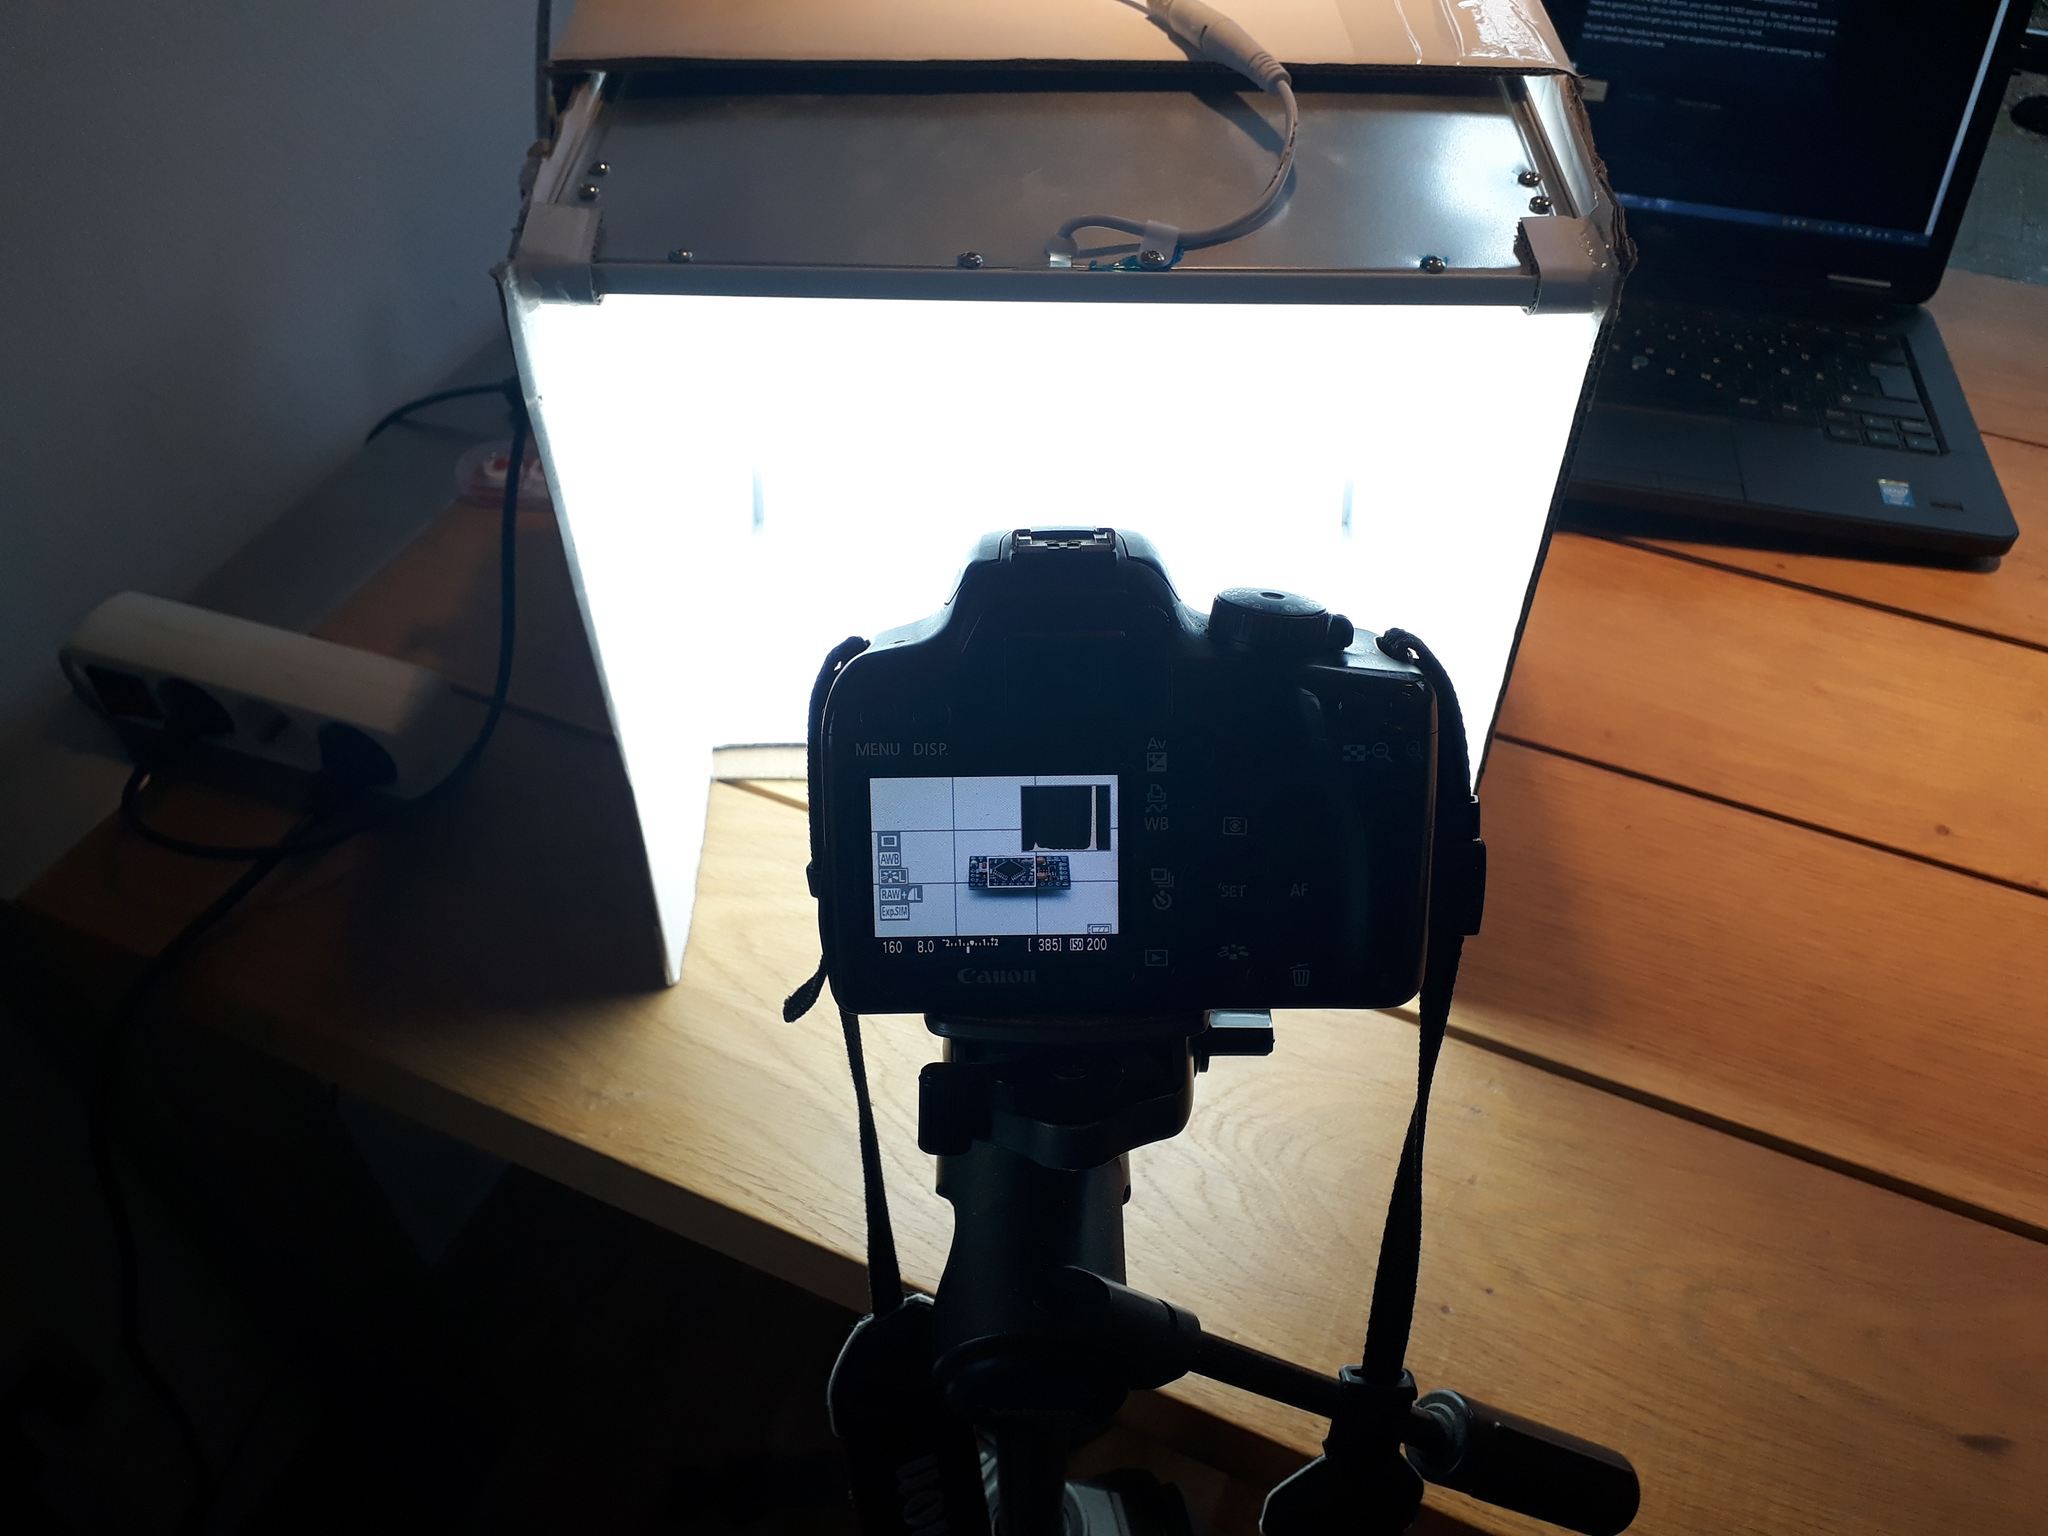
It's just hard to reproduce some exact angle/position with different camera settings. So I use an tripod most of the time.
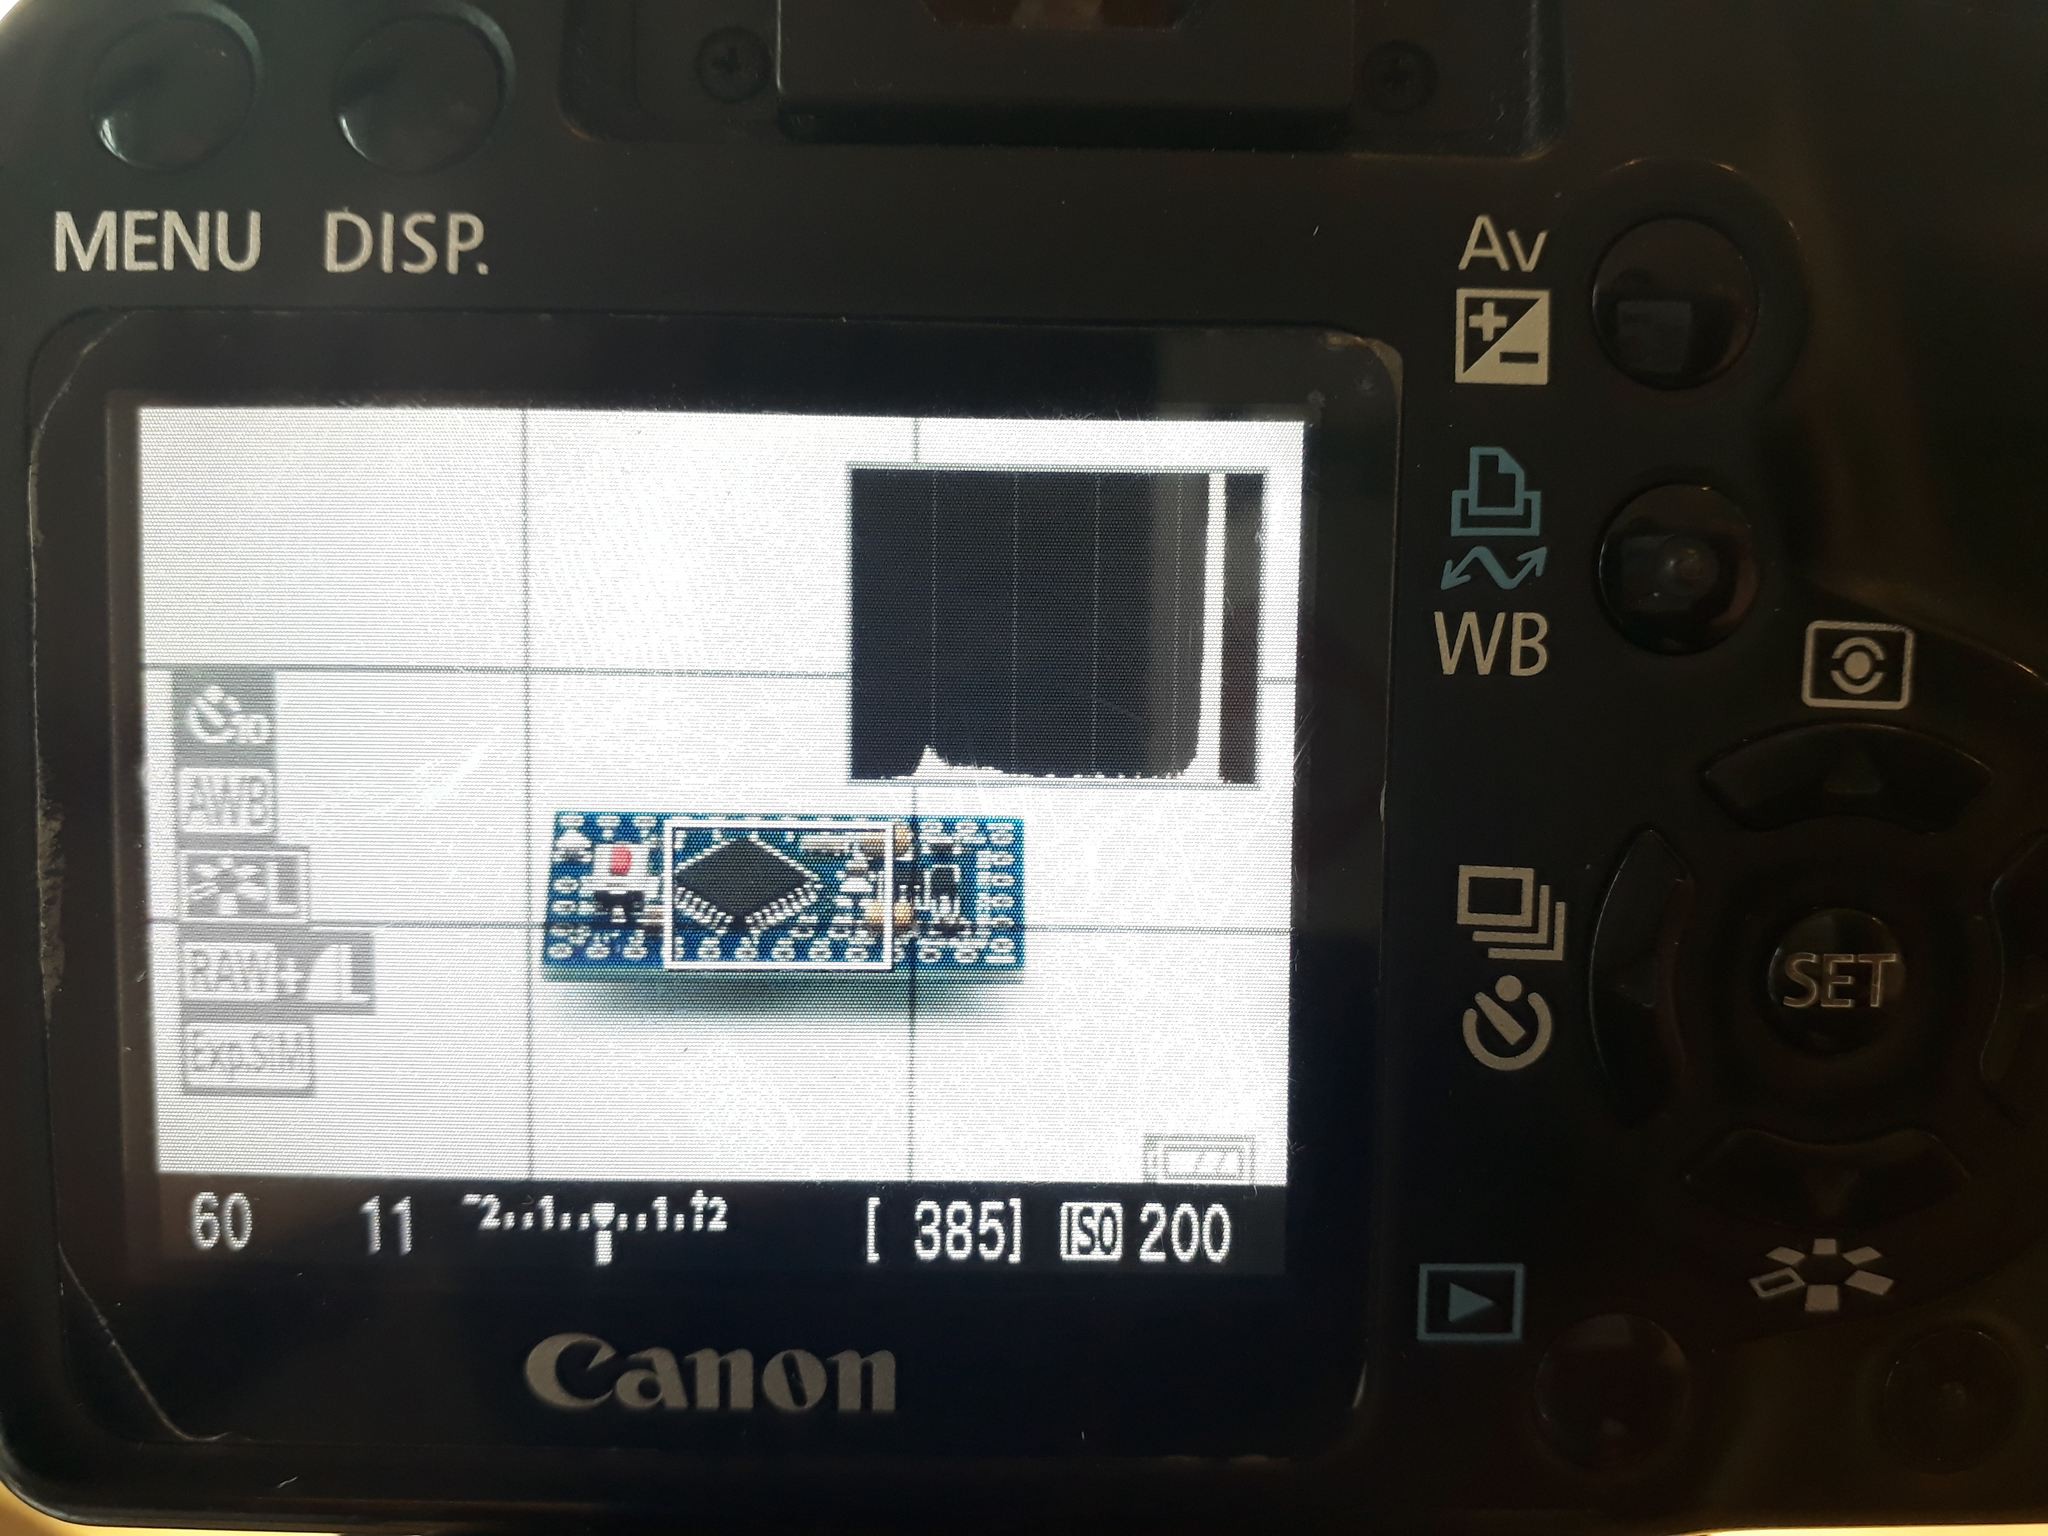
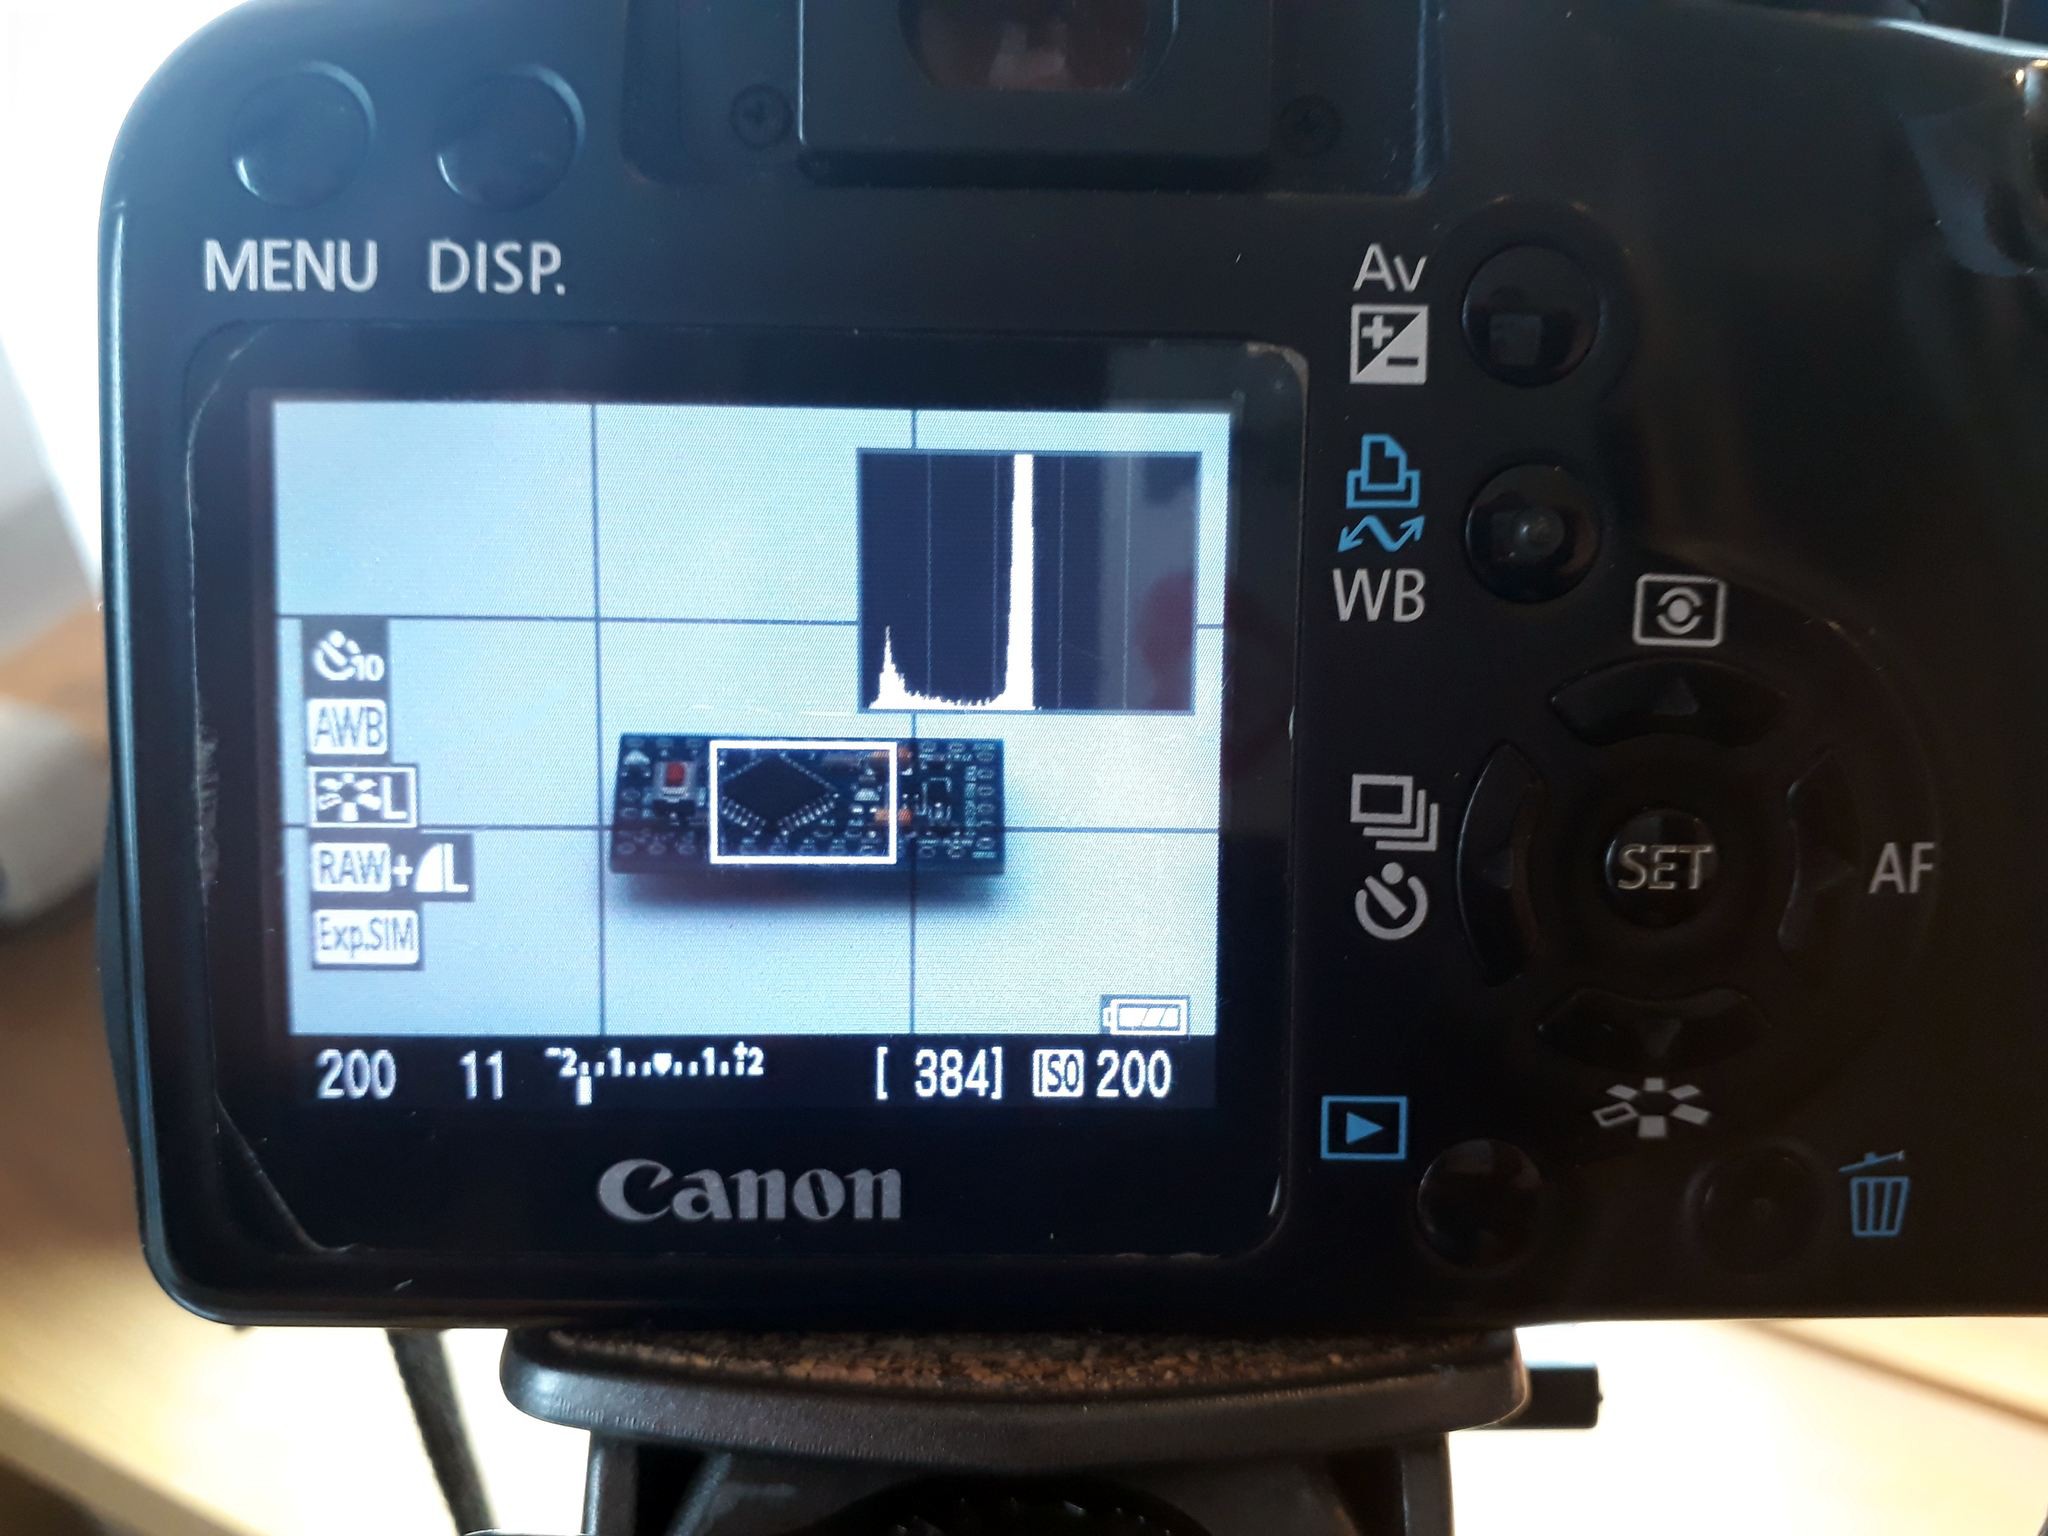
Here you see the live view of the picture which has a balanced lighting (the mark in the bottom [-2 ... +2] bar is balanced). The histogram in the top right corner has a massive peak on the right side. It shows us that there is a lot of brightness in the picture. Important here is: there has to be black/blank space right of the peak! Here we see why:
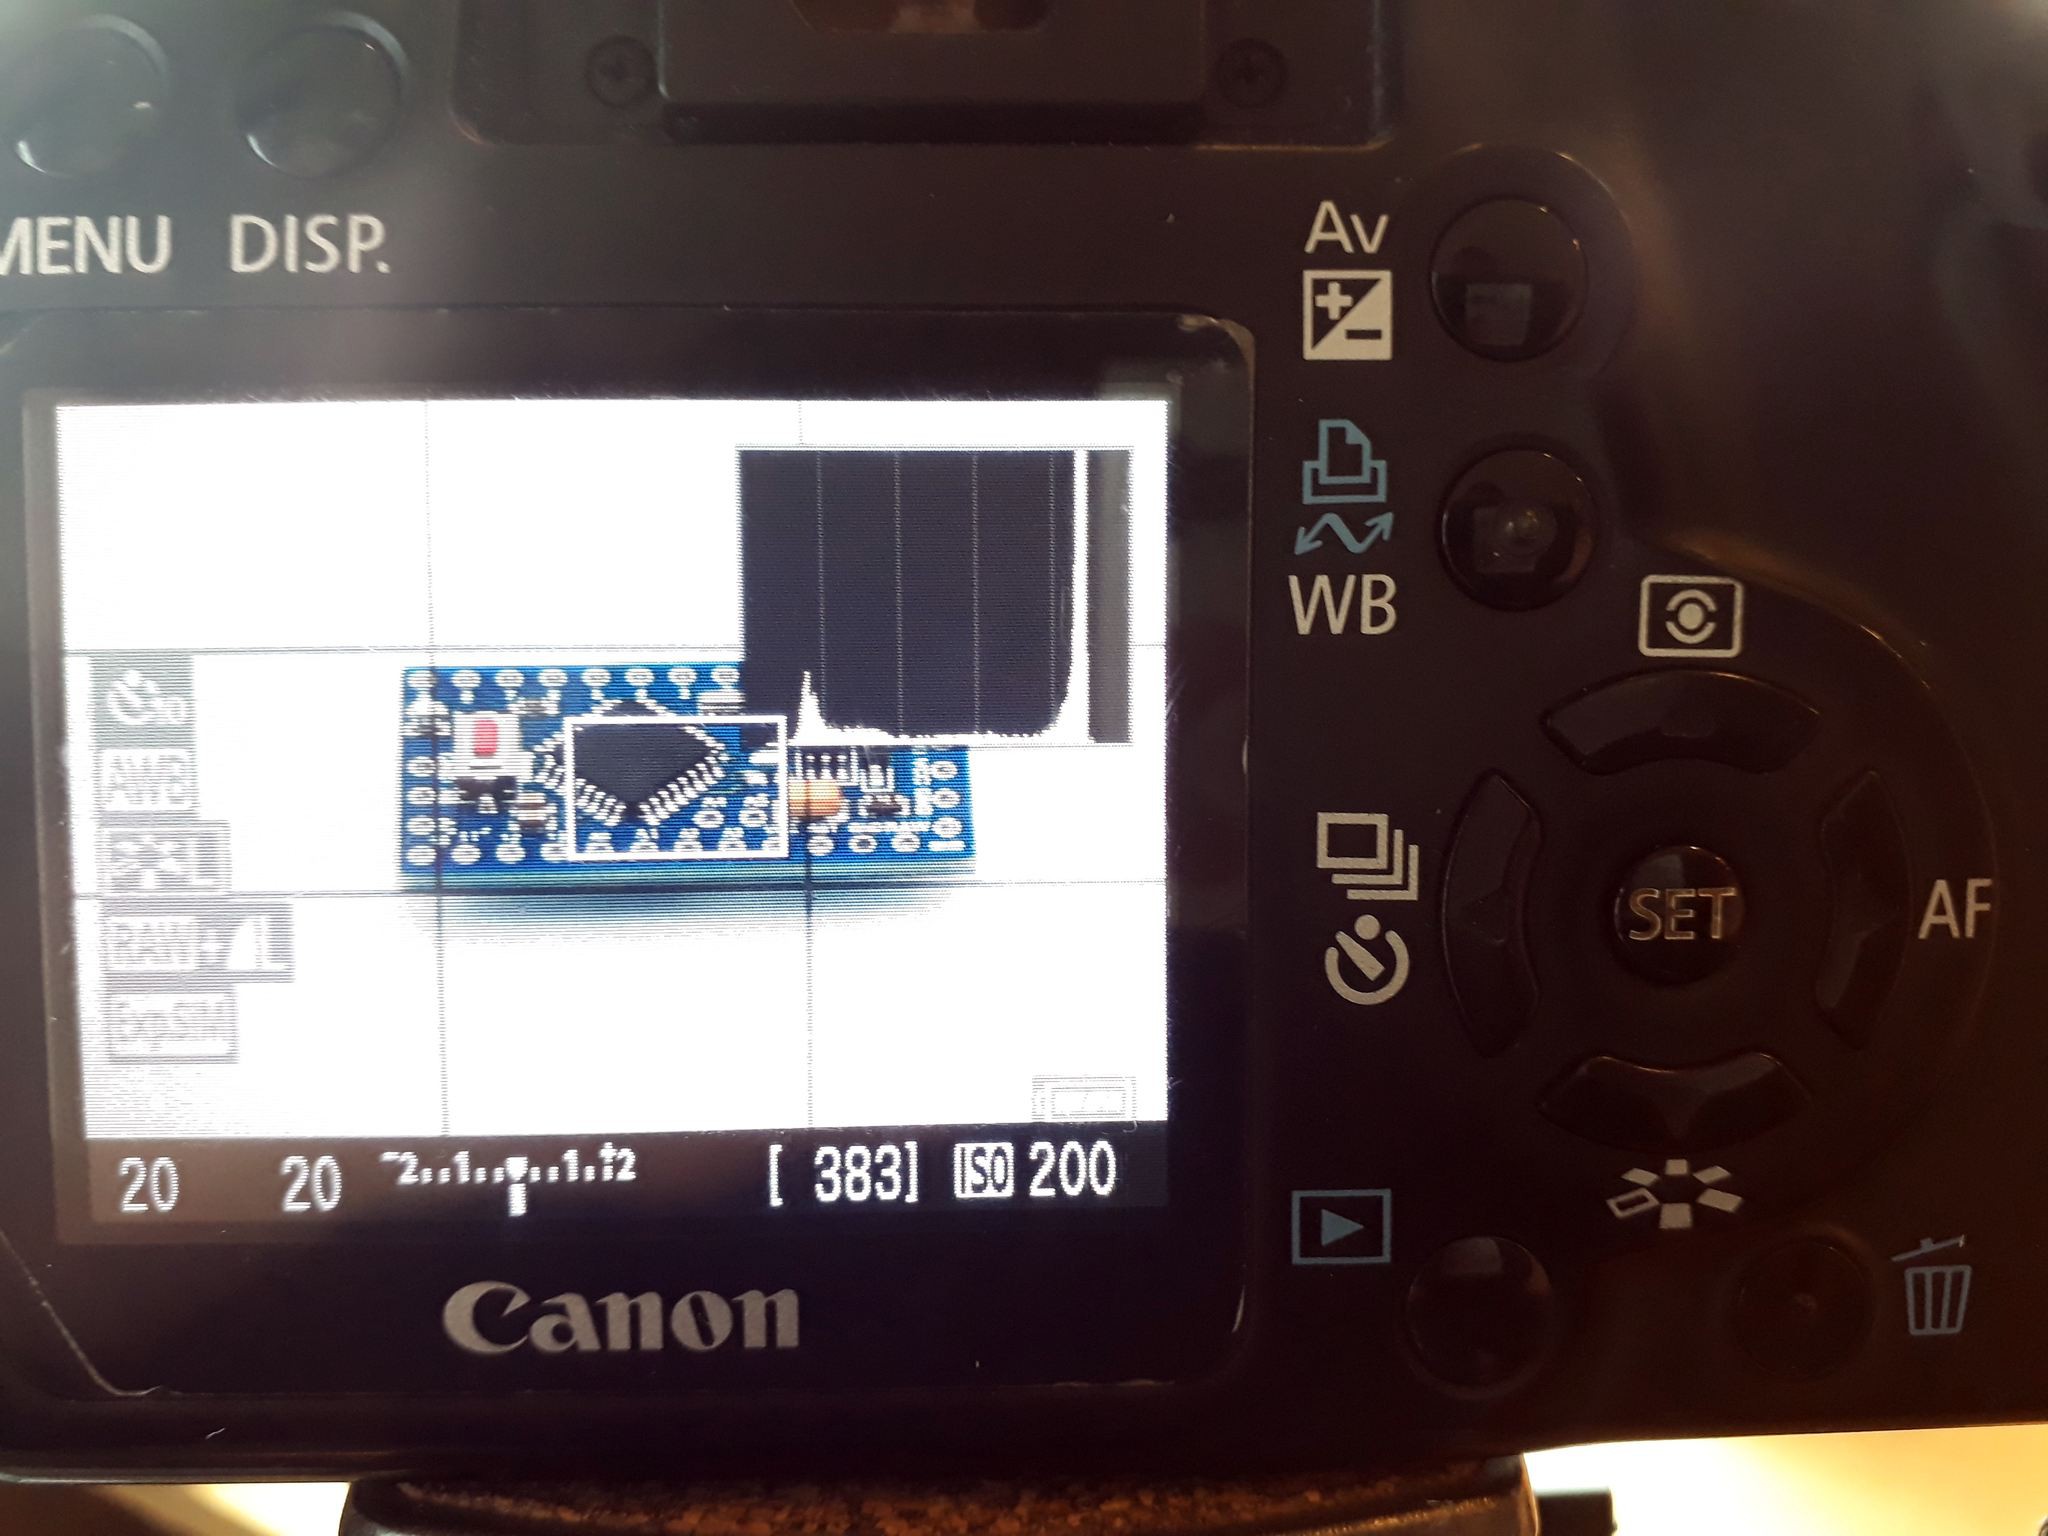
The histogram brightness peak is bound to the right side. The whole picture is too bright, there's no way to get a good picture this way. The other extreme is this:
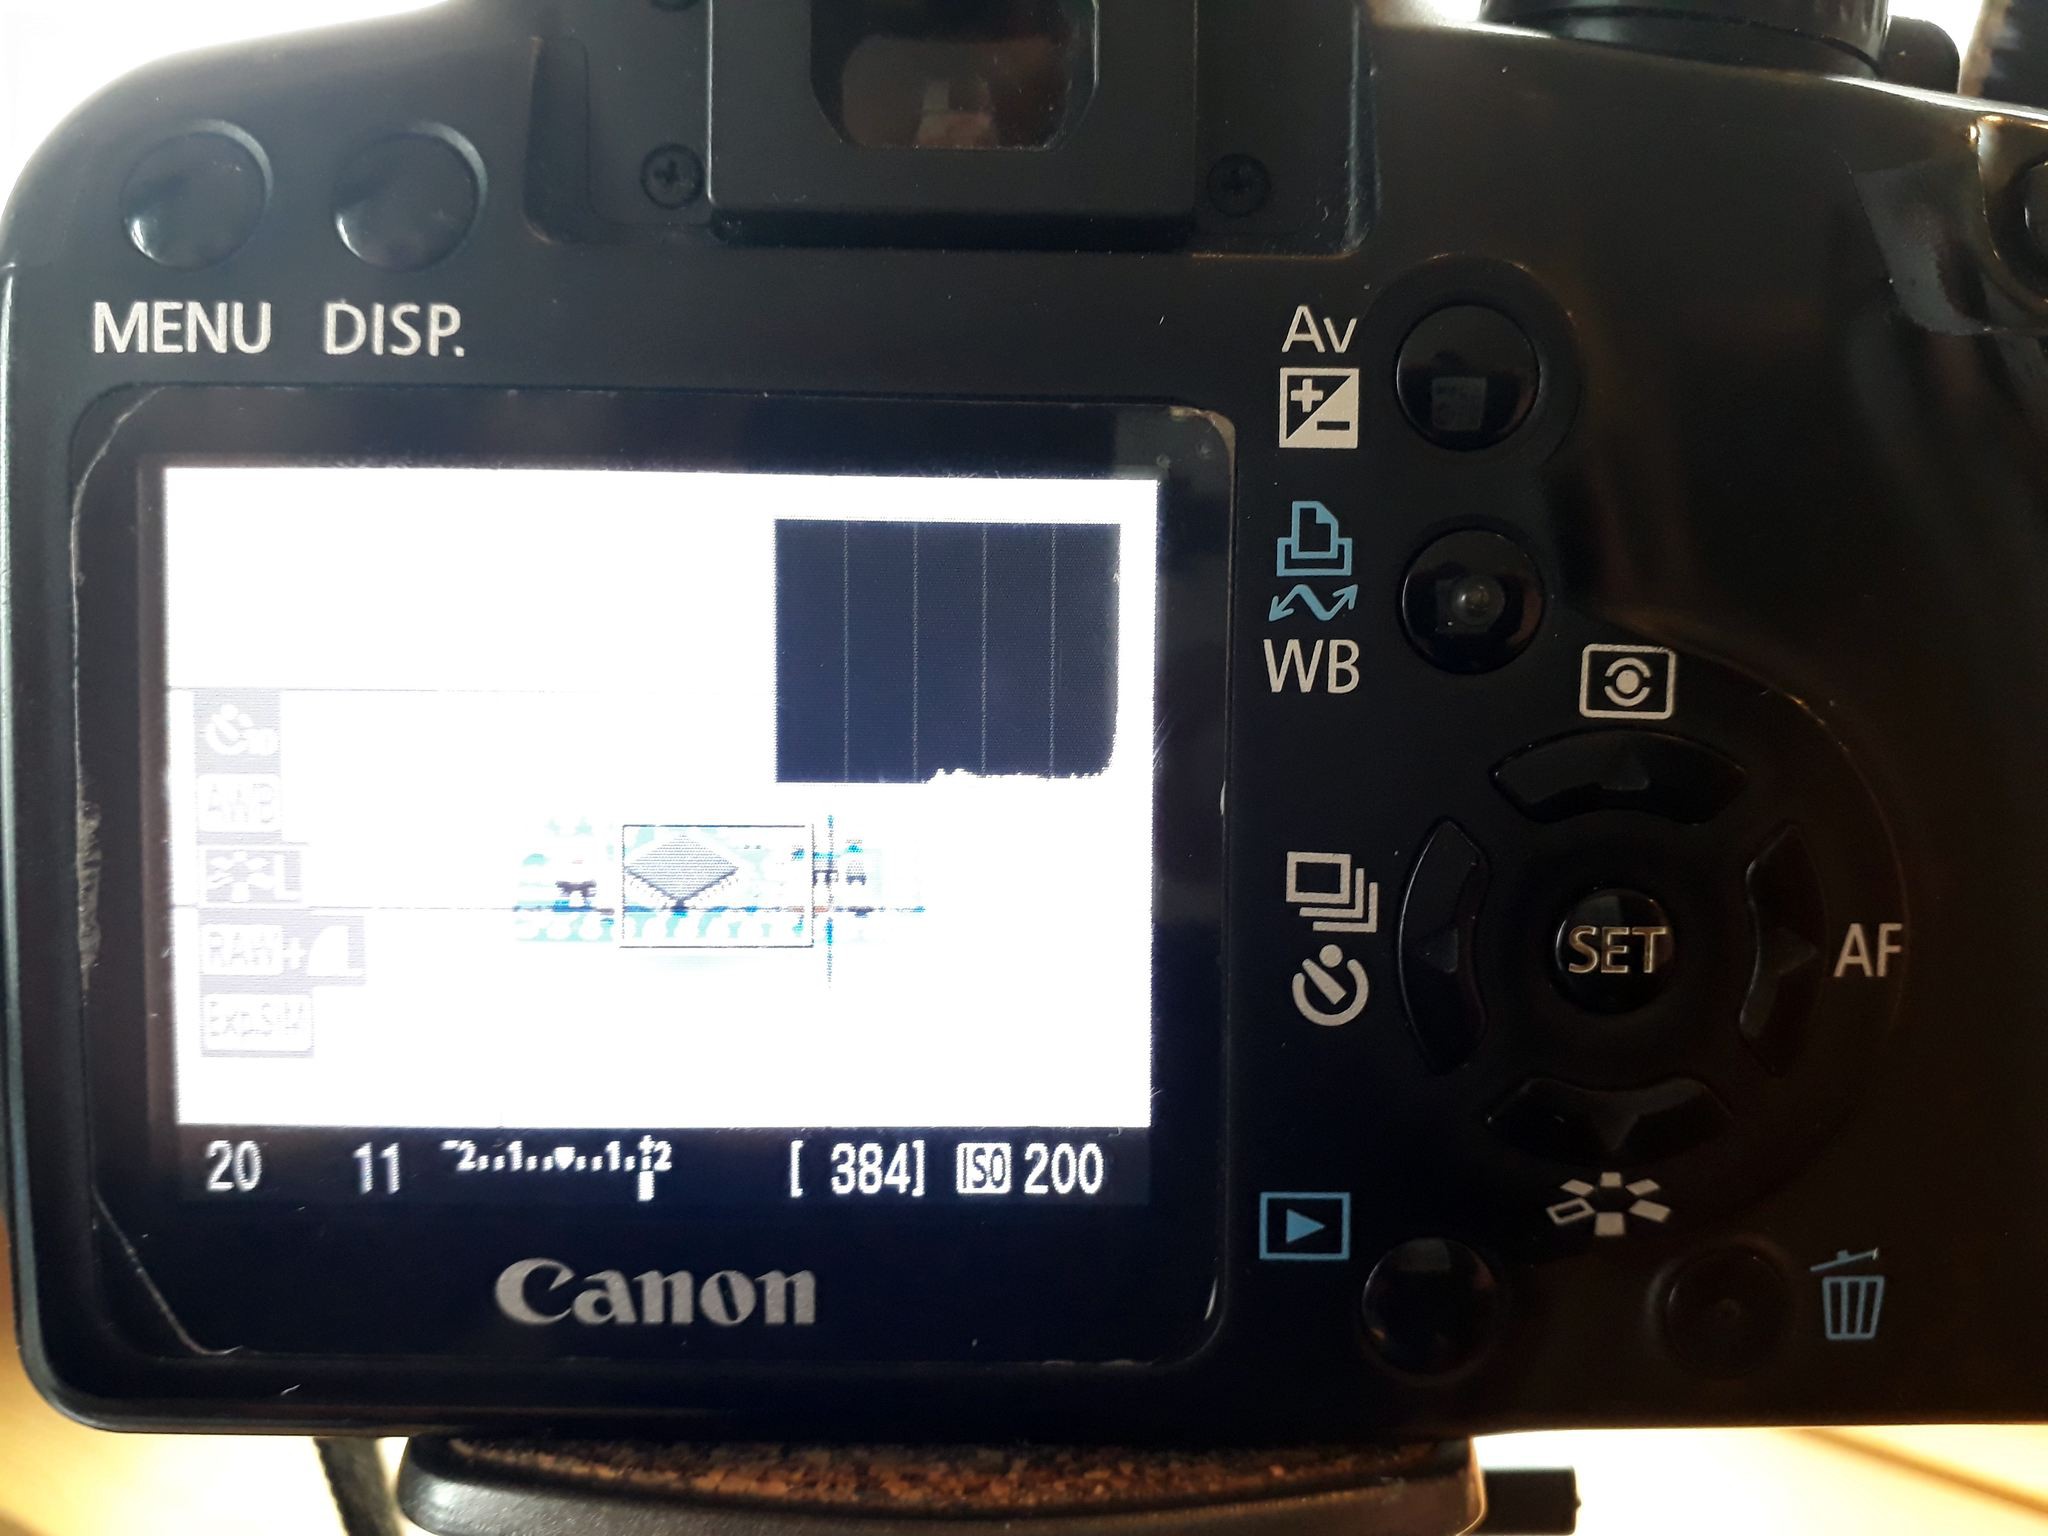
This pic would be too dark. You see the mark of the "brightness bar" is close to the -2. No good!
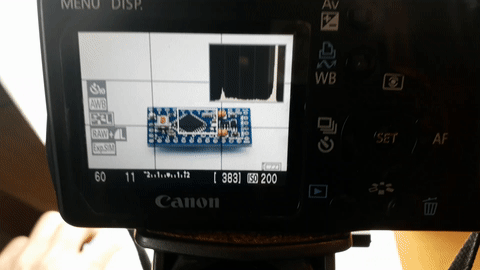
So, now you can see the effect of the aperture (remember, the bigger the number, the less light falls onto the sensor):
1/20s shutter speed gave us an close-to-all-white picture with an aperture of F11. Now a lot less light comes through and with the lens at F20, 1/20s gives us an well balanced picture!
Remember the trick to avoid shadows? Keep an eye on the DSLRs display. Here's what it looks like in video:
It's just me lifting/lowering a sheet of white paper to reflect some light back onto the object. Also, the peak moves to the right.
Discussions
Become a Hackaday.io Member
Create an account to leave a comment. Already have an account? Log In.