This project has moved to the next phase and is posted here, Core 64: Interactive Core Memory Badge.
Several years ago I visited the Computer History Museum in Mountain View, CA. It was a pilgrimage of sorts. I HIGHLY recommend it. There is something there for everyone, at every age.
One of the things I left with was an insatiable urge to experiment with core memory. A couple years later I discovered Jussi Kilpelainen created and is still selling a 32 bit core memory shield for an Arduino on Tindie. PERFECT! I quickly ordered and built one. It works perfectly as I expected!
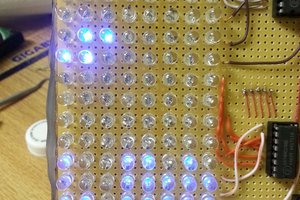
After interacting with the shield through the serial terminal, and poking at the cores with a magnet, I decided I wanted to take it to the next level and make it interactive so I could SEE the bits flipping in real-time. Since I haven't yet developed the sixth sense required to see the magnetic field state, my first step involved connecting the Arduino under the Core Memory Shield to an 8x8 LED Matrix on a Rainbowduino Driver Platform using a simple serial protocol to update the LEDs.
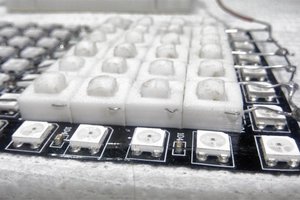
After I found the proof of concept worked well, I was inspired to take it even further and have an LED illuminate the individual core as a reflection of its state in realtime. To make that happen I adapted an Adafruit Featherwing 4x8 LED Matrix to the bottom side of the cores with a simple plastic adapter, 3D printed of course.
The project works very well now and matches up with my initial vision. The LEDs are being updated every 25 ms which is plenty responsive enough to prove a live feel as you draw and flip individual cores/bits. I placed a layer of transparency plastic over the cores so the stylus wouldn't catch and damage the fragile cores and wiring. The stylus is a small screwdriver with a magnet attached on the side so the field can be focused down to the tip. It's effective.
When the shield is powered up or reset, the Arduino automatically executes a command that sets all the cores to their "1" state. This gives you a clean slate when you power up the shield, or press the Arduino's reset button. The LEDs illuminate when the core is cleared to "0." So the LEDs are actually showing the inverted state of the bits. I found that the magnet effectively clears the bit because it is interfering with the frequent "reads" of the core, which are actually writes. If you dig into core memory you'll learn that reading cores is destructive and is followed by a write if the core was sensed as "set." The net effect of my inverted display scheme is that you are drawing and the LEDs illuminate in response to the presence of the stylus. With the small stylus tip focusing the magnetic field of the permanent magnet, I can easily flip a single bit. Turning the stylus to the side allows the magnet to affect a wider area, and has the effect of turning the stylus into a brush so that it can draw across multiple cores.
Next step: an active stylus so I can selectively clear and set cores!
 Andy Geppert


 Samuel A. Falvo II
 LordGuilly
 Alex Bowen
 Patrick
Now I am wondering if I can incorporate Core memory into my Light Logic circuits. Core has always fascinated me and now your project has rekindled that interest :-)