 Initial State
Dark Sky specializes in weather forecasting and visualization. The coolest aspect of Dark Sky is their weather API that we can use to retrieve the weather data from almost anywhere in the world. It's not just weather is rainy or sunny but temperature, dew point, wind gust, humidity, precipitation, pressure, UV index, and more, all easily available for wherever you want, whenever you want.
Let's learn how to use Dark Sky's super-simple API. If you are new to using API's I promise you this is going to be really easy! And if you've used API's before then I hope we can teach you something new with the code we've used.
What you will need for this project:
- Dark Sky API account
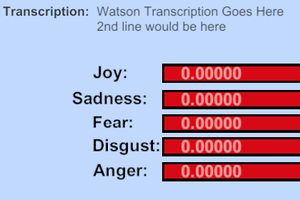
- Initial State account
- Raspberry Pi or Laptop
You can follow along with a video on this tutorial here.
 Jerry Isdale
 CNLohr
 eelco.rouw
 Doug Poole