 Luca
LucaI've started this project because the actual keyboard, a TEK, started to miss key presses here and there. I've looked around to find a keyboard that fits exactly to my needs, but, at the end, there're always some compromises to accept.
On the other side I always think that having to move from the keyboard to the mouse and back is a kind of waste of time. It should be for sure a better configuration that requires a minimal movement of the hands.
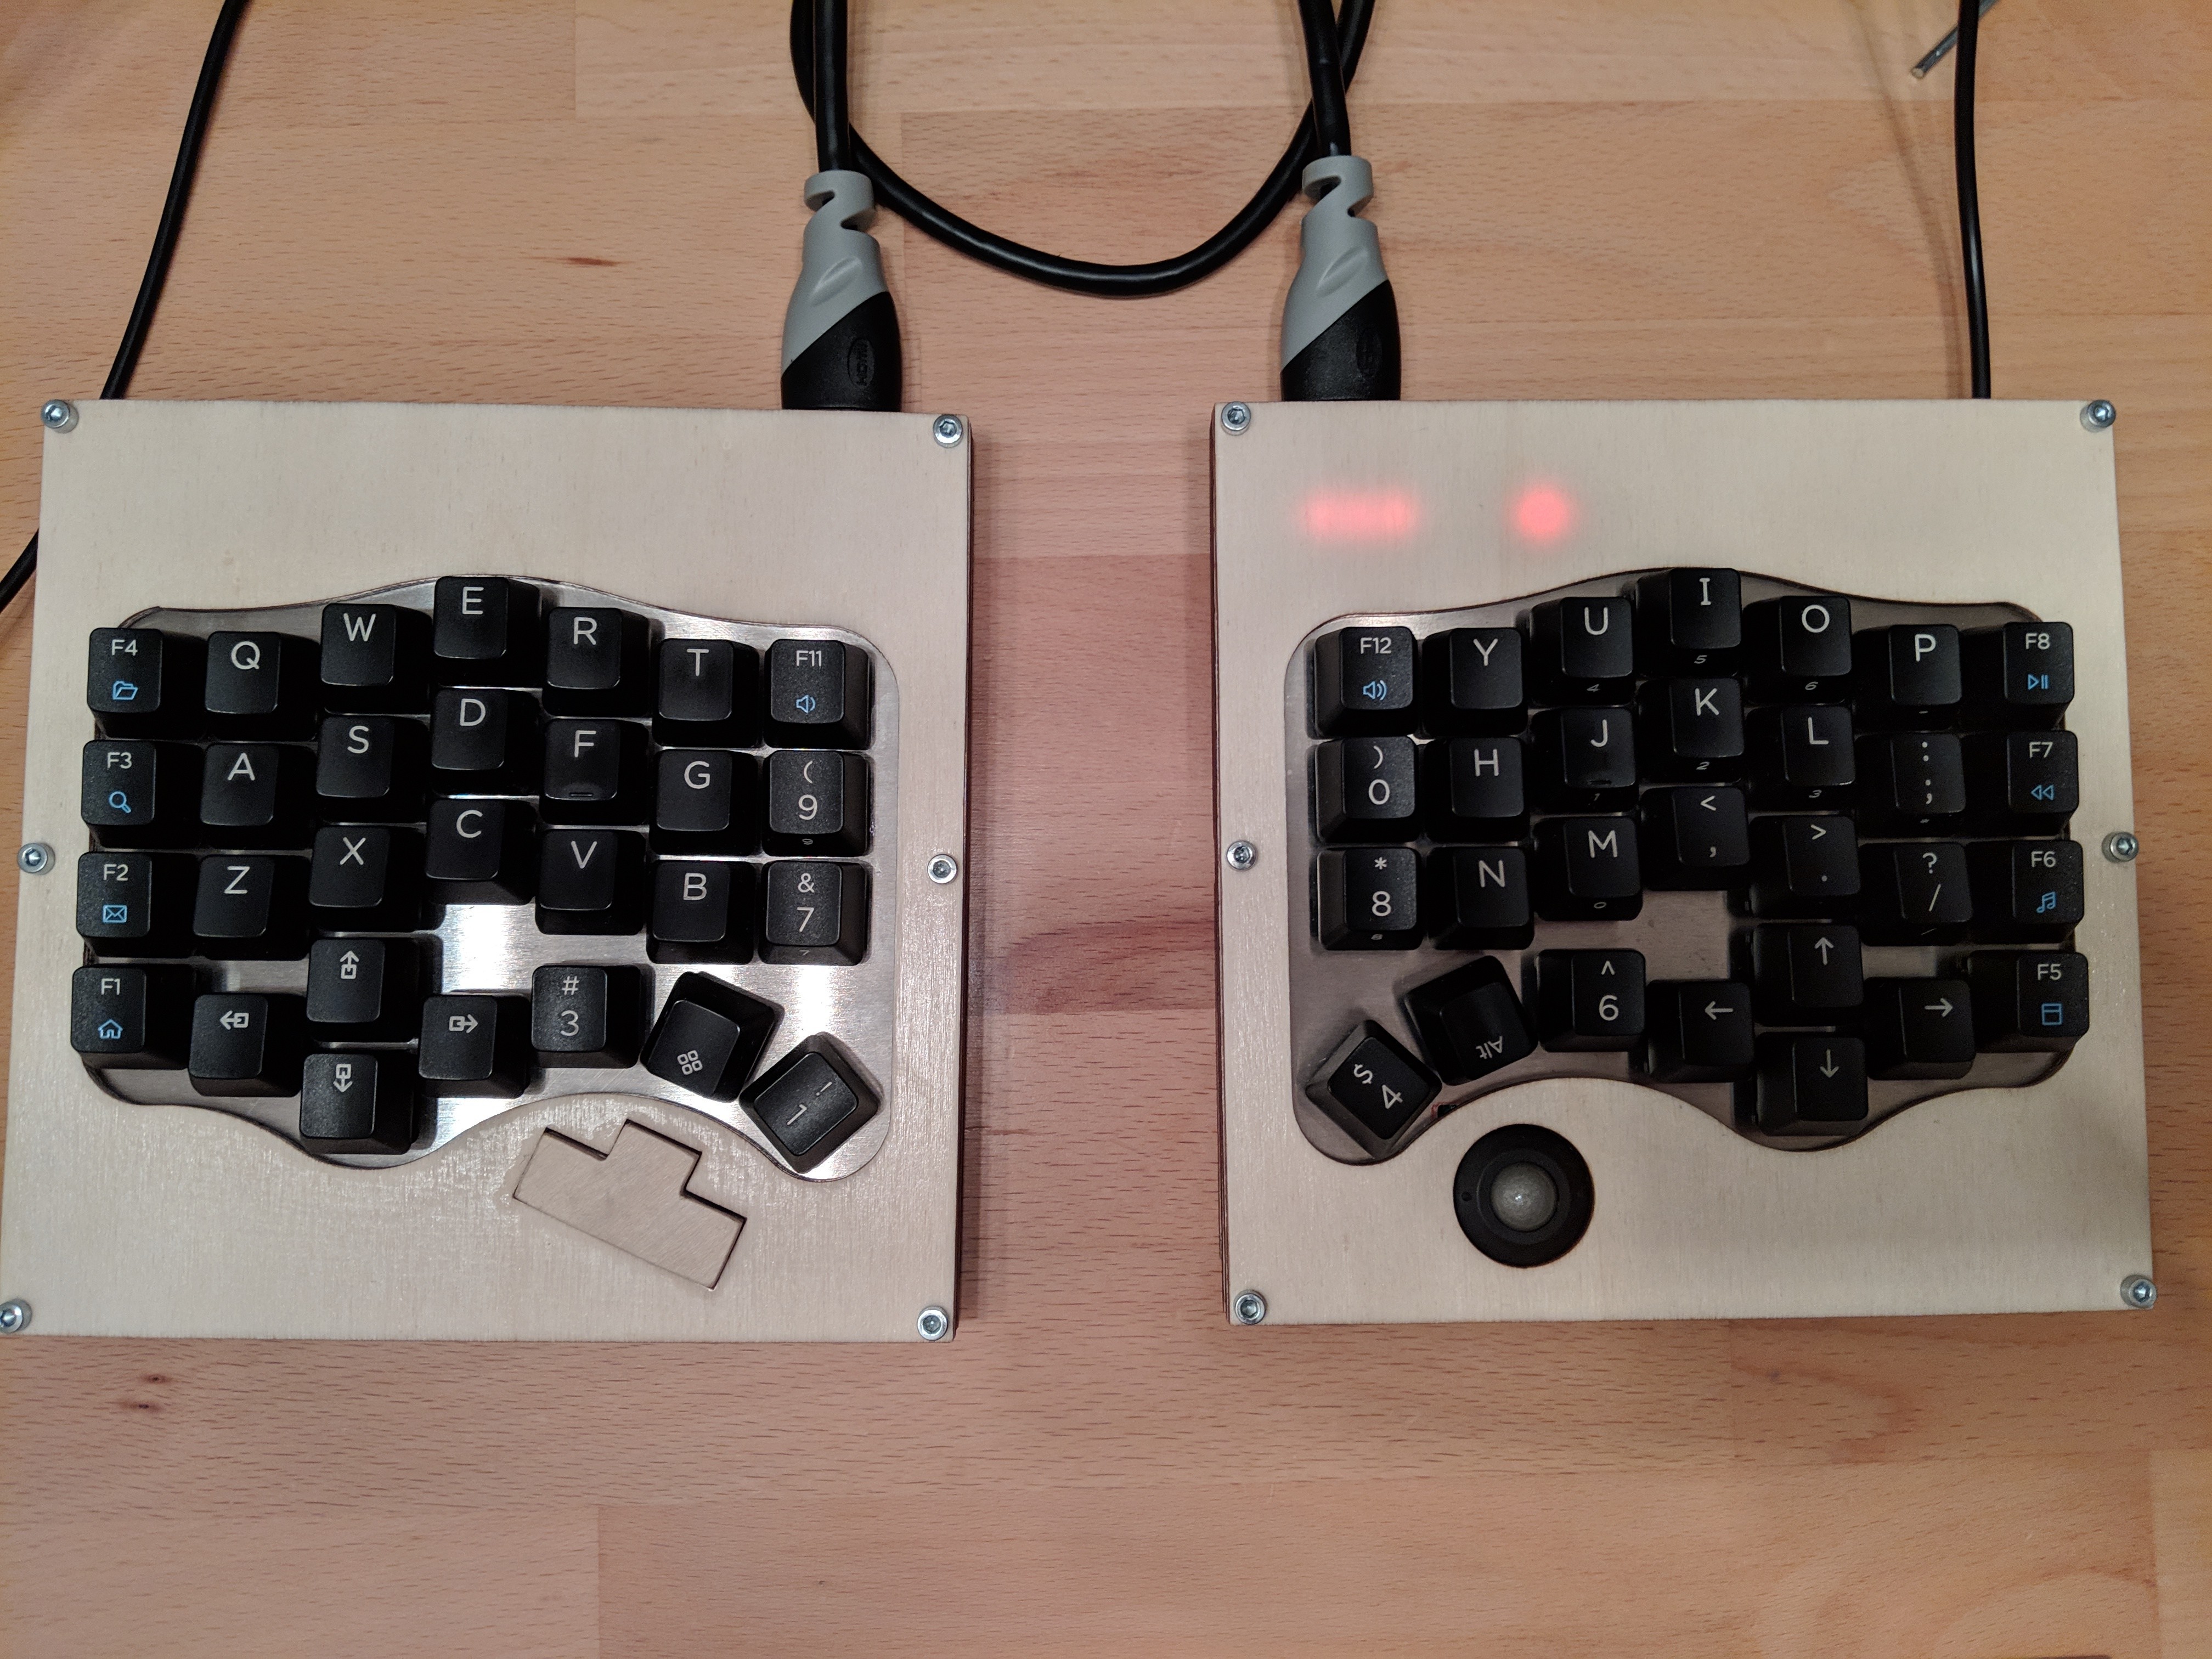
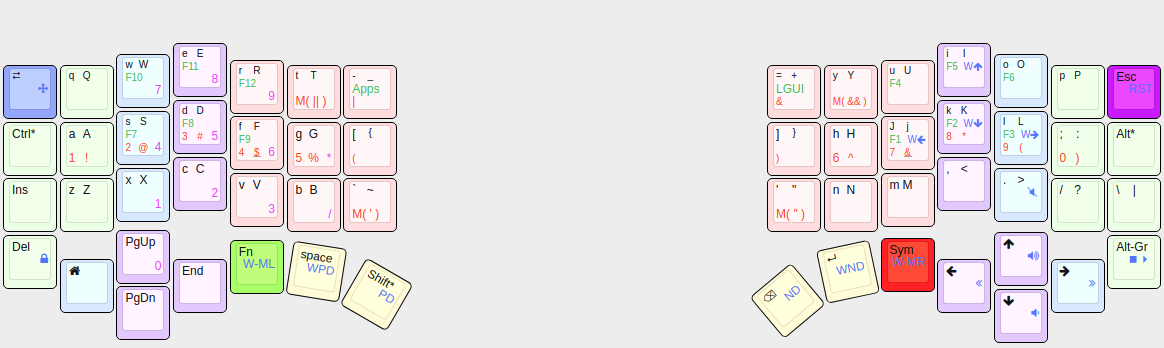
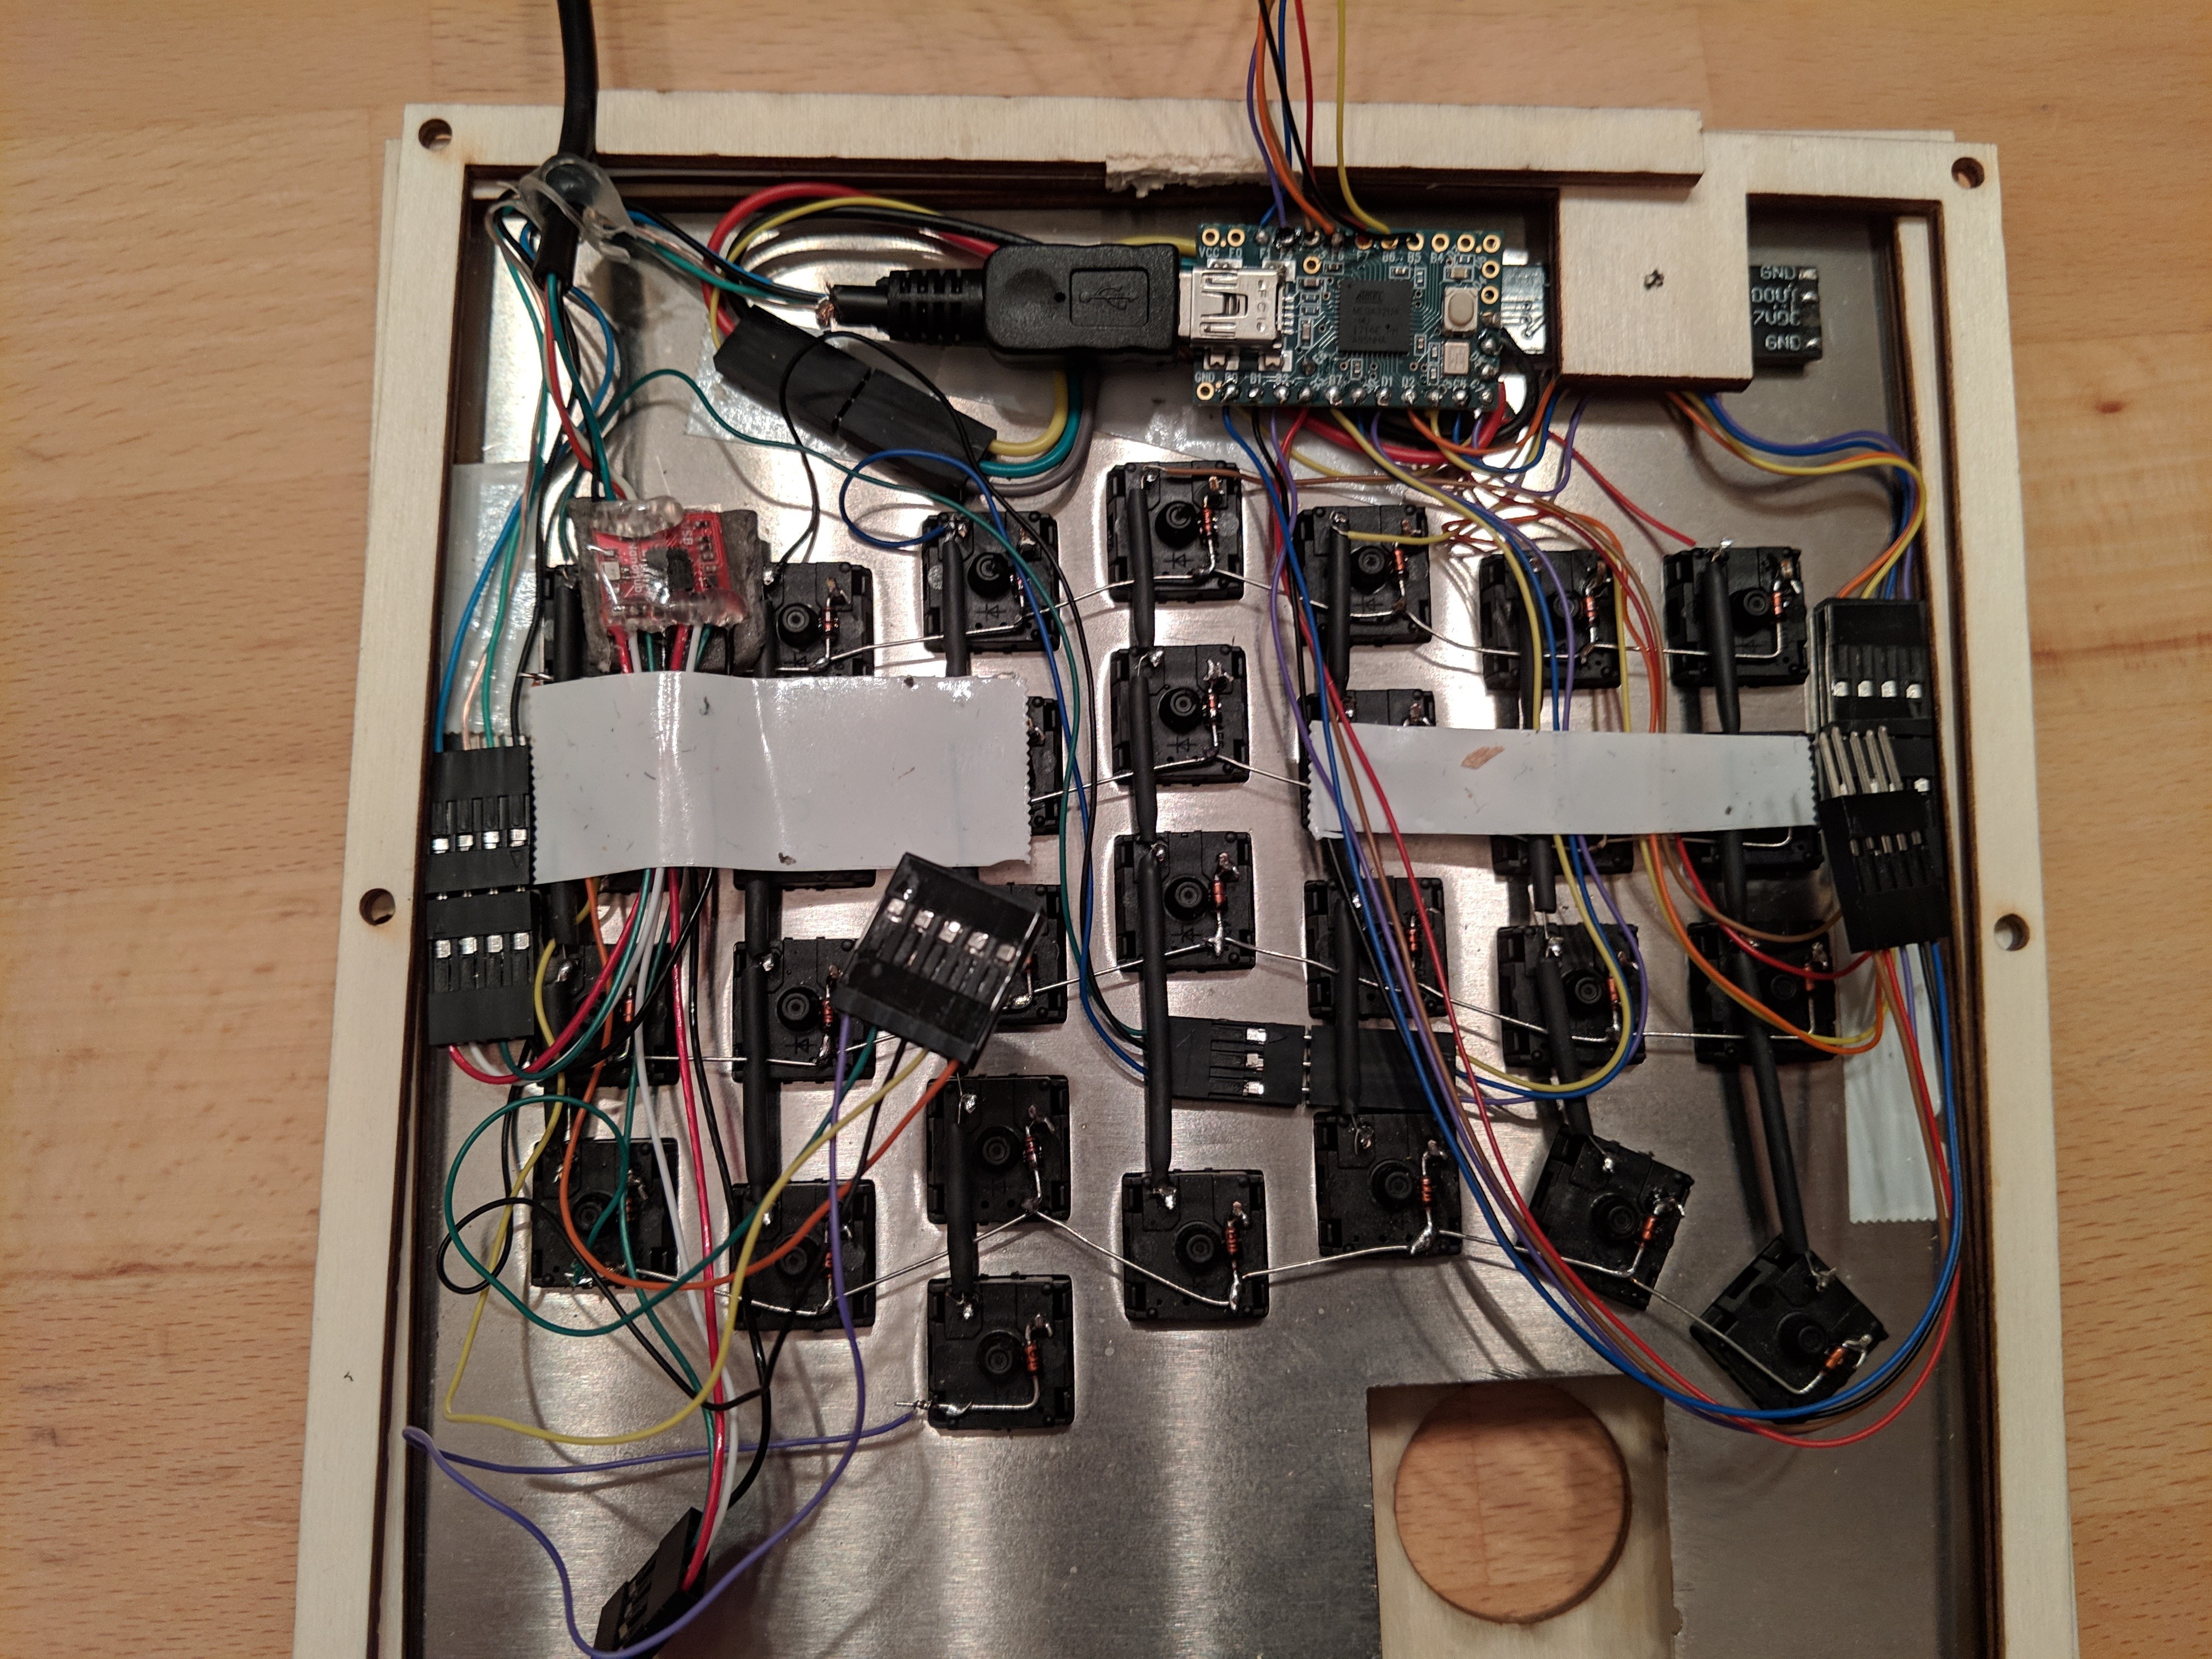
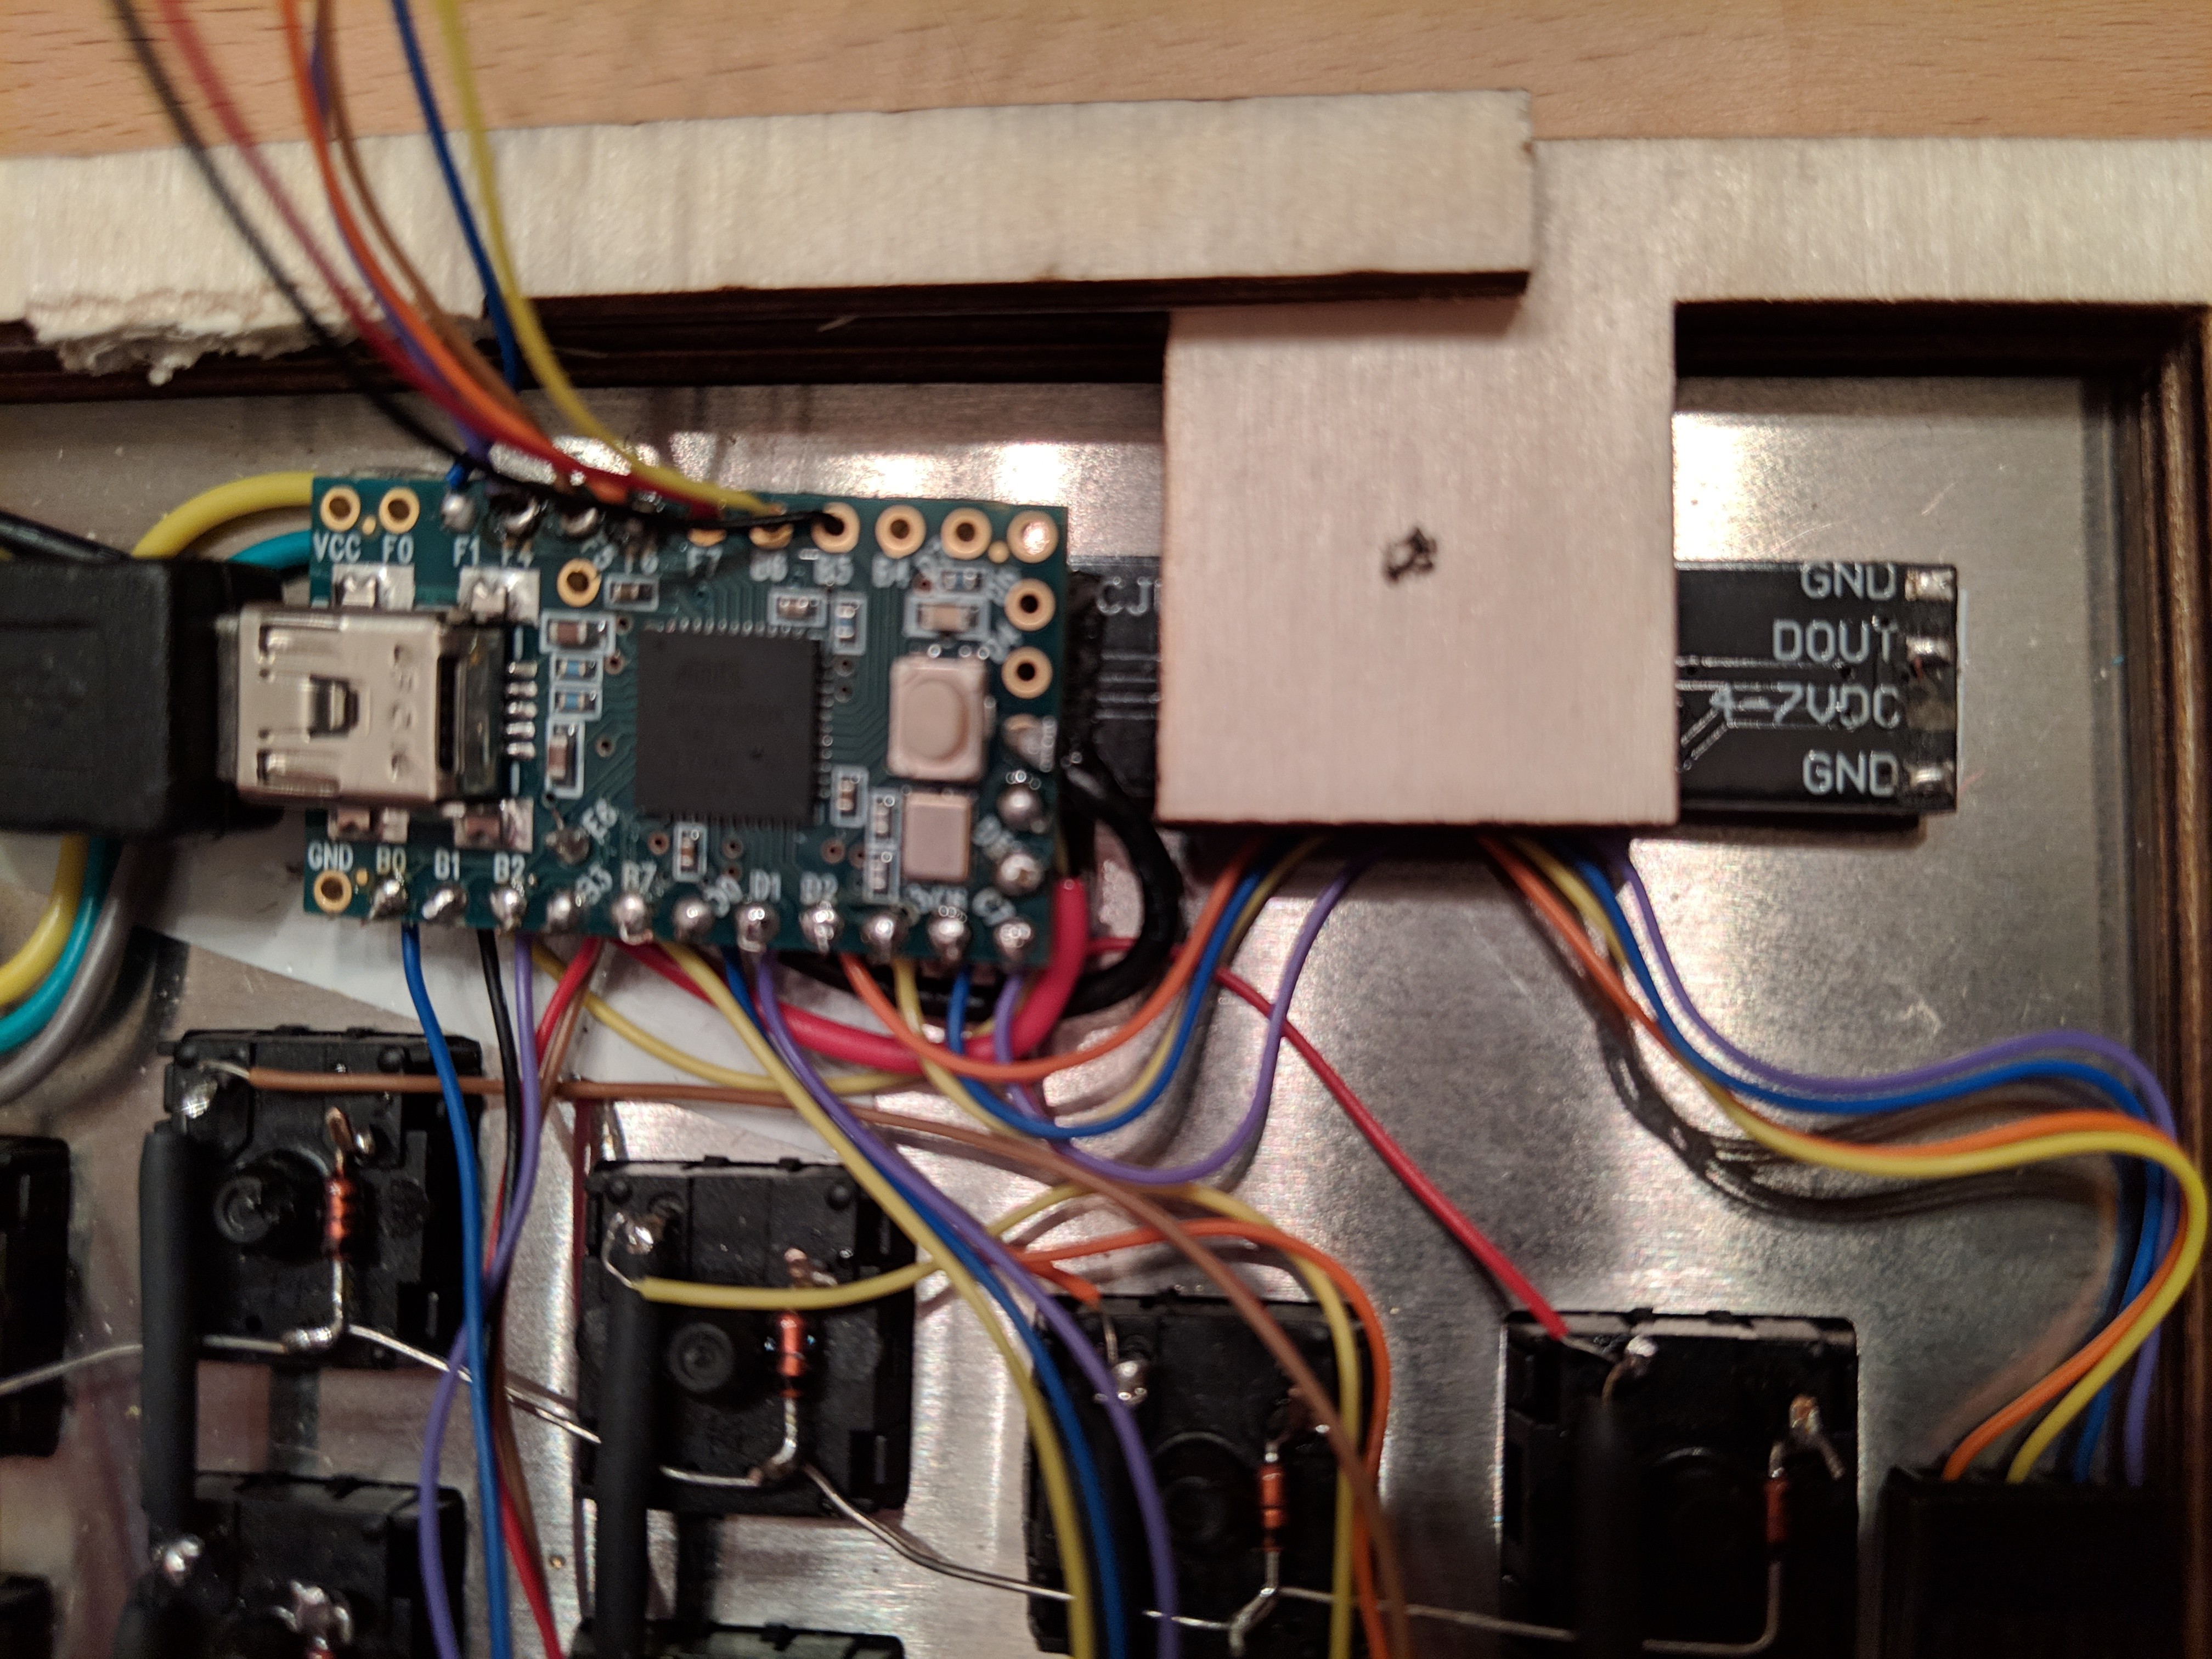
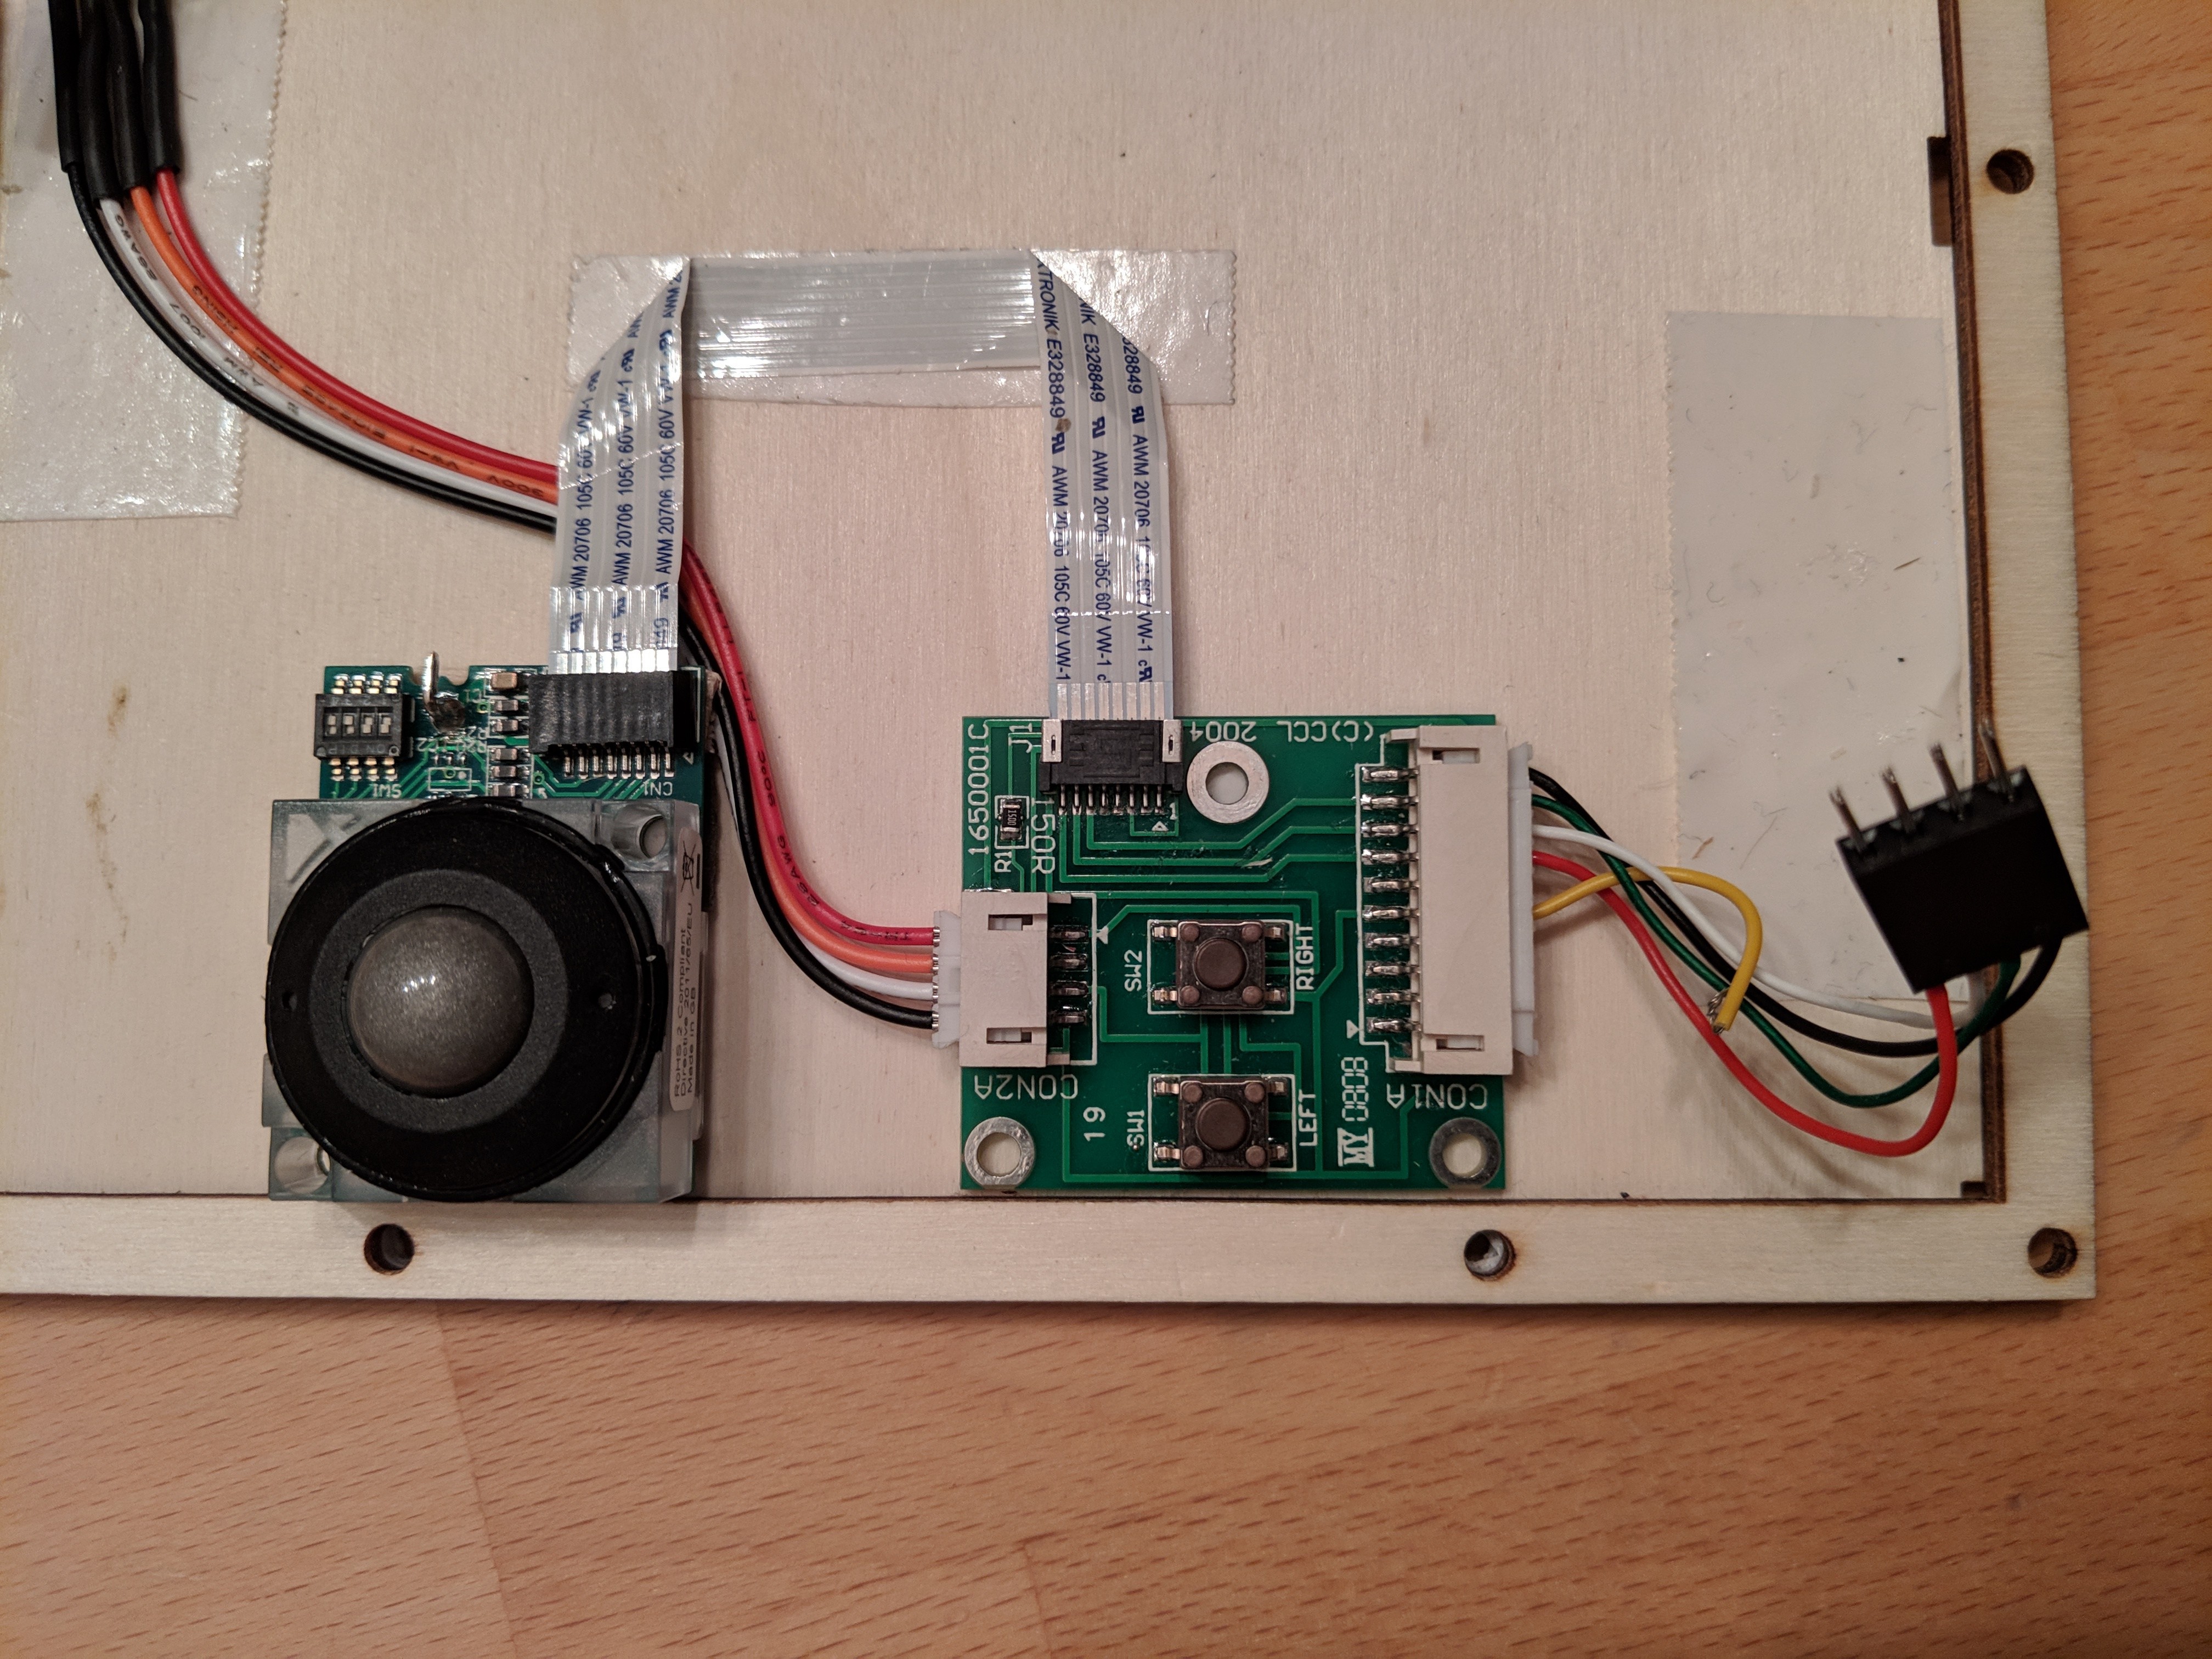
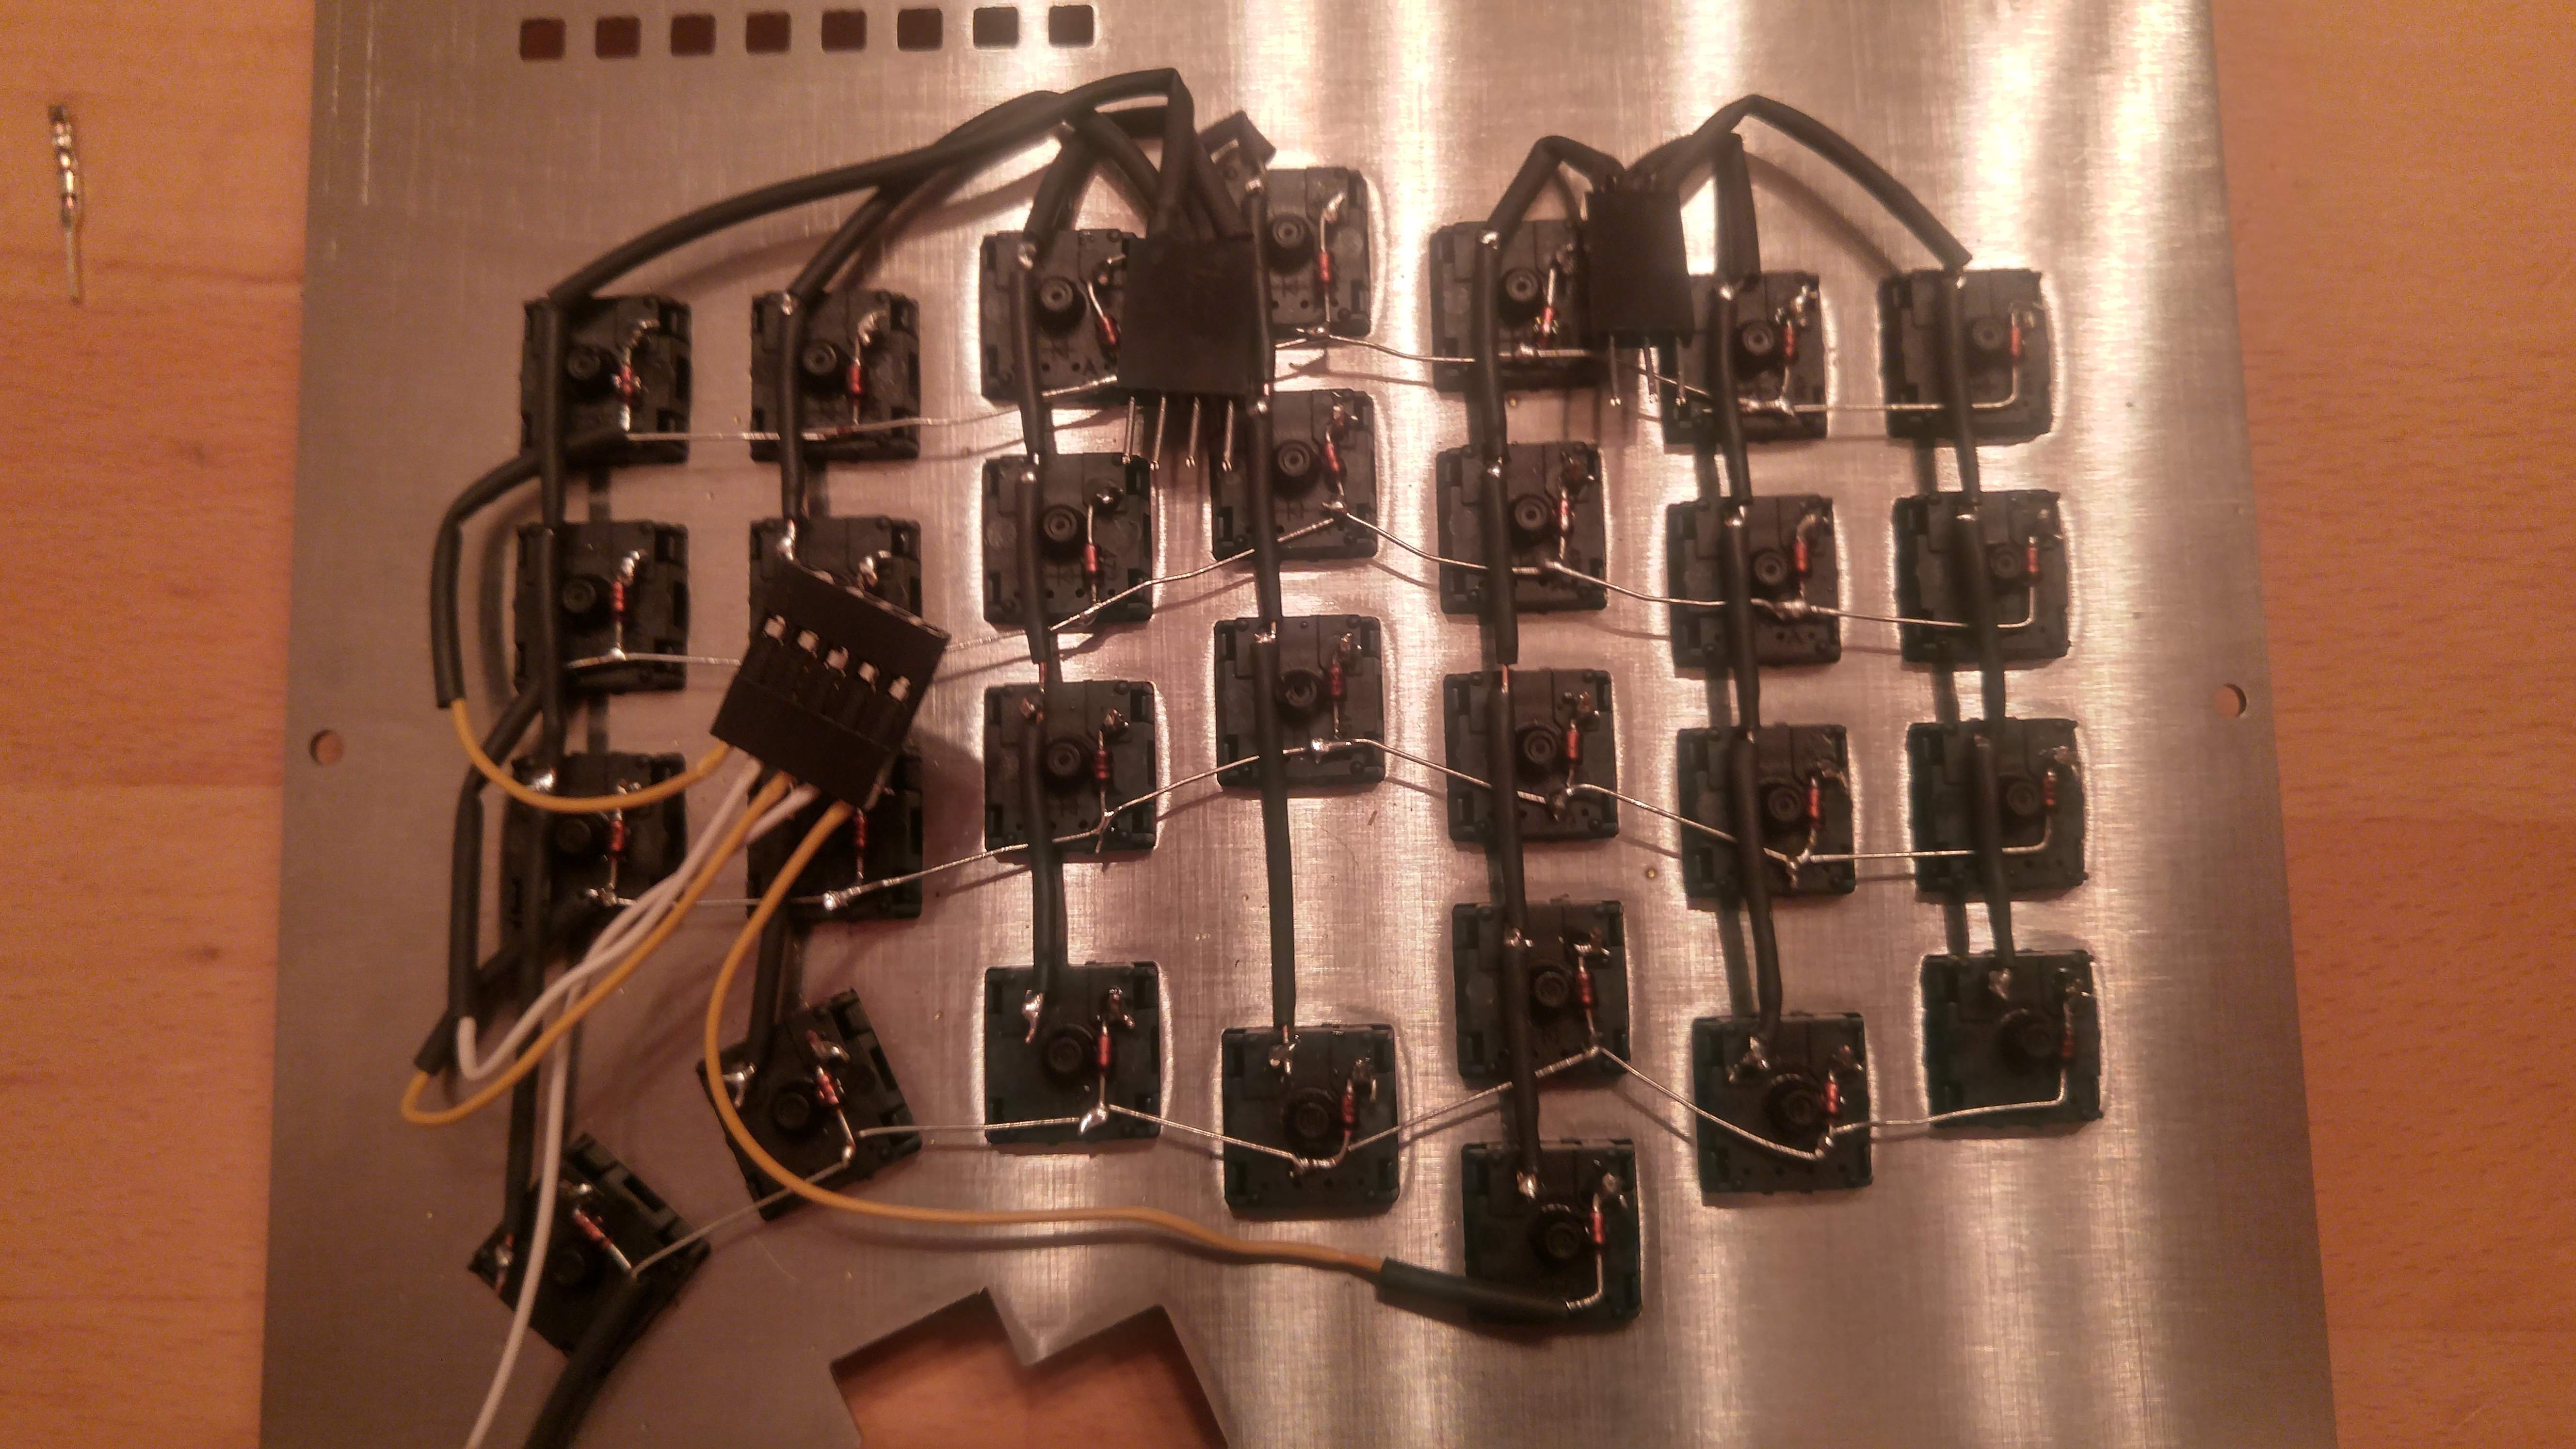
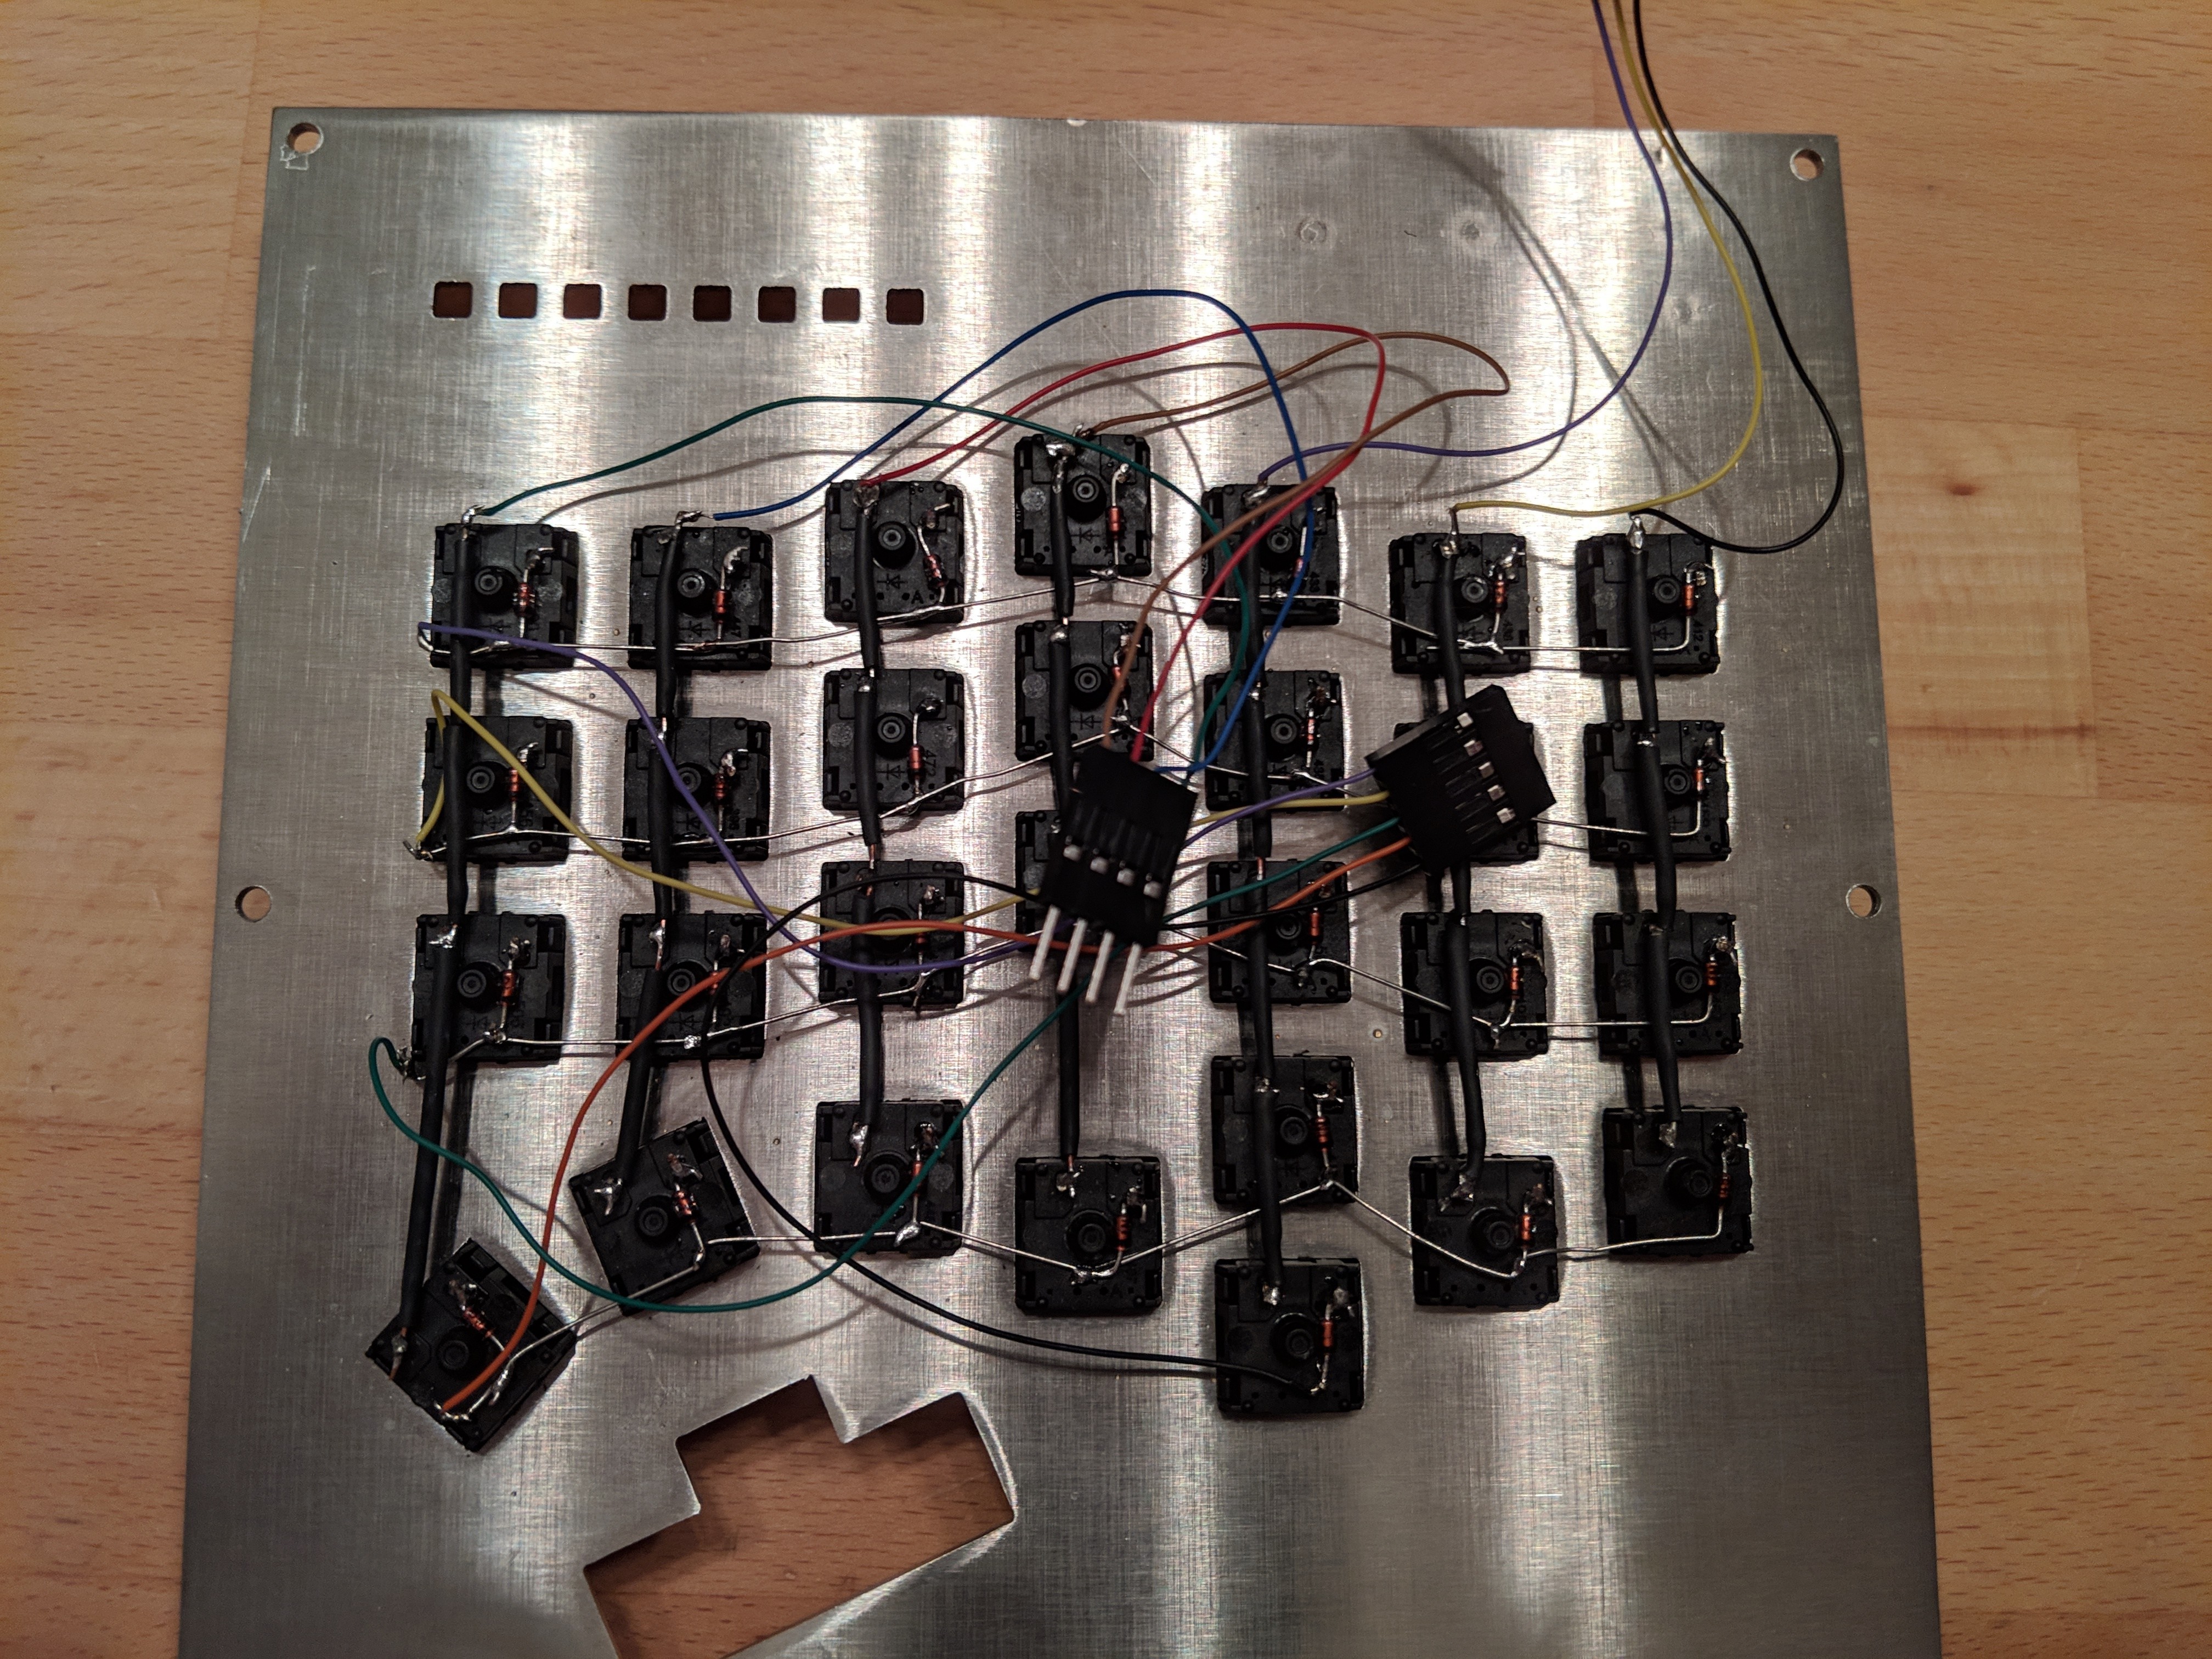
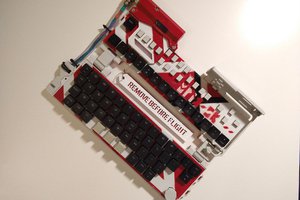
So I've started to think about a custom hand built keyboard. The device should join a keyboard and a mouse. At the beginning I've thought about a trackpoint, but I find it unusable, so I went for a trackball. It should be simple to repair and change in case of failures. That's why all the cables are not directly soldered to the Teensy but, instead, they use wire connectors. It should have enough keys to map all the main characters, all the extra ones should be achieved by the use of layers. Imperative, at least for me, was to have direct access to the navigation keys (4 on the left and 4 on the right, as in the TEK).
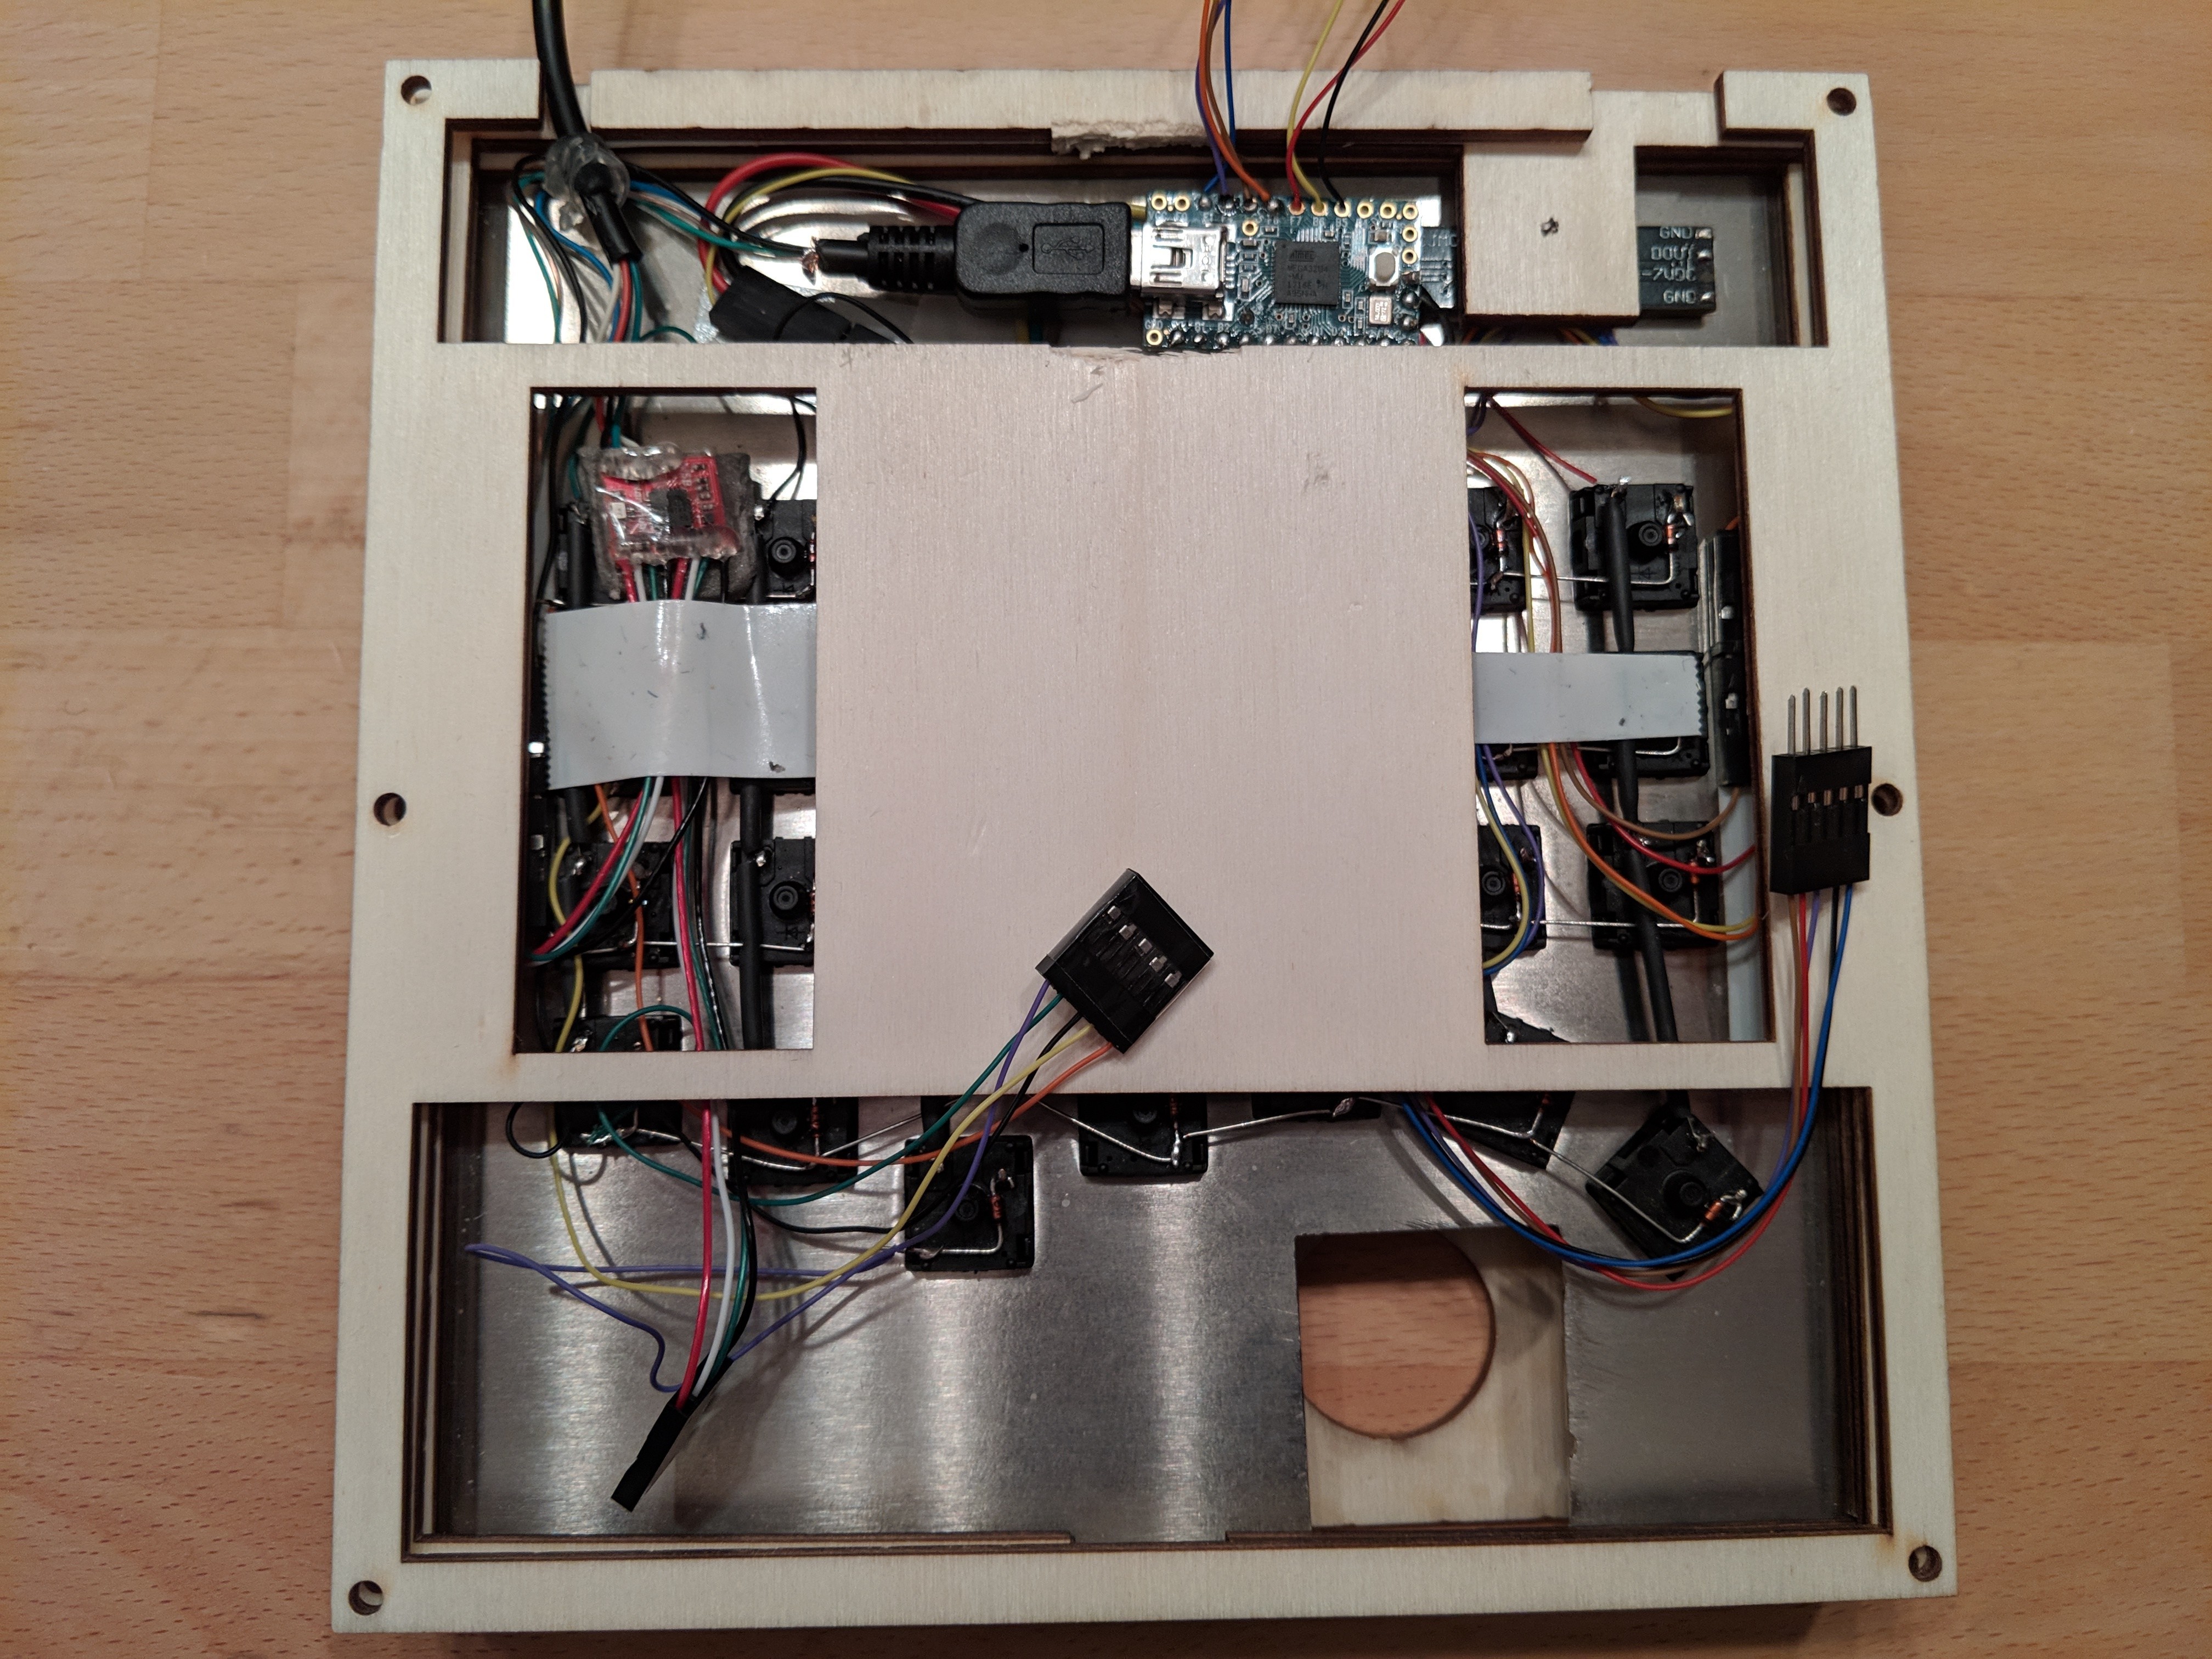
Building went through of challenges. I've had to design all the DXFs files for the laser cuts. At the beginning I've thought to build a case from a wood block, but it would have been too much expensive and it requires a 3D model of the case. So I've laser cut also the case.
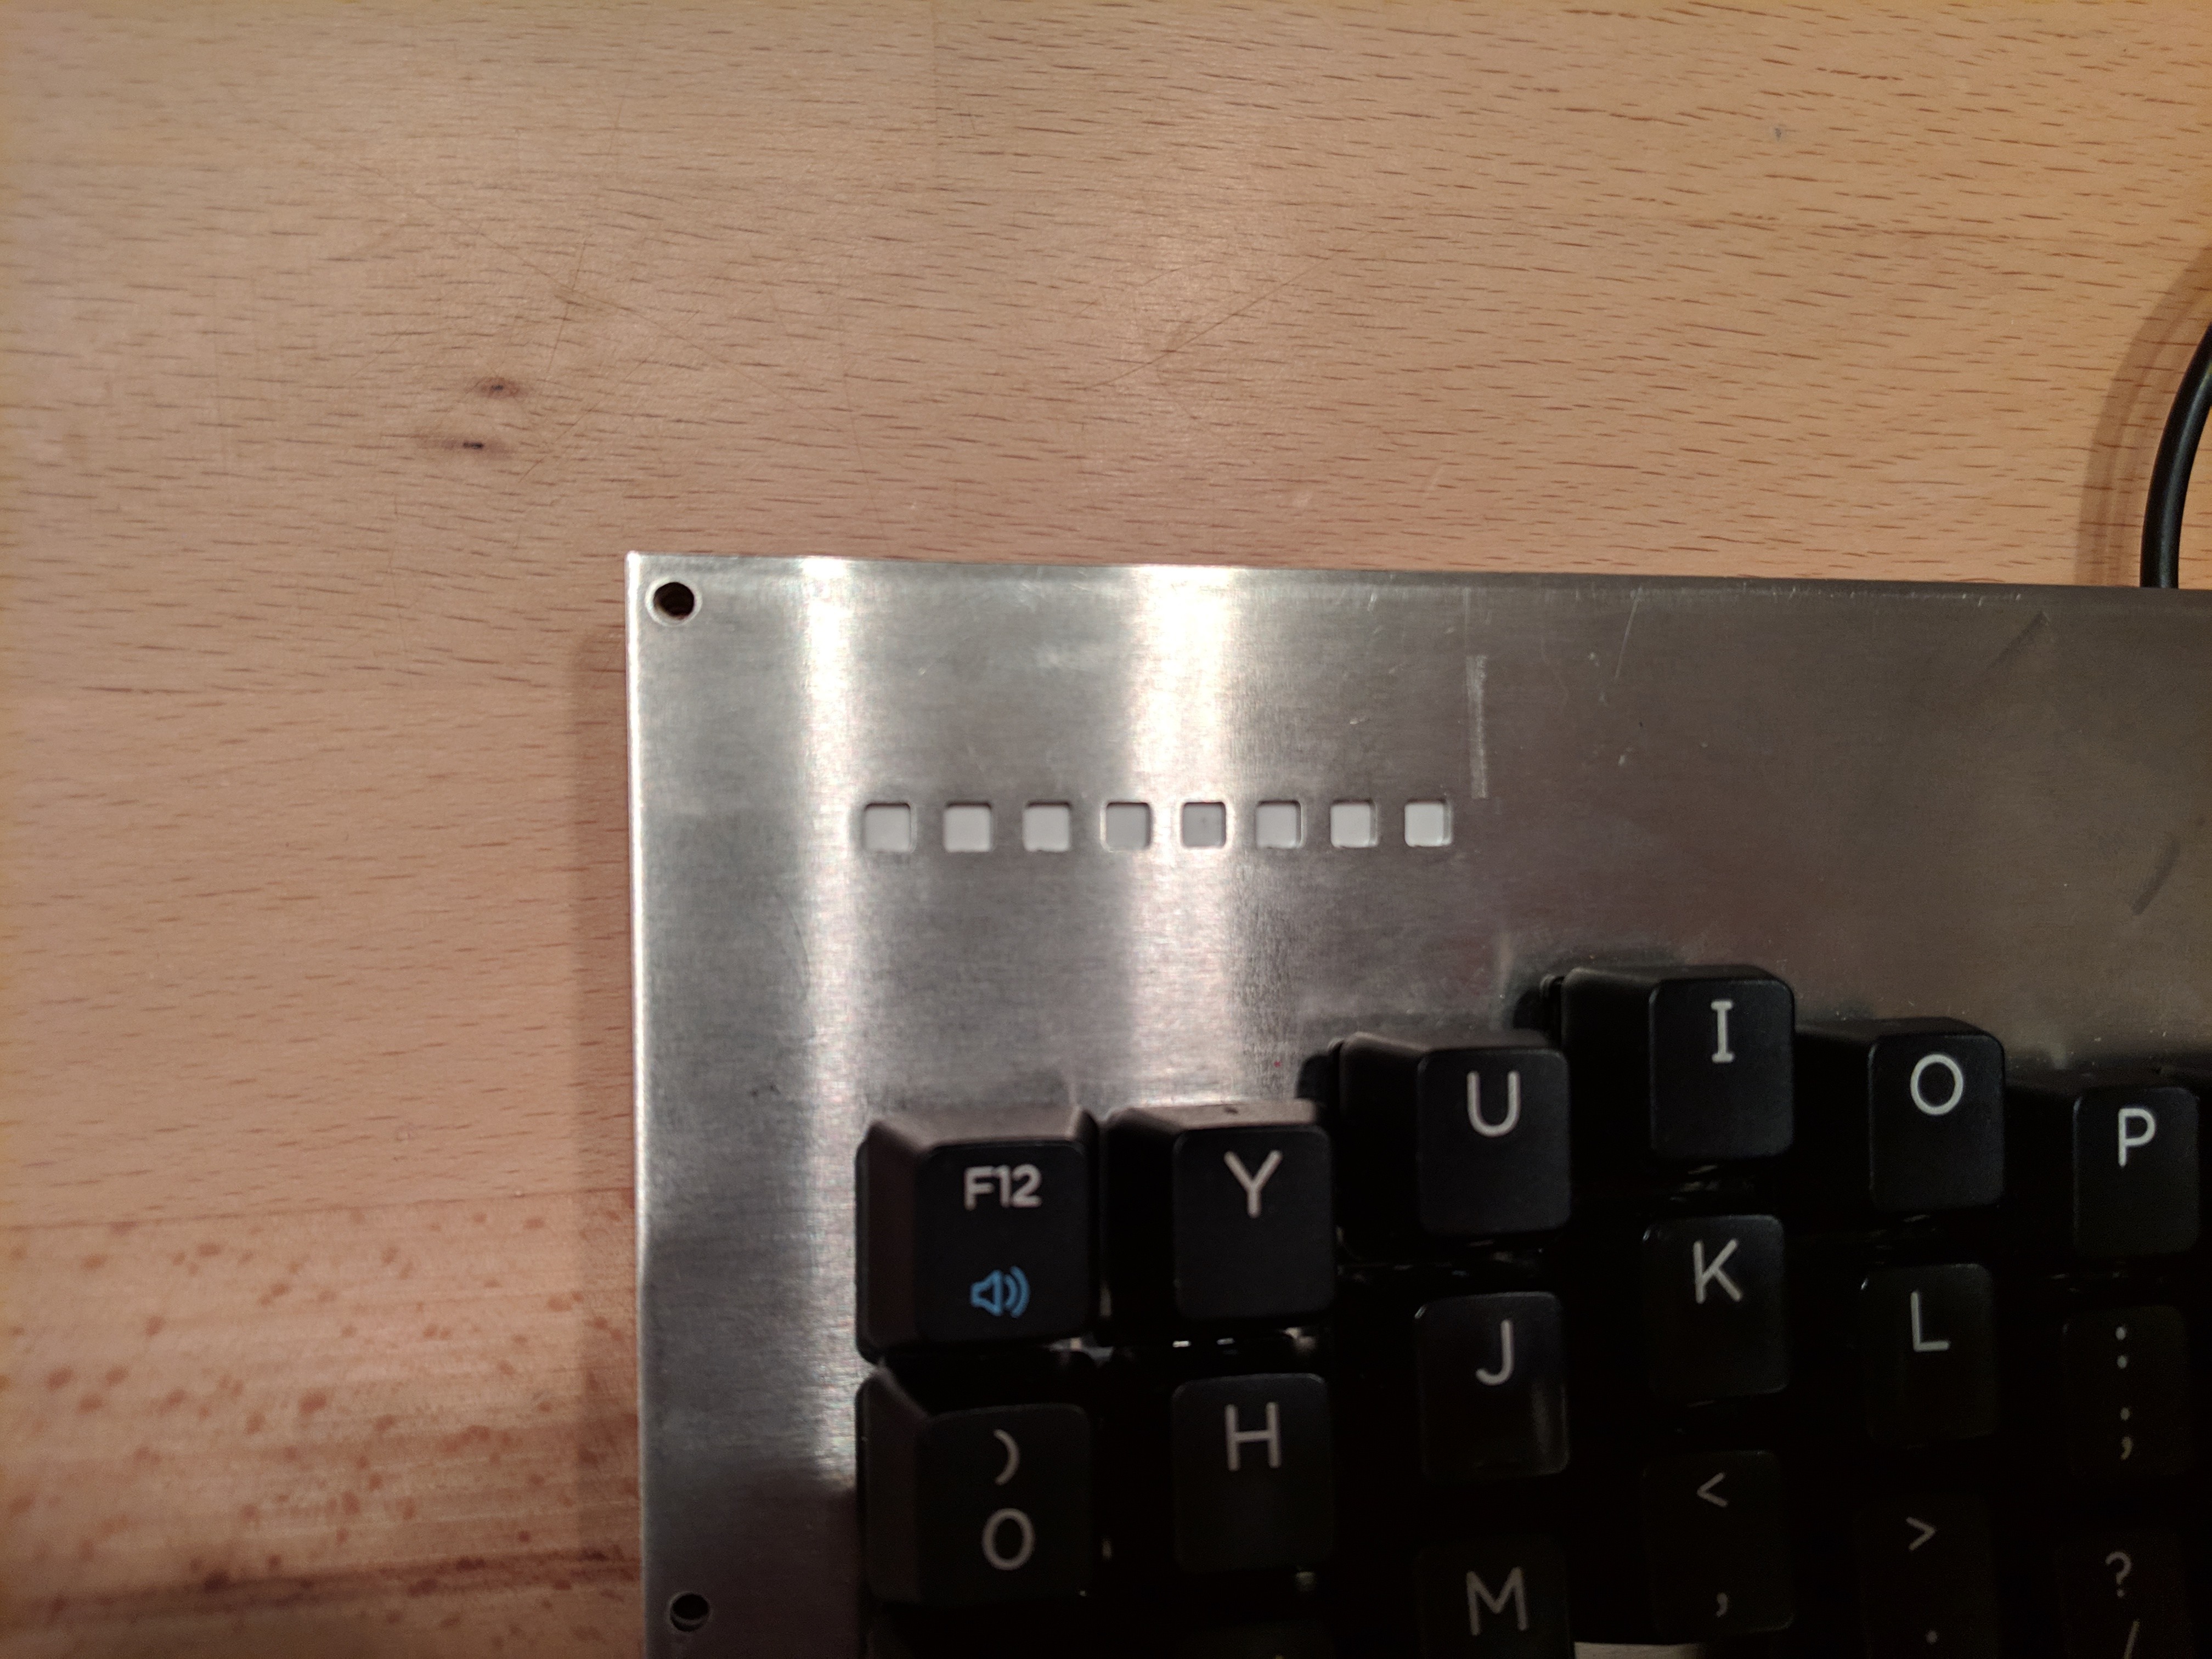
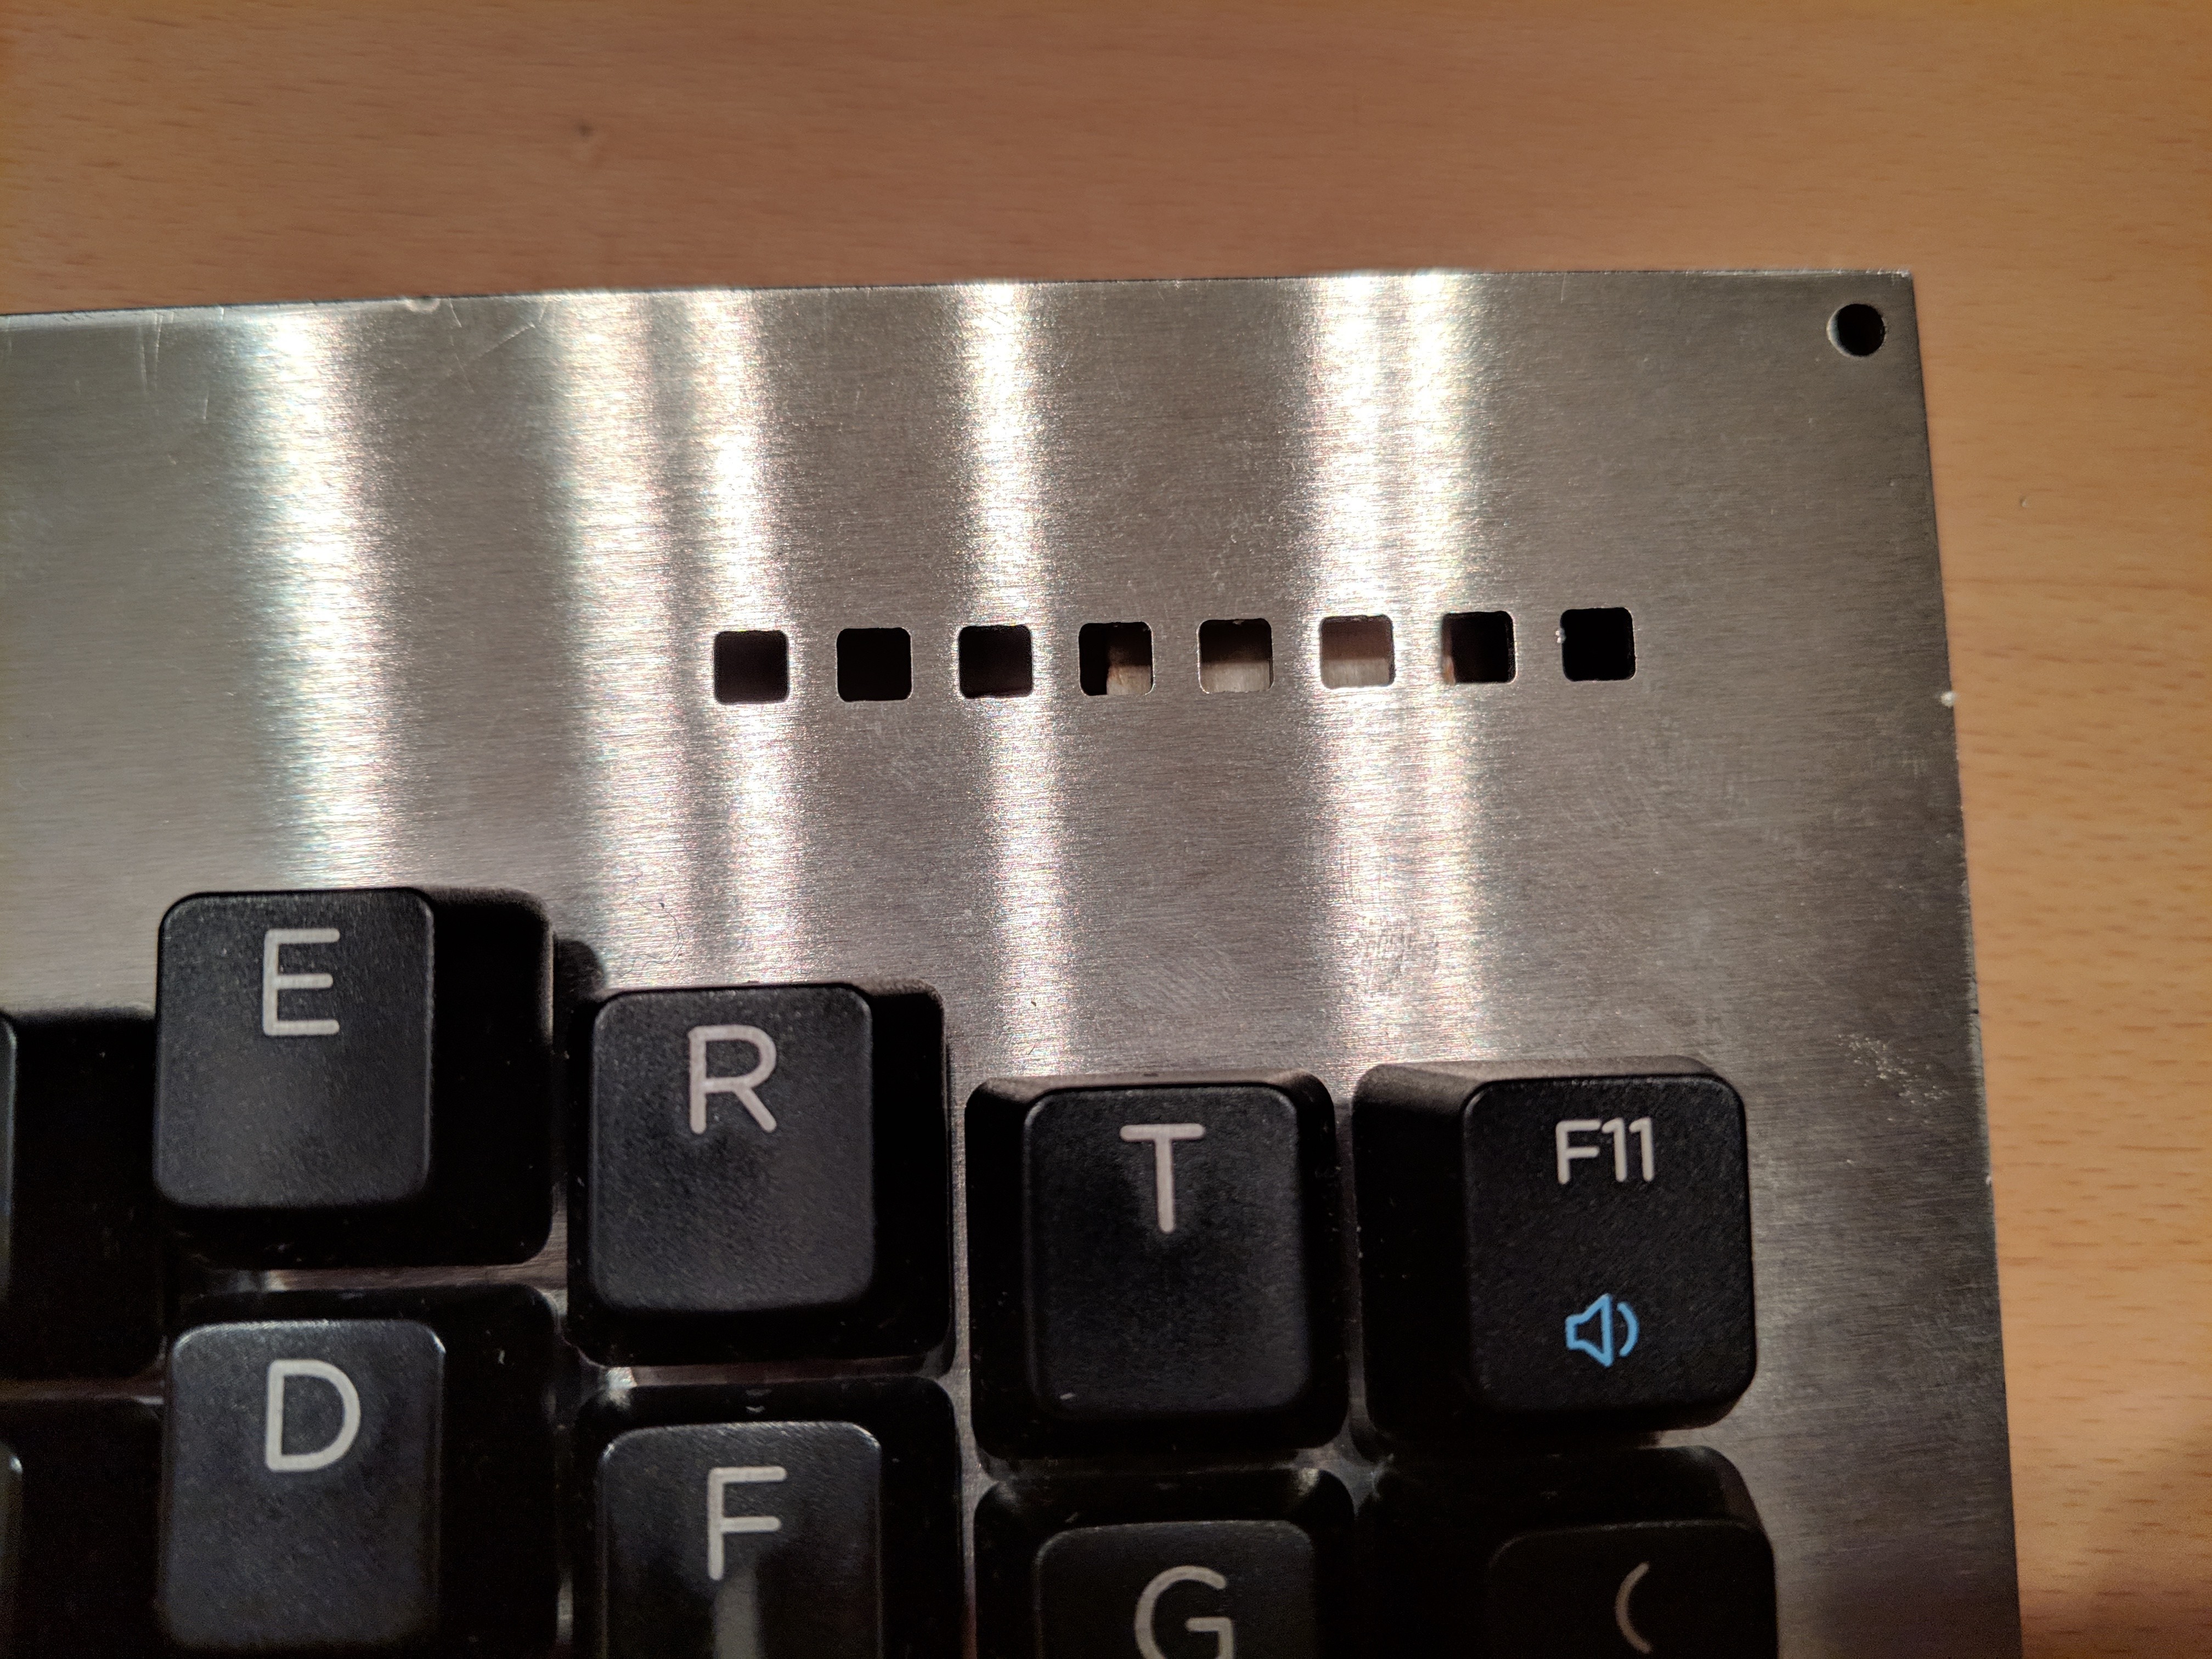
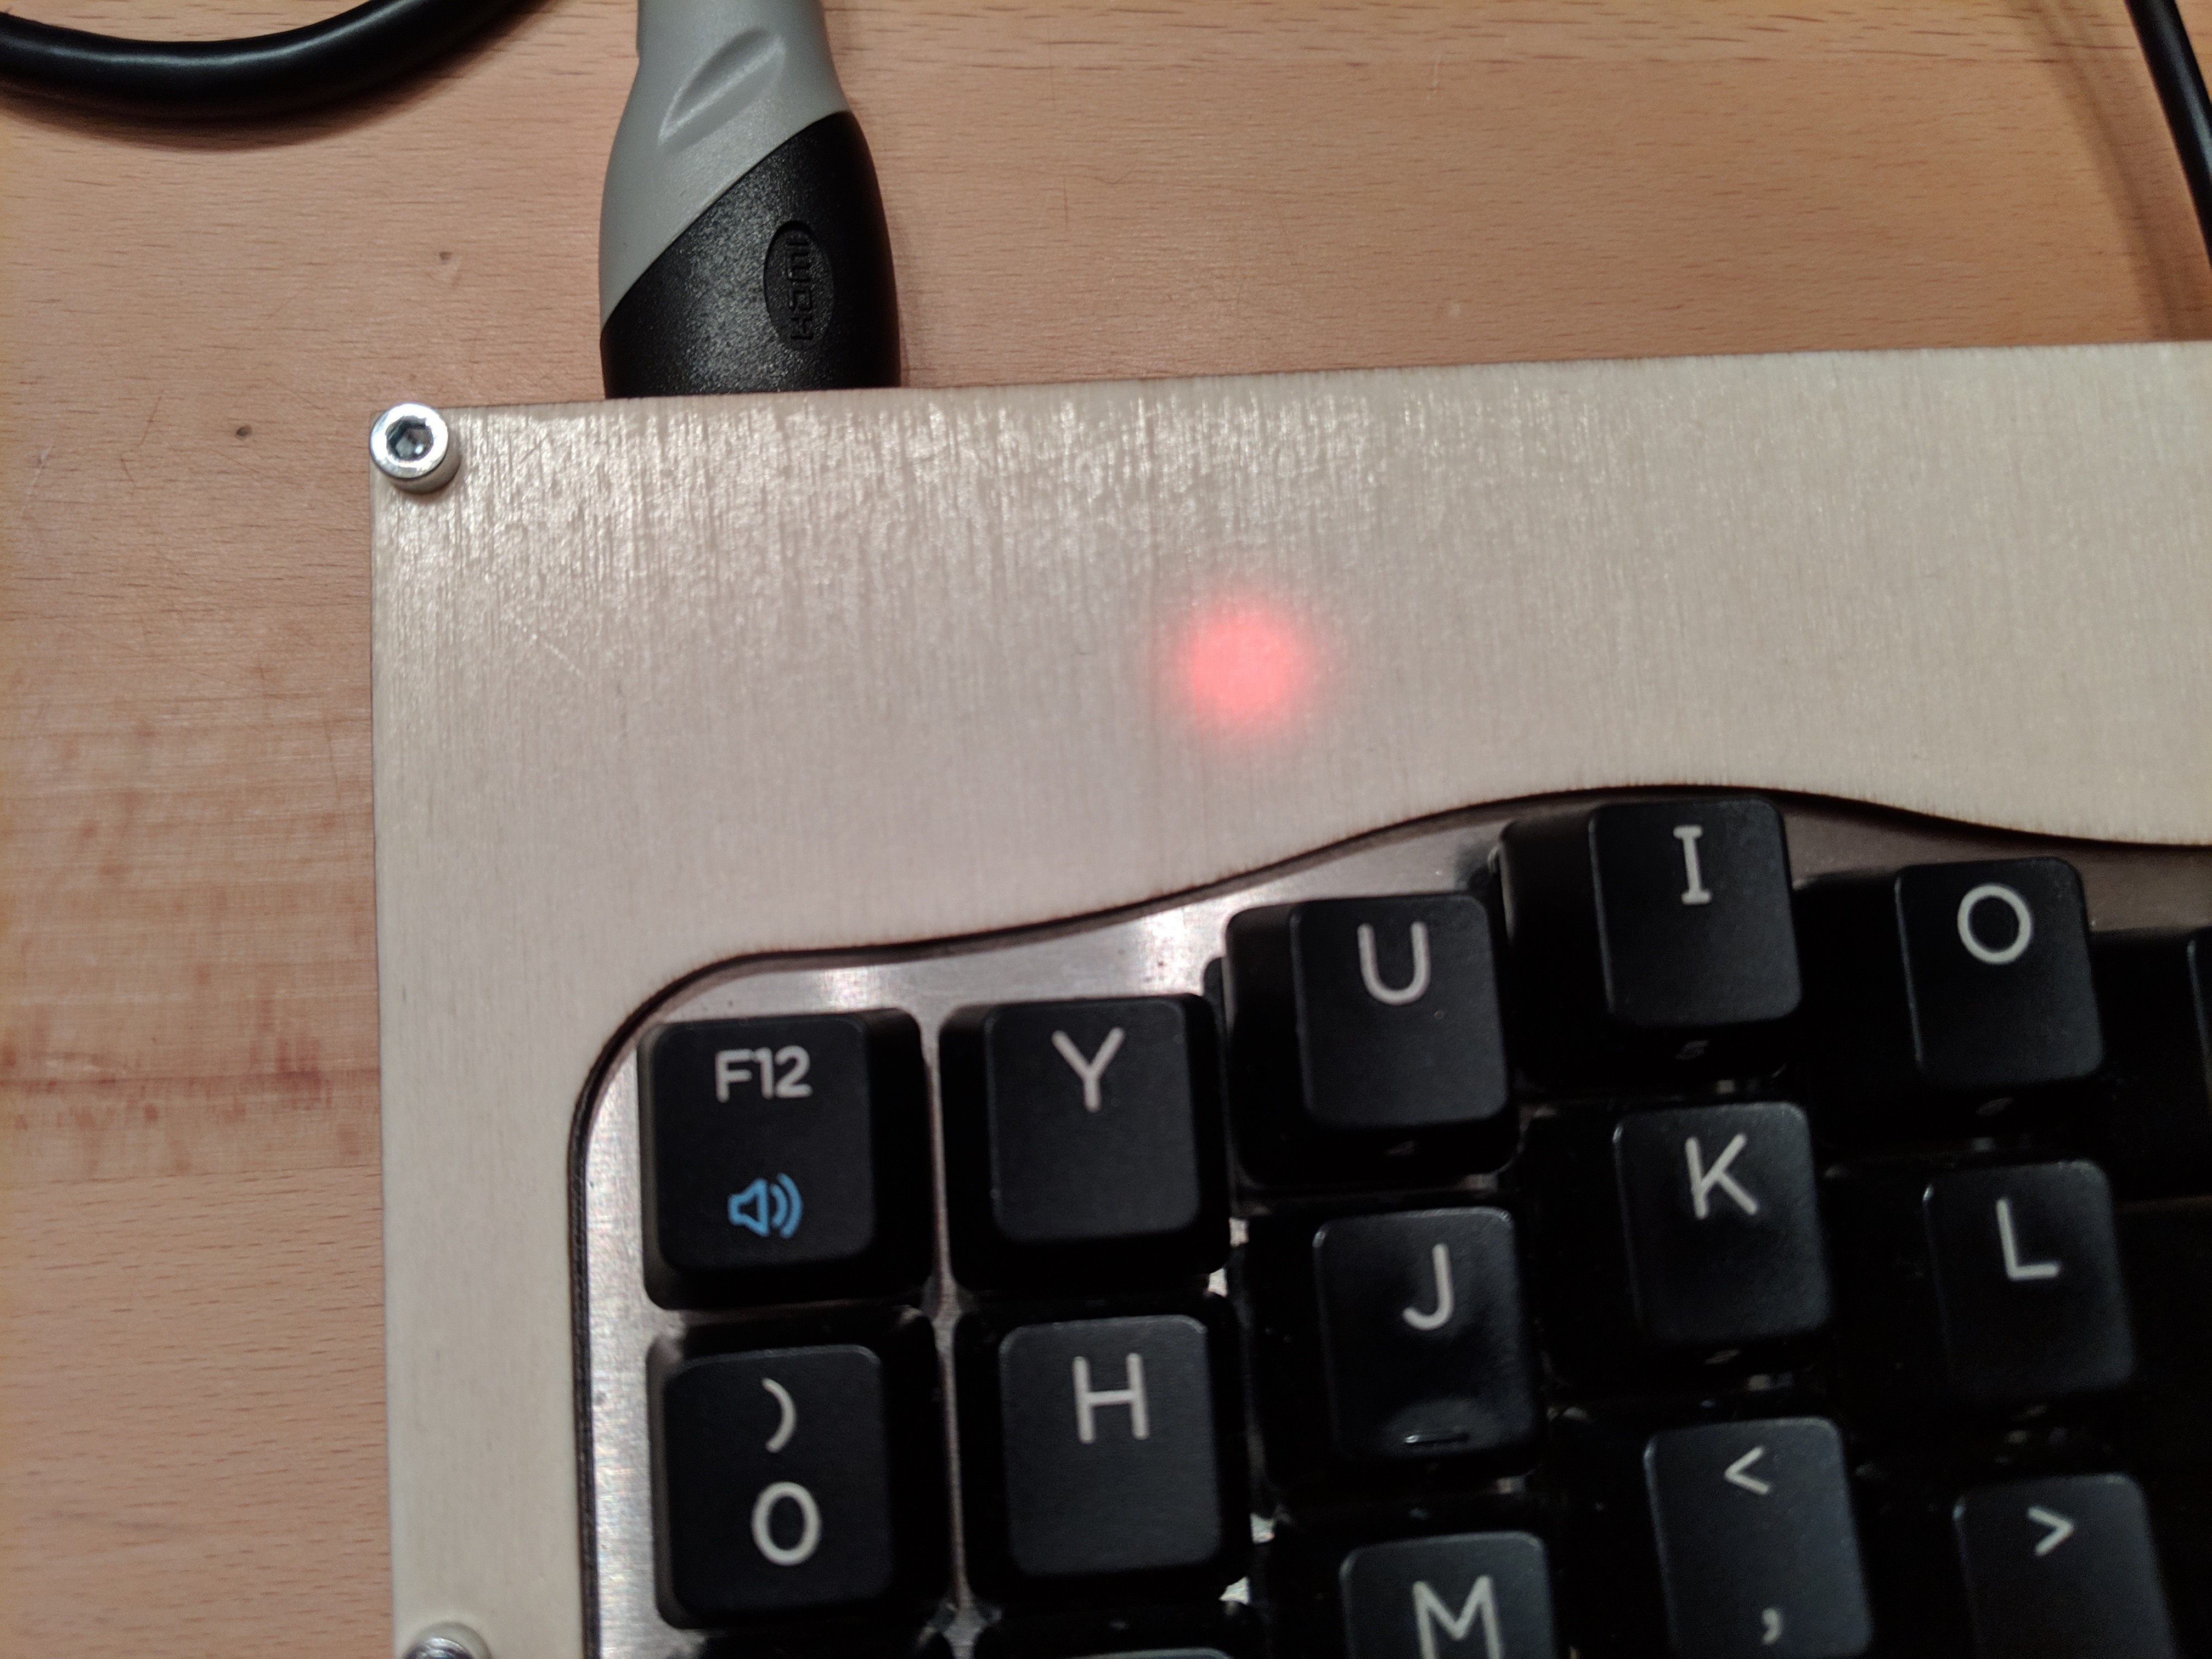
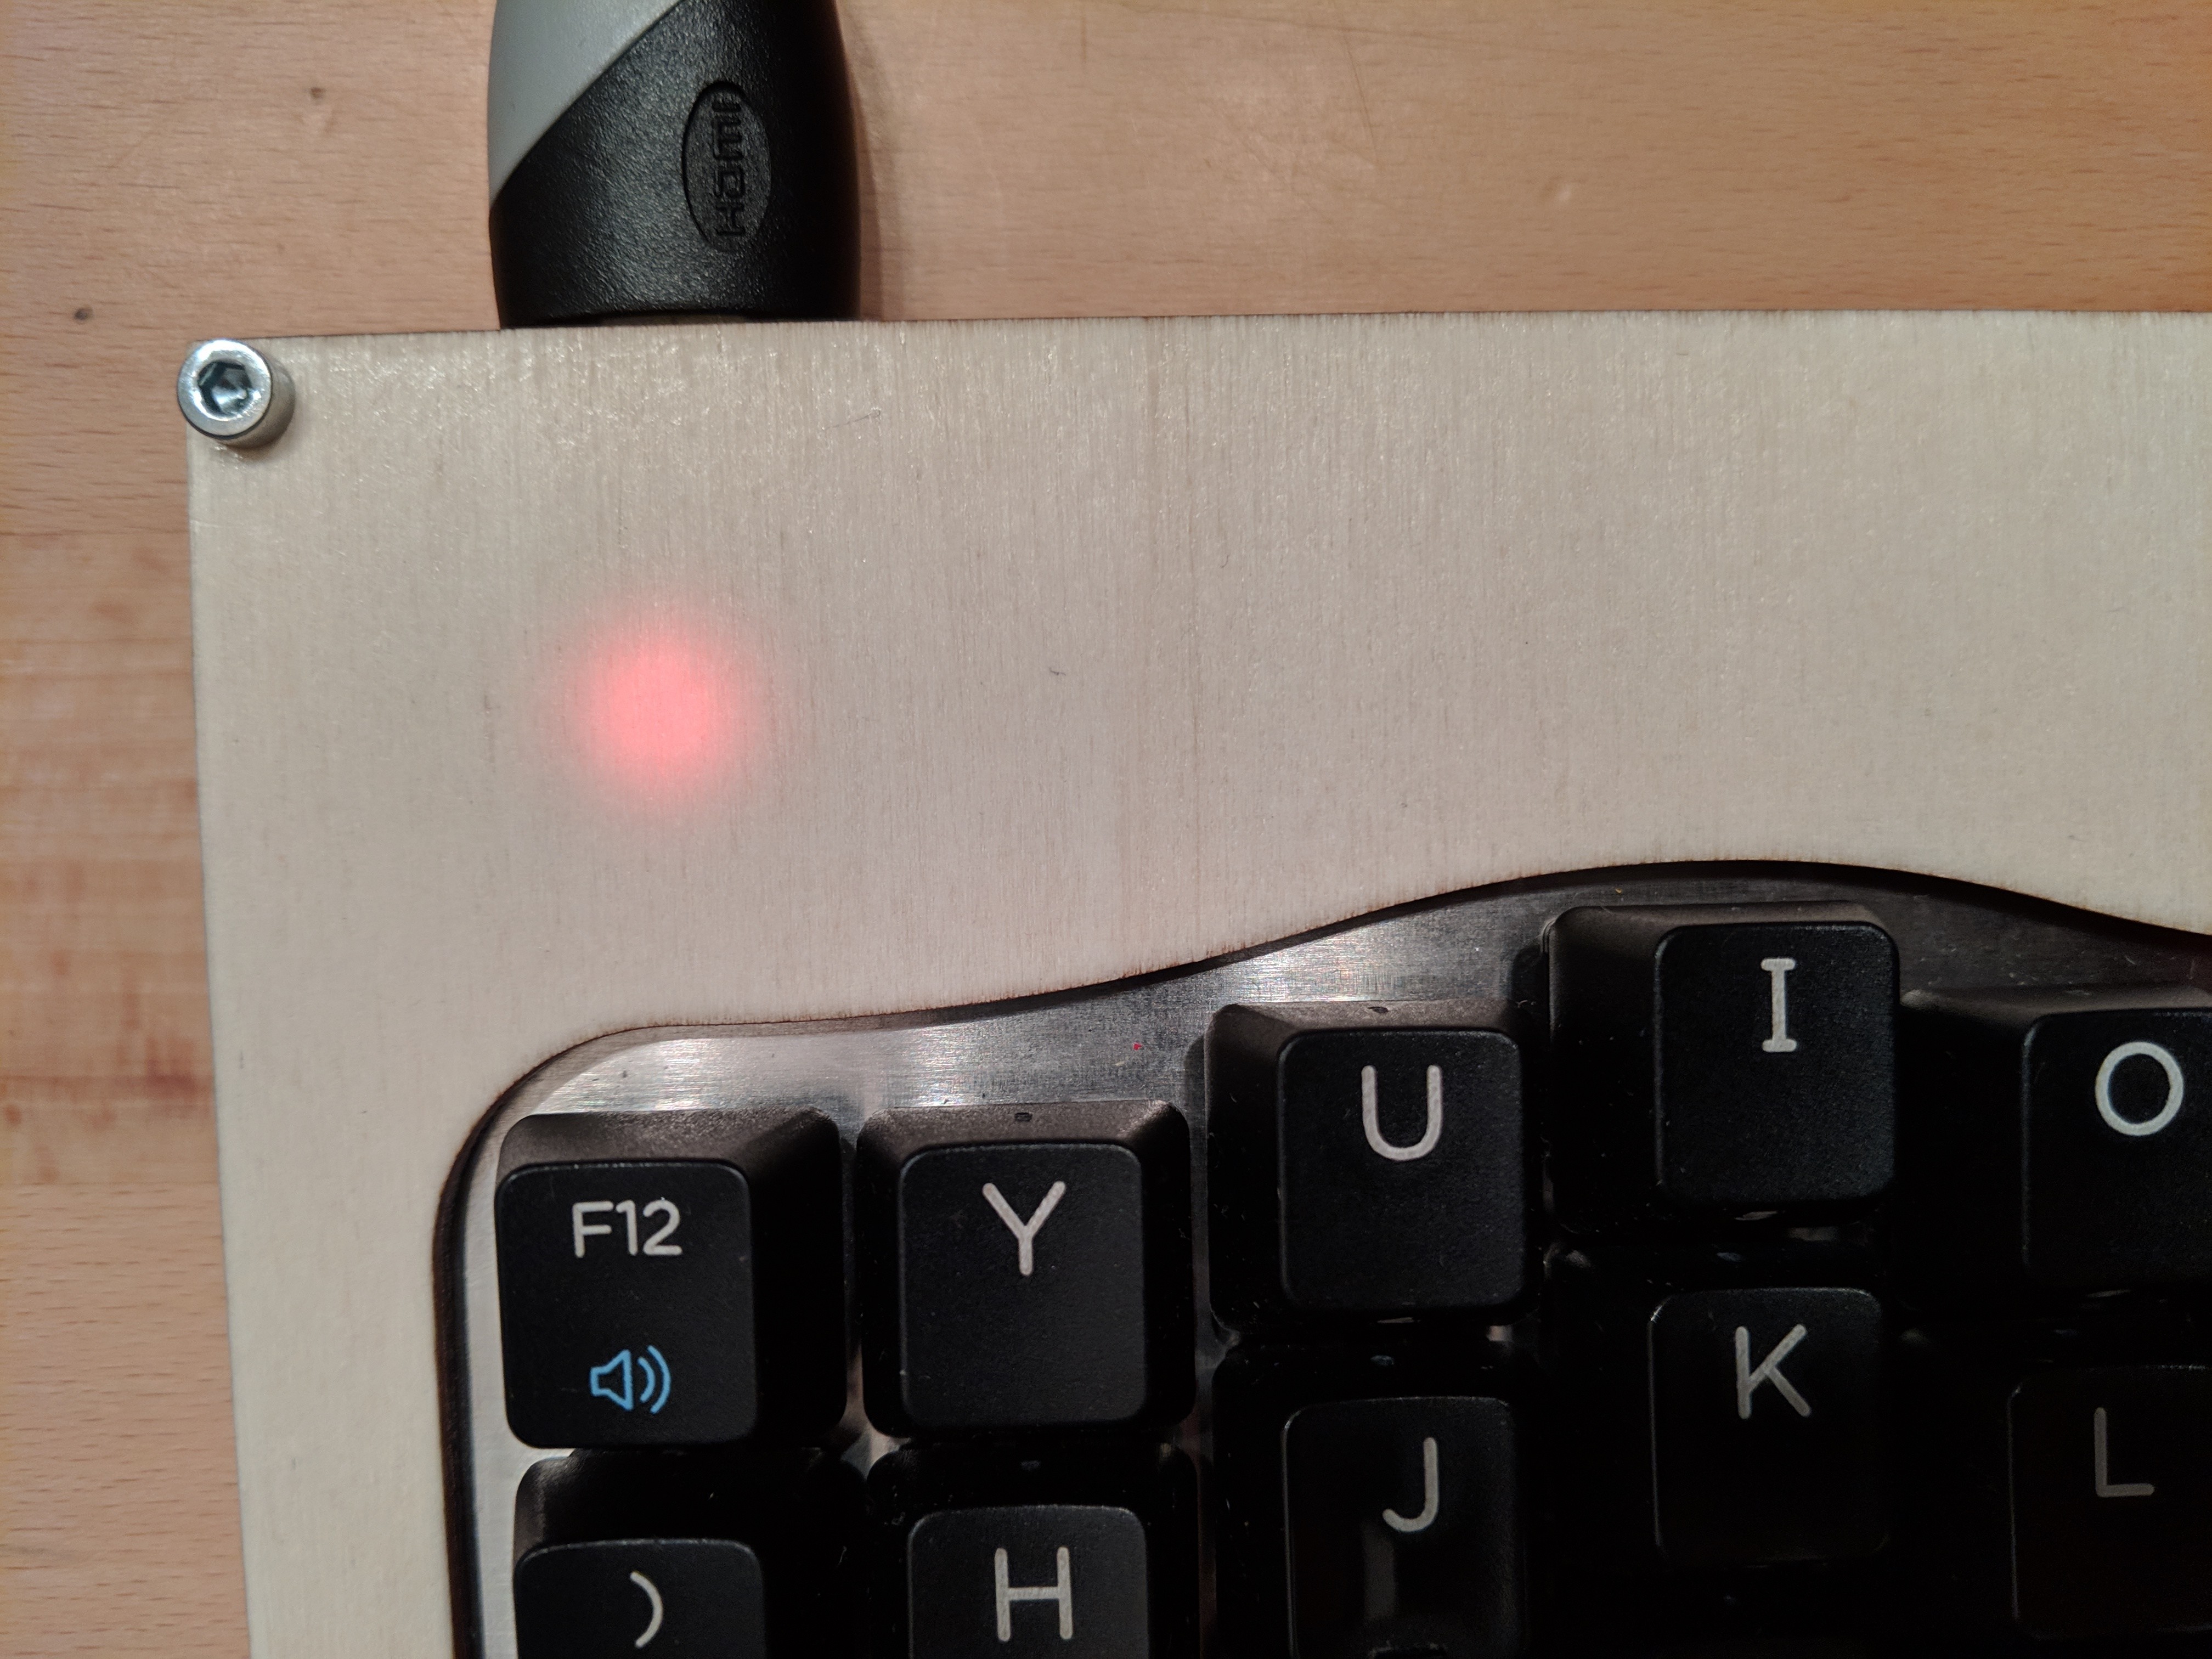
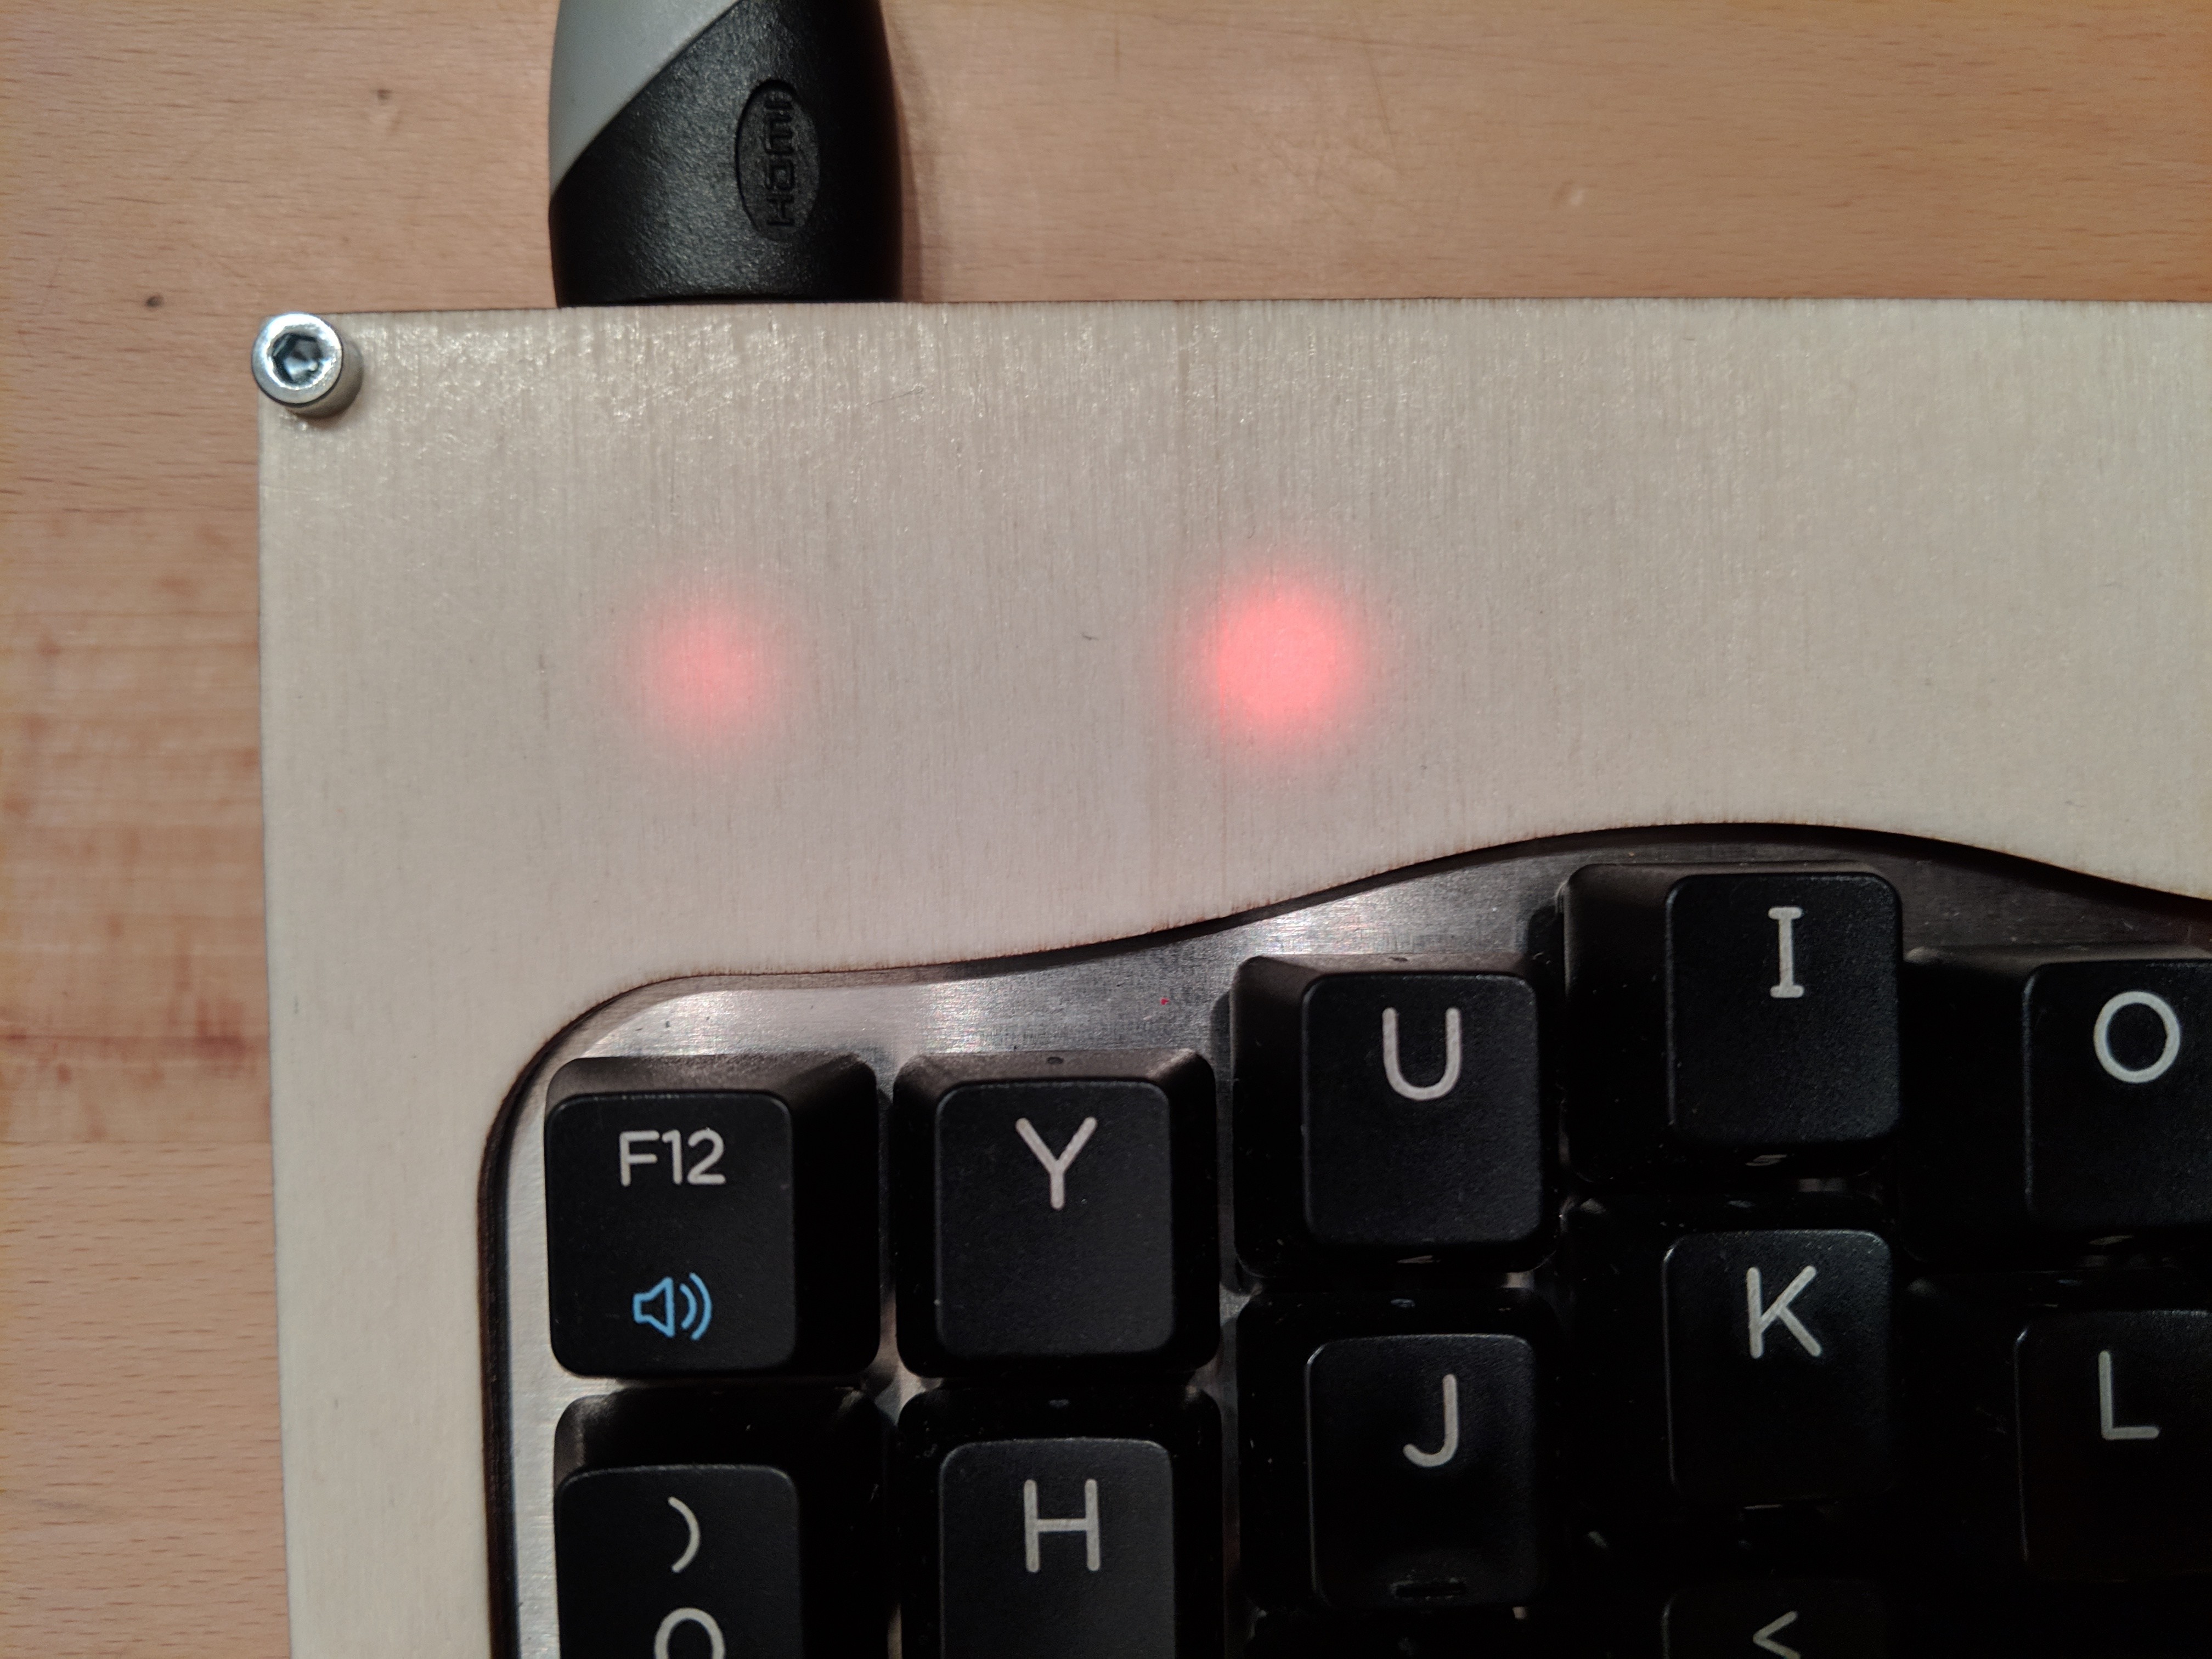
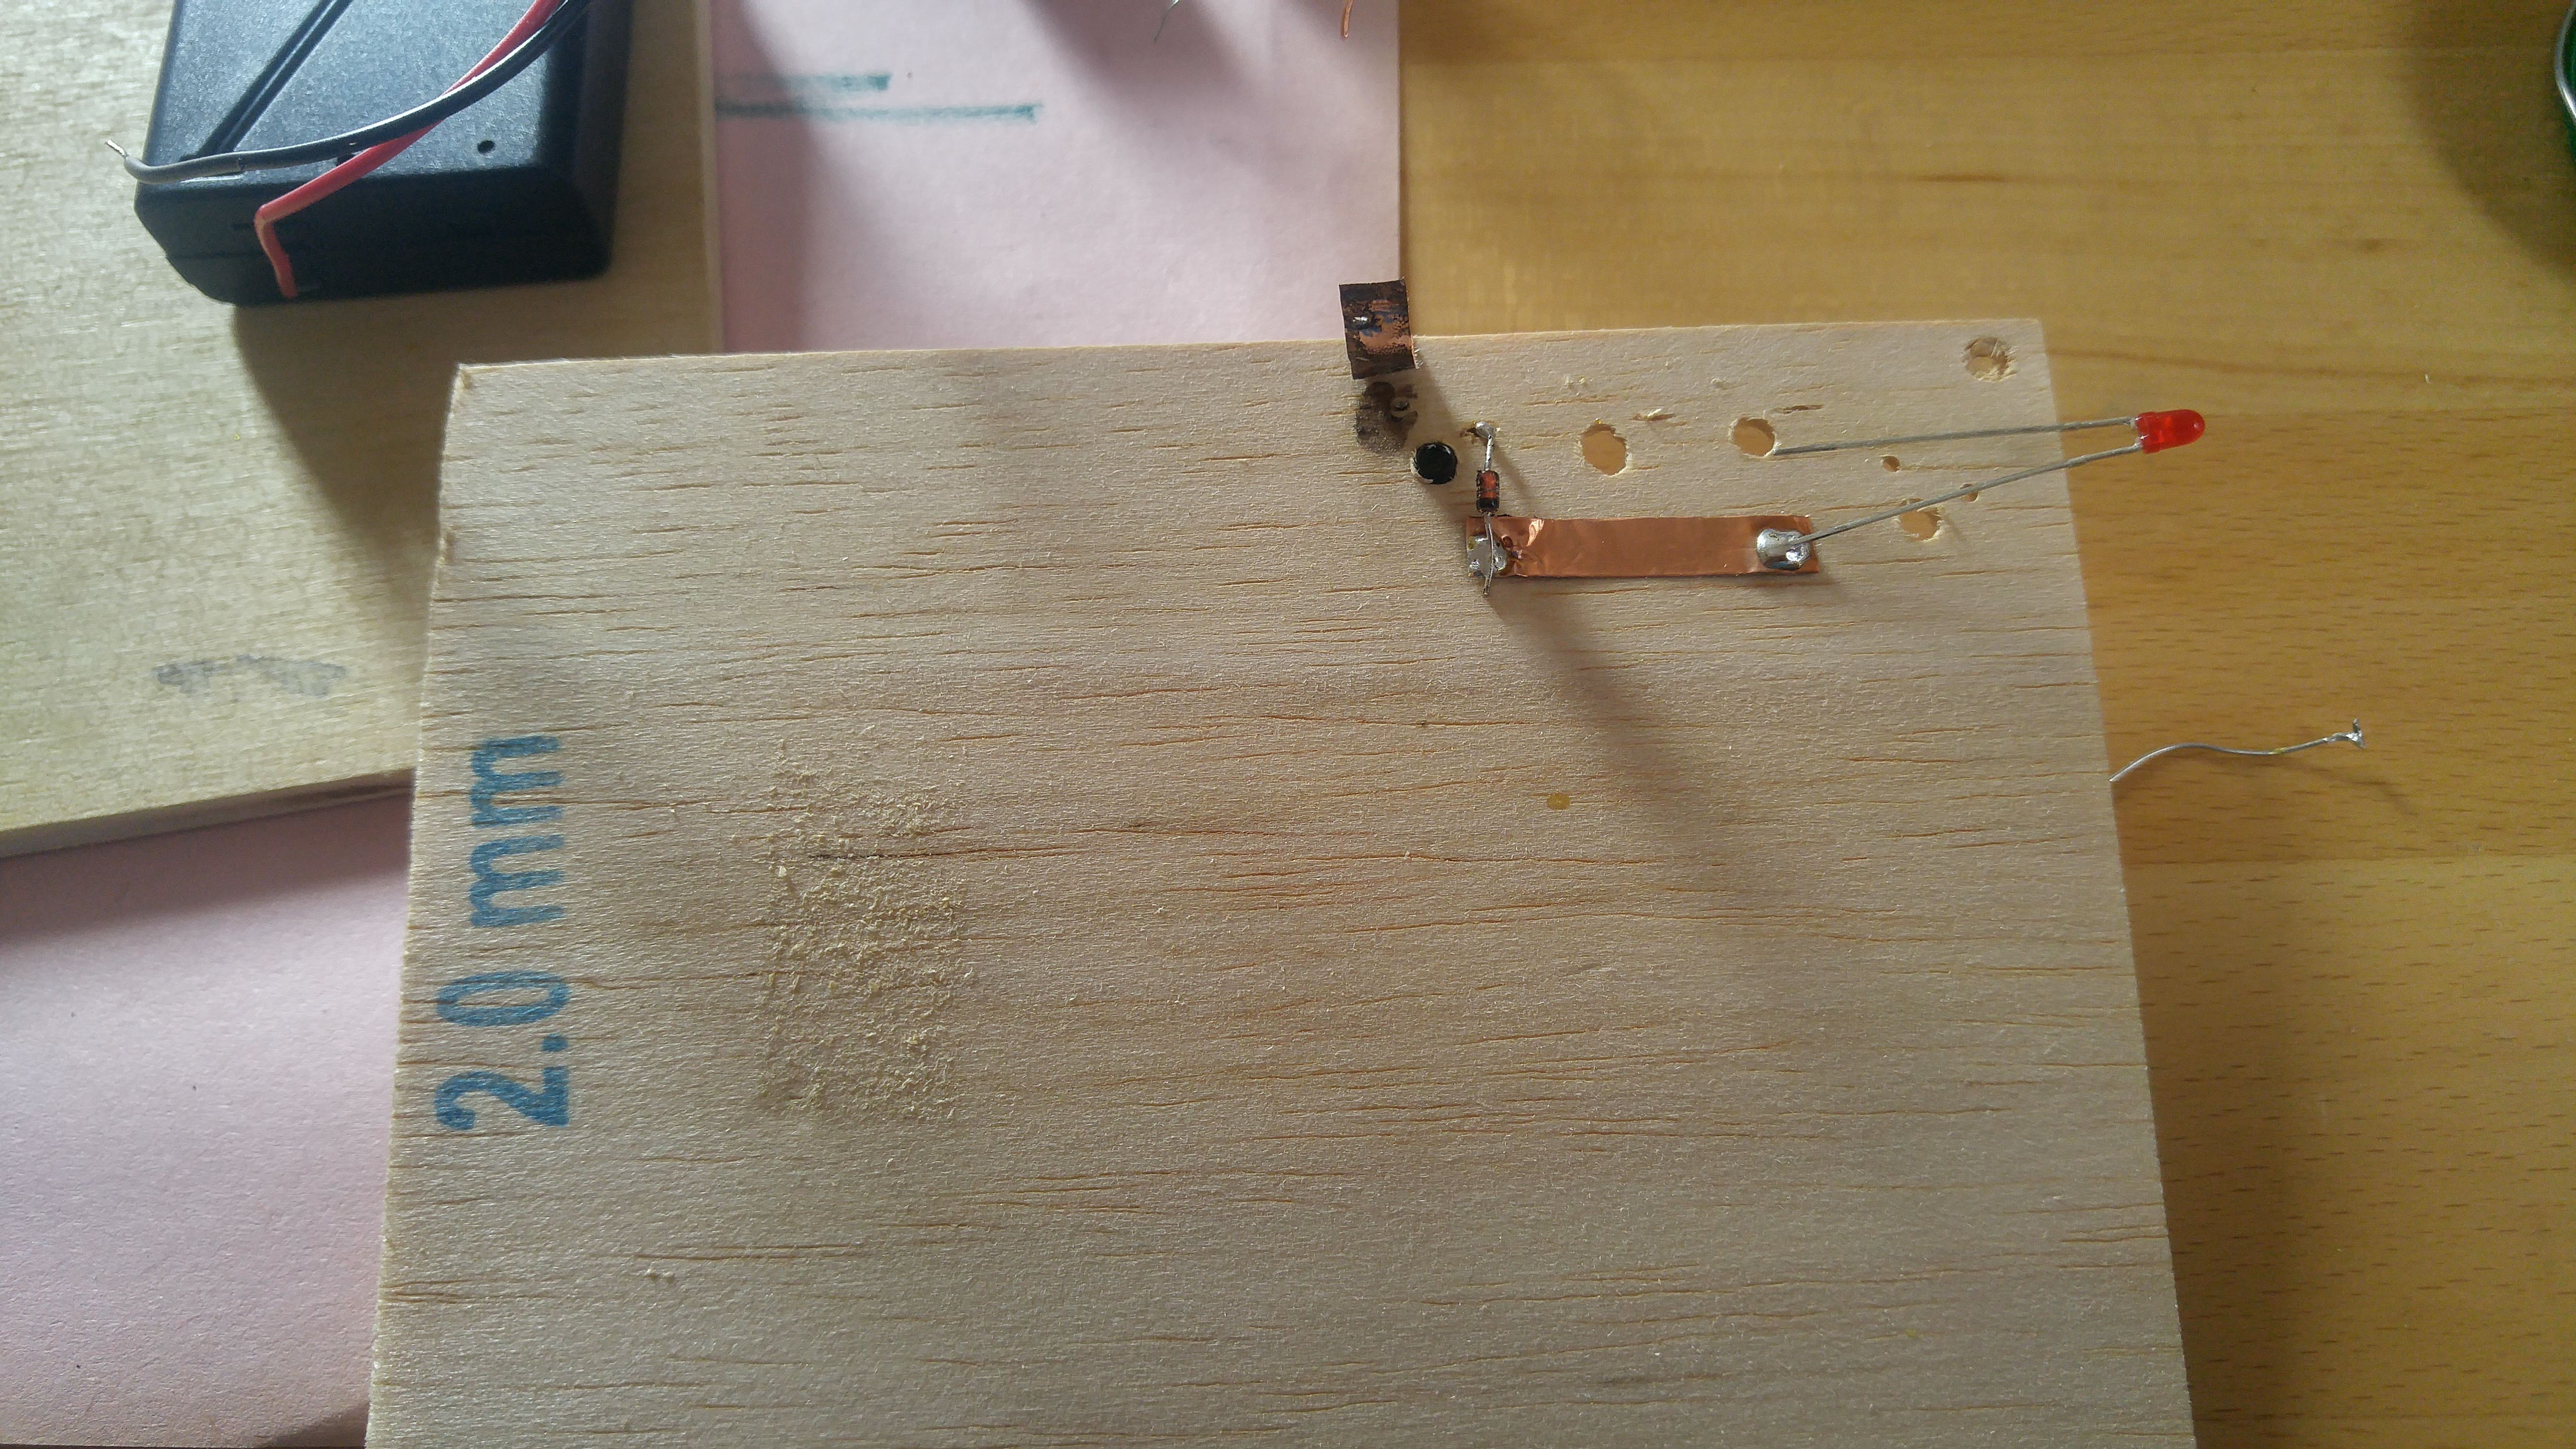
I wanted to use LEDs to keep track of the actual state of the keyboard. Hence, the wood plate for the cover could have been a problem. So I've made some tests and I've found out the light is strong enough to glow through the wood plate. In this way the cover has no extra holes except the ones really needed.
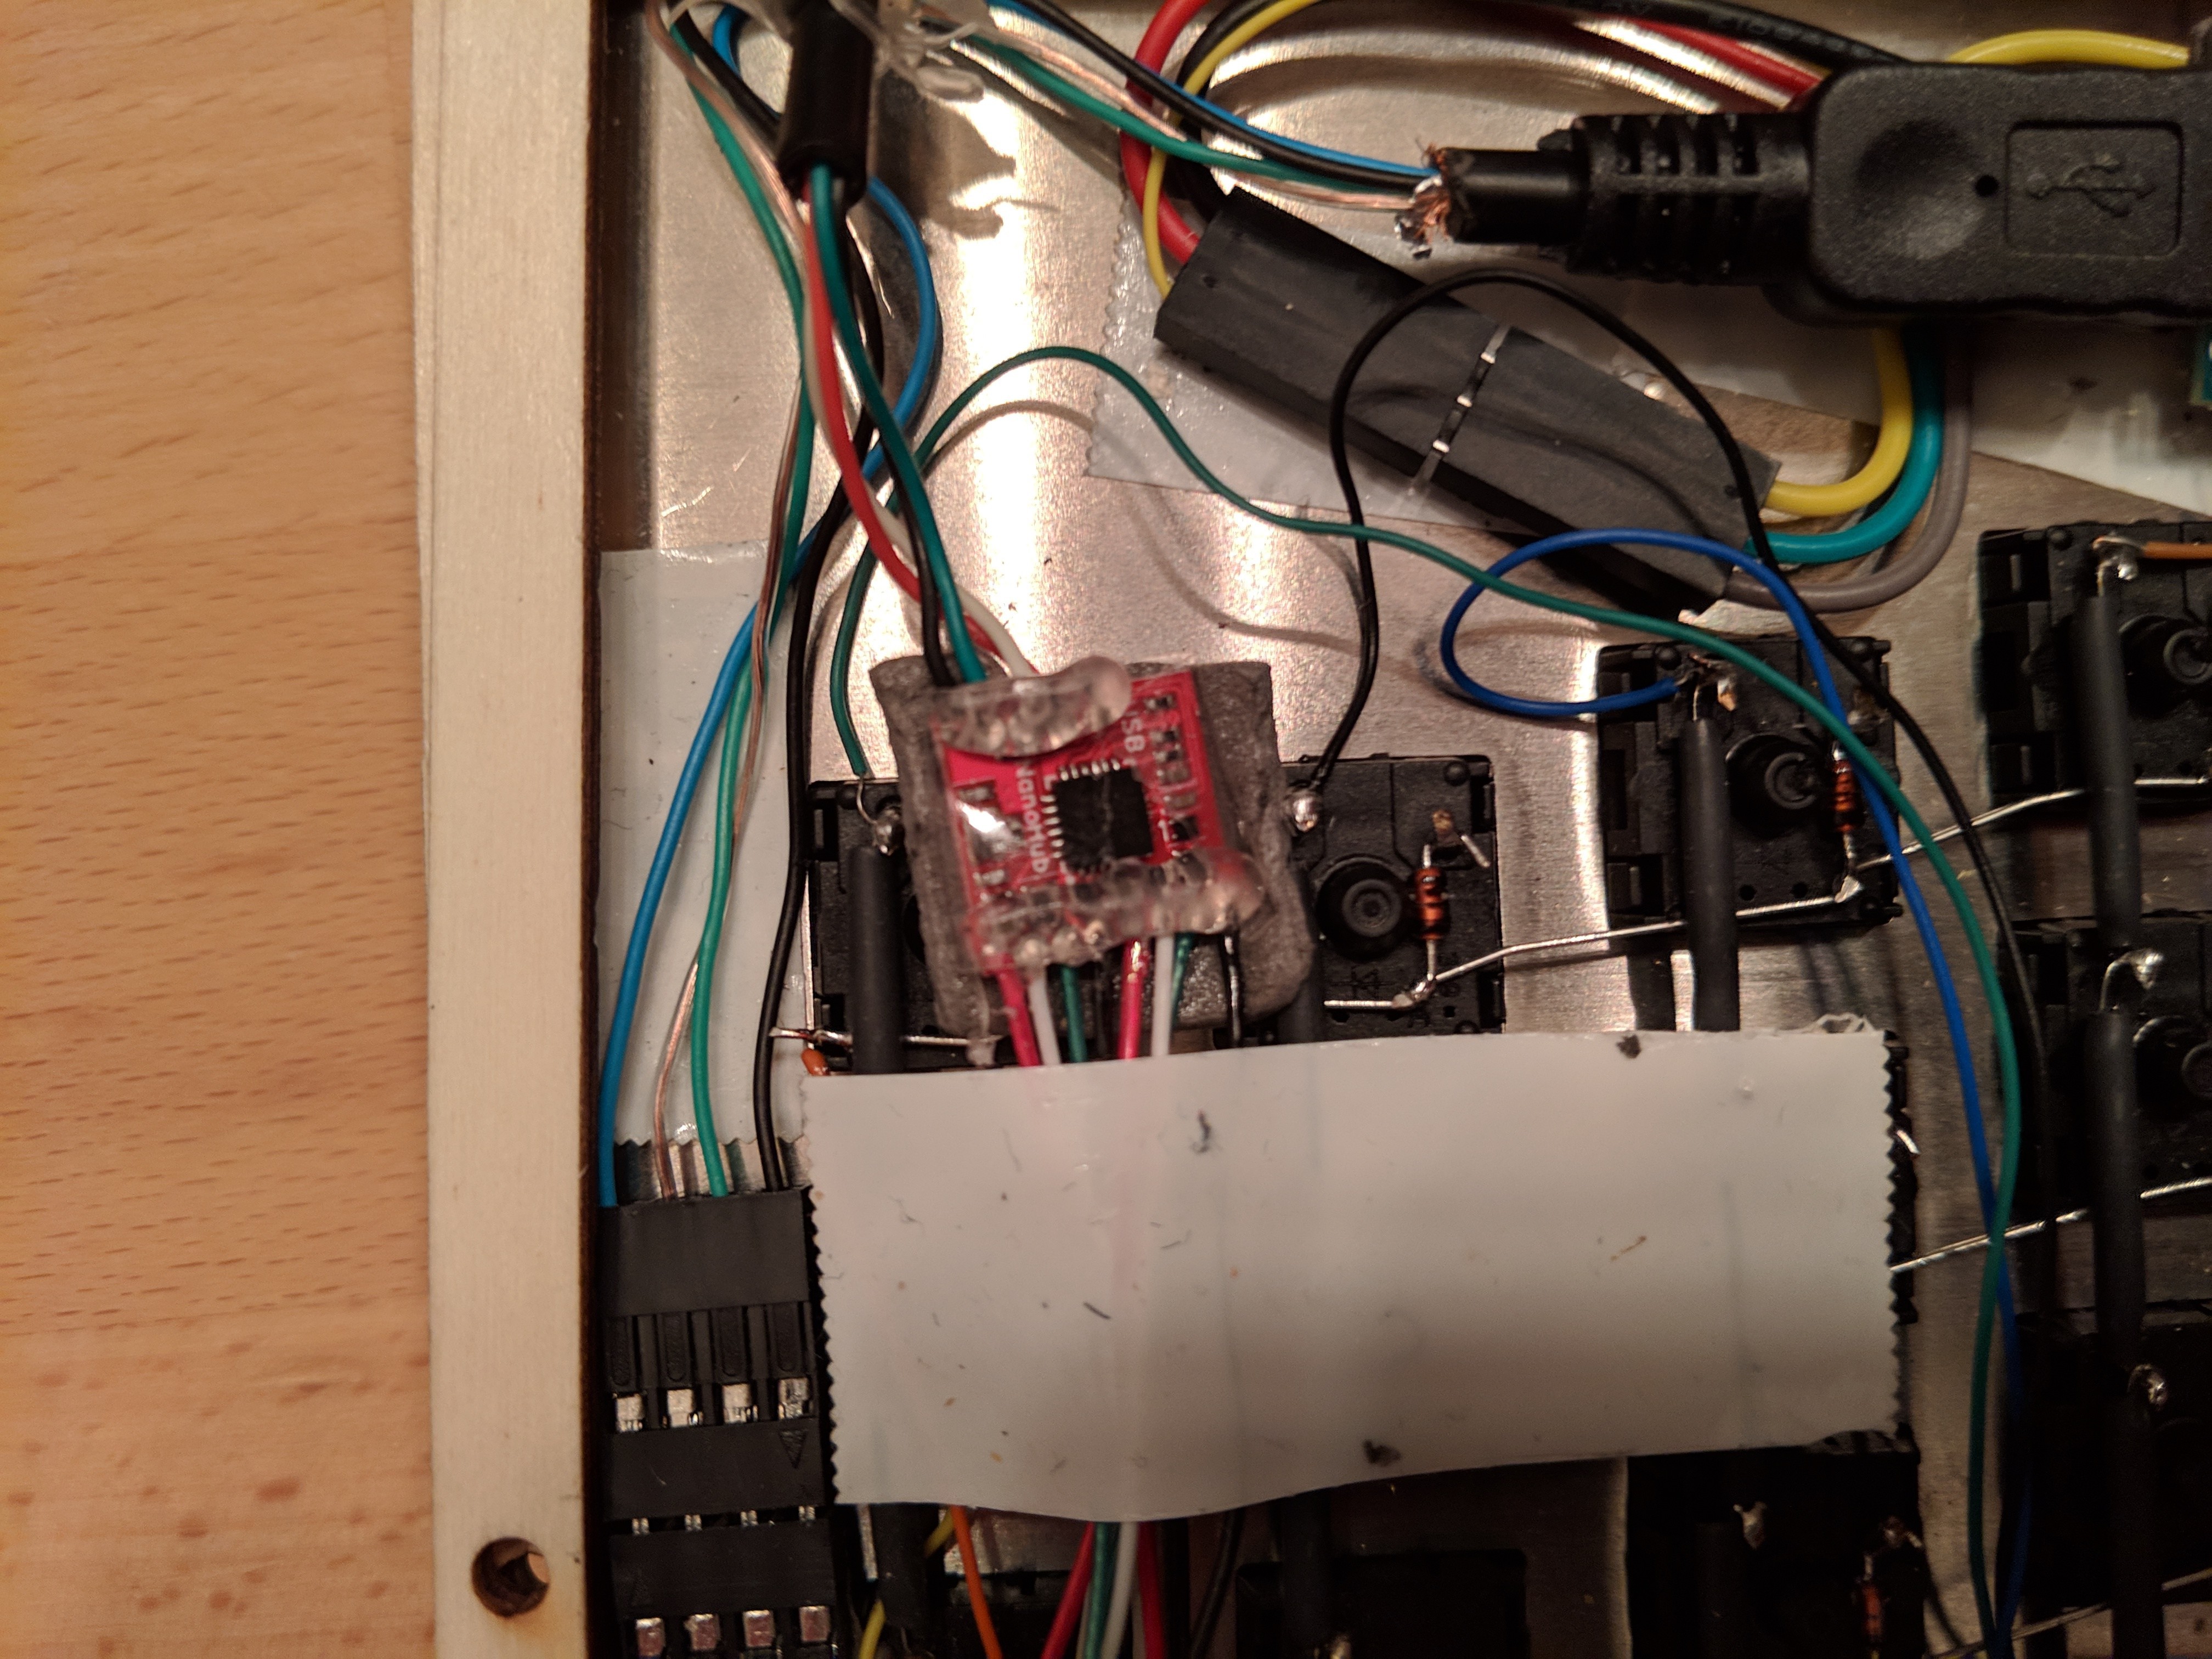
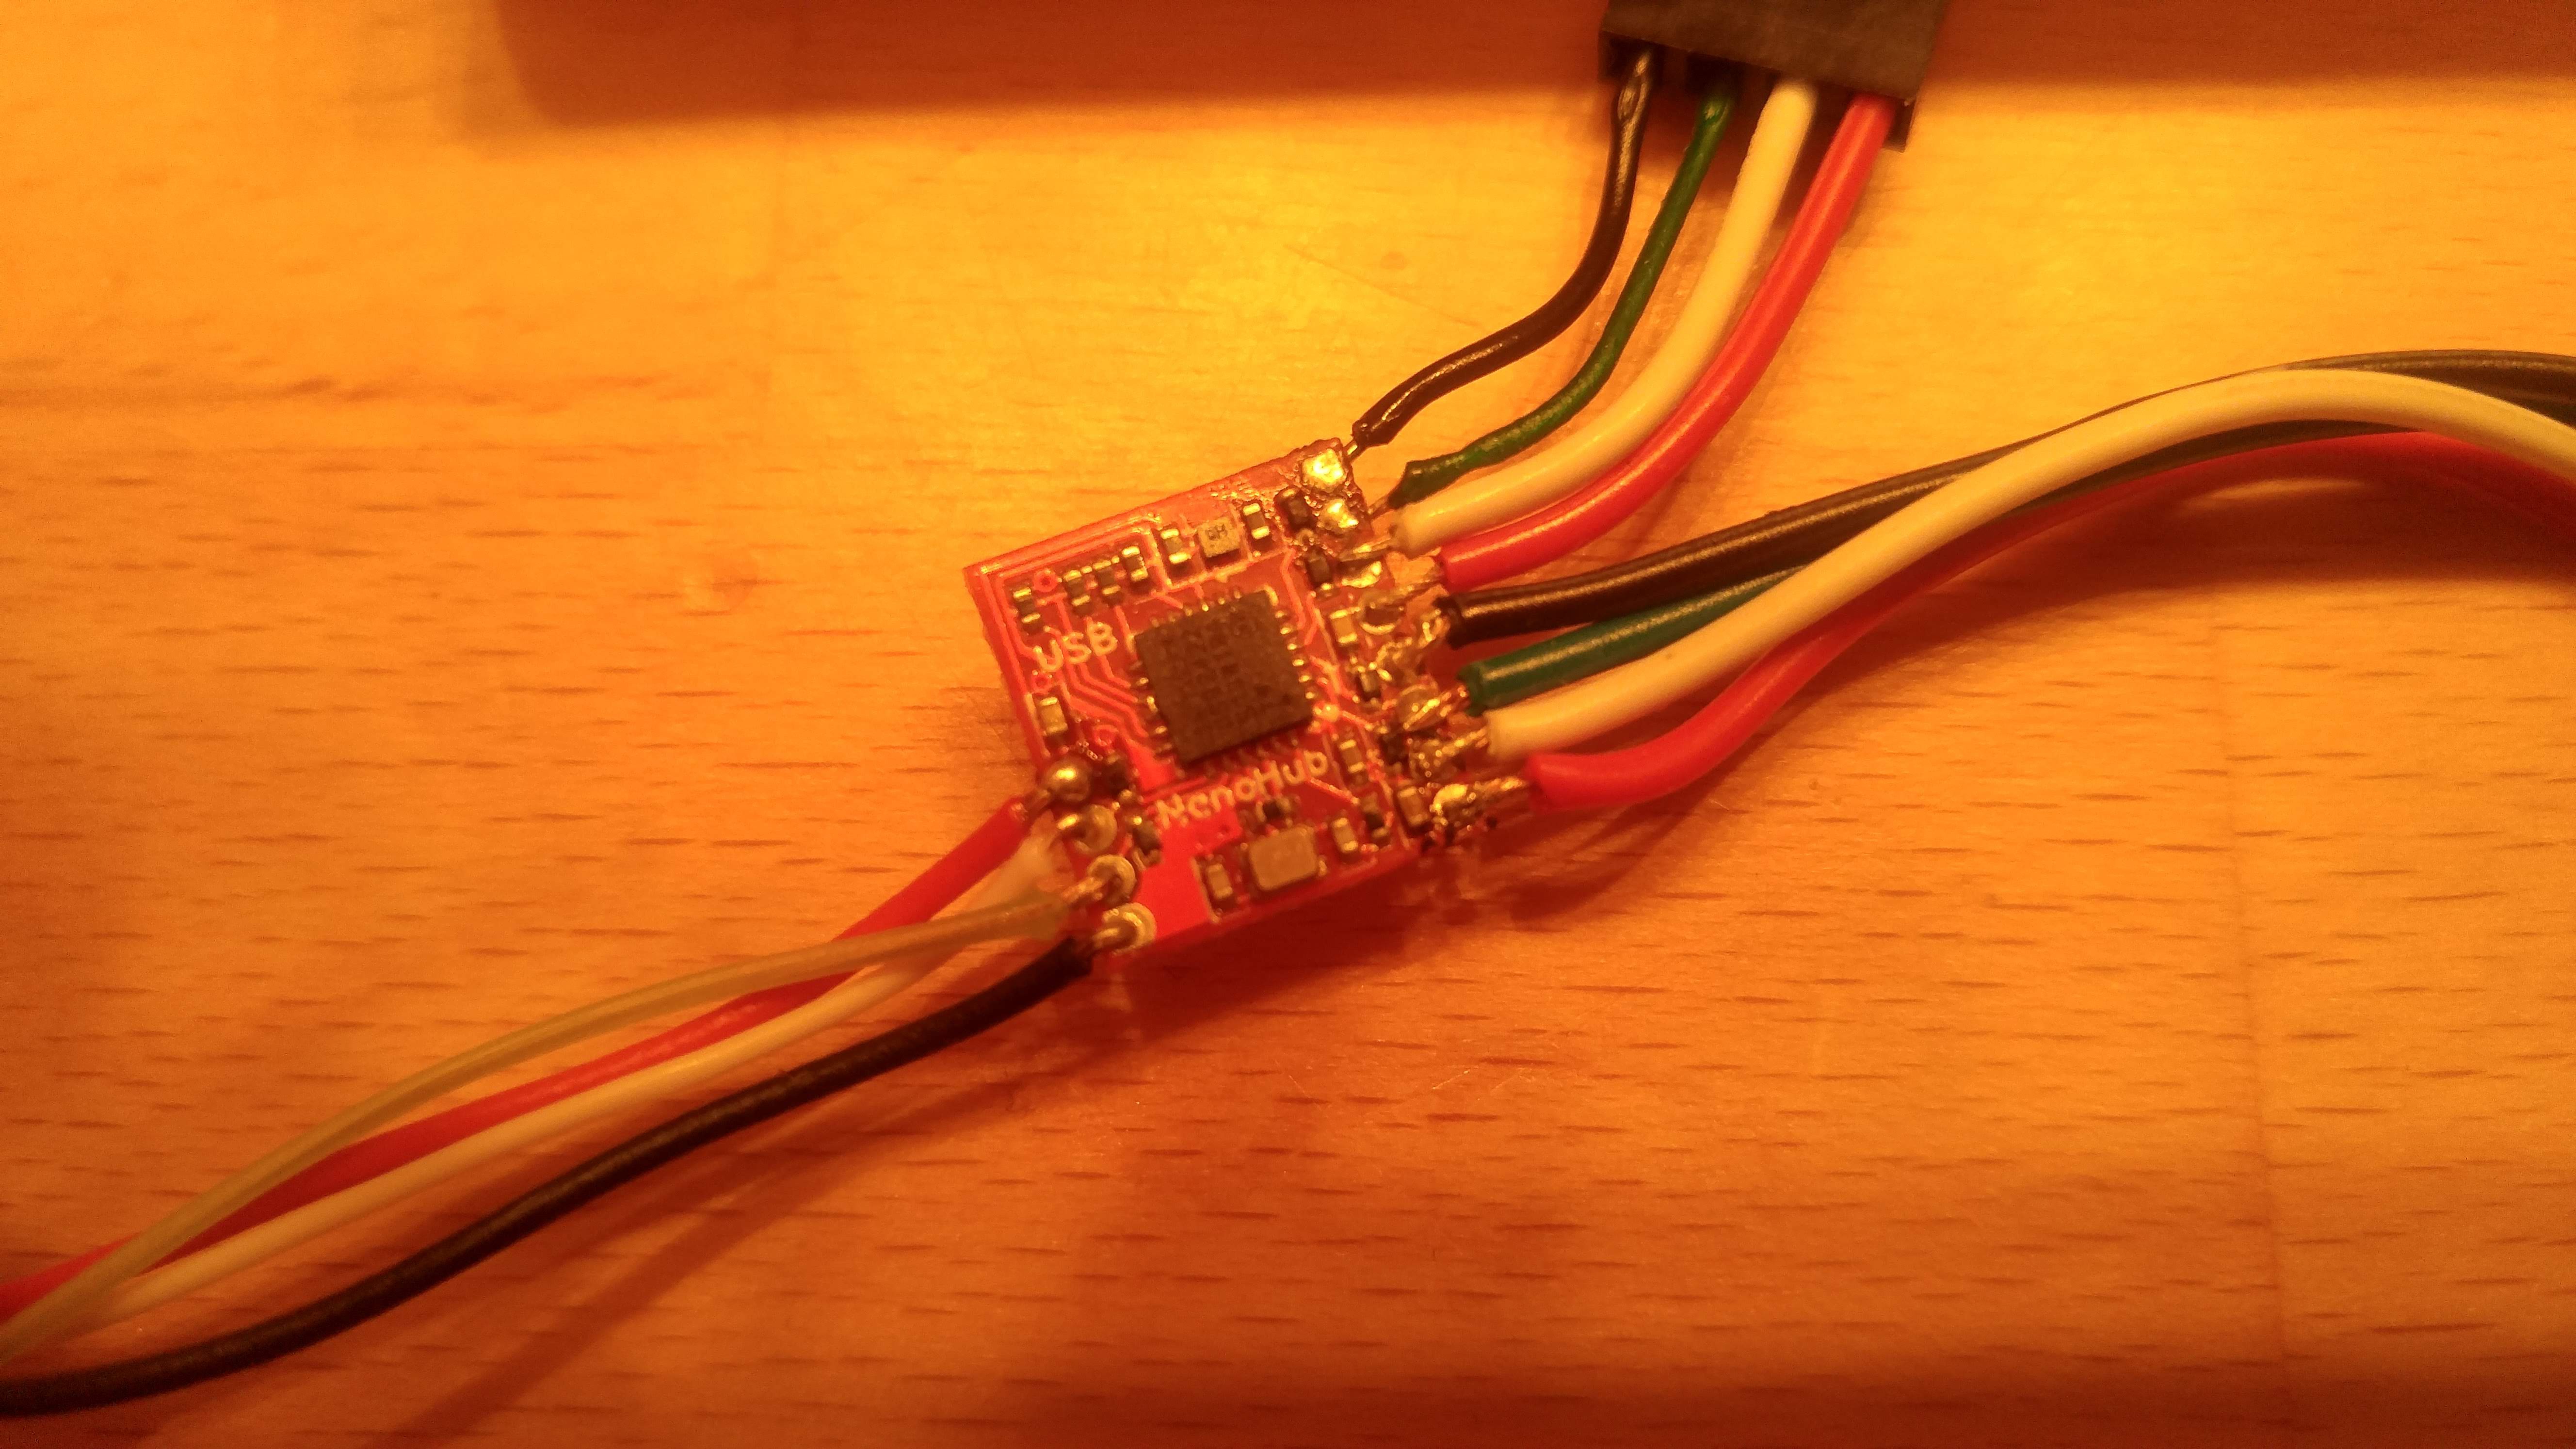
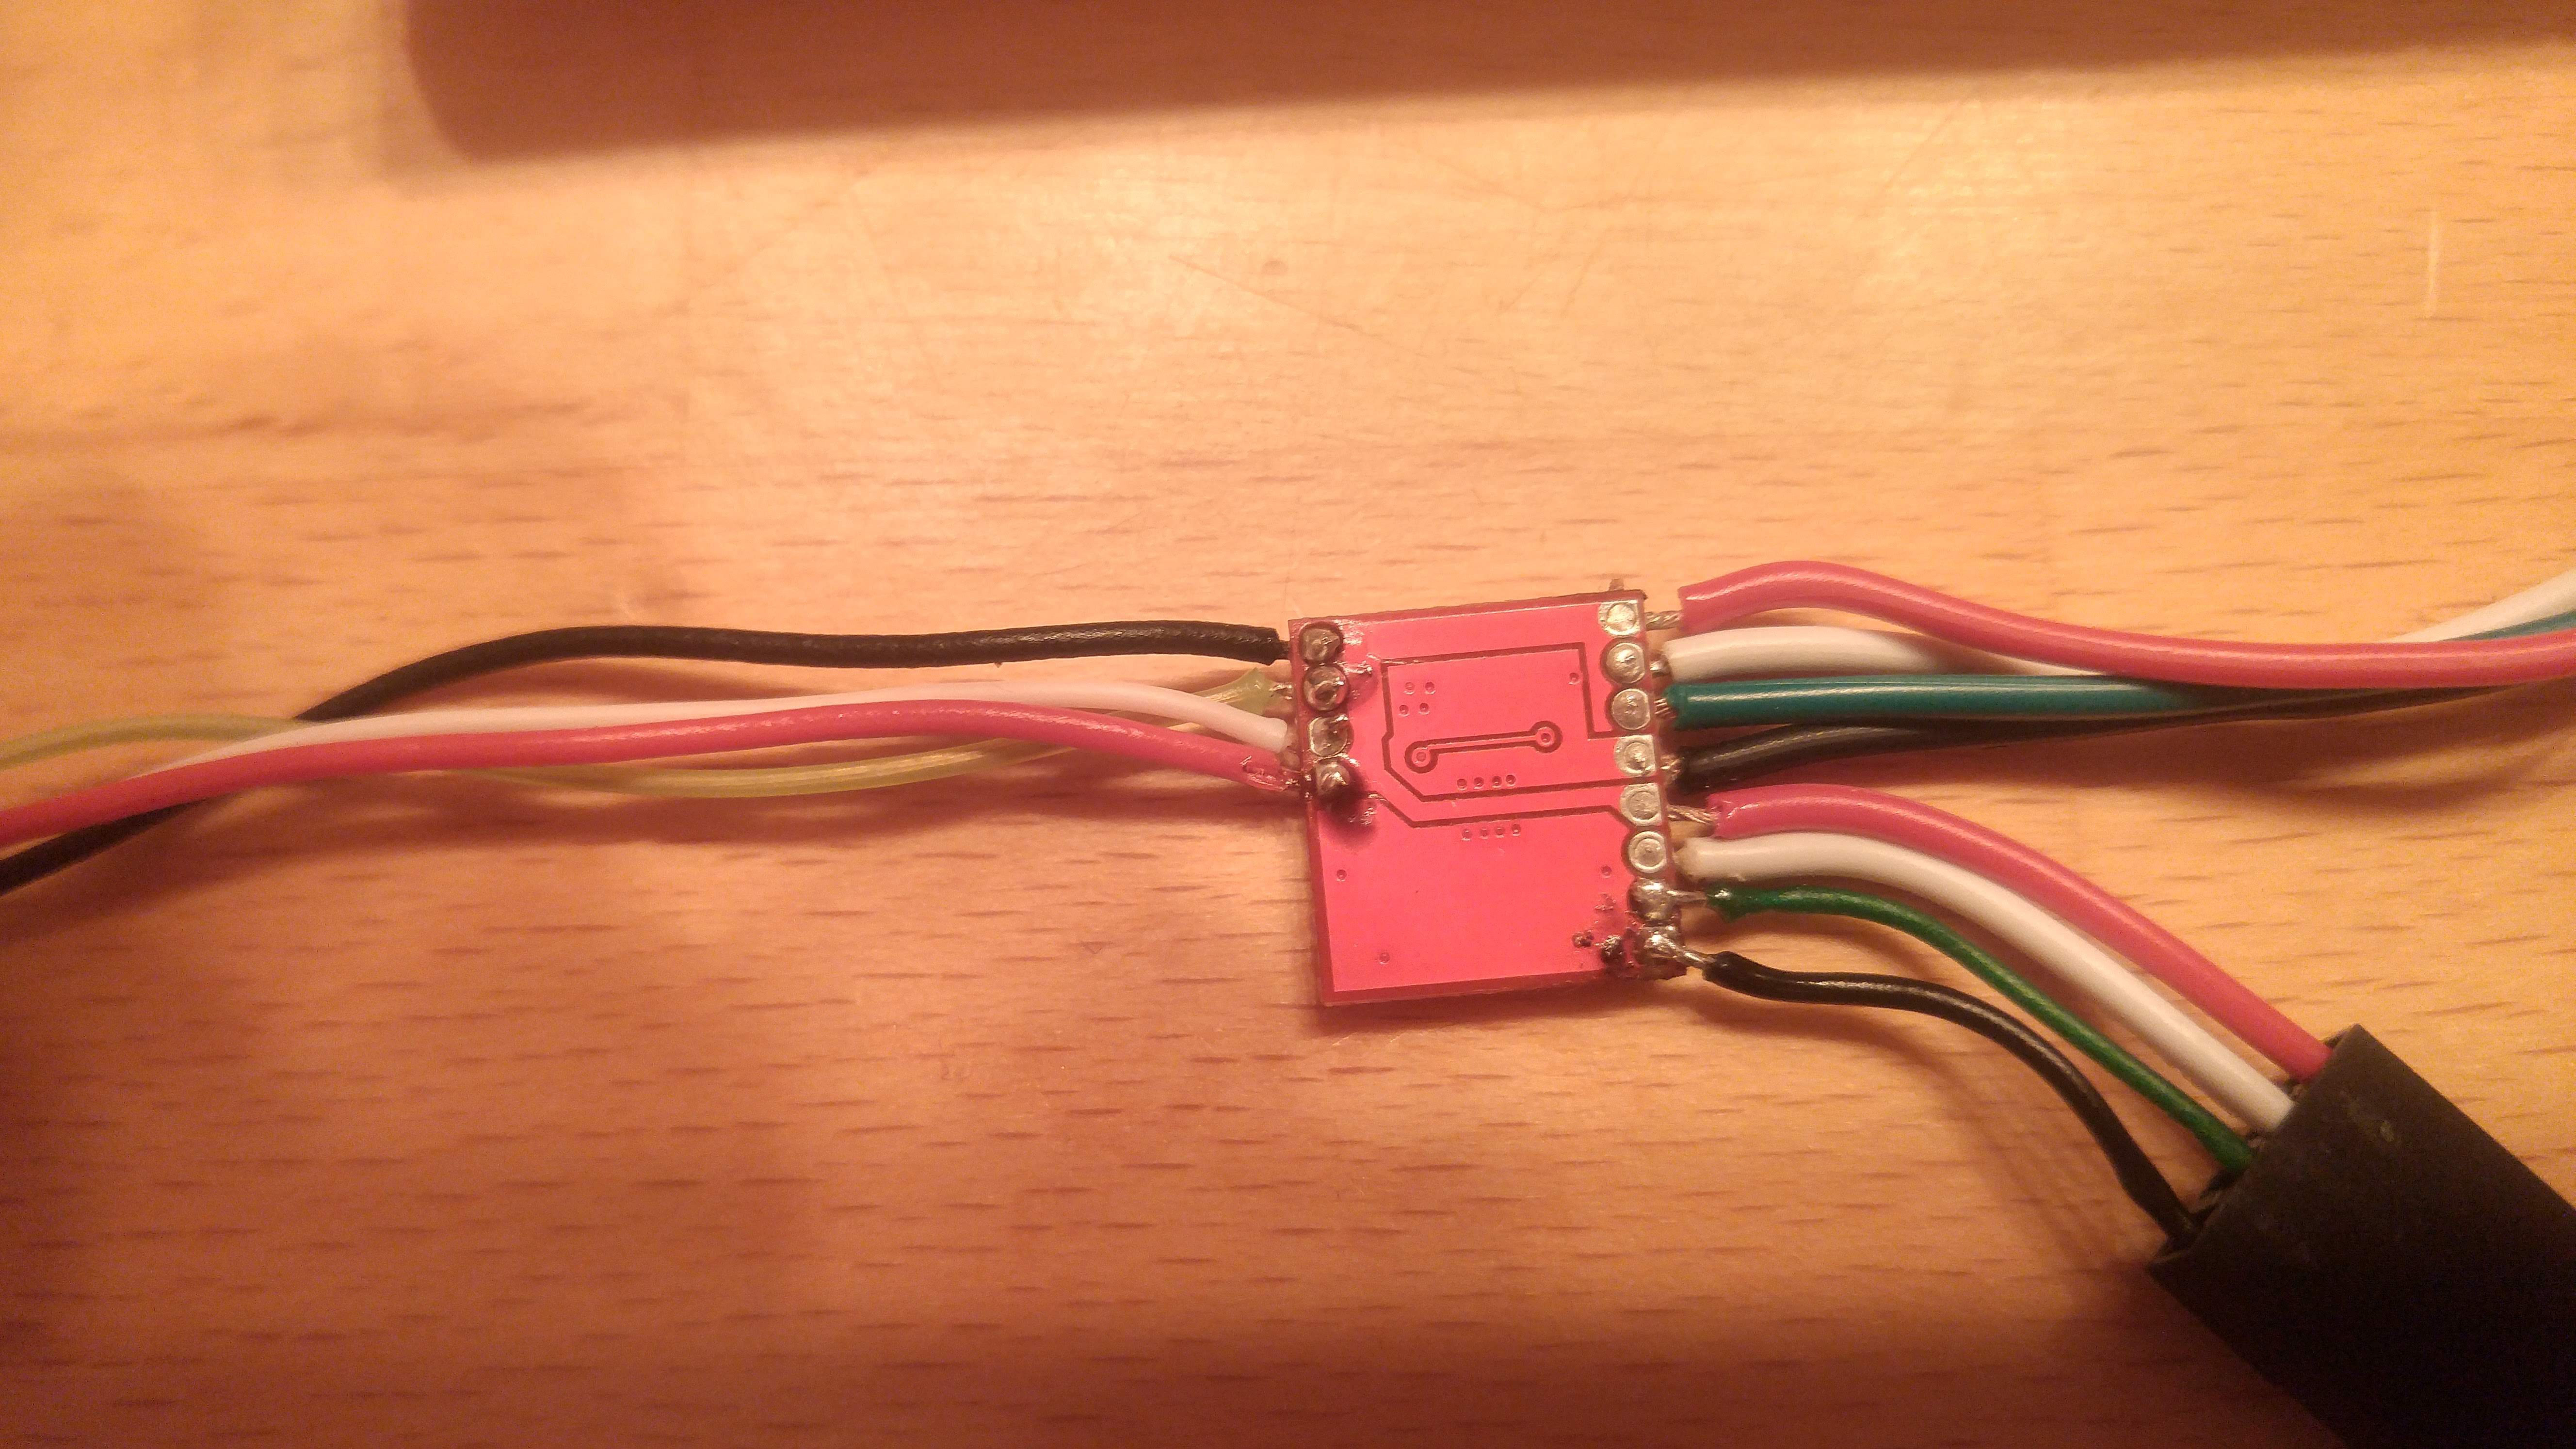
For the firmware, I've started with QMK. It's one of the most known and used firmwares for keyboards. It offers also the support to handle a PS/2 device (a mouse)/ In my tests the Teensy and the test mouse were working flawlessly. Unfortunately, once the trackball arrived, it was impossible to make it working. Here went to help the tiny and useful NanoHub. It allows to connect 2 USB devices directly and it uses just a bit of space. Connecting the two devices with USB allowed to use different firmwares. So, I've started to do some tests with the firmware used in the Keyboardio 01 keyboard.
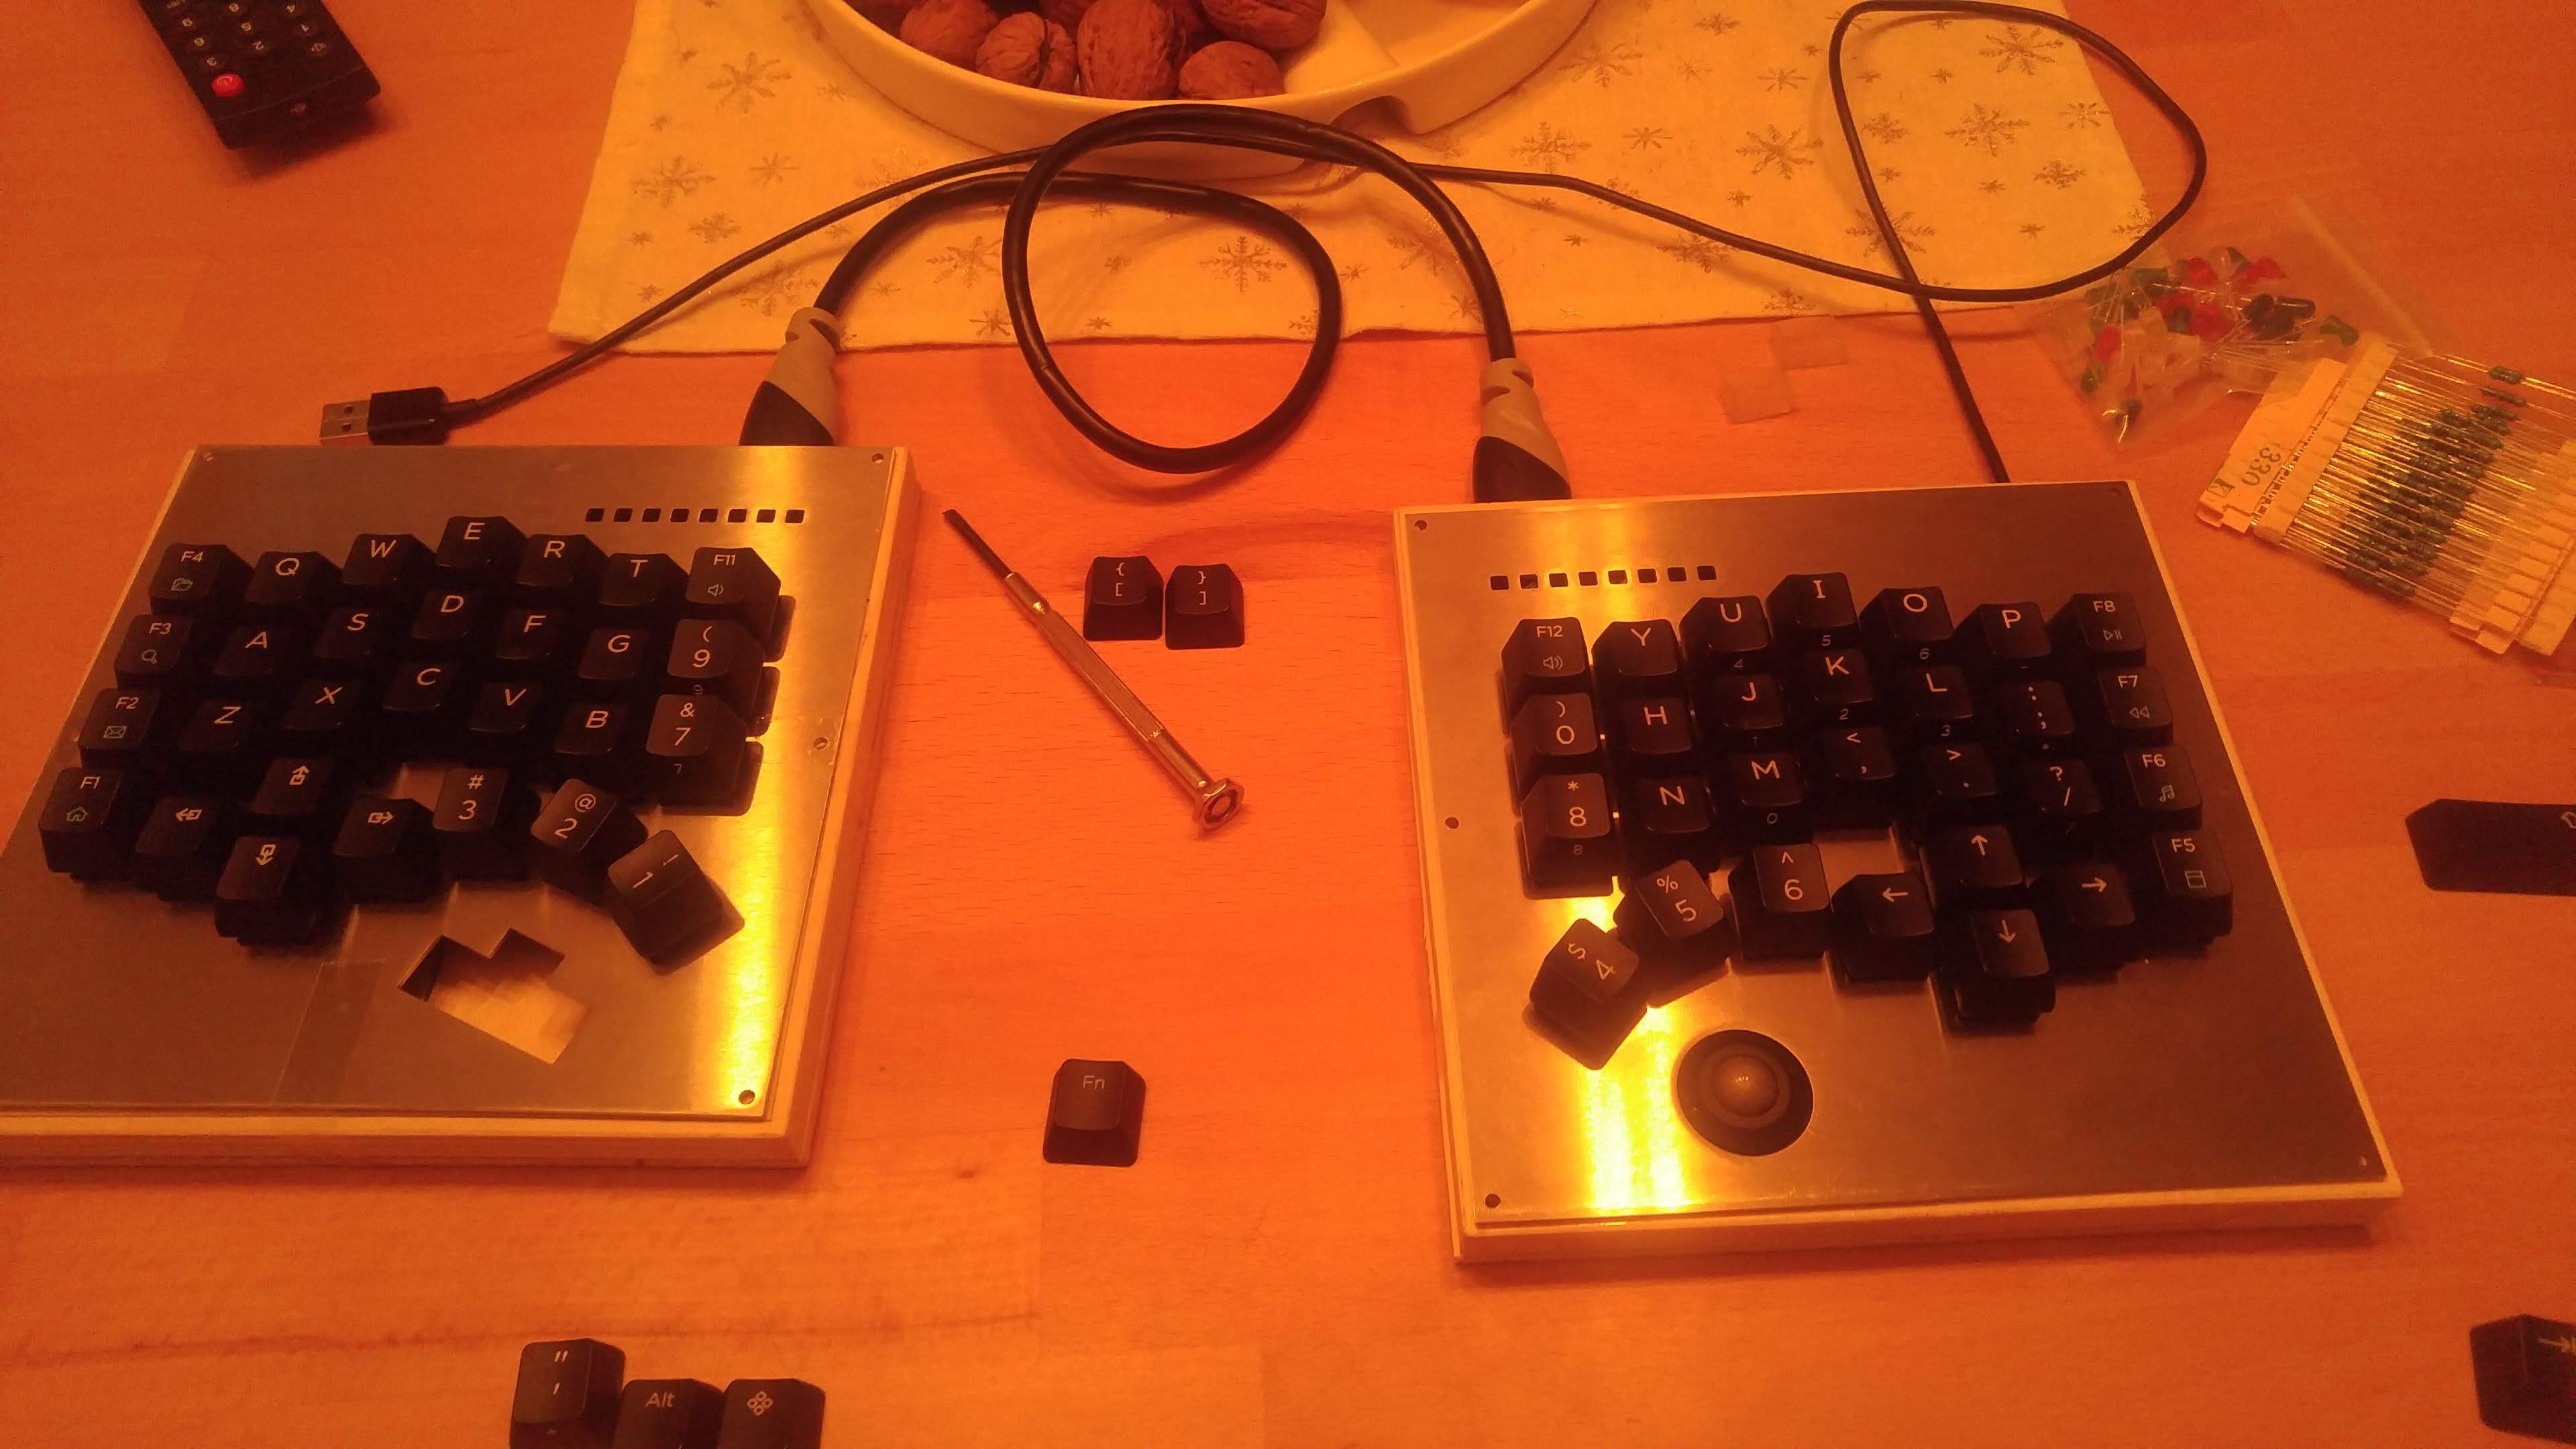
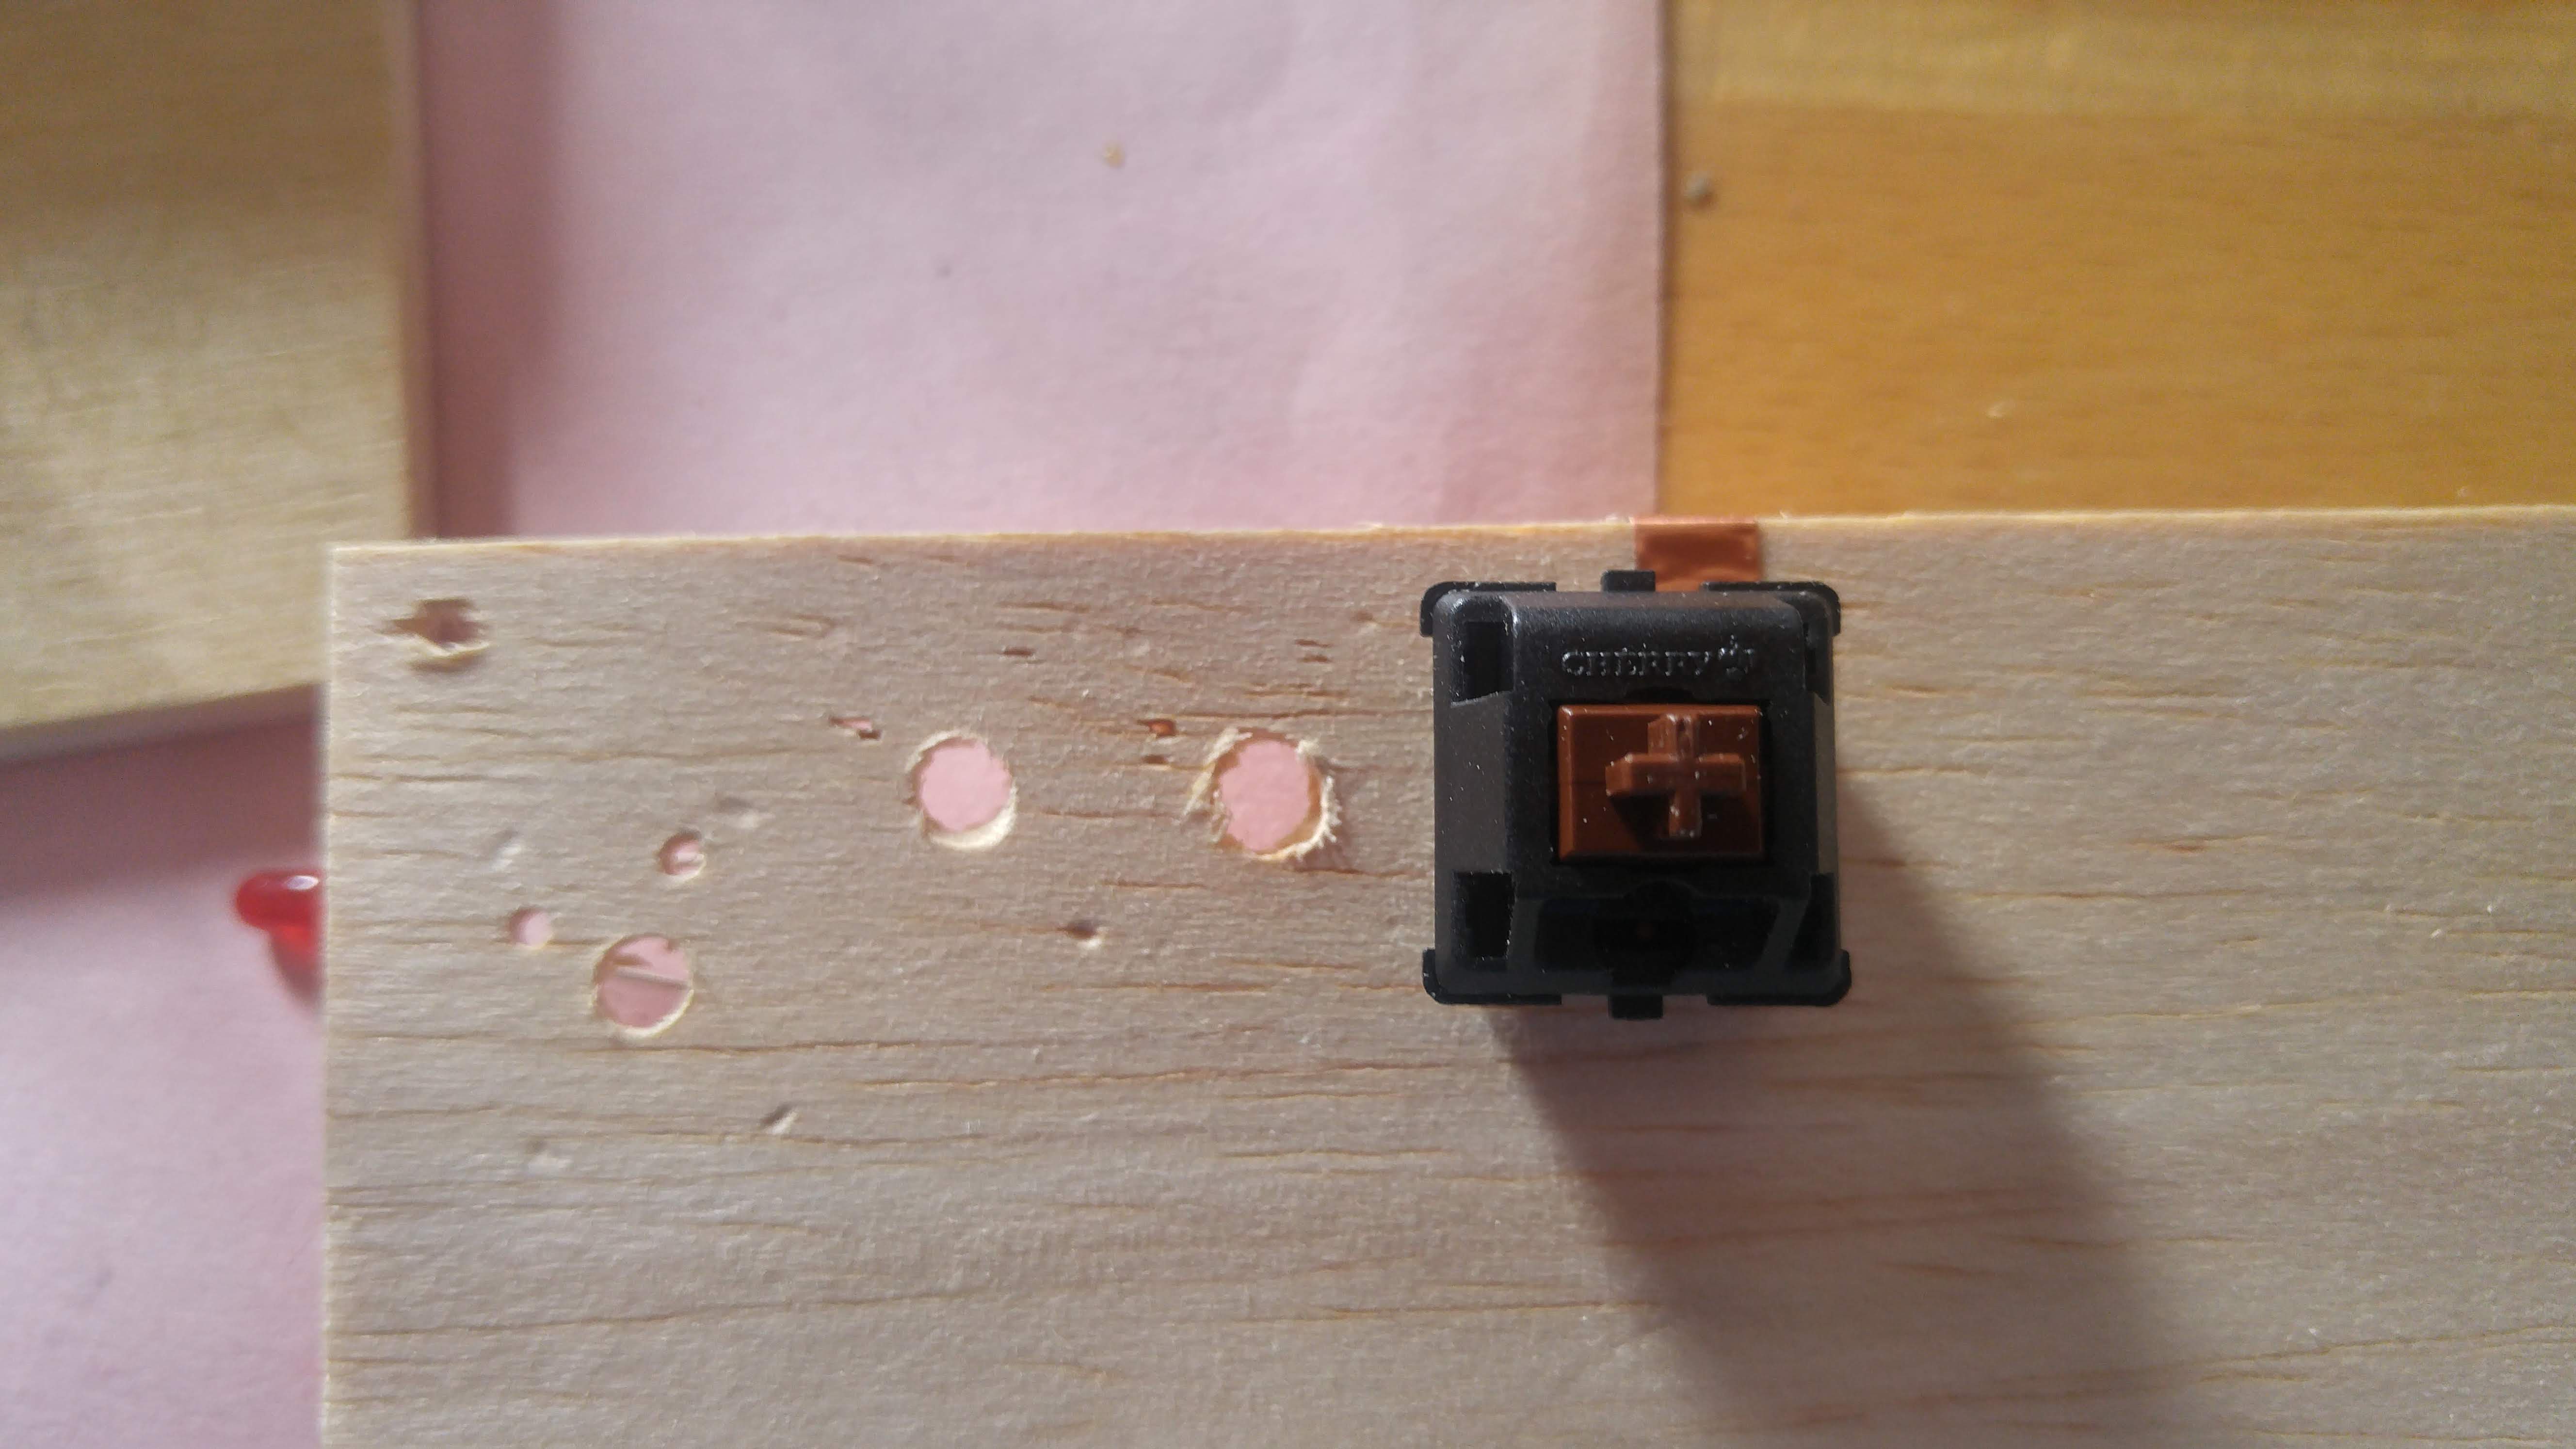
For the keycaps, I've used the ones of TEK. They are sculpted and the feeling that they give is superlative.
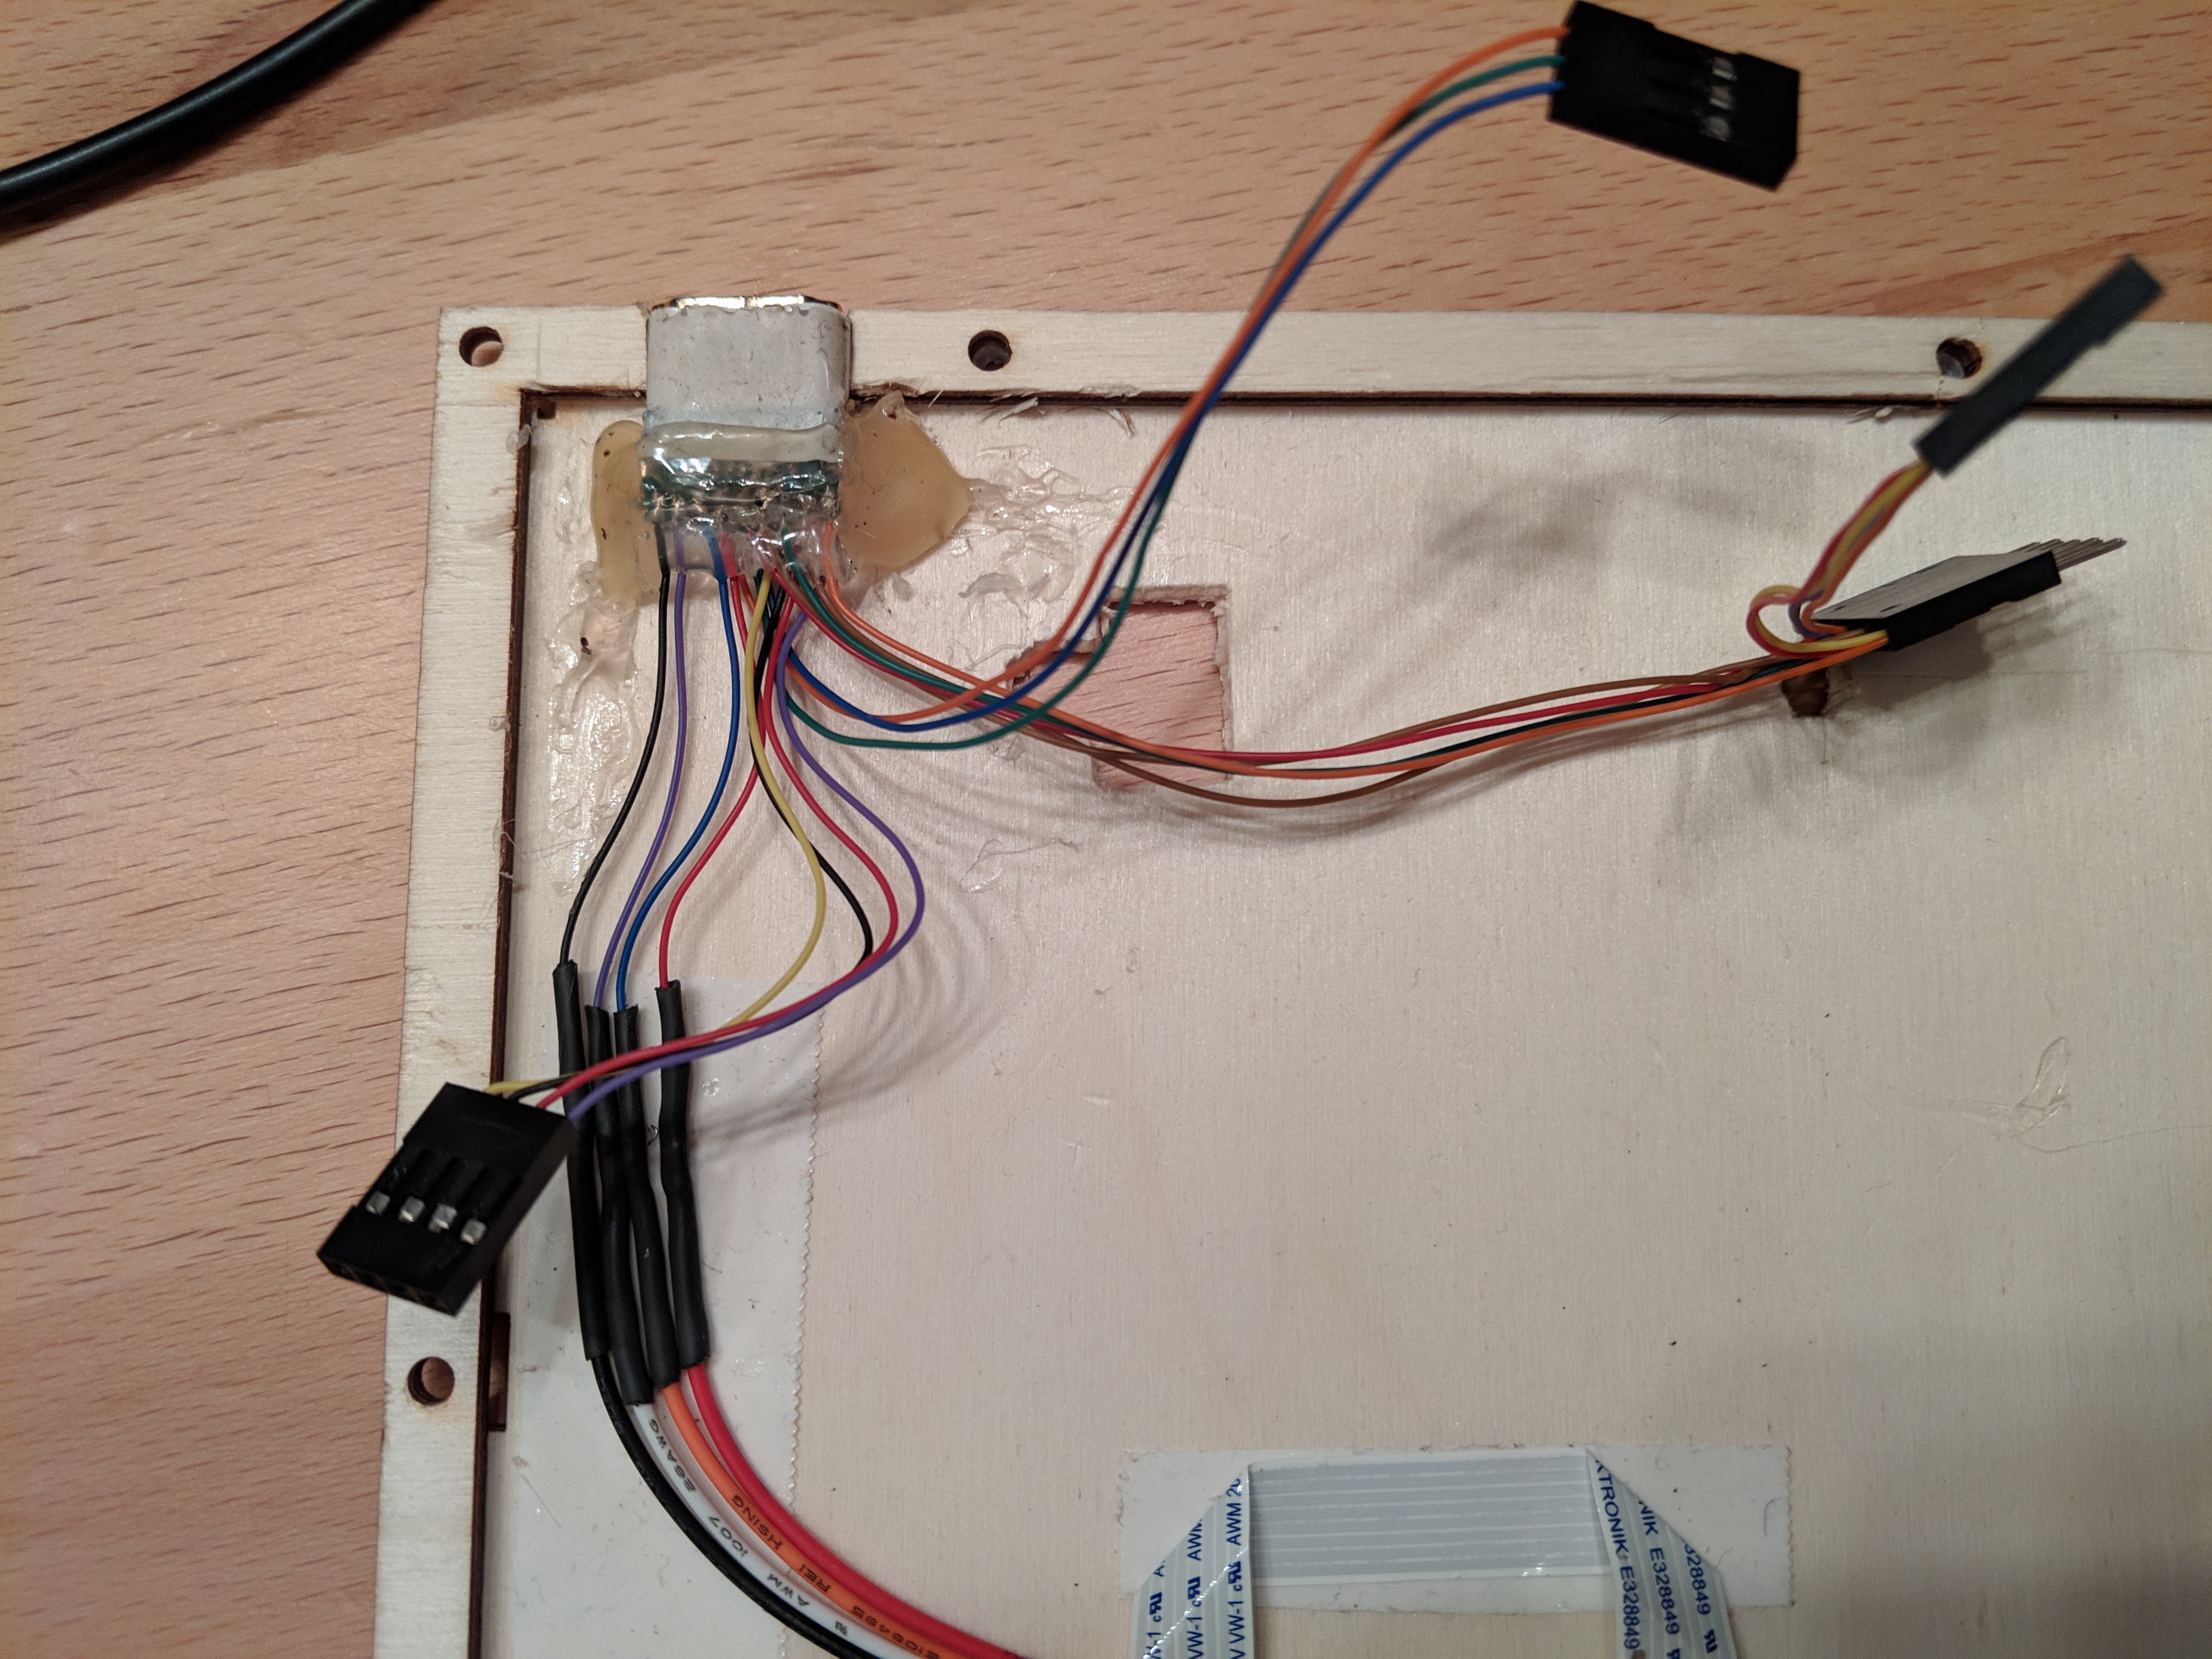
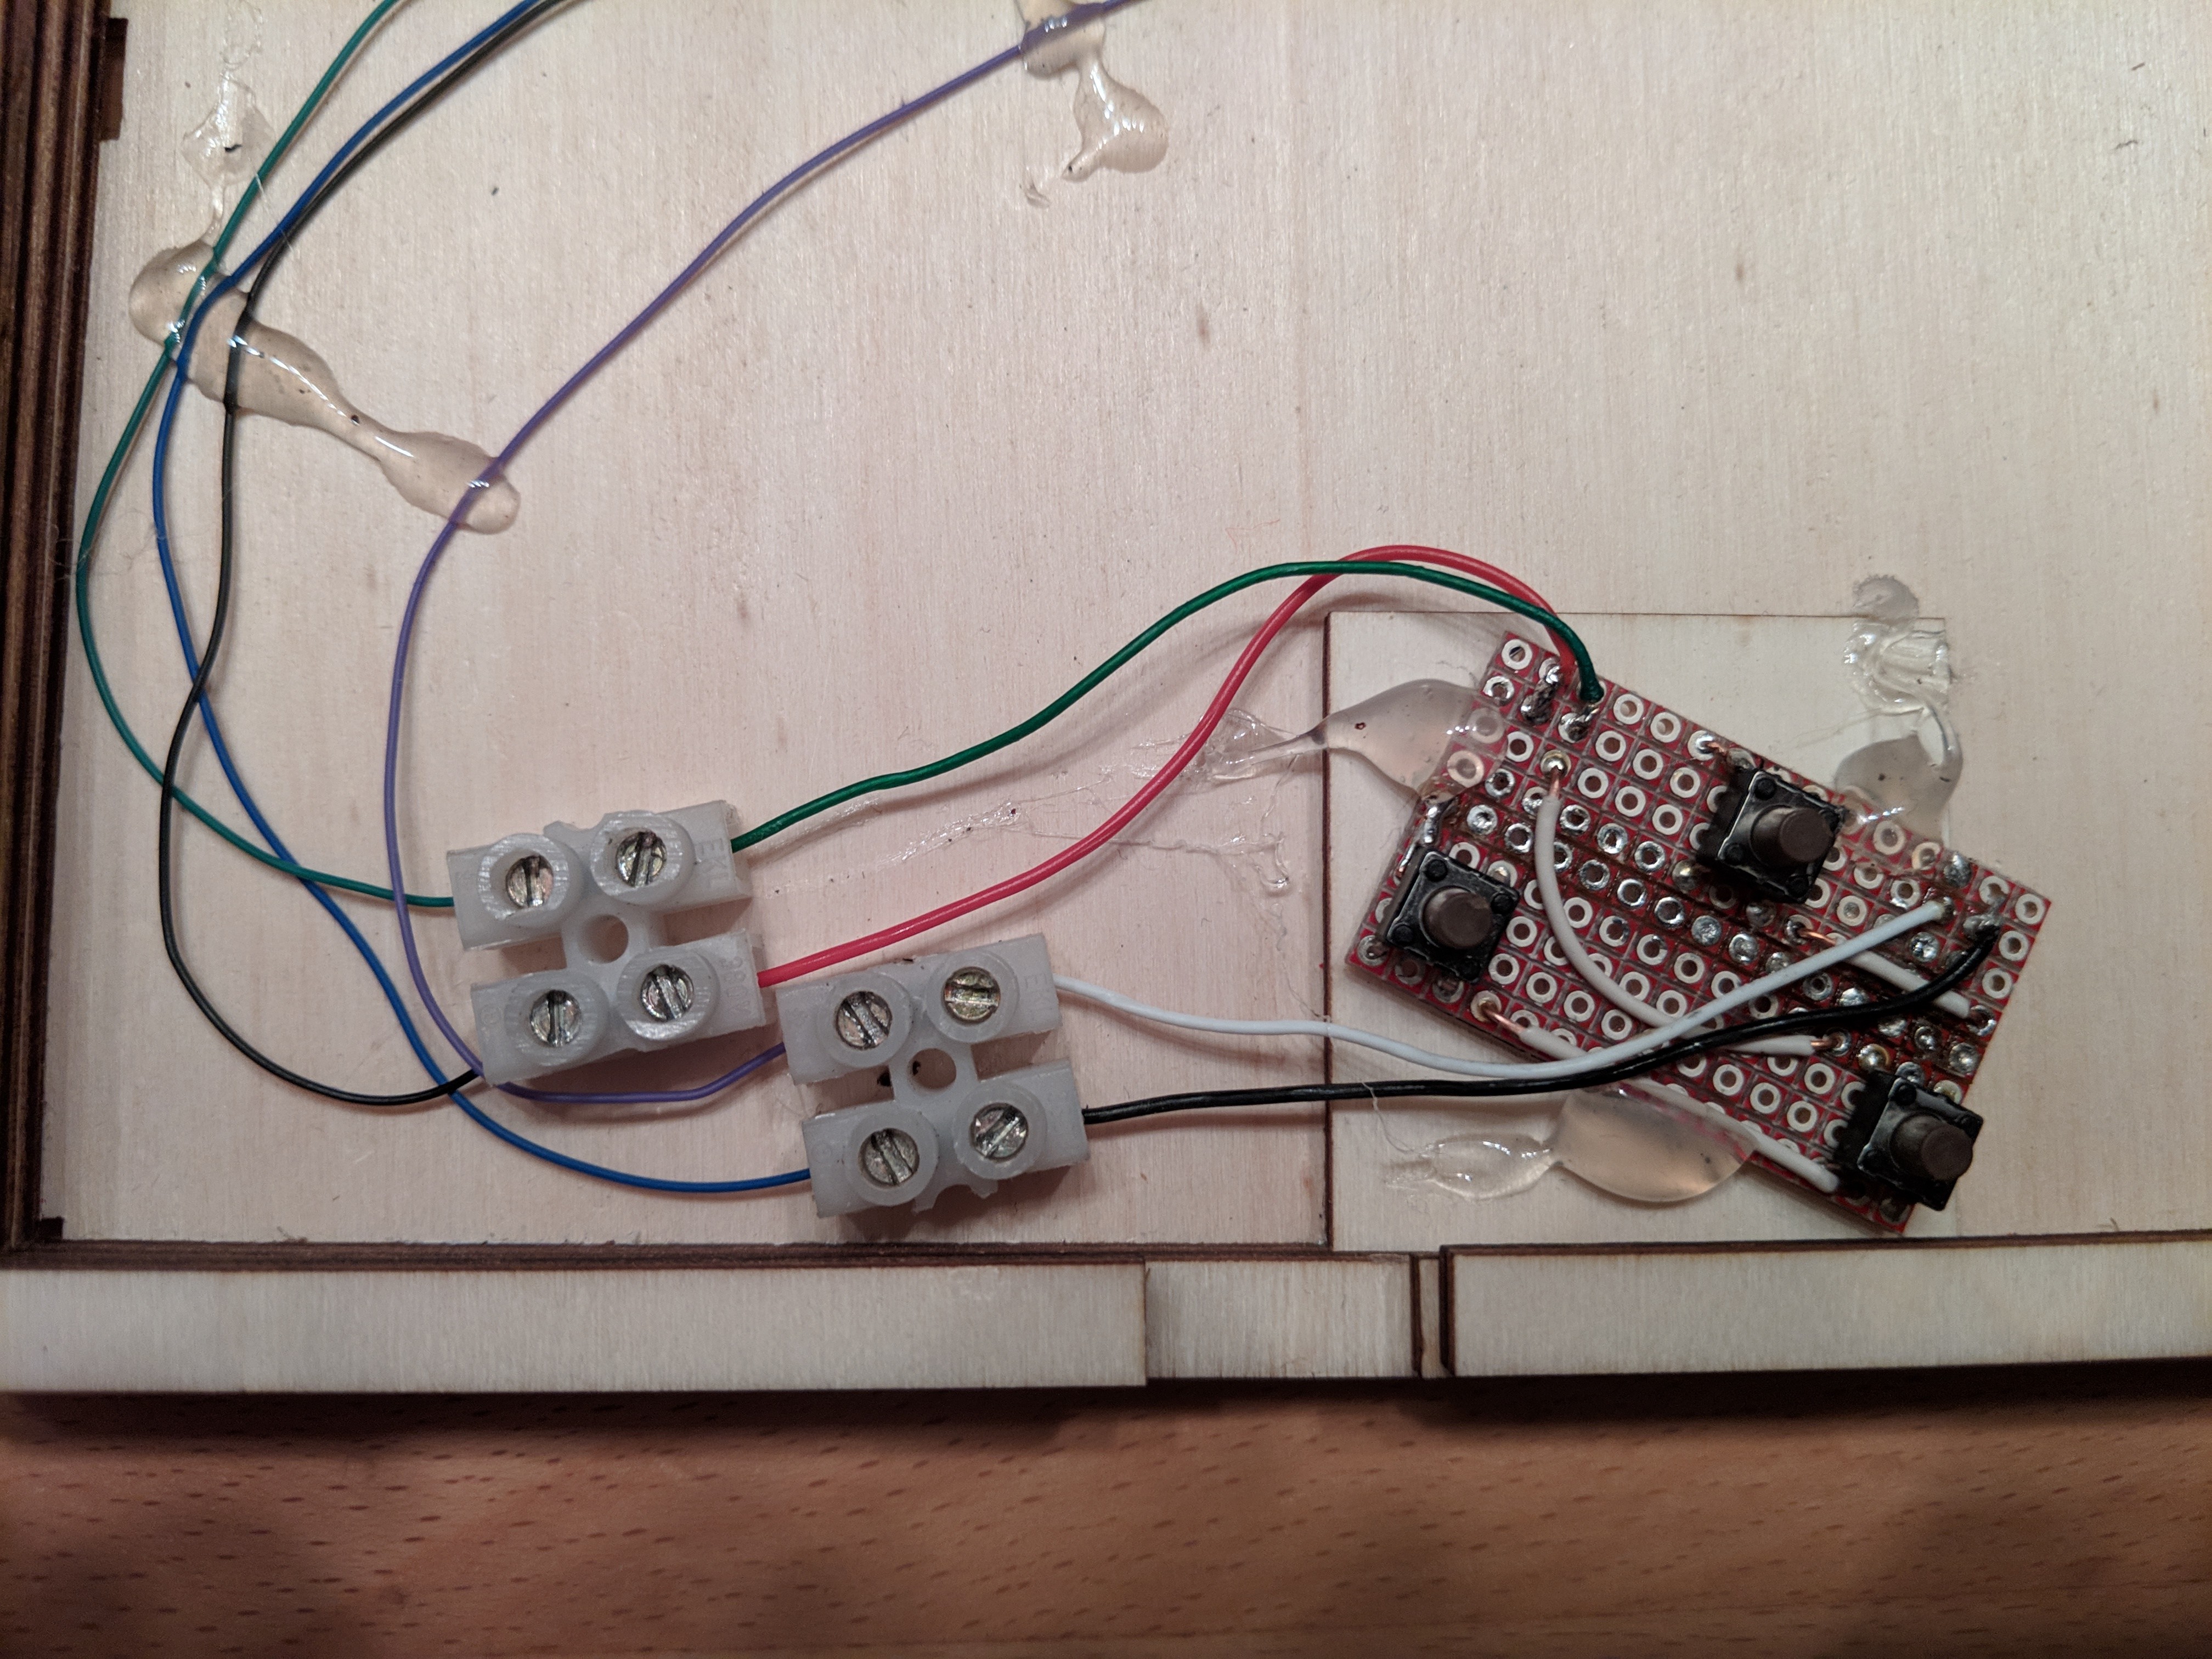
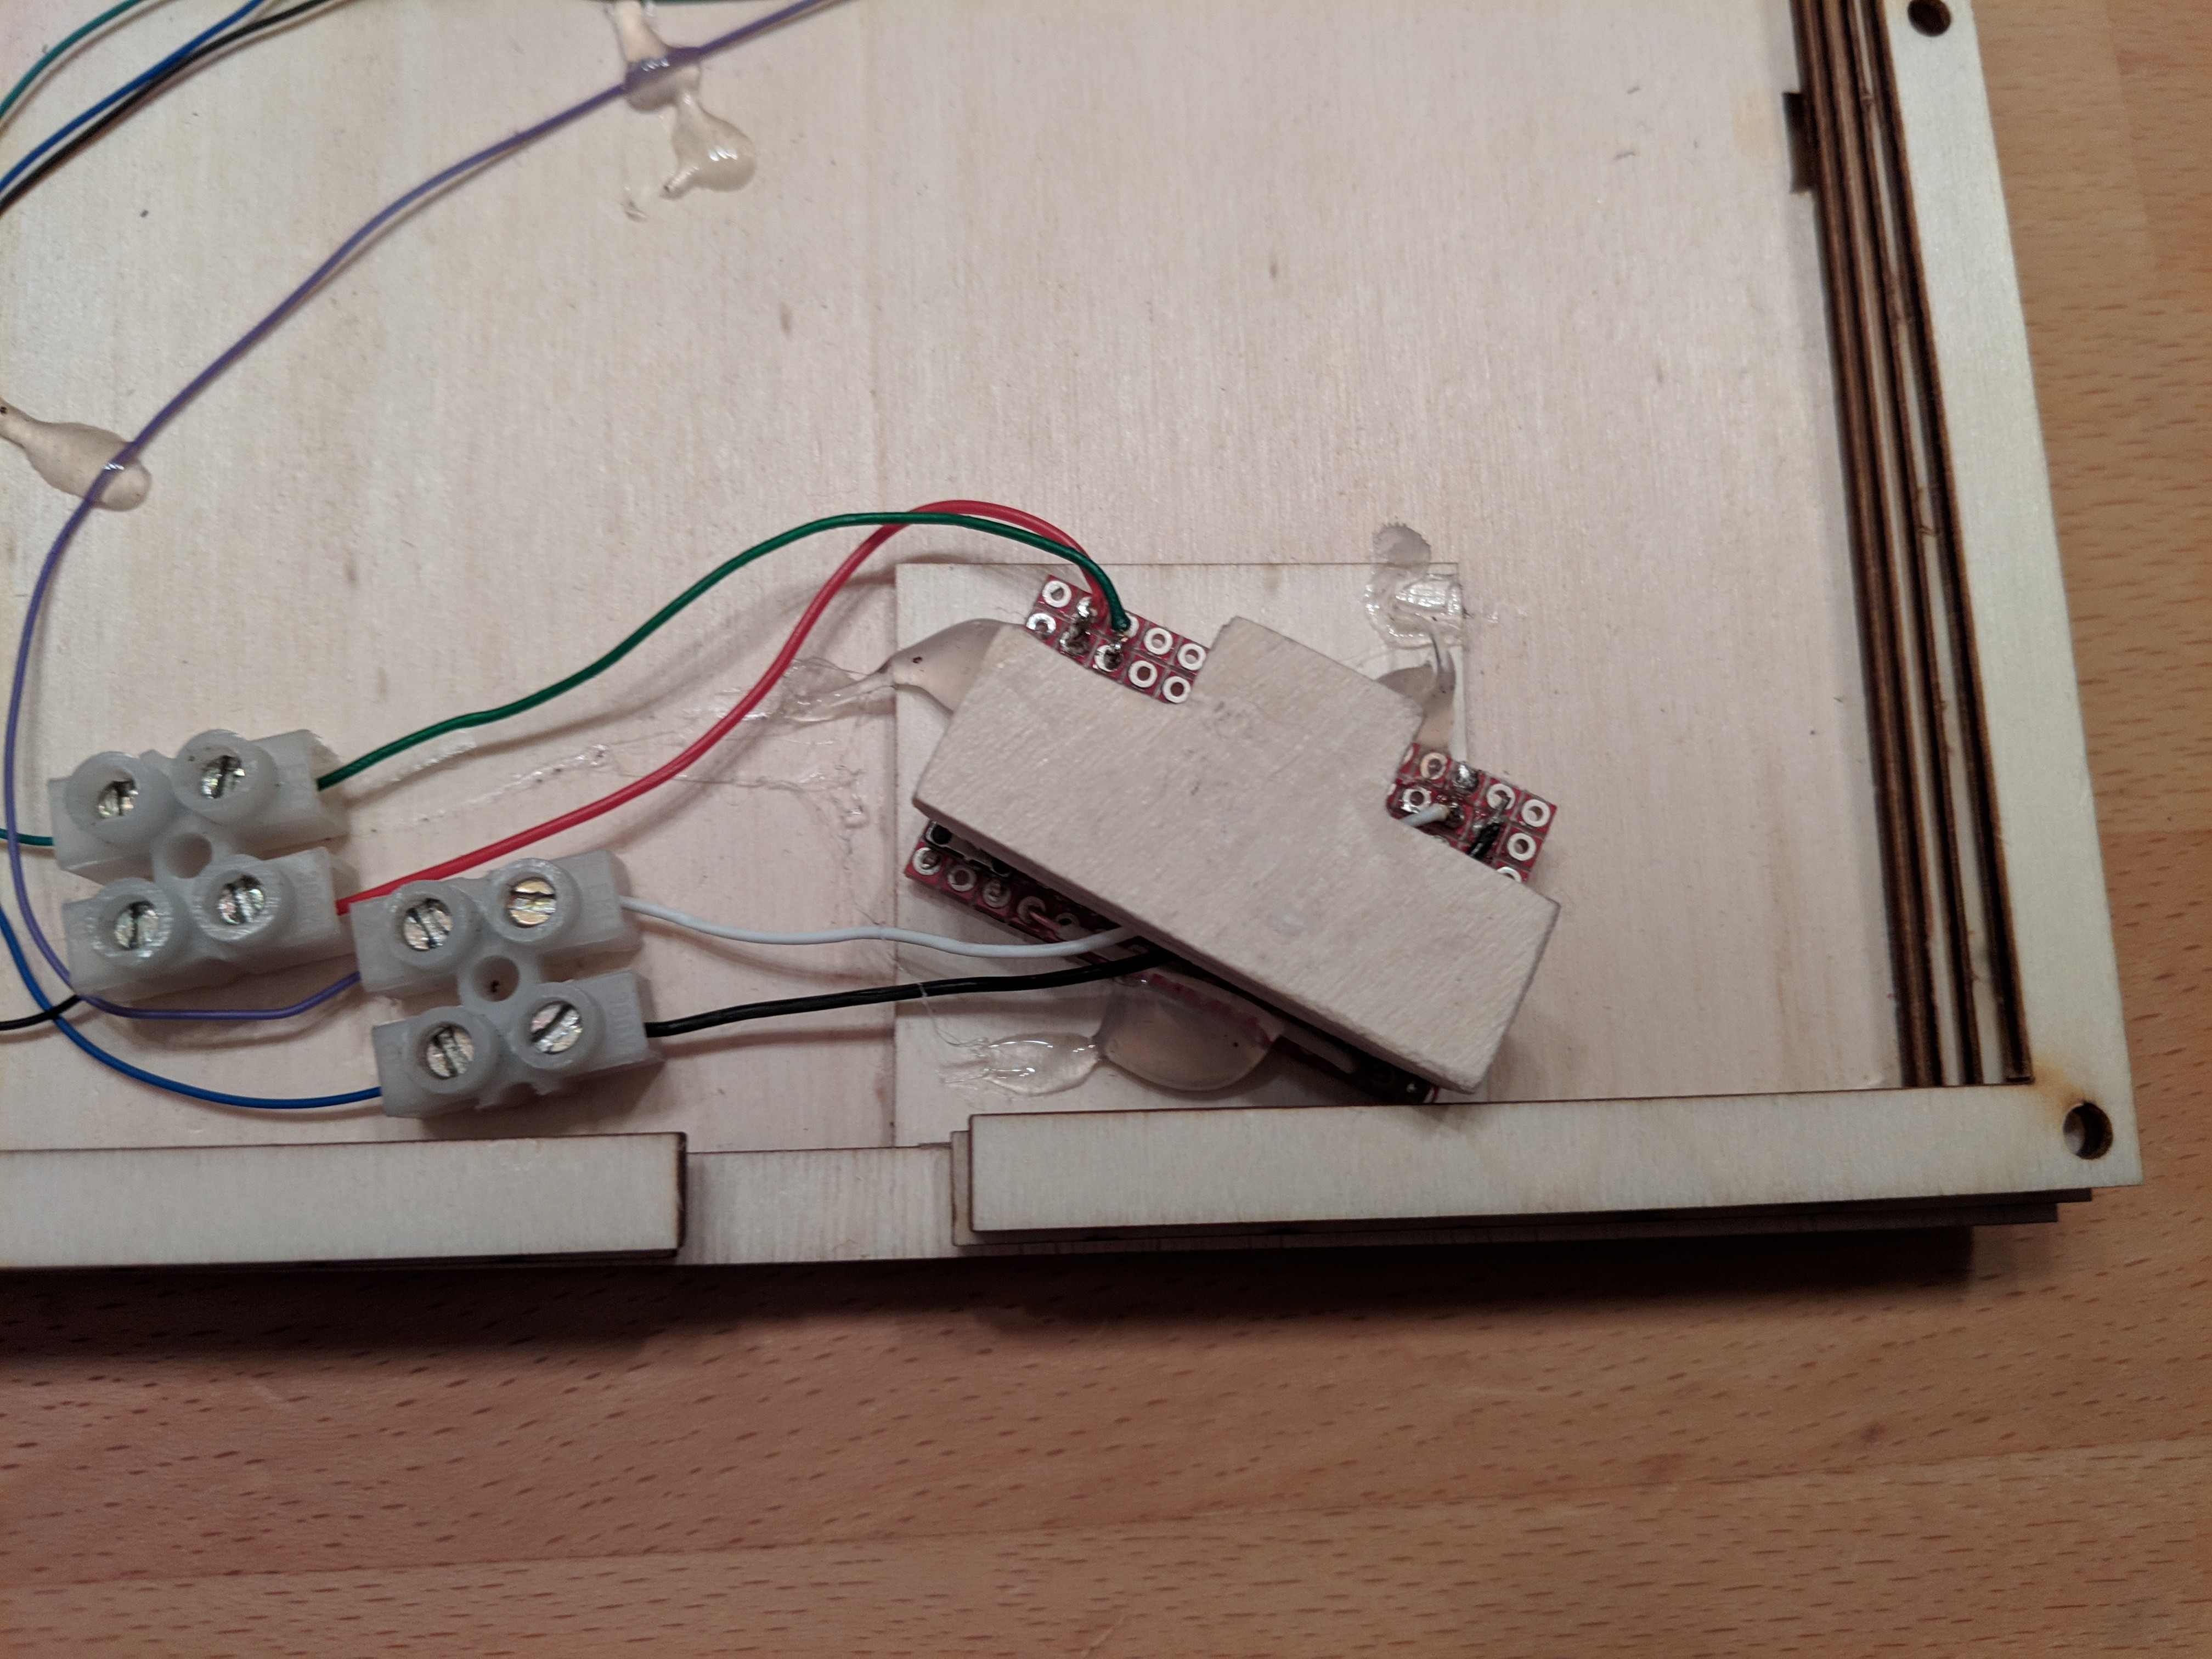 The wood piece used for the three buttons.
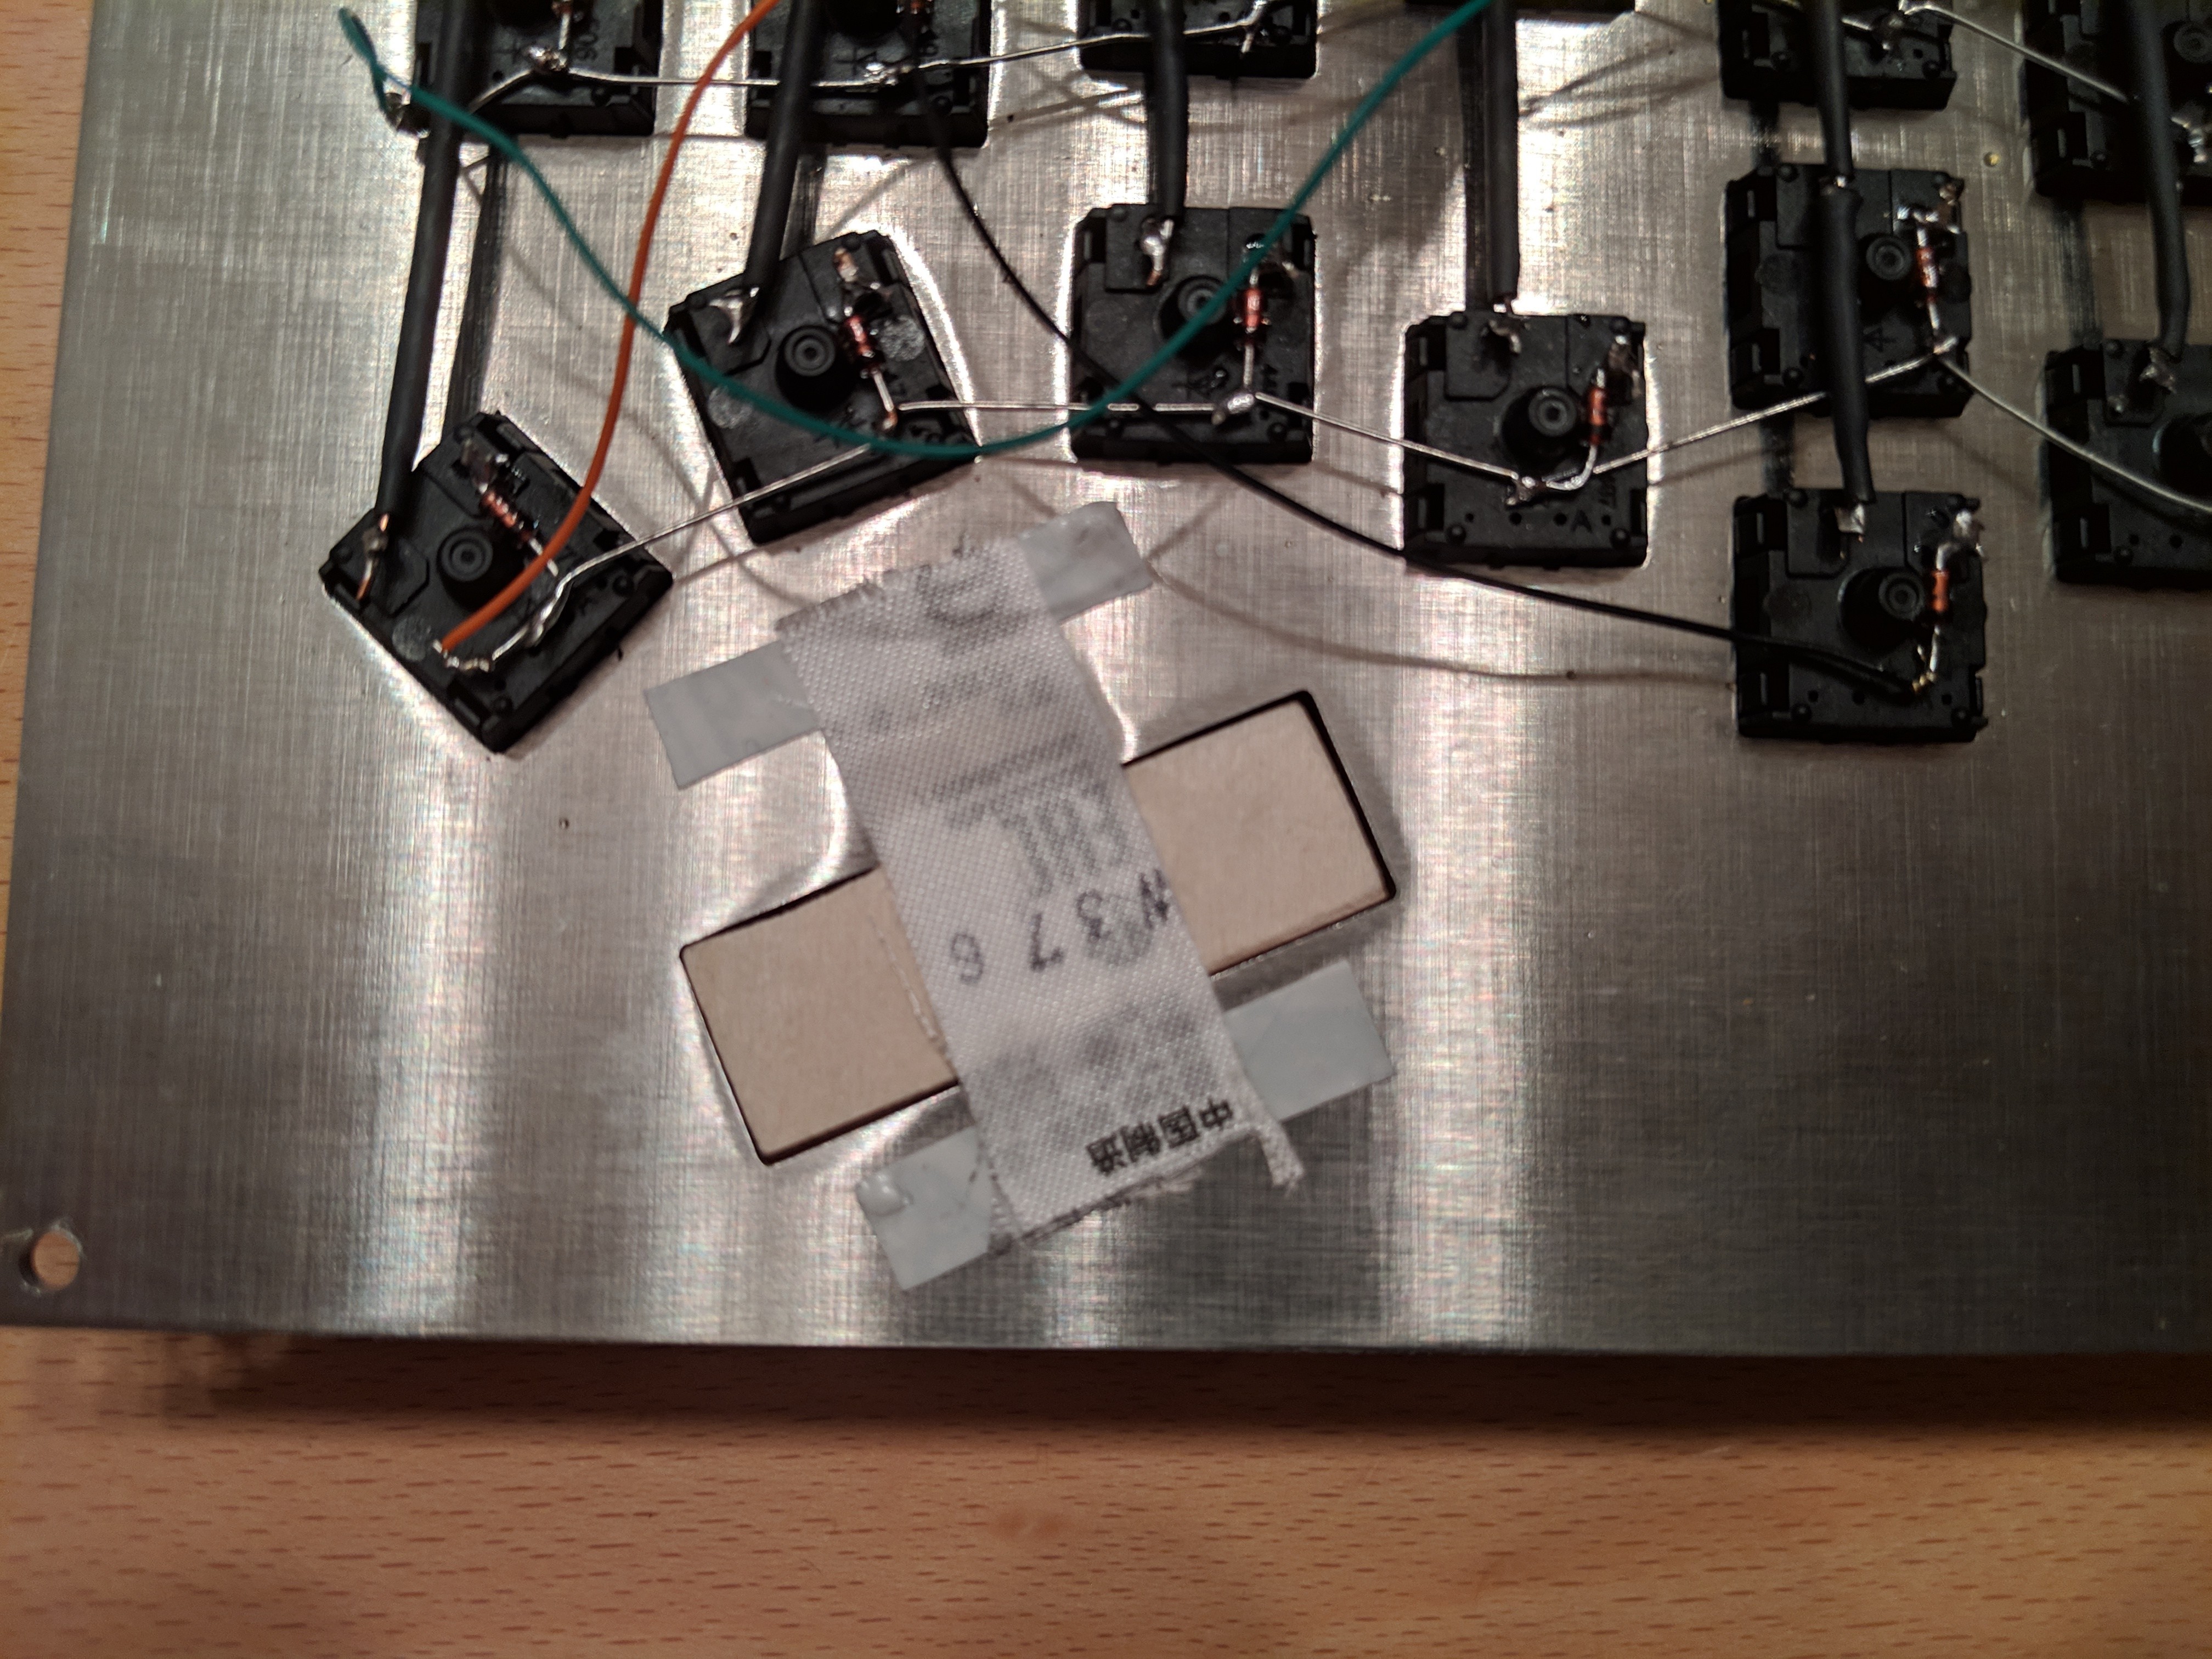 The wood piece fixed on the metal plate. Double side tape and a part of a label. Stable and flexible enough.
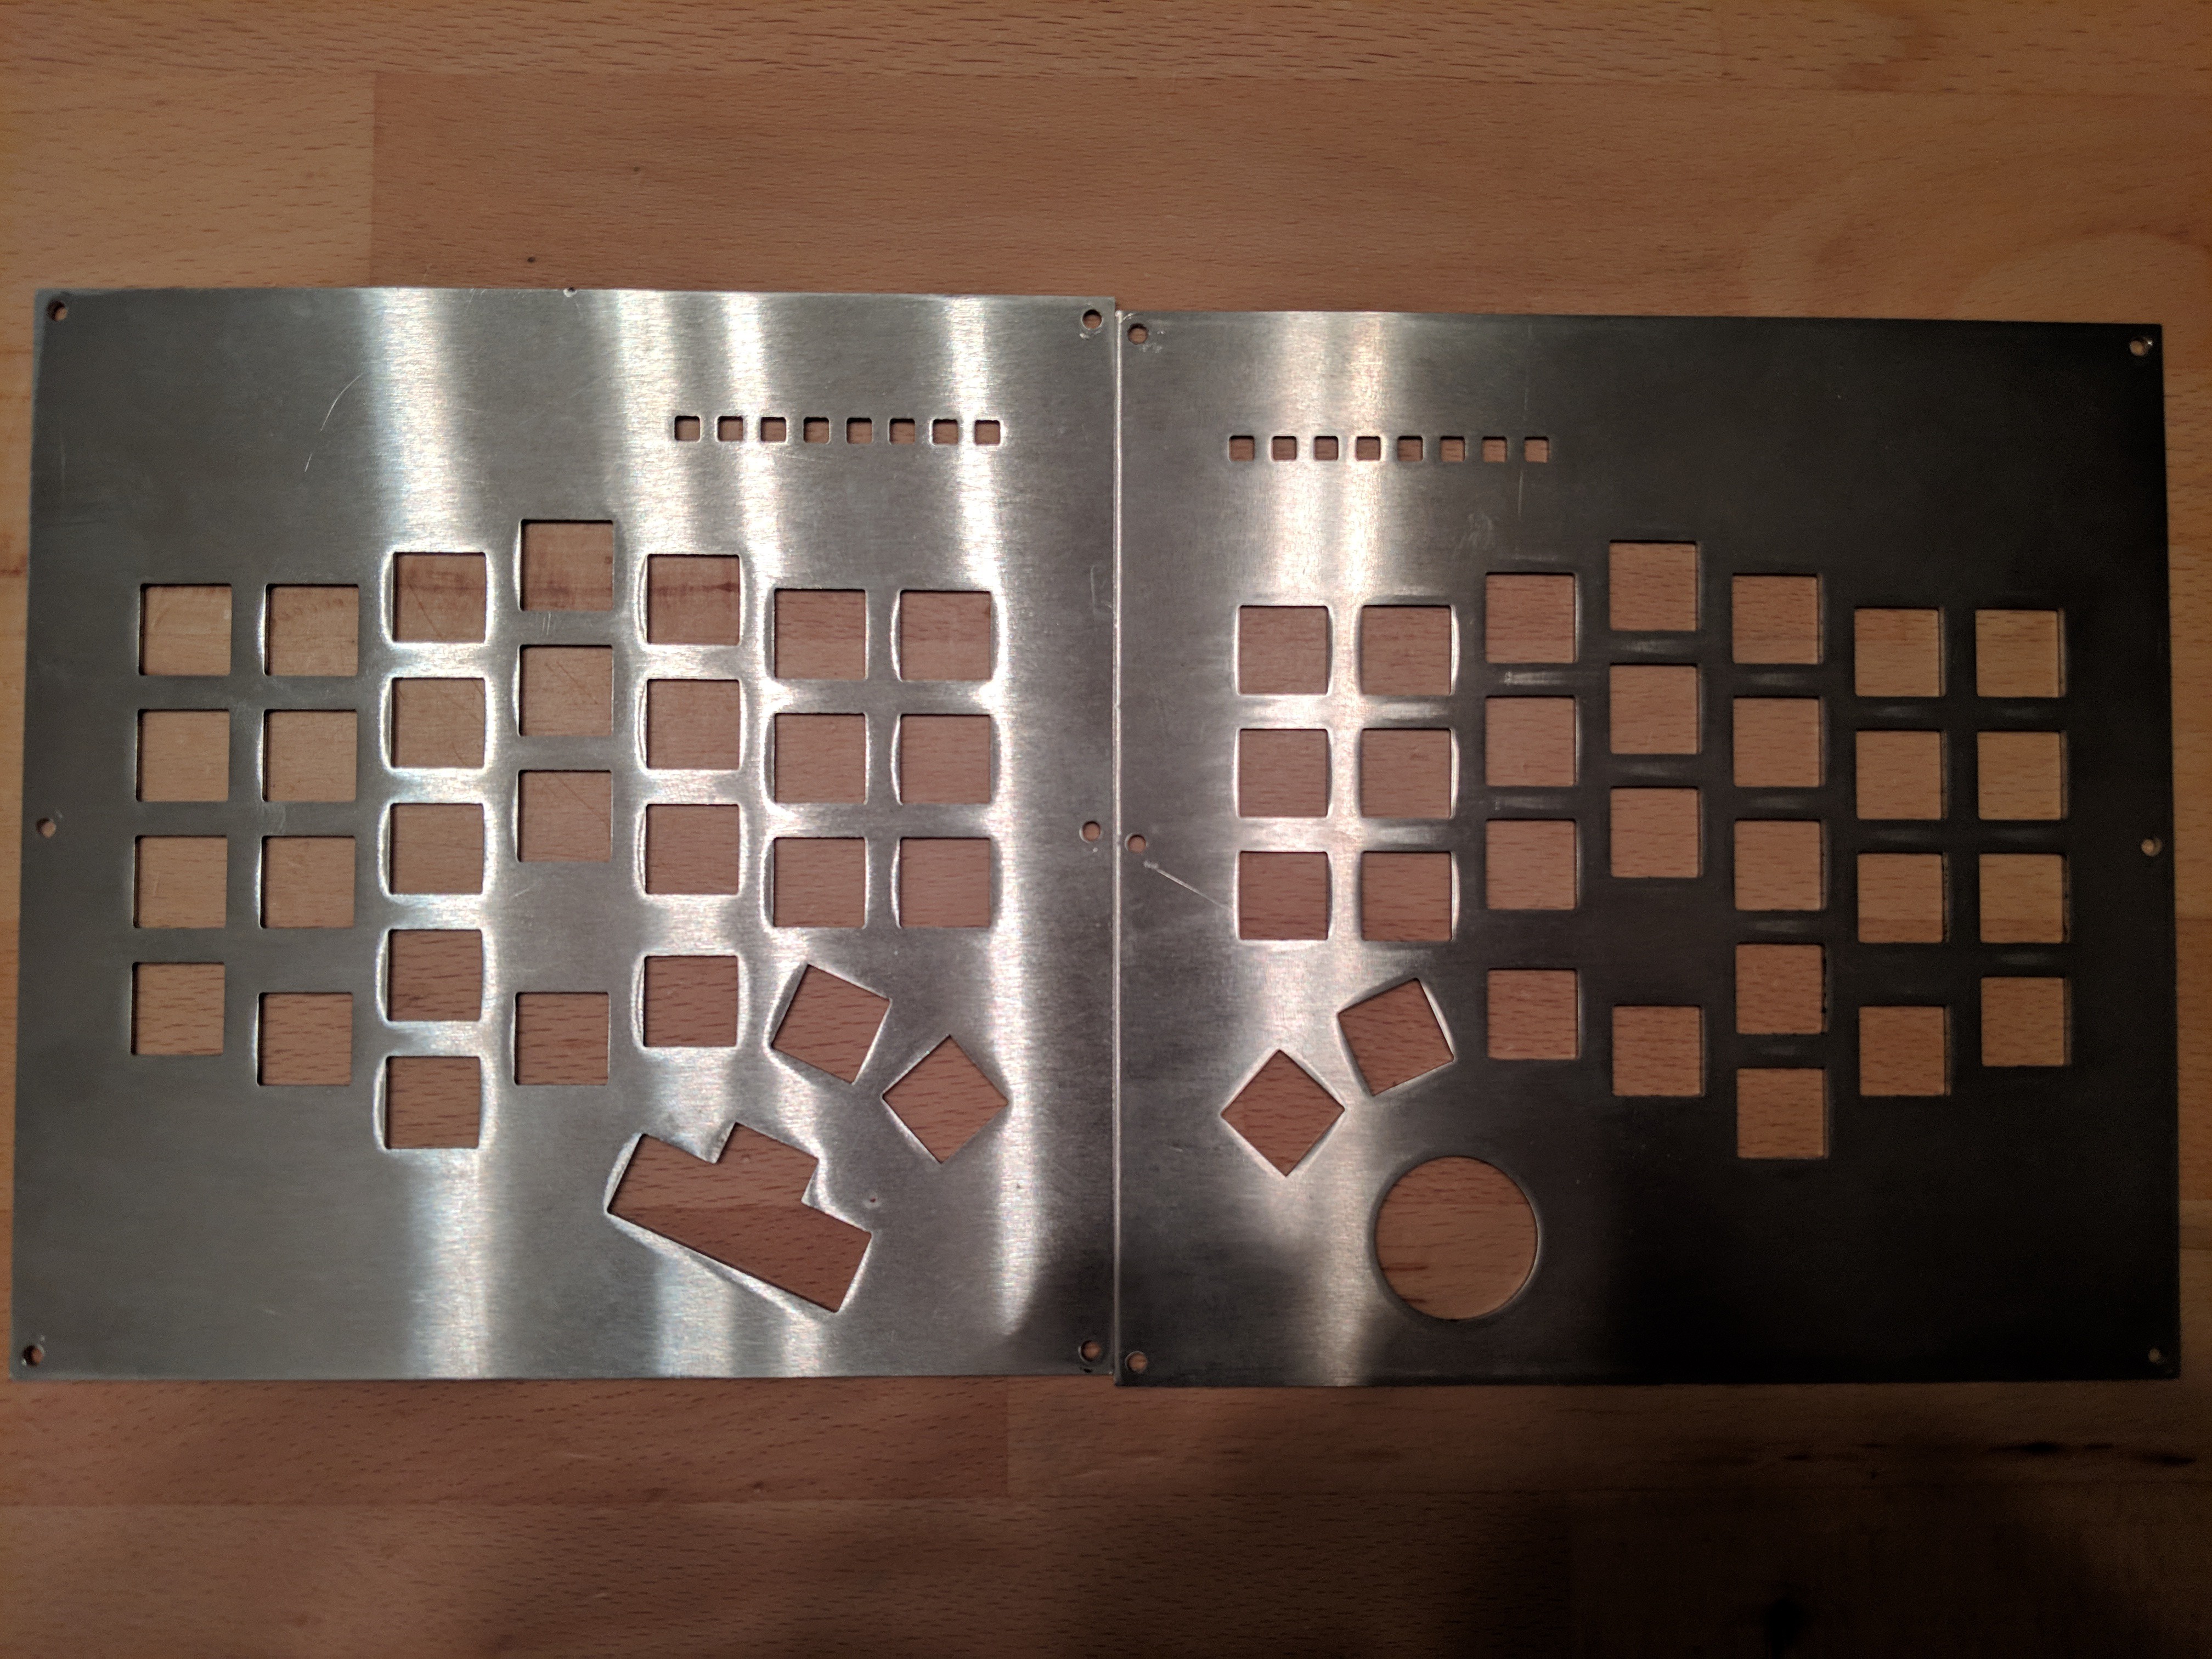


 mkdxdx
 Patrick Tait
 Gertlex
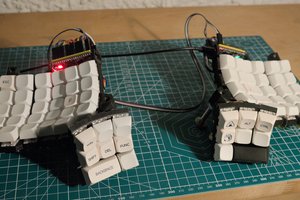
 David H. Bronke
Nice board! Could you elaborate what trackball you are using? Do I understand correctly it's a separate USB wire into the PC?