 sjm4306
Huge thanks to JLCPCB (who sponsor my various projects and videos as well as provide the pcbs). $2 for 10 PCBs (in 48hours)!!!: jlcpcb.com/m
So a quick intro to the main design philosophy for this project. I've seen tons of word clocks using everything from ws2812s, off the shelf led arrays, transparency masks, etc and I've always wanted to try my hand and making my own. I am sure I'm not the first person to think this, but after making a few projects with the help of JLCPCB, my youtube sponsor, I wanted to push both what I am comfortable with in terms of pcb design and JLCPCB's manufacture process. Here's an overview video of the first prototype (with the firmware partially working):
Basically I wanted to make a word clock that would be small (akin to a small alarm clock) to sit inconspicuously on my desk, run happily off 5V via USB, and be fairly easy/cheap to make. So to achieve this I've designed the front lettering mask as a pcb that snaps away from the rear pcb that contains all the leds and micro as shown below.
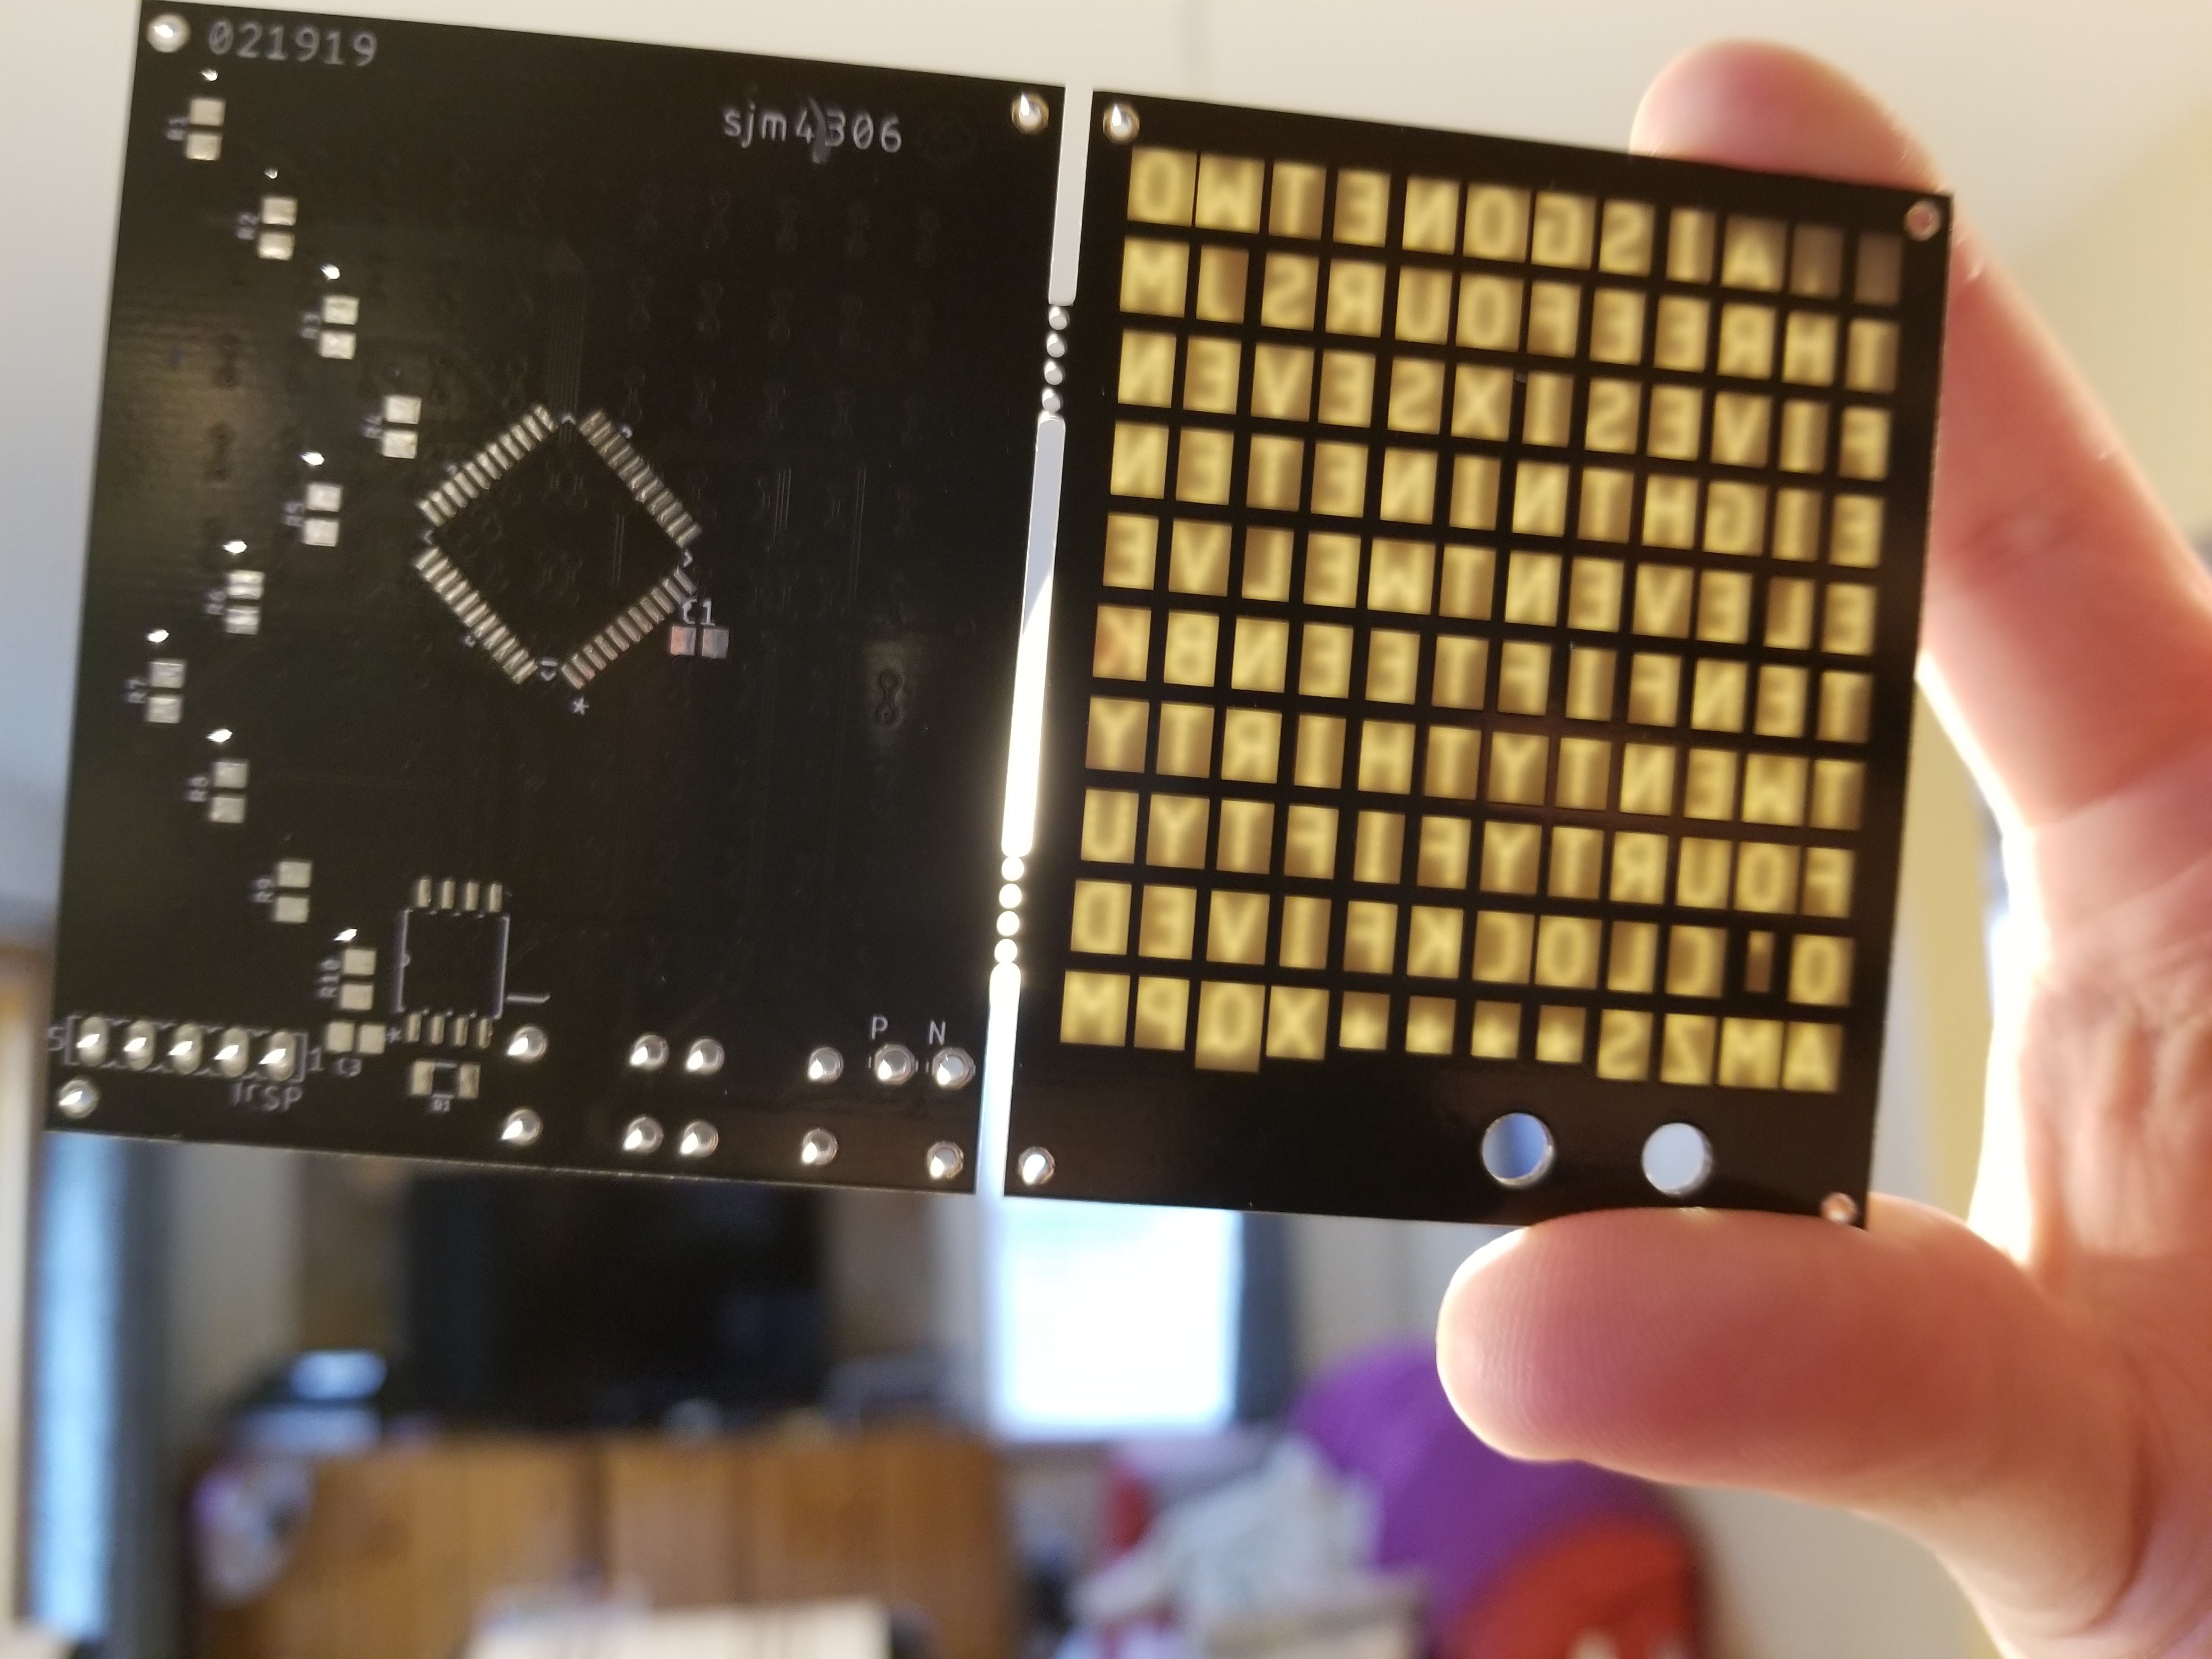
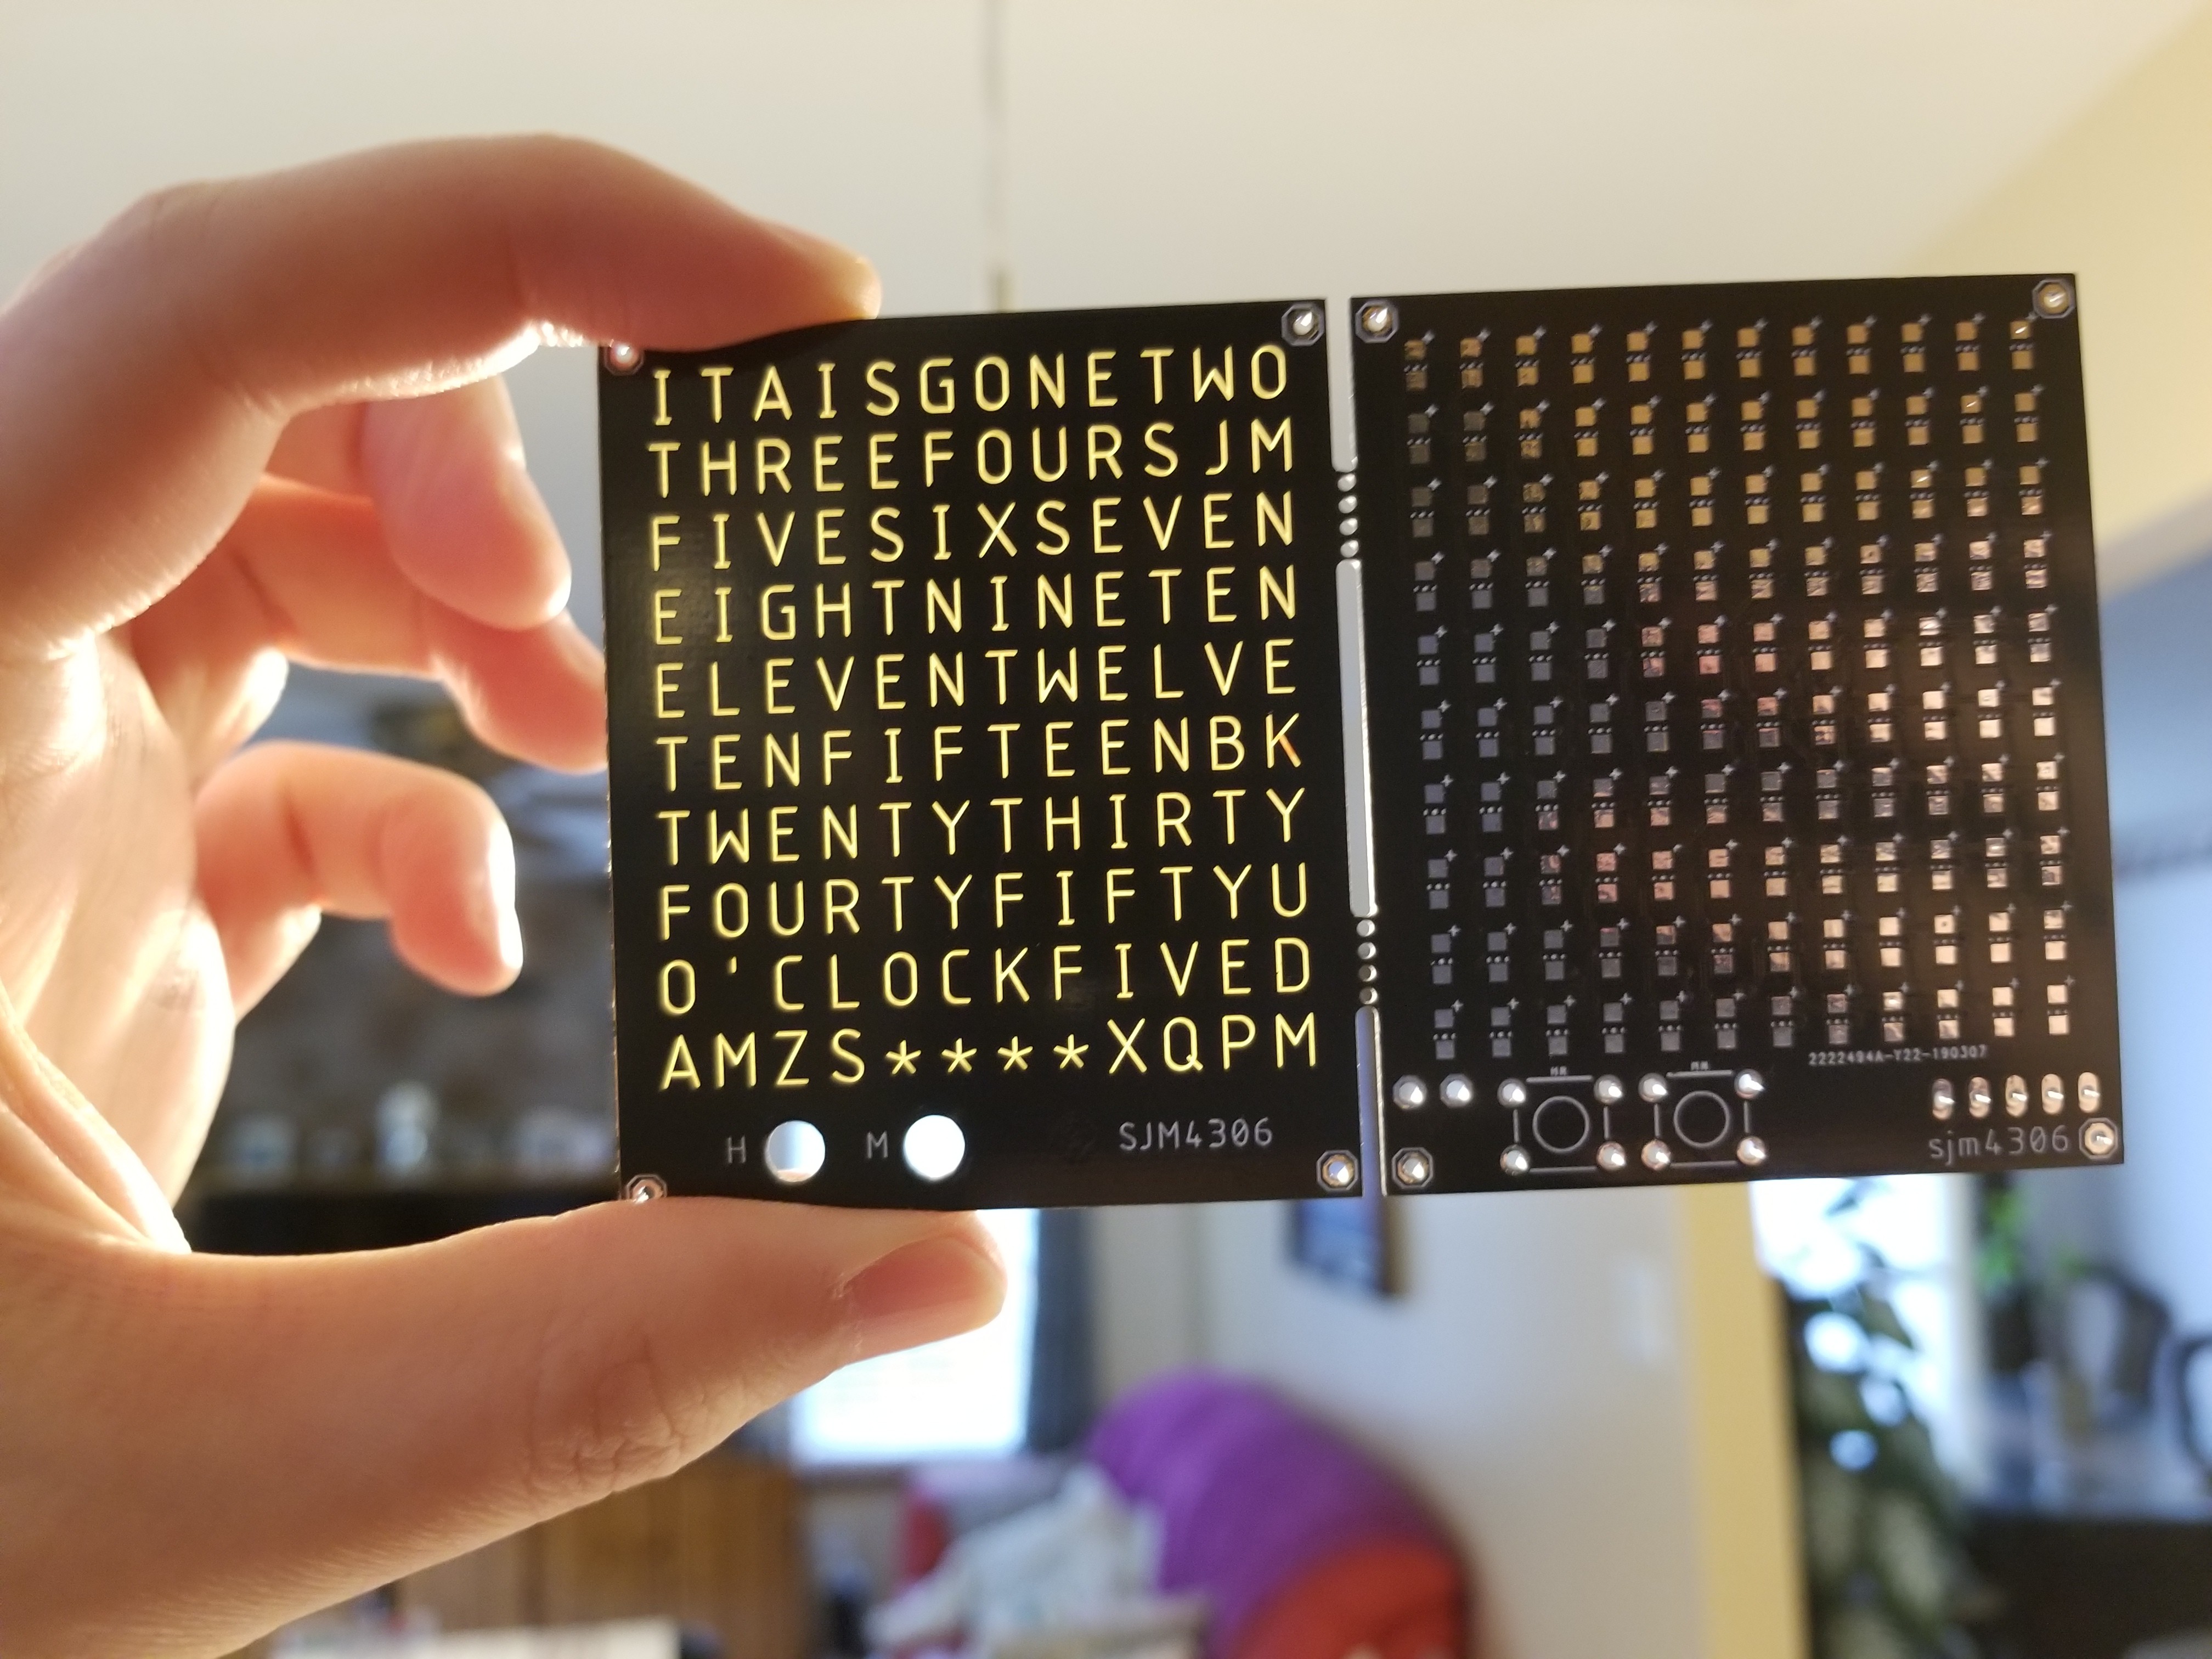
To achieve this placed the letters on the top stop and restrict layers to keep both the soldermask and copper from obstructing the light. On the bottom then all I had to do is do the same in a square shape that overlaps the letter. I expect the light will be diffused pretty well through the FR4. And that is really all I had to do to achieve this sharp looking effect.
Now one worry I have will be how to effectively block light between adjacent letters. Well here's hoping a 3D printed light box/midframe will work to box in each led and limit light bleed ...
So one final note, I wanted accuracy down to the minute, but having separate words for all possible minutes would make the array of letters larger than I wanted so I compromised by having words describe the time down to 5 minute intervals and then adding asterisks at the bottom to come up with the exact time. For example: "It is ten fourty five ***" would mean it is 10:48. Works for me!
In the next update I'll explain the software that runs on the PIC16F887 (and hopefully have it fully working and progress on the 3D printed midframe).
Discussions
Become a Hackaday.io Member
Create an account to leave a comment. Already have an account? Log In.