Going to use "Red Oak" stain, don't want anything too dark. Water base Urethane ( don't want the fumes).
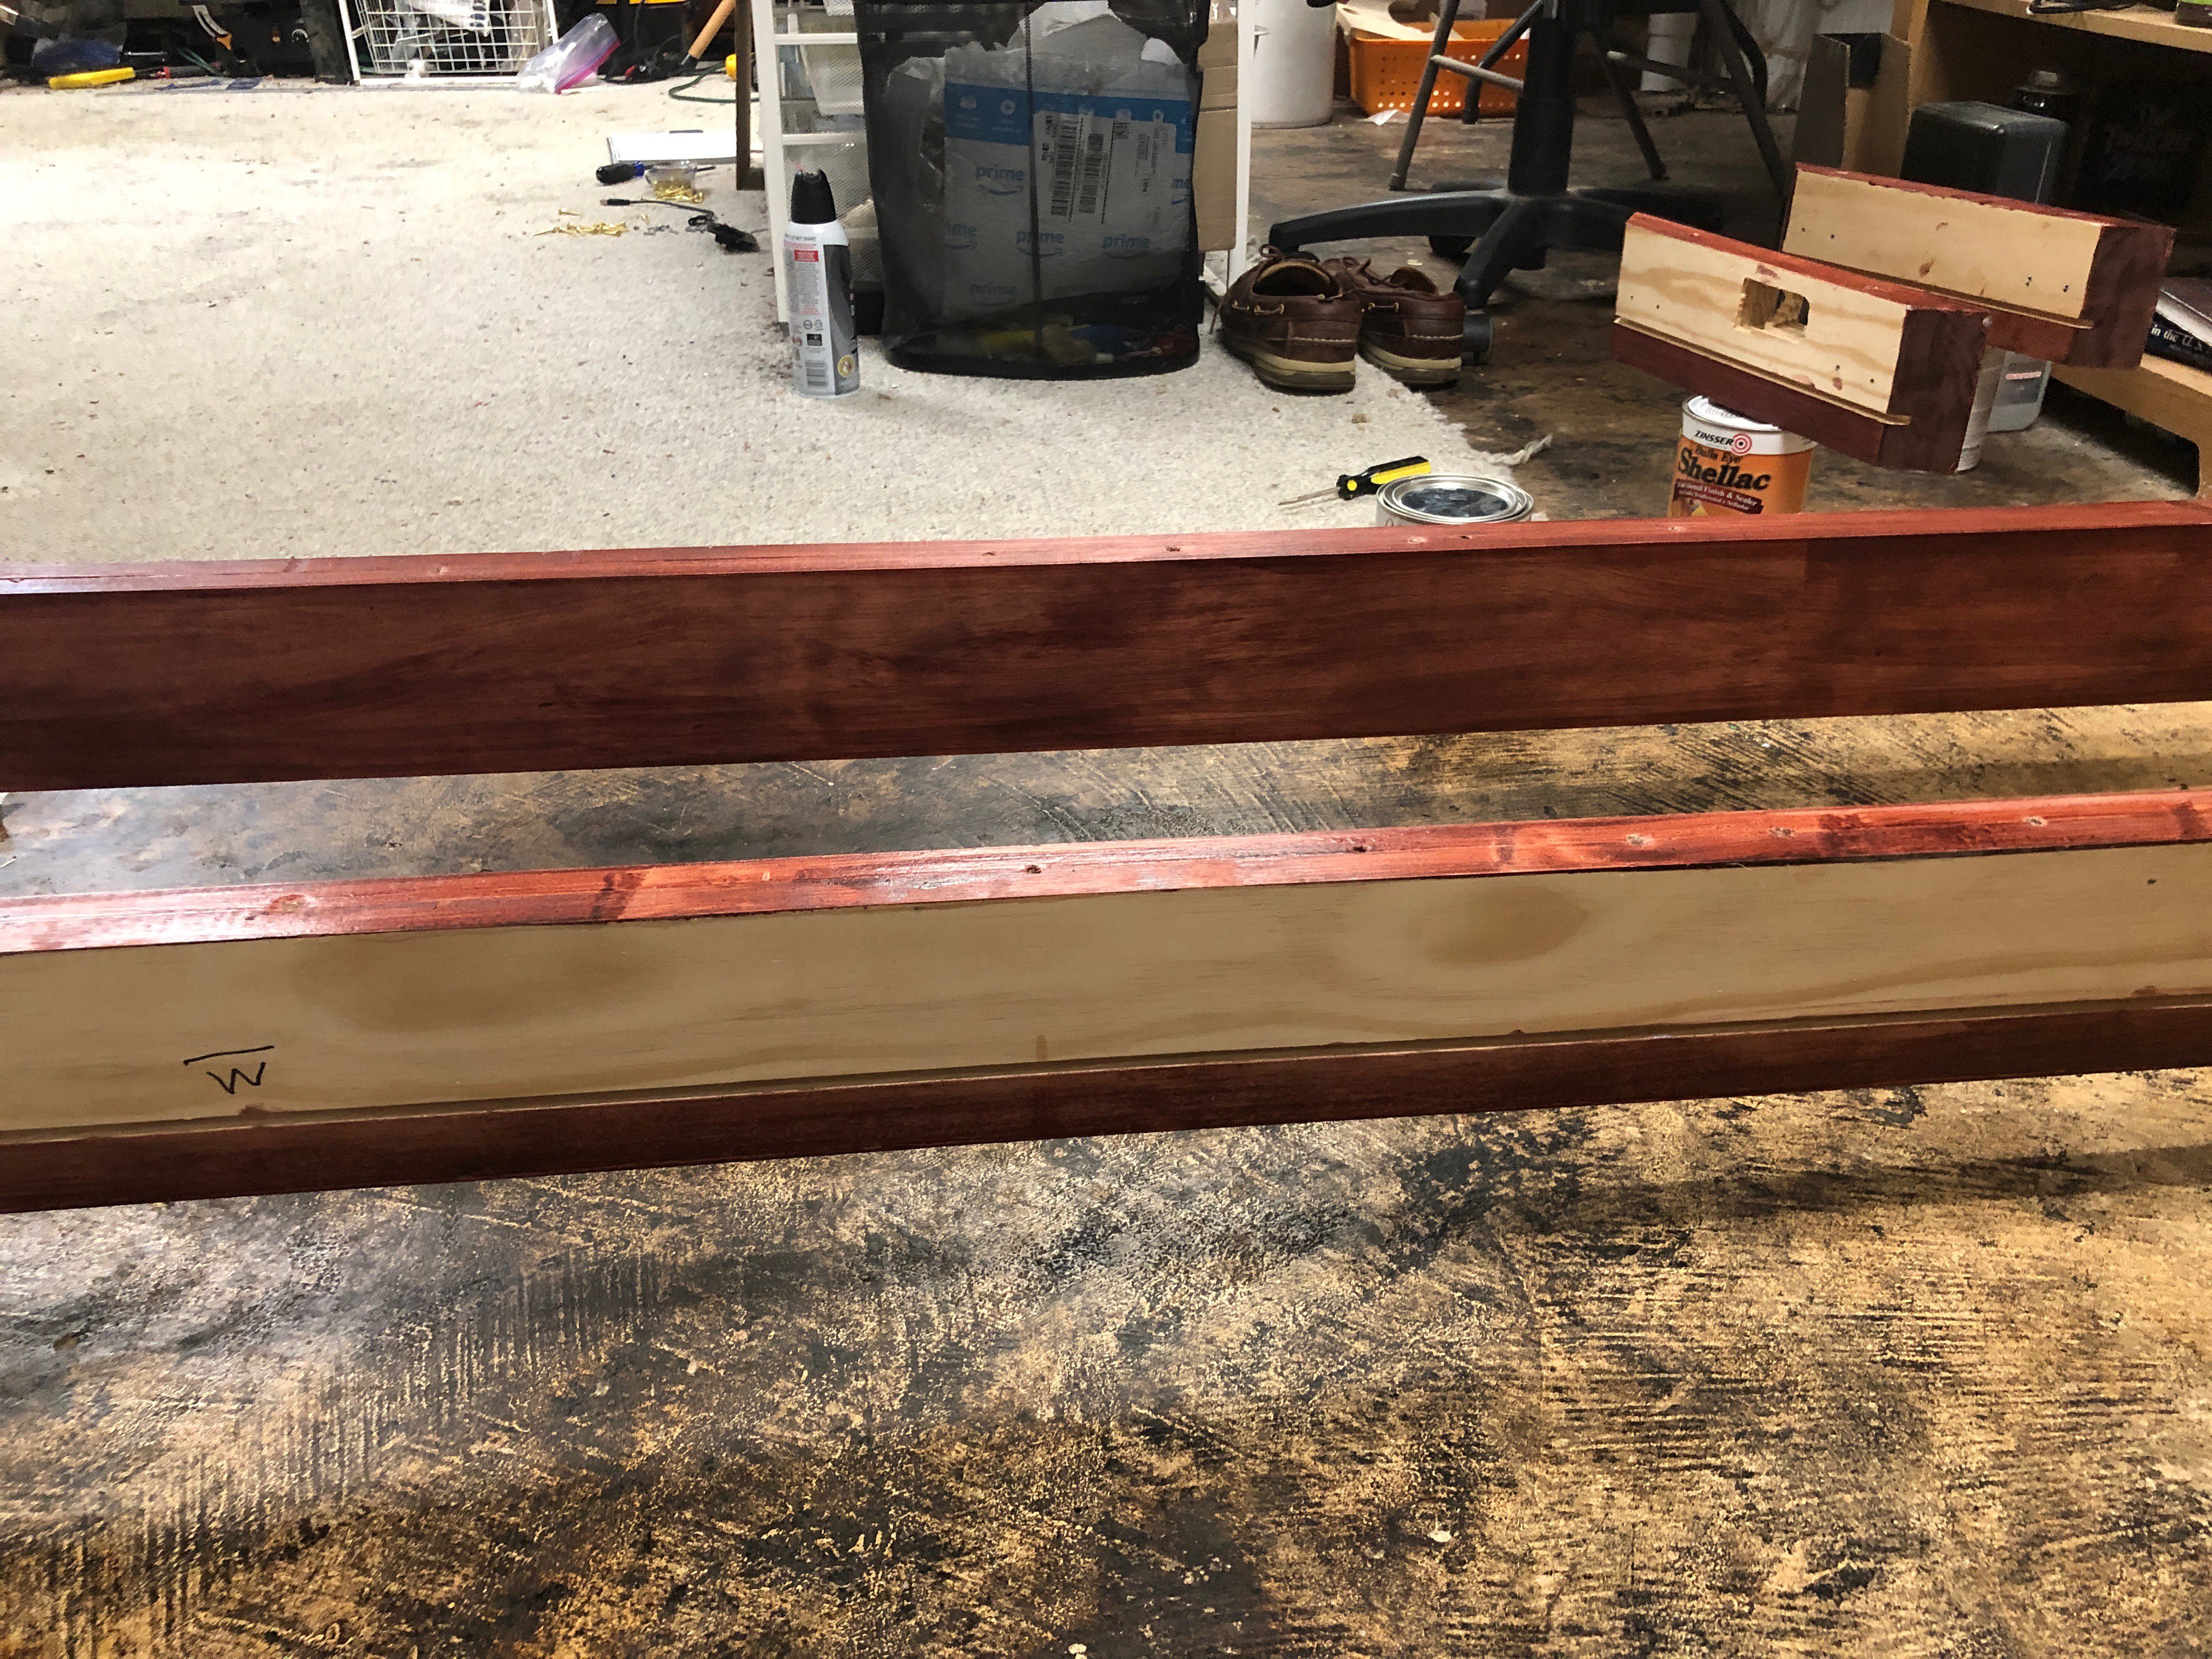
Here are both sides stained and with 3 coats of urethane

The water based urethane worked very well. No smell and it dried quickly. The stain took a long time to dry, it was a bit humid out side.
Next we needed to glue the White board that we are going to mount the LEDs on too, it needs to be all one piece, 8ft 7in. I could only find the board in 4ft lengths.
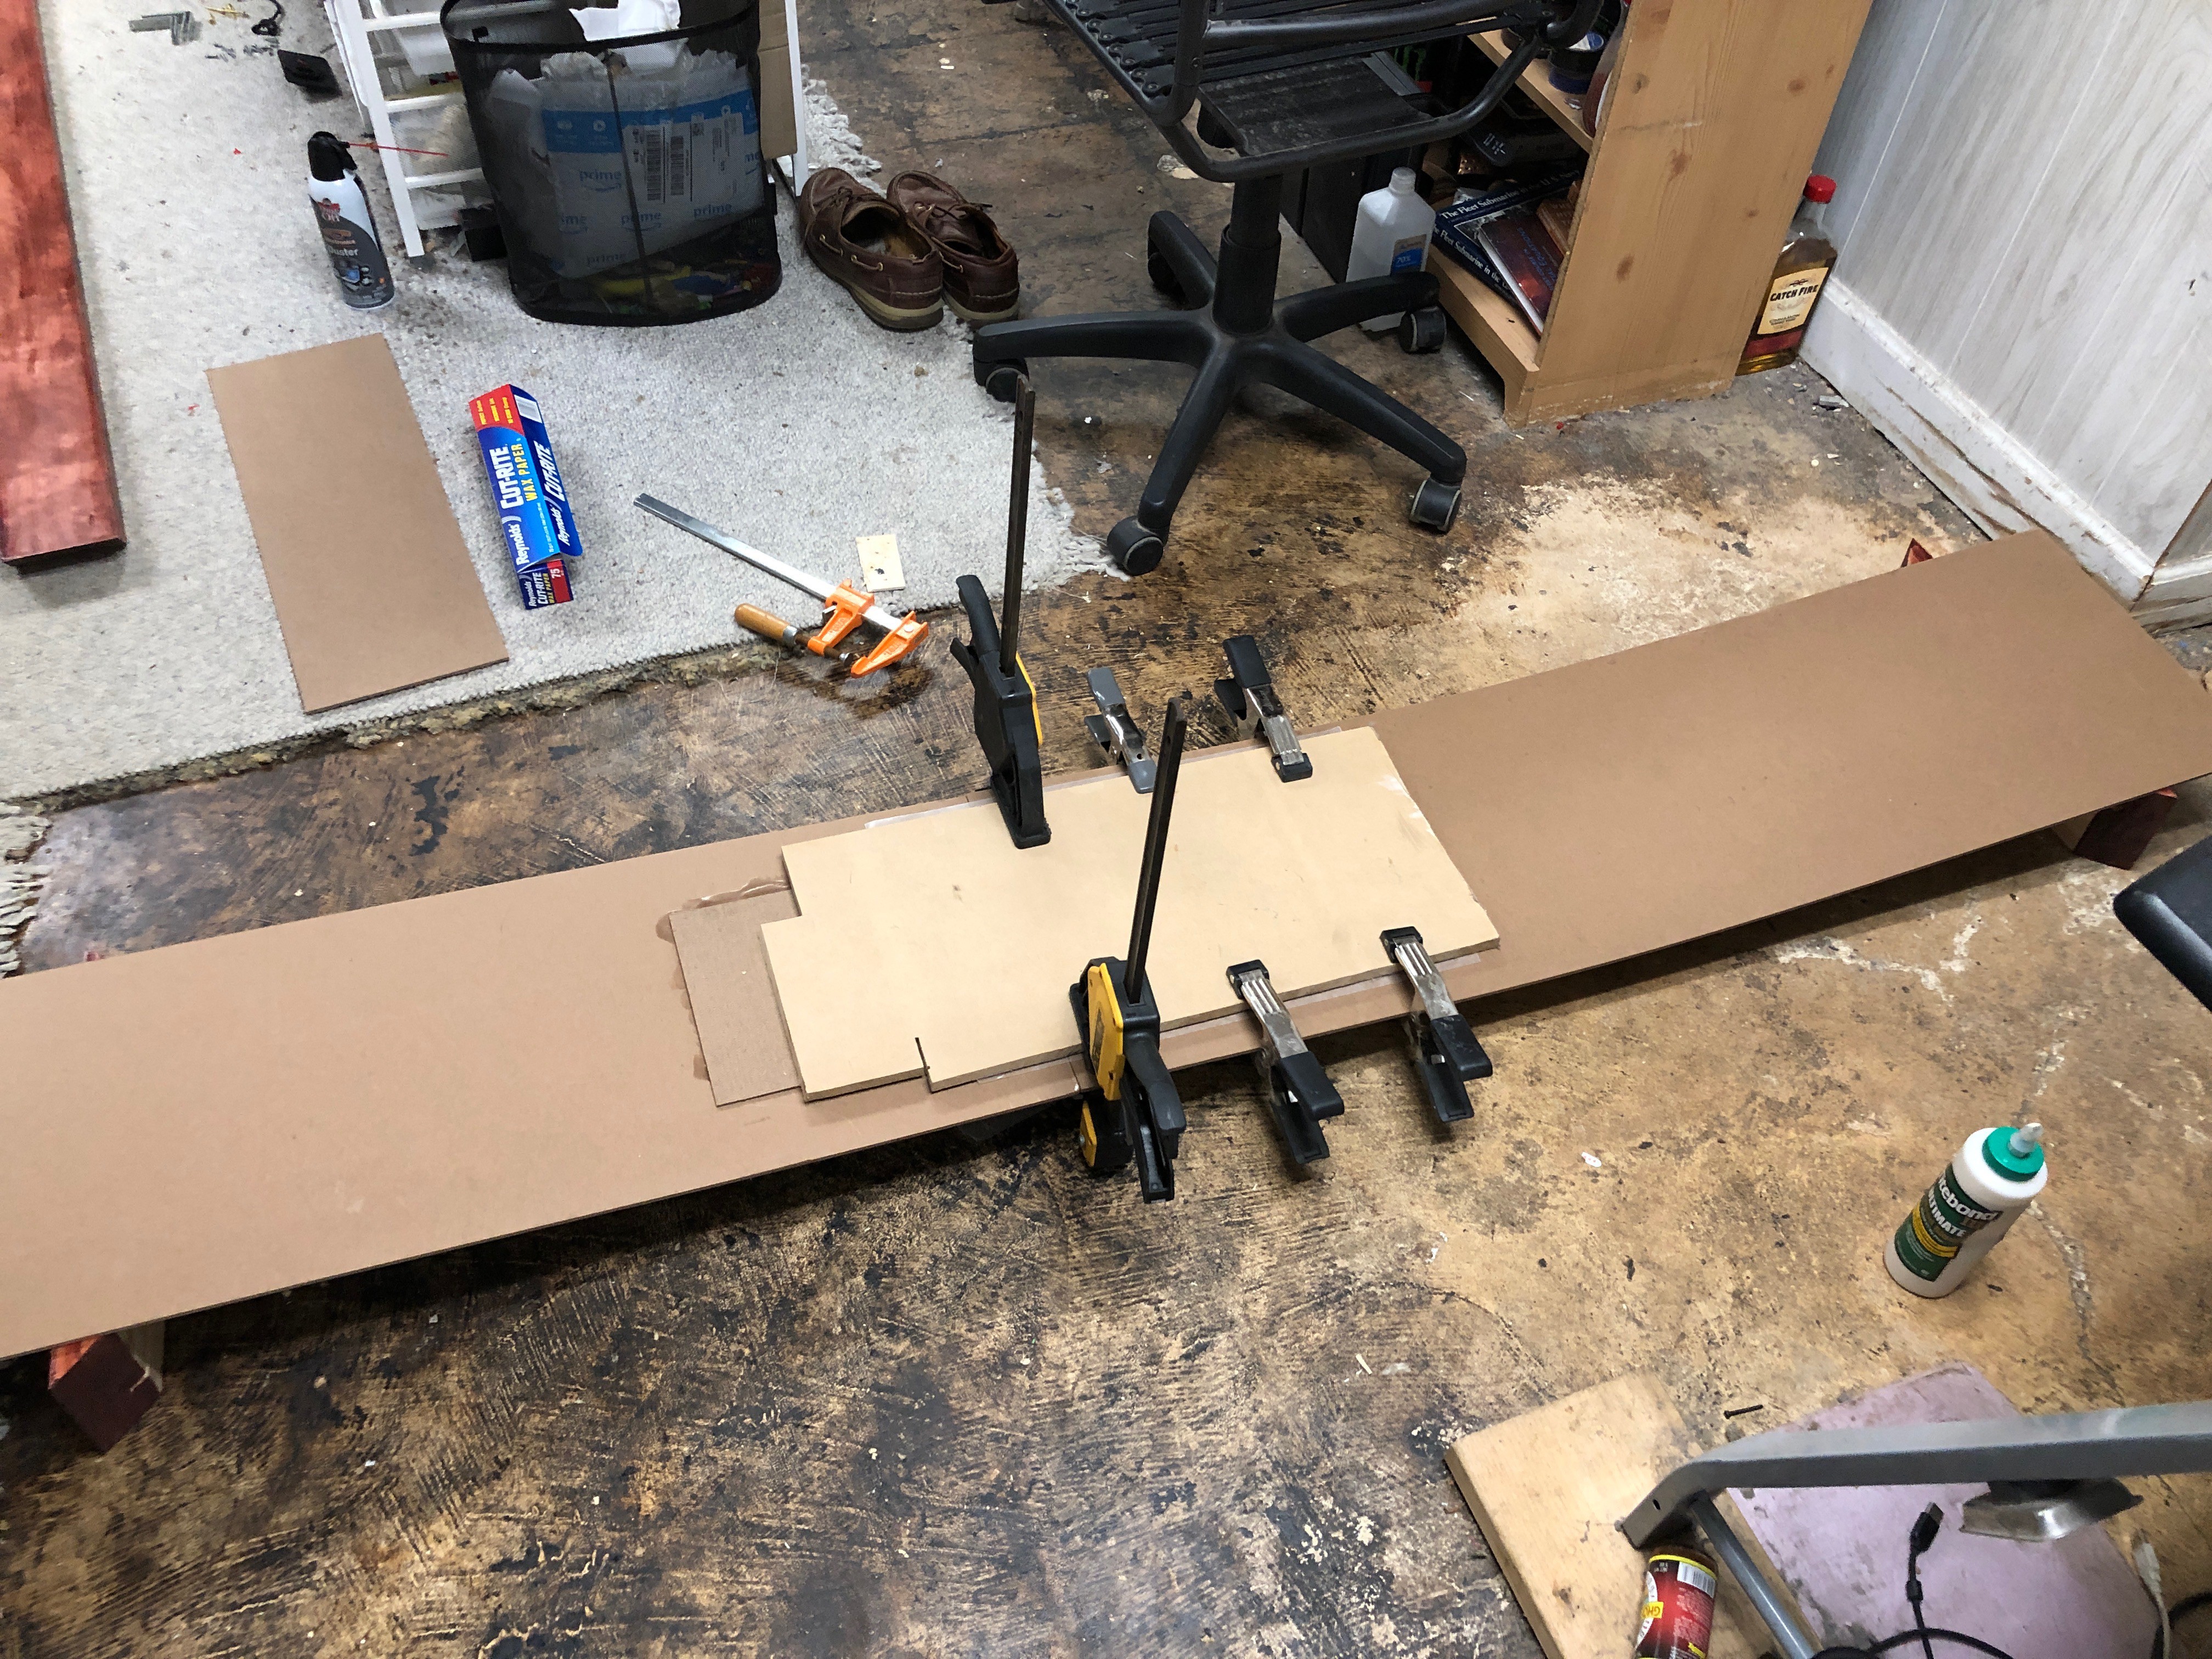
Here we are gluing the two 4ft pieces together then needed to glue on the 7in piece.
Now going to re-assemble everything and check that everything still fits. We where careful with the paint and the slide track.
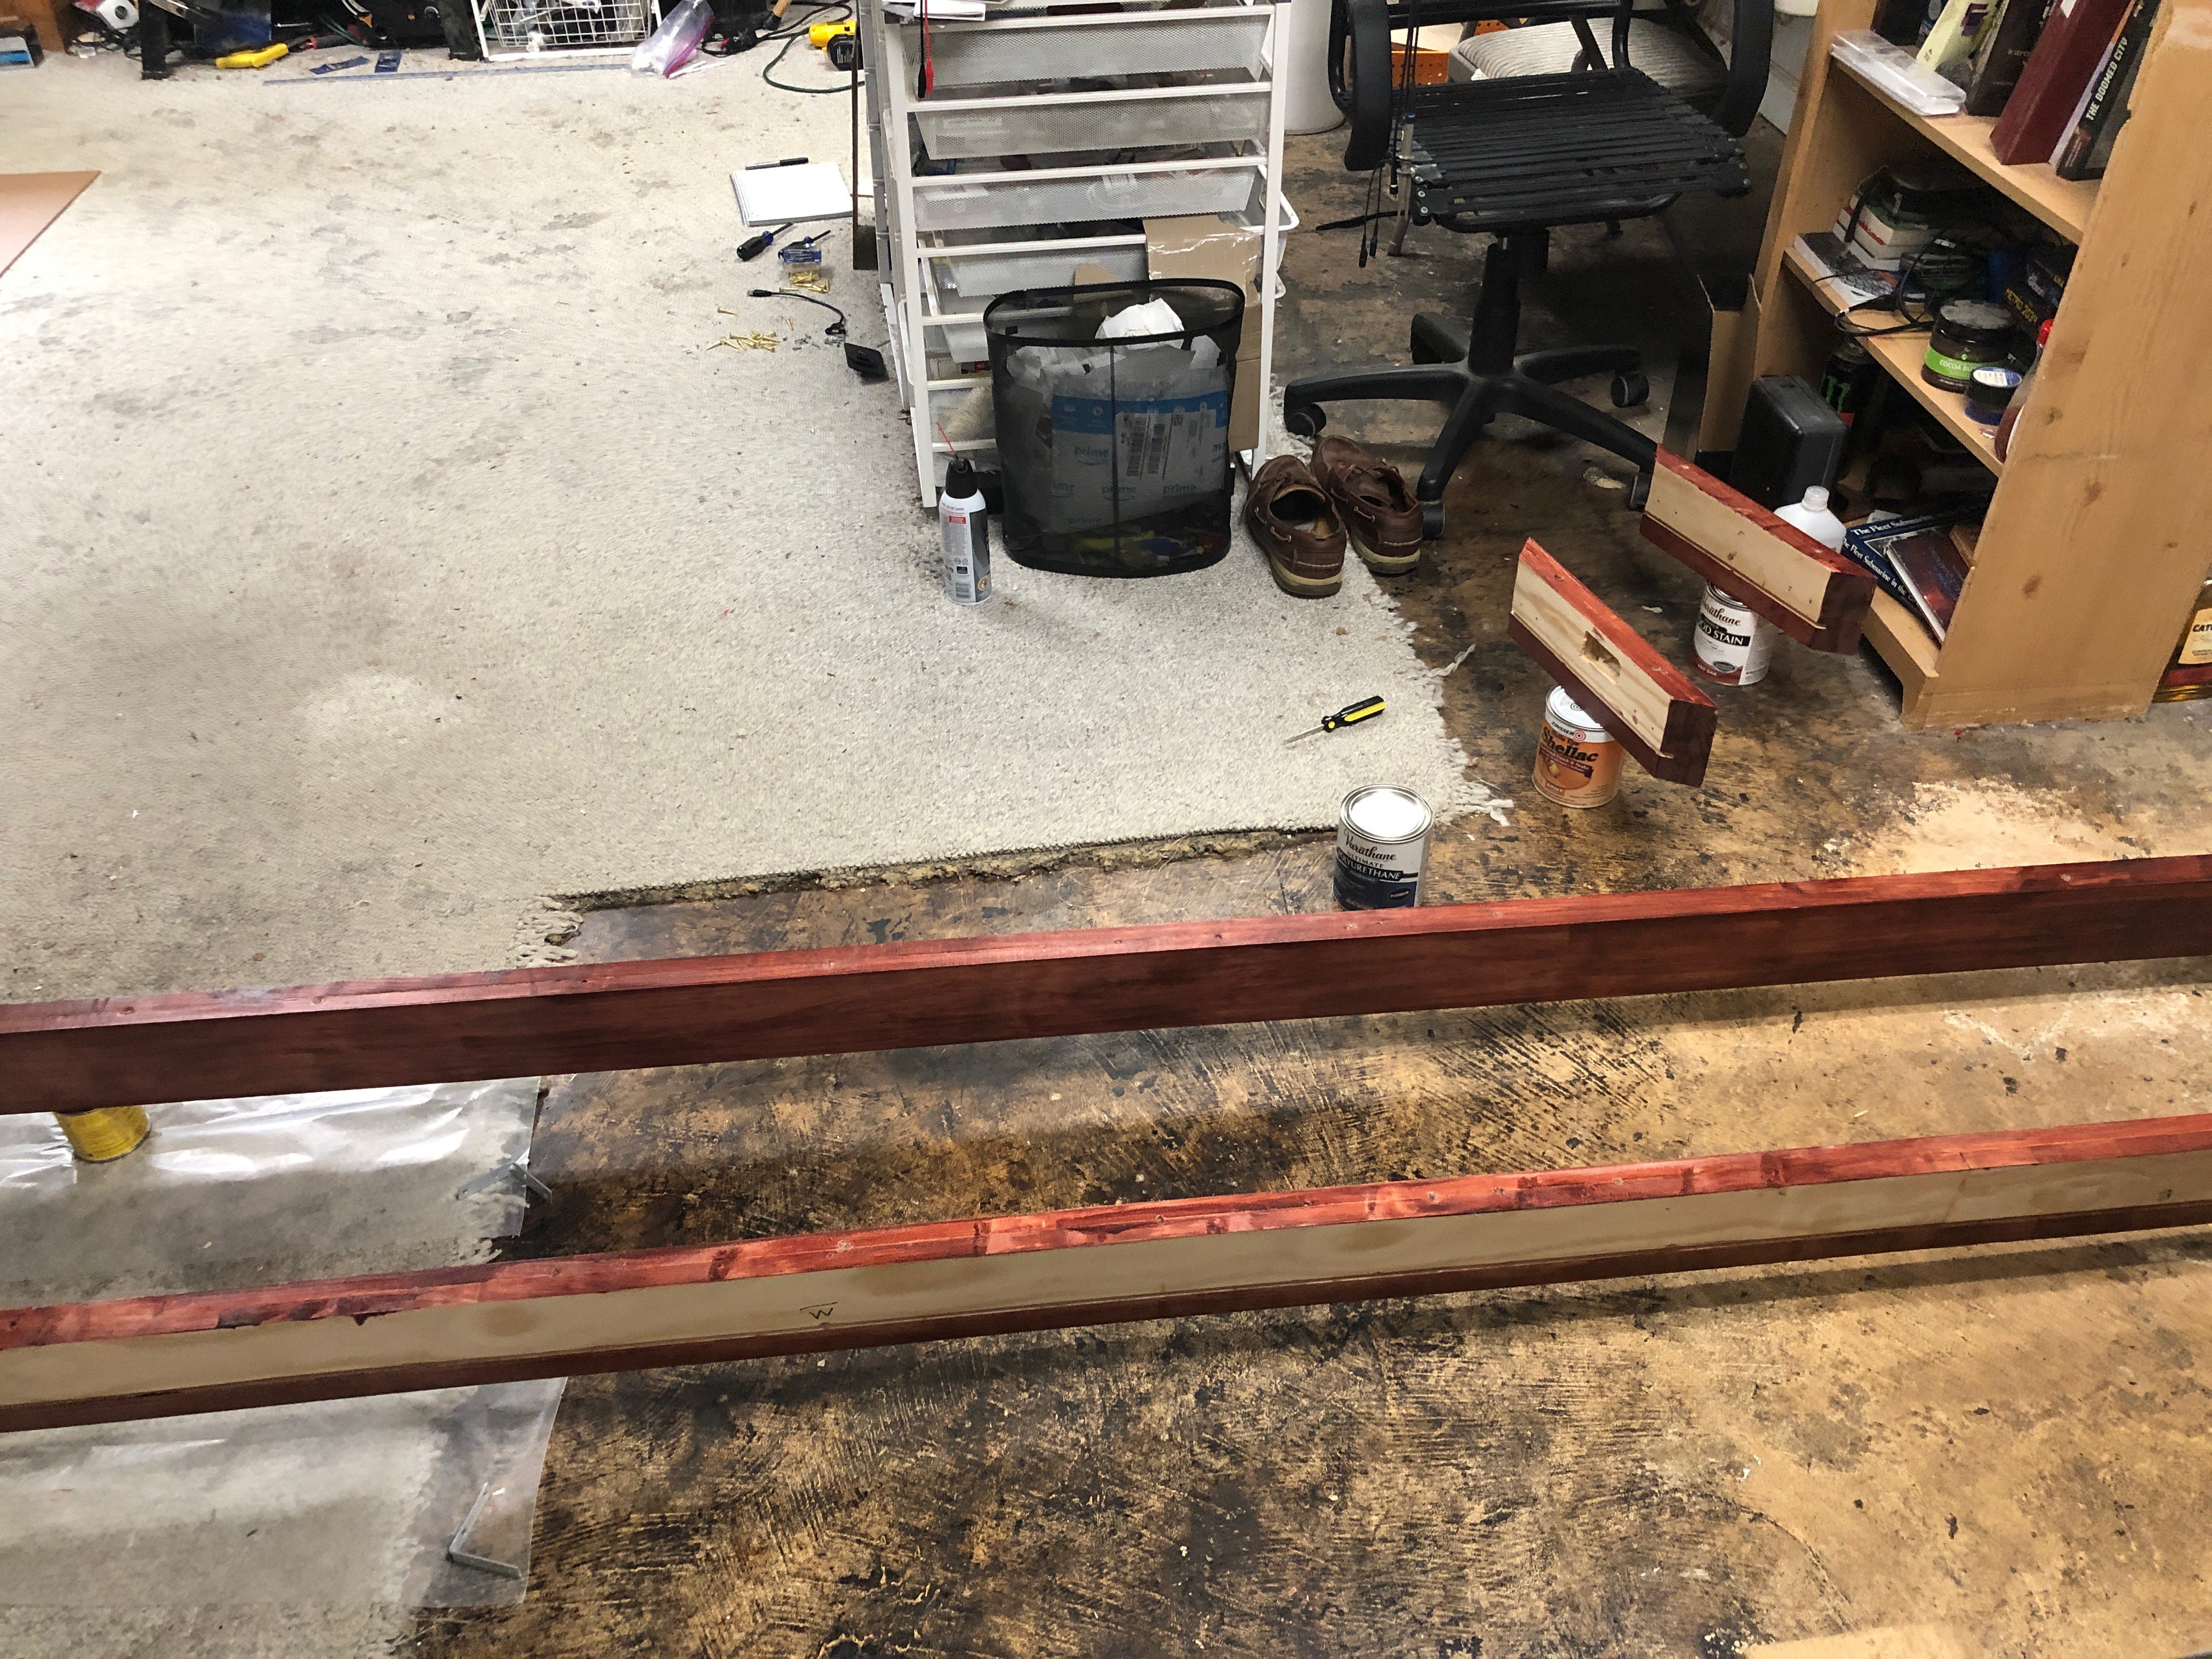
you can see the mistake here......
and close up. For got the stain the inside edge.
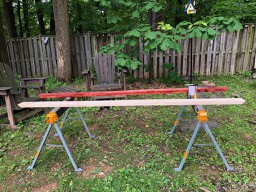
doing it inside, raining all week. have it up on blocks.
took a lot of care to keep paint out of the slot and put it this way so paint would not run into the track.
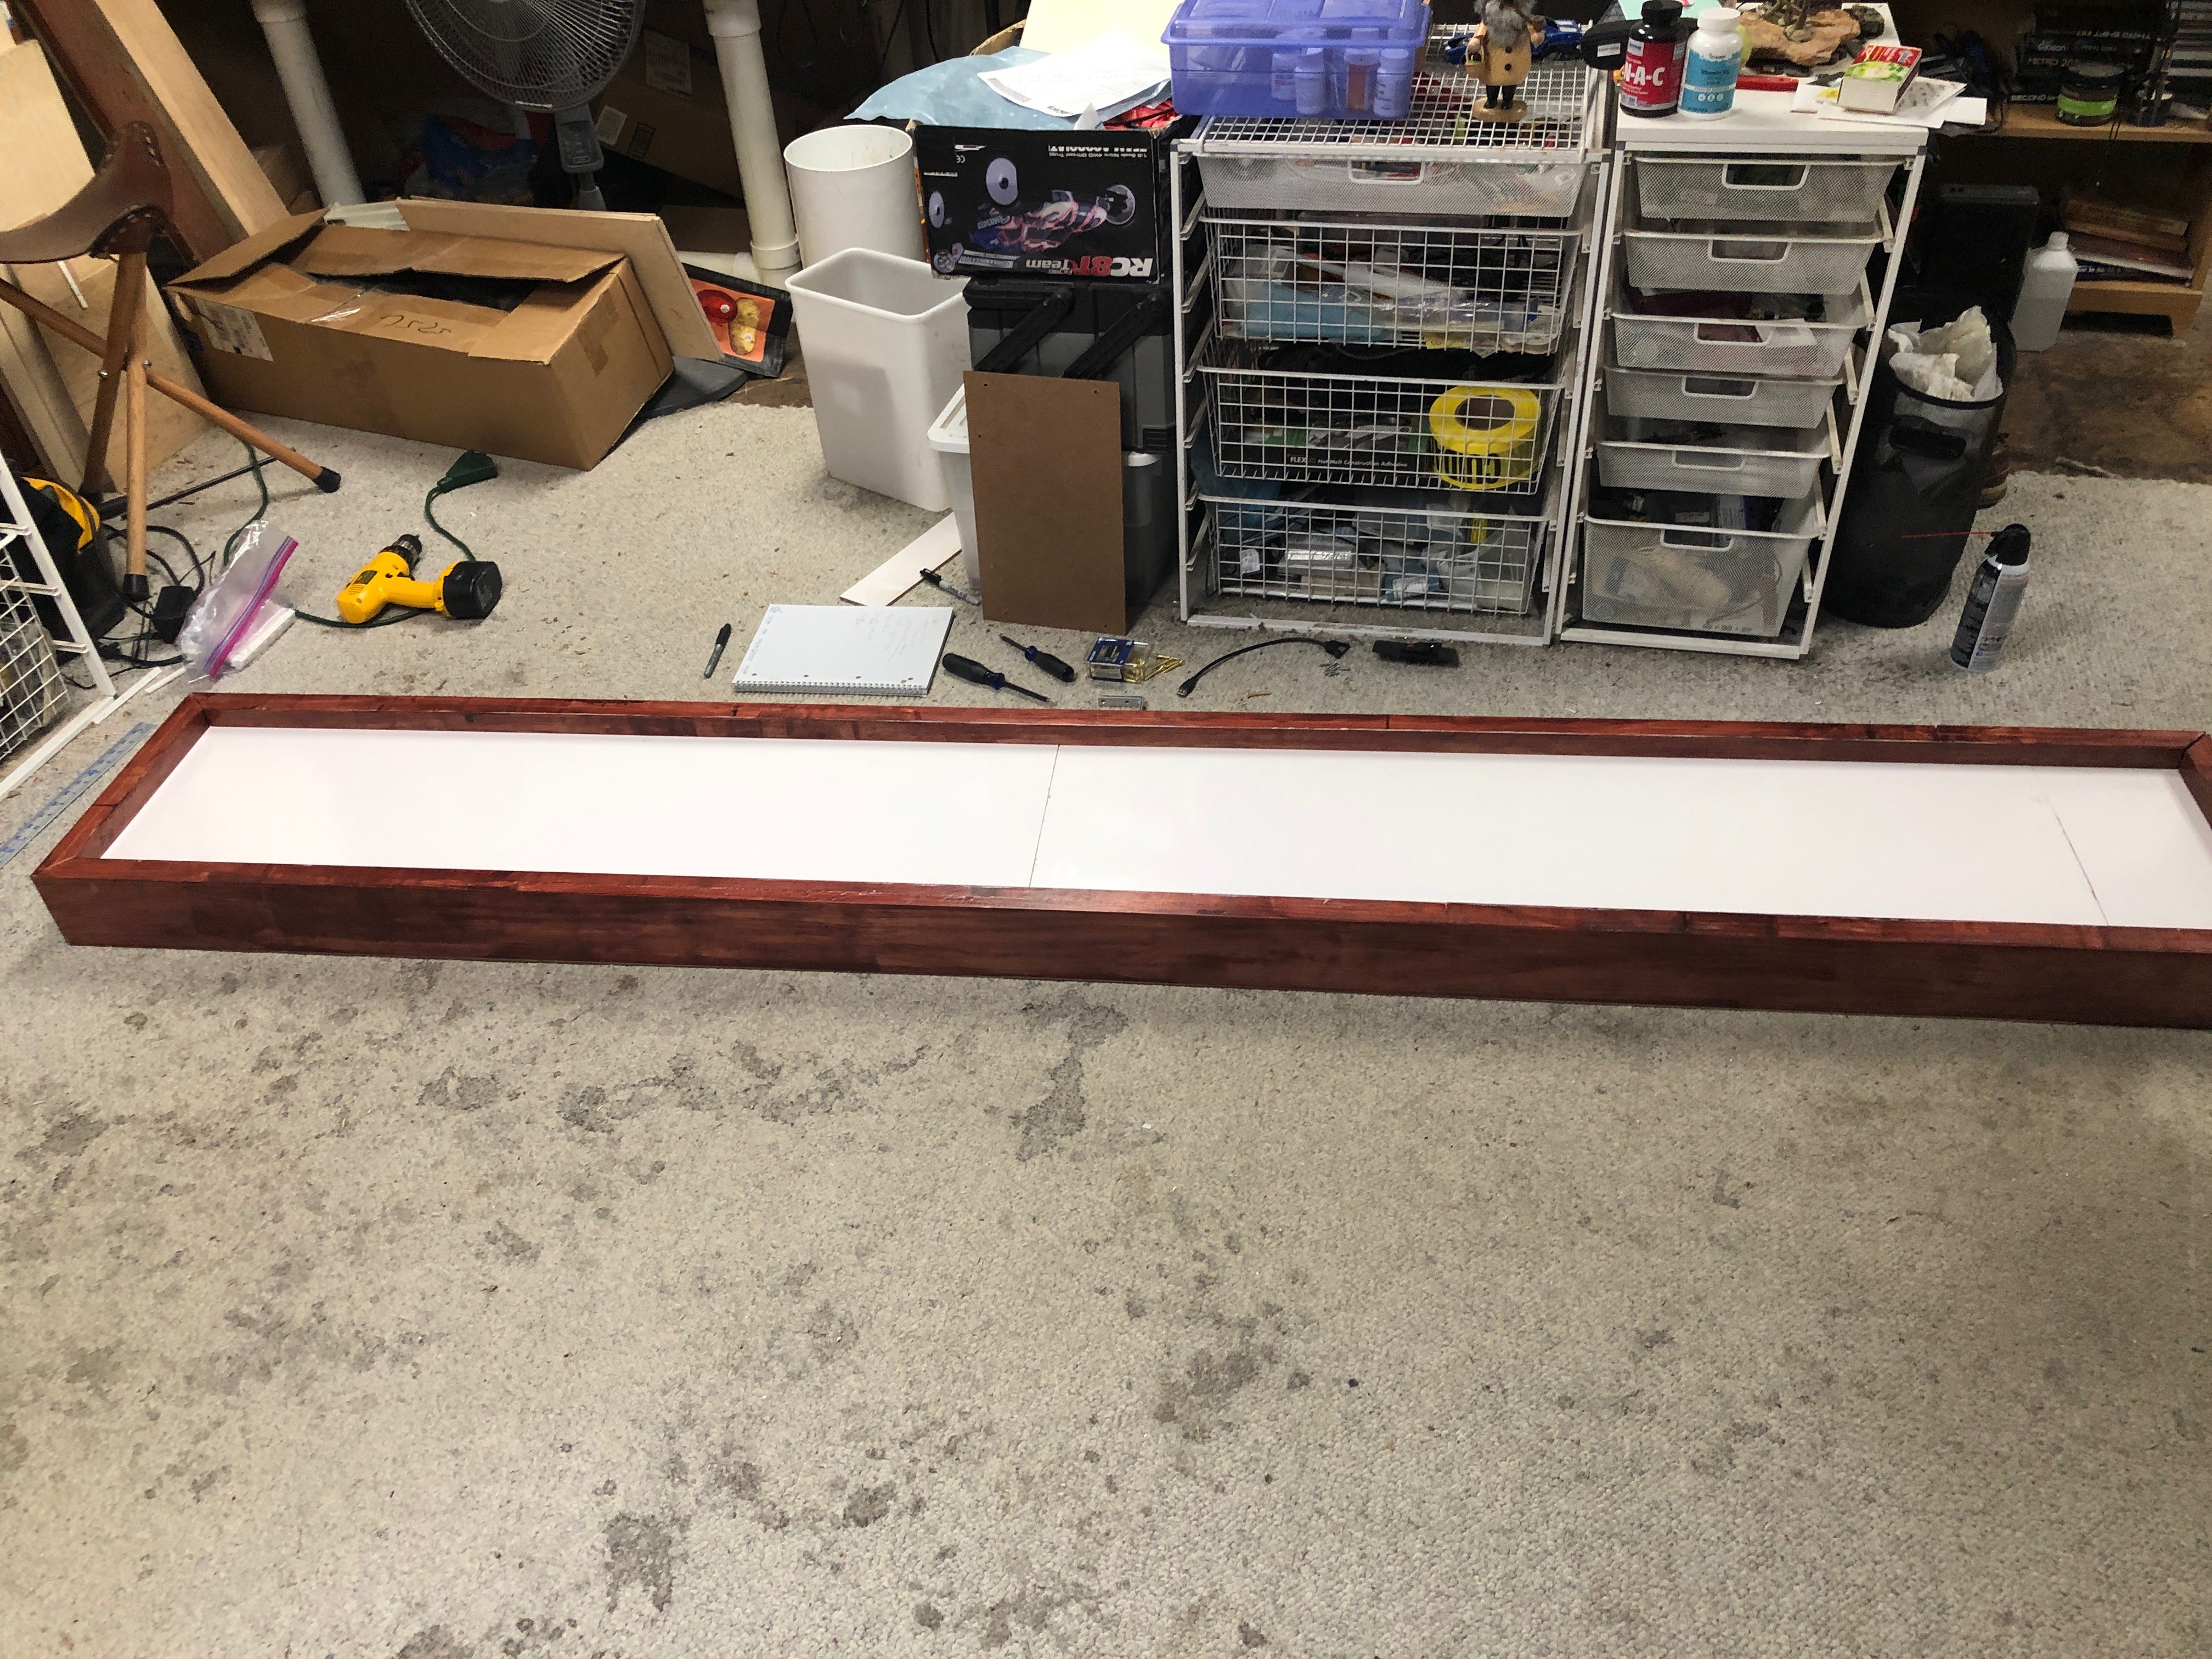
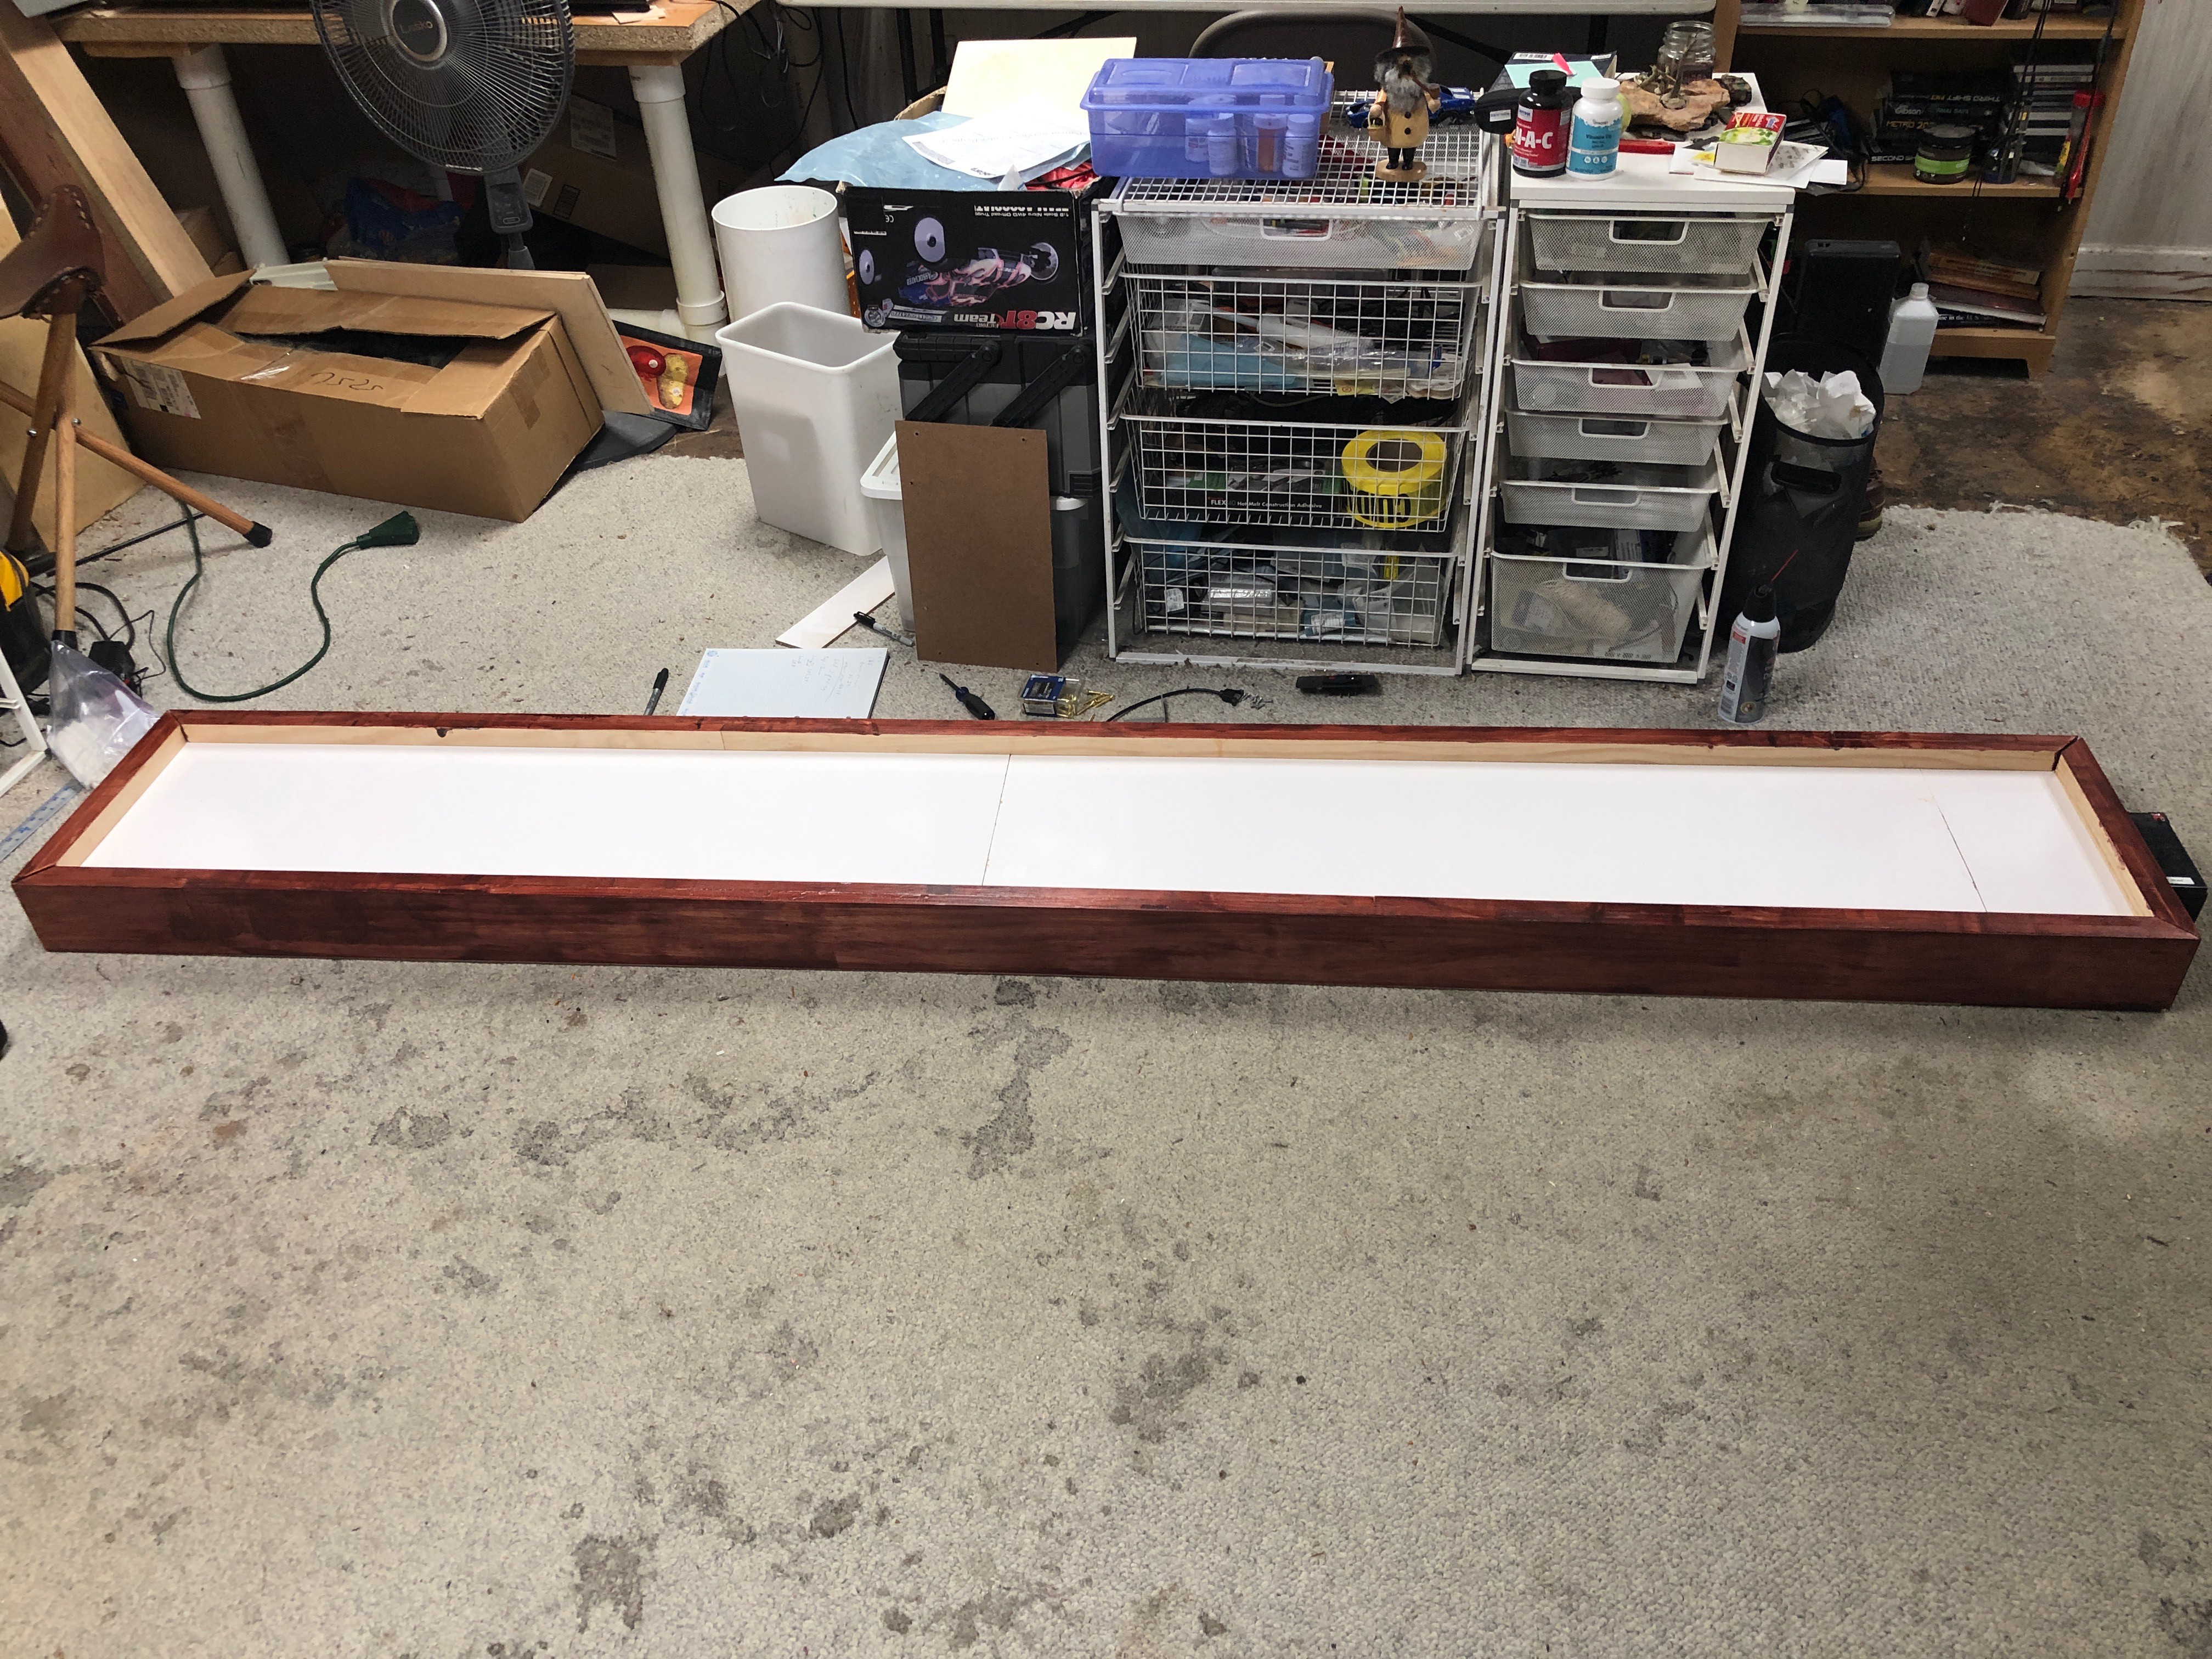
all assembled looking good. stained and 3 coats of urethane. Very happy with the finish. There will be a diffuser on top of the LEDs.

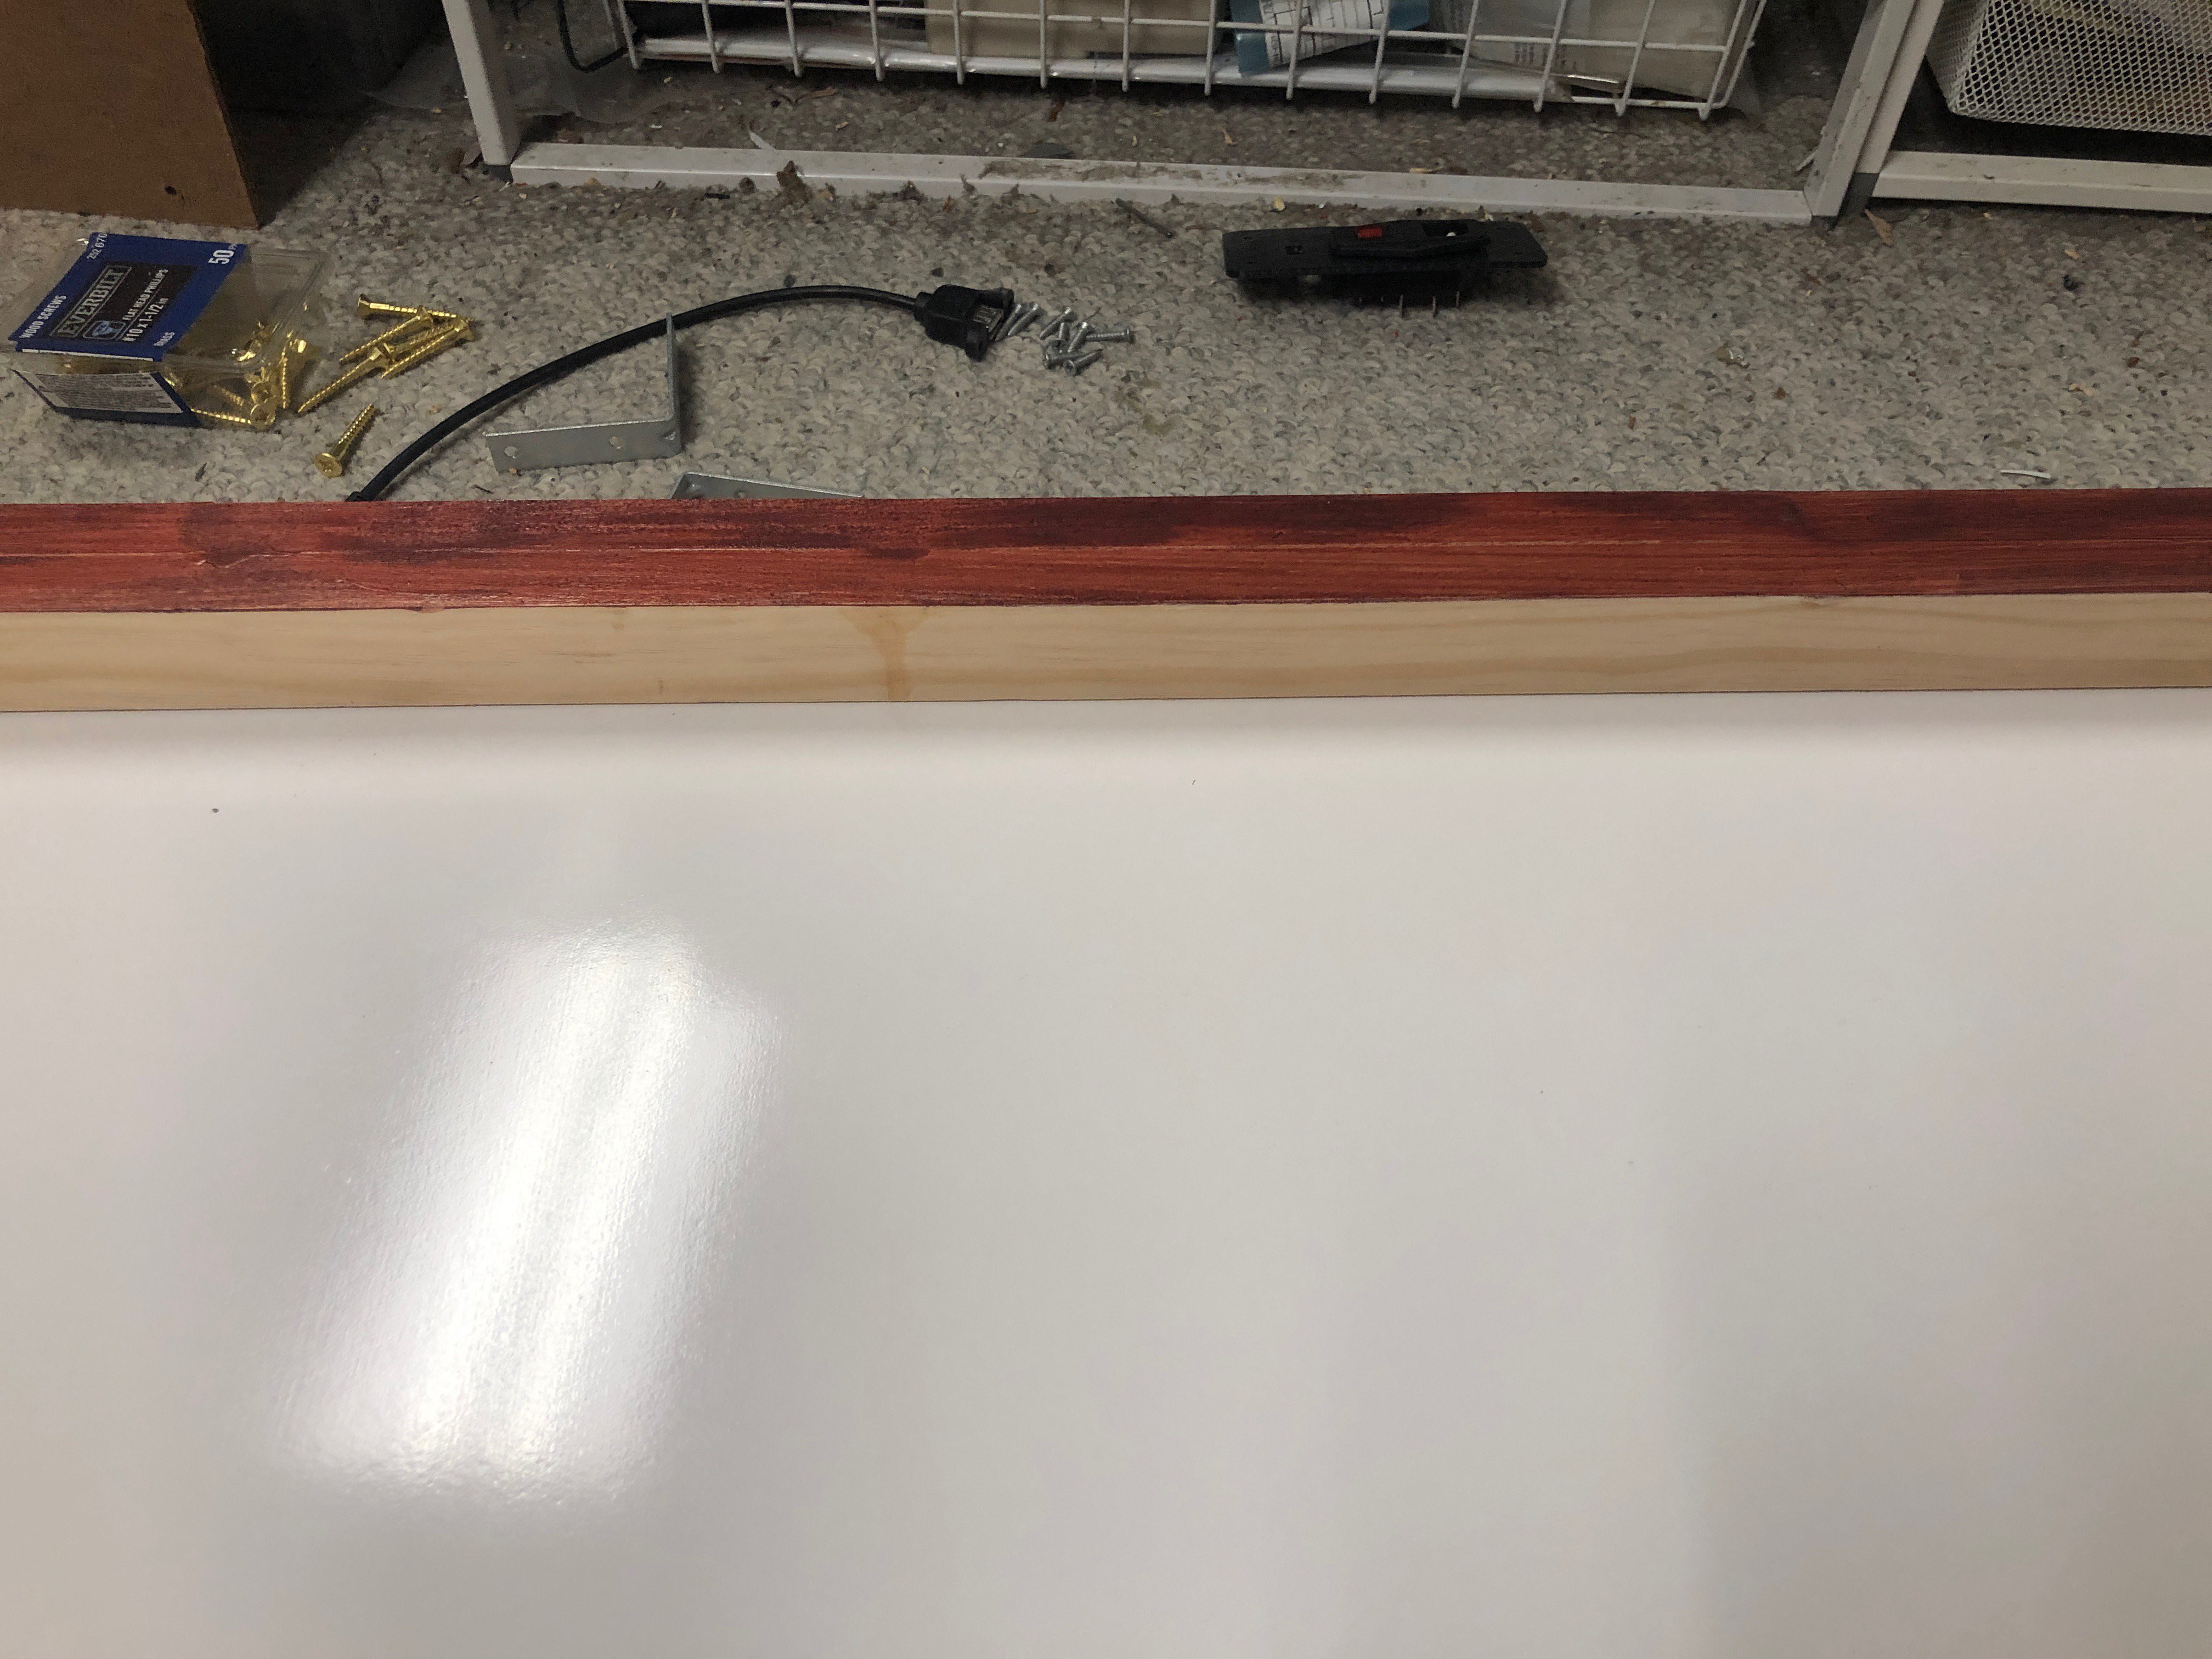
And we finally have LEDs !!! The holders I designed and 3D printed are working fantastic. It took some time to get the location for the first row measured out. Everything is lined up fine. The process is we measured out on the ends and in the middle. The kids held down the 3D bracket and drilled the holes, once we got these in it was simple to put the other brackets on and drill the holes. We have the end row on the bottom on, the brackets just line up with the existing bracket. We will drill holes and put the wires through to the other side, the front side needs to be flat so the diffuser will set correctly.
Discussions
Become a Hackaday.io Member
Create an account to leave a comment. Already have an account? Log In.