 Matt Bradshaw
So, the previous prototype looked cool but a routing error meant that it was completely non-functional. Unperturbed, I rerouted the design in KiCAD, fixed a couple of other errors I'd noticed, and ordered a new run of five PCB's, which arrived last week. I soldered everything in place, plugged in the battery pack, and... disappointment. The LEDs were flickering dimly, and a drumbeat was barely discernible through white noise in the headphones. I was frustrated, and busy with other work, so I put the barely-functional prototype to one side for a few days.

Yesterday, with a free afternoon ahead of me, I waded back into the problem. My first thought was that the batteries weren't powerful enough, perhaps due to some bad soldering that was causing the circuit to leak power somehow, but I tried a few different power sources and the results were the same. I tried a simpler Arduino sketch, and managed to get the LEDs working at full brightness, which led(!) me to realise that I'd done something stupid in the original sketch. I corrected my original mistake and moved onto the audio problem.

The audio was noisy, inconsistent, and had an annoying high-frequency buzz. Cunningly, I had included breakout pins in the PCB design, which meant I was able to easily intercept the raw, low-voltage audio output before the amplifier chip (LM386) and have a listen. I fed it through what should have been an identical amplifier circuit on the breadboard prototype, and the sound was much nicer, albeit not perfect, so I painstakingly double-checked whether my KiCAD schematic accurately reflected my breadboard. It did not! I had forgotten to ground pin 4 of the LM386. I briefly thought "oh no, I guess I'm ordering another PCB" before realising that this mistake could be fixed by soldering a small wire from pin 2 to pin 4. Obviously not a long-term solution, but fine for a prototype.
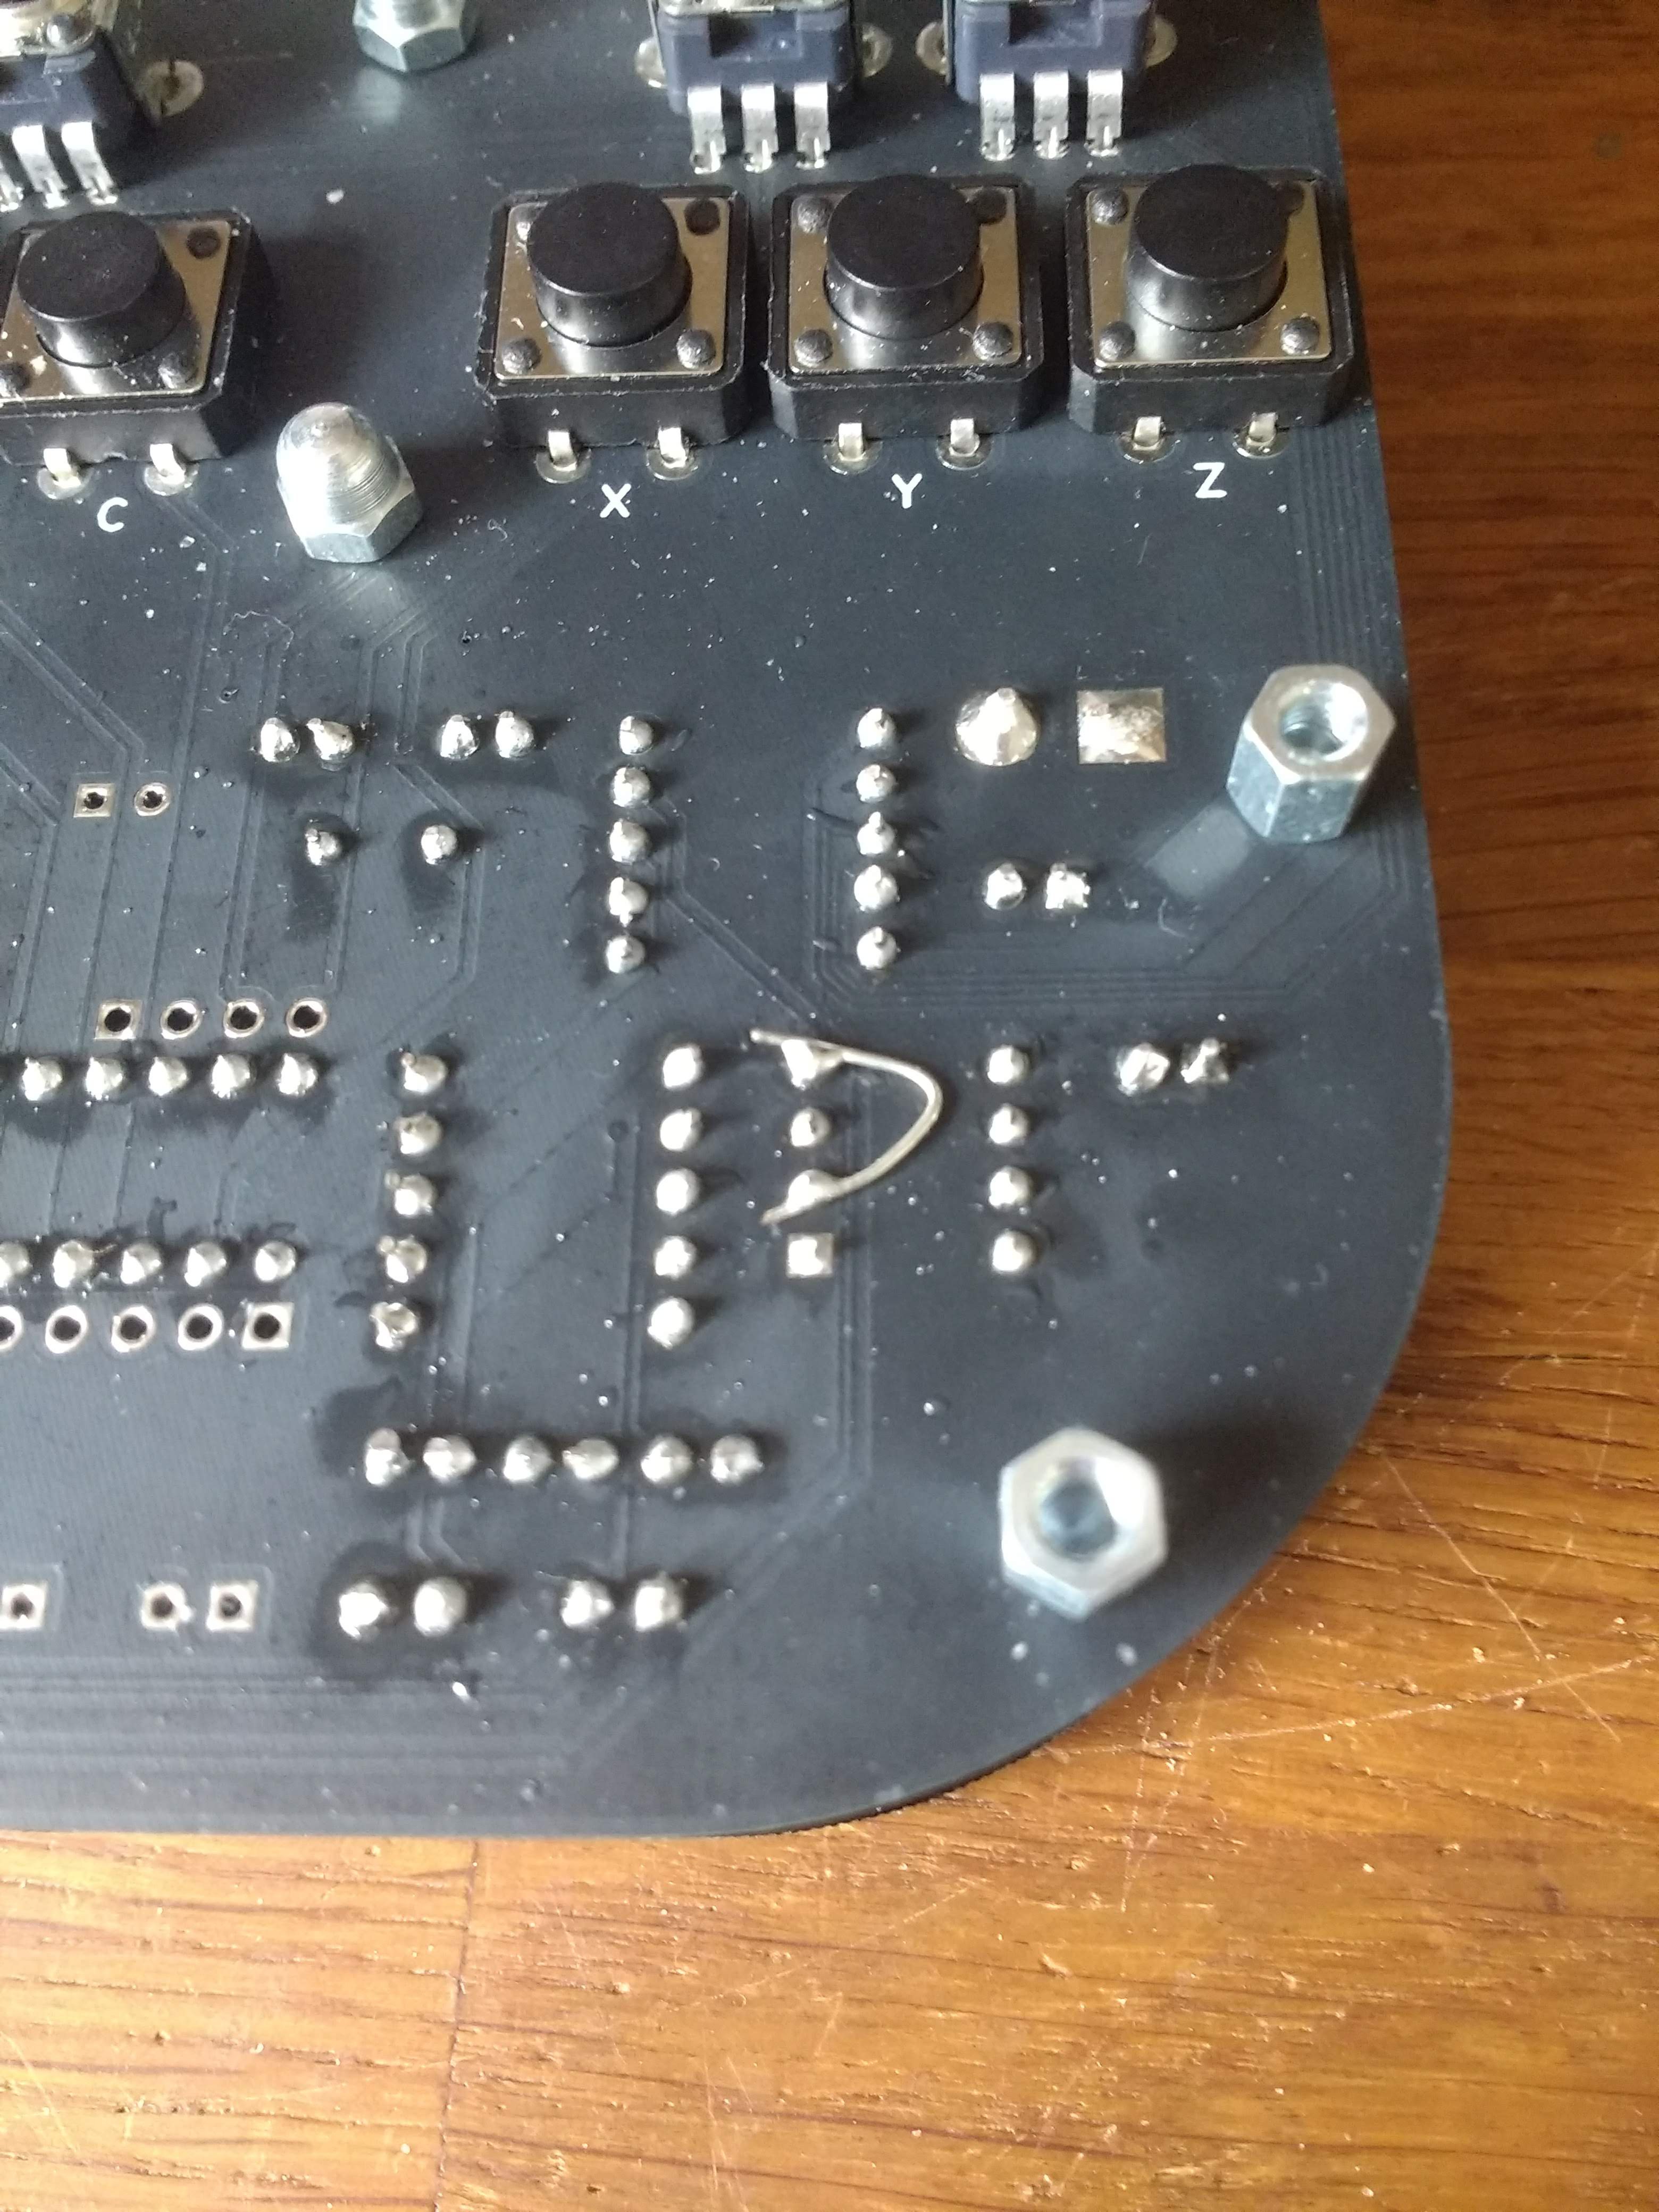
Suddenly there was progress. The volume control went from near-silent to super-loud, with no white noise, but there was still a high-frequency buzz. I showed the almost-working drum machine to my always-supportive partner, secretly hoping she might not even notice the buzz, but she pulled a face and said it sounded horrible. This problem turned out to be super-easy to fix, though - I just added a single decoupling capacitor (I had left optional holes for several on the PCB layout), and everything was perfect!
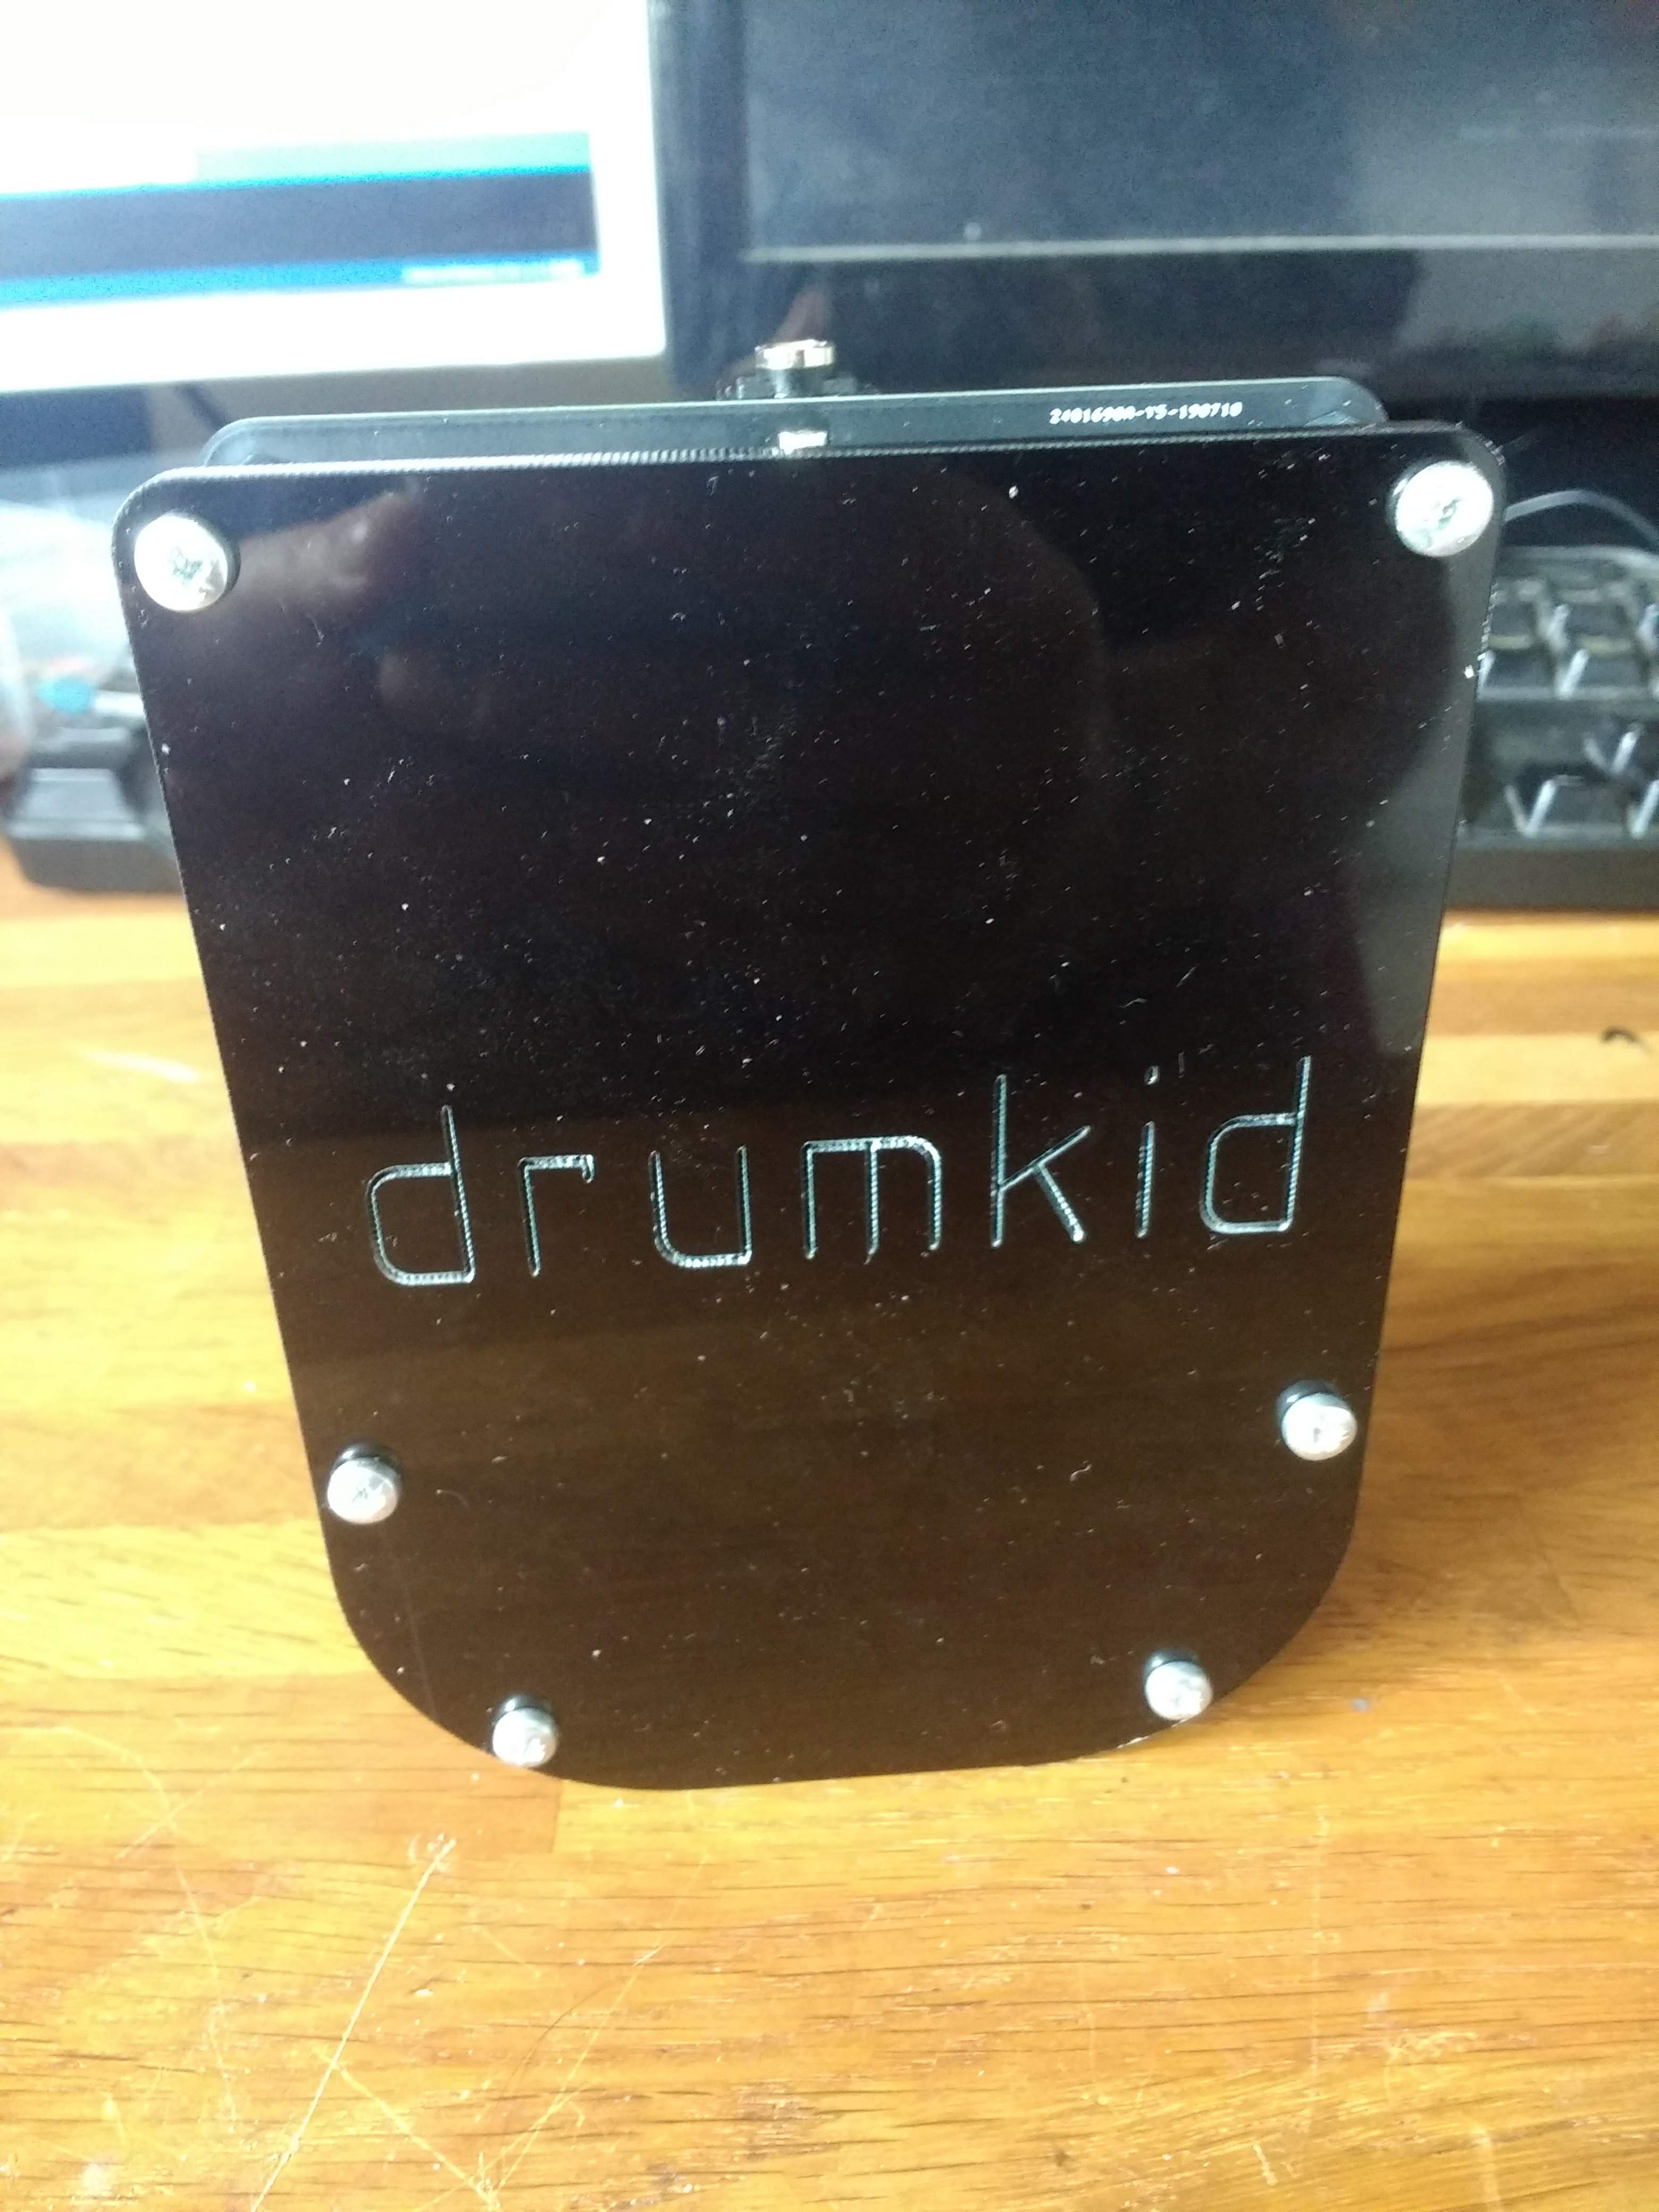
And not only was the PCB working, but a very generous Twitter-friend had laser-cut the two parts I needed to complete the prototype, and sent them to me in the post. This means that I'm now at a very exciting stage:
- The PCB works, with only one tiny extra wire needed to account for a minor error in the design
- The laser-cut parts look and feel great, and I'm happy with the overall aesthetics of the drum machine
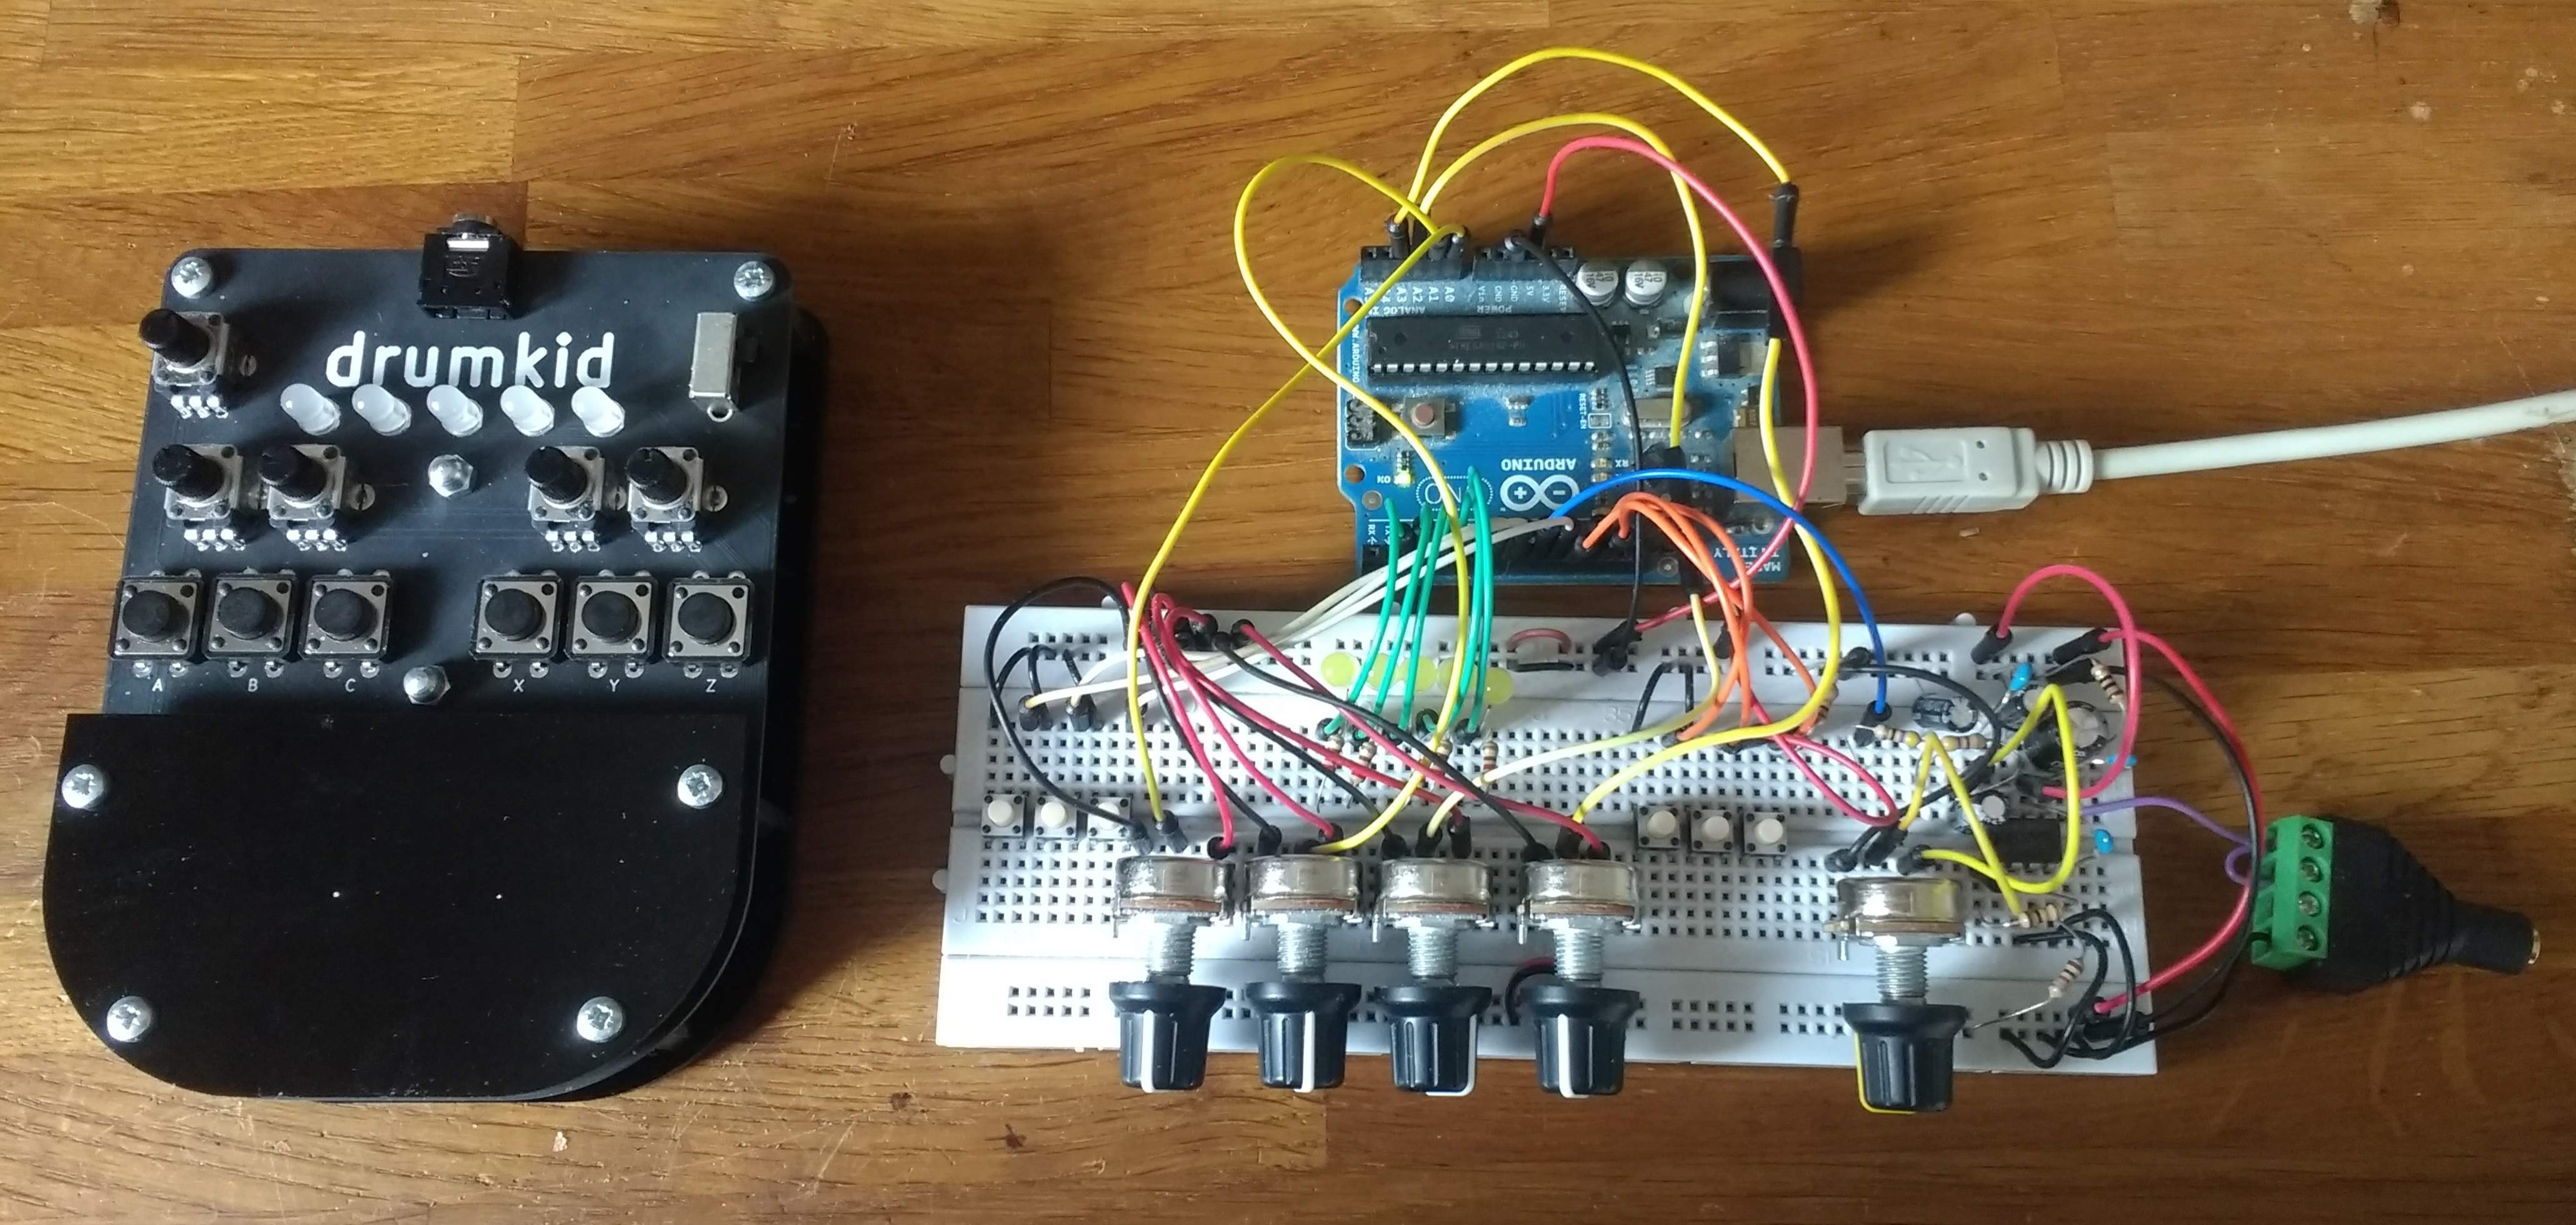
- The Arduino sketch is producing nice, clean audio via the Mozzi library
- The PCB now matches the breadboard design pretty much exactly, which means I can work on the code using an Arduino and a breadboard, safe in the knowledge that it will work on the PCB once I'm happy with the code
I've now got a couple of weeks to focus on the code before the Hackaday Prize deadline, making sure the drum machine is intuitive, fun, and (most importantly) musically interesting.
Discussions
Become a Hackaday.io Member
Create an account to leave a comment. Already have an account? Log In.